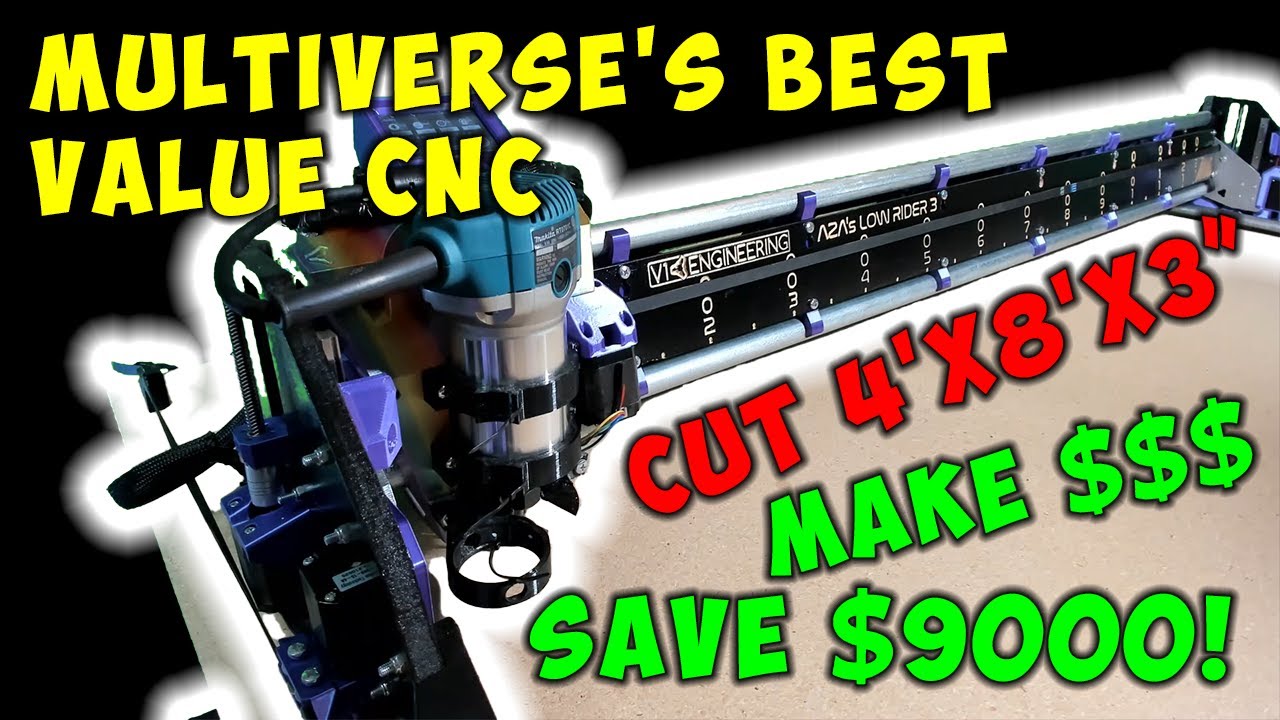
Short: Built my LR3, and a video showing assembly and thinking @ Huge DIY CNC $900, V1E LowRider3, FREE design, normally $10,000+ - YouTube
Long:
Hello! Printed bunch of MPCNC parts for a friend last year, learned about V1E projects back then. Just couldn’t resist doing my own build any longer after LR3 released.
So here we are…
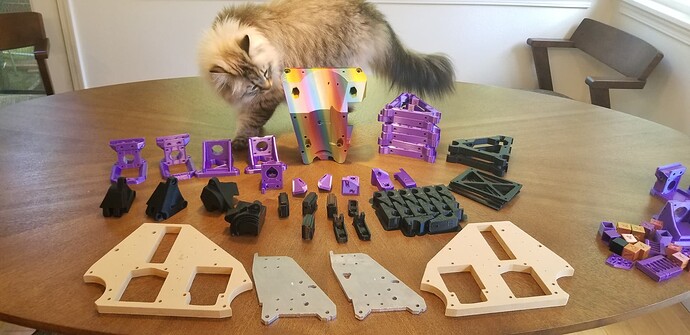
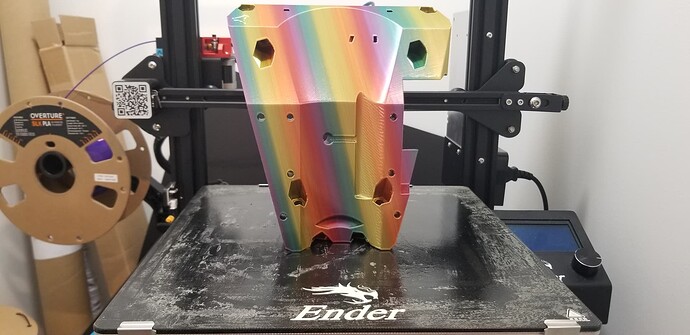
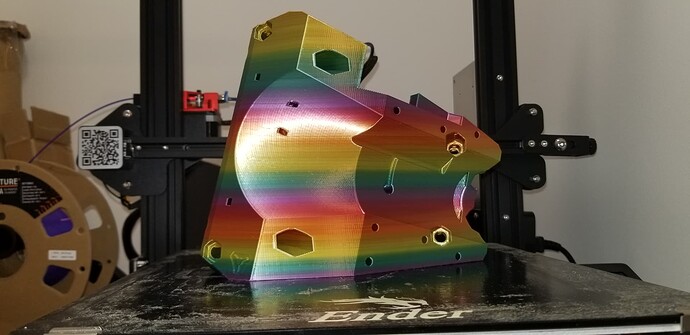
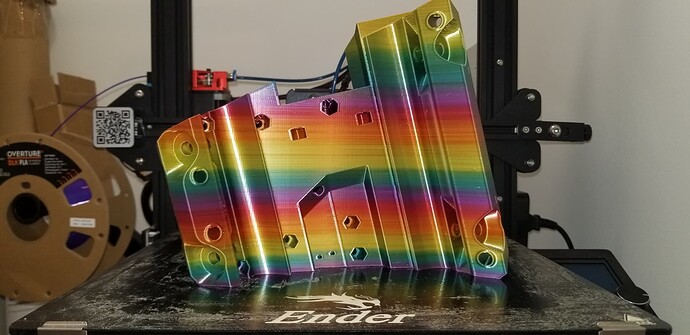
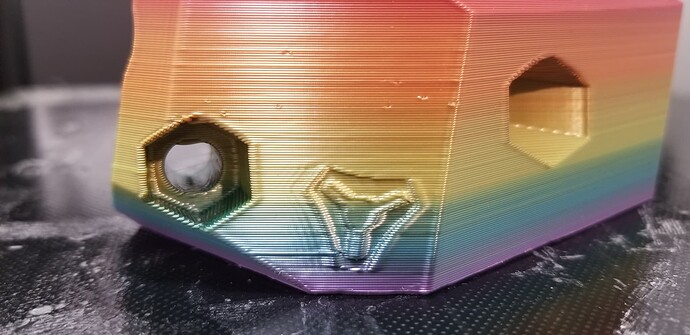
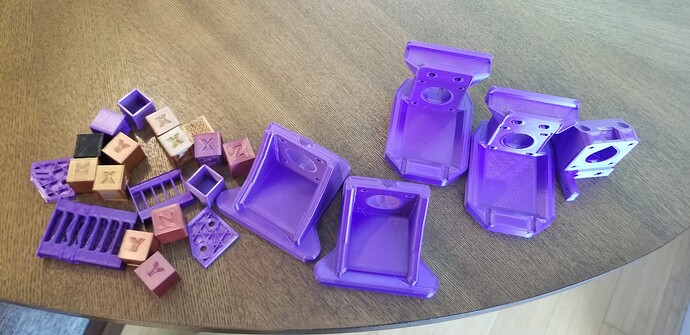
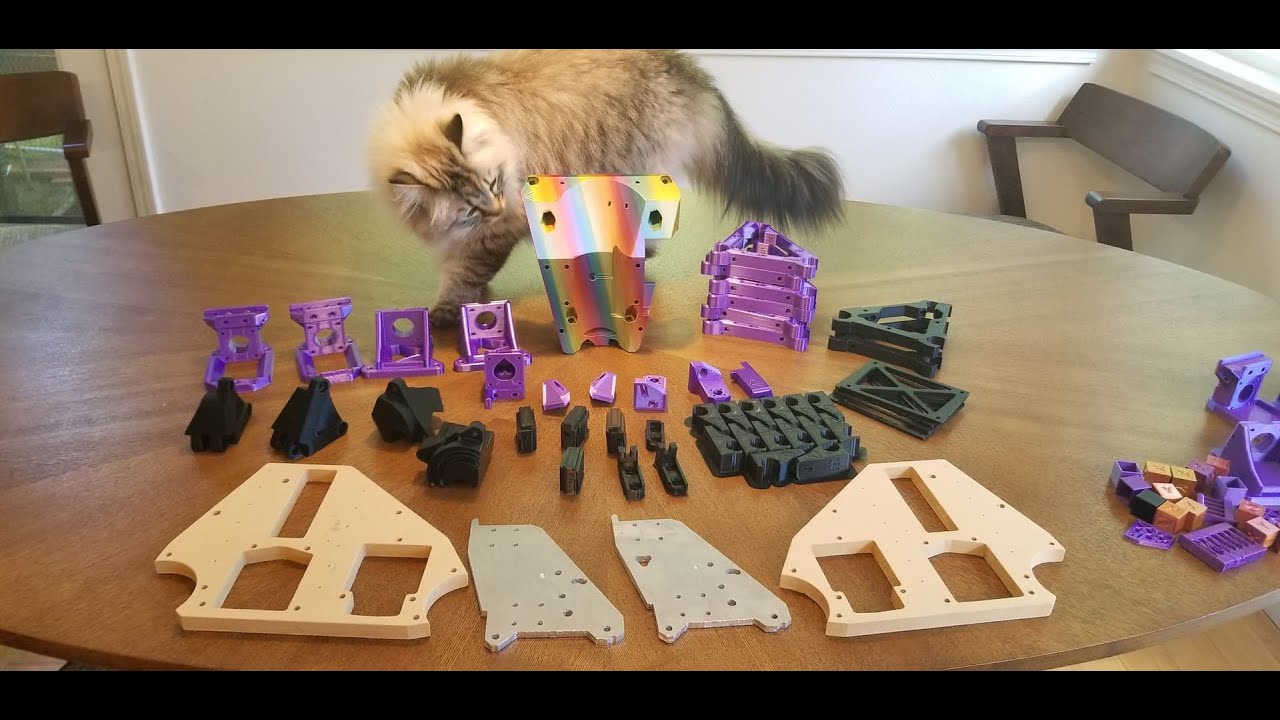
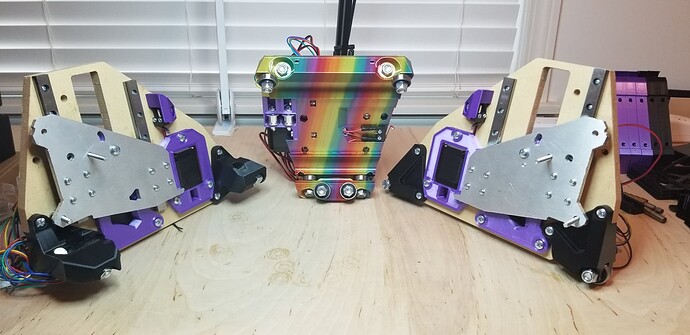
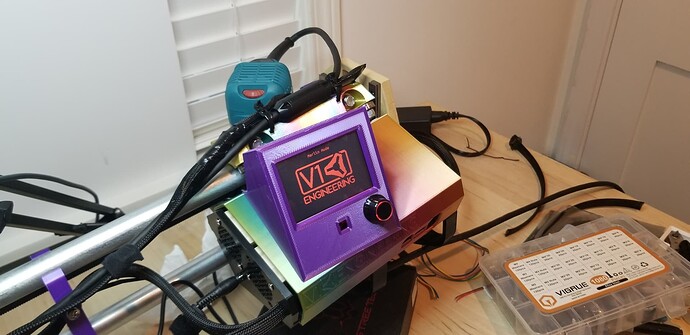
Purple + Black, that was the initial intent… But I messed up slicer settings (still had “remove all holes” mistakenly selected from prev job). Realized after far too many prints ![]() . Was running low on purple by the time Core needed printing, so I dusted off an unused rainbow filament, hoping to inspire the kids to play with the 30K RPM CNC, we’ll see…
. Was running low on purple by the time Core needed printing, so I dusted off an unused rainbow filament, hoping to inspire the kids to play with the 30K RPM CNC, we’ll see…
Ordered LR3 kit from V1E, but to help stay motivated to make progress, have refrained from opening the kit until all parts are printed and CNC’d. VAC hose braces remaining, need to finalize my setup/design before doing those.
Printing: Overture PLA, Cura 5.0.0 slicer, 0.6mm nozzle, 0.32mm layer height, 3 walls, spec + 10% extra infill. Brim support.
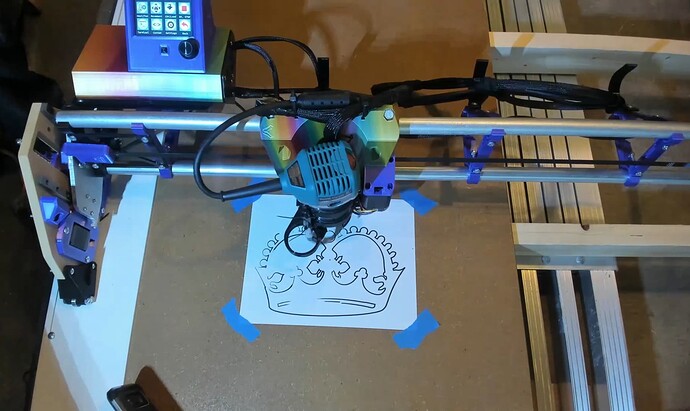
CNC’d Alu XZ and MDF YZ plates on Genmitsu 3018 ProVer with 3040 ext. 1/8" 2 flute carbide (went thru 4 bits) with 1/2 can of WD40. For Alu plates, the 4th bit did most of the work, survived by drowning at painfully slow 200mm/m, 12K RPM, 0.25mm depth of cut. My first Alu cuts, so, I know nothing! Single flute arrived after I was done. Ideally, I’d allocate time to experiment/calibrate cutting Alu with different values, using load-feed-speed equations/tables as a starting point.
2022-9-10 POST Build - decisions and learnings
- Strategy :
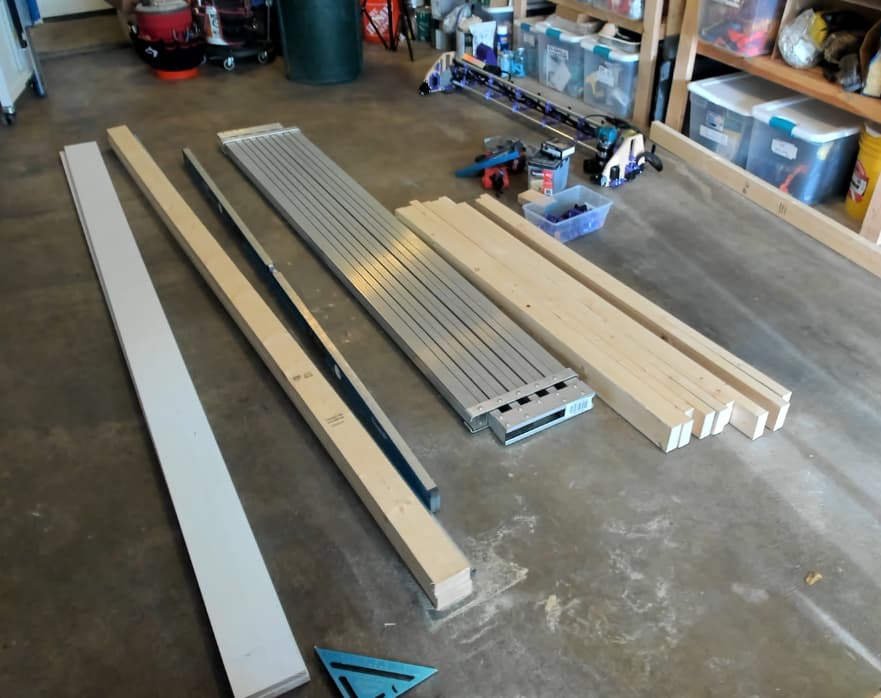
- Source, Print and Mill all parts before any assembly. Used time awaiting deliveries and print completion to ramp up on LR3 build posts and get familiar with common issues.
- Printed Core after dialing in settings using Cura test cubes, retraction/temp towers, CNC Kitchen, Chep, Maker Muse, Thomas Sanladerer, Teaching Tech’s https://teachingtechyt.github.io and other helpful resources. Still continued to tweak/tune settings while printing the 8 braces. Printed Core after all of this obsessive tweaking/tuning.
- Ender 3 Max, glass bed, upgraded tensioners and dual gear extruder.
- Used “Brim” adhesion support slicer setting for top heavy parts. Am also using bed glue https://www.amazon.com/gp/aw/d/B079984GV5?psc=1&ref=ppx_pop_mob_b_asin_title
- Researched lots of EMT/Rod/Rail options and suppliers.
- Researched bunch of table sizes and options.
- Chose to buy V1E LR3 kit, reasons… Comes with firmware preloaded to reduce burning (not fun) time sourcing components, reduce risk of encountering build issues, and help support V1E/Ryan the designer. My LR3 Order (~$489):
- LowRider v3 Hardware kit
- SKR Pro1.2, 5x 2209 drivers, TFT35 E3 V3 -flashed -
- Logo Sticker
- Tiny Touch Plate - Kit
- 2x Roller Limit Switch, Endstop.
- 6x Limit Switch, Endstop
- 2x EndStop Plug
- Emergency Stop Button
- SD Card 16GB
- Makita 1/8" collet
- Carbide Single Flute Long
- Chose Makita RT0701C 1-1/4 HP Compact Router, replacement warranty is a good deal if you’re running a CNC for many many hours… brushes will likely wear and need servicing. Makita is great for getting started. Might upgrade to VFD water cooled spindle if things get serious.
- Chose design with 49.5"x97.5" buildable area, used LR3 Calculator for material dimensions. Large enough for full size sheets plus bit extra. Note MDF 4’x8’ sheets are actually 49"x97"

- Built janky Big Sled for large projects, cutting/carving full sheets and slabs.
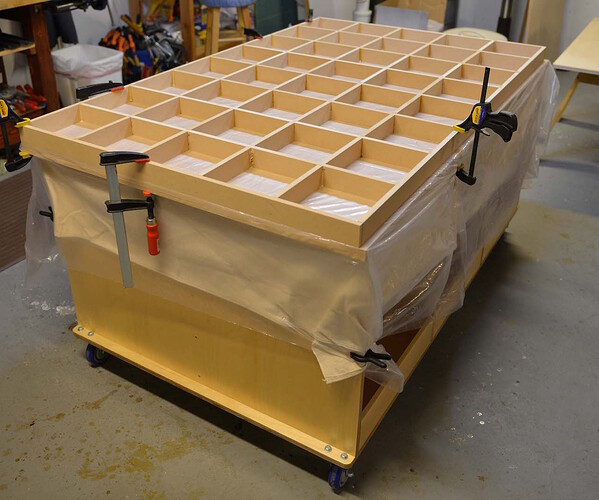
- Built janky Medium Surface that my LR3 mostly lives on, always ready to use, 3’x5’ torsion box surface. Was going to try out 3’ wide panel door, but ended up making a torsion’sh box, details/progress later in this topic.
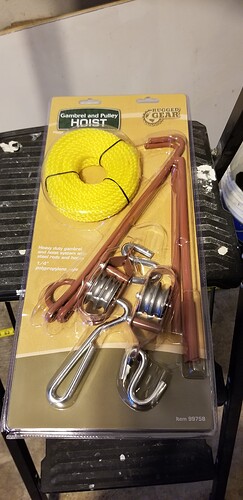
- Have limited space, so am using $15 harbor freight Gambrel and Pulley Hoist to help store full panel Sled vertically.
- Chose MDF YZ plate because fast to cut, easy and stable enough material when sealed.
- Chose Alu XZ plate for good rigidity, and opportunity to learn milling Alu on my old Genmitsu CNC. Without my Genmitsu I would’ve bought Alu plates from V1E.
- Chose 3/4" EMT from Home Depot for Gantry, because seemed good enough when Struts are installed. May upgrade to thicker wall DOM steel later if/when gantry deflection exceeds my frustration threshold.
- Chose 1/2" EMT for Y Rail, because support every 200mm results in solid enough support. Easier to clean underneath. Less likely to encounter clearance issue some encountered using 25mm Y Rail.
- Recommend Spade connectors for Y Axis end-stops, they’re relatively exposed and vulnerable to break/fail, so, make them easy to replace. Soldered and heatshrink wrapped less exposed X/Z axis end-stops.
- Chose to create Custom front Grill Strut, looks cool, and an opportunity to learn OpenSCAD.
- Wasted time not painting YZ plate prior to initial assembly. Ended up burning time partially disassembly, painting YZ plates when Struts were added.
- Cause: Was delusional and initially planning to build taller YZ plates. However, after reading issues folks were encountering, as I got into the build, I eventually decided it’d be best to minimize probability of also encountering frustrating issues by just building a stock LR3. So, consider… Getting a standard LR3 working, learn to use, get familiar before going off into less frequently explored direction.
-
 GRUB SCREWS
  - Check, double check and triple check they’re snugged tight.
- Use Medium Strength Thread Locker or stronger. Ensure grease is cleaned off grub screws before using threadlocker. For some reason (less cost/rust?) grub screws seem to be delivered drenched in oil

- Use Medium Strength Thread Locker or stronger. Ensure grease is cleaned off grub screws before using threadlocker. For some reason (less cost/rust?) grub screws seem to be delivered drenched in oil
Mods
-
Created Custom Front Grill Strut
-
Created V1E LowRider 3 mod - Mid Belt Y Tensioner Block, enabling fast swapping of LR3 between different sizes tables, e.g. big 4’x8’ and smaller 2’x4’ table.
-
Using Doug Joseph’s Control box case for BTT SKR Pro 1.2 board and a BTT TFT35 E3 touchscreen (v1.2) Printables, see Forum Topic
-
Using Doug Joseph’s 2-1/2" Vac Hose Hangers Printables, see Forum Topic
-
Using Doug Joseph’s 2-1/2" Makita Mount & Removable Dust shoe Printables, see Forum Topic, see YouTube Video for clearance, fit and X Tensioner details.
-
Created remix of Doug’s Makita Mount to enable using larger reusable zipties Printables
-
Plan to use Doug Joseph’s drag chain, see Forum Topic
