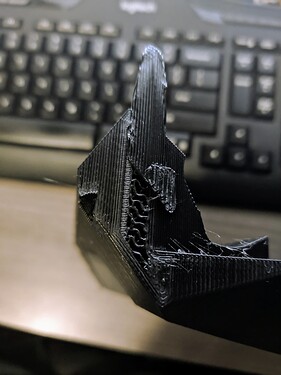
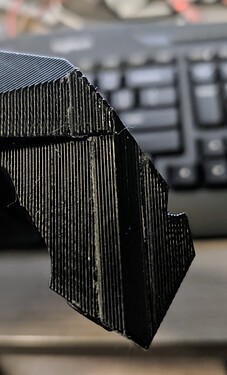
Just posting an update. My last one had this same layer shift with 8 layers left.
“Get a 3D Printer” they said “You can fix things around the house” they said. Nobody ever said I’d be fixing my 3D prints!
However, since this was above allt he mounting points and doesn’t appear to be a structural issue, I decided to work with this - if it bothers me, I can always replace.
Fixed!
Just an 8 layer print and a bunch of Super Glue - but the infill is covered. (It was Loctite brand - although MUCH better labeled than their thread locker products!)
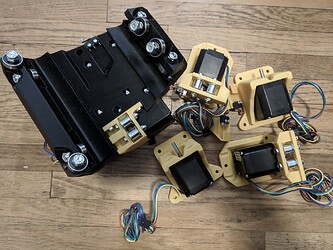
I did notice that I missed printing the Leadscrew Stubs since I have milled plates, so I’m waiting on those now. Other than that, assembly has gone really easily and smoothly. The instructions are very helpful.
Although because I don’t have threadlocker on hand - I will need to disassemble a bit to apply that when I pick it up - feel free to roast me later if I have troubleshooting issues with the grub screws! I am stopping now to go shopping, so hopefully that won’t happen!
I did have a question about endstop wiring as I assemble. As I forgot to add those to my order, I sourced them locally. Is there a recommended length for endstop/touchplate wires as I assemble? Are people generally making a little stub and then using extension cables like the motors, or using a direct run? I didn’t see an answer here:
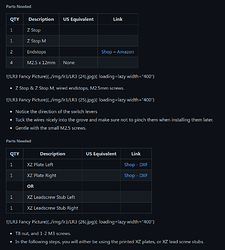
As I have been building, I have been finding it easier to make a table of all the parts I will need for each step. I realize that it does make the instructions longer, but I could perhaps put all the tables in a collapsed section? If people would find that helpful, I can submit a pull request on the documentation.
Example:


