Well, this thread might be getting started a bit prematurely, but maybe starting it will push me to move a little faster…
I’m going to do my best to imitate @azab2c and document what I’m building and thinking along the way (don’t hold me to that…not sure I can live up to it)
Plan
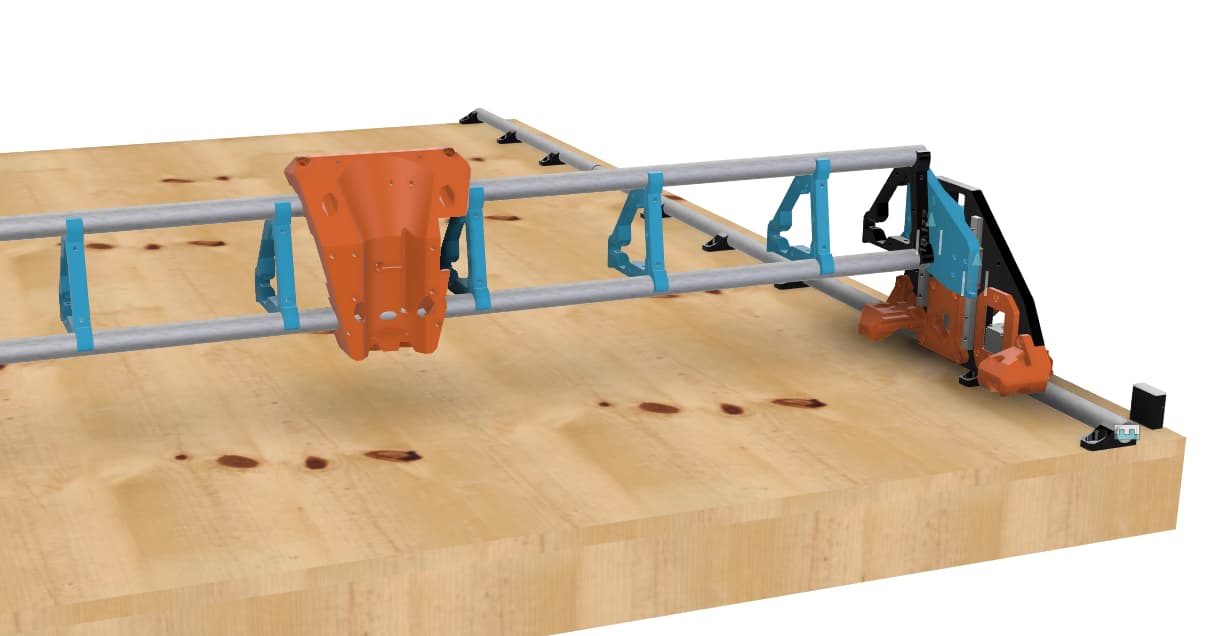
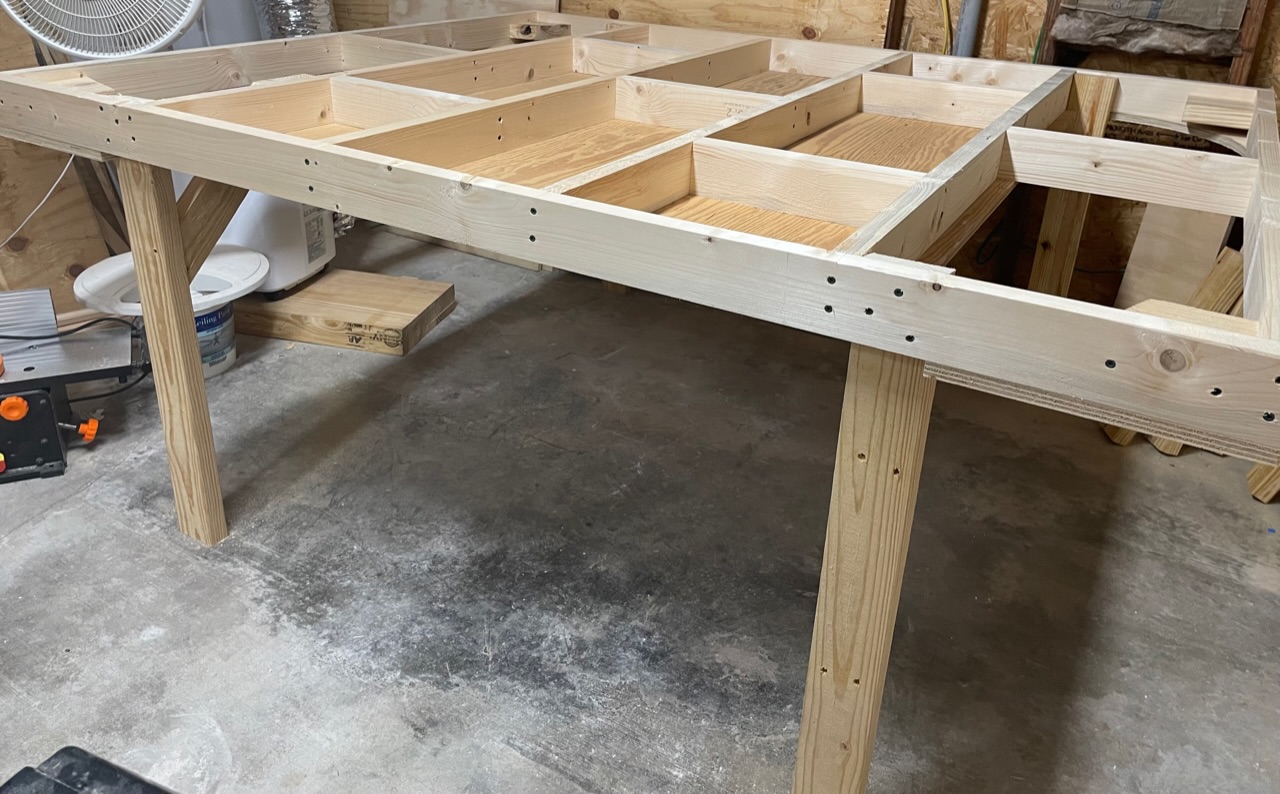
Original plan was to build a full 4’ x 8’ capable LowRider 3 on a folding table similar to Neilp’s The ‘Black and Blue’ LR3 build. My space restrictions require the table to be more complicated, and I rather have a smaller CNC than no CNC at all, so until I solve that problem…
The current plan has been changed to a 4’ x 5’ build. I intend to work like this and try to get by with the smaller size, and when necessary, using locating pins for larger cuts.
Most of my cuts will not be full size, but I intend to do a good bit of cutting on some EVA foam sheets that are 40" x 80", so it would be more convenient if I can get a full sheet build long-term.
My order was placed today for the LR3 Hardware kit, Jackpot CNC Controller and a Makita RT0701C
Color Scheme
Orange, Black and Blue. My wife likes those colors, it was our wedding colors, and will likely be the colors in the logo for our business, so I figured why not.
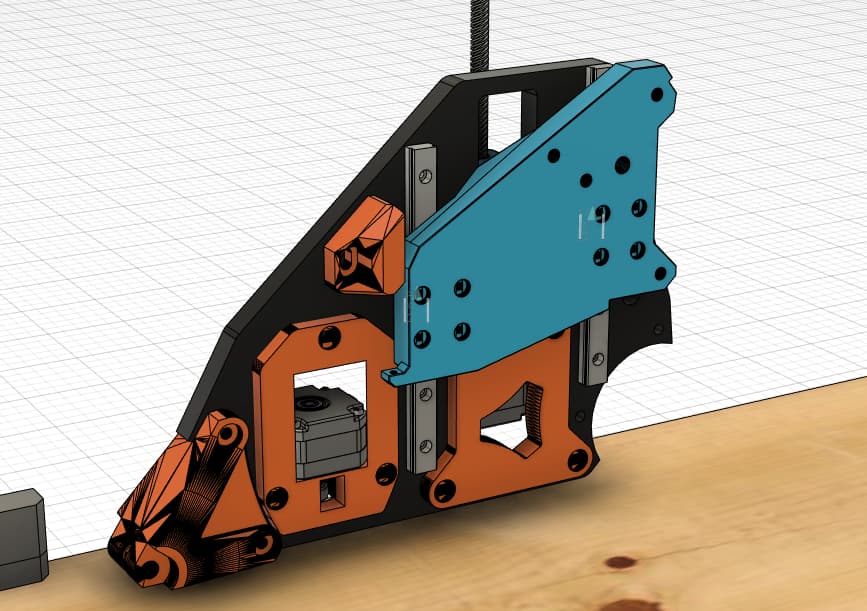
I am not finished with my digital build yet, but something like this…
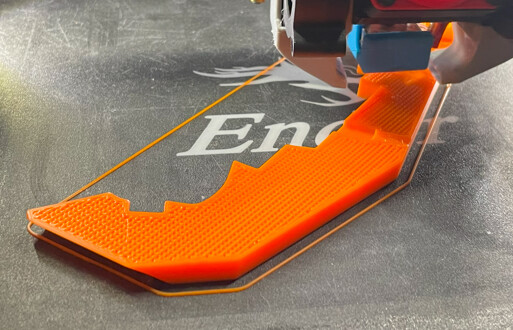
Printed Parts
Printing on a 4 year old Ender 3 Pro. It was mostly stock until recently. When I came across these forums in early June and decided I wanted one of these, I made some upgrades to my Ender 3.
- Dual Z Upgrade
- Z Stabilizers
- SKR E3 Mini v3 and TFT
- Change from 0.4 to 0.6mm nozzle
After all of that I completely recalibrated the printer and made sure everything was good using Teaching Tech’s Calibration site.
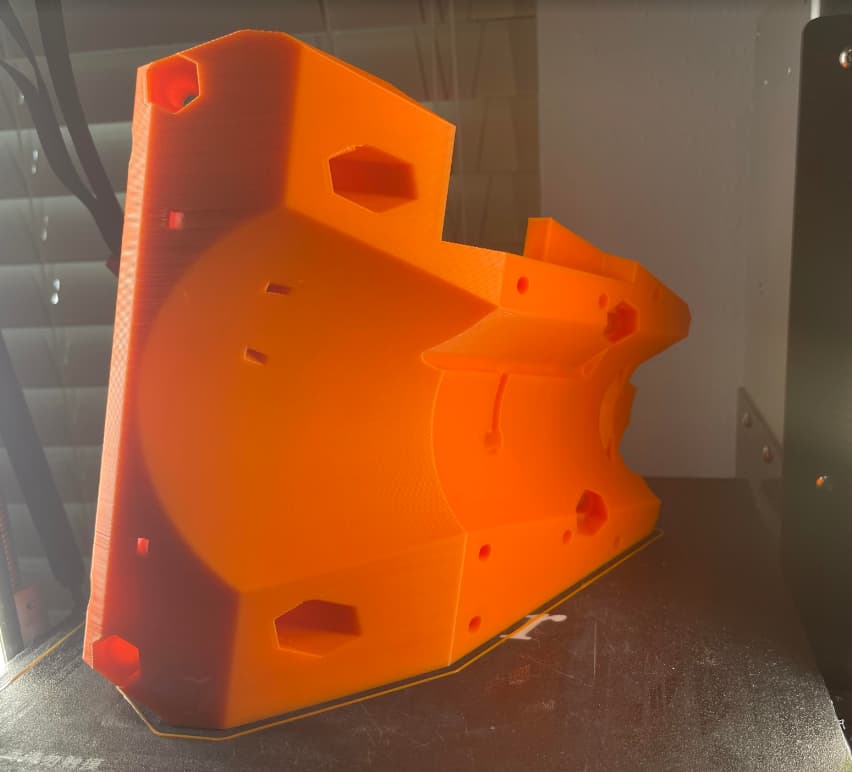
YZ Plates
I decided I was going to print my YZ plates for temporary use to mill my own later. Since I have a small printer, I needed to print the YZ plates split as @DougJoseph recommended in this thread. Since his parts were the older YZ plate version, I made my own version and that is now posted to Printables.
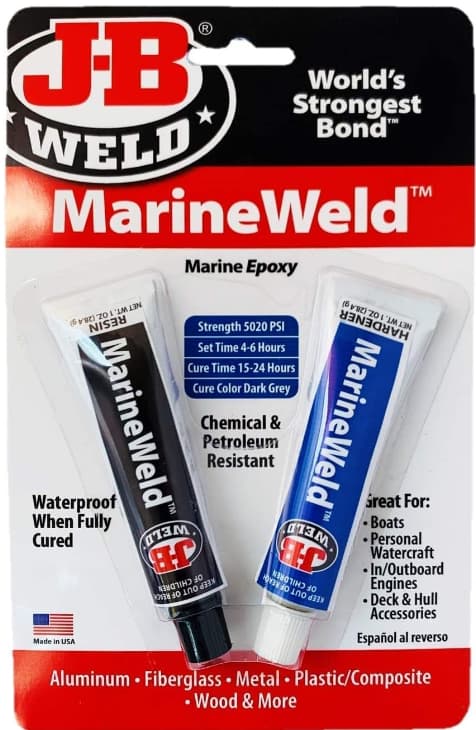
Split parts were joined with JB Weld MarineWeld, and they seem pretty sturdy. Hopefully they hold up long enough to get my MDF(maybe??) parts cut.

XZ Plates
For now I will go with printed XZ plates. I originally was going to order the Aluminum plates from the shop, but came across Ryan’s post stating that he thought it wasn’t necessary. That was enough for me to at least give it a try and see how it goes.
Mods
The intent is not to mod the build too much from the start, as I rather see it perform as it was designed/intended.
There are a few things that I will do slightly different from the start:
- I have a 2.5" dust hose, so am using @DougJoseph’s remixes for the Hose hangers and Makita mount for 2.5" hose (of course, this will likely end up with a version of his new Floating Z mount)
- Will probably not do it up front, but am considering Doug’s drag chain as well
- Strut plate will likely be generated using @azab2c’s Custom Strut Generator script, unless of course something awesome comes out of Jonathjon’s strut contest
- Once he gets around to finishing and releasing it, I’ve got my eye on @bitingmidge’s end cap design
- At some point, I would like to mount a laser and drag knife as well, so will likely look at Doug’s Kinematic tool-less quick-change holder
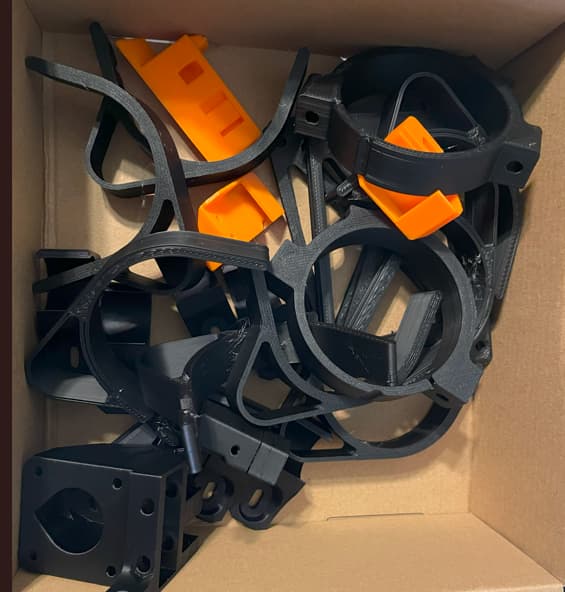
I have small assortment of printed parts so far
and a Core on the way
This is probably enough as a starting post…more to come as time allows. Expect a few months until completion as I have some work travel coming up, etc.