Looks great! I also printed my core in orange.
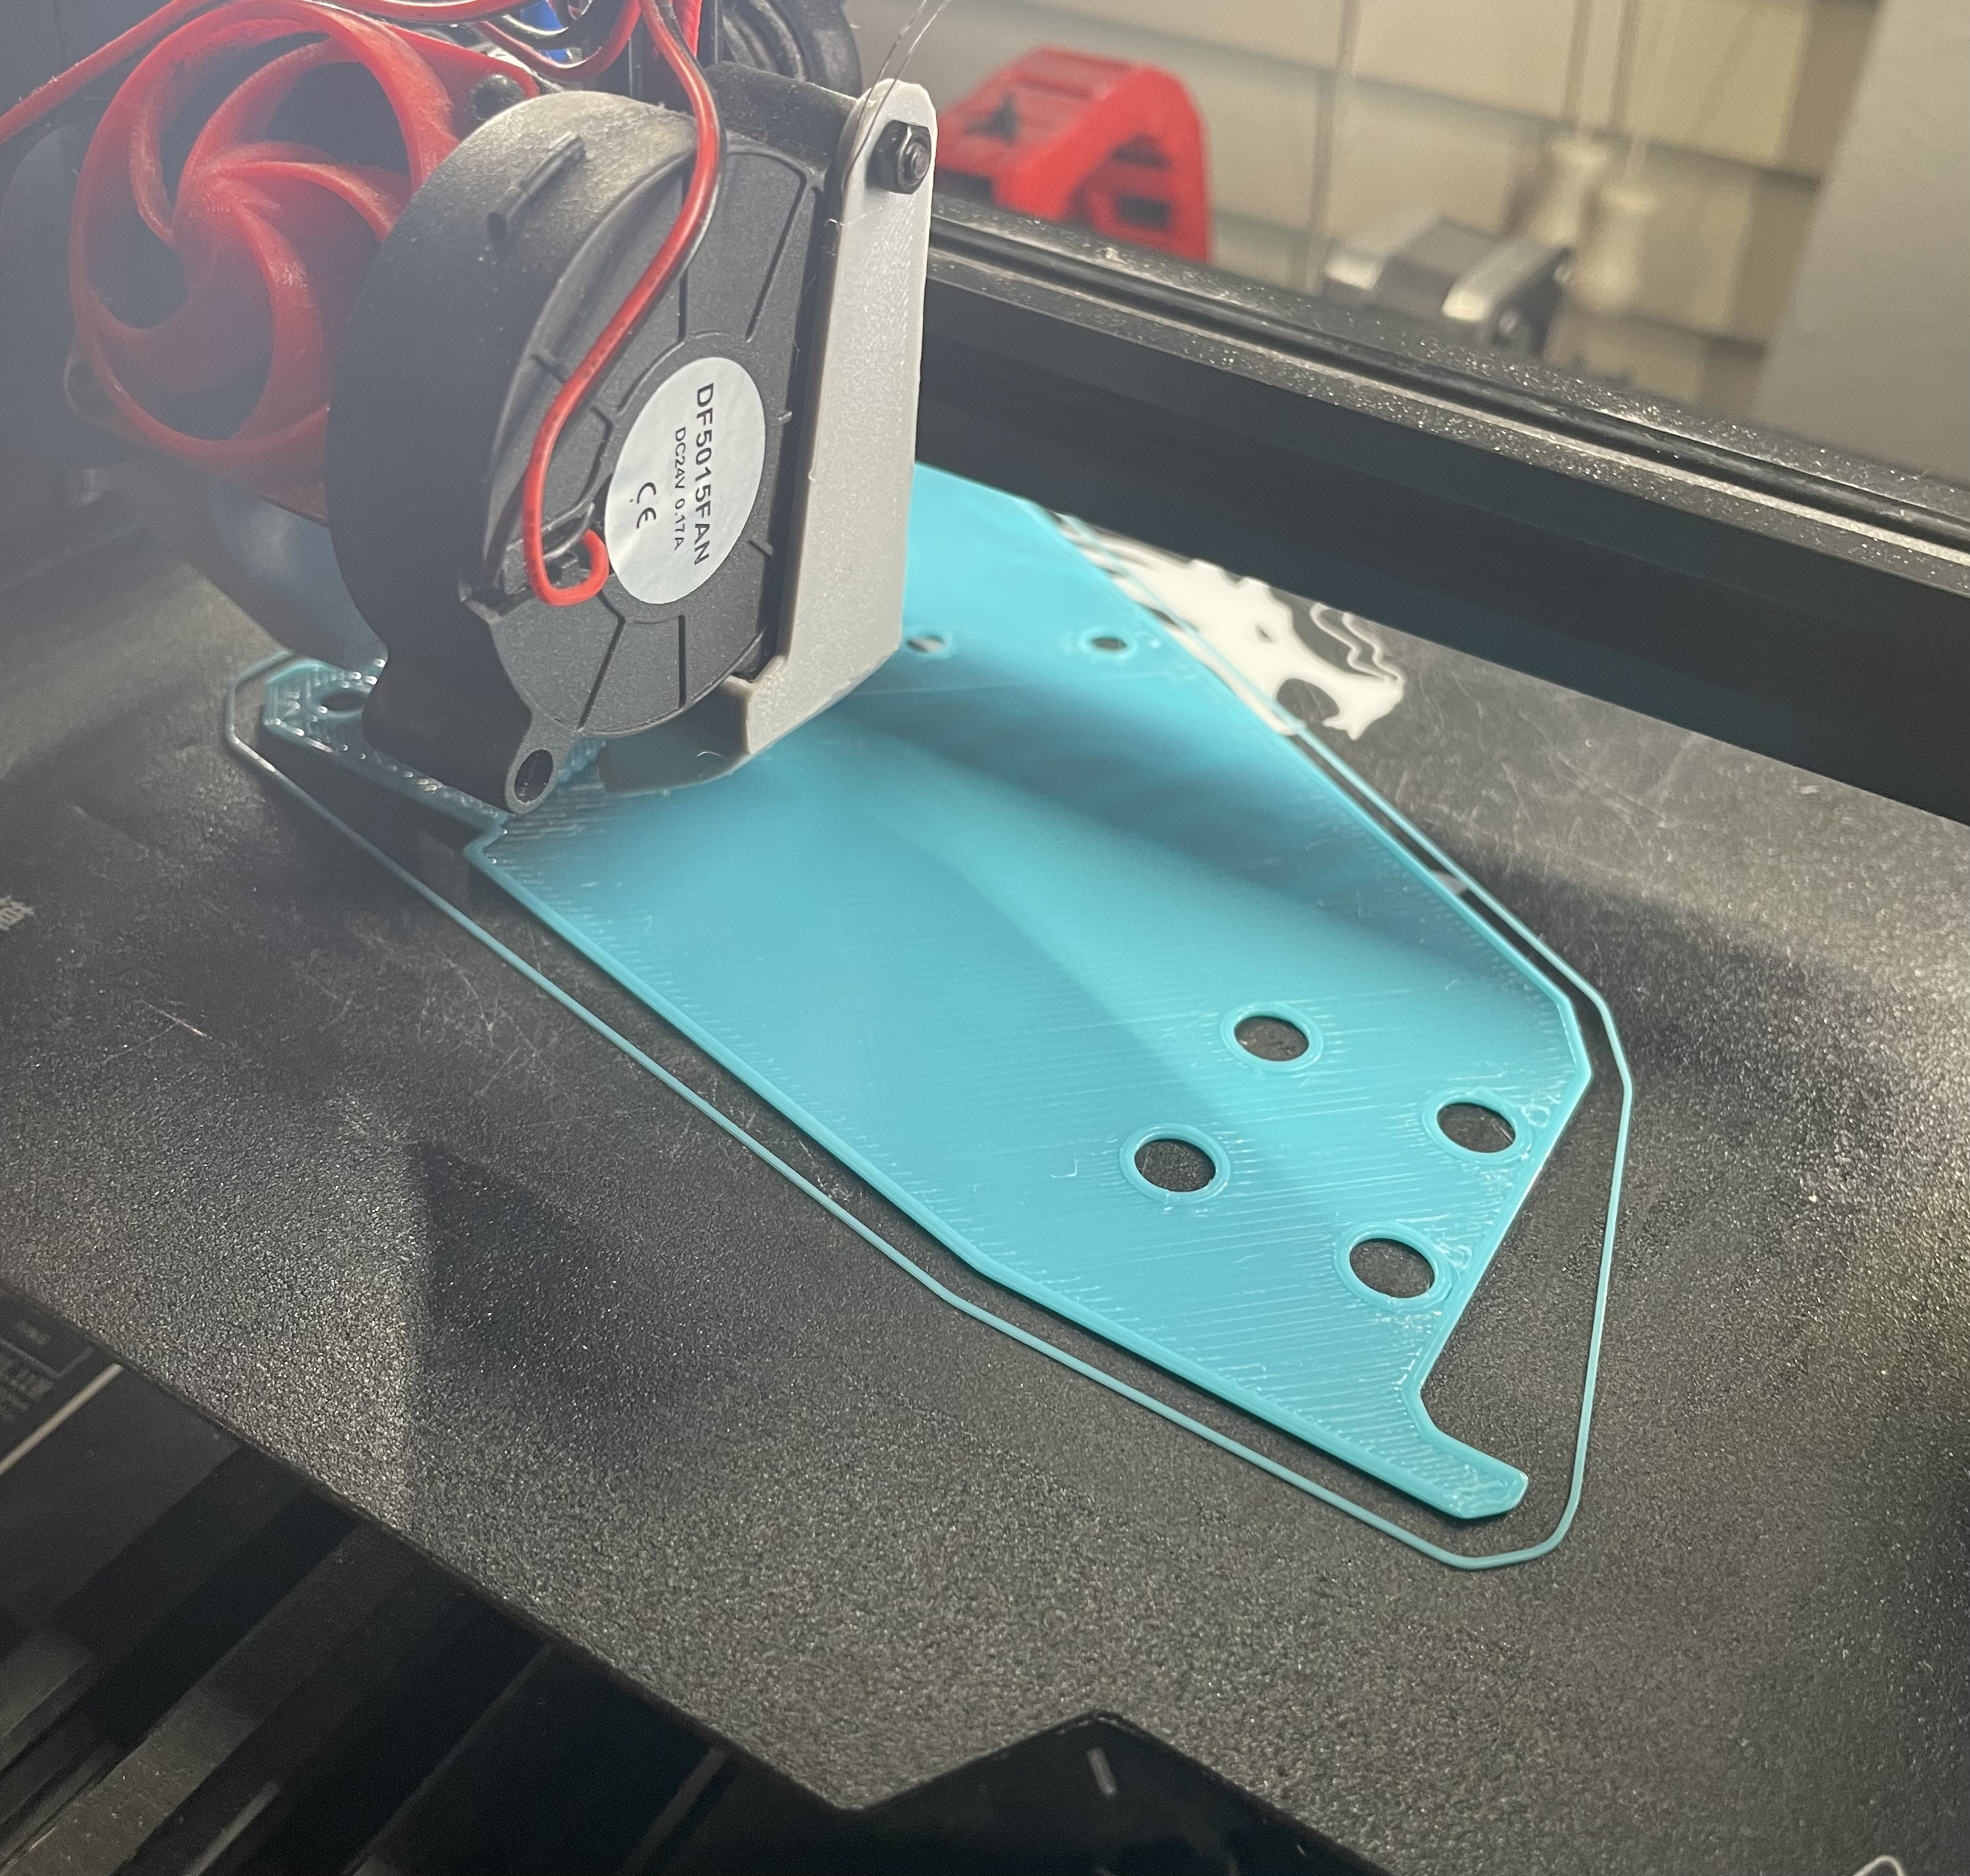
Ok, so I decided to try to make some progress on the build and started assembling some parts…
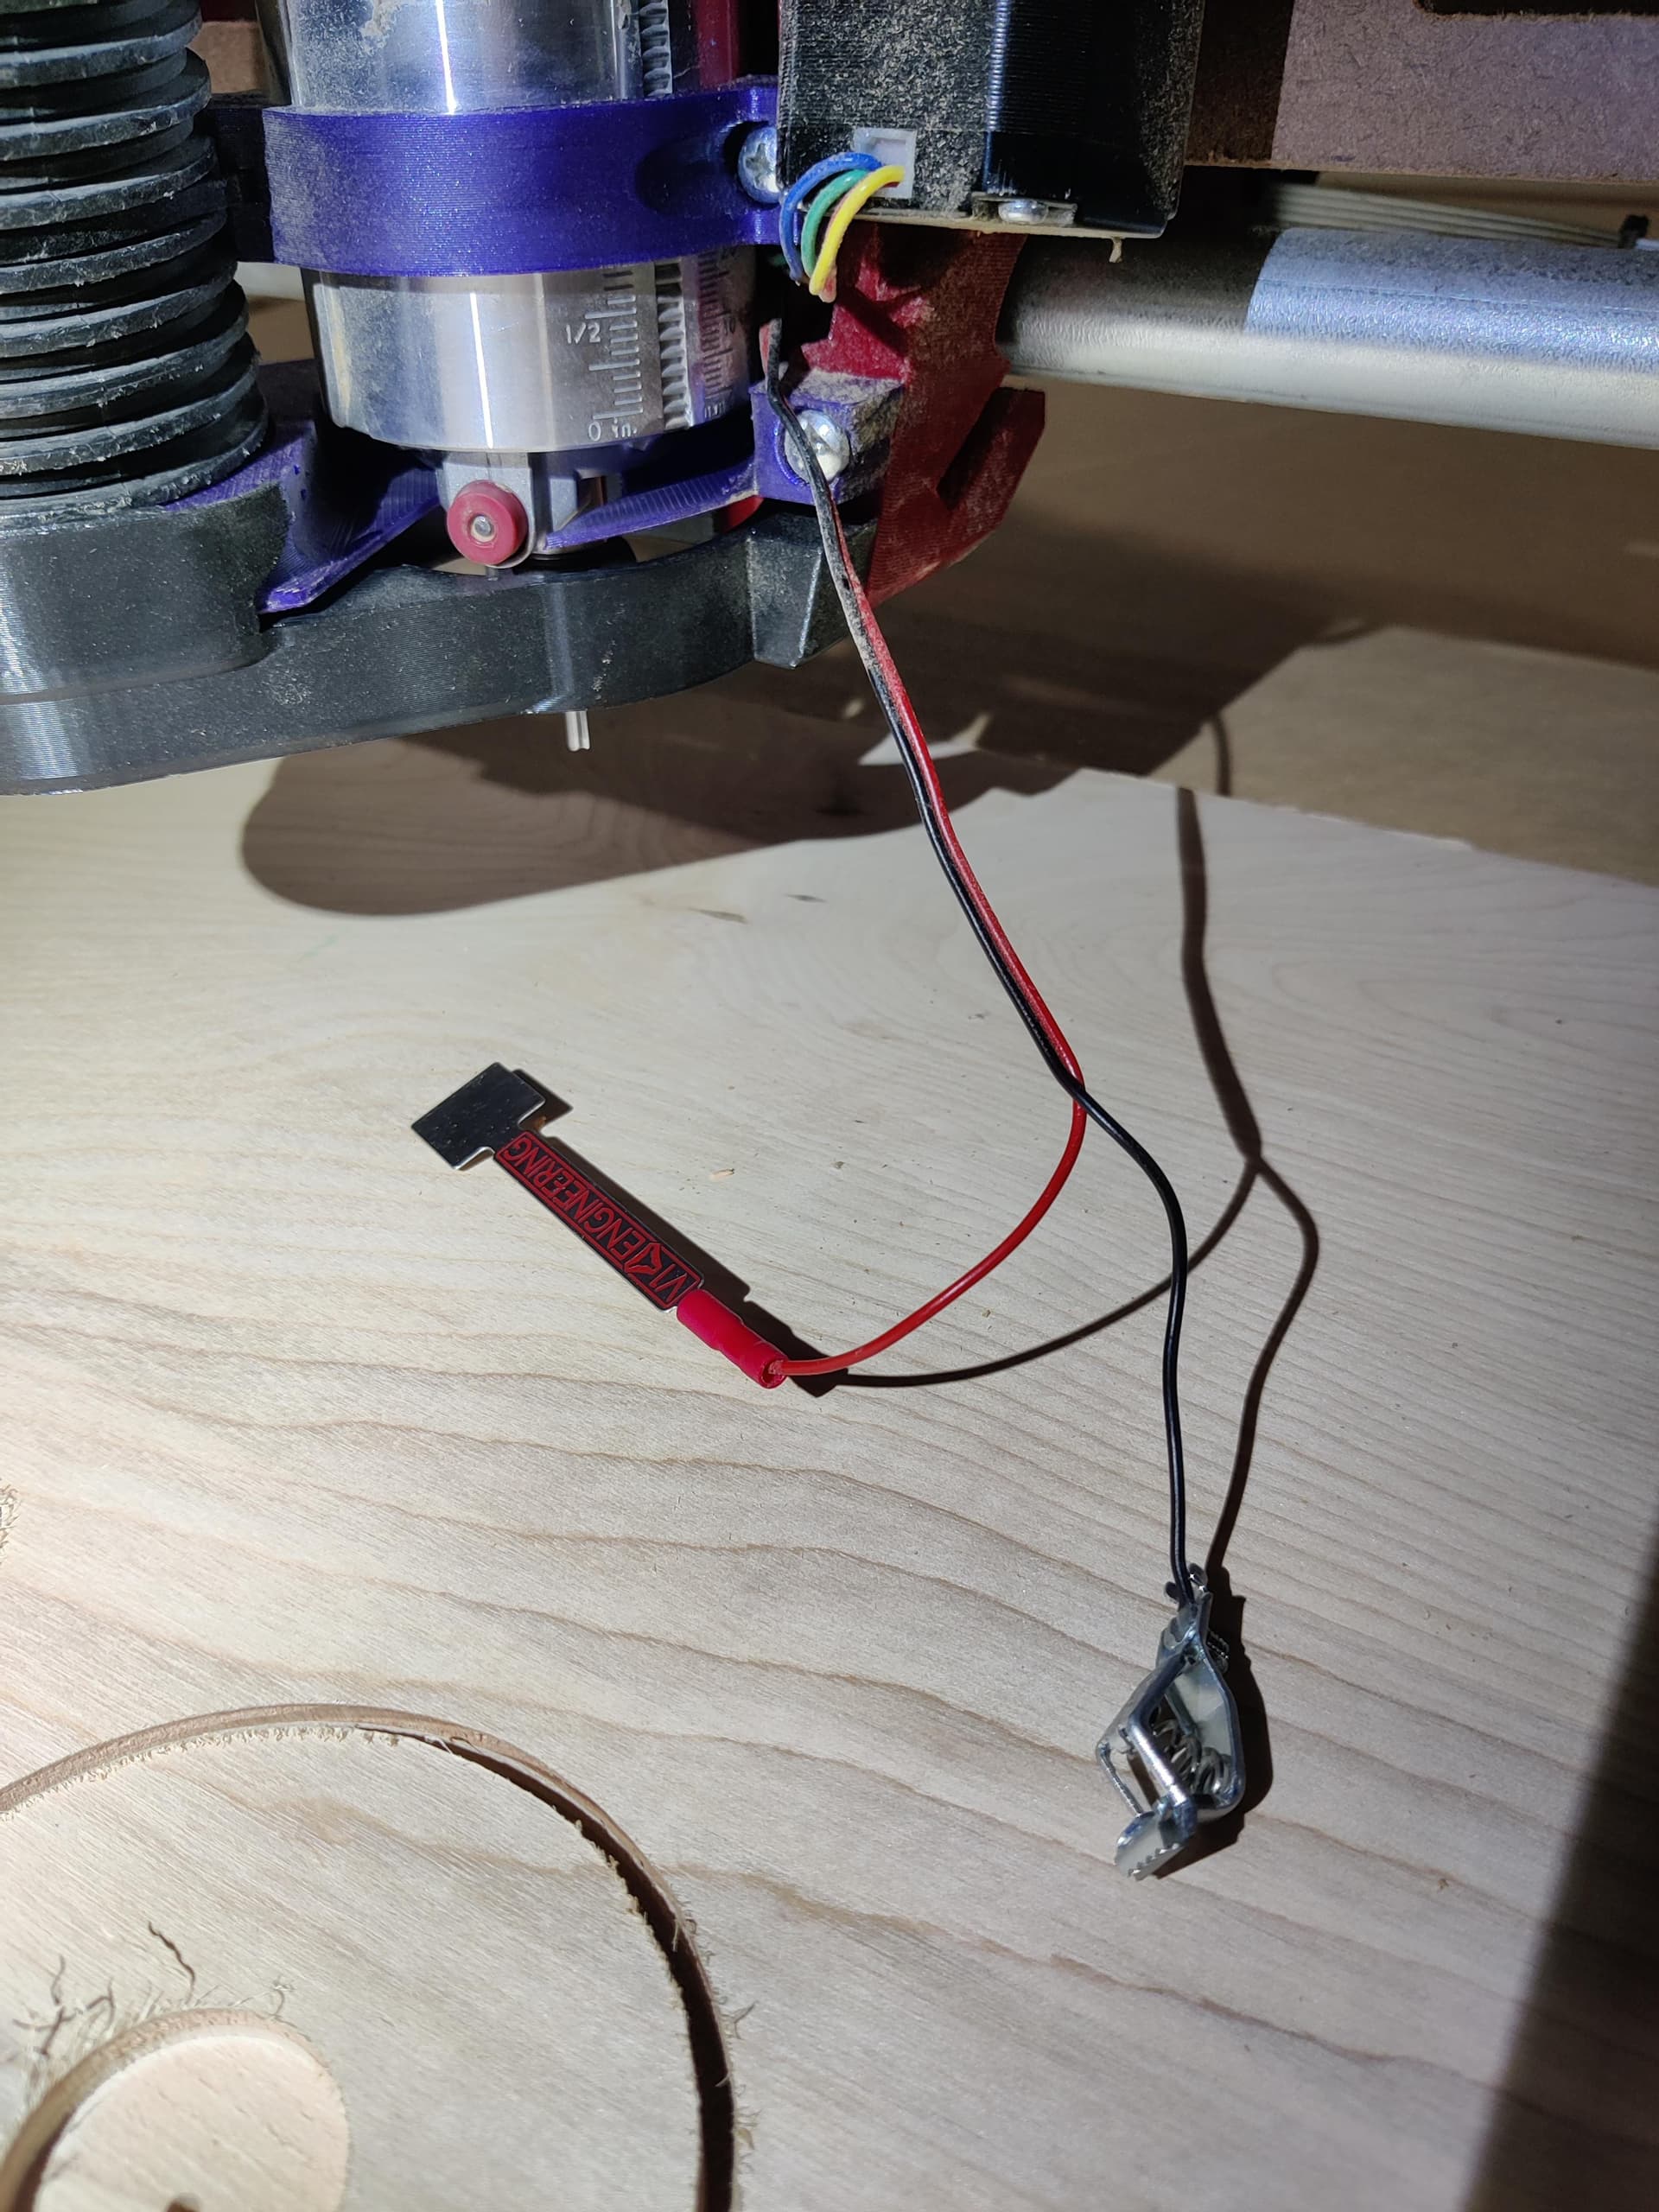
I got to the section in the documentation that says " * Now is a good time to add your touch plate wires if you are using one." and that got me thinking…
Where do I add it? The documentation is not clear as to how or where it needs to run or how much of the wire that should be left on each side…Should I just run it over the top into the zip tie and leave like 1 ft of wire there?
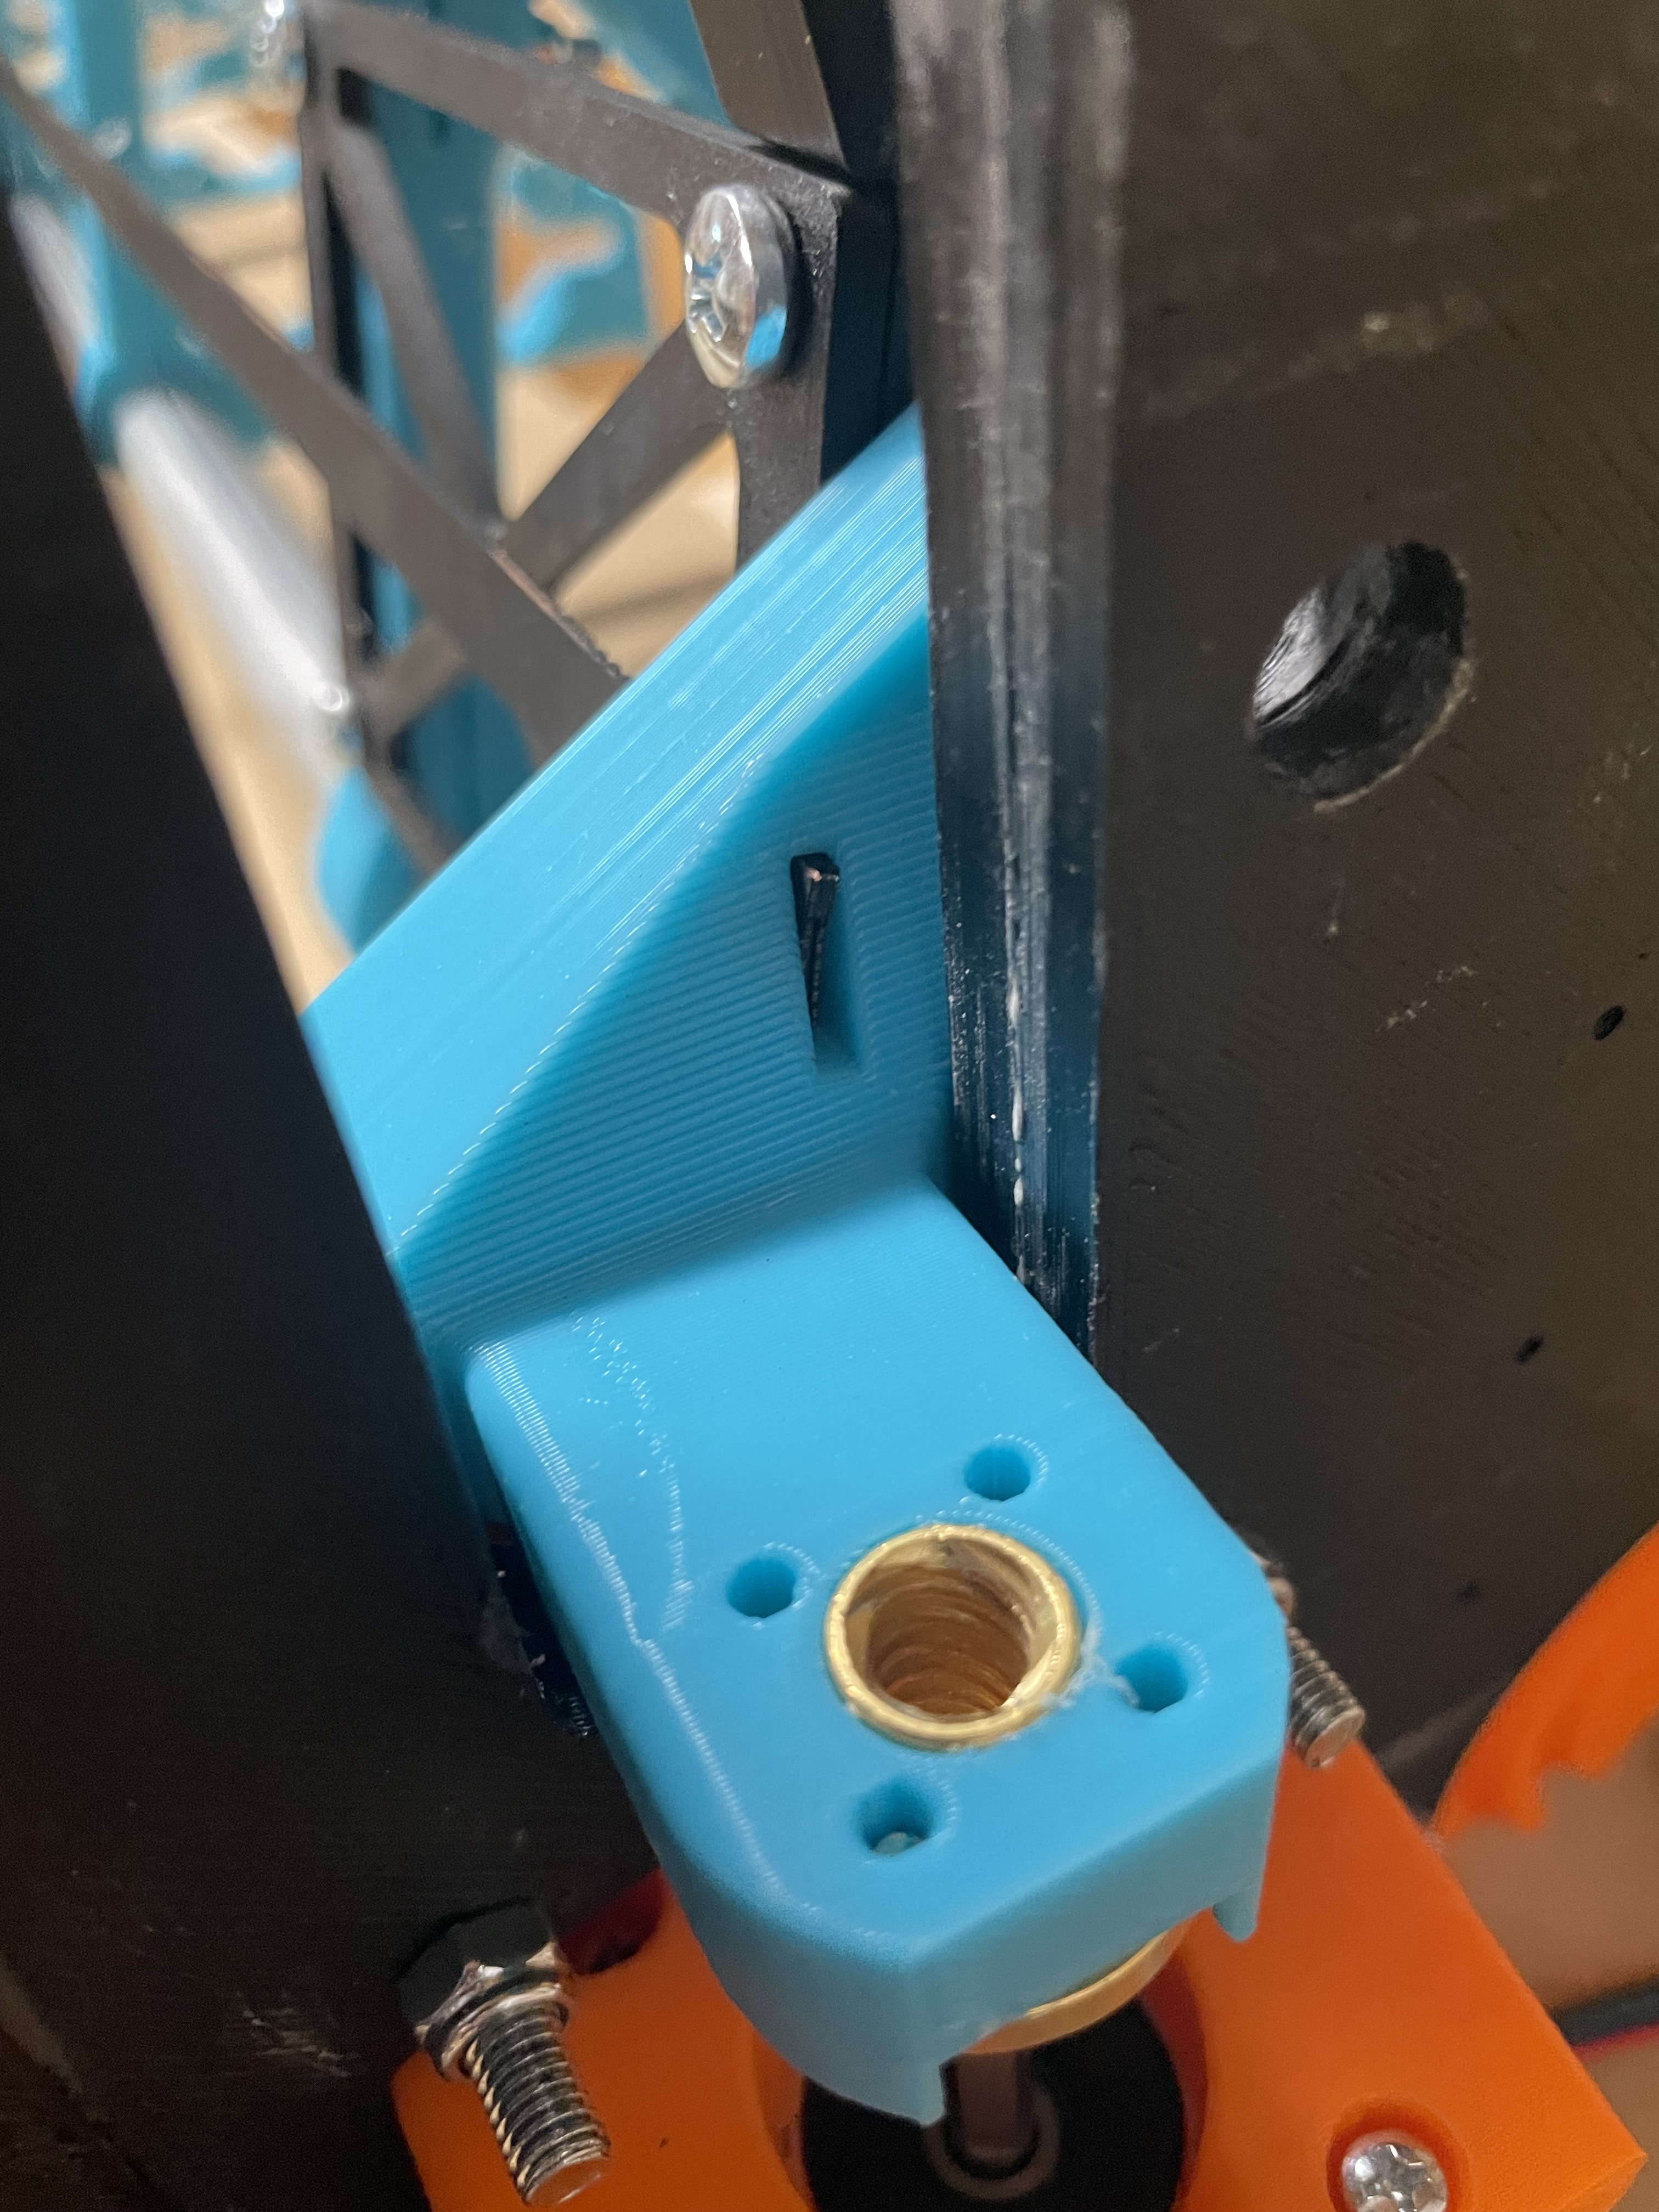
The endstops on the Y Drive are very close to the M5 nuts. Is this going to cause a problem getting the wire on? Or is it expected?
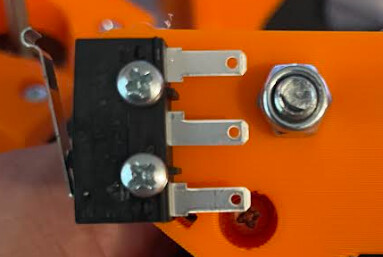
The endstop on the core is not hanging over the edge much. I can’t tell from other picture whether this is expected or not. Is this going to cause a problem or does whatever it pushes up against slide behind the core? The type of end stop in the assembly docs is different than what I received, and seems to stick out further than this one

1 Like
Both cases look OK to me.
The Y stops arw fine as long as you can get the wires attached, and the X stop bumps against the X.belt adjuster.
1 Like
Note to self:
Buy wire strippers for 28 AWG wire…( let’s just say my wires might not be quite as long as they once were…![]() )
)
2 Likes
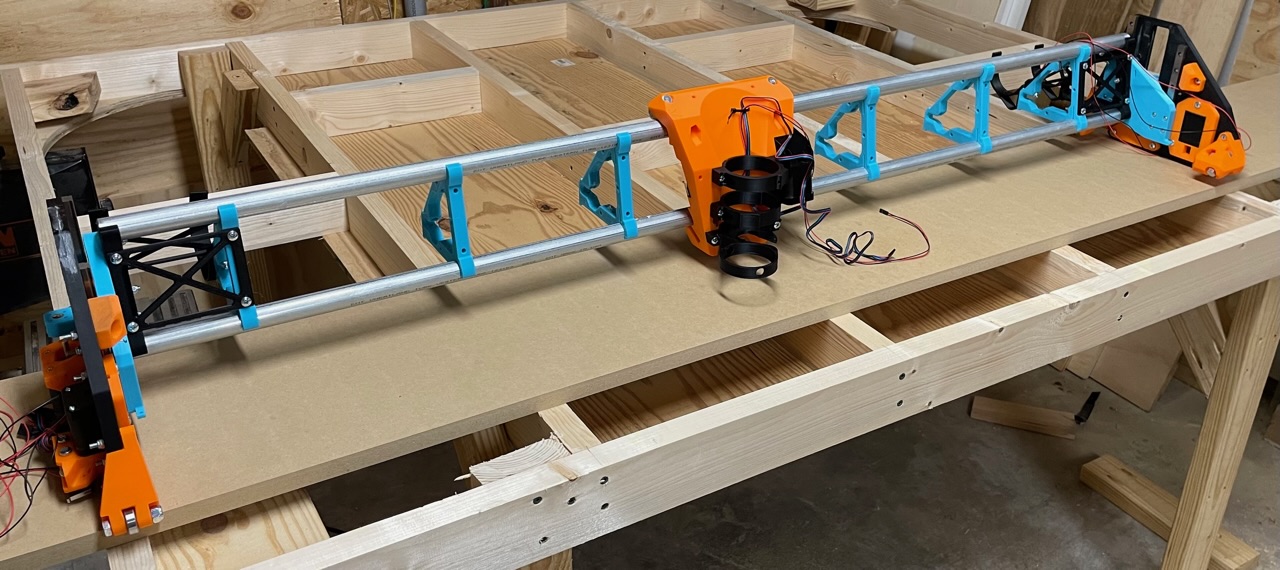
Ok….side plates complete-ish
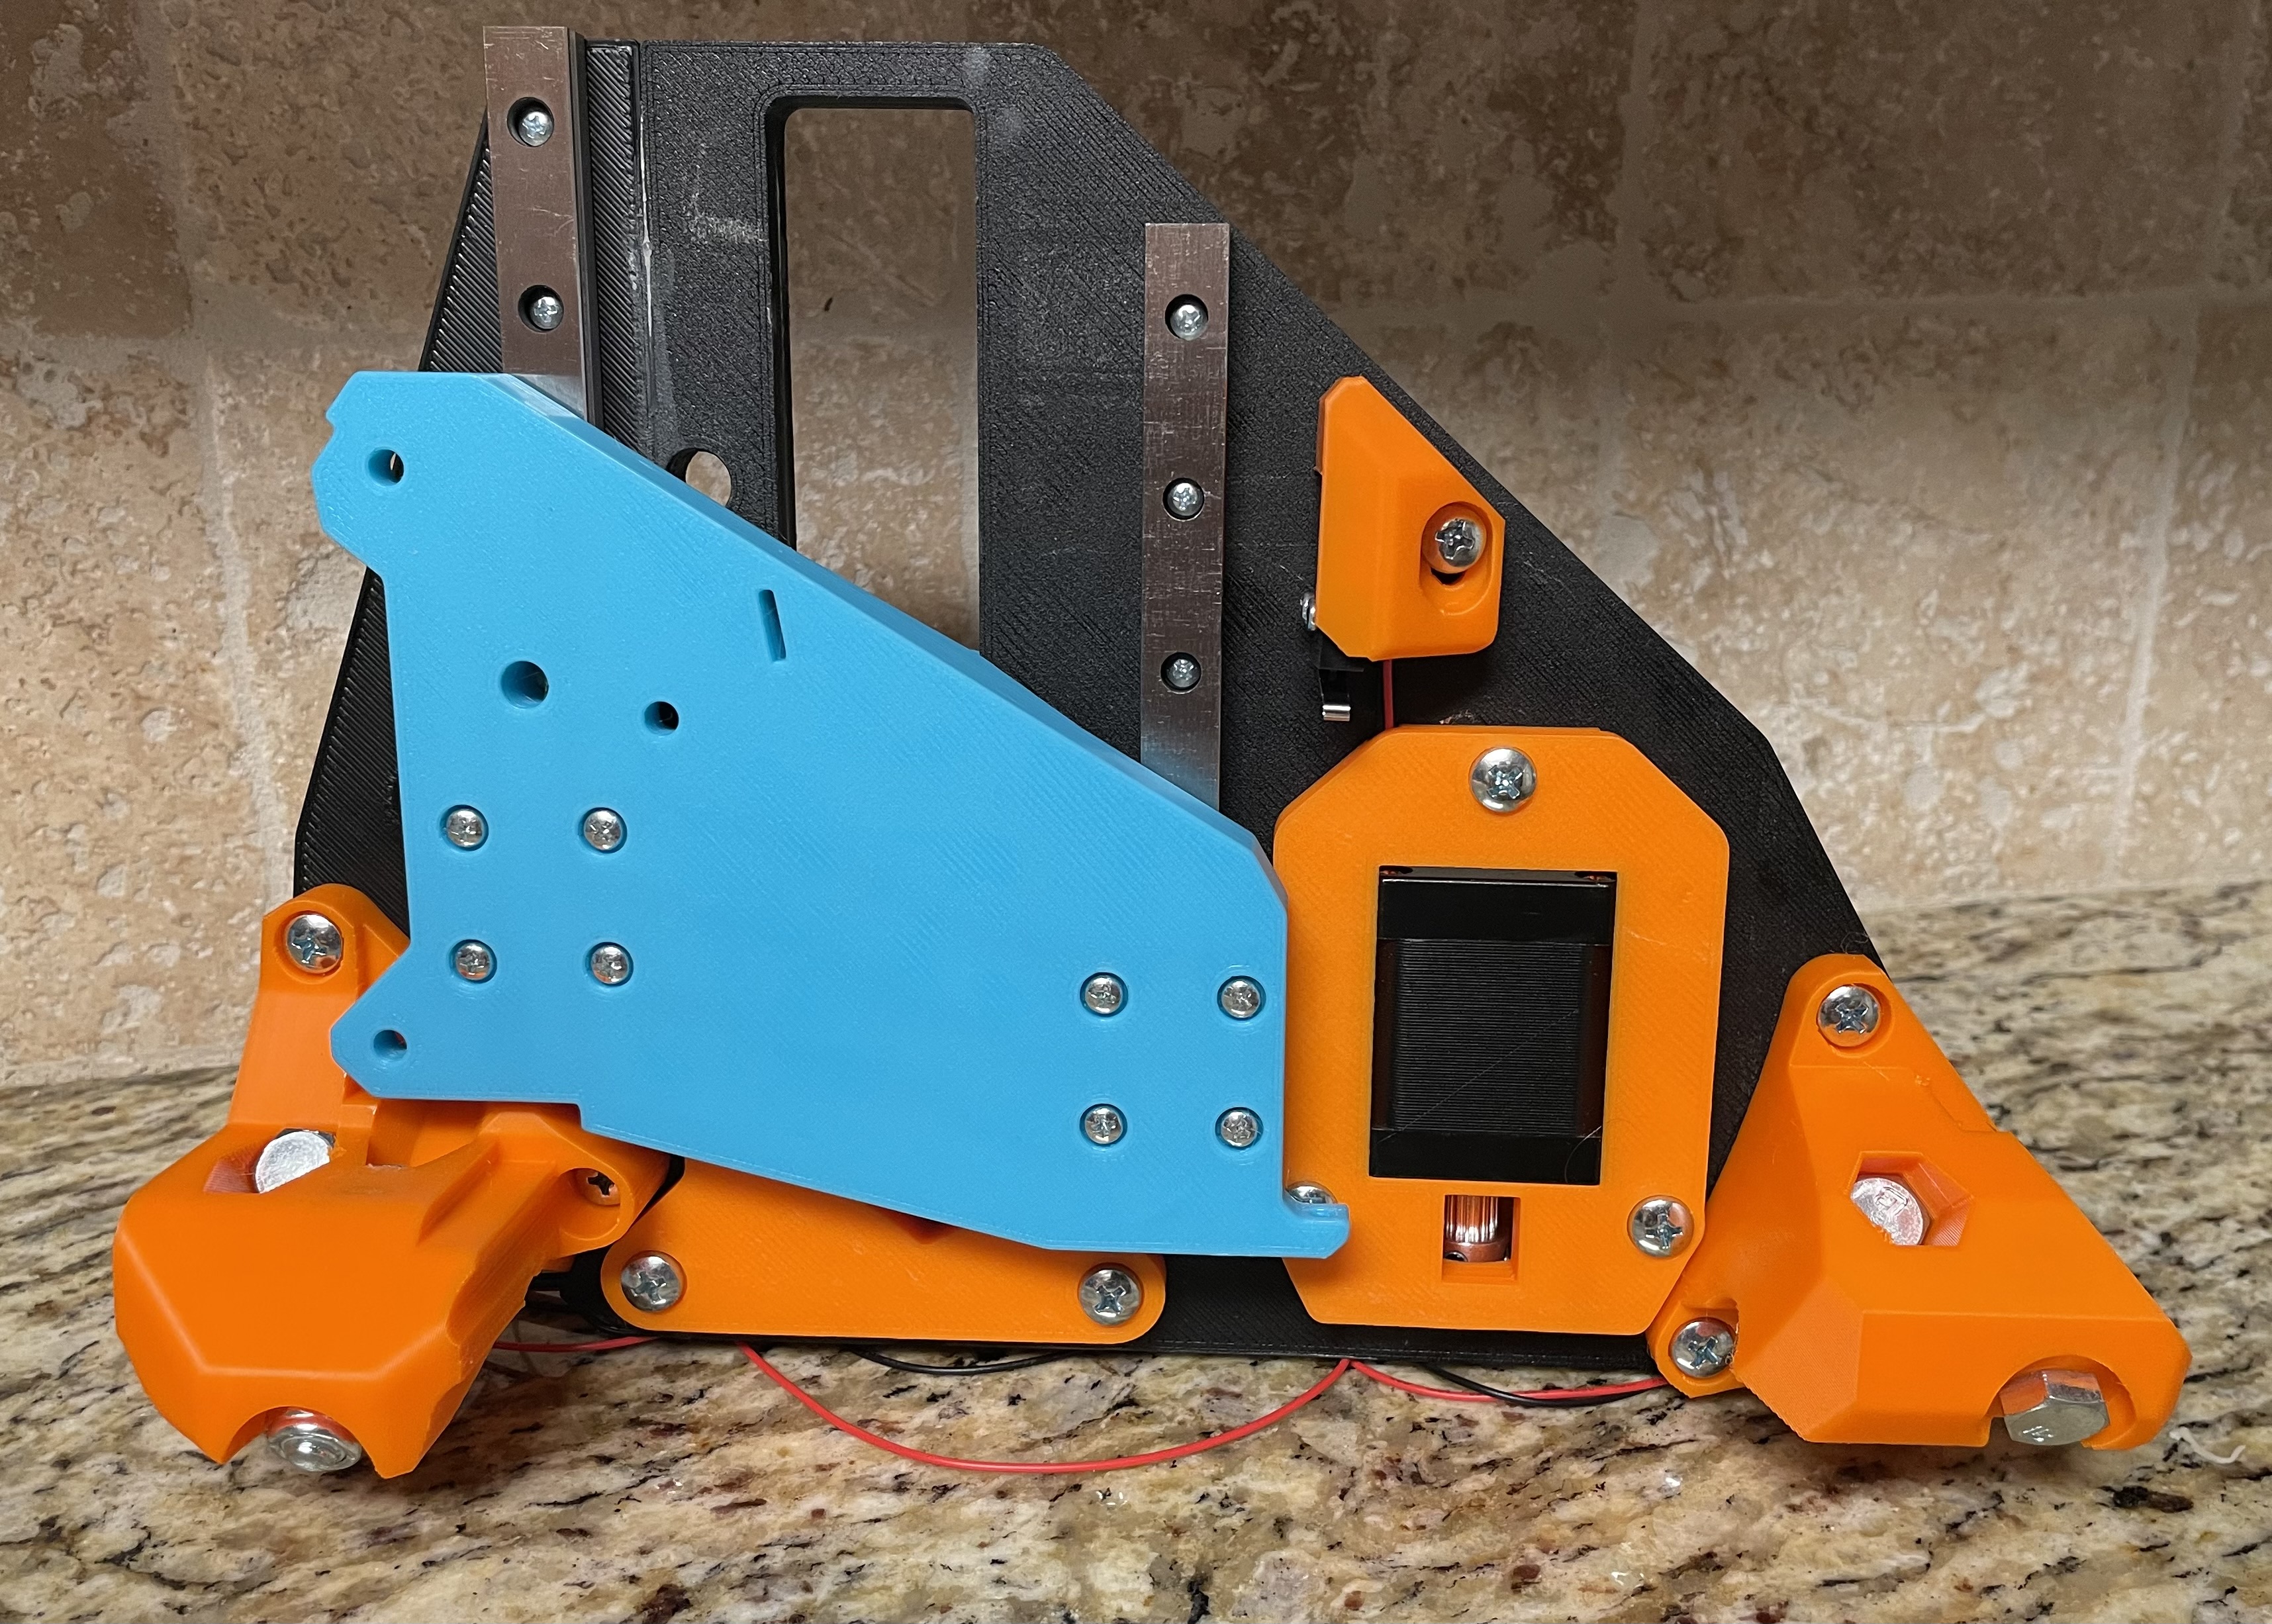
I can’t find my zip ties at the moment, and I lost one of my M3 screws somewhere for the linear rail, but I may or may not have still made motor noises when I rolled them as “complete”
7 Likes
For the LR3, that motor noise is the “pre-crown” milestone of your build. They’ll still be the oohing and aahing when you get the gantry put together, but the next “big” step is the crown, then your “real” side plates and gantry rails (or vice-versa, if your temp plates are holding up fairly well).
3 Likes
You can run it alongside the X motor and endstop wires. You need enough to reach to the workpiece under your bit. If using the V1 provided touchplate kit you will have to extend it on the controller side anyway.
2 Likes
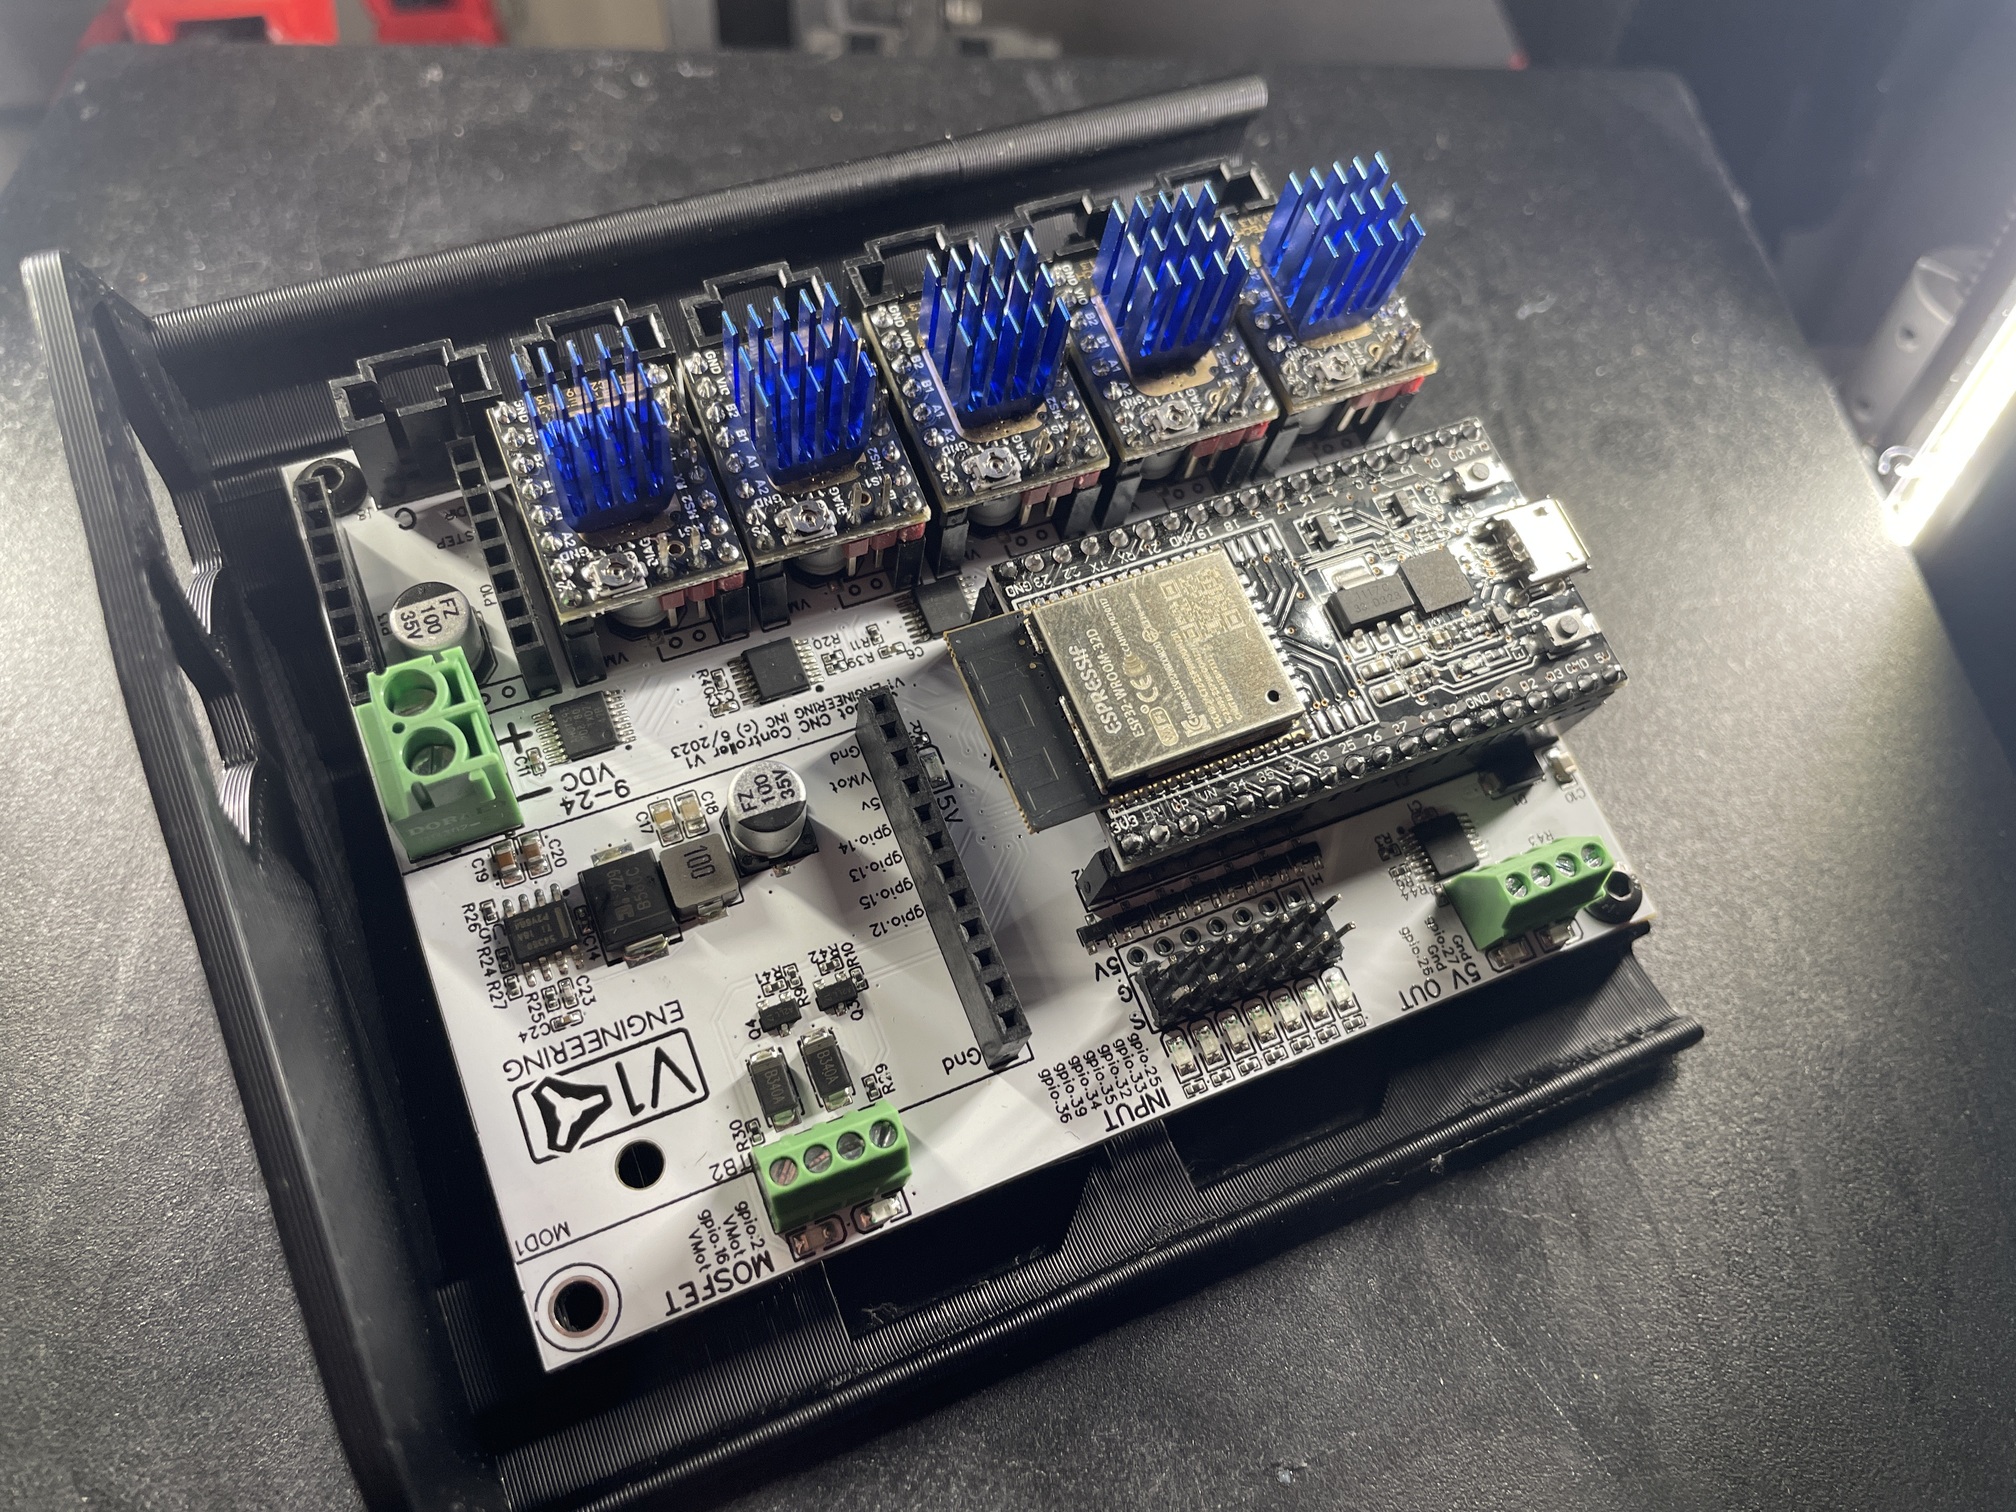
And a new Jackpot case
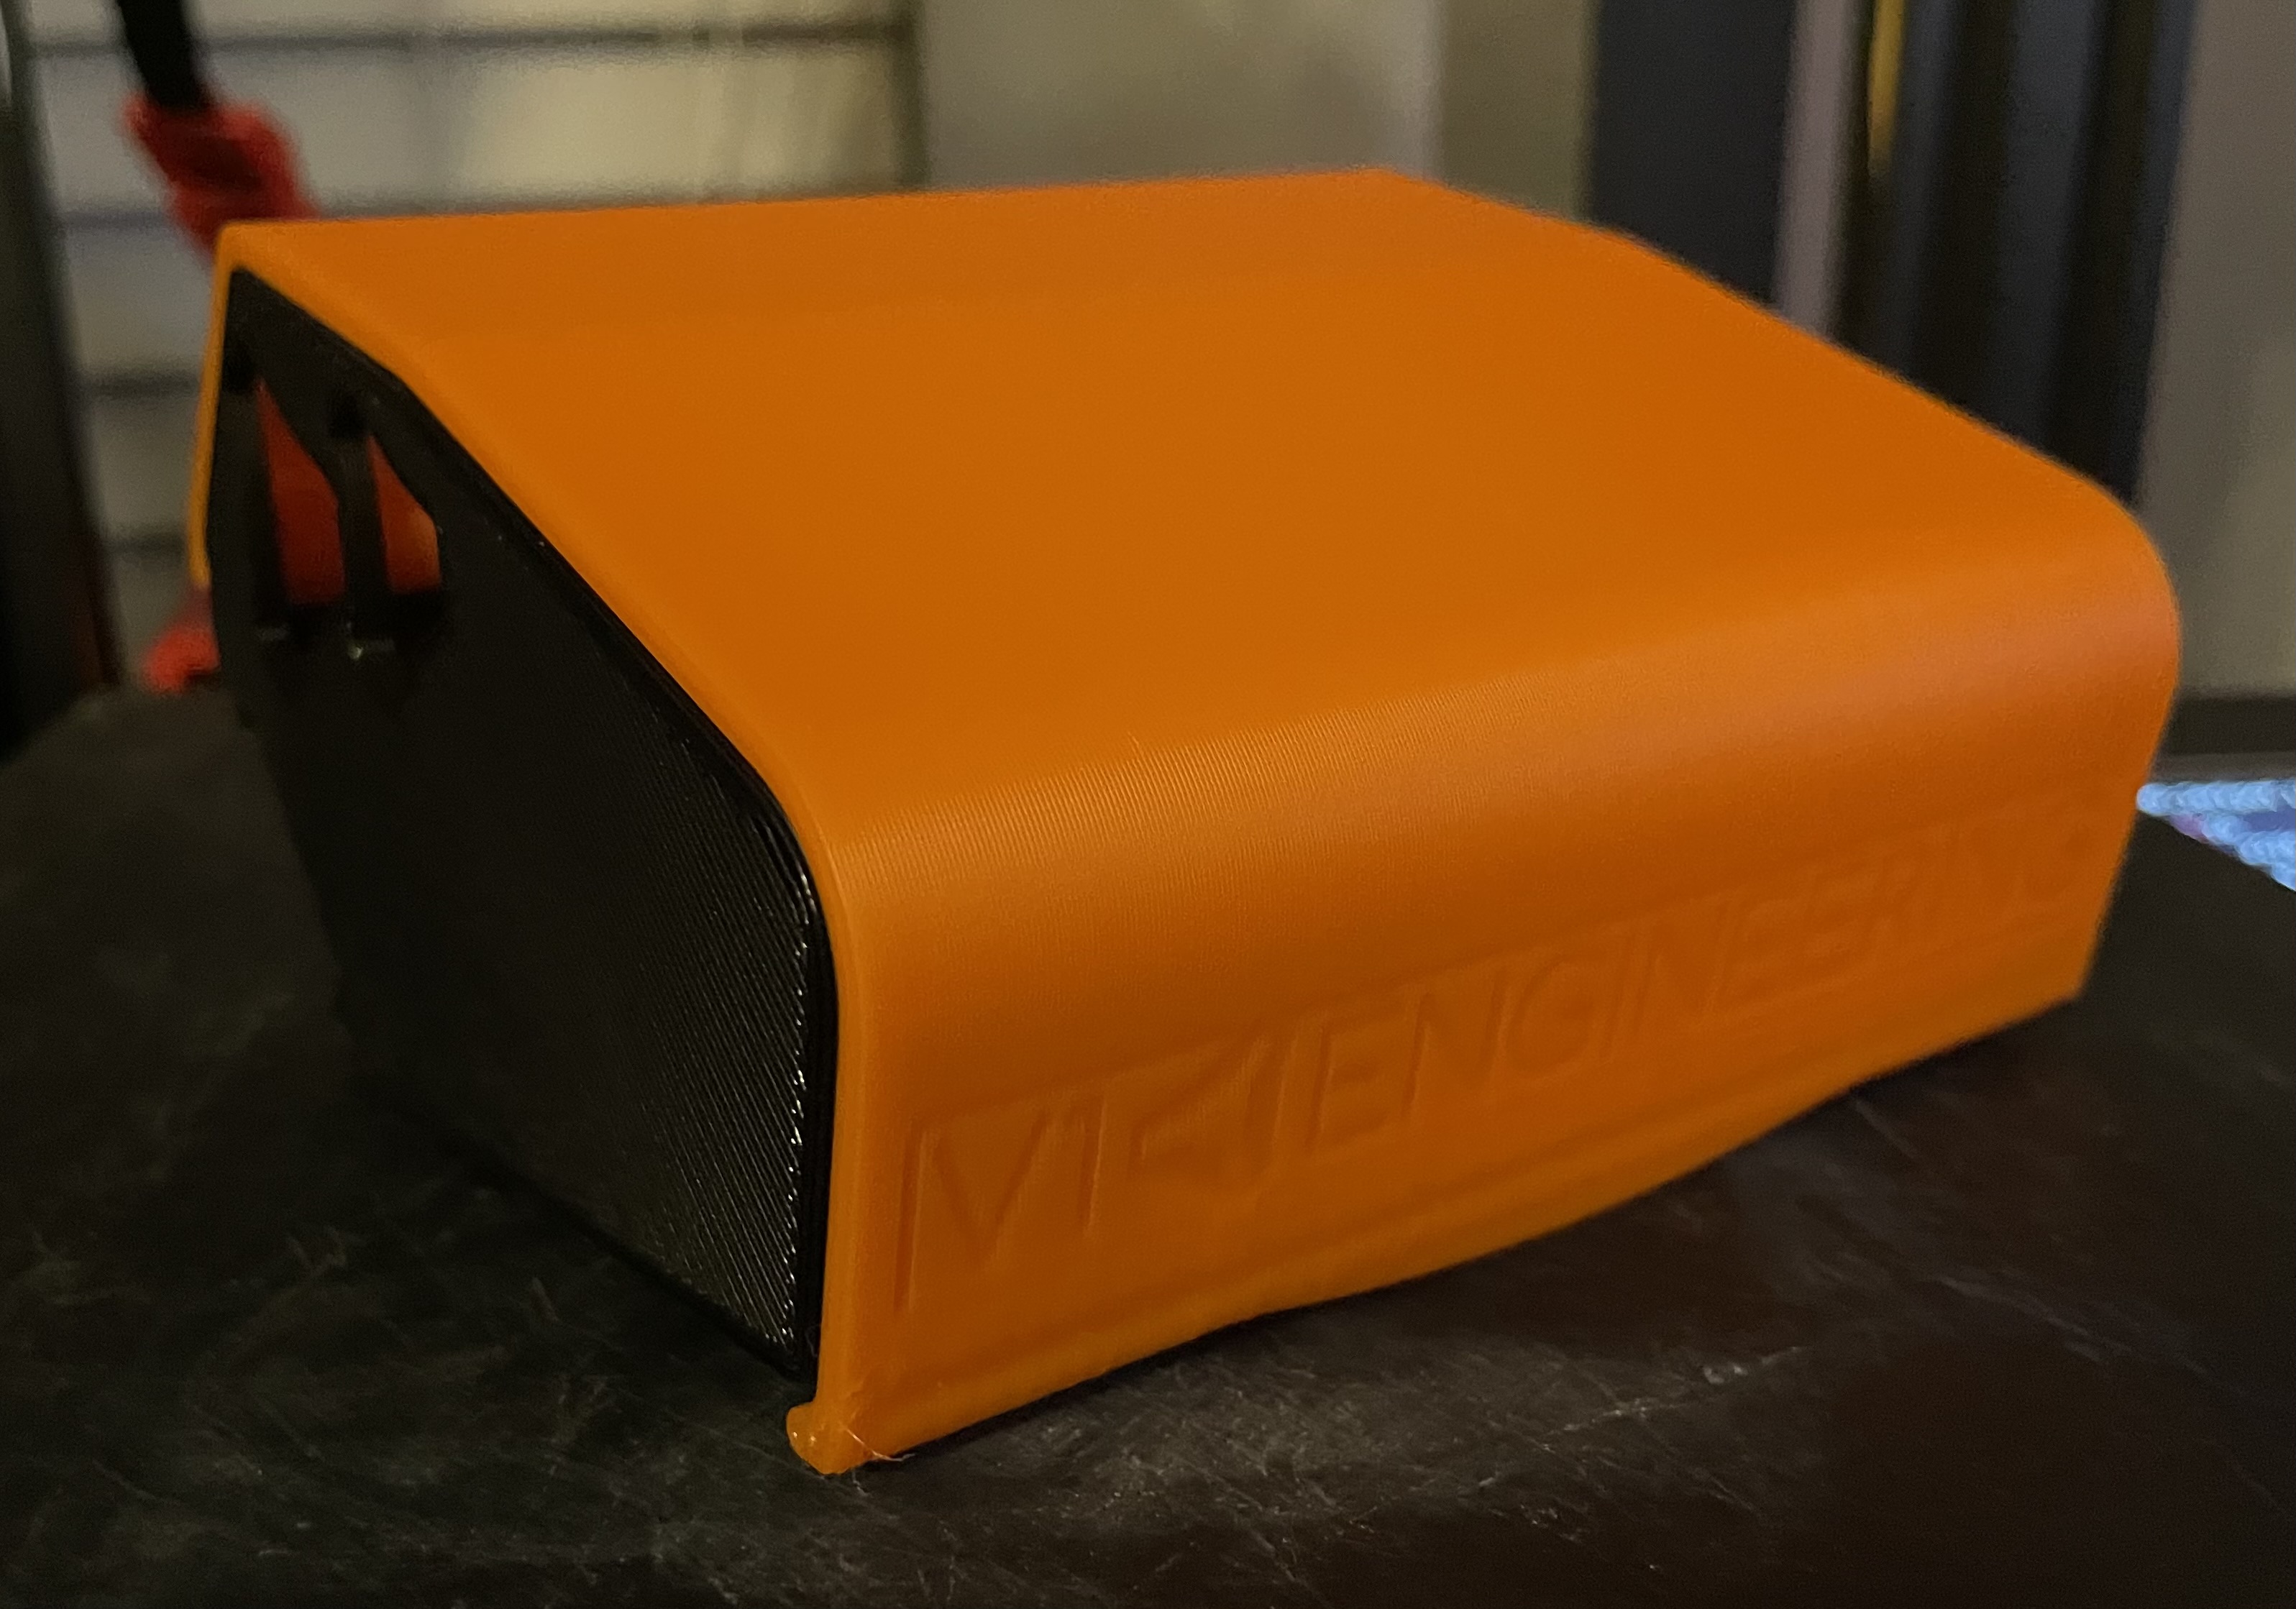
I think all essential prints are now complete.
Edit: guess I should add the money shot too…
5 Likes
Having a little trouble with X belt…
Maybe I’m putting too much tension on it? but I’m not sure how much is correct.
I first followed the instructions and attempted to fold over the end, but while adding tension it ended up pulling through the slot. So I changed to cut off a little piece of belt as it said was an option, which worked a little better, but then the belts would slip as it tightened up.
I have now glued the small strip to the end of the belt, but after tensioning it, it still seems to pull farther through than I thought it.
Re-reading the instructions, it says “set the tension just below where it makes a sound when you pluck it.”
So that sounds to me like it should be fairly loose compared to what I was thinking it should be, but that may be just from reading so many posts and people having issues with loose belts or suggesting loose belts could be a problem…
Anyone know of a video maybe that shows what I’m aiming for for belt tension?
Sounds like your printer might be oversizing that slot a little, or maybe your belts are a bit thin. I can barely get my belt into the slot on the X stub, let alone pull it through.
Before re-printing though, try folding the belt end over, and put something in the fold, say a short piece of a toothpick or bamboo skewer. For bonus points, you can leave the segment about 14mm long so it sticks out a couple of mm on either side of the belt. You should not be able to pull that through.
On mine, the stub passes very close to the YZ plate, so anything sticking out like that would interfere with homing the Z axis. I think the printed XZ plates left more room.
This was going to be my next try if this doesn’t hold, I almost asked in the last message if that would be ok.
I would be surprised. Everything else on all of my printed parts are exact, very snug fits. All of the captive spots for the nuts were very tight fits.
I got my belts from Ryan and they are a bit thinner than yours. Mine are 1.3mm thick single-layer, and folded over with compression they are only 1.8mm. As I was typing this I went and checked the model, and the slot is exactly 1.8mm wide, so I guess I will just go ahead with the toothpick and get ahead of it and avoid future problems.
It would still be good to get a handle on the expected tension also.
1 Like
What slicer did you use when preparing to print those parts?
I’ve had problems where Cura in particular would make holes (Nut traps) smaller than designed, and simultaneously make gaps (Slots) wider. The various slicers even have features to try and tune this.
I’m not sure if that’s your issue, but comparing the part model with a measurement of the feature on your part would give some more insight. Have pictures to share of the belt in the slot? I believe this is a really common problem.
Prusaslicer
That’s the doubled-over belt that got sucked in.
Edit: I just went and checked and my calipers show the slot opening dead-on to the XZ plate STL
2 Likes
Ok……so I guess I lied….
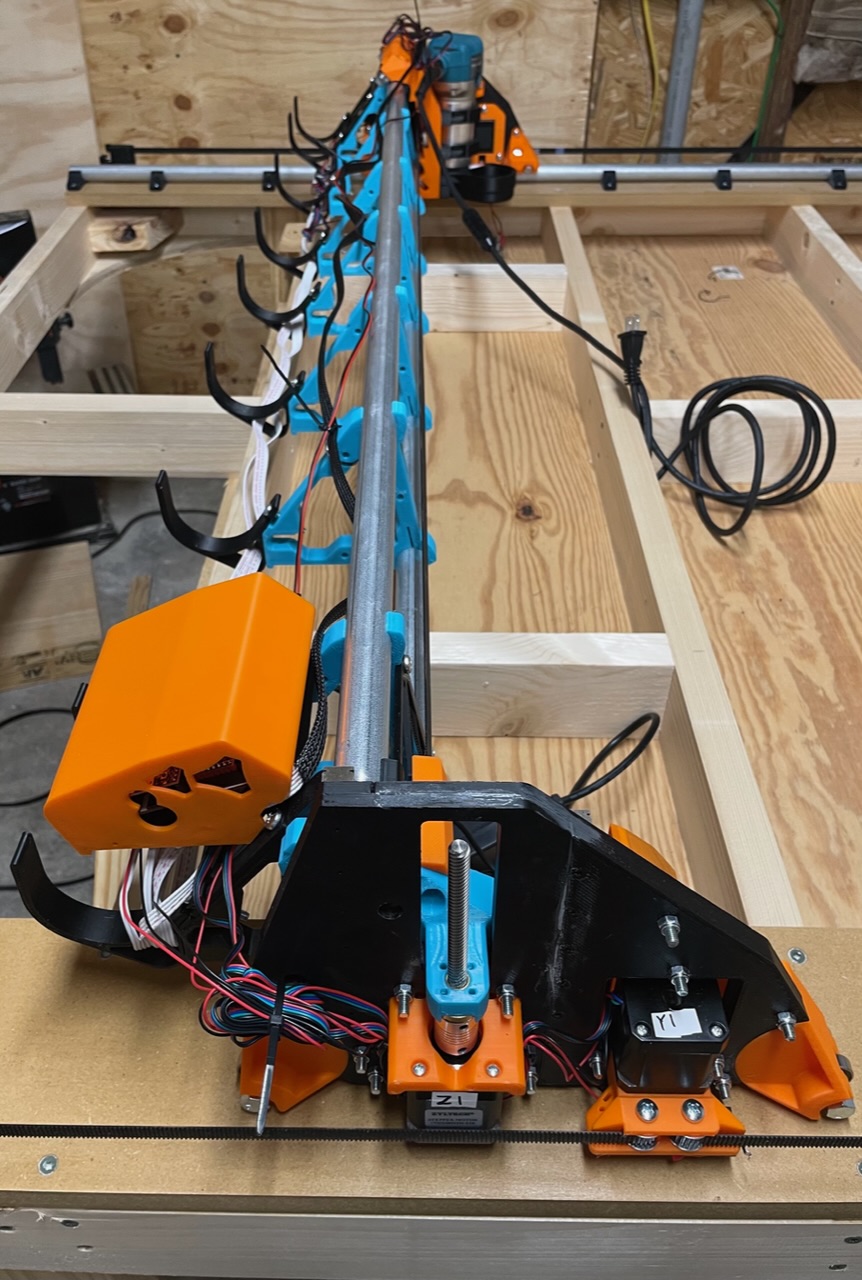
It’s not “done”, but it’s way farther than I thought I’d be at this point. I am loading up an SD card right now with the config, and at least should be able to drive it around hopefully and test all the stops, etc tonight.
6 Likes

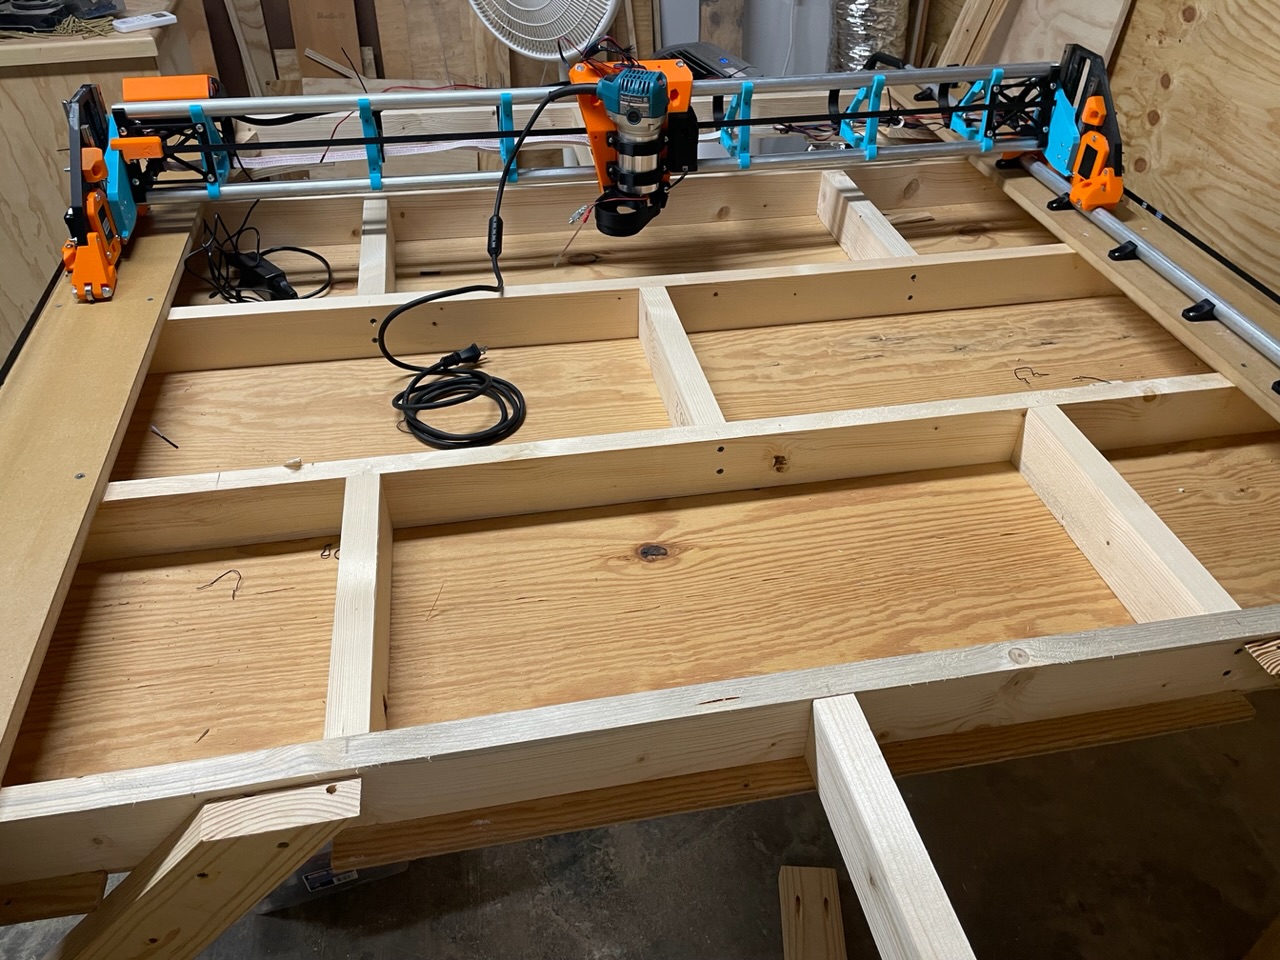
It’s ALIVE!!
Wiring is temporary, Will clean it up a bit before I cut the strut plates, and then finalize after the strut plates are on.
I’ll probably go grab a sheet of MDF for that middle section spoilboard tomorrow
4 Likes
Just saying…
A torsion box is extra rigid when joined to a top and bottom skin. Sitting a spoilboard on top, even if it’s screwed down in a few locations is nowhere near as strong as even a thin skin glued and screwed down.
As such, even something like 1/8" plywood glued down to the top surface will do wonders to keep the top of that table nice and flat, and I highly recommend that. Put the spoilboard on top of that. It would be well worth the effort.
3 Likes
Ok. Crown test complete.

A little odd, you can see at 0:44-ish, the machine pauses for a second or two before continuing on. I ran it twice and it did the same thing in both times.
First impressions of FluidNC web interface is that it’s kind of a pain if you don’t have a dedicated device. I only had my phone with me, and when I switched back from video, I had to fully disconnect from the AP and connect again to be able to control it.
The web UI is setup so that it’s like a gateway that auto pops up when you connect. So you can’t easily switch back and forth between web control and a different app from an iOS device.
2 Likes