LR2-LR3 The Longest Conversion (AUS)

I was thinking it could be made by the ACM folding technique from a few weeks ago. The geometry looks nice for that. But I bet the tolerances are too tight.

1 Like

I started thinking about this with the LR2 - my original concept was to use ACM panels for the larger parts and slot into a printed surround, and I did some preliminary studies for the LR3 too.

There are not too many concepts I haven’t thought about or even attempted to draw, but the “buildability” issues always defeated me. I stepped the face to reduce the bulk, but without that step it gets a lot easier to build.

Finding a simple method of attaching the things was perhaps the most challenging part - I think the solution I now have will be reliable for the long term.

As a bonus it would be easy to adapt to any kind of theme (like the “Enterprise” from way earlier in this thread!)

1 Like

Just for info -

The covers are attached as follows -
Mounting clips that use the rail fixing screws - with captive nuts assembly is not too fiddly unless like me you have threaded your plates! :slight_smile: Note the lip at the top, which is a 1mm deep triangle that clips into a matching groove in the cover. I think 0.3mm layer height is the maximum that will allow this clip to work, but I have allowed 0.1 clearance all round so they are pretty much a friction fit anyway.

The slots break the sides up into “springs” to allow for removal - i think if they were rigid structures they may not come apart!

The larger slot is actually a housed joint that clips both cover pieces together as well as providing fixing in an up and down direction.

If worse comes to worse and they slip and slide uncontrollably - a small screw through the clips at the top (marked in black) , and fully concealed from below will sort that - I really don’t think it’s going to be necessary though.

4 Likes

Raised is not an option as it is printed on this face.
Therefore the “stick-on” badge, which also gives some simple multi colour options - but it all gets a bit busy I think - I’ll post a “real” version later tonight because I have all the bits prepared anyway, just to get Doug’s creative juices working overtime, but I’ll stick to plan B, which is to badge the strut only.

@DougJoseph I like the version you have with the font continuing the 3 on the same line - it’s odd because I hated it when I did it in isolation originally, but it looks nicer on an actual “thing”.

1 Like

Sounds awesome! I’m anxious to see each of your posts, especially pics!

I have no idea what time it is for you, but since you are up so late (or is it early)- here are some I prepared earlier - I’ll save the text till the end so you don’t get distracted by the photos! I think it’s all smacks a bit of a '60’s Vespa in this livery! :smiley:

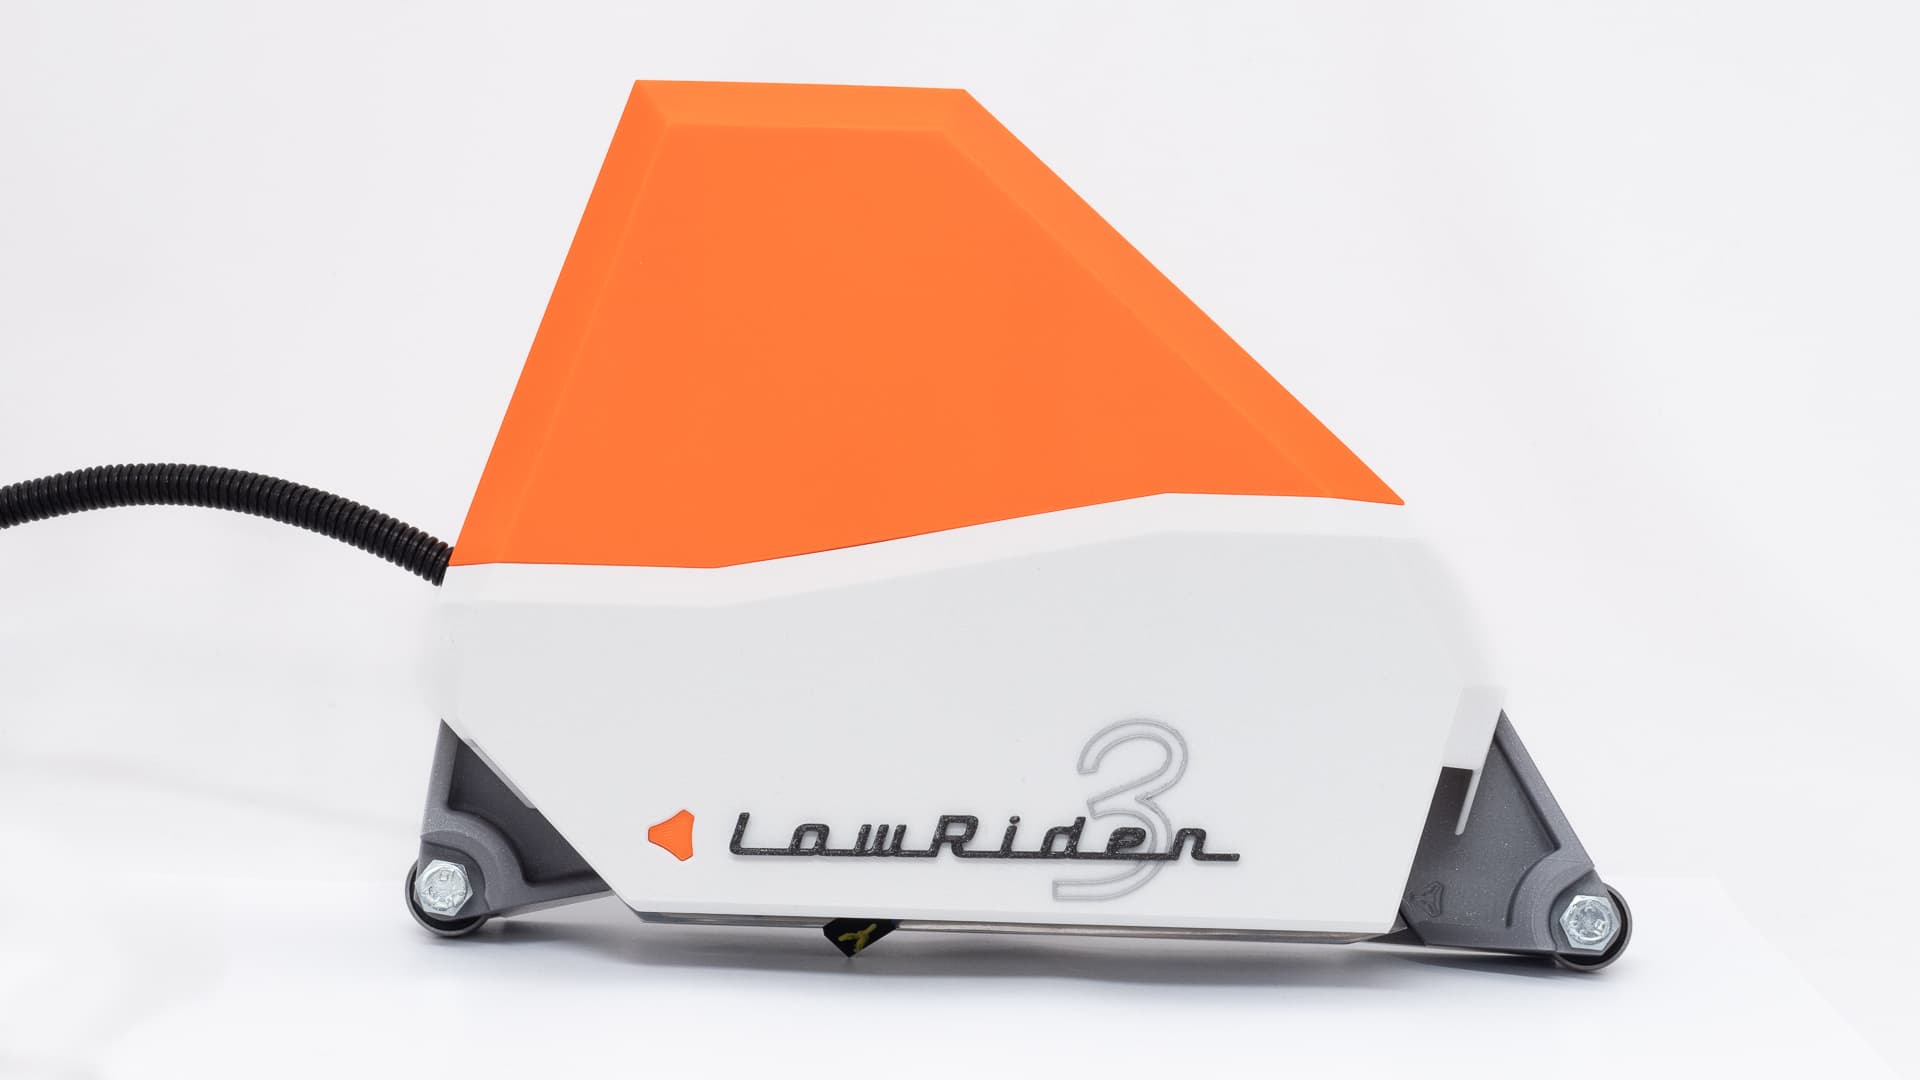
Yes that is the final top, and no it’s not the final colour even though it does look strangely stunning!

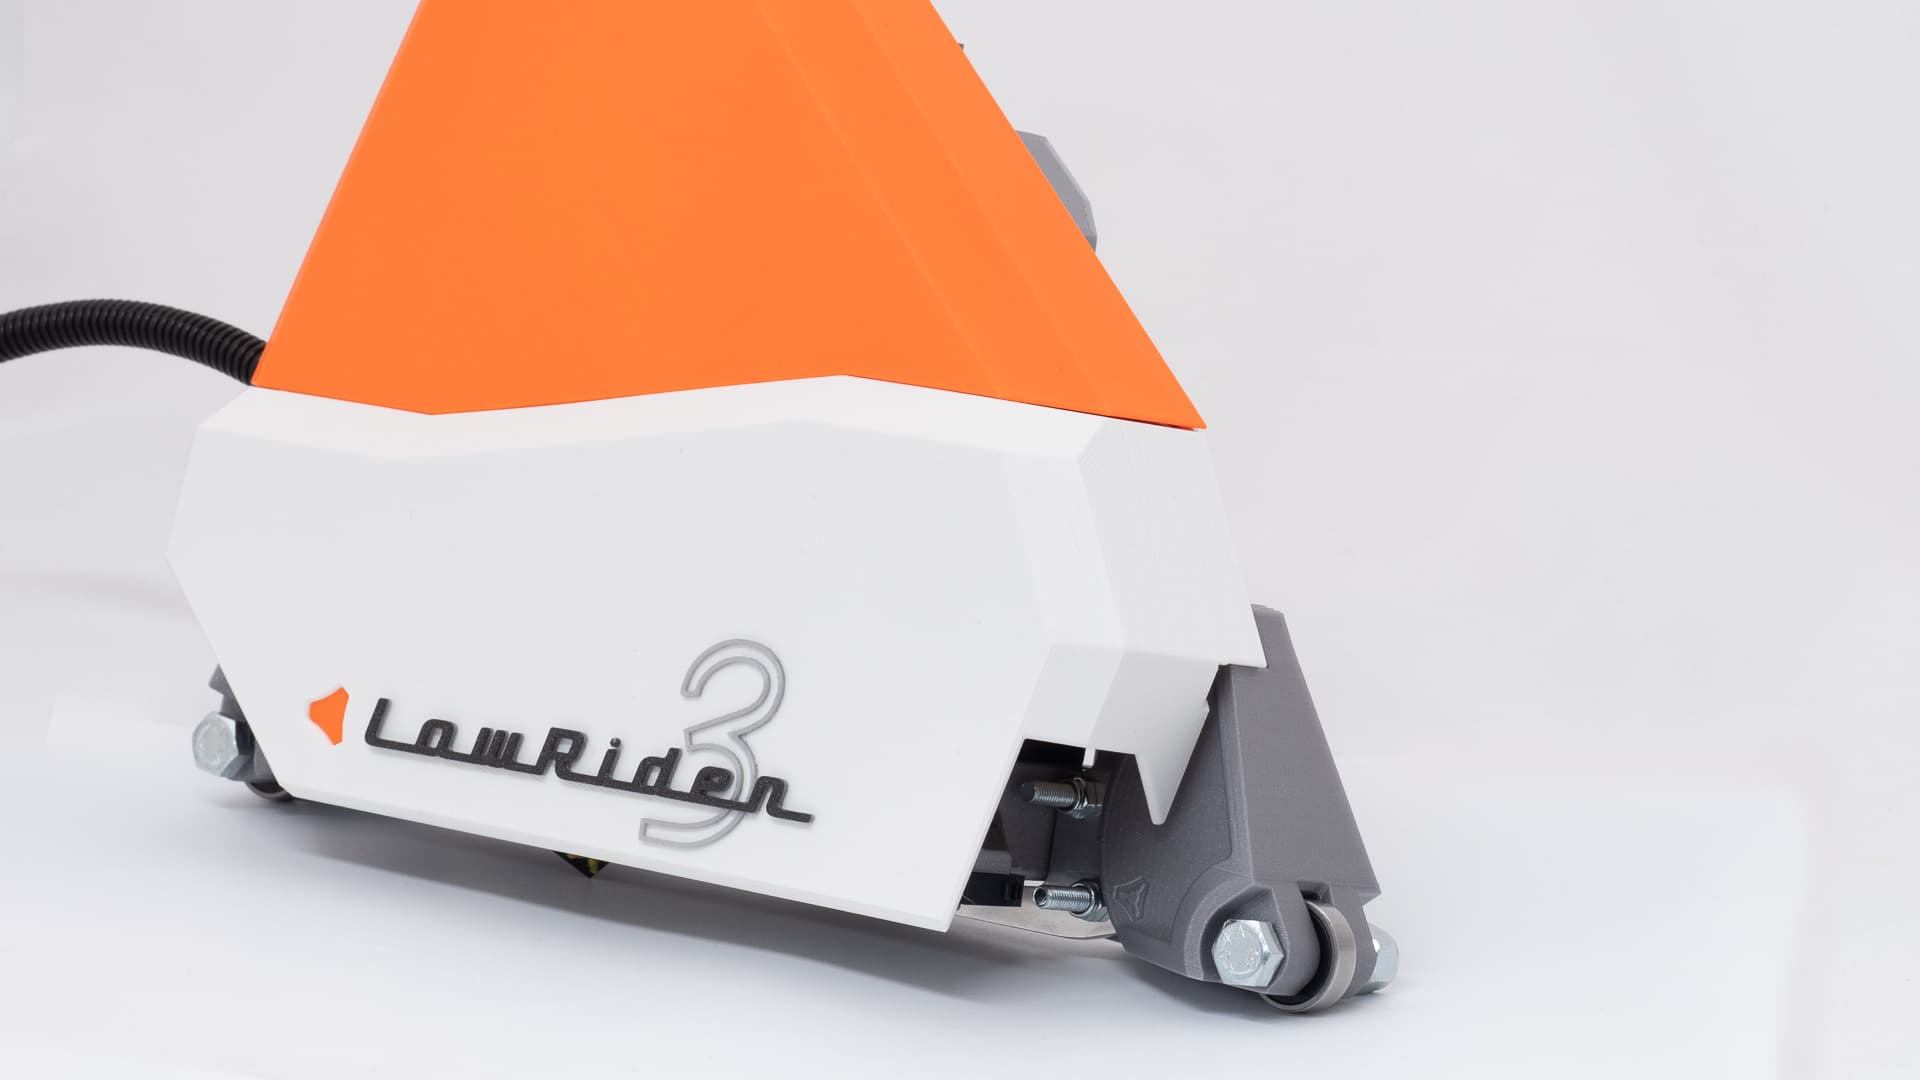
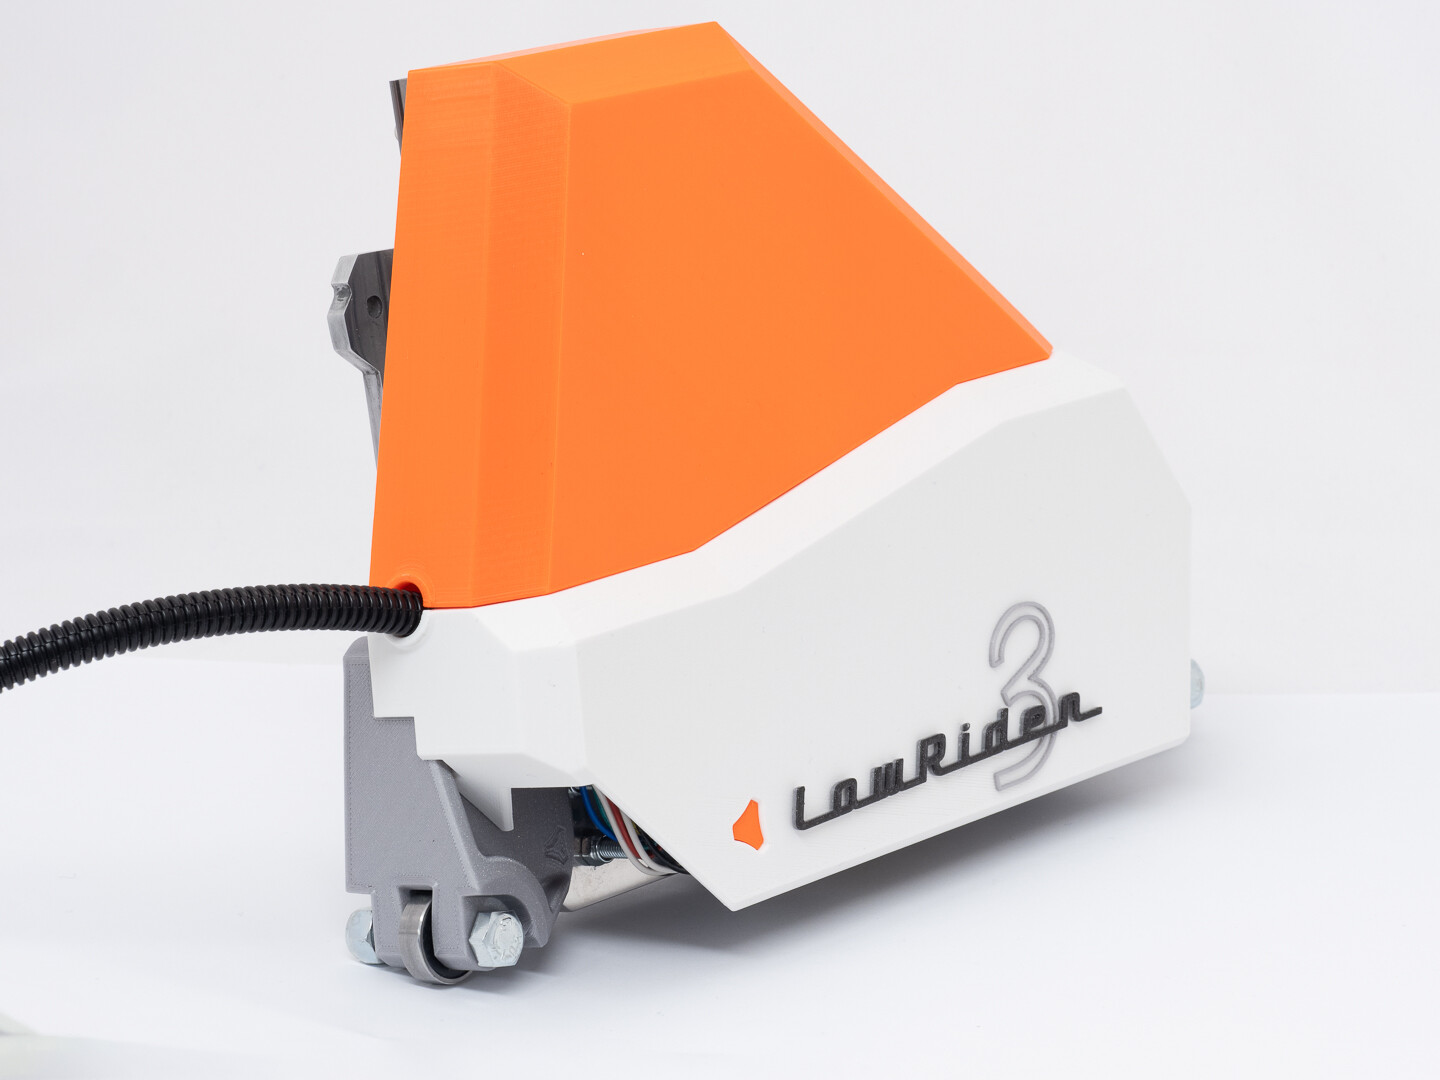
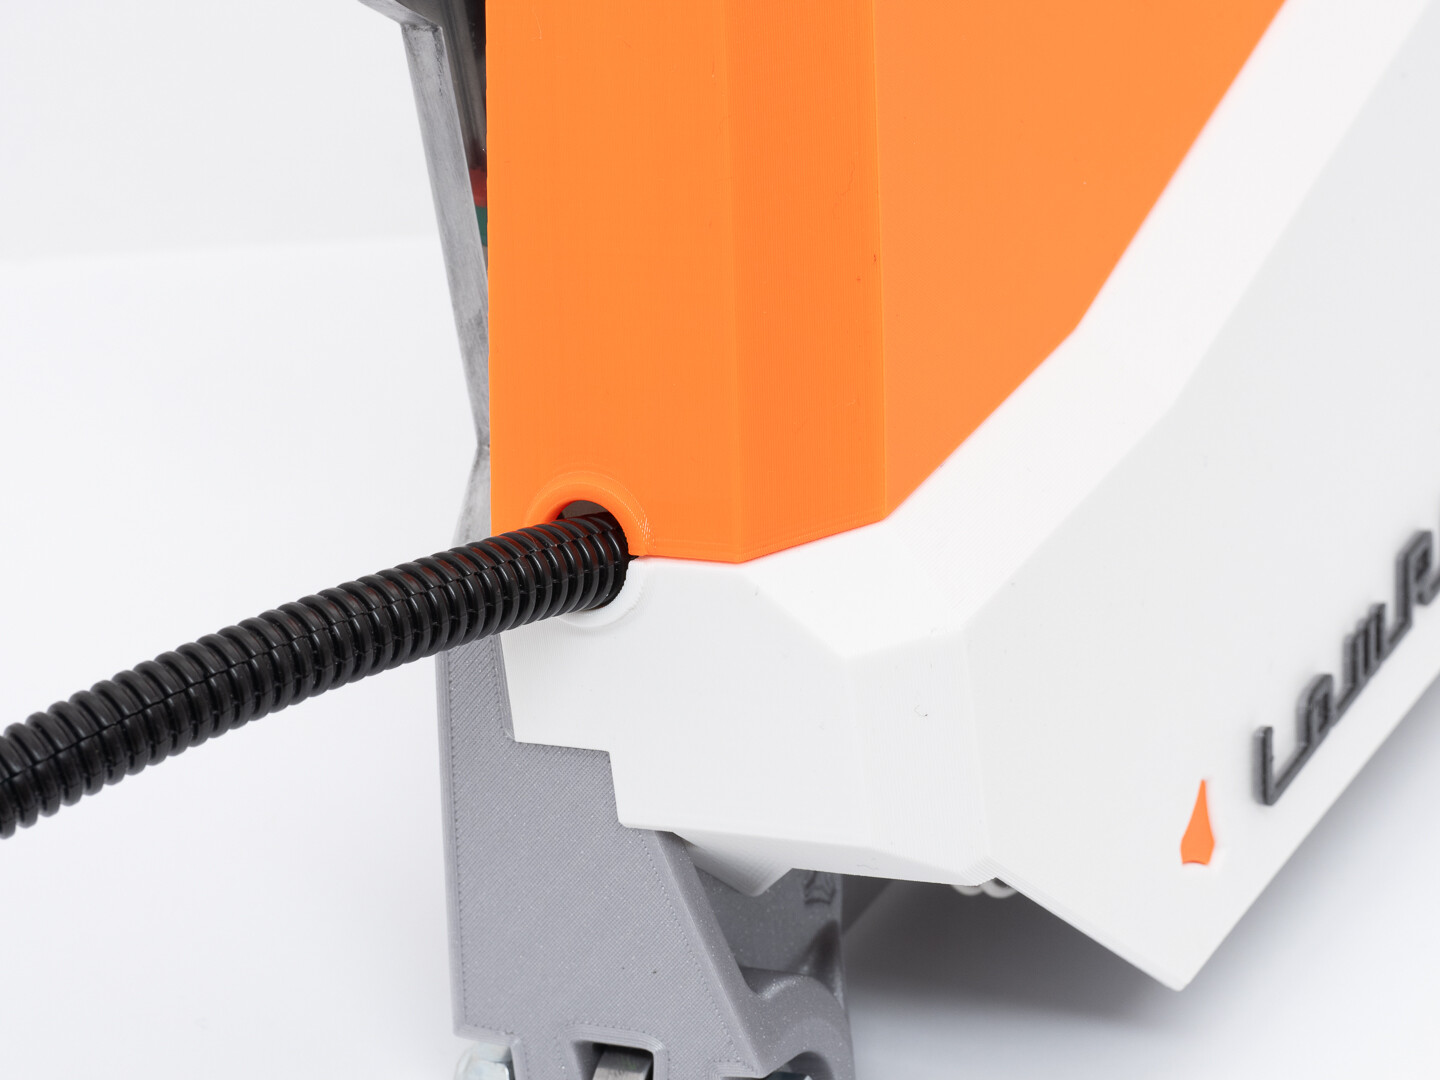
I printed in orange because I’m going to paint the top part and I am a bit of an advocate for the “cut watermelon” school of design (which I may or may not have founded), but which says that sometimes it’s nice for a cutout to be a different colour. just as when you cut a green watermelon you are met with a sea of red - here, the little glimpses of view inside will be met with a flash of orange in contrast to the silver exterior. (wish I’d cleaned off my fingerprints!)

The original plan was for a slightly off-white with polished struts, but for now I’ll paint it silver to match the “temporary” silver hardboard ones. It’s only paint so we can always change it.

The bottom panel will be in galaxy silver for now, but goodness it looks stunning in the photos as is! Don’t forget though, we are viewing this in isolation - it will shrink somewhat when the rest of the machine is attached.

The badge, for reasons explained earlier - won’t be there at the end although I am tempted to pull out the .25 nozzle and try a smaller one.

It’s printed in Quality mode at 0.2mm layer heights and while it did take a while, it’s a beautiful print and wont’ take much paint prep at all. Here’s hoping I can get a perfect bottom layer for the silver bit as well.

Ahh Jeff, where did I go so wrong? :rofl: :rofl: I told you I will never forget that quote!

8 Likes

WOW the one in these pics looks awesome!

2 Likes

This has taken a machine that already had an off-the-charts coolness factor … to a whole other level.

Neooow. It’s 8 in the morning now btw. :smile:

2 Likes

Just… wow.

I really want to copy the badging, even though I will not be covering my clear acrylic YZ plates… I might need retro 1957 fenders for the skate wheels though…

Save yourself some effort I really wasn’t going to share too much till it was pretty much finished, but what the heck:

Lowrider3 Custom Name Badge

I’ve included .svg and .dxf files for download so you can modify them to your heart’s content!

I’m going to dream of streamliner fenders all night - one early scheme I had for this was based on those teardrop pursuit cycling helmets. :smiley:

5 Likes

If mine wasn’t a frog with a crown I’d consider the side plates as well. :smile: Maybe you can remix them as a frog’s behind? :joy:

Now that the method of fixing them to the plates is sorted, anything is possible I think. :thinking:

Speaking of that, the PLA version of the clips work really well, so it’s all go as far as I can tell - will start printing grey tomorrow. It won’t be as spectacular looking, but it won’t get so grubby in the workshop either.

To round off a very satisfying day, that’s exactly what I did - cut and rounded off all of the bolts in the plate - it’s amazing how much tidier it all looks without all those over-length bolts hanging out.

5 Likes

I would love some covers like that. Beautiful. But in my country those covers would add up to the heat in my shop and make some parts to fail even faster. Maybe the time to get an a/c unit has come

WOW… that’s is all I can say… Truly amazing looking. Makes my acrylic look like a crappy kids science fair project LOL

(7:01am here CST)

1 Like

I approve of you sports car work. It looks stunning.

And I encourage anyone to recognize when building the tool is more satisfying than using it. If that sounds like you, don’t fight it. Drive in and get that satisfaction.

7 Likes

OMG, it just keeps getting better. How does it just keep getting better!?! Undercover industrial designer.

4 Likes

He’s just trying to 1 up me…but he 1,000,000 upped me on this one LOL

Ahh thank you all - I feel a little as though I’ve led you astray really - it’s not as though it’s a fake photo, but forgive me over the coming days as the thing morphs into shades of grey much better suited to the rigors of the workshop!

In real life, I am sorry to say, the orange and white colour scheme is possibly even more stunning than the photos. So much so that in a fit of I might even print it as a wall poster, and I seriously started to consider reprinting the braces in white, but I have the first silver bottom cover printing as we speak.

Don’t you worry about that. If this was a science fair, I think fancy lights beat plastic covers any day! :rofl:

Thanks Jeff, that was really beautifully put. I would also like to add that after the build, there’s nothing quite like the enjoyment you get out of using a beautiful tool you’ve made yourself.

Don’t worry about scratching it, if that’s important to you - you know how to fix it.

Hopefully this one will have developed a nice patina before I have to put it to work building parts for the LR4!

To be fair, it’s probably trick photography. :smiley:

To be serious, you have set a very high bar and as you know well, there’s no substitute for “pen miles”, and this is something that I’ve been working on for several years. I made the last little tweak last night before committing to the final print, and I think that probably shows.

What you have done with this iteration of the LR whether intentionally or not, is to provide such a well developed framework with so much scope for customisation, that when a bloke comes along and makes some covers for the stepper motors, your years of work make him look good!

3 Likes

I am not sure how the PLA will survive so close to the steppers, but I suspect it will be OK, summer temperatures in my workshop hover in the early 30’s mostly - I think with the bottom completely open and the aluminium plate acting as a bit of a heatsink (maybe?) it should be OK. I will of course report here if it’s not!

2 Likes