LR2-LR3 The Longest Conversion (AUS)

I’ve been reluctant to start this thread, because for a time I’m sure it will be filled with empty promises and high ideals, but it’s been a little over two years since the LR2 build commenced, and a progress photo is an appropriate way to start I think.

Let’s begin - the crown pic is back where it was to emphasise the fact that the poor thing, after all that fuss, hasn’t fired a shot in anger. I am not a person with too few hobbies. The table looks a bit crowded too - those are projects which must be completed before I can spend time getting the LR2 to make the bits for the LR3 - the doors for a TV cabinet (it’s pretty much ready to assemble but it’s been like that since Covid struck, and a couple of chairs for some little grandchildren abandoned mid assembly because I had a flight to catch last June.

But there is the filament thanks to prusameters from my Printables account - I do love Prusament but since even the free versions cost more than $20US per spool in freight, I tend to save it for best! (Discussion will follow!)

THE STATE OF PLAY - WEDNESDAY 14 DECEMBER 2022

8 Likes

Exciting adventures!

2 Likes

I’m a little unsure how to proceed with this documentation. I don’t think regaling everyone with my tales of procrastination is useful, even if it does give a realistic portrayal of the build!

It’s almost 2023 and here’s the state of play:

I have not yet decided what to do with the existing table other than I have finalised the width of the machine based on the existing 870mm wide tubes. More on that later.

I am as usual overthinking things, even the printing, and will soon have a spreadsheet (yes… a spreadsheet) with the various permutations of nozzle, layer height and perimeter numbers for the joy of all.

First things first. Please realise that I DO NOT actually know how to operate the LR2 so any advice I appear to be giving should be taken with a good degree of scepticism. The sum of my knowledge such as it is, has been absorbed by hanging around this forum for a couple of years, watching and making notes - the real work is about to begin!

THEREFORE I am not going to do anything until I have made the new flat parts and perhaps some other things with the LR2, and given it at least a fighting chance to convince me it should not be disassembled.

So let us begin with a clean sheet of paper in the next post!

2 Likes

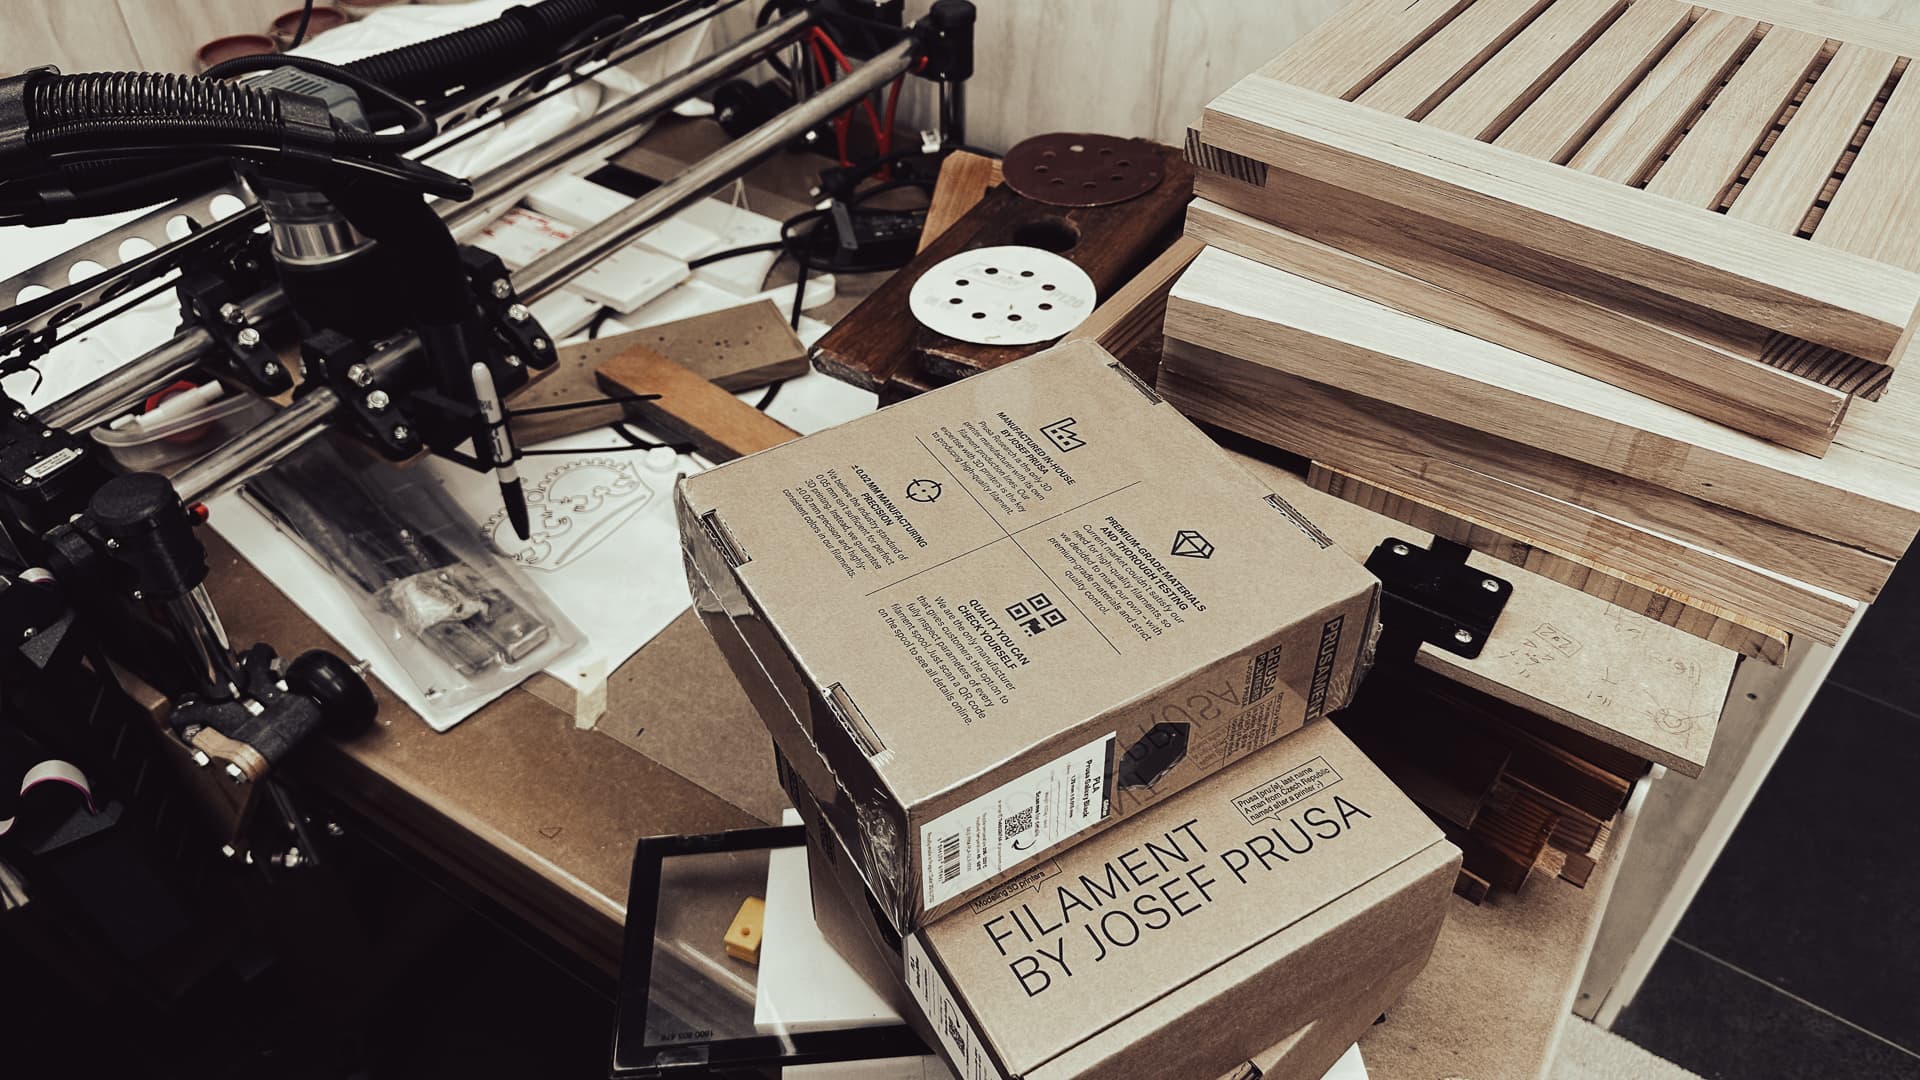
Today, I downloaded the Strut Plate .SVG file from the Calculator and used the ($10 for a lifetime licence) Vector Convertor for MacOS to create a .DWG file that I could upload to Onshape, my free CAD software of choice.

The following will be of no interest to anyone proficient in CAD, but perhaps might solve a problem for someone.

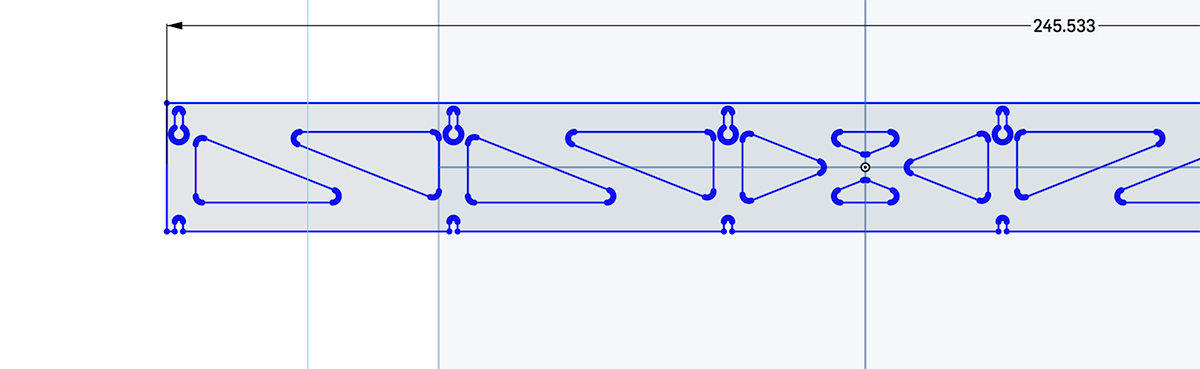
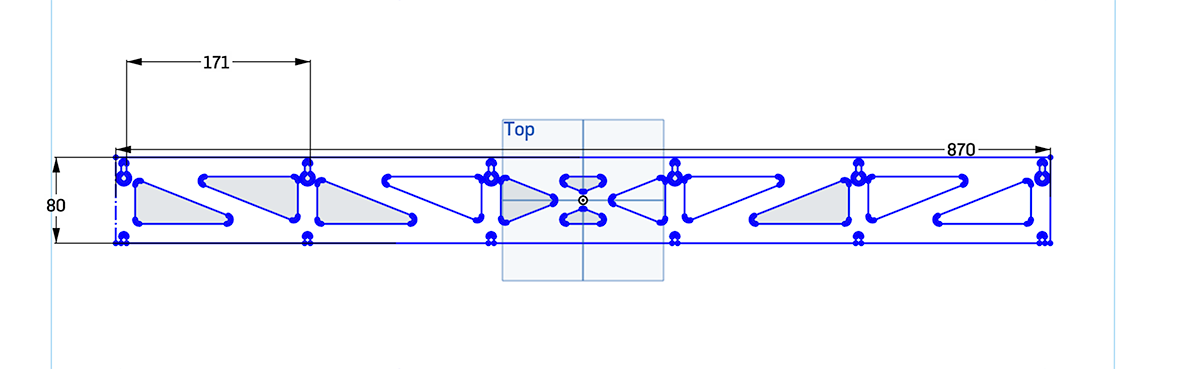
A .DWG or .DXF file is a beautiful thing as it can be scaled by the addition of just one dimension (as long as there are no others on the drawing) so I thought I’d run a dimension on the long edge to check it for accuracy. Just as well, as it was pretty clear that we have lost something in the translation!

PLEASE NOTE - THERE IS NOTHING WRONG WITH THE .SVG FILE AS DOWNLOADED - This error was induced by something I did.

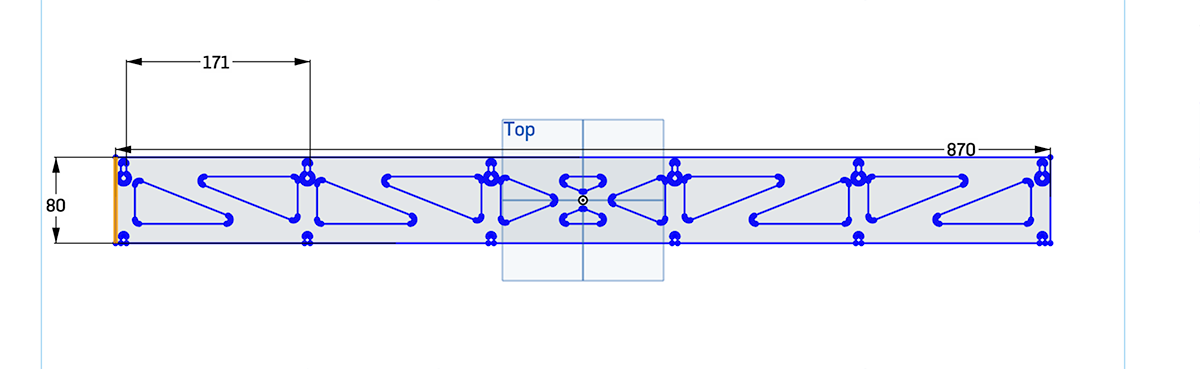
It’s not a big deal though, first dimension the “870” to scale up the drawing. Then check the height “80” which is probably correct, then the spacing “171” which is considerably less than 200 maximum recommended and therefore confirms the drawing was correct in the first place.

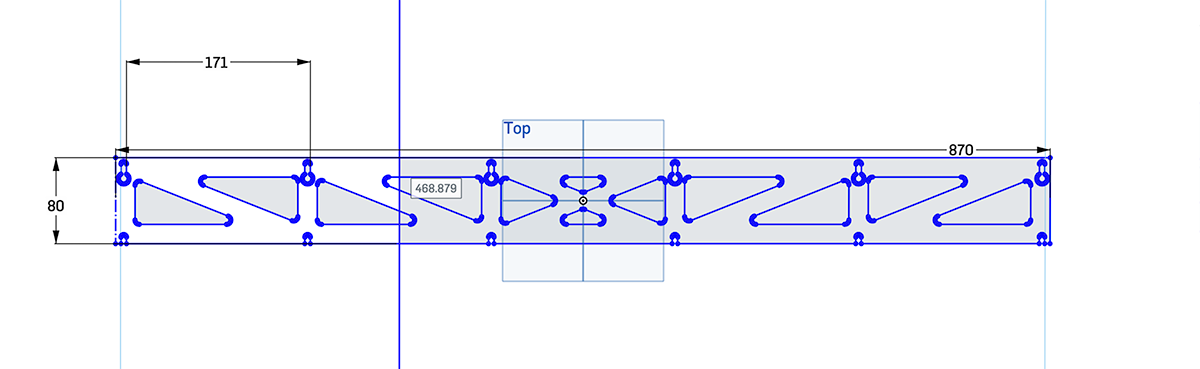
At this point I should have left well alone, but thought I’d check the web dimension and discovered that one or two lines were out of parallel by seven decimal places of a degree, so I quickly hit the “make them parallel” tool and extruded the drawing and in doing so discovered my mistake.

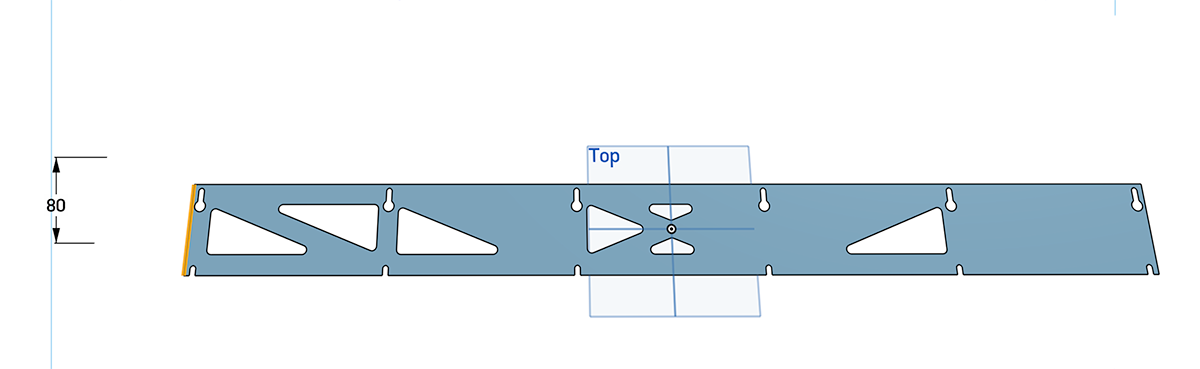
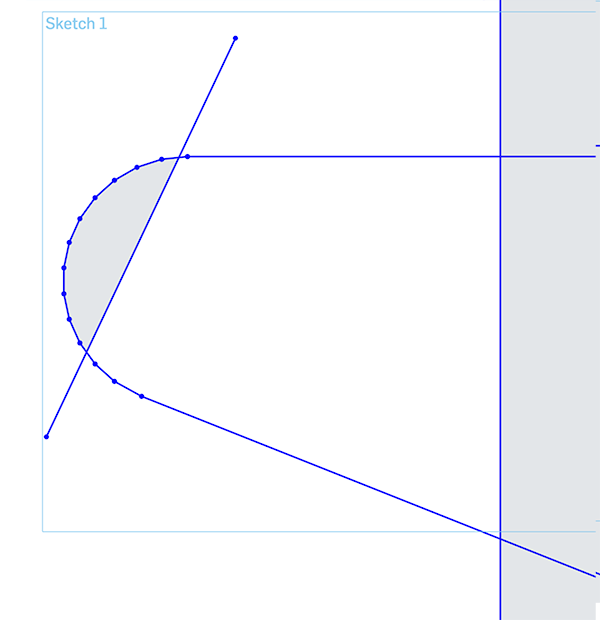
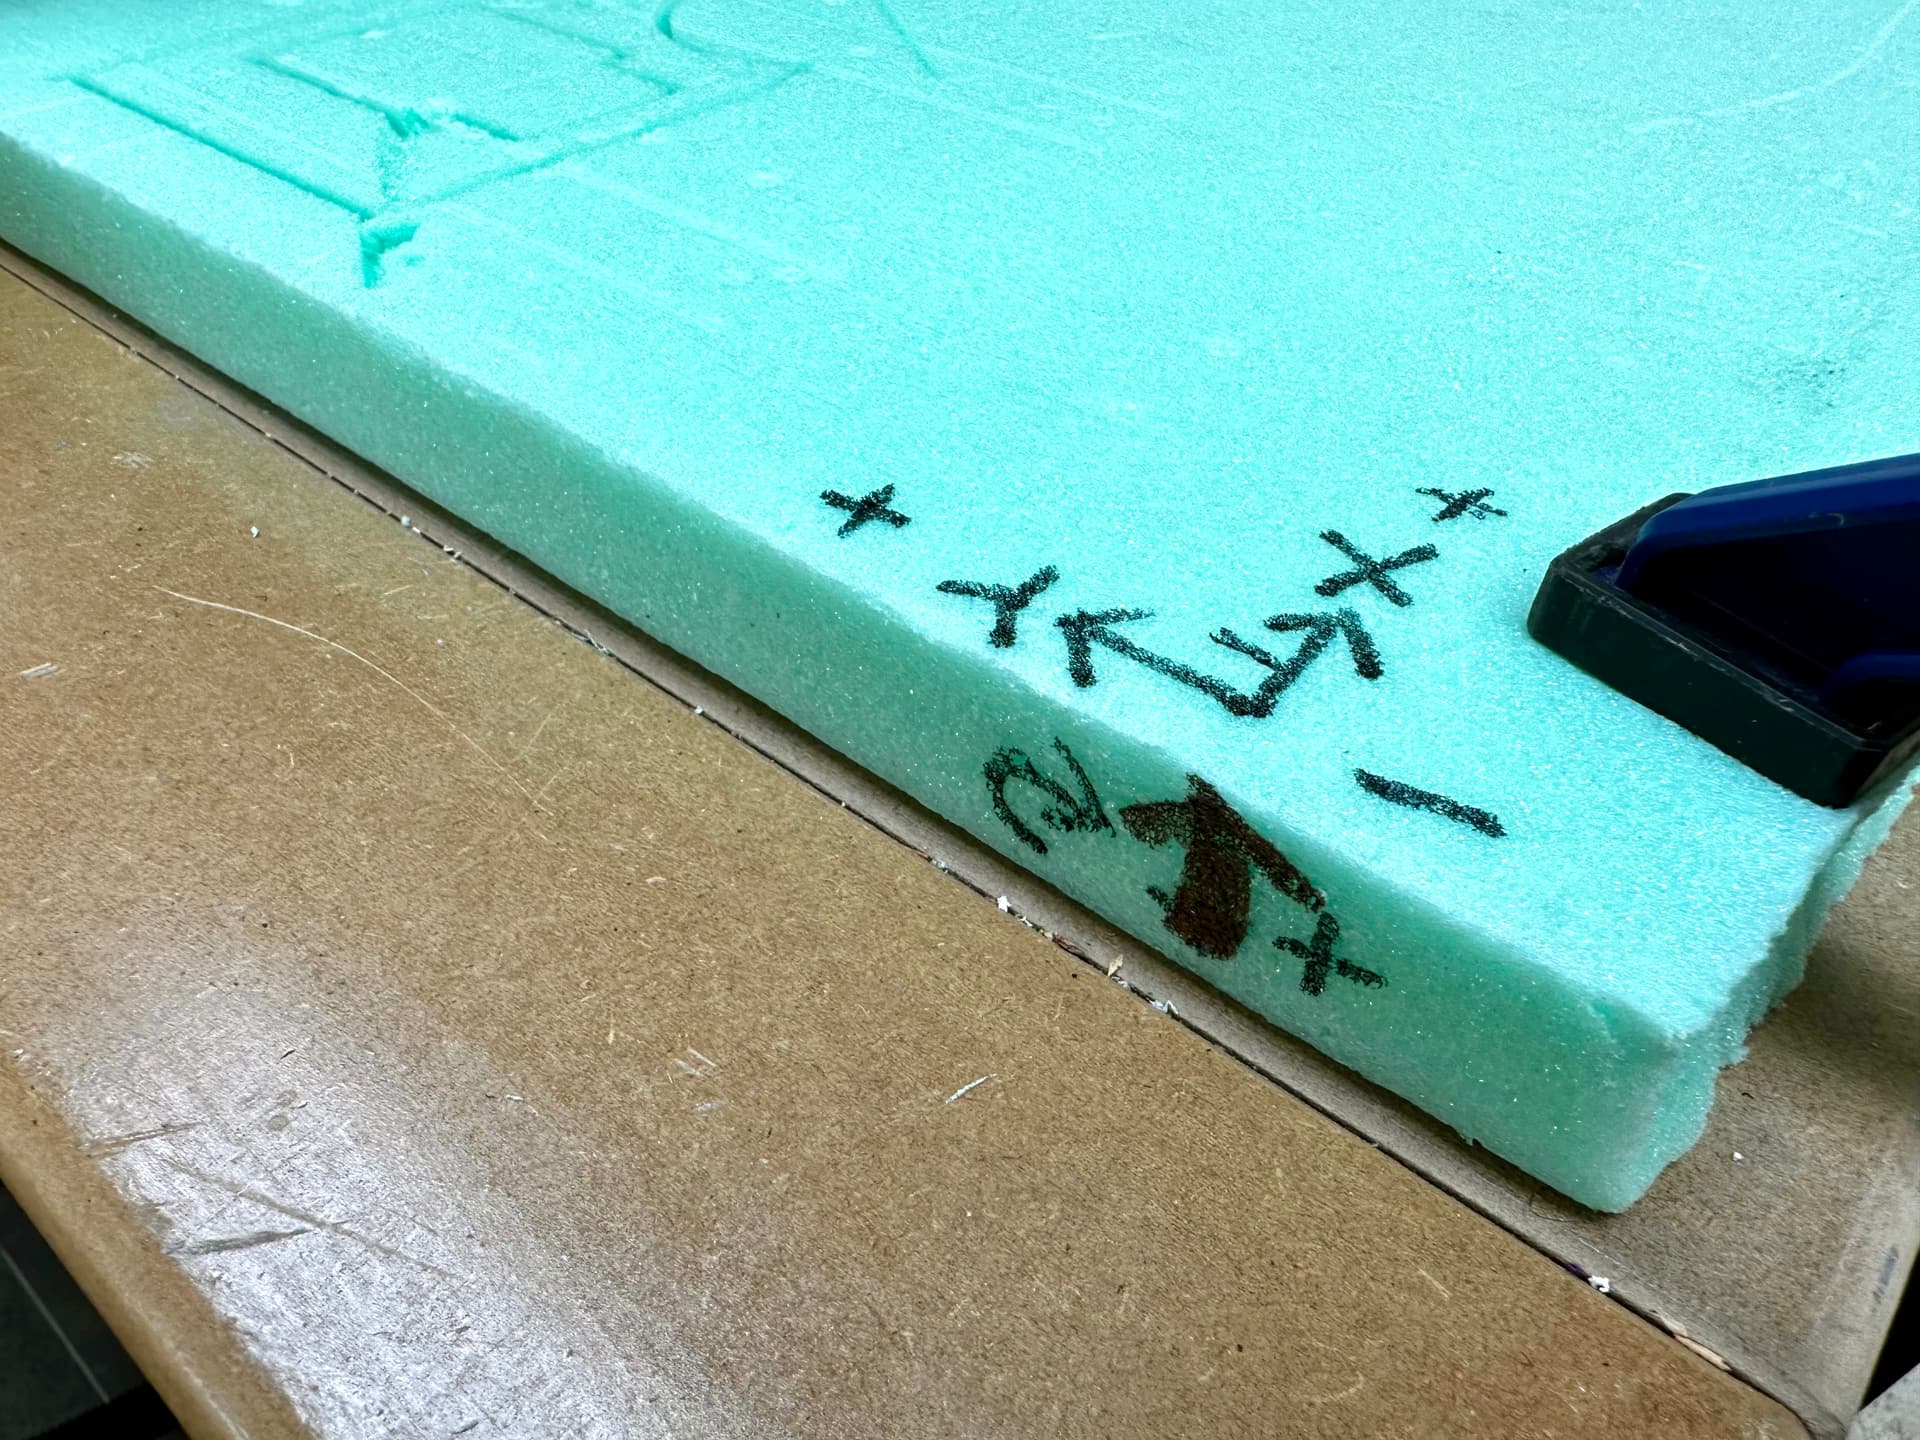
For those with little CAD experience, here’s a really quick way of determining which of your vertices aren’t closing. First - we know the bounding box is closing as it is greyed out, (and it extrudes well) so convert one of the perimeter lines to a construction line to open the bounding box. (in this case the far left)

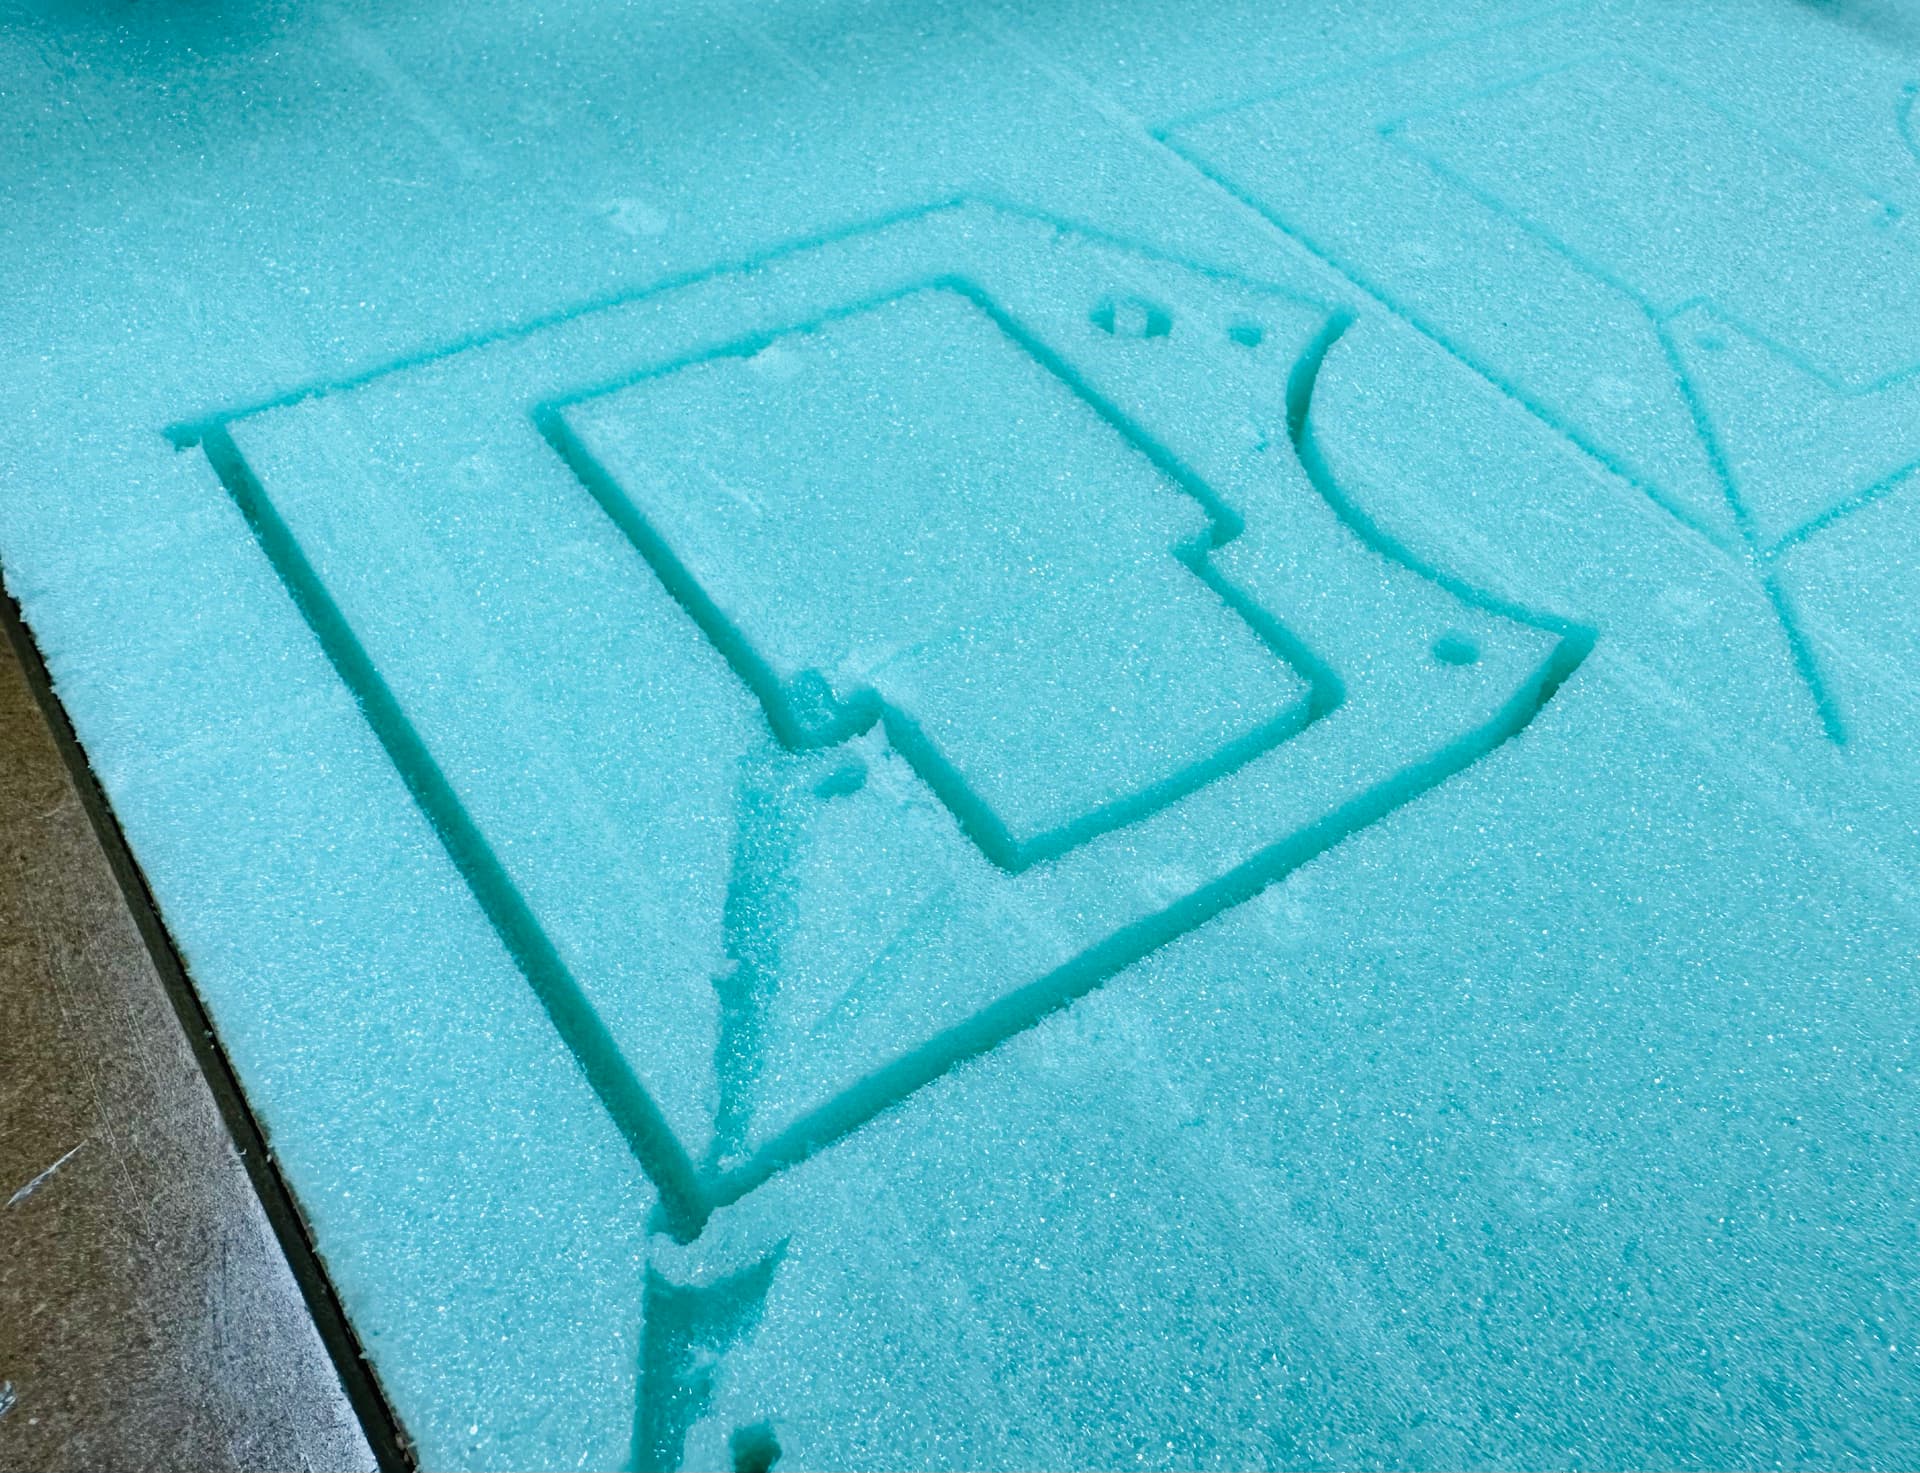
It’s now pretty clear which shapes have a problem, and I’m pretty sure that it’s in the corners where I’ve fractionally adjusted the lines, so I simply draw a line through the first shape to find the broken corner by a process of elimination.

It’s pretty easy to spot, but even at a huge scale not so easy to see the disconnect. With a second line just move it along each joint until the “leak” is eliminated.

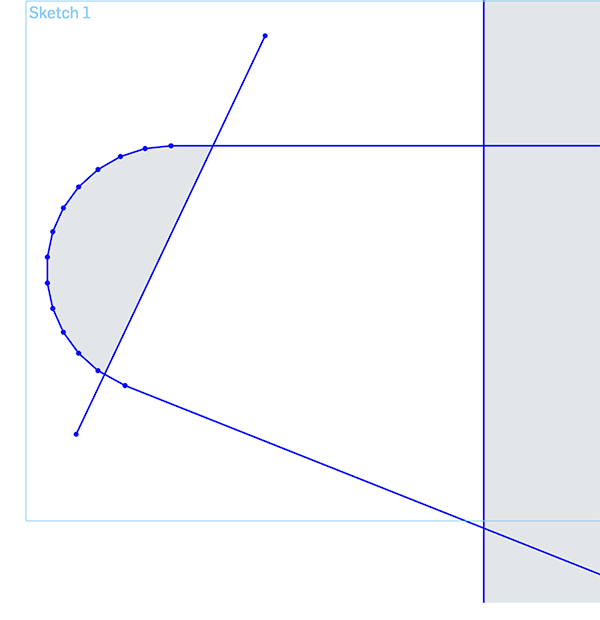
In this particular case it was a lot easier just to delete the miscreant line and redraw it co-incidentally than to try to adjust it. The process is very fast and took just a few minutes to have the drawing rendering correctly.

All that’s left to do is to convert that temporary construction line with a solid one, and to extrude the drawing.

With that out of the way, I installed KiriMoto, which I think will be my free CAM package of choice, into Onshape, and quickly became overwhelmed with the setup, so the next instalment will have to wait for another day!

3 Likes

Progress! I’ve managed to get Kiri-Moto to speak with me at least. Don’t hassle me about feed rates and depth of cut, I’ll get back with my questions later. I’m off to the shops to buy some foam! See you next year.

3 Likes

Well that went well. Just when I thought Dad could let go of the bike and I could pedal by myself, I discovered that I couldn’t download the gcode! A quick shout out on the Kiri:Moto forum elicited this response:

Safari is defeating all attempts to debug this with some perverse restrictions that no other browser seems to implement. I have verified this error with KM 3.7 in Onshape with Safari, but it seems to work for me on Grid.Space directly. You should be able to use the version menu top right to switch to KM 3.8 in Onshape … but Safari is not honoring this. You can do this on Grid.Space, but Safari is not honoring this change inside Onshape the way other browsers do.

Safari/Webkit is to modern browsing what IE was long ago

Yeah, well, even though I am old and set in my ways I downloaded Chrome for the first time (just to use till the problem is solved you understand) and went off to have a couple of aspirin and a good lie down.

2 Likes

A small update while getting my head around transitioning from woodworker to machinist!

Kiri:Moto probably deserves an updated thread of it’s own, will do that (or add to the old one) once I have my act a little more together - many thanks to @stewart for all his work and brilliant support.

We are still mid summer holidays here, so I’m up to my armpits in grandkids, which adds just slightly to the learning curve, while I hypocritically try to make progress while banning them from their various devices because we have a perfectly good beach a few hundred metres away.

3 Likes

What a life!

Alone again, and I’ve managed to understand enough of Kiri:Moto to get the machine to do a fair imitation of Marcel Marceau, miming the cutout of my test piece. Tomorrow we’ll attack the foam!

I haven’t cut anything yet and it’s already clear that my cut area is not going to be big enough, just as well I’m committed to a new table top!

1 Like

You know how it goes; you are pretty much set up when a mate drops around and wants a small job done. It’s all a very pleasant diversion, and an hour or two later he leaves happy with two modified parts for his shower waste and I have to remember where I was.

I guess I was excited, because I saw the poor thing was out of plumb but it all seemed to be OK, so I shrugged and thought "there’ll be a new one soon if I ever get this thing fired up. I didn’t notice that the Z axis had dropped on one side only, so went ahead, set z0 and fired her up.

Well a few things didn’t quite go as expected!

First - (and I’d appreciate an answer on this one) the thing took off like a scalded cat to the far end of the foam and then proceeded to run through it’s paces.

Why doesn’t it know where X0-Y0 is? Is it something I said?

Then I noticed how far out of level the gantry was and cancelled the “print” - accidentally hit 10 instead of 1 to ease the bit out of the work and fired the gantry out of it’s screw on the opposite side. Well that wasn’t scary nor difficult to fix, but I must go back and check what stops I have set in Kiri:Moto - I presume it thinks 90mm is above the new 0 I’ve just set?

Ahh well - it all works and I’m into it, but as is always the case when we get to some sort of climax - we’ll be away for a few day, have visitors for a few more (little grand-boys this time) so who knows when this will get sorted!!!

Sorry for the issues! Hope you get it sorted!

2 Likes

Ha! Thanks. There’s dumb and there’s my kind of dumb!
Kiddies, this is what happens when you don’t pay attention in school!

1 Like

You know. I would love to do a bit of a write up about this. I think it is a very good tool and a lot of people will prefer using this style of CAM. The issue is, it is so different from what I am used to I don’t understand how to do it. If you don’t want to do a full write up, maybe just a few hints to get me going and I can take it from there?

That sounds pretty cool, hectic, but cool.

2 Likes

I will happily do what I can. The difference is what makes it attractive to me at least and therefore I suspect others starting out. Give me a few weeks to see if I can get into it a bit more.

My newbie mistakes just keep on coming. Despite having drawn several crowns and watched the carriage zing around and do as I’ve asked over the past year or so - it turns out I’d had the Z backwards - I suspect that not spotting it earlier was just a product of my numerical dyslexia - for some reason my brain won’t process those “+” and “-” signs without the addition of a direction arrow! :smiley:

It’s OK I have the same issue with the printer - I can’t work out if I’m coming or going. (And I think that’s why Kiri:Moto gives me hope.) Three axes, six directions, two ways to turn a knob and I can’t process any of it. It’s why I can’t dance either. :rofl: :rofl:
BTW -I’ve just realised the forum software is now processing .heic images direct from the phone… nice!
EDIT - I’ve changed the photo to reflect the real direction (a mistake I’d made with the initial software profile - and I don’t even know what it was - had the machine operating in inverse.) I am now only slightly less confused!-

1 Like

Today I’ve learned that the “Home” menu doesn’t take me the “Home” screen!

I couldn’t figure why I’ve repeated that mistake a couple of times, and it’s just burnt-in behaviour. When I hit the “home” button on every device I own it doesn’t “home” everything attached to it! Now that is clear, I’m pretty sure my sub-conscious mind can deal with that.

What I haven’t figured is “homing” Z. My understanding is that the X and Y axis are “home” wherever they start up, but the Z starts from where you move it? This obviously requires some magic that I’ve not yet discovered as the Z heads “home” as well. What step have I missed?

1 Like

Home = autosquare or level.

G92 X0 Y0 Z0 = this current spot is home.

All my gcode starts with g92, I have updated the milling basics page with fresh gcoce sections.

2 Likes

I’m sorry about this, I’ve been trying to avoid asking the questions I should be able to find out myself. I’ve been trying to learn your Milling basics by rote, and as soon as it clicks all will be good.

:Home" yes that’s very clear but deep down my brain has an over-ride and makes me push the button! :smiley:

Current Kiri:Moto set up is this -

I have been a bit put-off by the (required) after G90, will change that to G92 and see what happens!

Similarly the end code output is

I was going to replace it with your:

G0 Z5 ; Lift Z axis 5mm
M00 ; Pause so the Z axis does not fall

Is that OK, or is this a question better answered by @stewart on the Kiri:moto forum?
Don’t get me wrong - there’s nothing wrong with the software, but I simply don’t have enough knowledge to poke too deeply (it’s really intuitive though so when I know where to poke I can poke easily!)

1 Like

G90 and G92 do different things, so you can have both in the header. G90 is there on the off hand chance a jog command leaves the machine in G91 before a job is kicked.

It’s ok to have G92 in the header if you immediately start the job after jogging the head to origin. But in some scenarios, this may not be advisable.

3 Likes

That might explain my next little problem! Here’s my first ever cut - (ignore the tearout - you get that when you forget to turn on the router in your excitement…) You can see in the background I had a second try just to see what was happening - the spindle drops at startup to the level of the first cut - after that it does as it’s told, so I suspect it isn’t being told anything just for that little bit.

I’ll be away now till around Tuesday - will pop back on from time to time but will continue then.

NOTE TO ALL I apologise to those who know a bit about this stuff. My objective in posting is obviously to make it easier for me to sort out, but to diarise my stumbling blocks in some sort of order so we can write a “Kiri:Moto for Beginners” (I almost said “dummies” there) document - I think for many some of these little issues are so trivial they aren’t even considered, so bear with me for a bit!

4 Likes

Stop it. We have never ever told anyone they are asking too many questions.

7 Likes