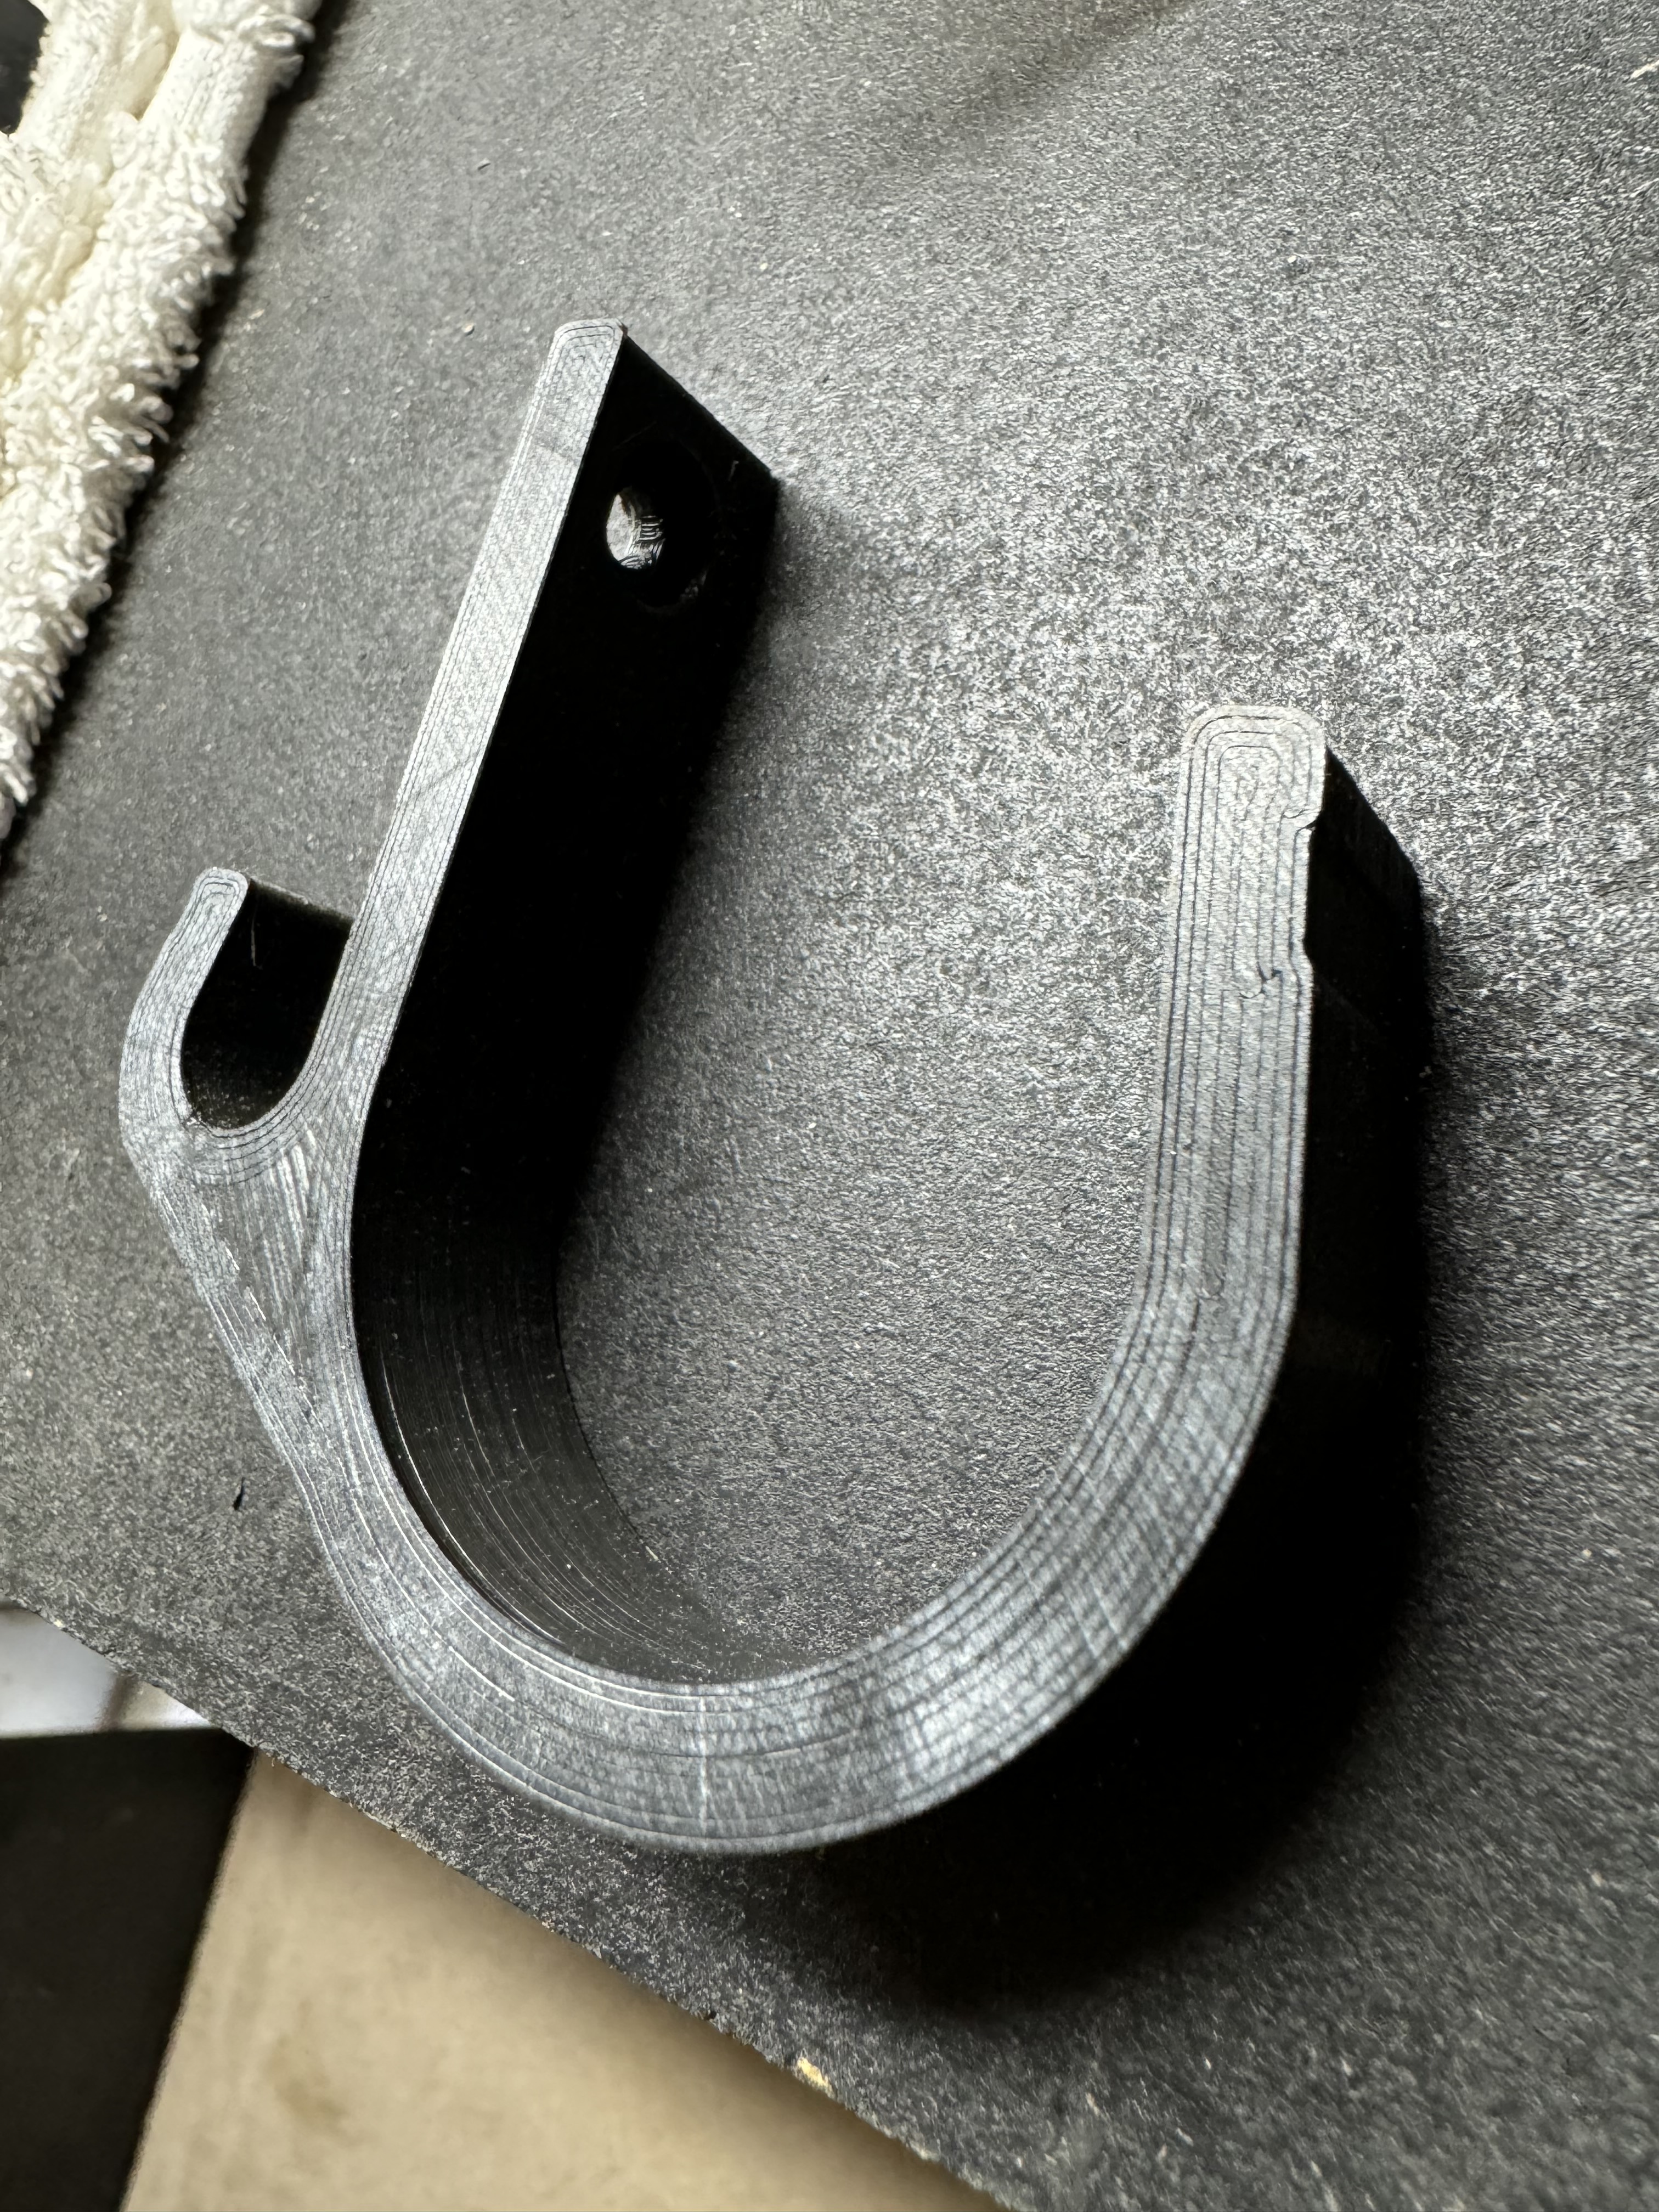
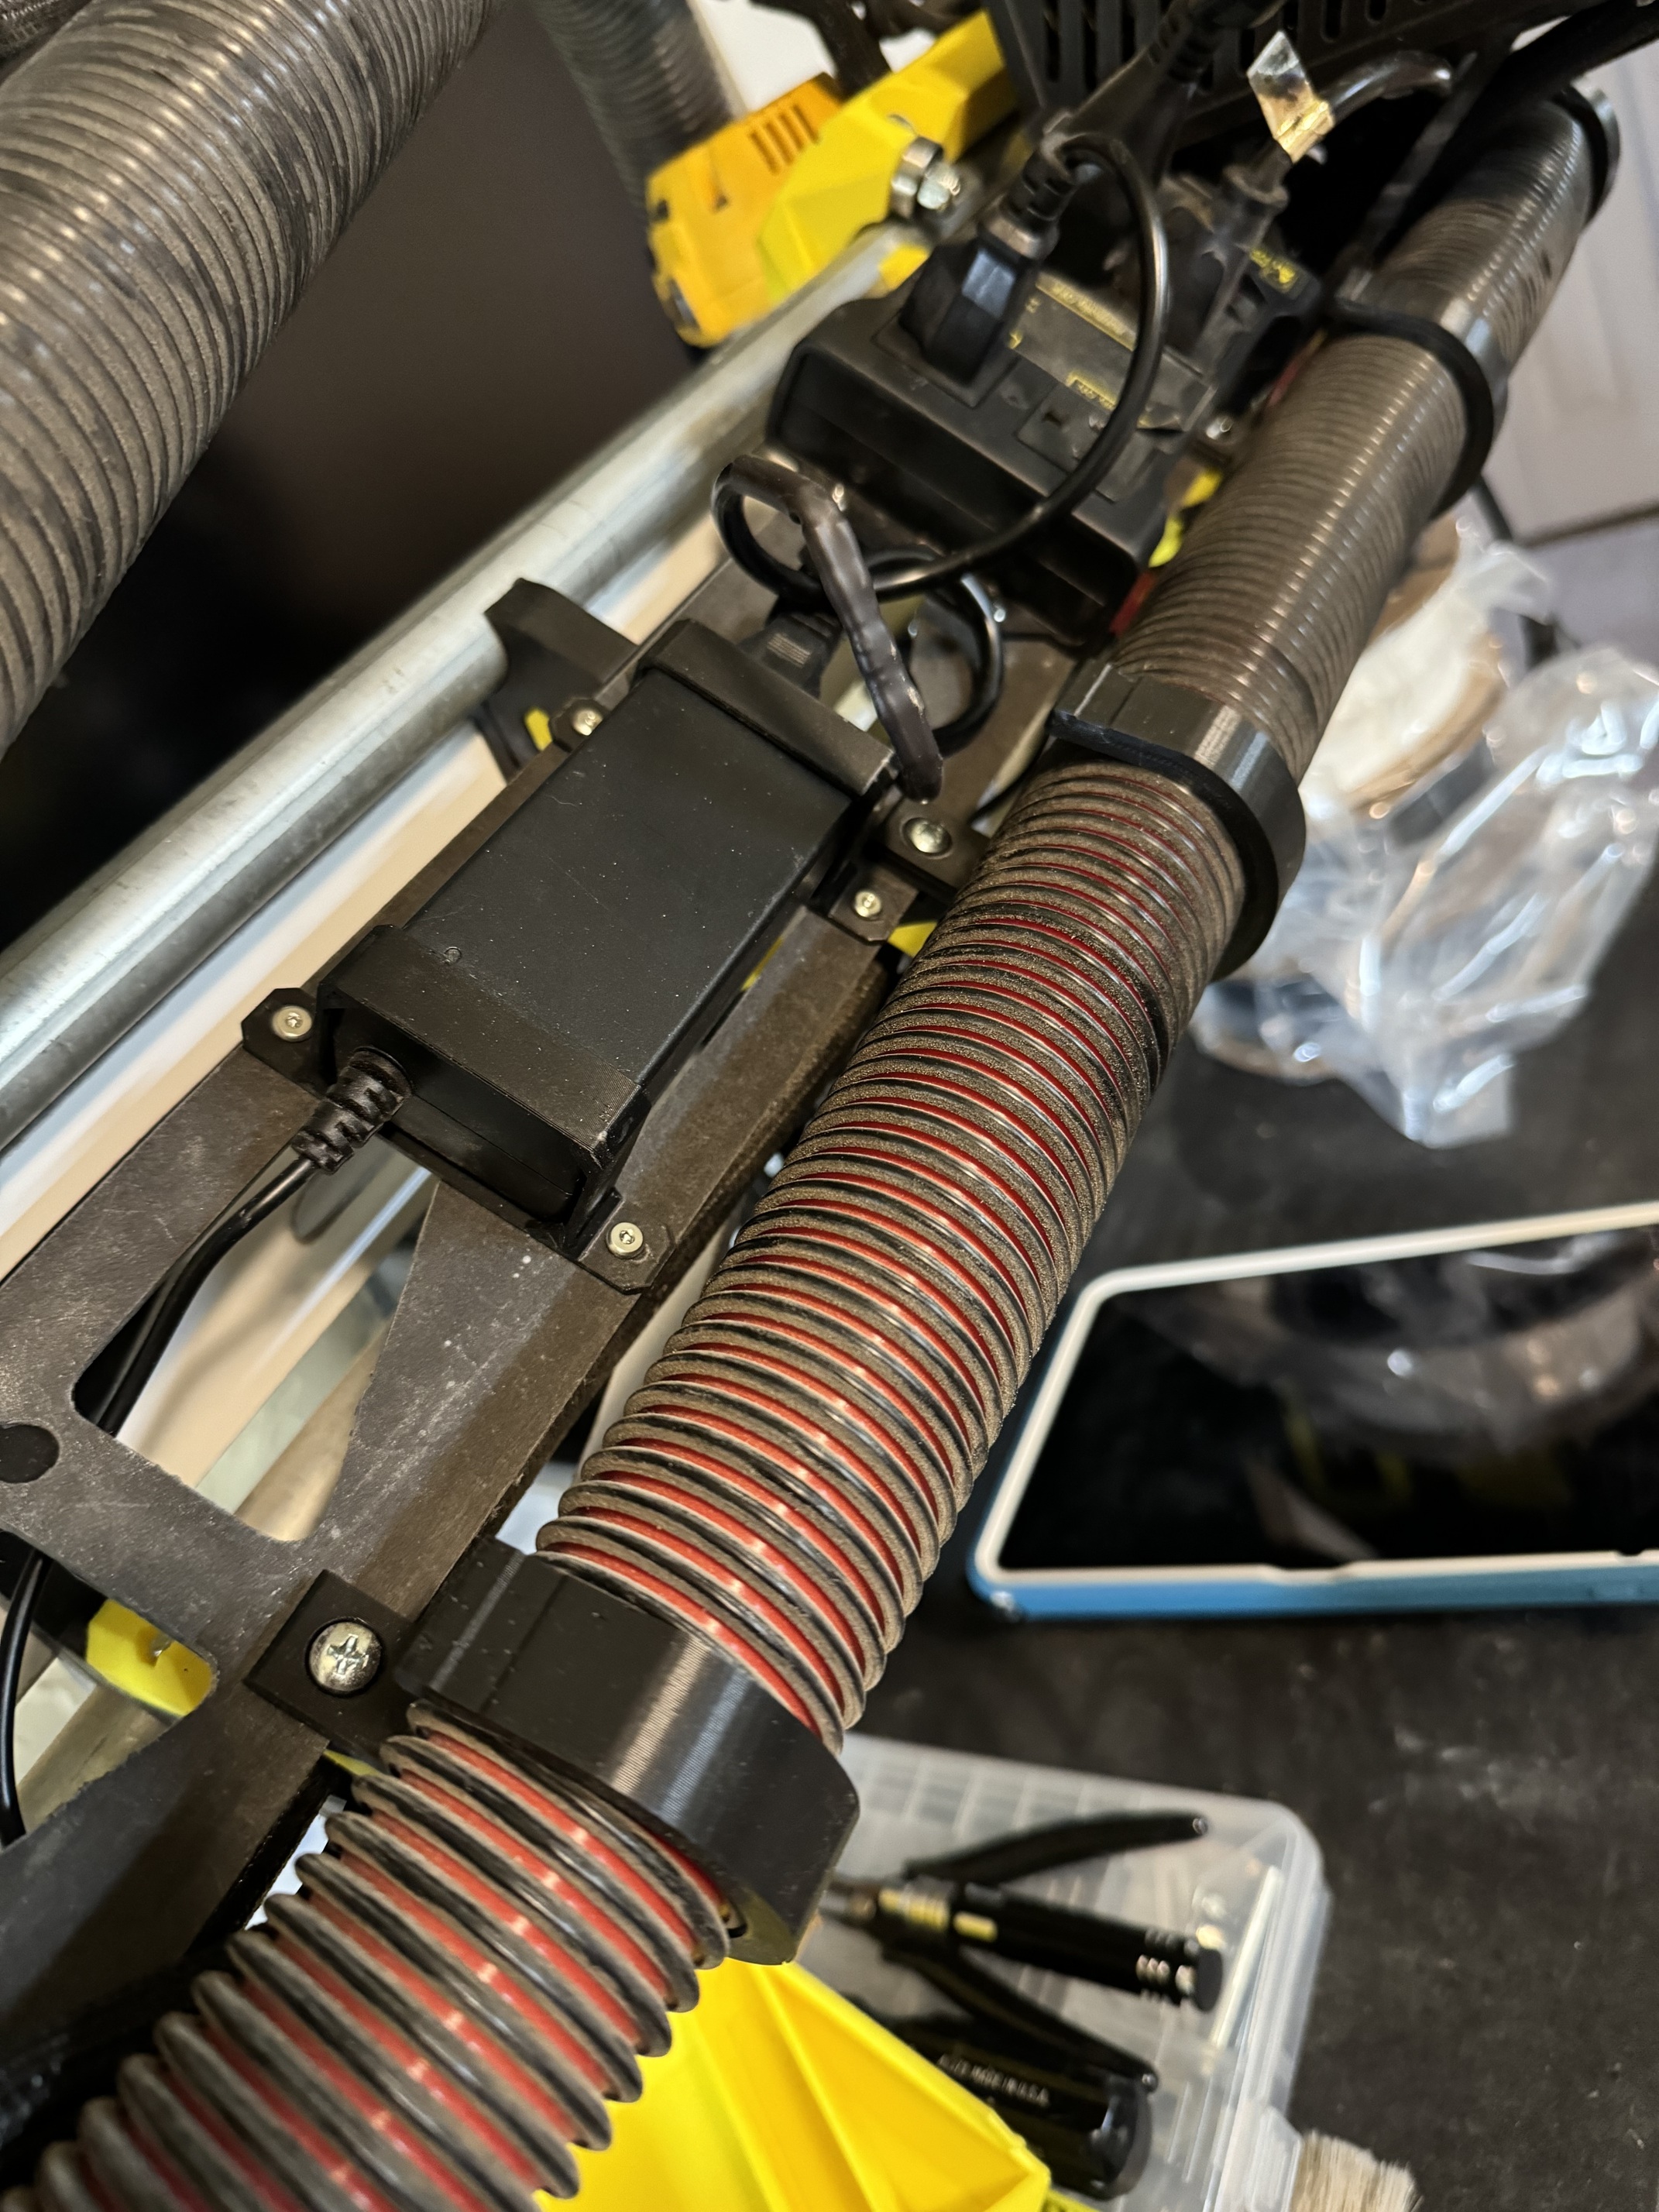
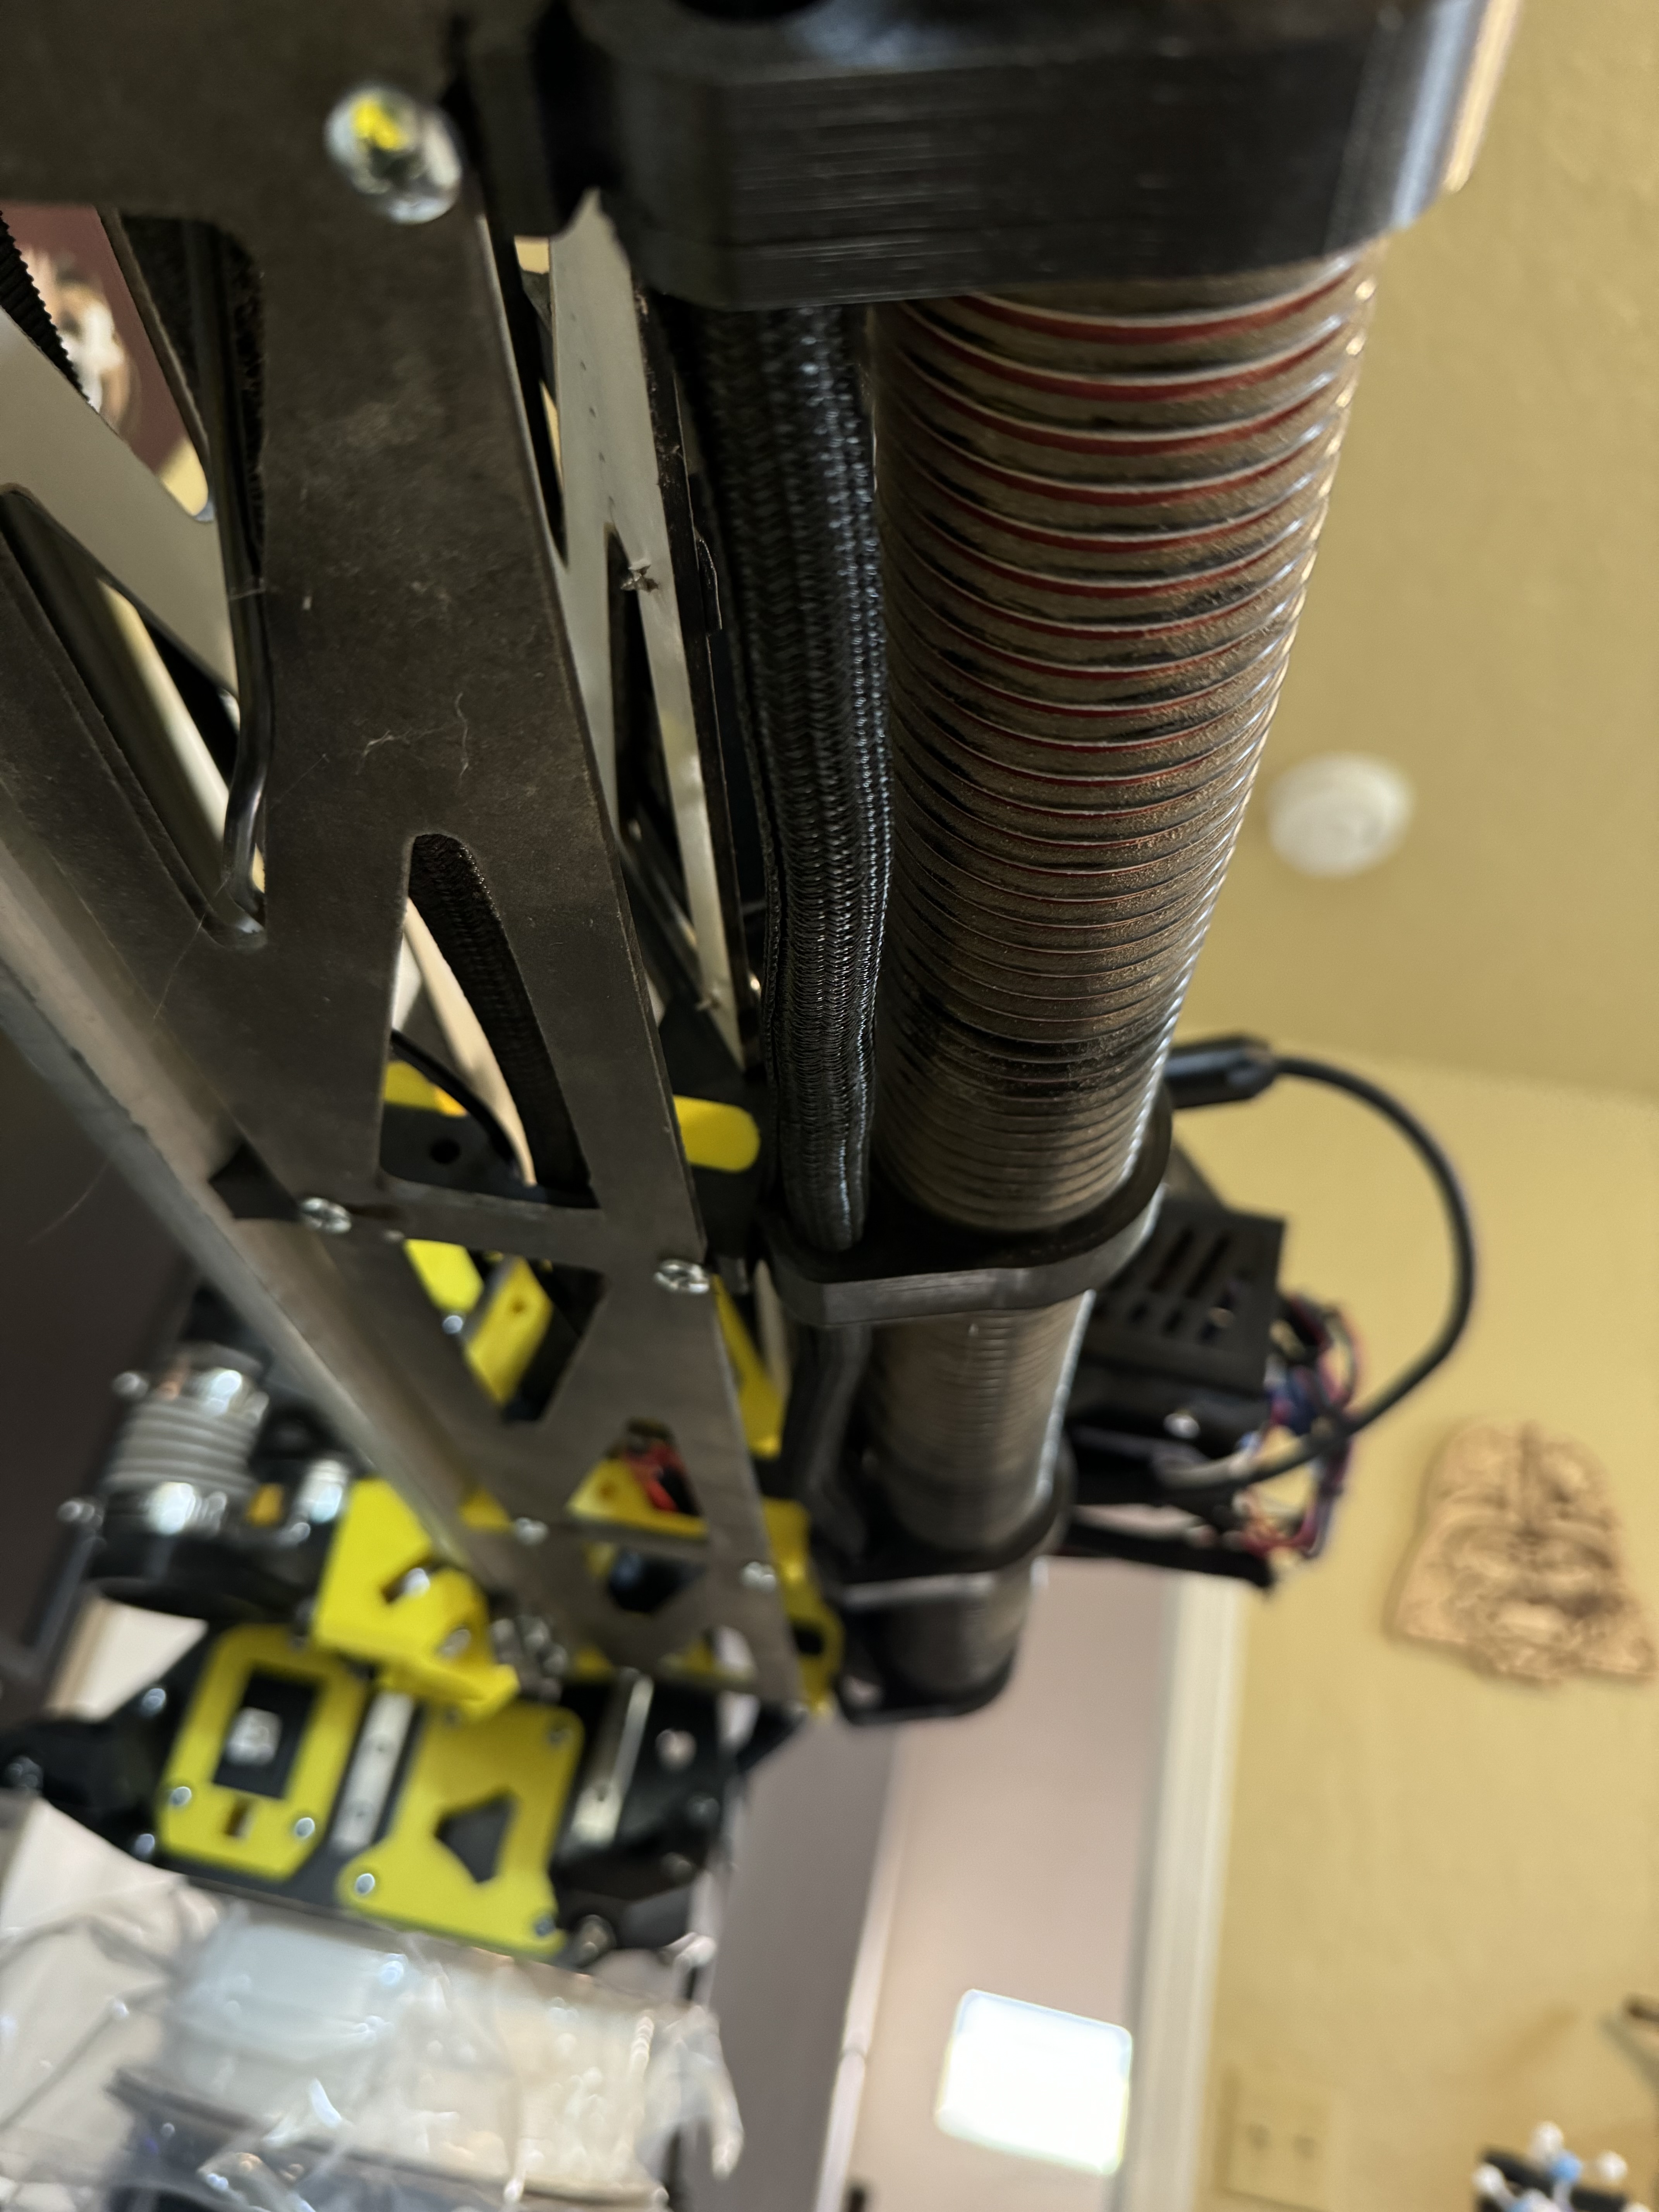
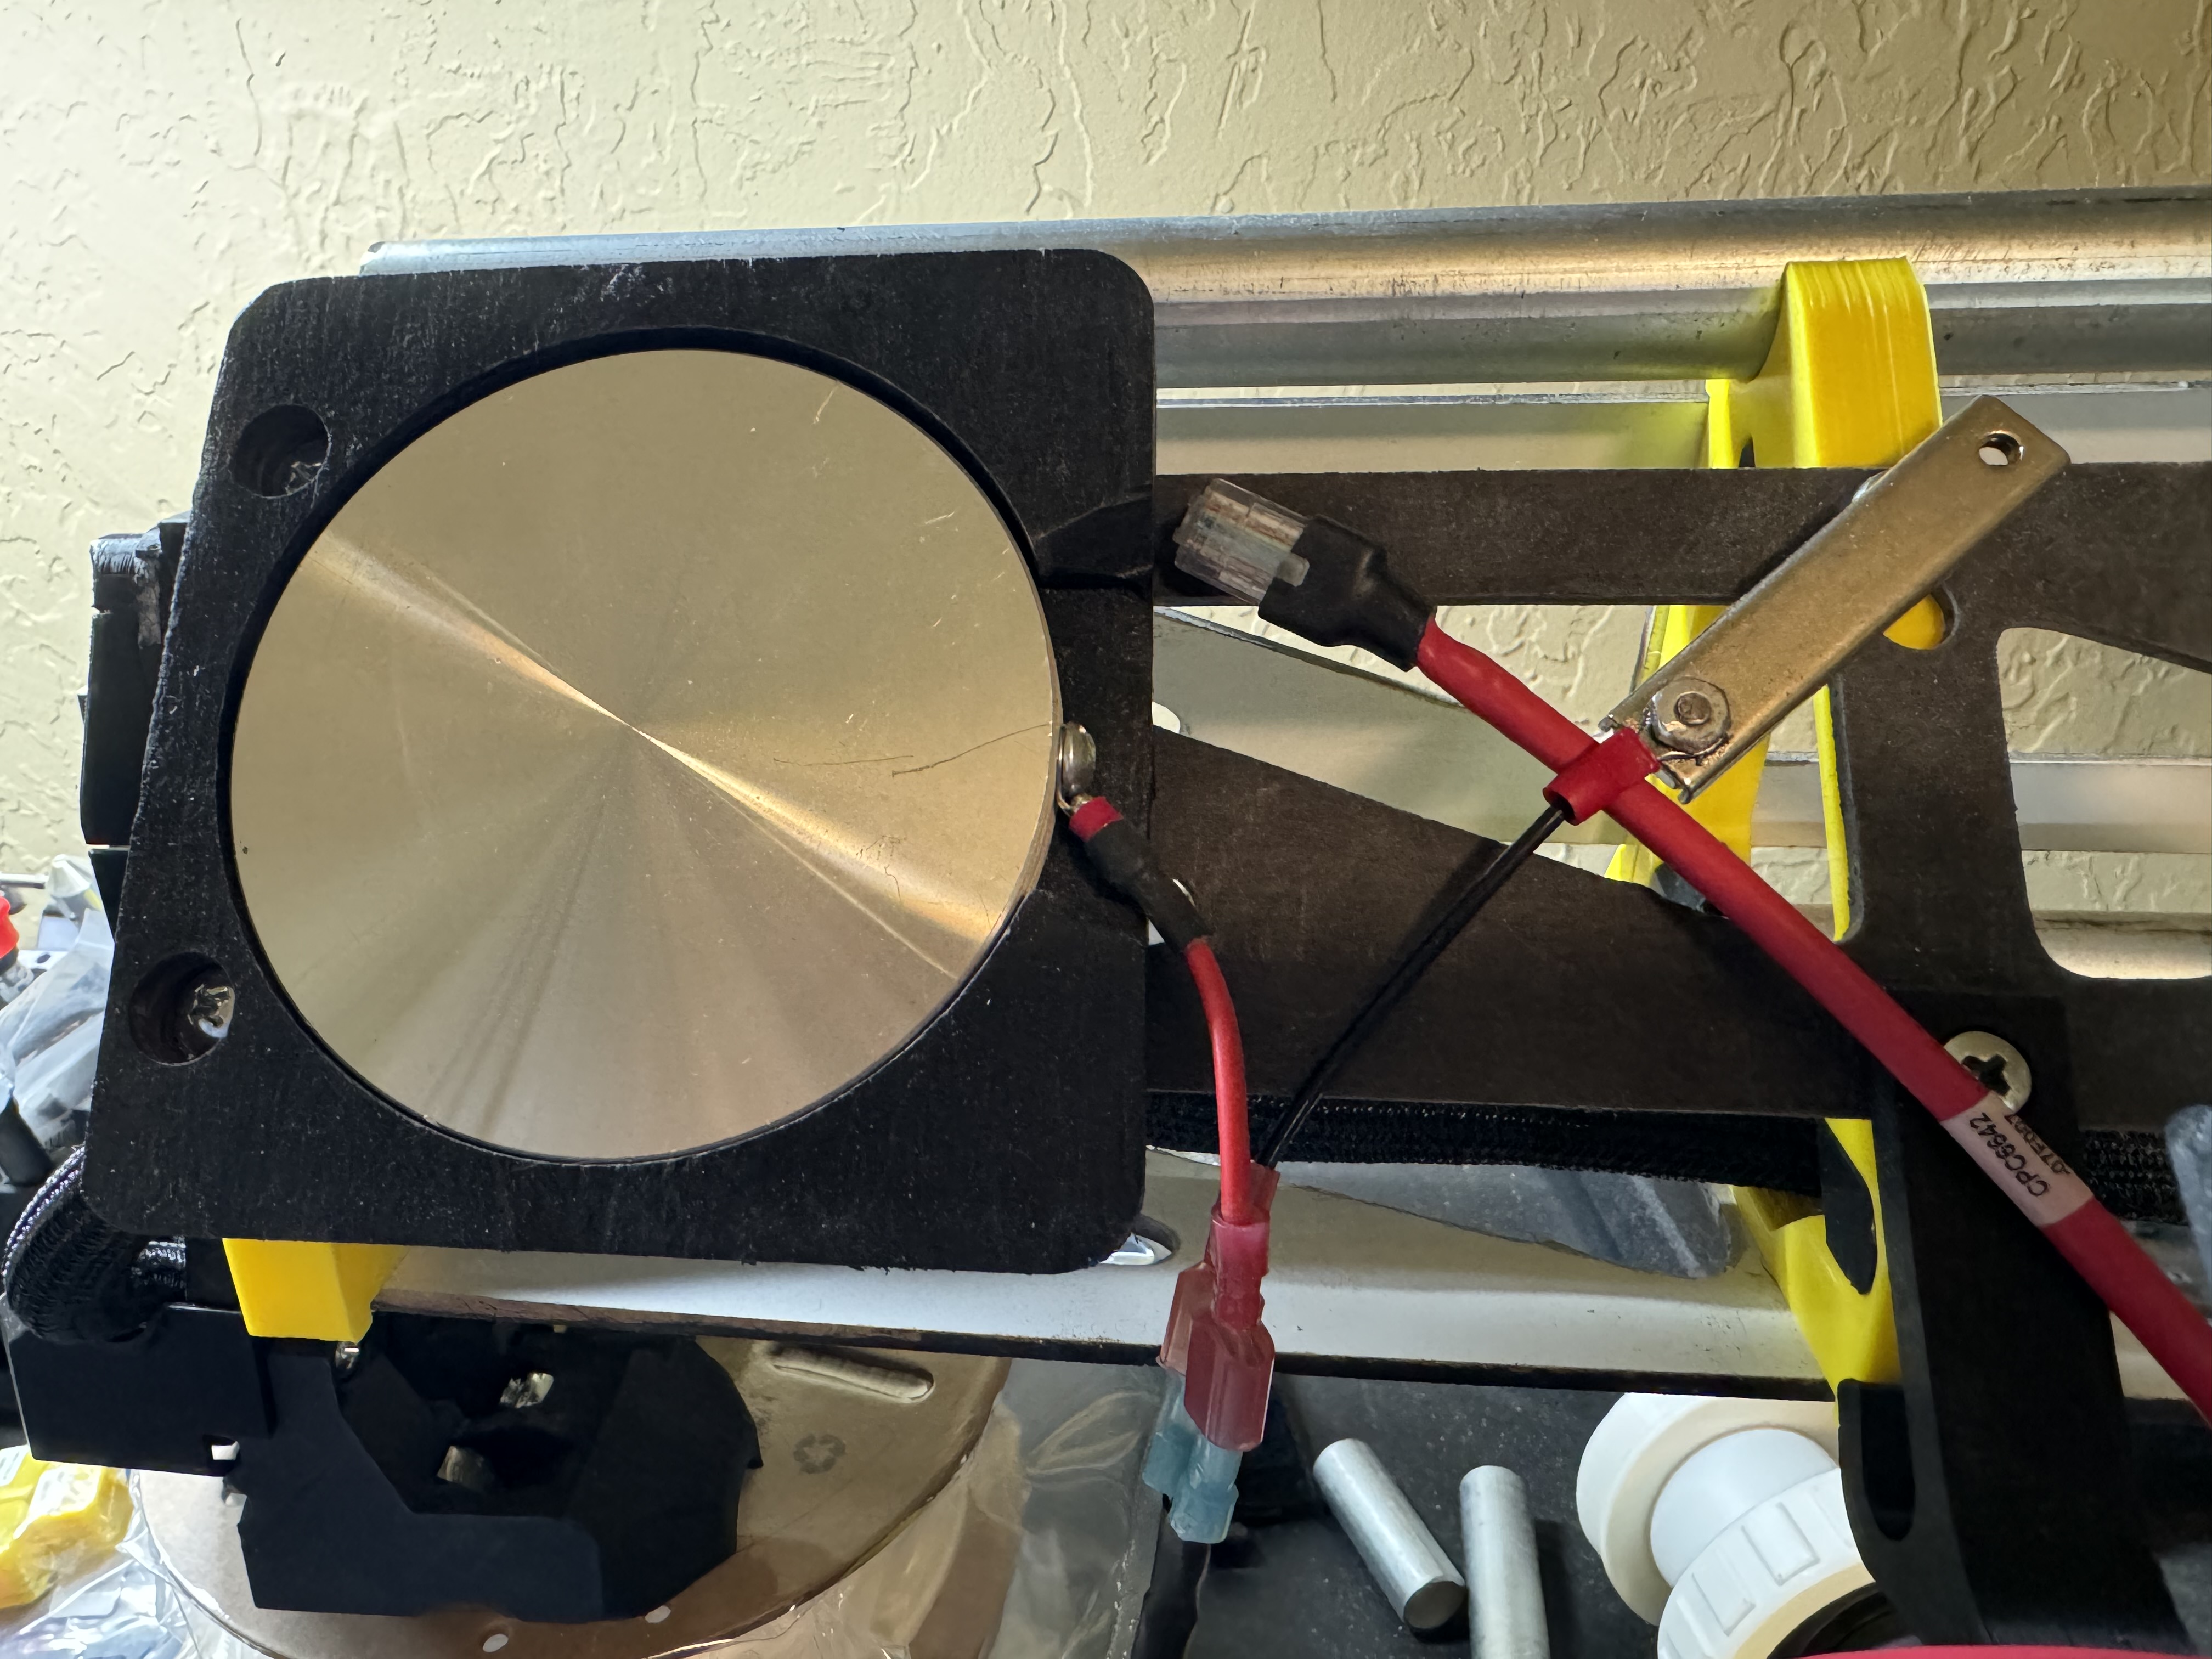
Got the new hose hangars printed and I like them for all but 2 positions… they just hold a little too well and don’t like to let go once the hose pops in there, reprinting 2 of the originals for the hose to just lay in as the x-axis traverses back and forth. Leaving one of the new ones at the far end for the dust collector end of the hose to lock into when moving the CnC off the table.
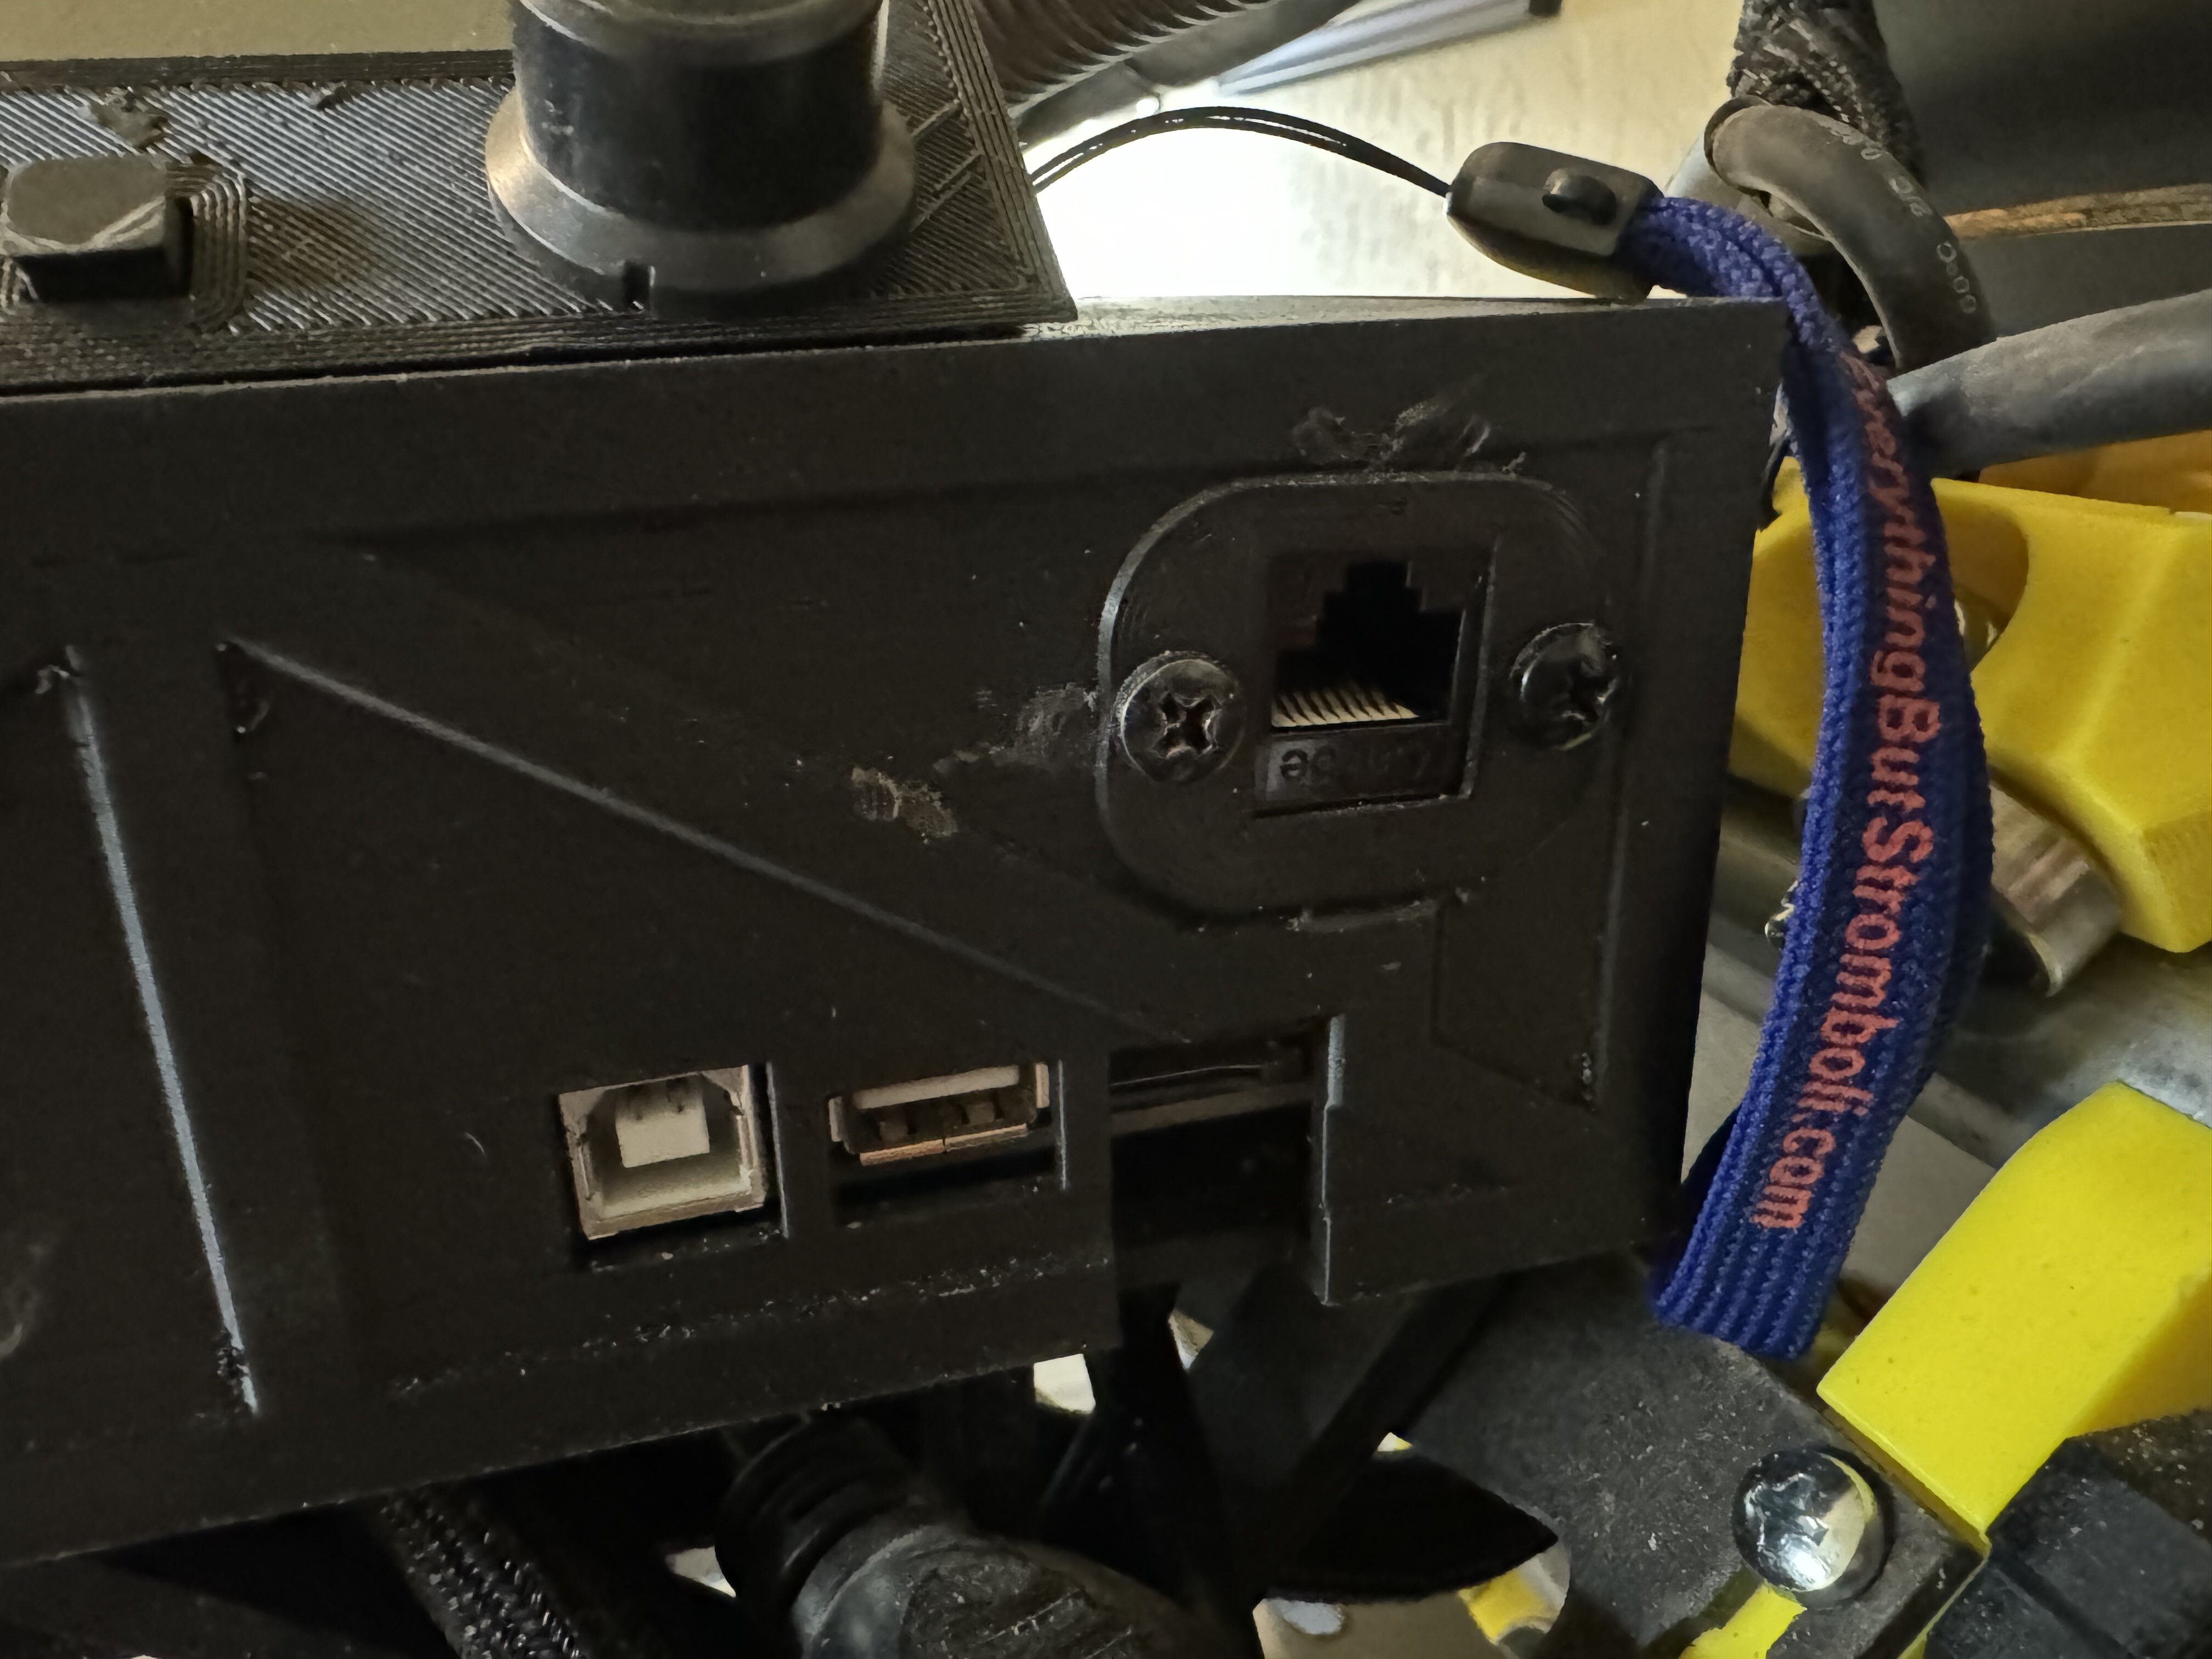
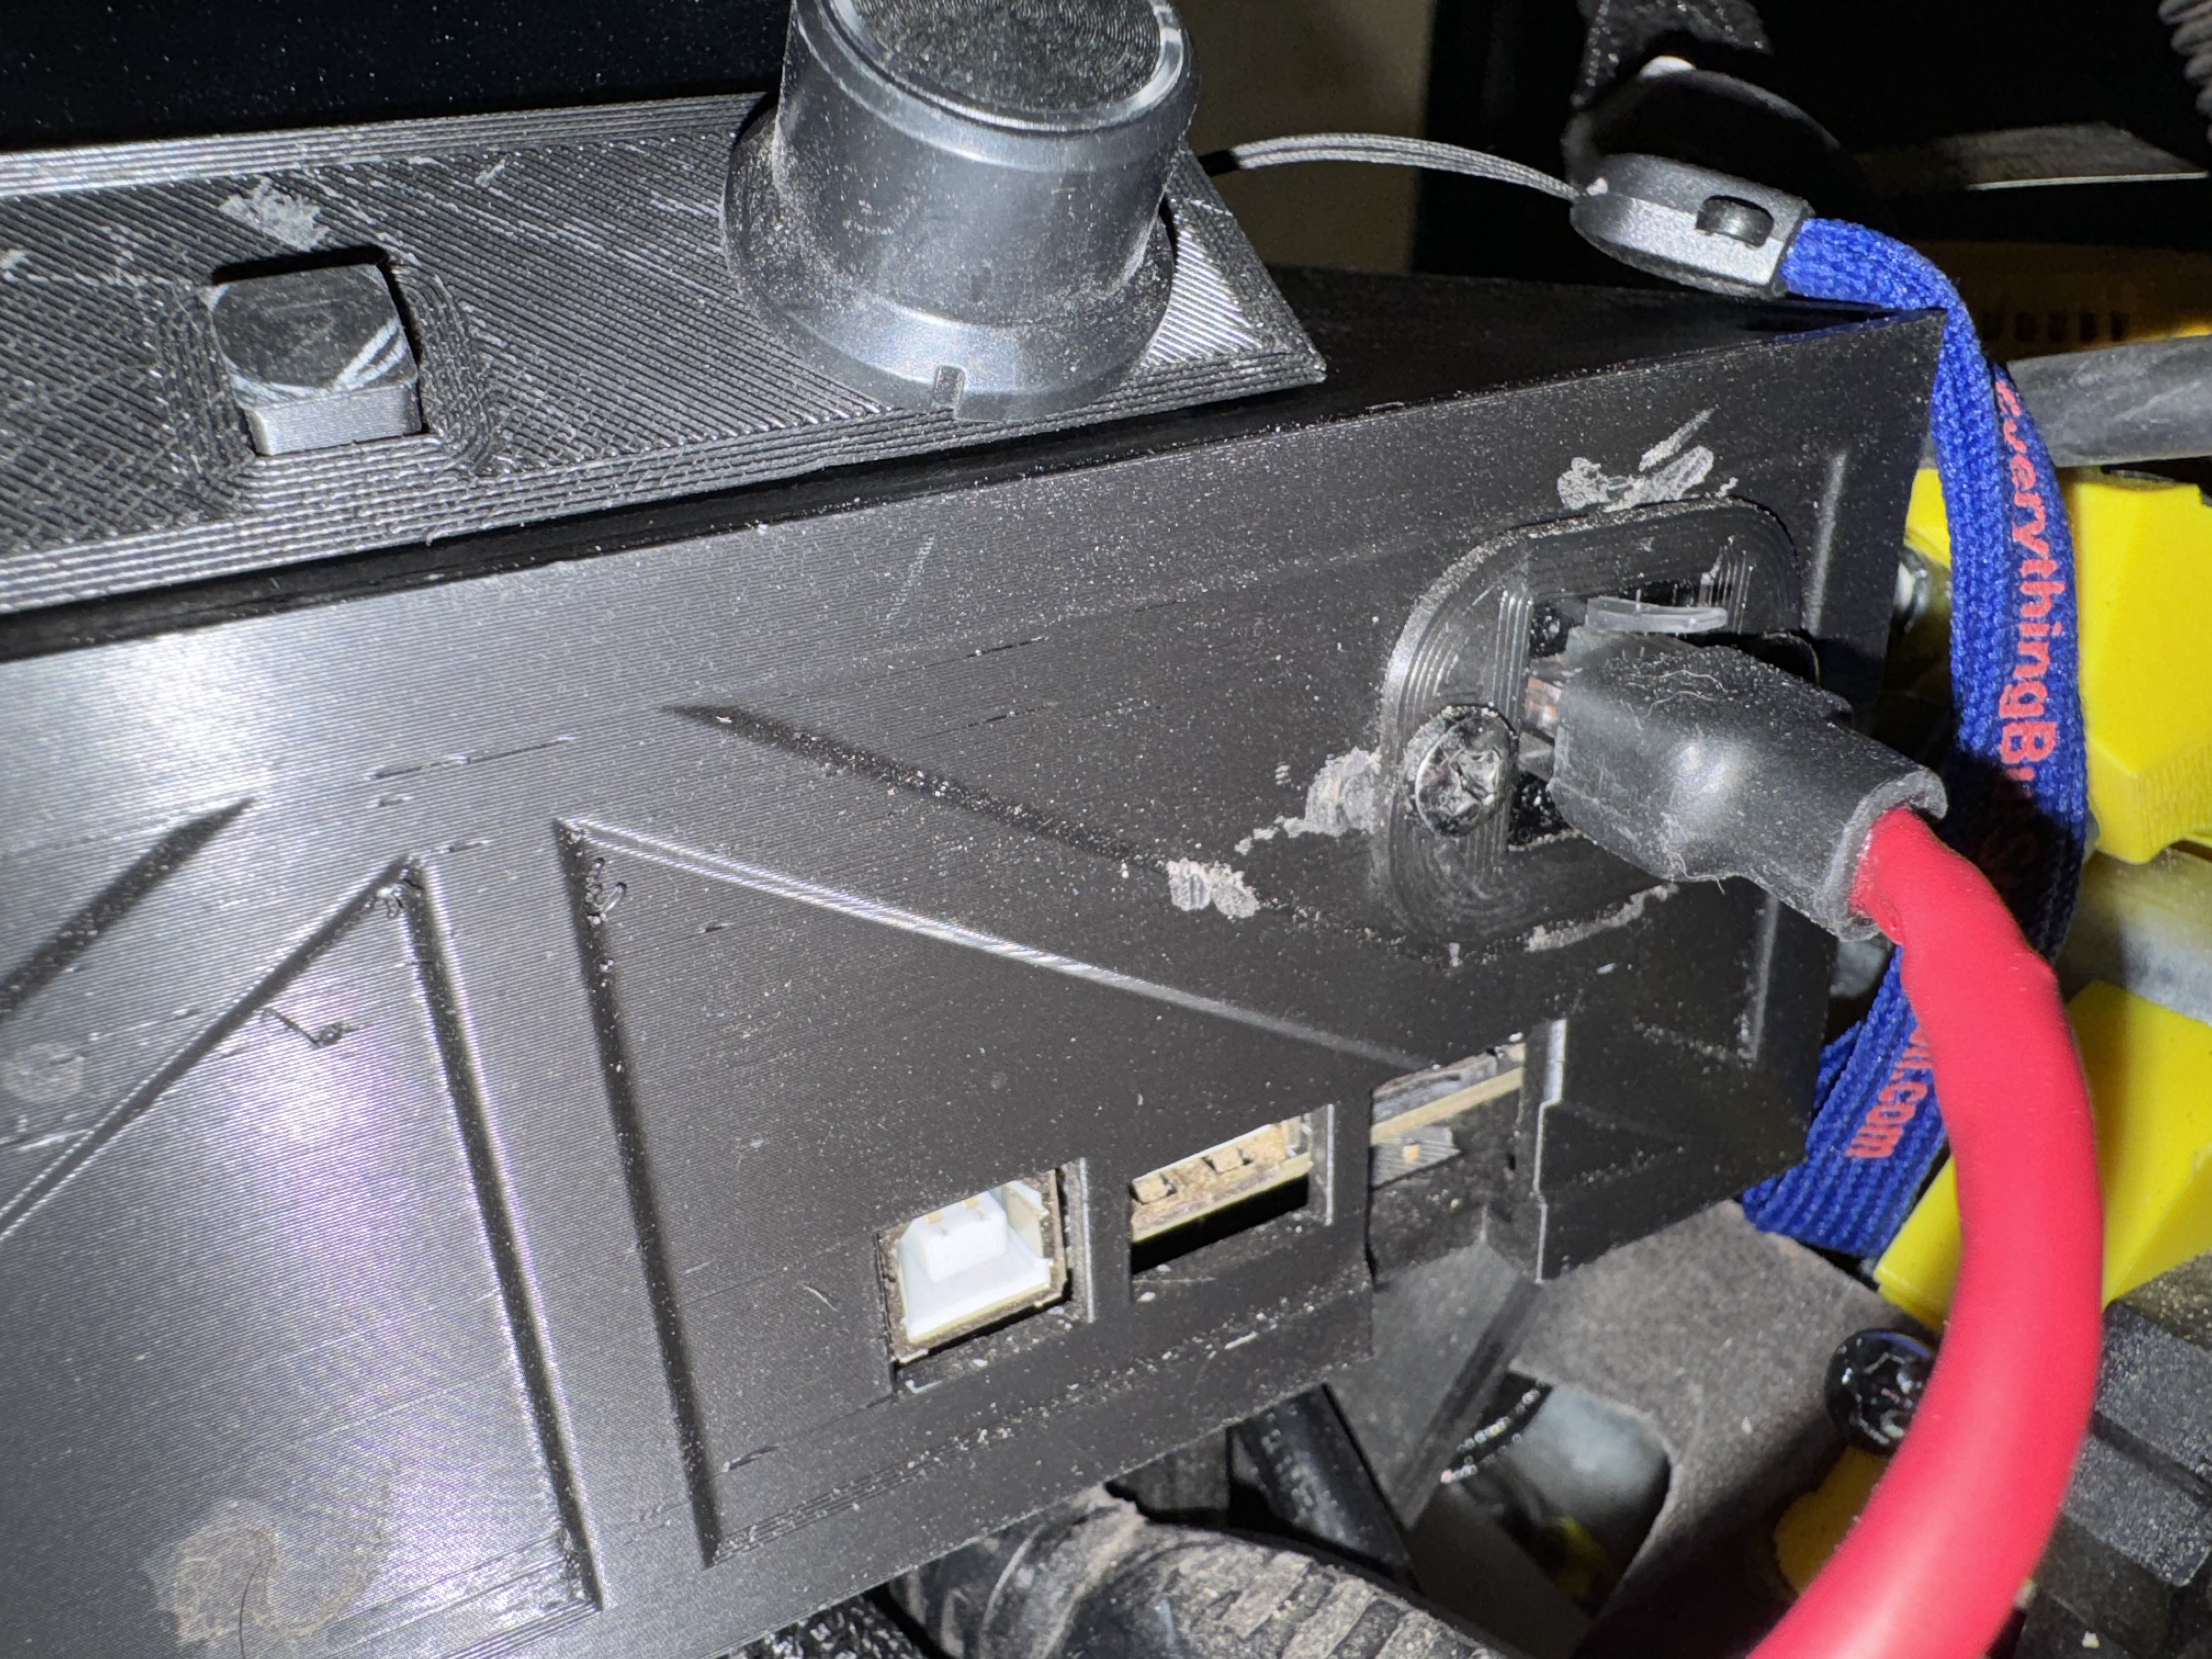
Then I finally got around to reworking my z-axis touch plate hardware to use a Cat-5 network cable for easy connection and removal. I installed the port key mount months ago and just never got around to changing the wiring.
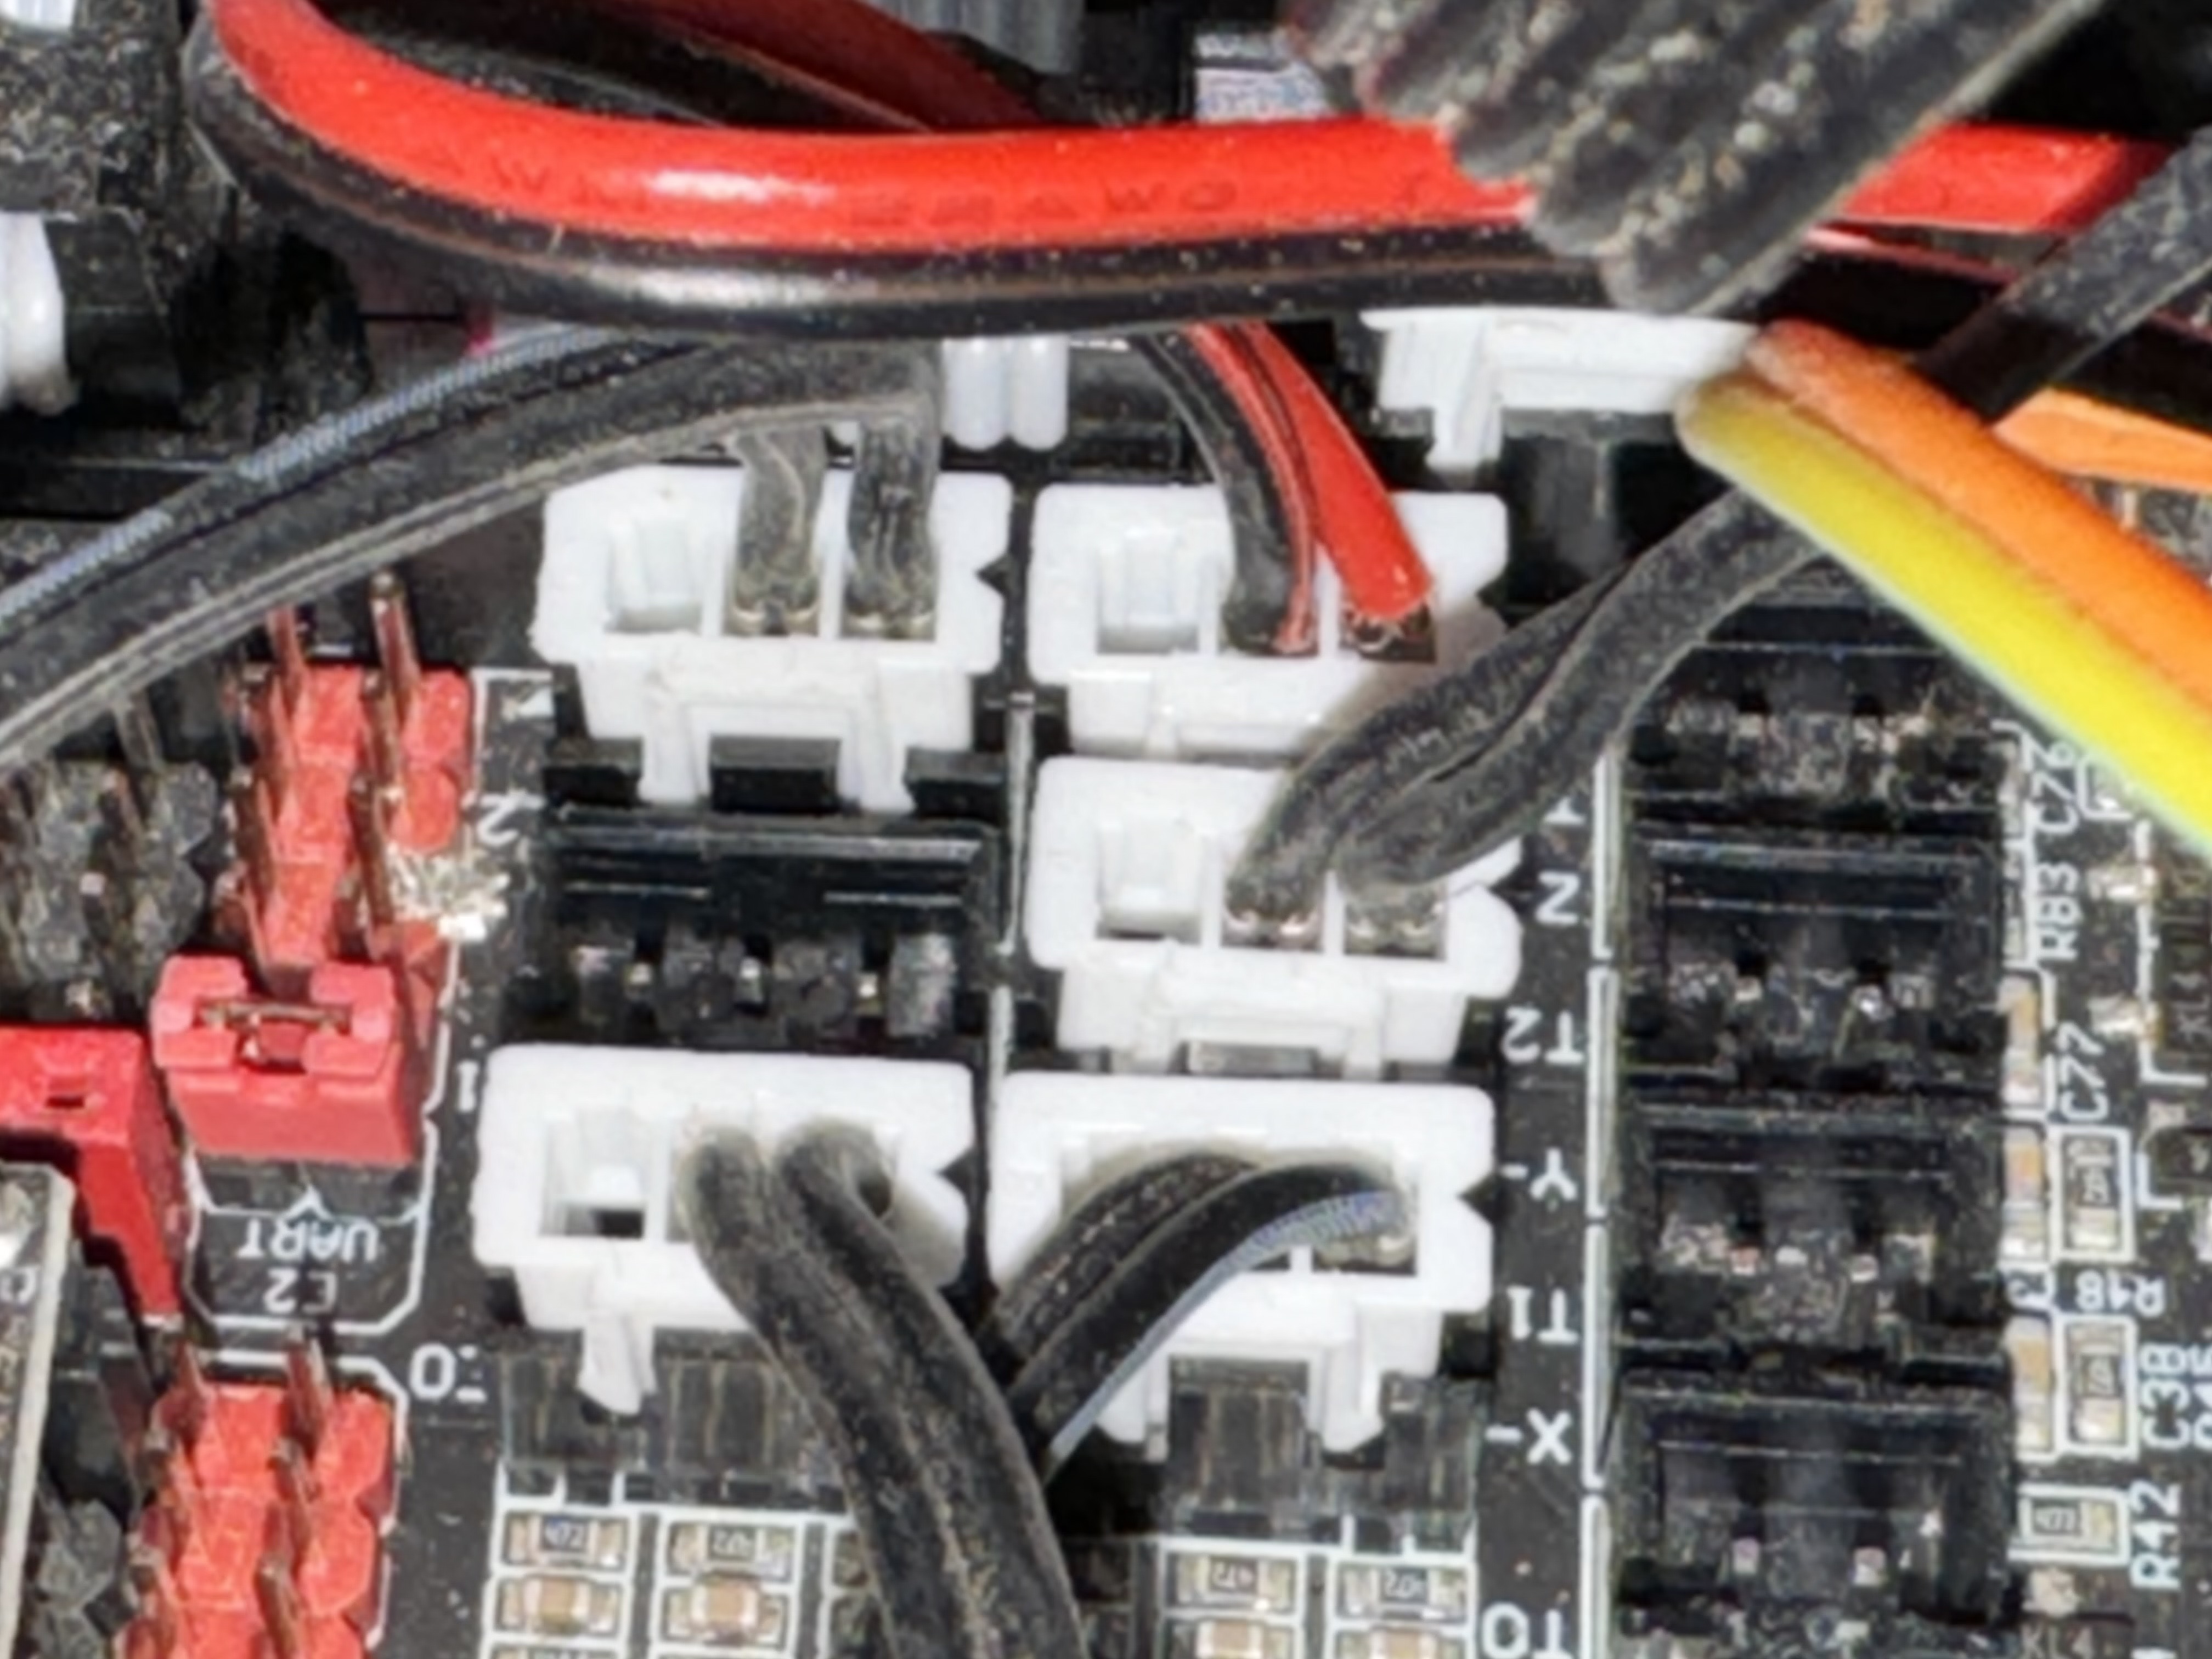
So apparently I marked all my steppers but not my end stops, so during final reassembly I had to test and move end stop plugs around.
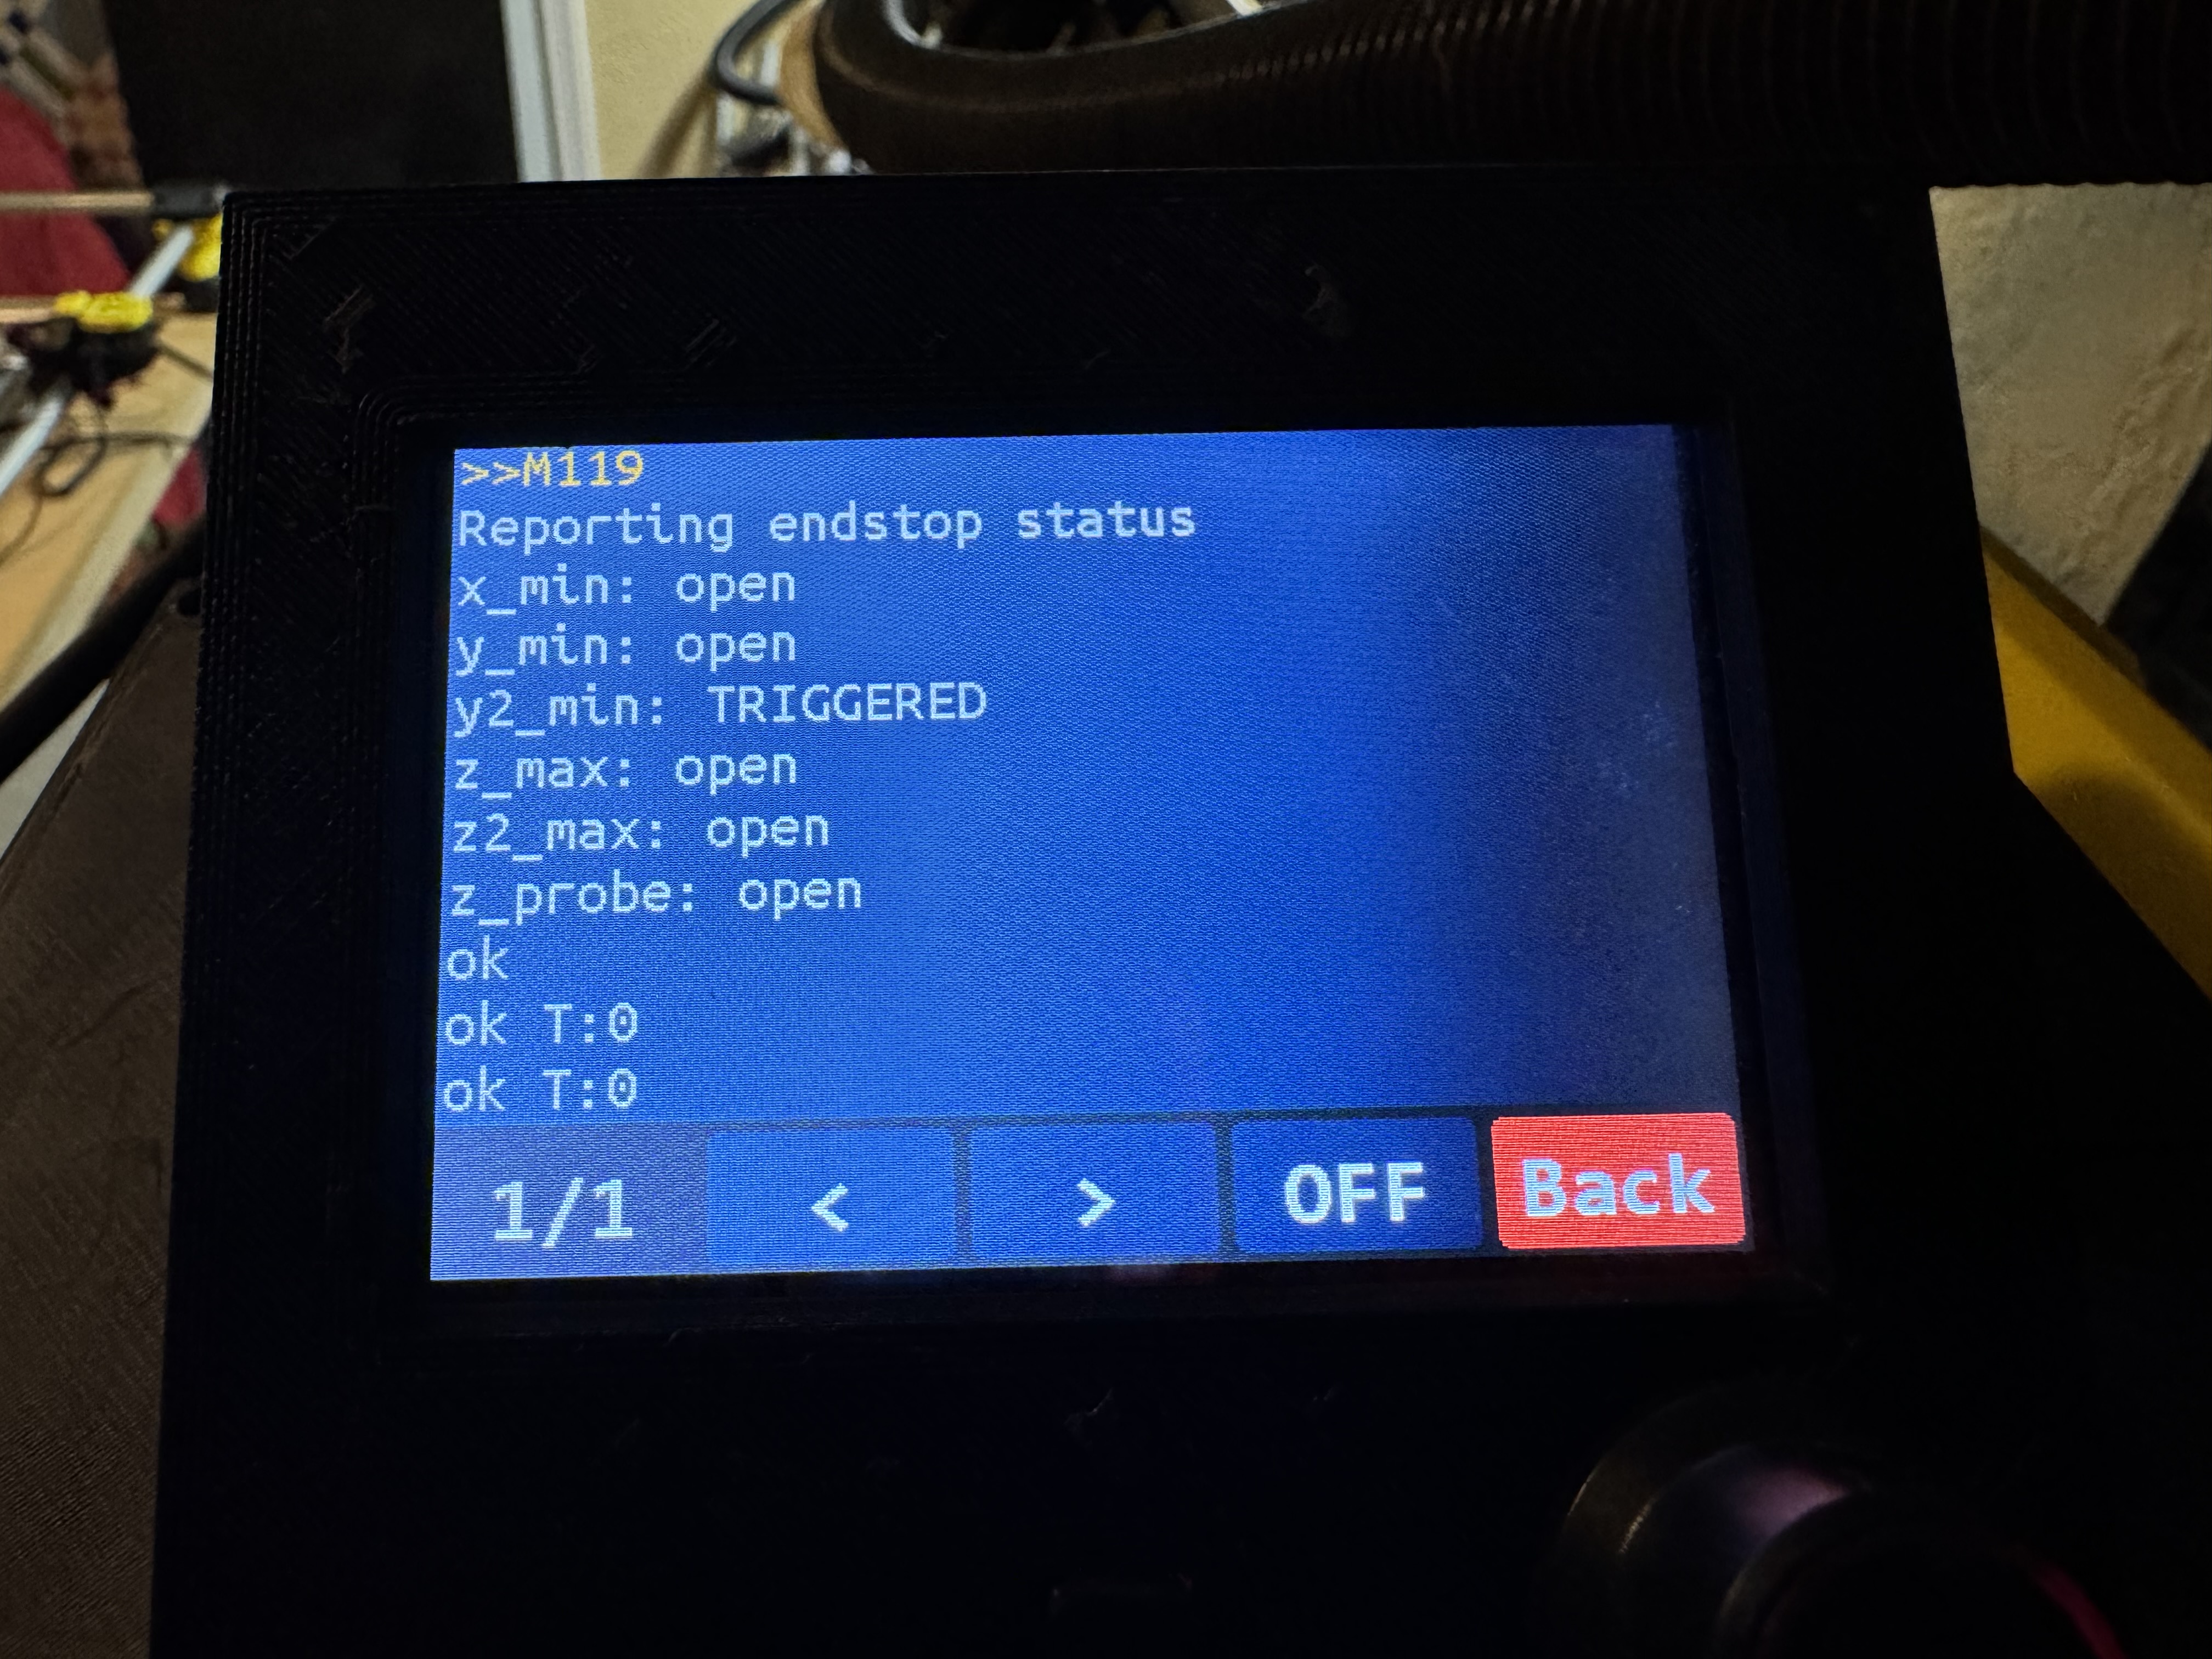
During my testing, I found that my Y2 end stop showed as triggered even when it wasn’t pushed in. Checked everything and still showed up triggered… UNPLUGGED it and it still shows as TRIGGERED.
(I’m totally printing new labels for both machines’ steppers and end stops tomorrow)
Also, fun story, if you leave your z-axis blocks in and try to test your z-axis steppers, it may totally rip your lead screw nut off. Ask me how I know… but we had 4 holes and instructions to only use 2, so it’s remounted and working fine. Used up a little tube of Super Lube and everything is rubbing smooth on the motor side of things.
WLED is pretty cool - be warned: once you get started it’s a whole other rabbit hole to fall down.
The LED strips on the underside of my LR3 are wled controlled 12v strips. They can do single colours or sequences.i normally have it on a rolling rainbow type thing.
I also have a jackpot on the new MPCNC and it would probably benefit from some led’s in the enclosure, so feel free to throw that tutorial together too, lol.
This is what I had earlier linked for that. Its from Ryan on how to make WLED change to different presets from gcode with the jackpot
You will still need a separate ESP32 to run WLED for the jackpot. Where on the SKR you can run the LEDs straight from the board and marlin. Its been a while since I have messed with it but these links should have a lot of the stuff where I was setting it all up previously.
You’ll have to do some digging through to find what you need but 90% of it should all be there. Any questions just ask and I’ll do my best to help you out.
So LED’s are a definite future state, but for now I decided to try out the 2 start 4mm pitch style lead screws to stop the gantry from dropping when the steppers power down. As @vicious1 states in the store description, “You will need to double your current Z steps, cut your Z top speed in half. You will have twice the power, at half the speed.”
I also found some references to an M92 procedure followed by an M500 to save the config. My current settings are as follows:
M92 X100.0000 Y100.0000 Z400.0000
M203 X50.0000 Y50.0000 Z15.0000
If I’m reading this properly, I should send the following commands to work with these new lead screws.
M92 Z800
M203 Z7.5
M500
Does that sound right? Or do I need to go to the firmware to set this up properly?