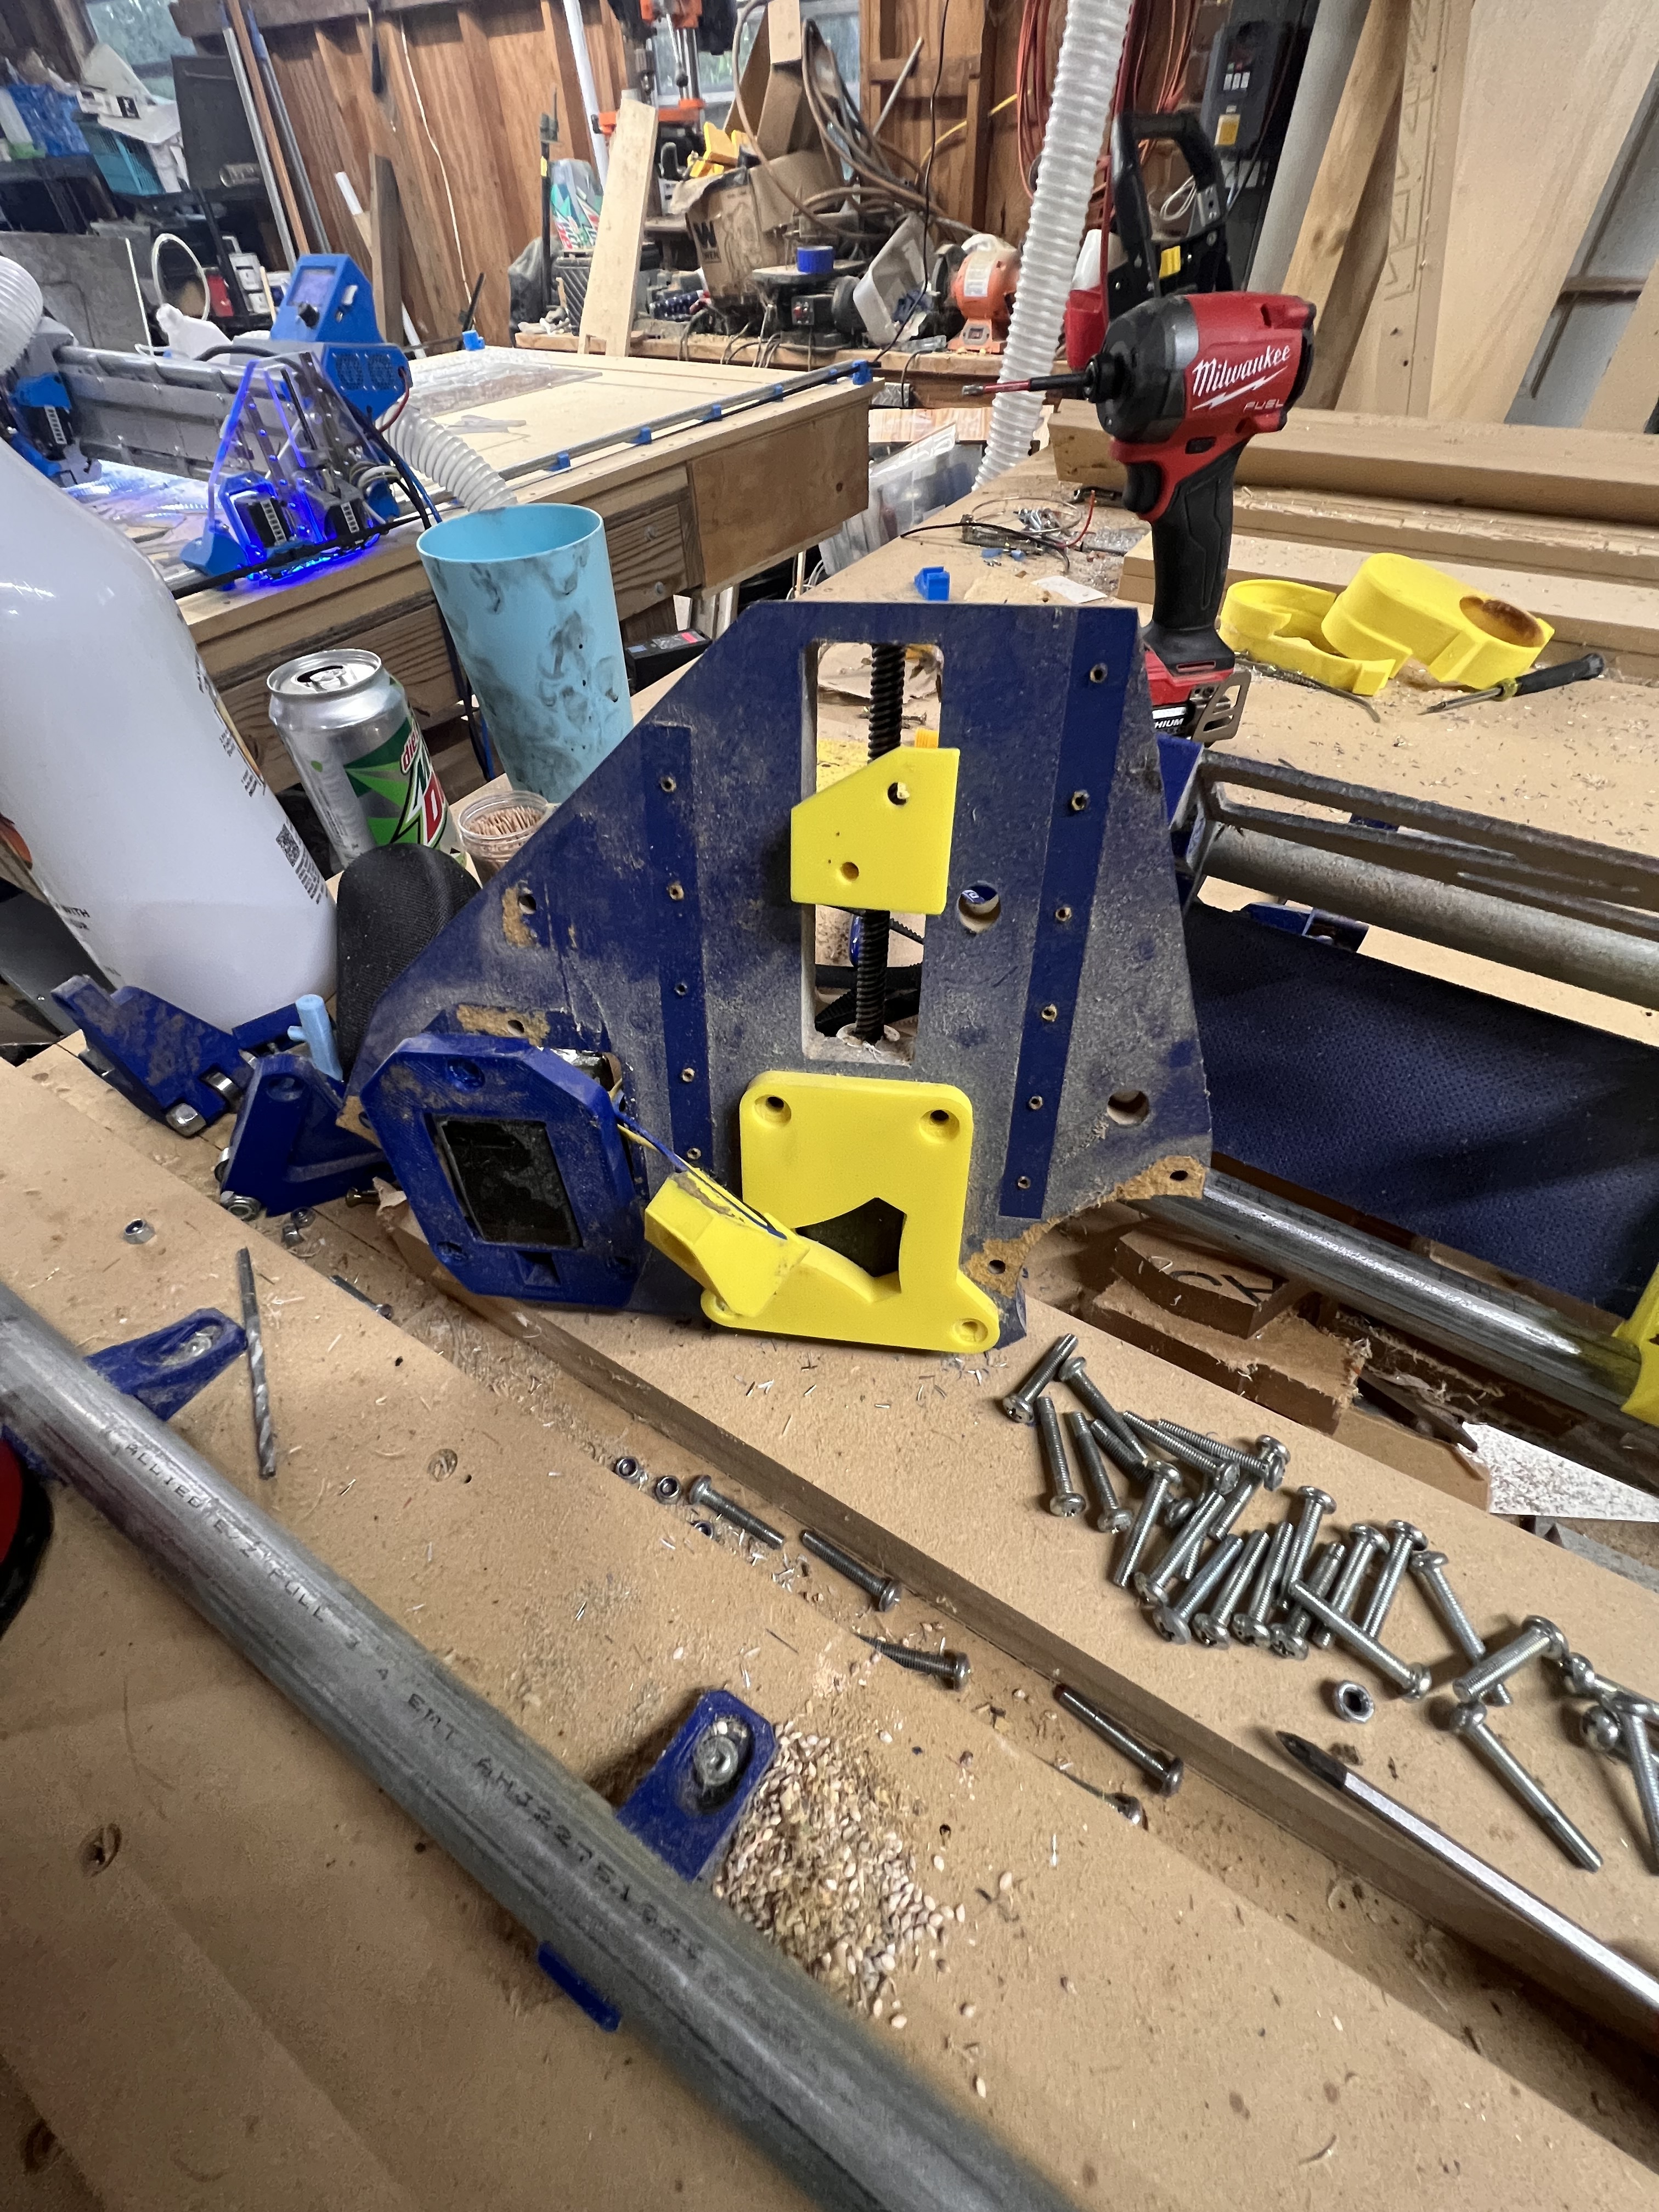
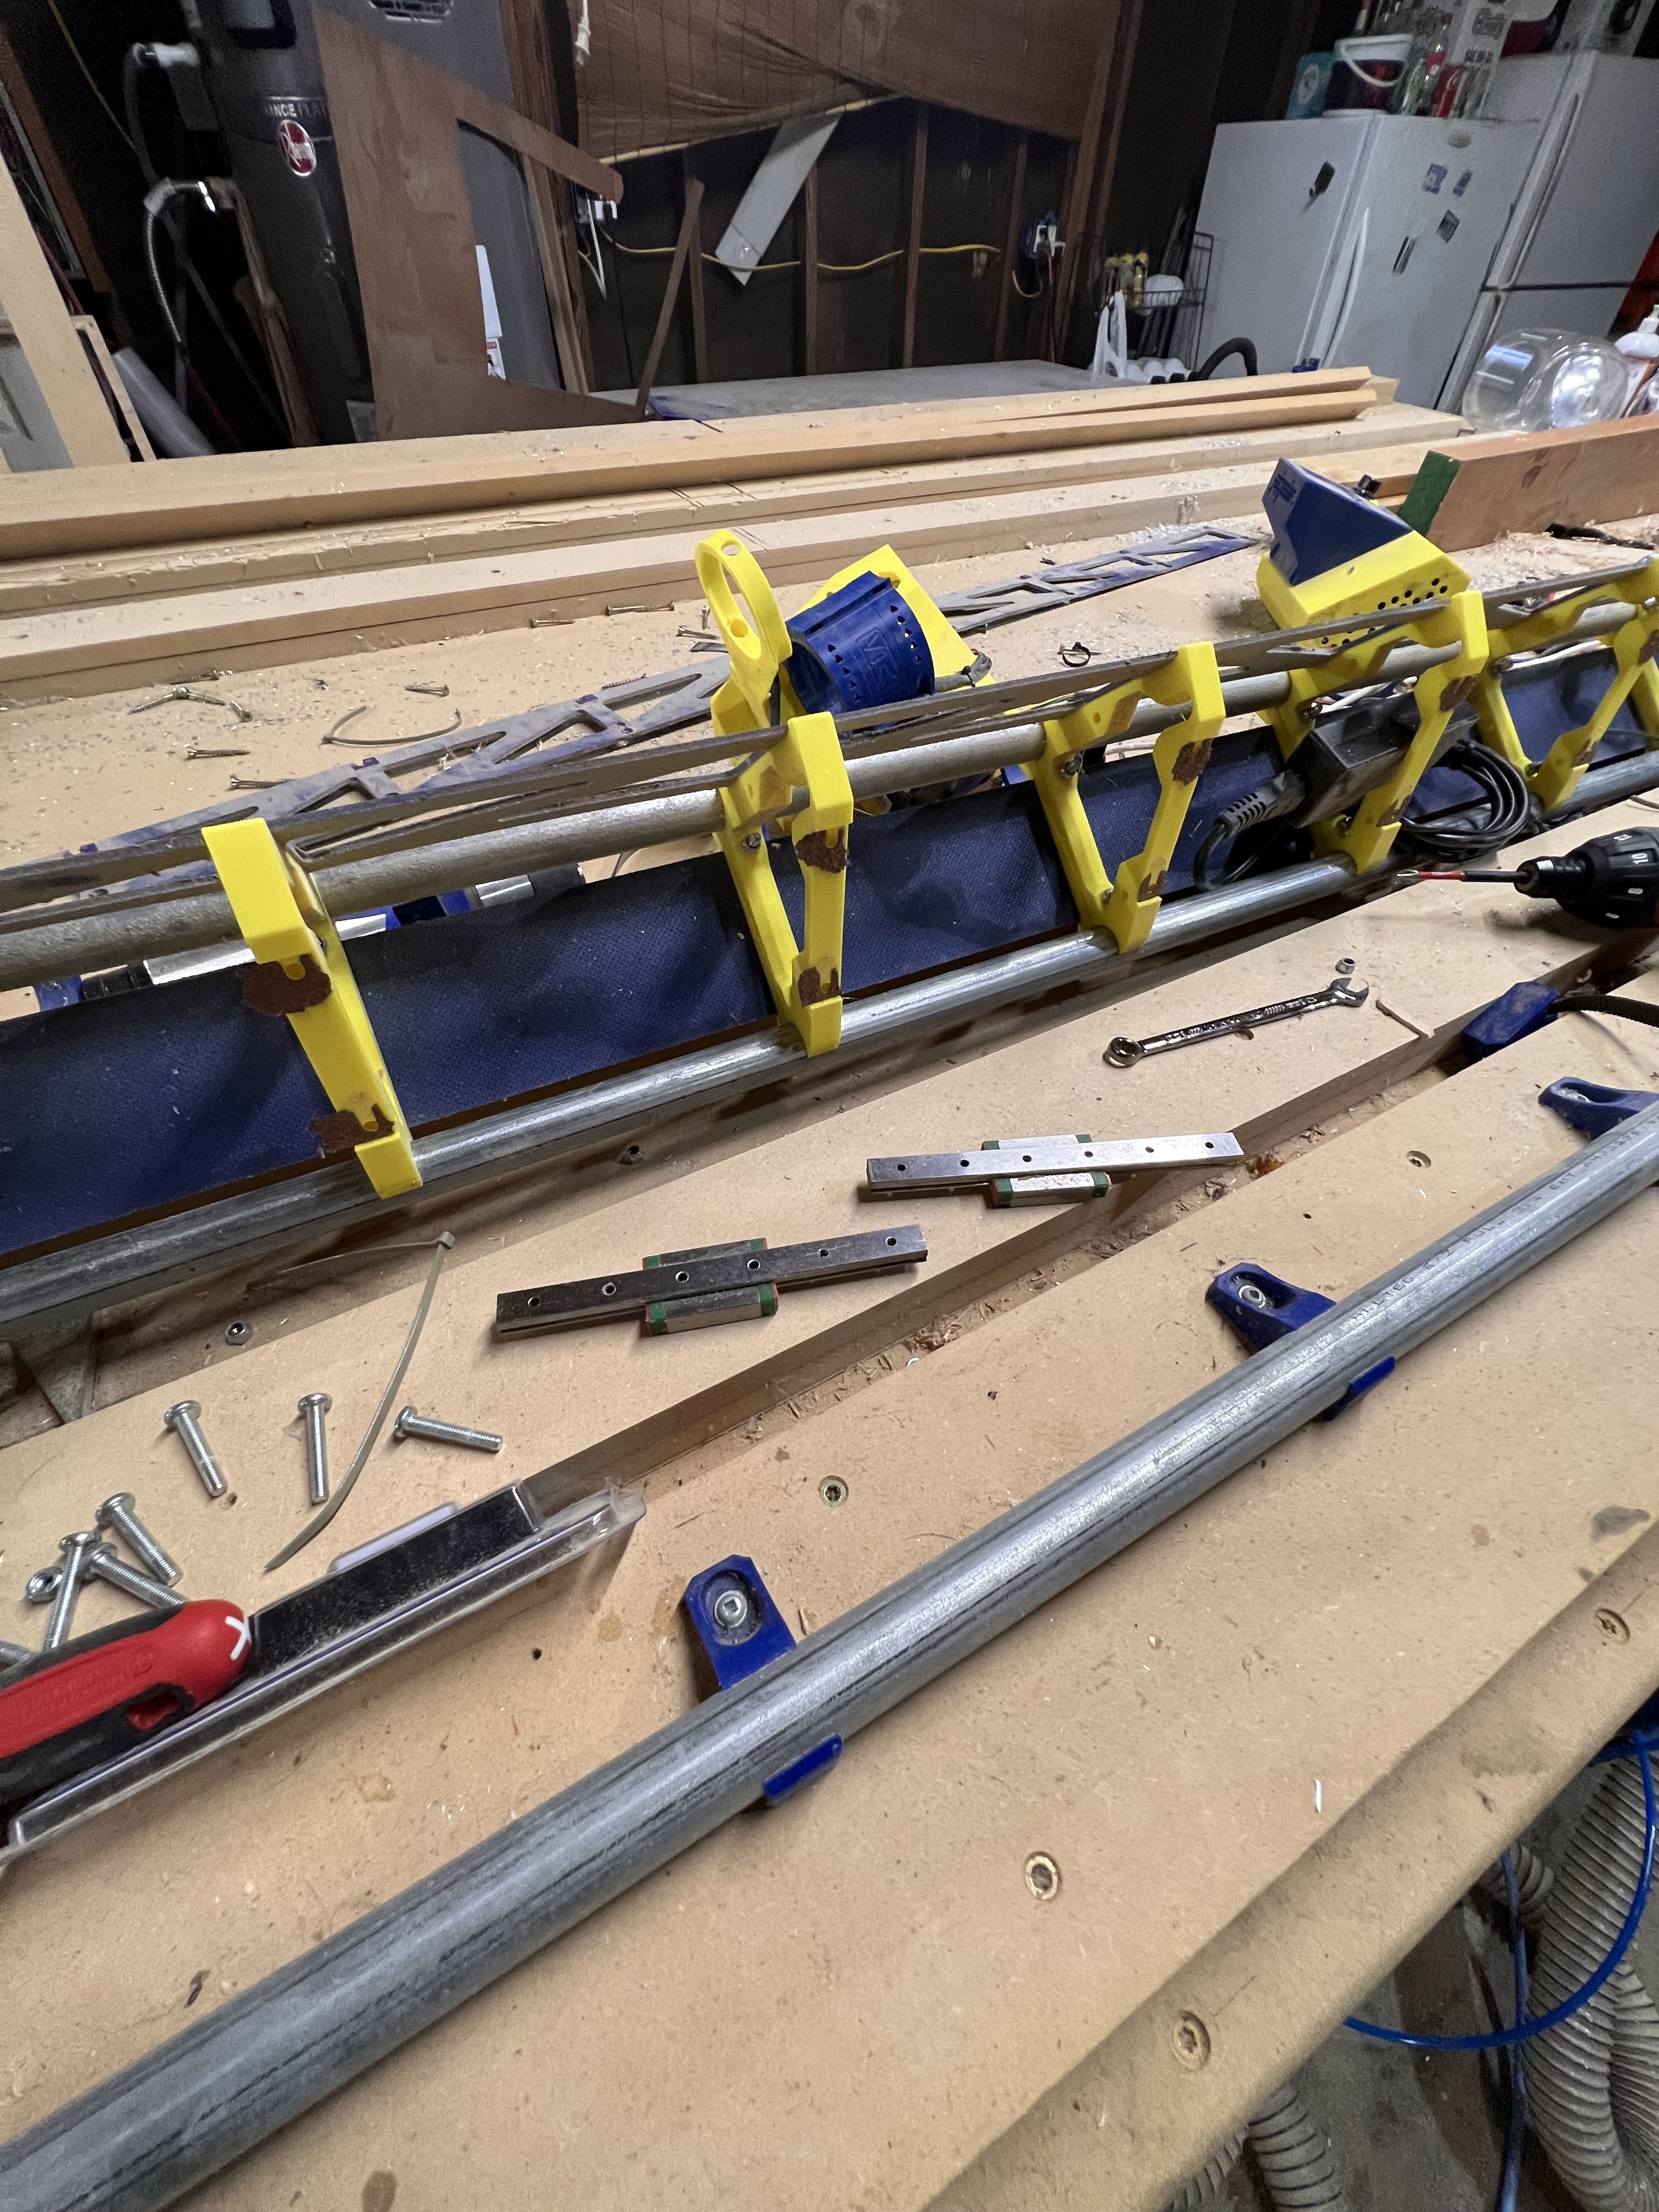
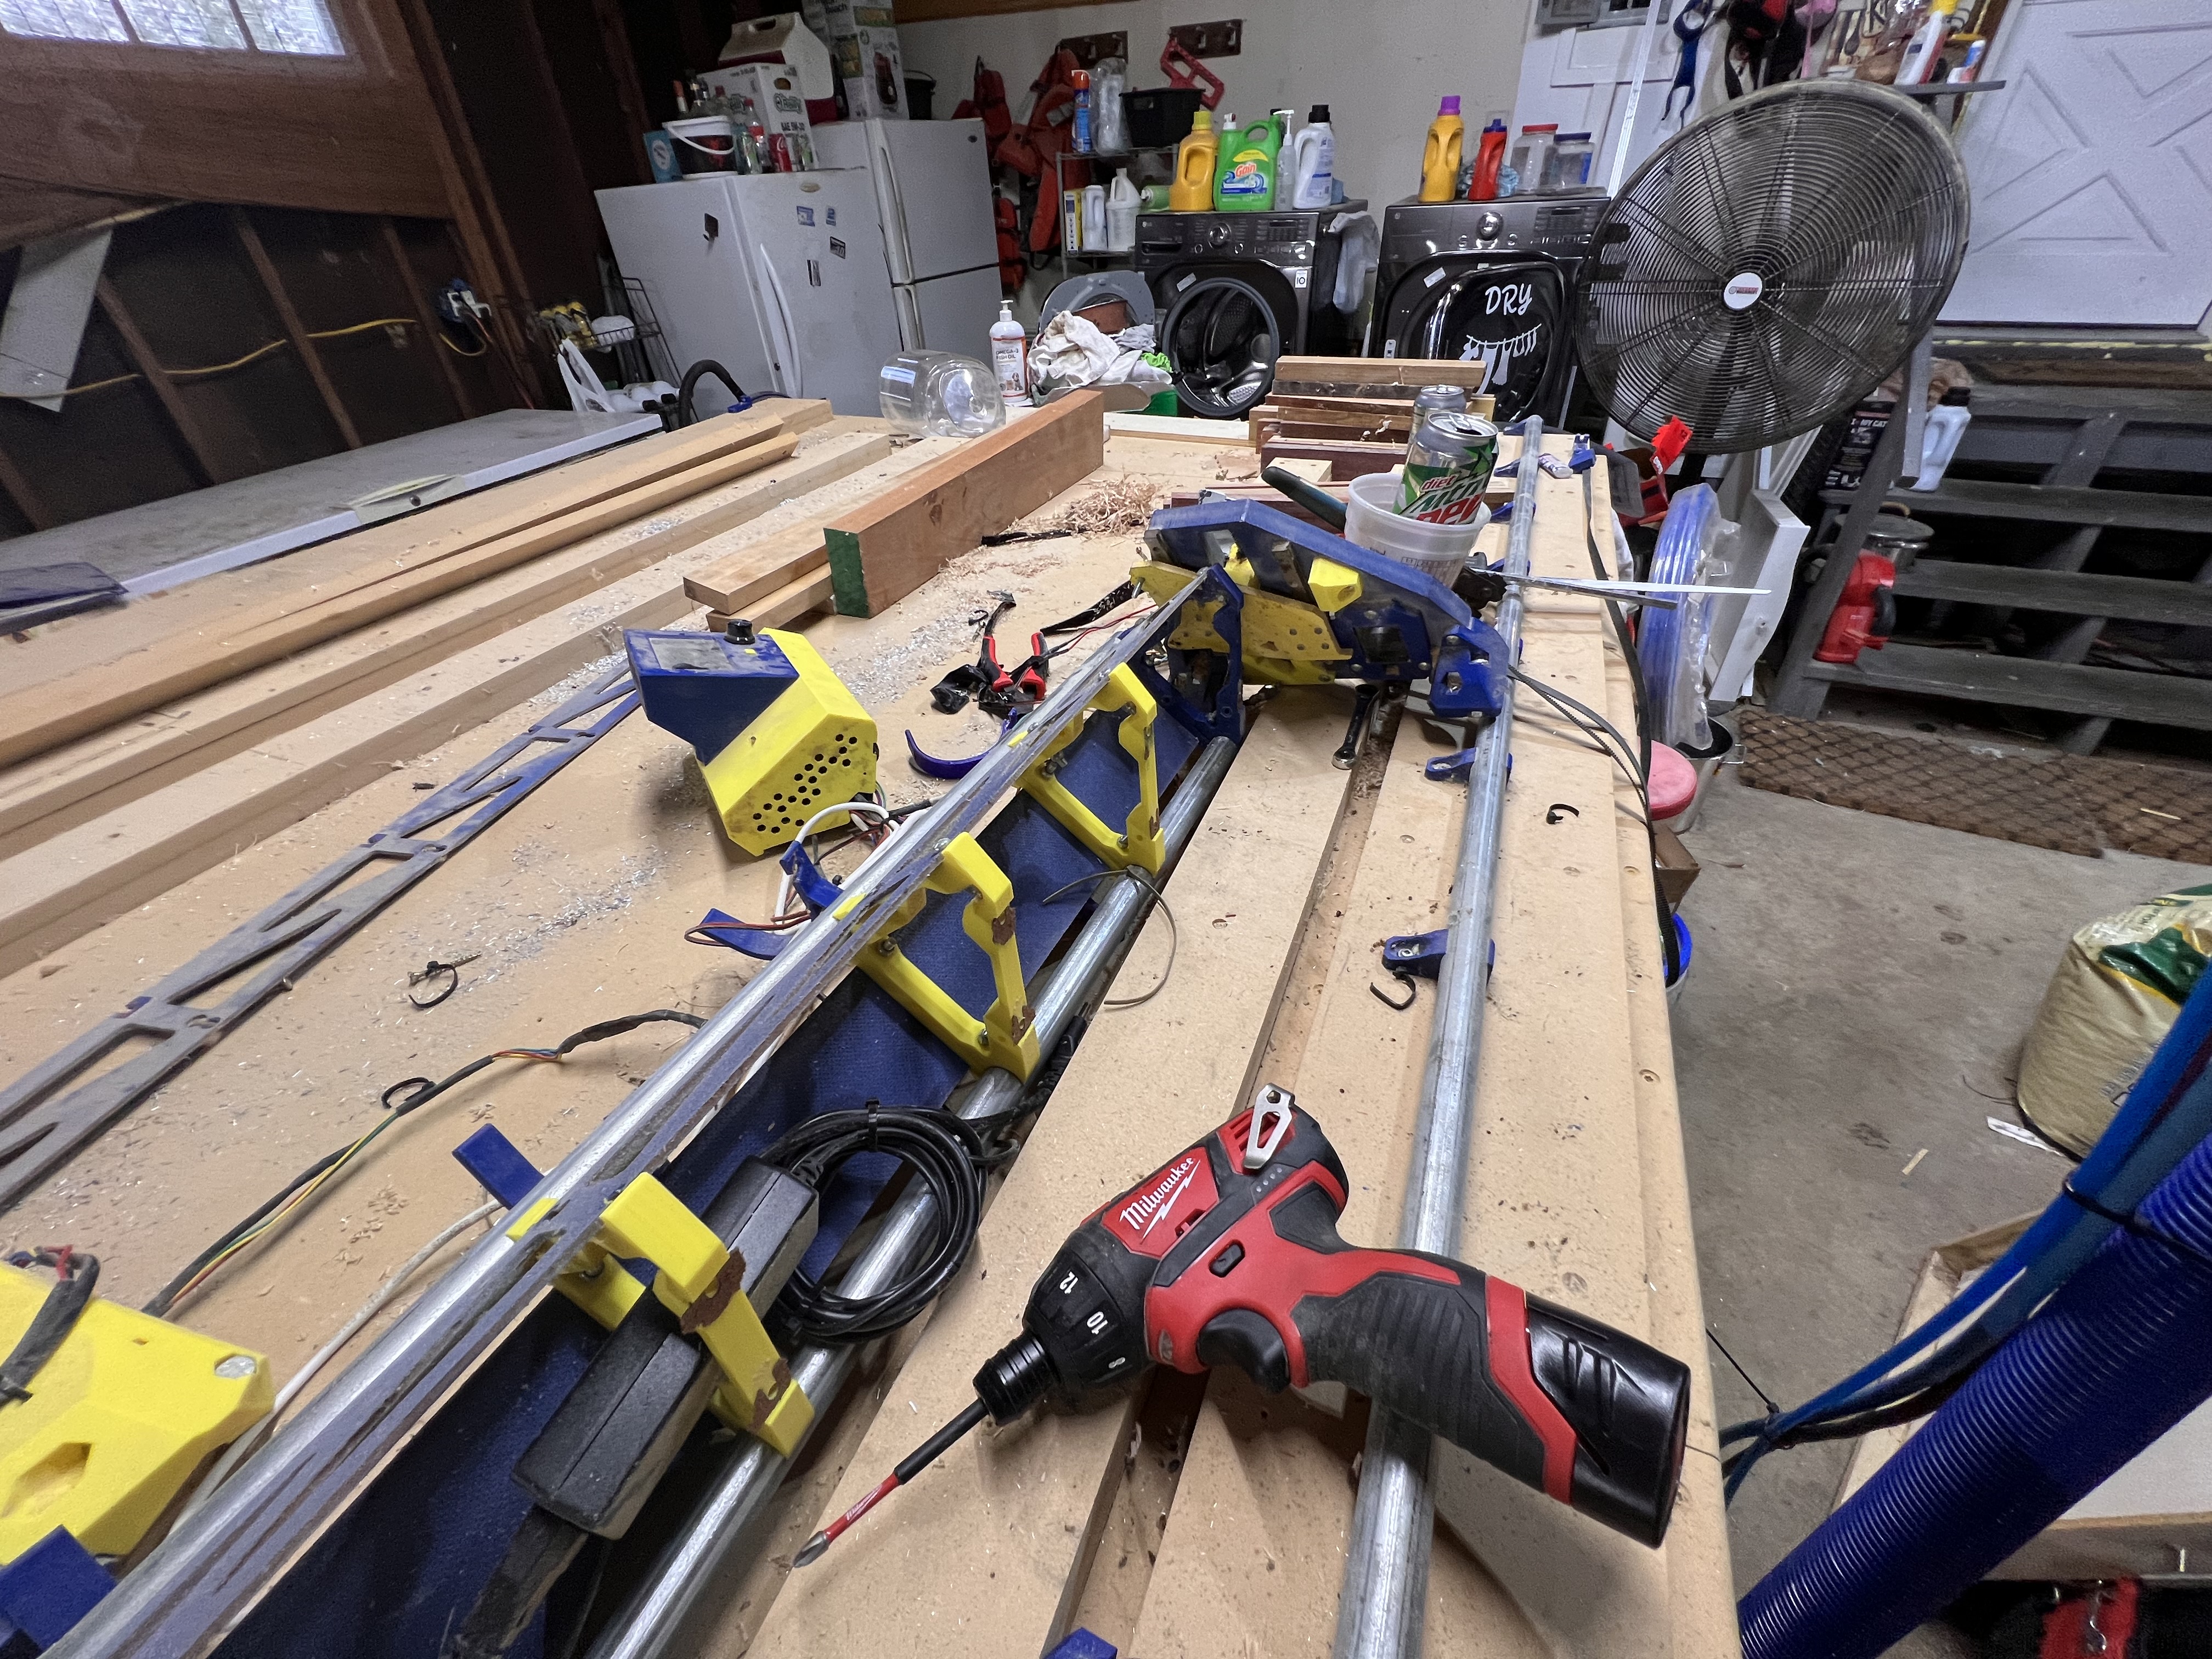
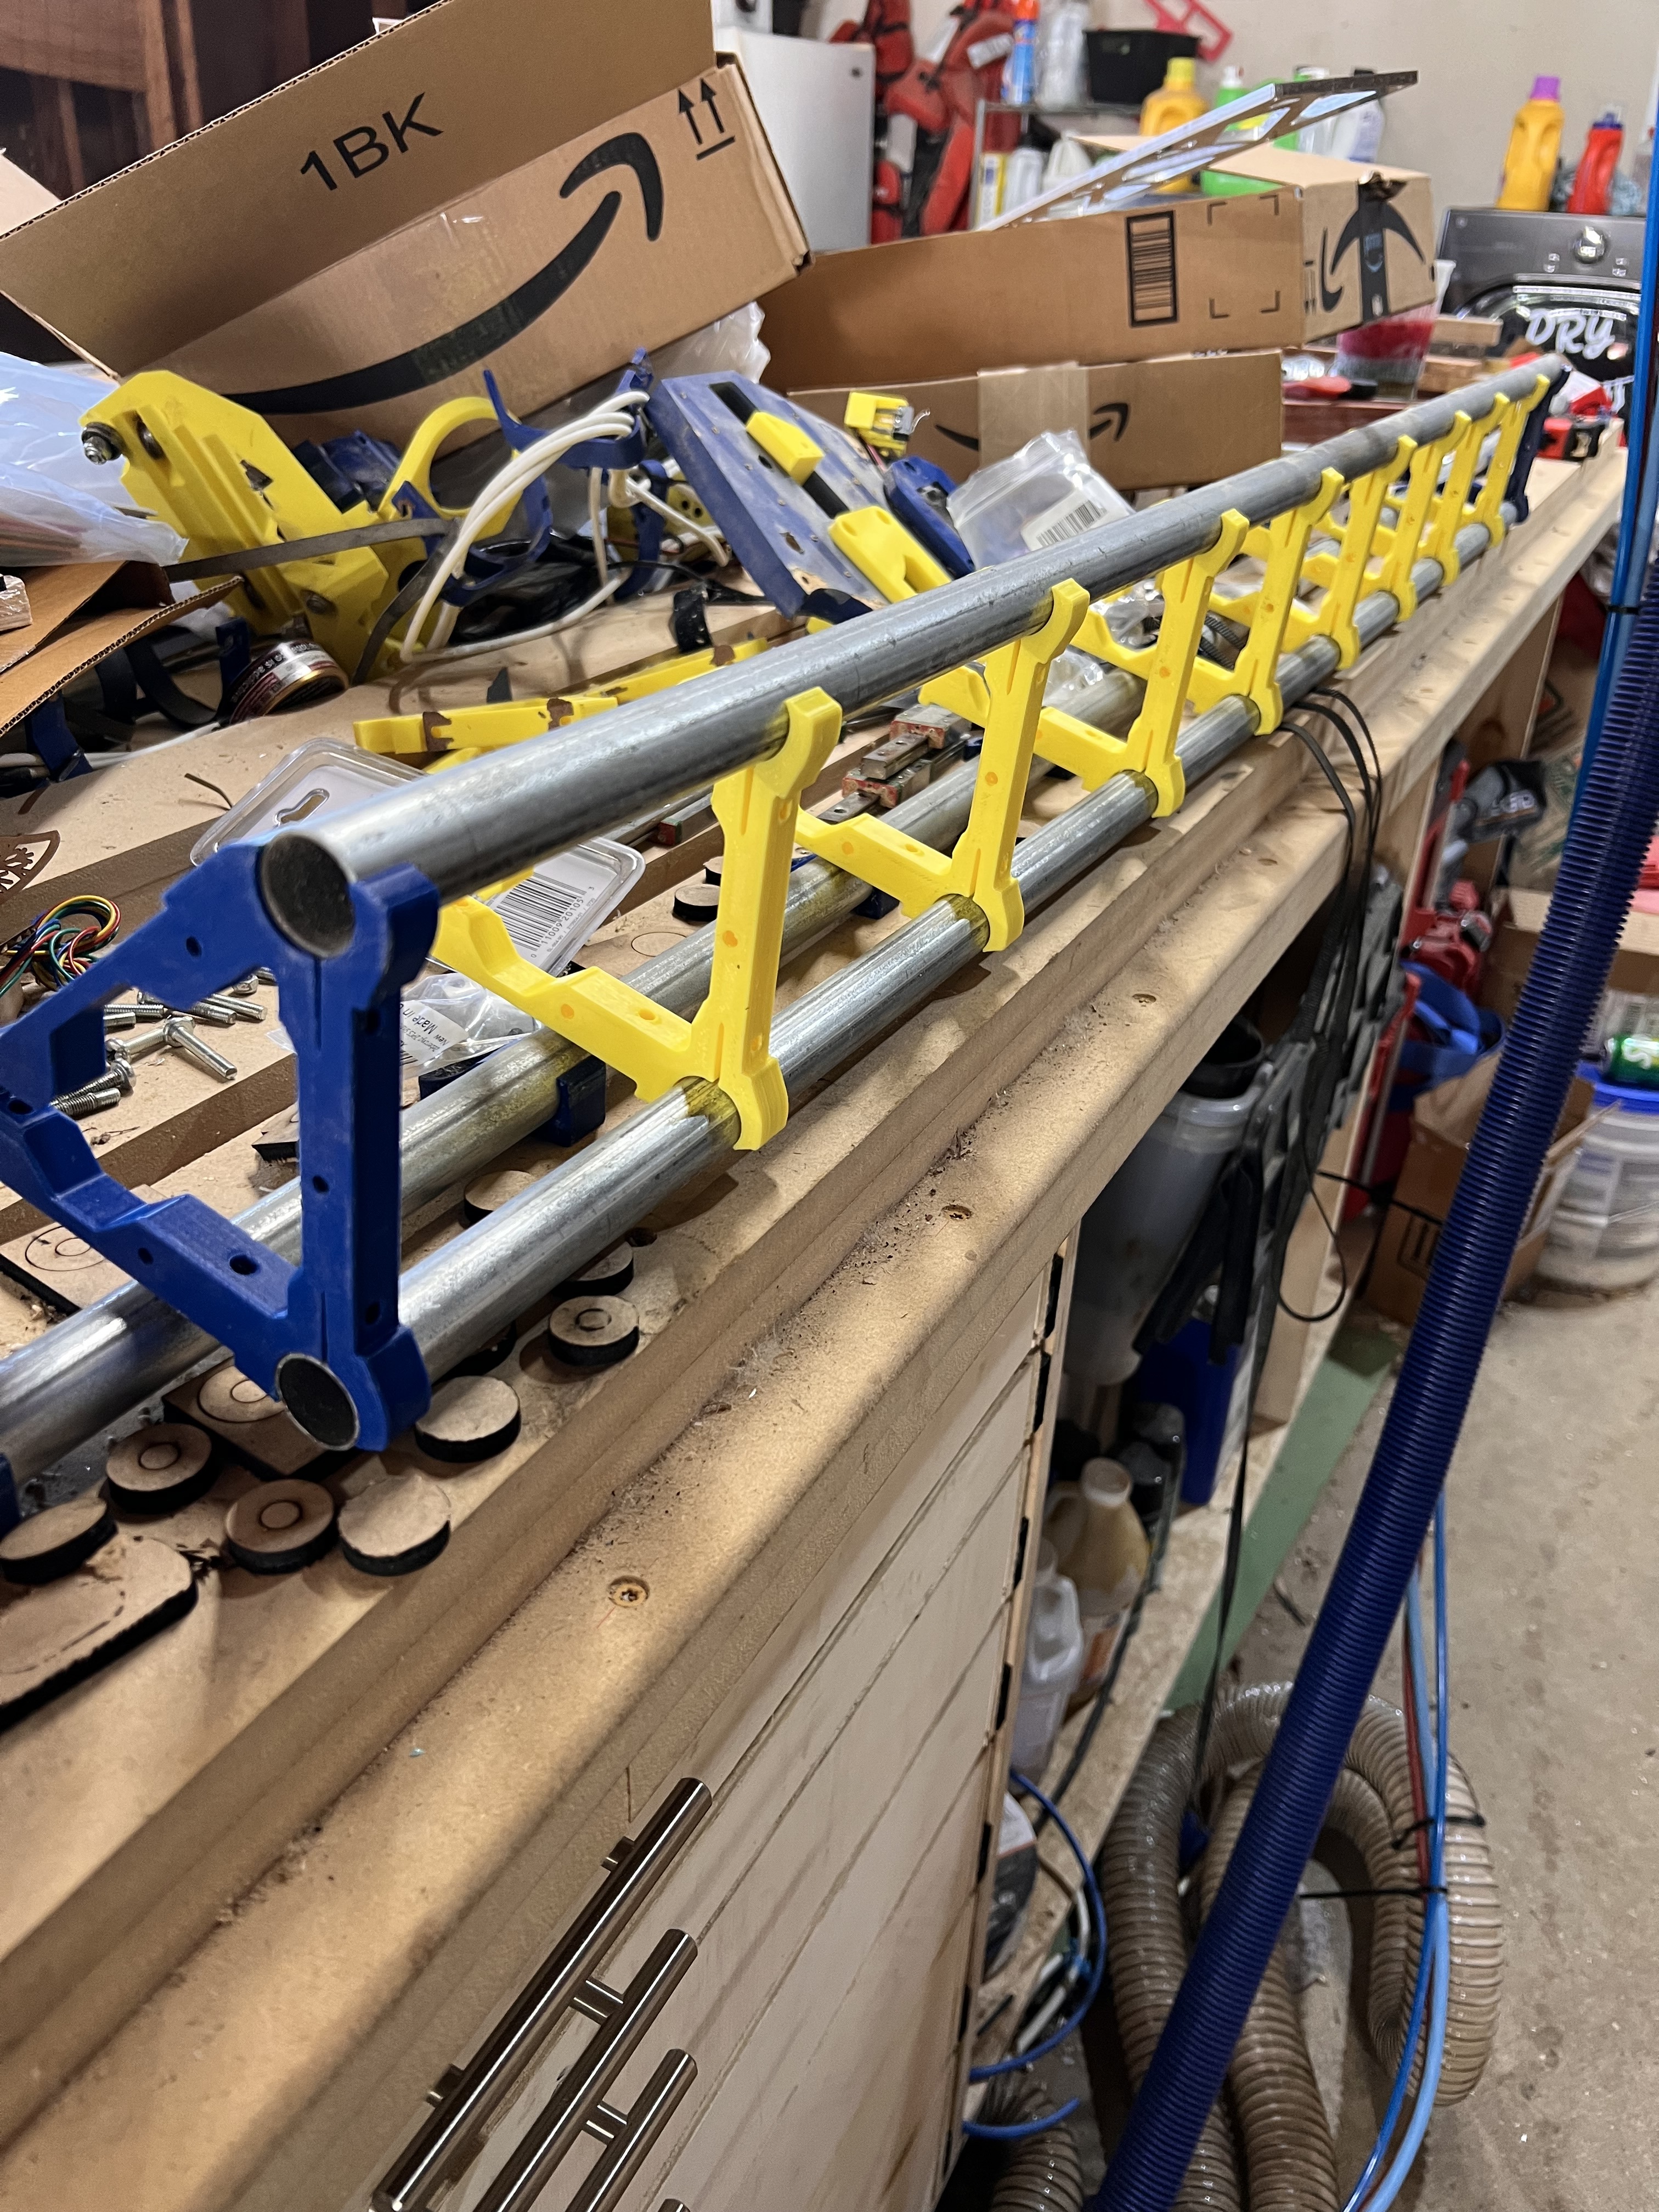
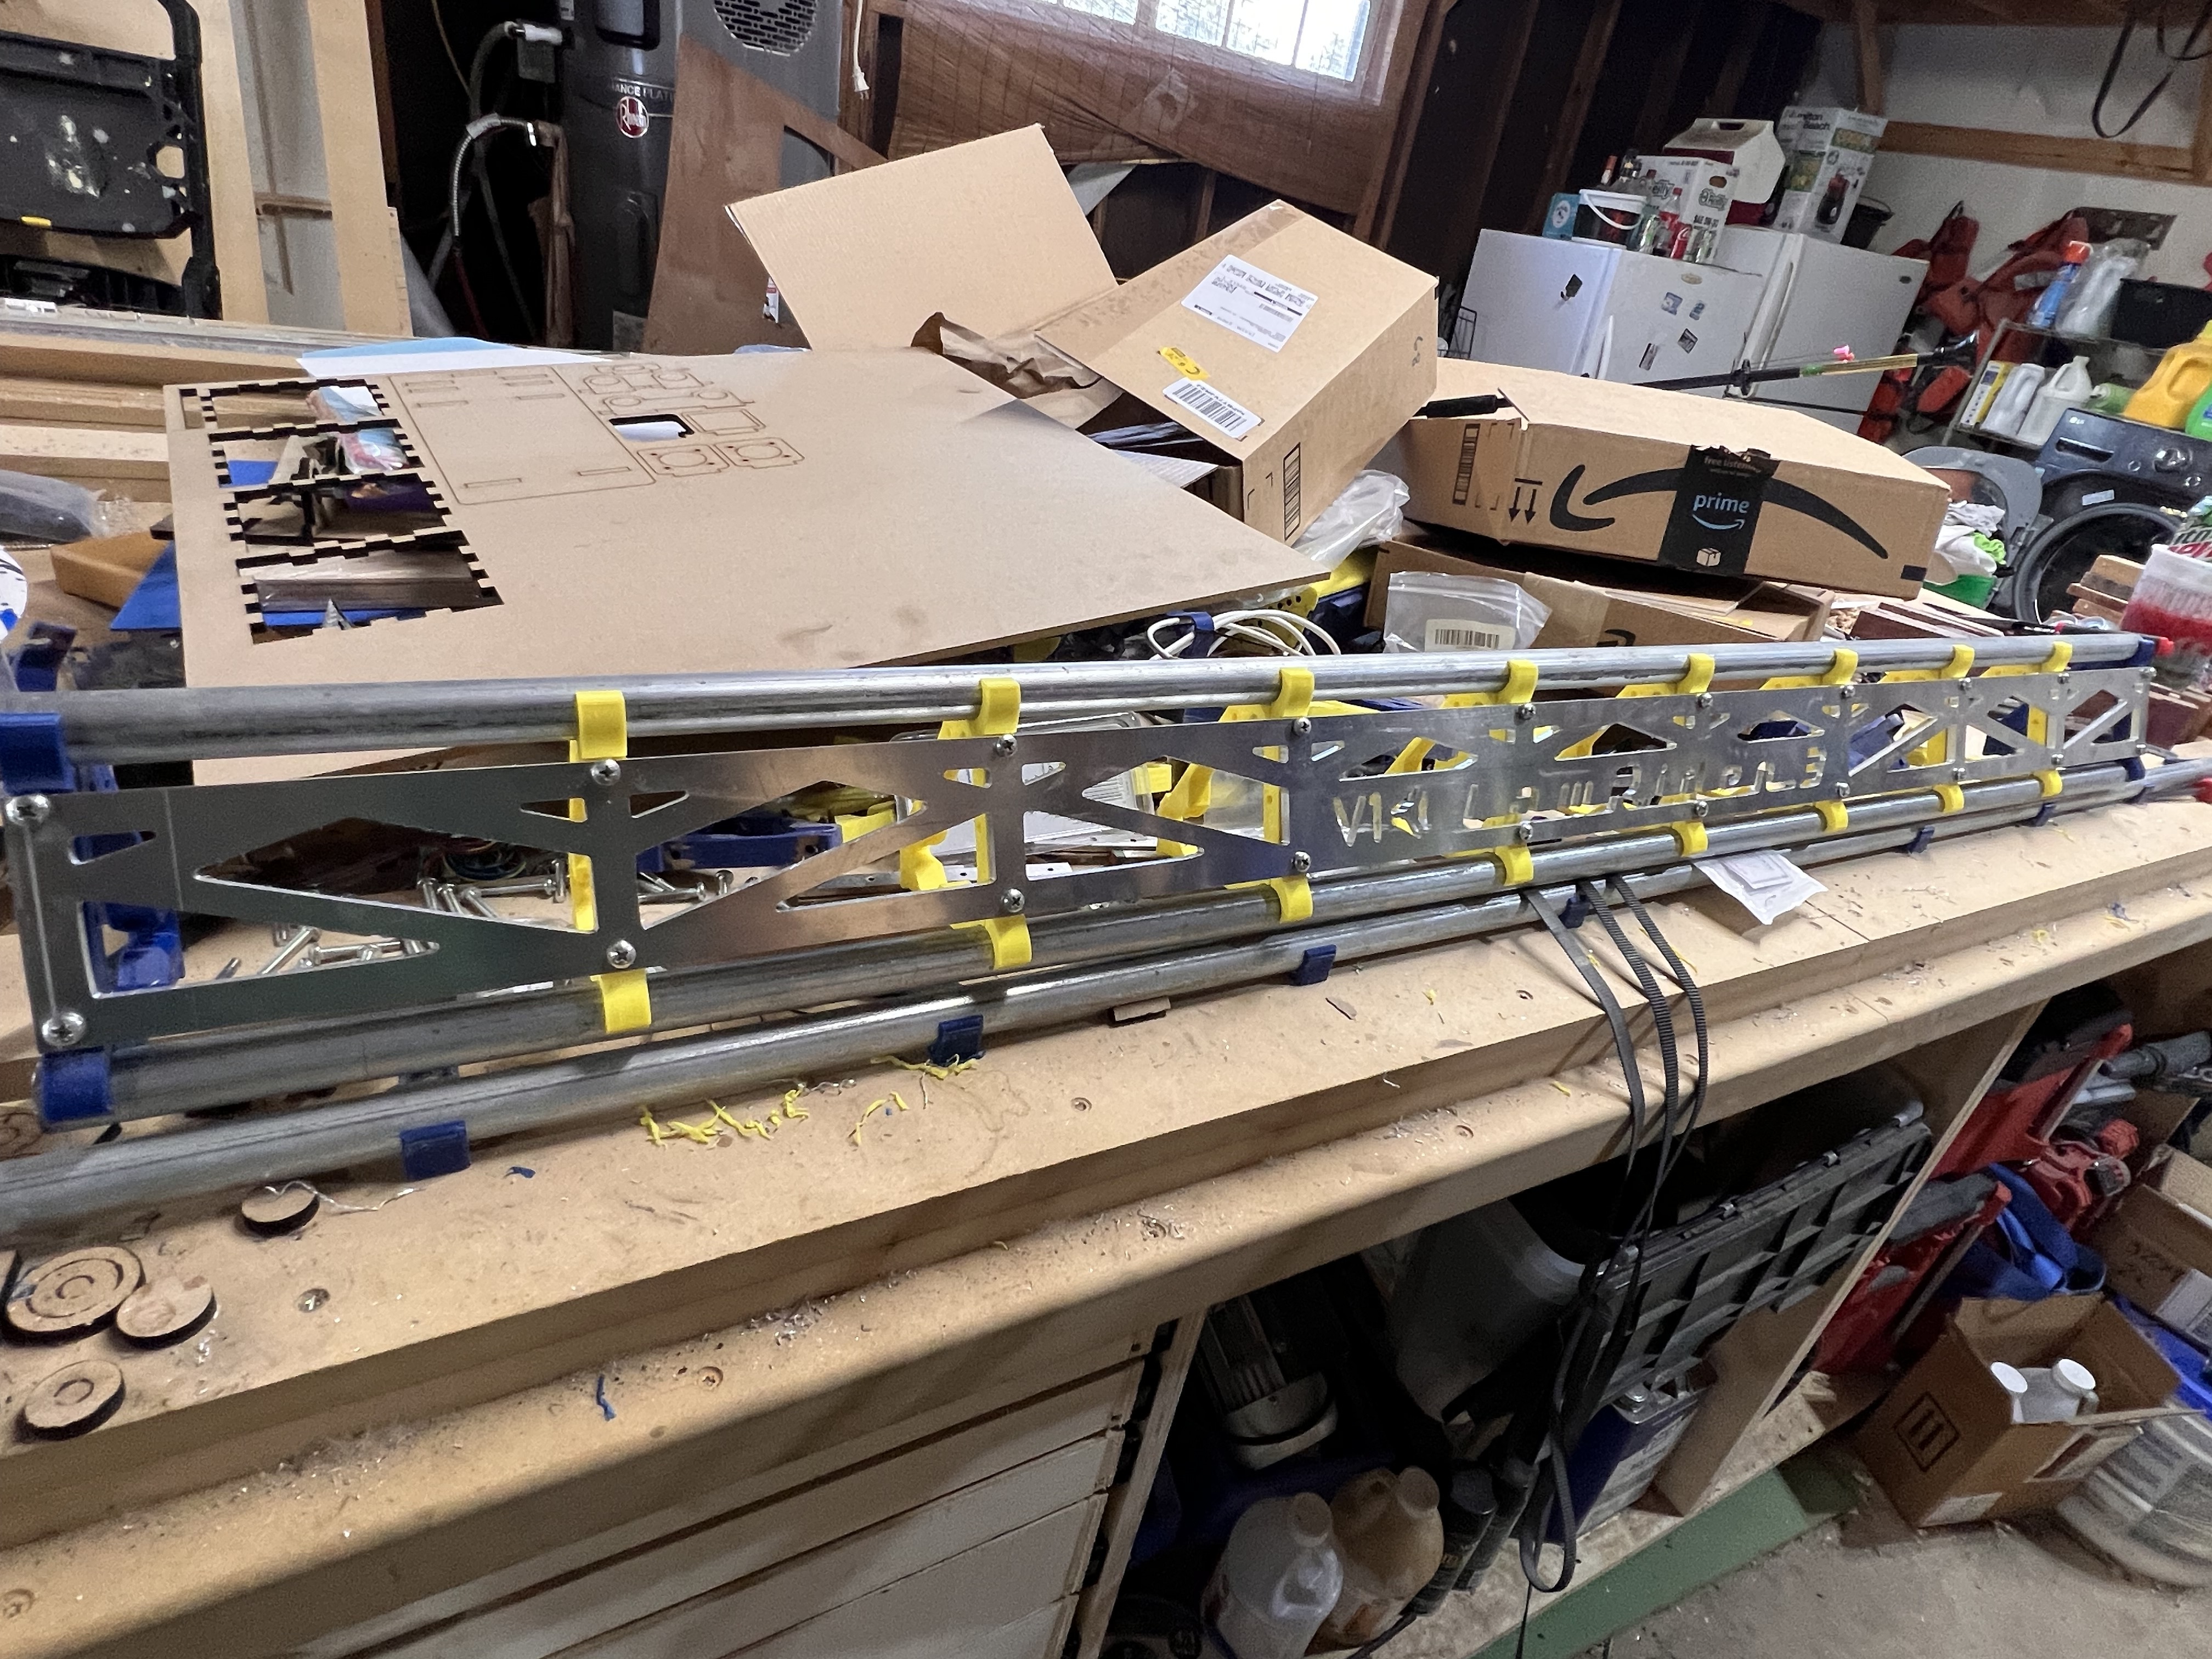
Figure now is as good a time as any to start a rebuild thread. Got the new struts cutting on the smaller lil LR3. All the new parts are printed (Core, Braces and anything else I thought might have an effect on rigidity) in regular PLA instead of PLA pro like last time. Starting disassembly while the other machine is running.
Also getting rid of the 1 1/2” step up I did. Found out I don’t really need it. Never once have I needed to take out strips to cut anything. I’ll keep the side pieces around for a while for the “just in case”
Also going to be upgrading both machines to the jackpot board. The one for this machine is already here and the one for the lil LR3 will be here Monday. Going to be tough getting used to not having a screen but I’m sure I’ll find my way lol. Or maybe it will give me the drive to figure out how to put a tft on a jackpot lol. I did order the spindle control add on board from Bart so that will be interesting to get figured out. Figured if Ryan put that slot on the board for us I may as well use it lol.
Also will be adding a ton of LEDs to this one. Should be about double what the lil LR3 has on it. Cutting 2 groves on the bottom strut to hold my work piece lighting. Will be backlighting @DougJoseph custom front strut. And of course edge lighting the acrylic side plates.
All in all it should be nice when I’m done. Hopefully I can make it live up to it. If there is anything I haven’t mentioned that anyone thinks I should look at while I have it apart please speak up!!
I have the back Strut ready as well. Need to get it off the other LR3 and get it cleaned up so I can cut the bottom strut. Also have to cut up some opaque acrylic today to get placed behind the front strut and start running my LEDs. Hopefully it turns out as good in real life as it looks in my head LOL
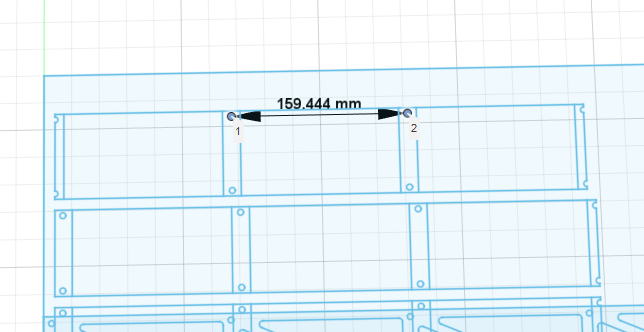
And use a countersink bit on my drill press to set them down flat. That will buy me enough room to run the acrylic solid across behind the strut. When I was deciding which way to go I was looking at it from the end, and everywhere there is a brace the strut is solid. So I said to my self there is no need to run it solid, just put pieces in between. Never once thinking about the middle “Lowrider 3” But I think this plan will get me the ability to run them full now.
@DougJoseph didn’t I read somewhere that you were working on braces set up for the heat inserts? I know you have been slammed just was wondering where you were at with that.
Looking good man.
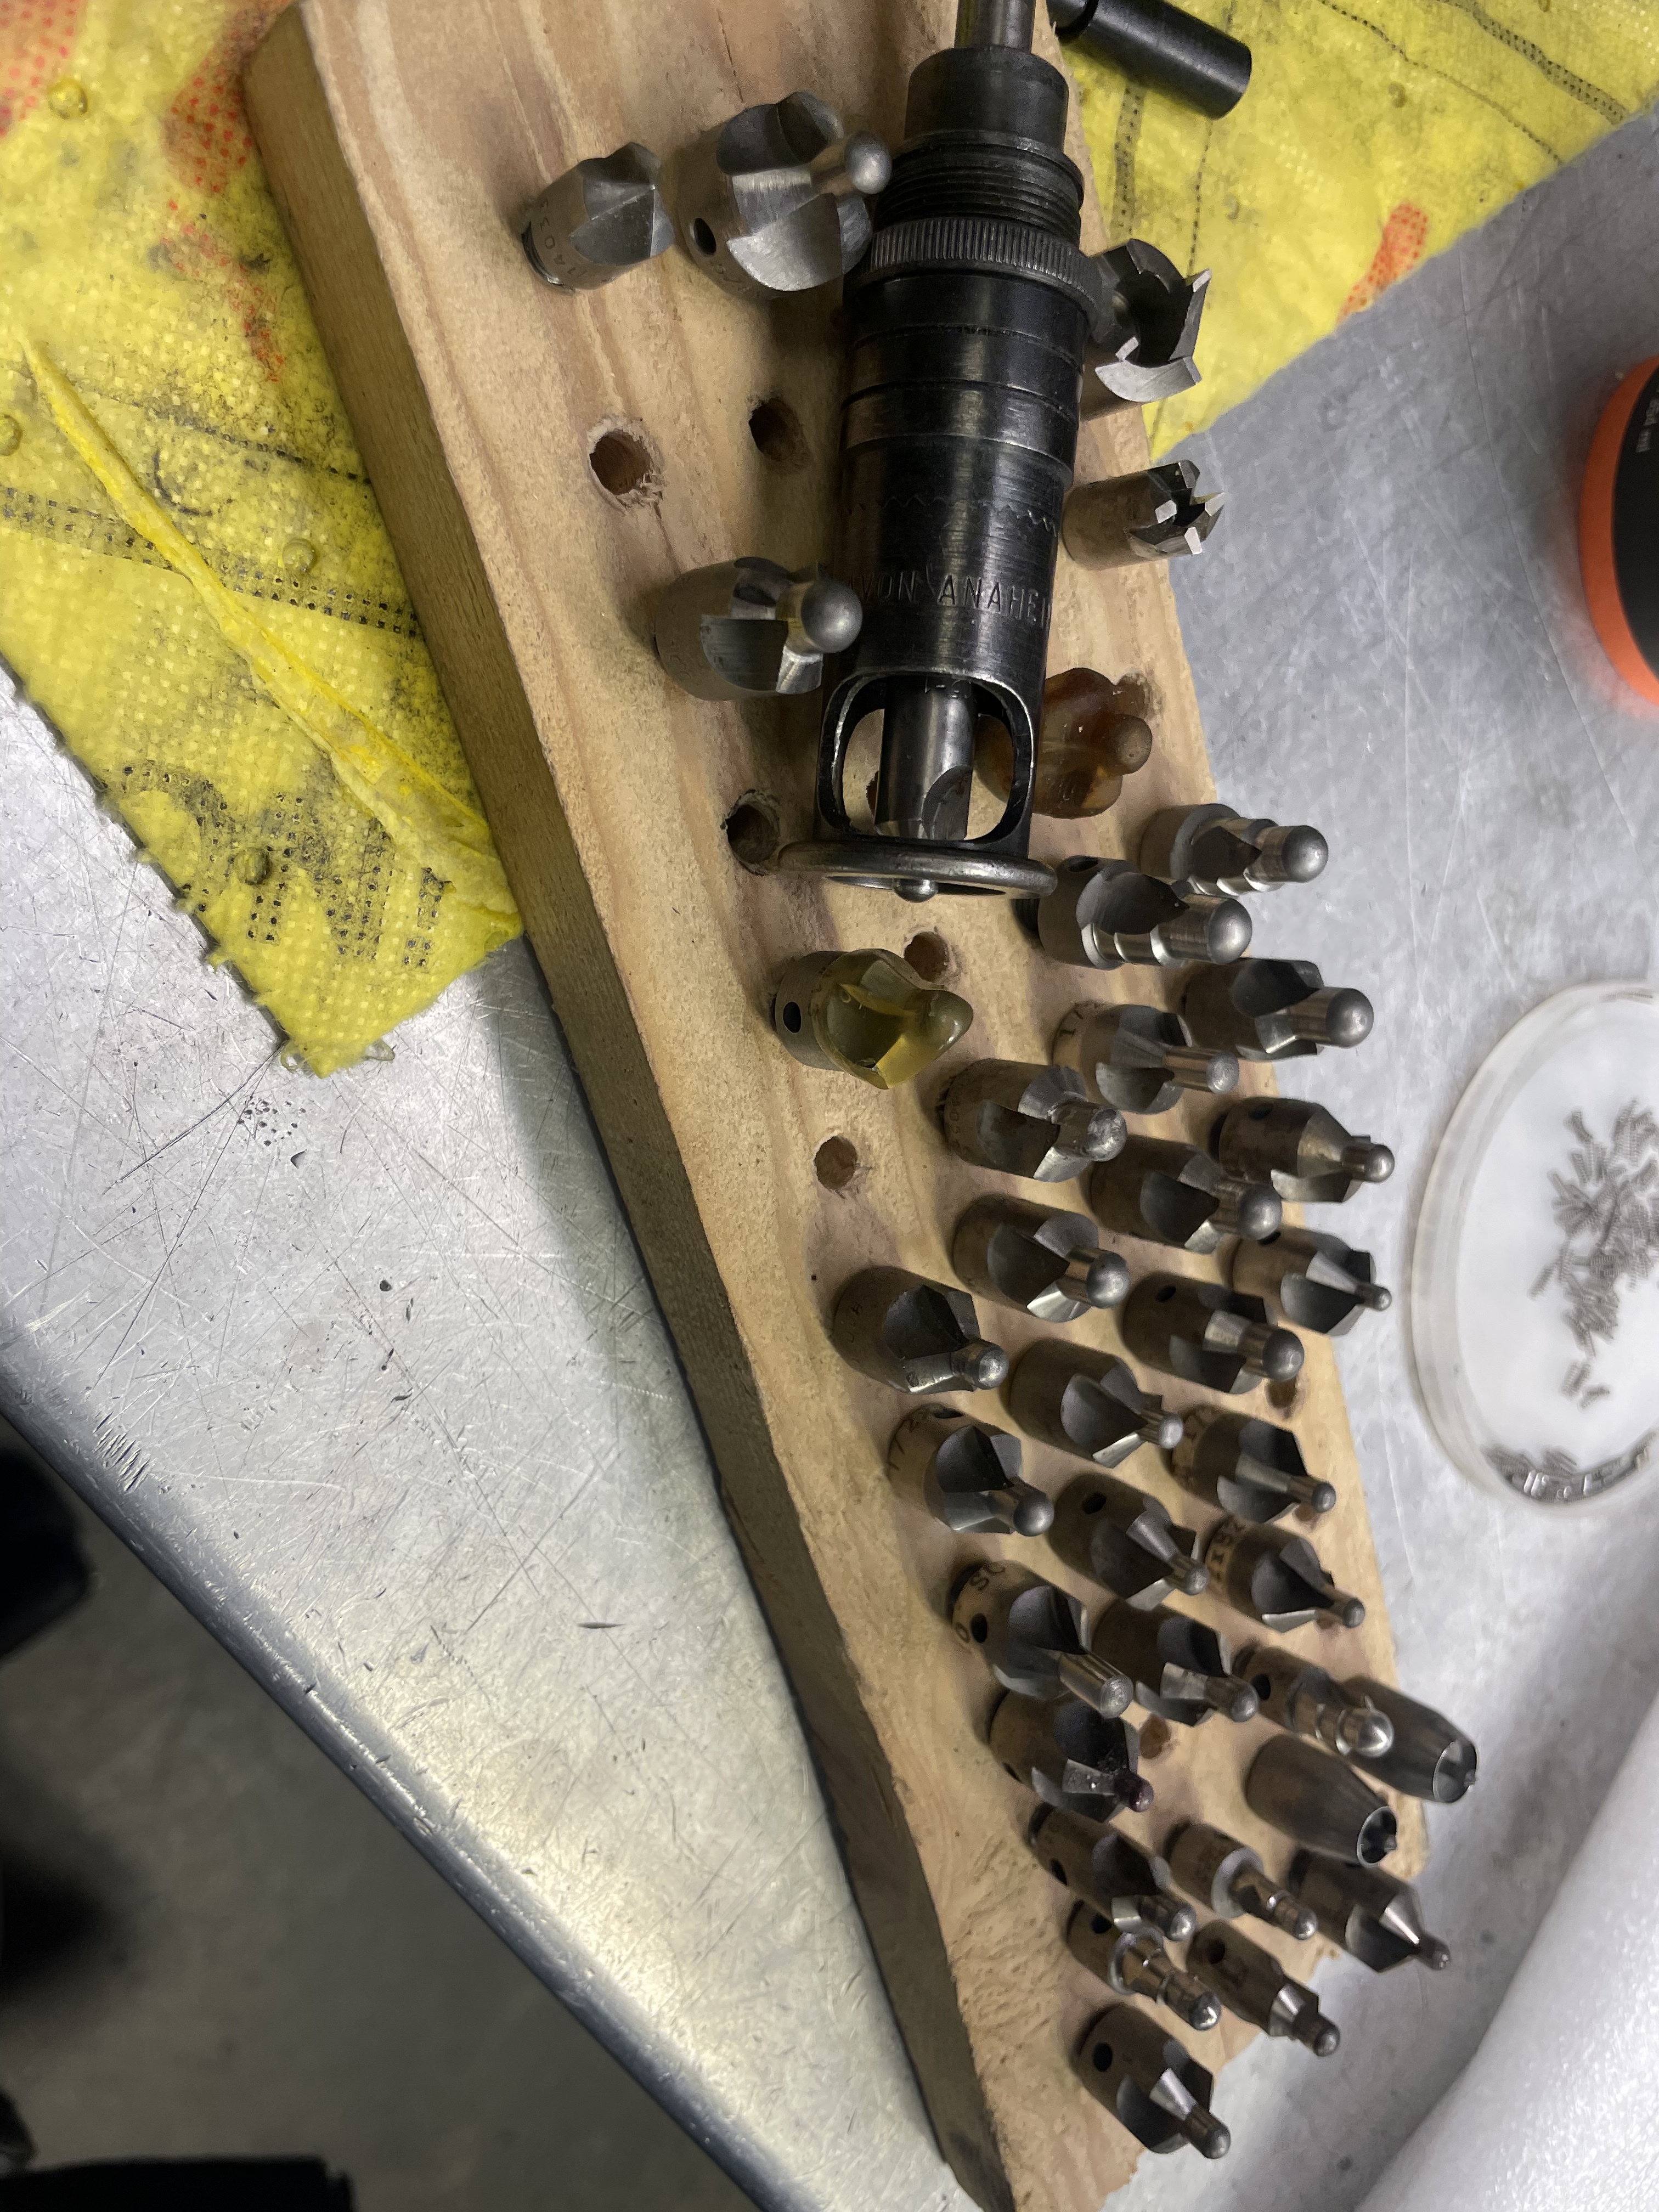
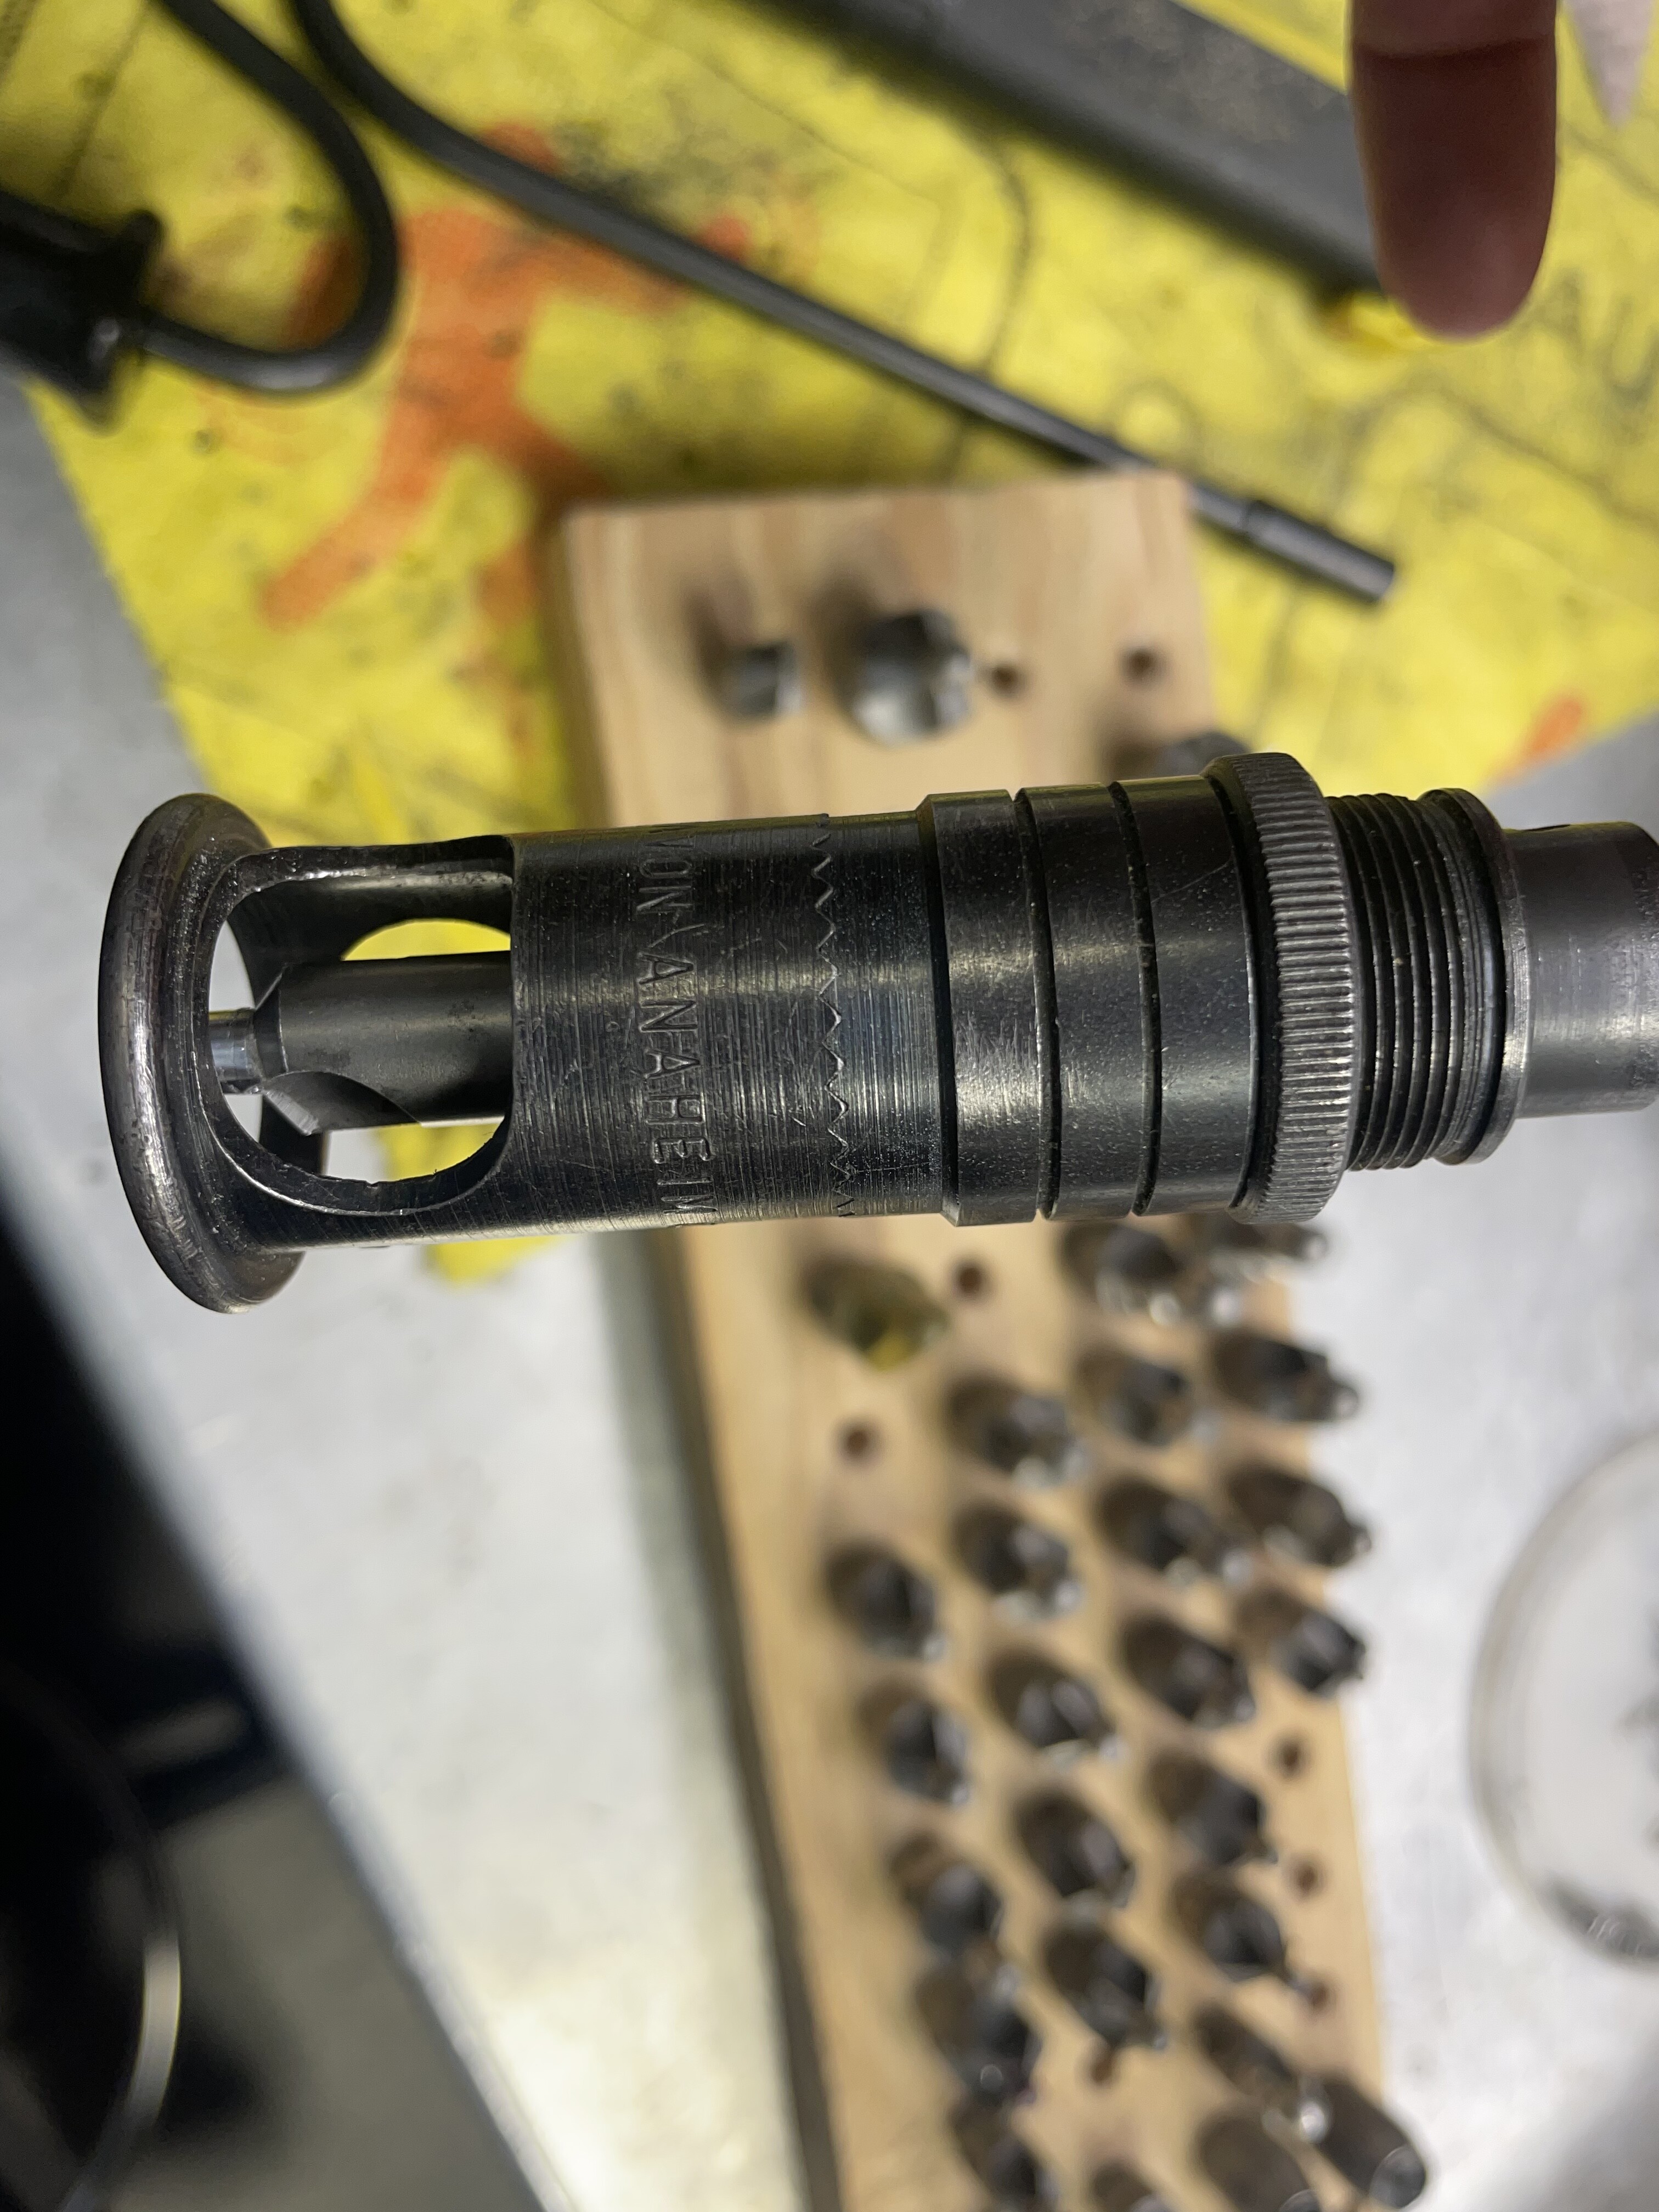
I have one rod bit of input, for counter sinking.
These micro stops are very handy if your doing a bunch. It just goes in your drill and you set your depth and lock it in so it’s repeatable. And they have some neat bits that go in as well. Can’t wait to see the lights man.
I can honestly say I have never seen a countersink bit like that before. I was just planning to use the adjustable stop on my drill press. I have some scrap around that I can do some test on and get it set just right I hope
This is going behind a 1/4" aluminum strut for the sole purpose of lighting. Not looking to gain any strength from this at all. This is just to fancy it up lol