That’s an open-ended schedule, lol… I’m looking forward to hearing how this thing works.
In the meantime, I just ordered an MPCNC kit and a Jackpot controller for a medium sized machine that I can use indoors next to my SnapMaker. Going with a 500W 55mm brushless spindle to limit the noise as well.
So finally got into the MPCNC kit and it started reminding me of all the things I need to disassemble, clean and reinstall with loctite, like all of the stepper screws… I also ordered some extra belt to replace my x-axis run, as it’s just barely long enough to reach and that turned into a nightmare recently when the belt started slipping out of the base.
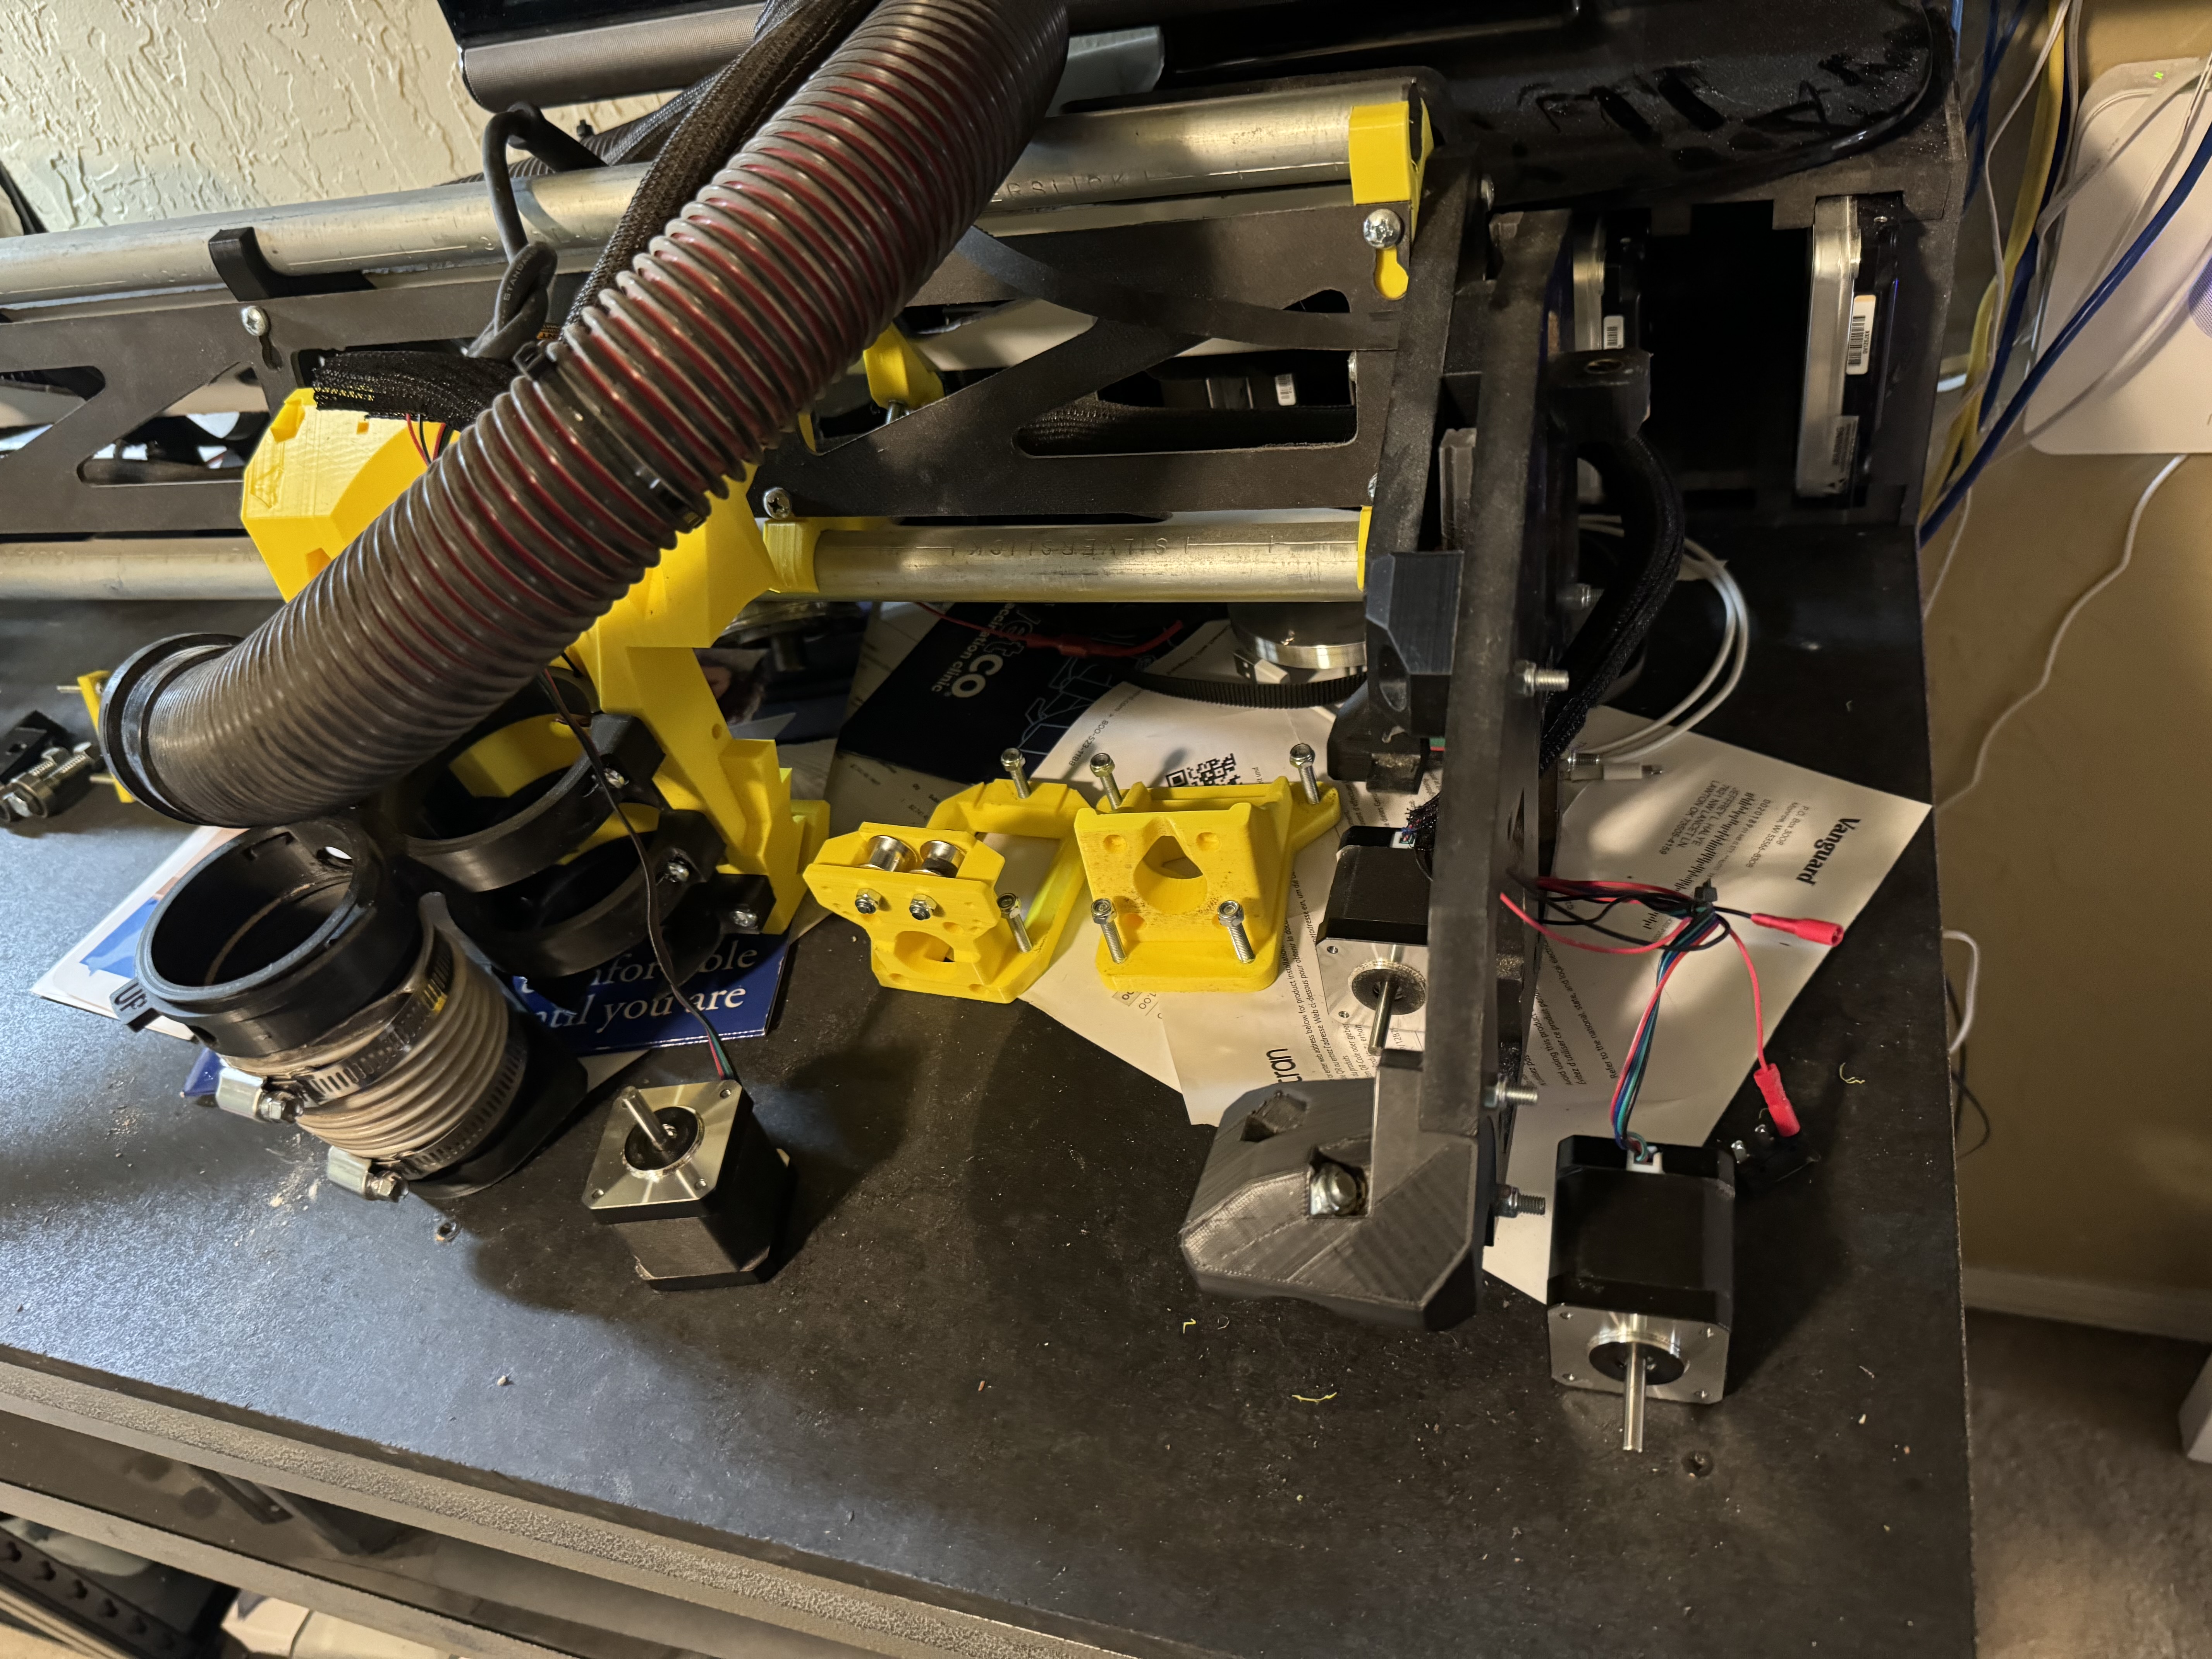
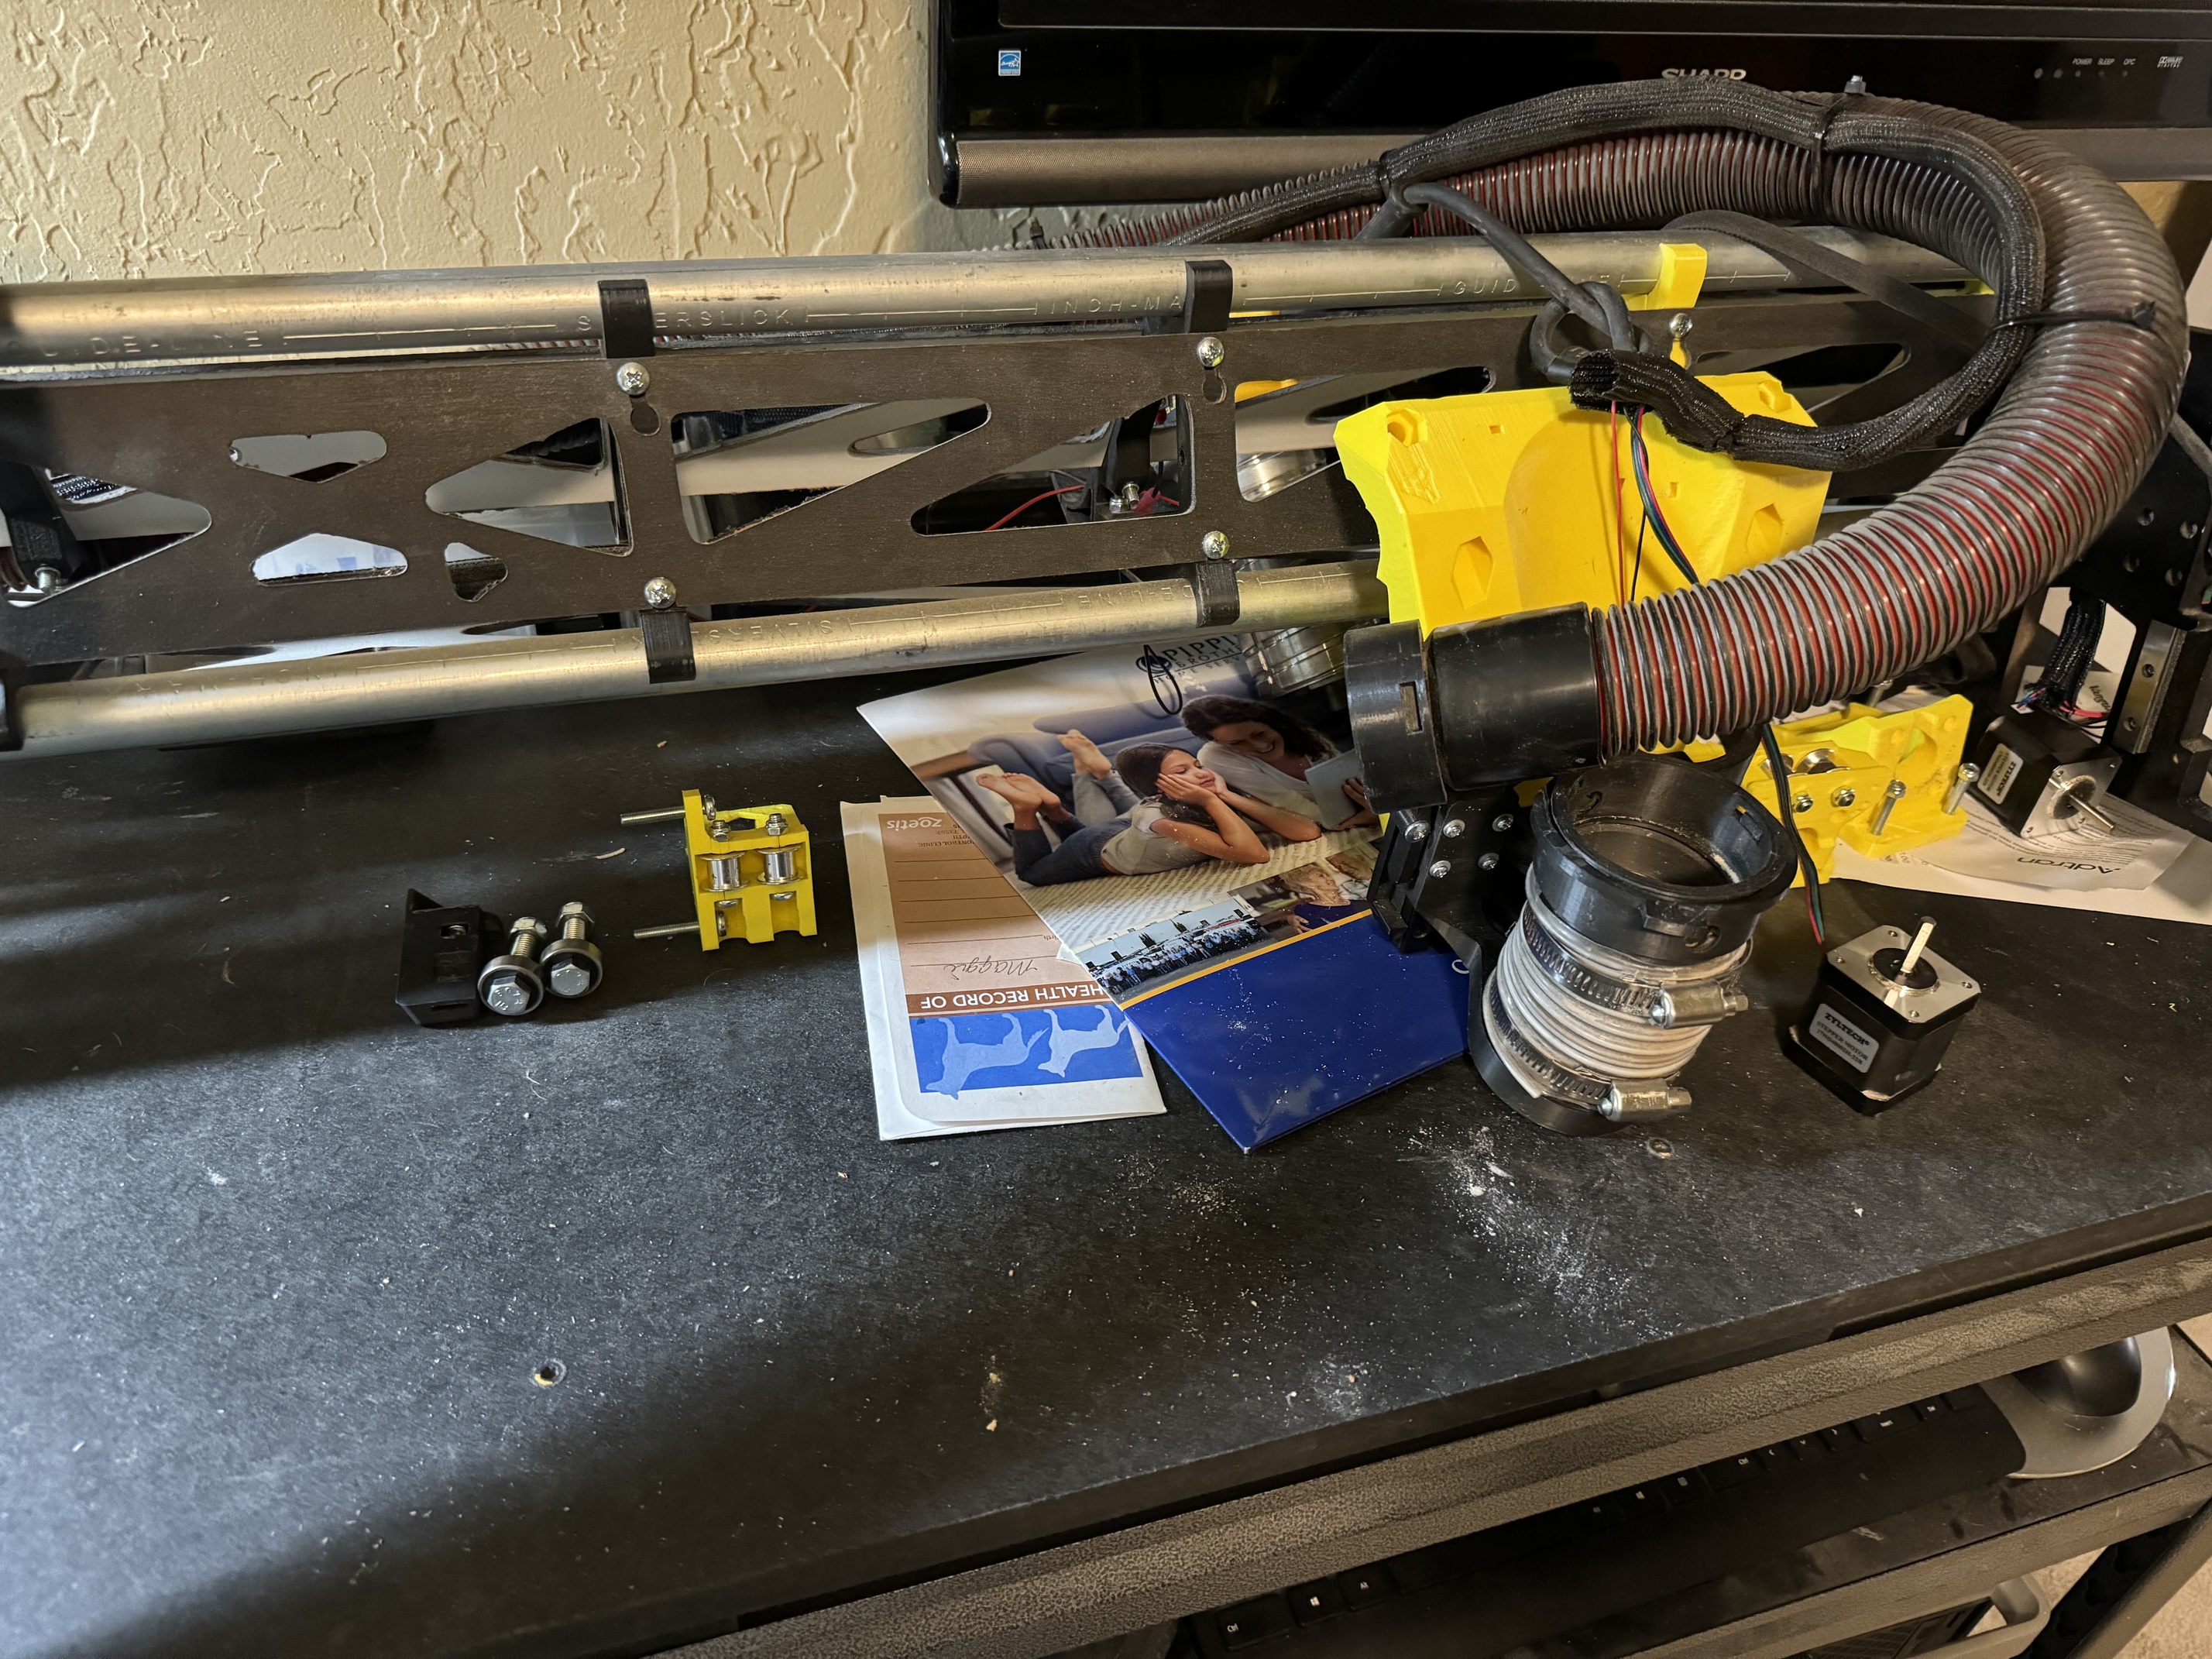
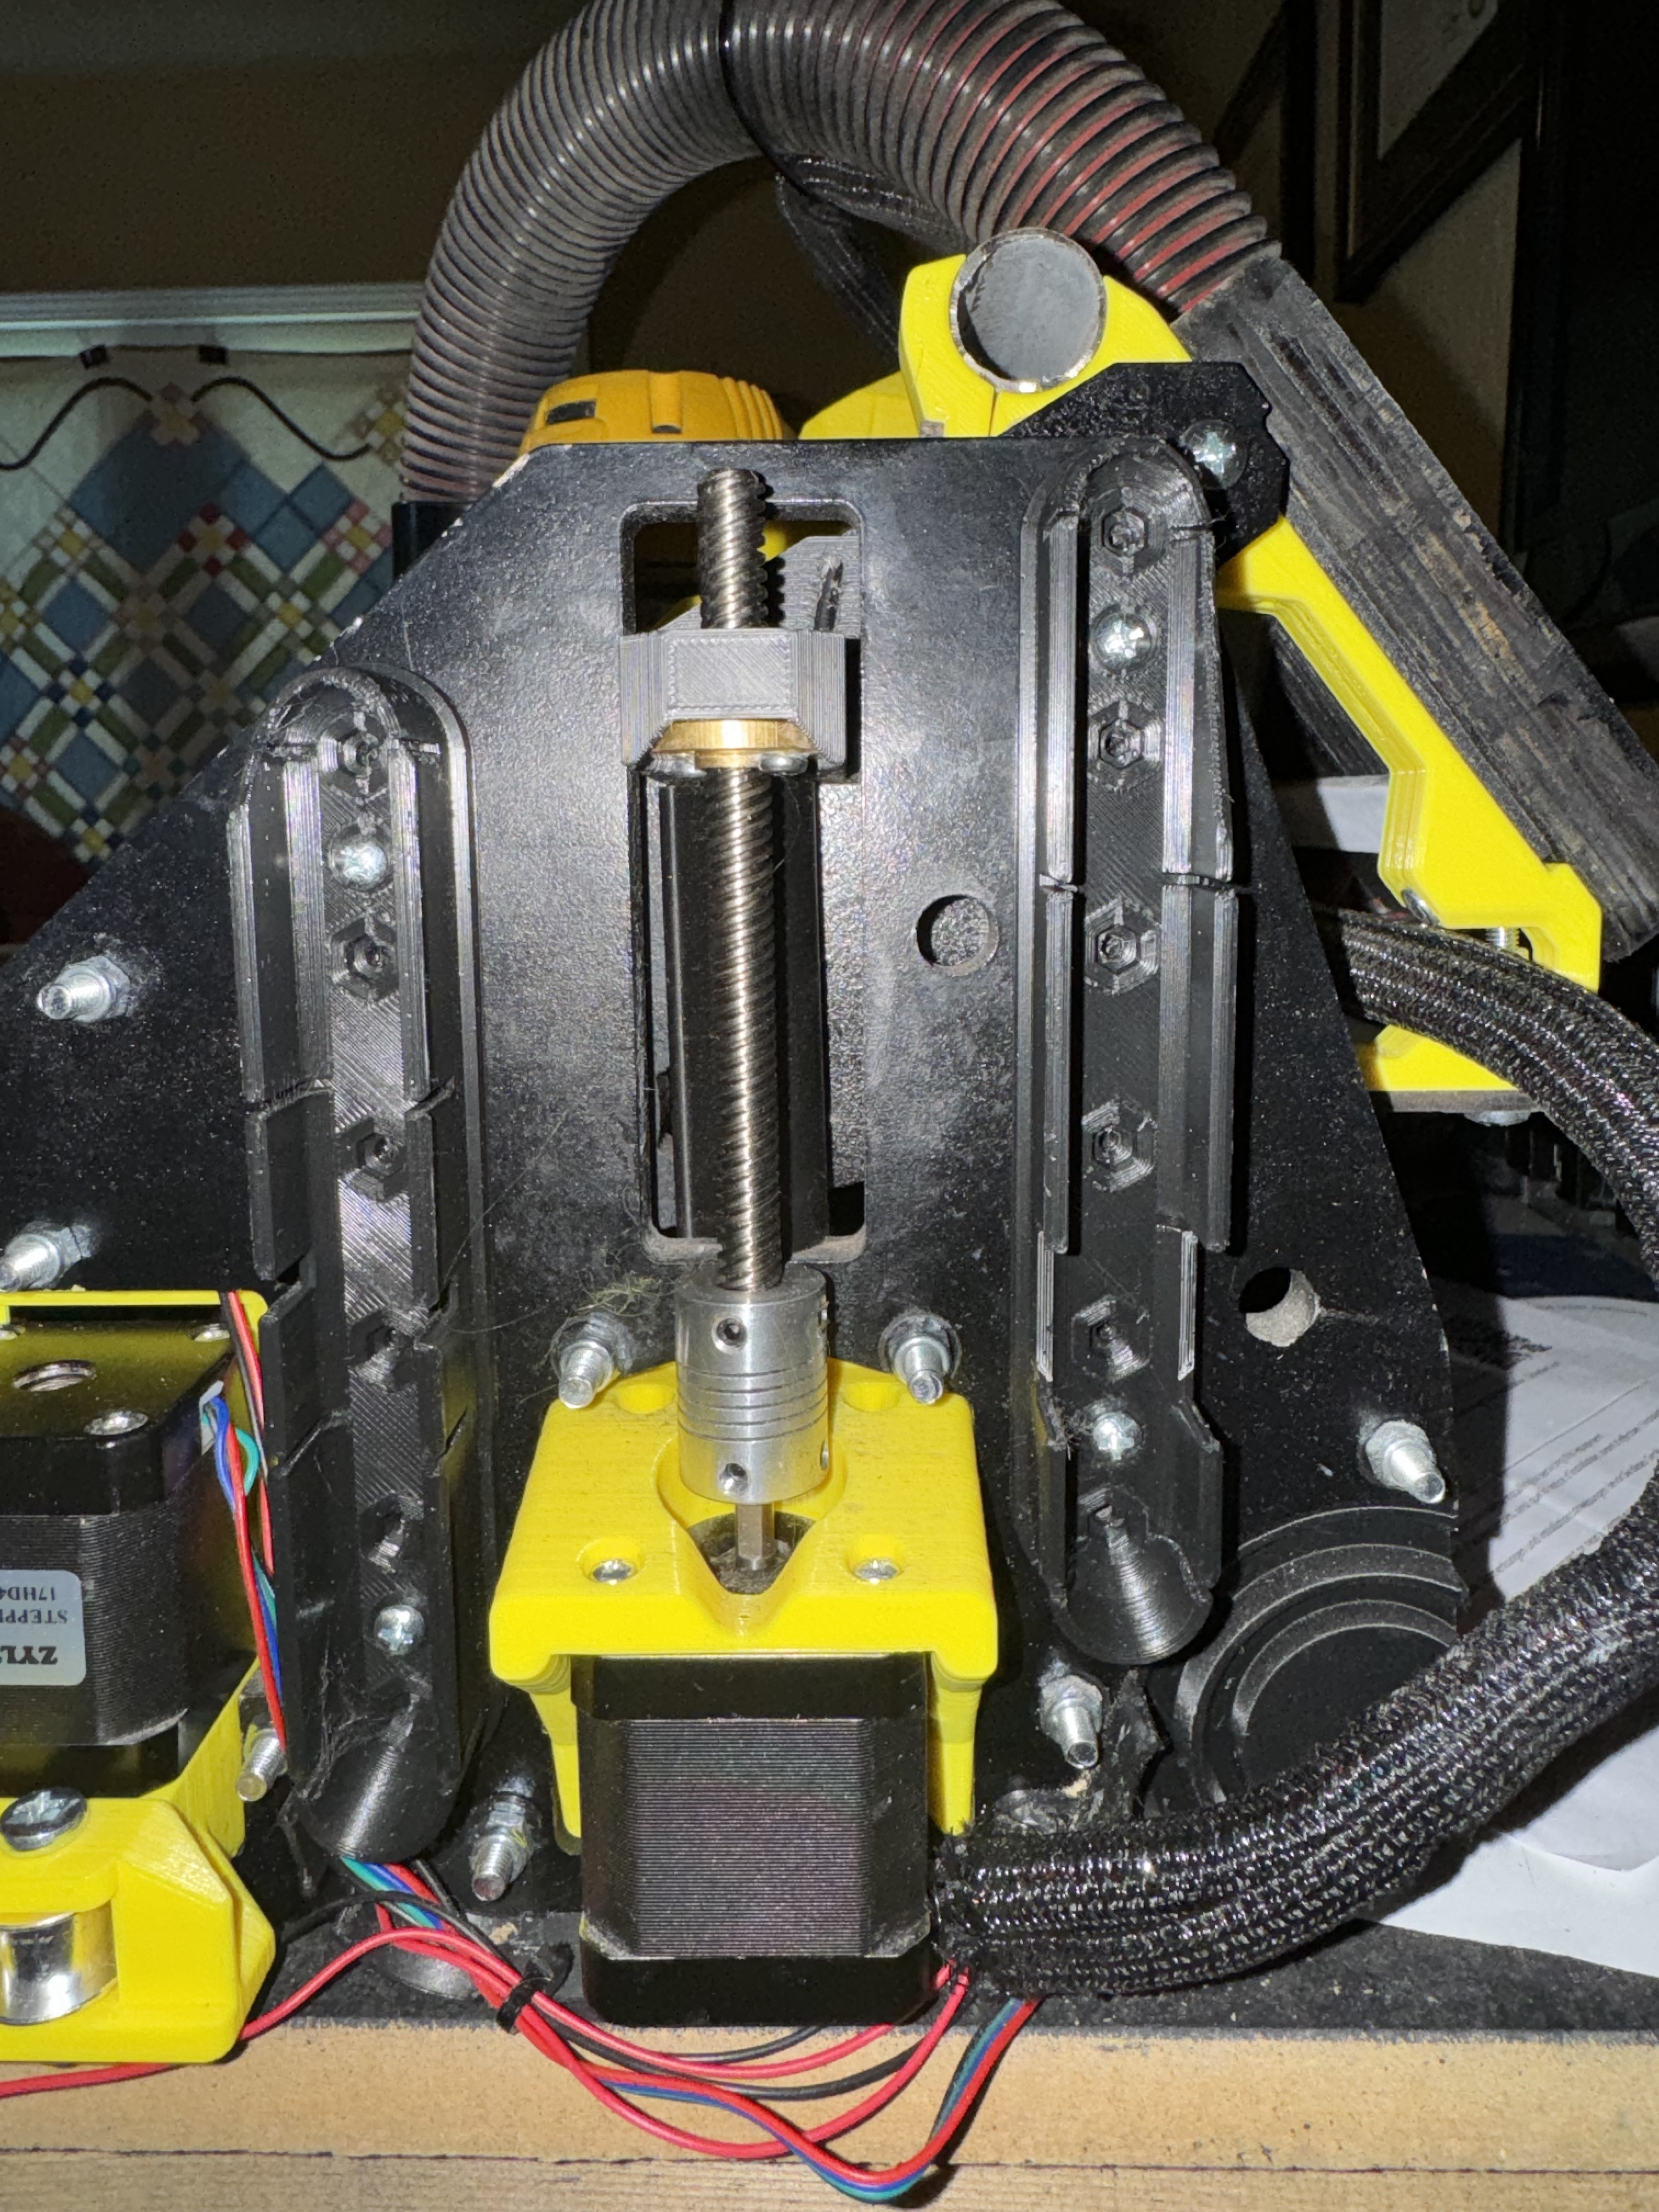
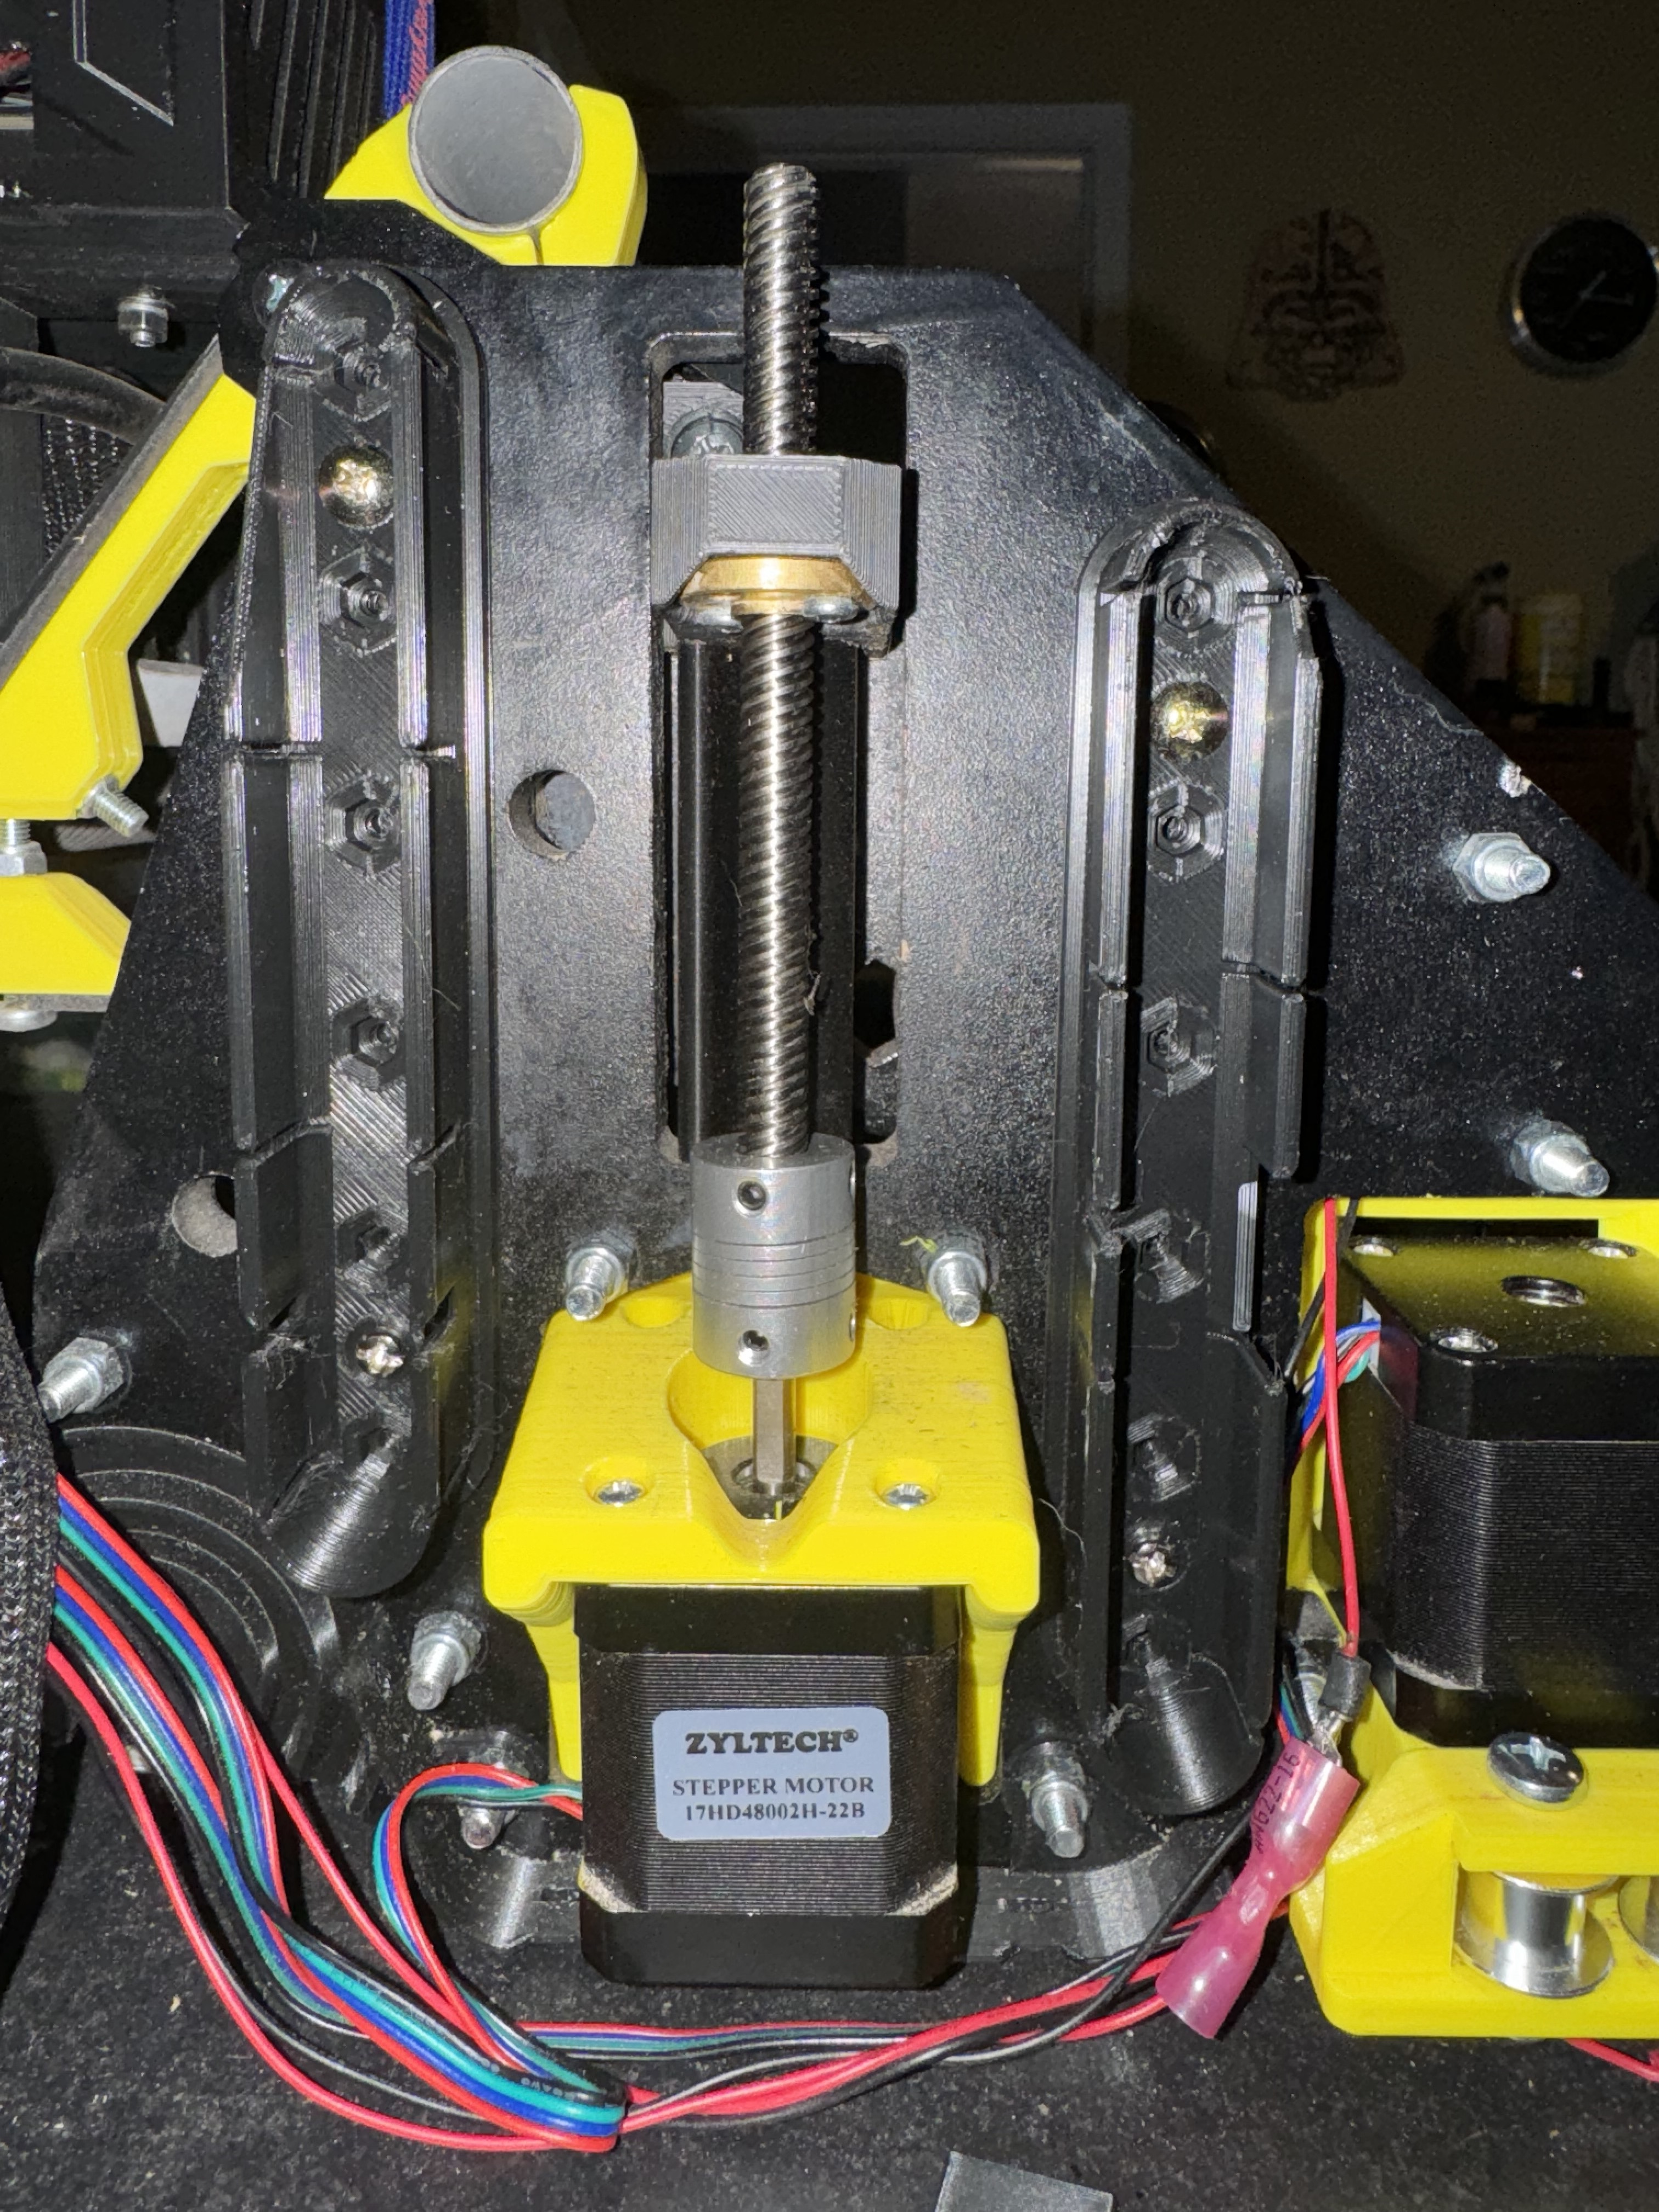
I had a little spare time waiting for new prints for the MPCNC so I got to work breaking my LowRider down to get at the stepper motors. When I first assembled it, I didn’t have any threadlocker (lock tight) around and realized recently that this was a mistake. When I disassembled it today, I found several loose stepper motor mount screws, though the grub screws were actually still fairly tight. I bought a bottle of the blue stuff for the MPCNC assembly that will also get applied here as well now that it’s apart.
For those that do this in the future… cut the zip ties BEFORE you try to start removing parts, lol. It’s hard enough removing motors without pulling the side plates off, don’t keep all your wires tied down at the same time.
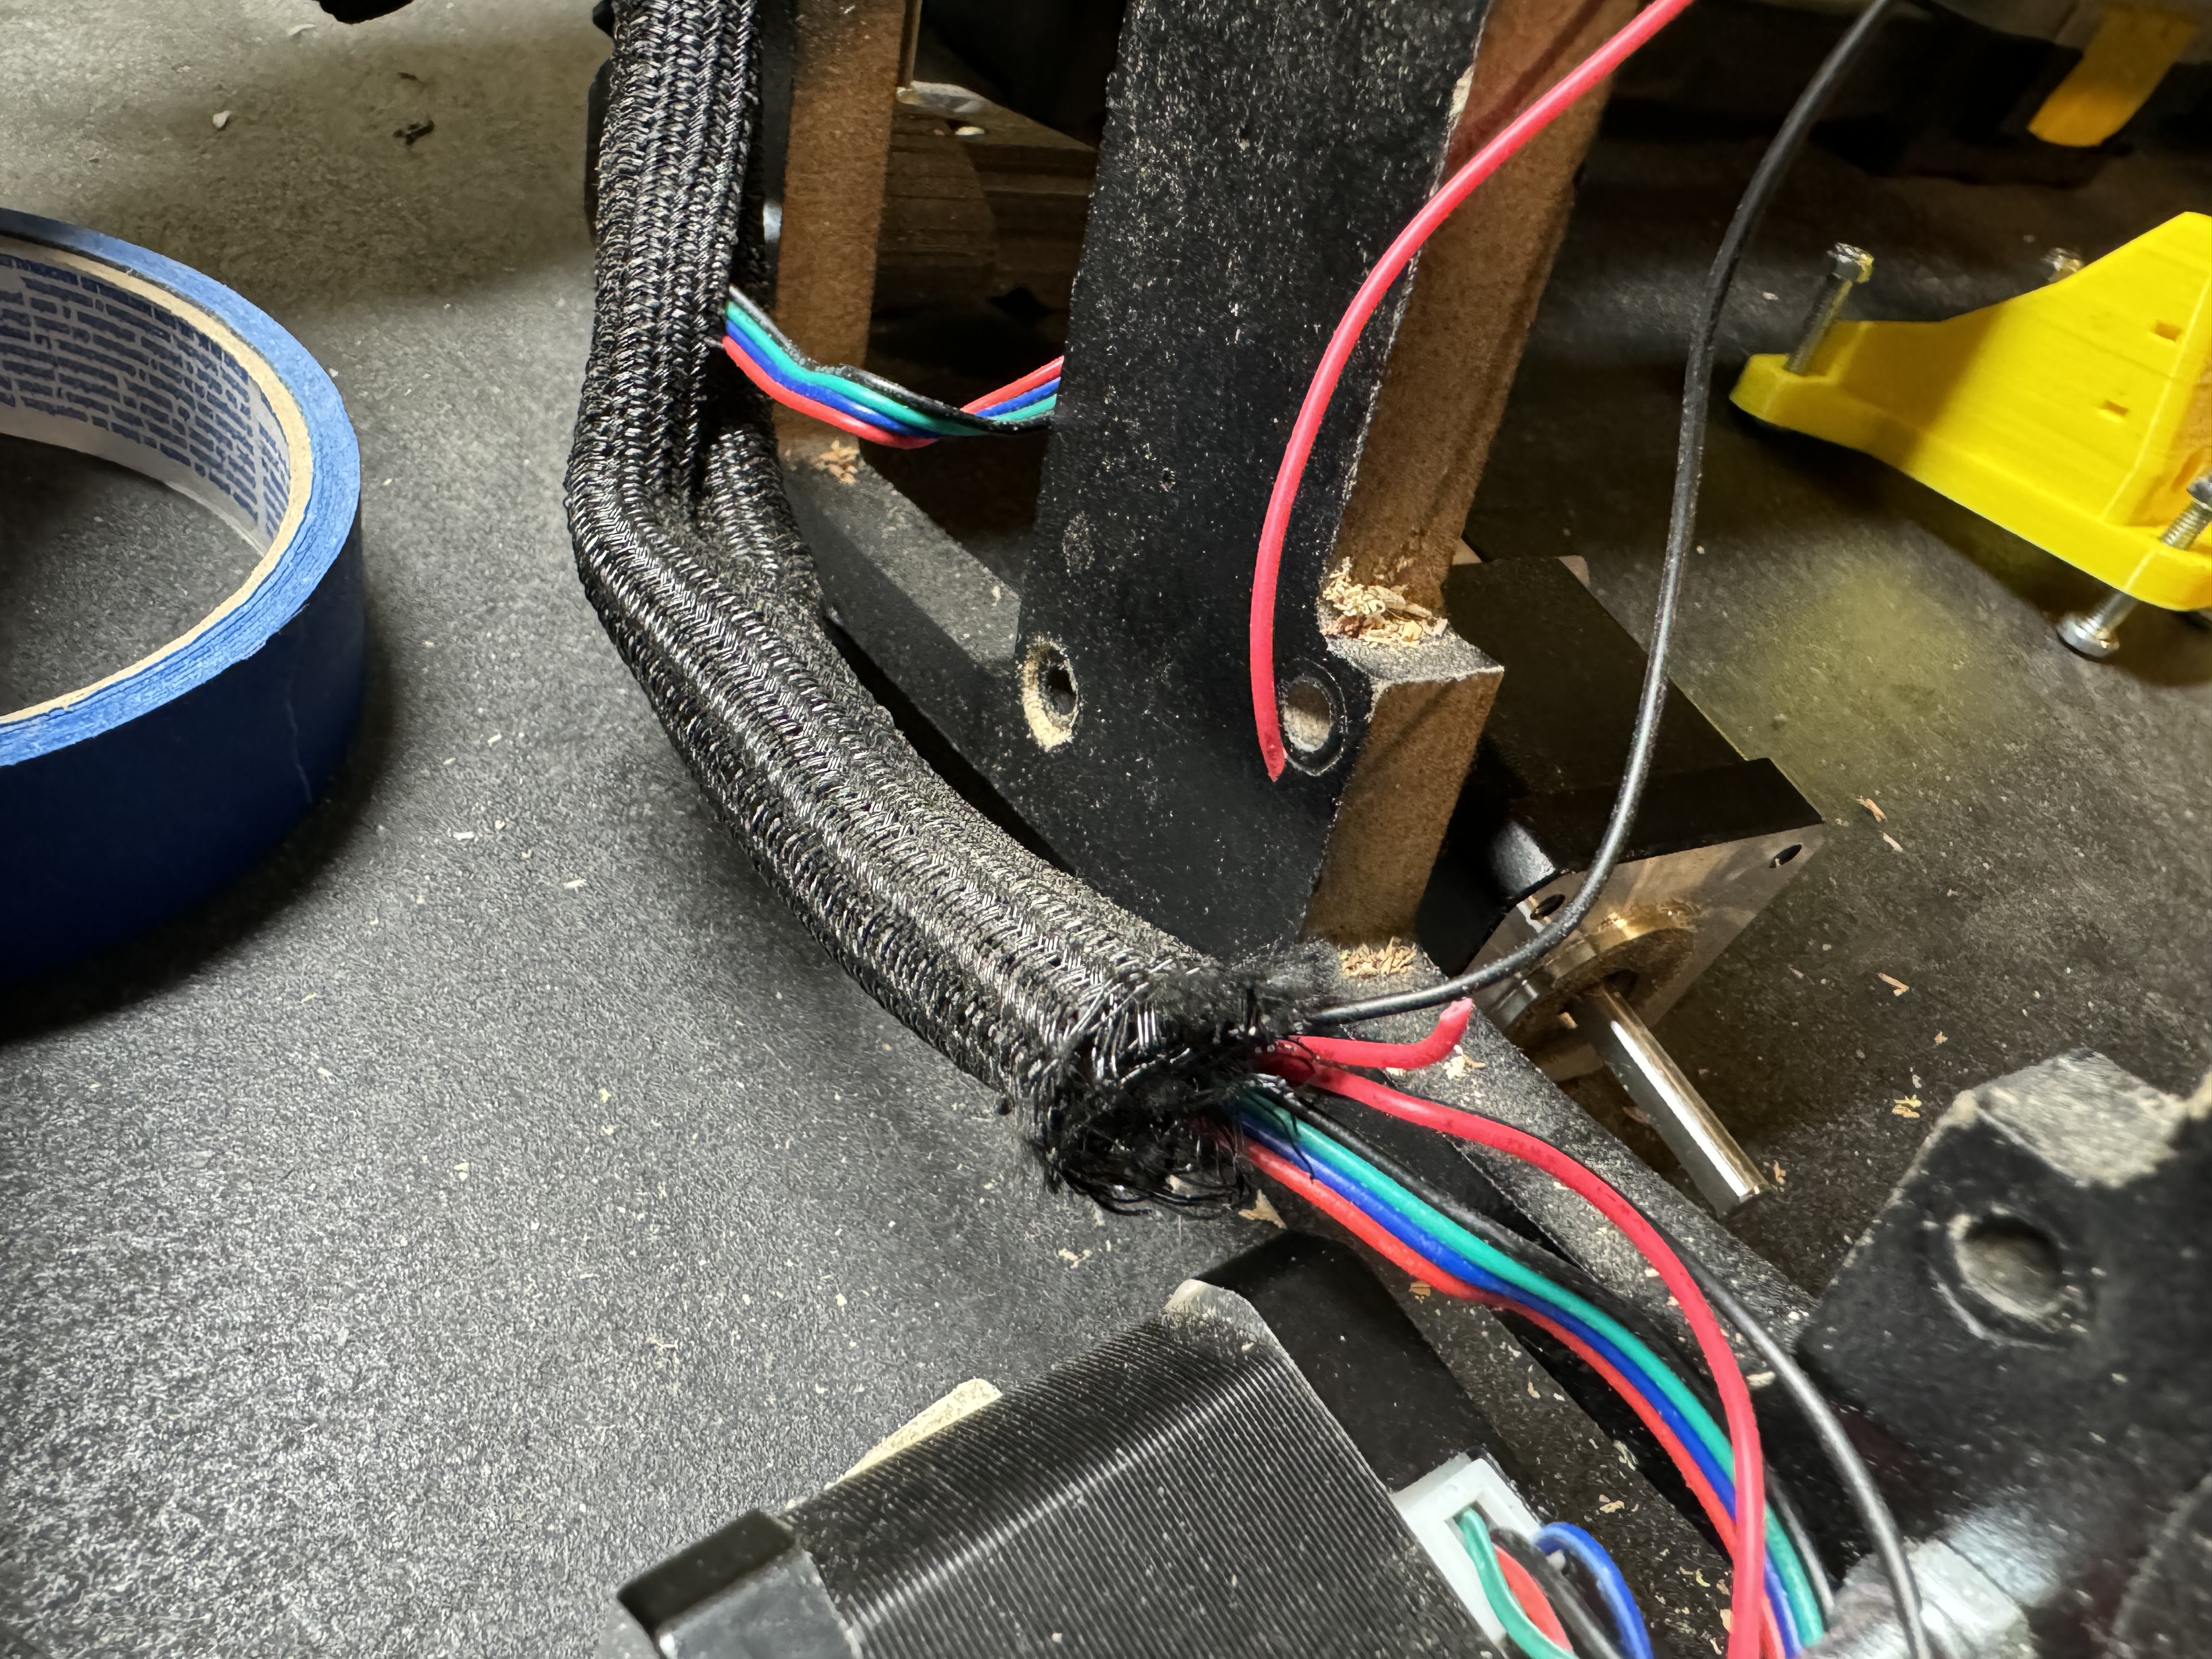
I also had a moment of panic when I saw this but realized that it was only an end stop wire and calmed down. I don’t think my SKR Pro ever truly used those properly anyways (I’ll have to research that further), as it hits the end stops and the stepper keeps trying to go and makes grinding noises. I don’t think I ever got it to Home properly either… However, I’ll take a few minutes to patch it back together before I reassemble.
Well I got her broken down, added thread locker (loctite) M242 to all the grub and stepper mounting screws, cleaned up and reassembled with the new core. Then I got my end stop wire spliced back together, still annoyed at that bonehead maneuver from rushing to disassemble…
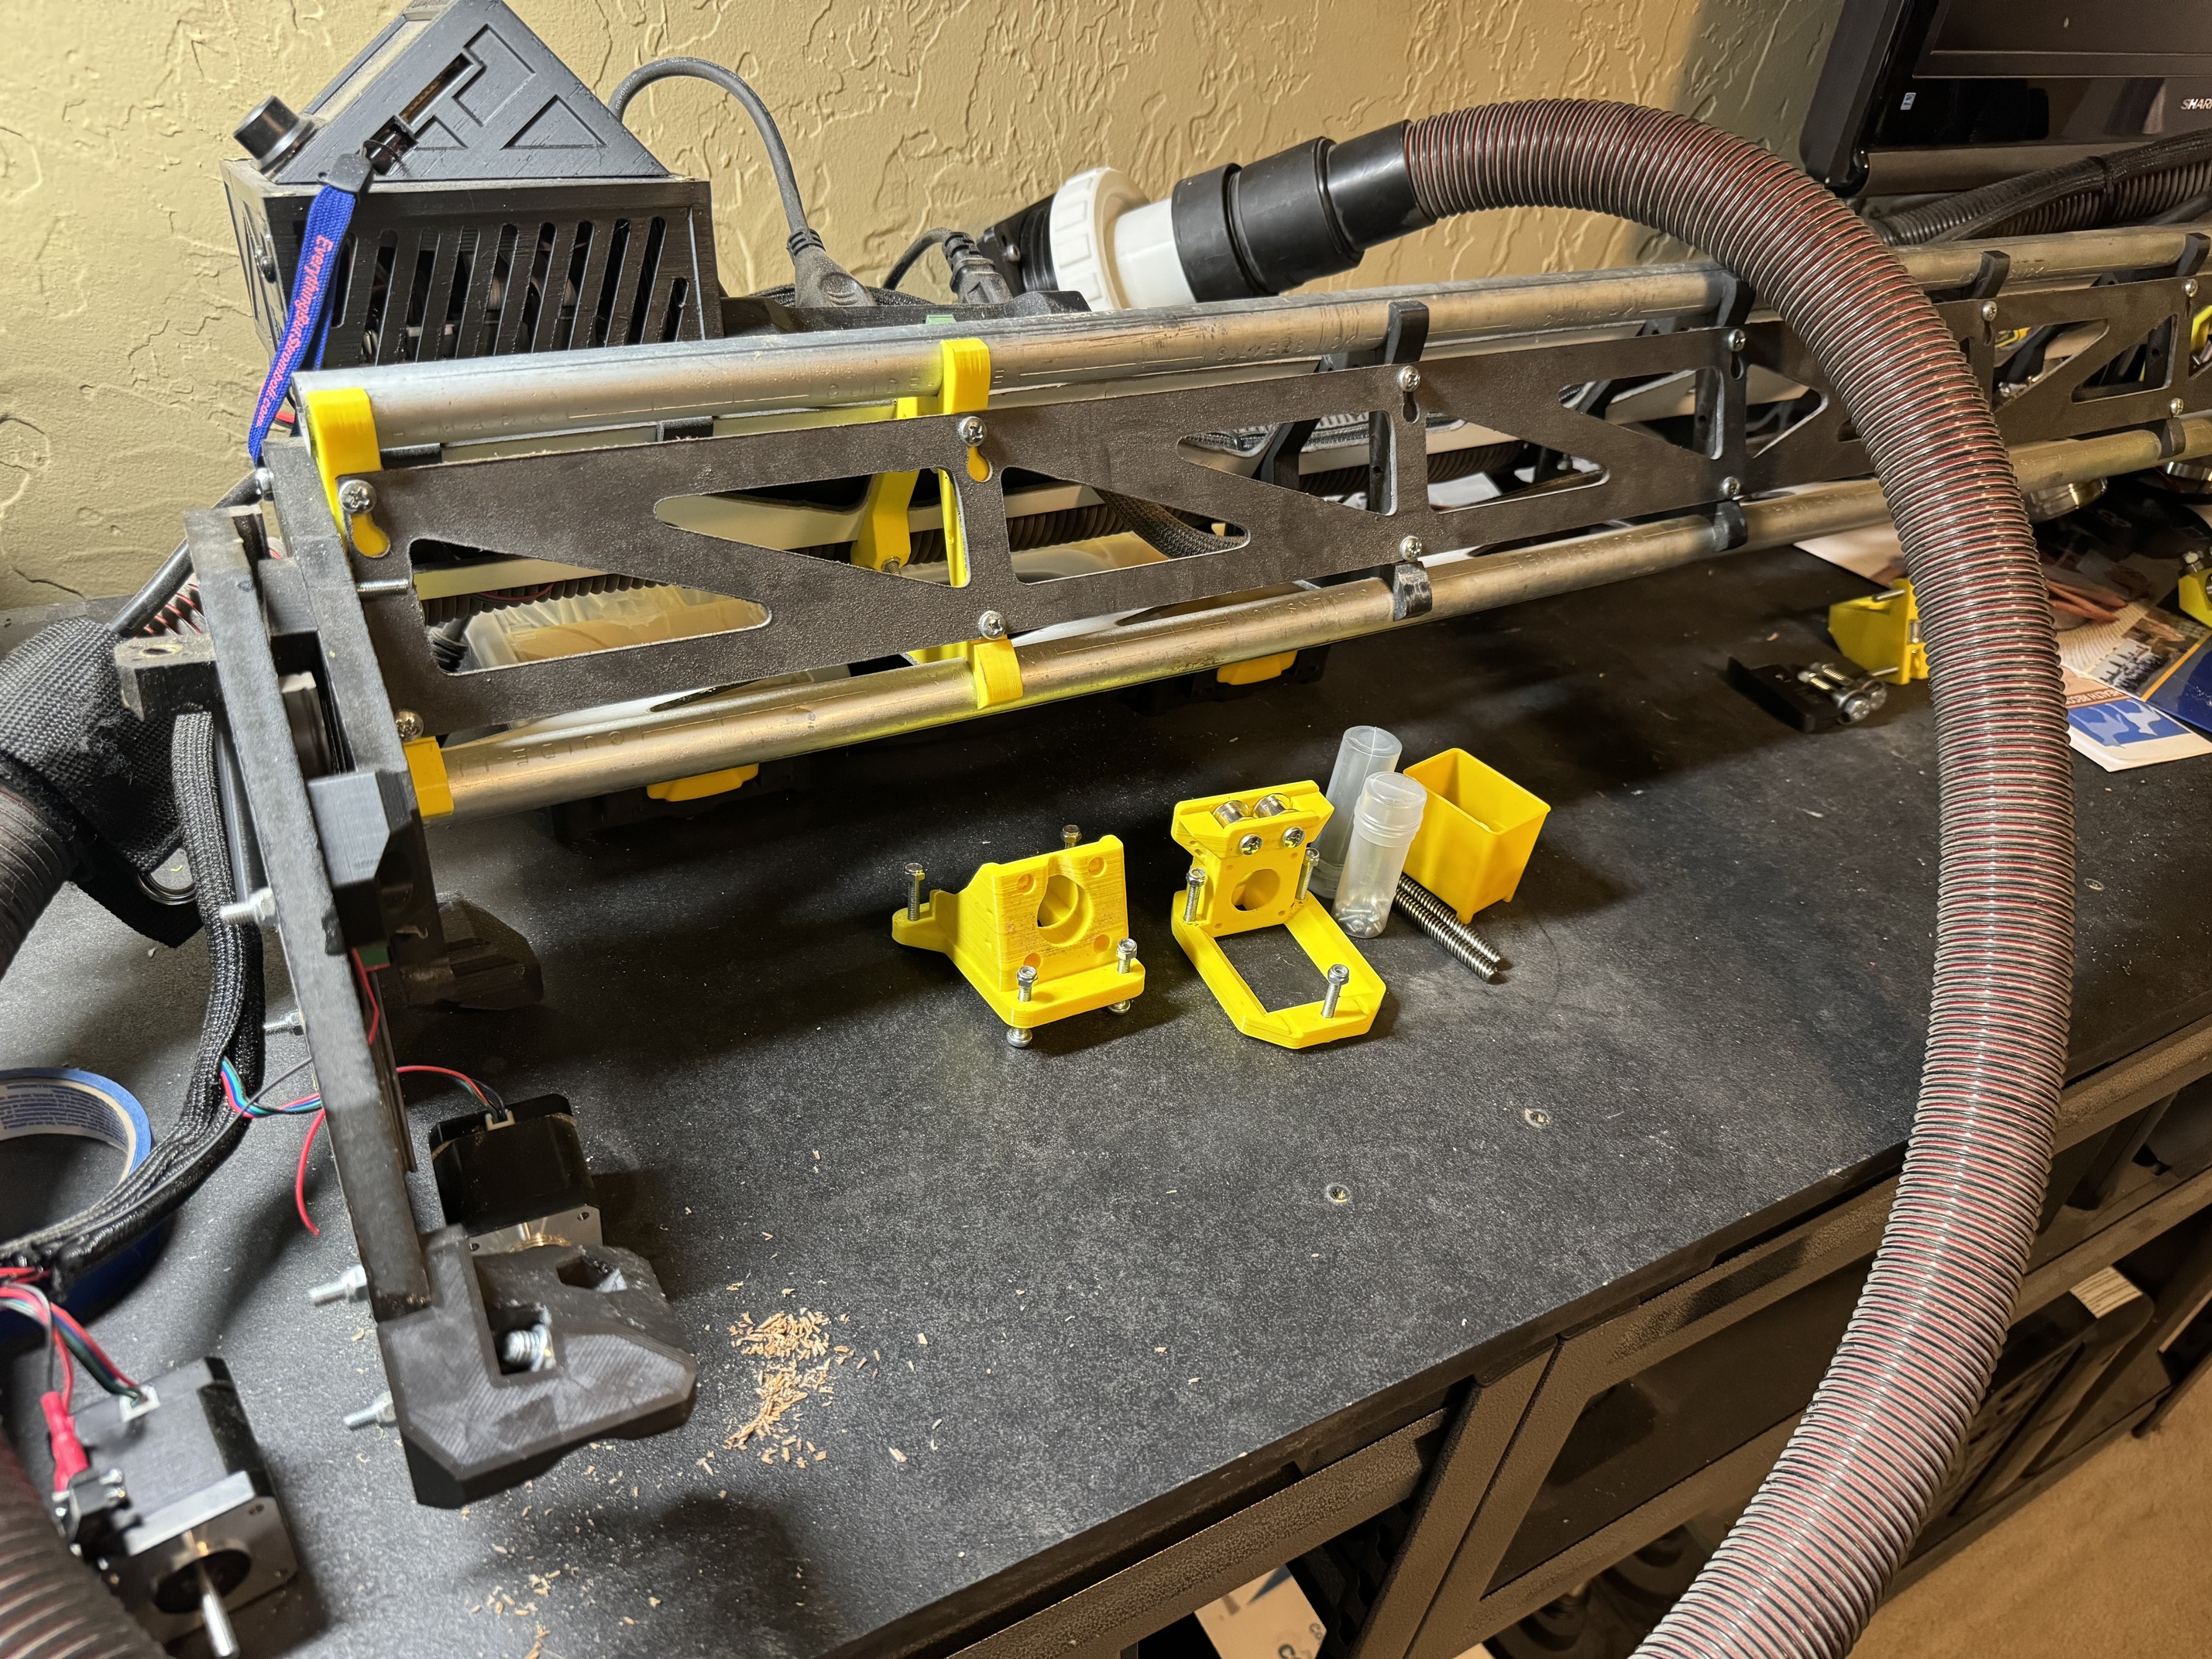
Just need to do some adjusting and tuning with the core/rail connections and I can get her fired back up on the bench to make sure everything still works electronically. Then I can replace all the zip ties I snipped during disassembly and get everything tidied back up.
Well… while I’ve got her inside and my garage still resembles the 7th circle of hell, temperature-wise… some upgrades are in order.
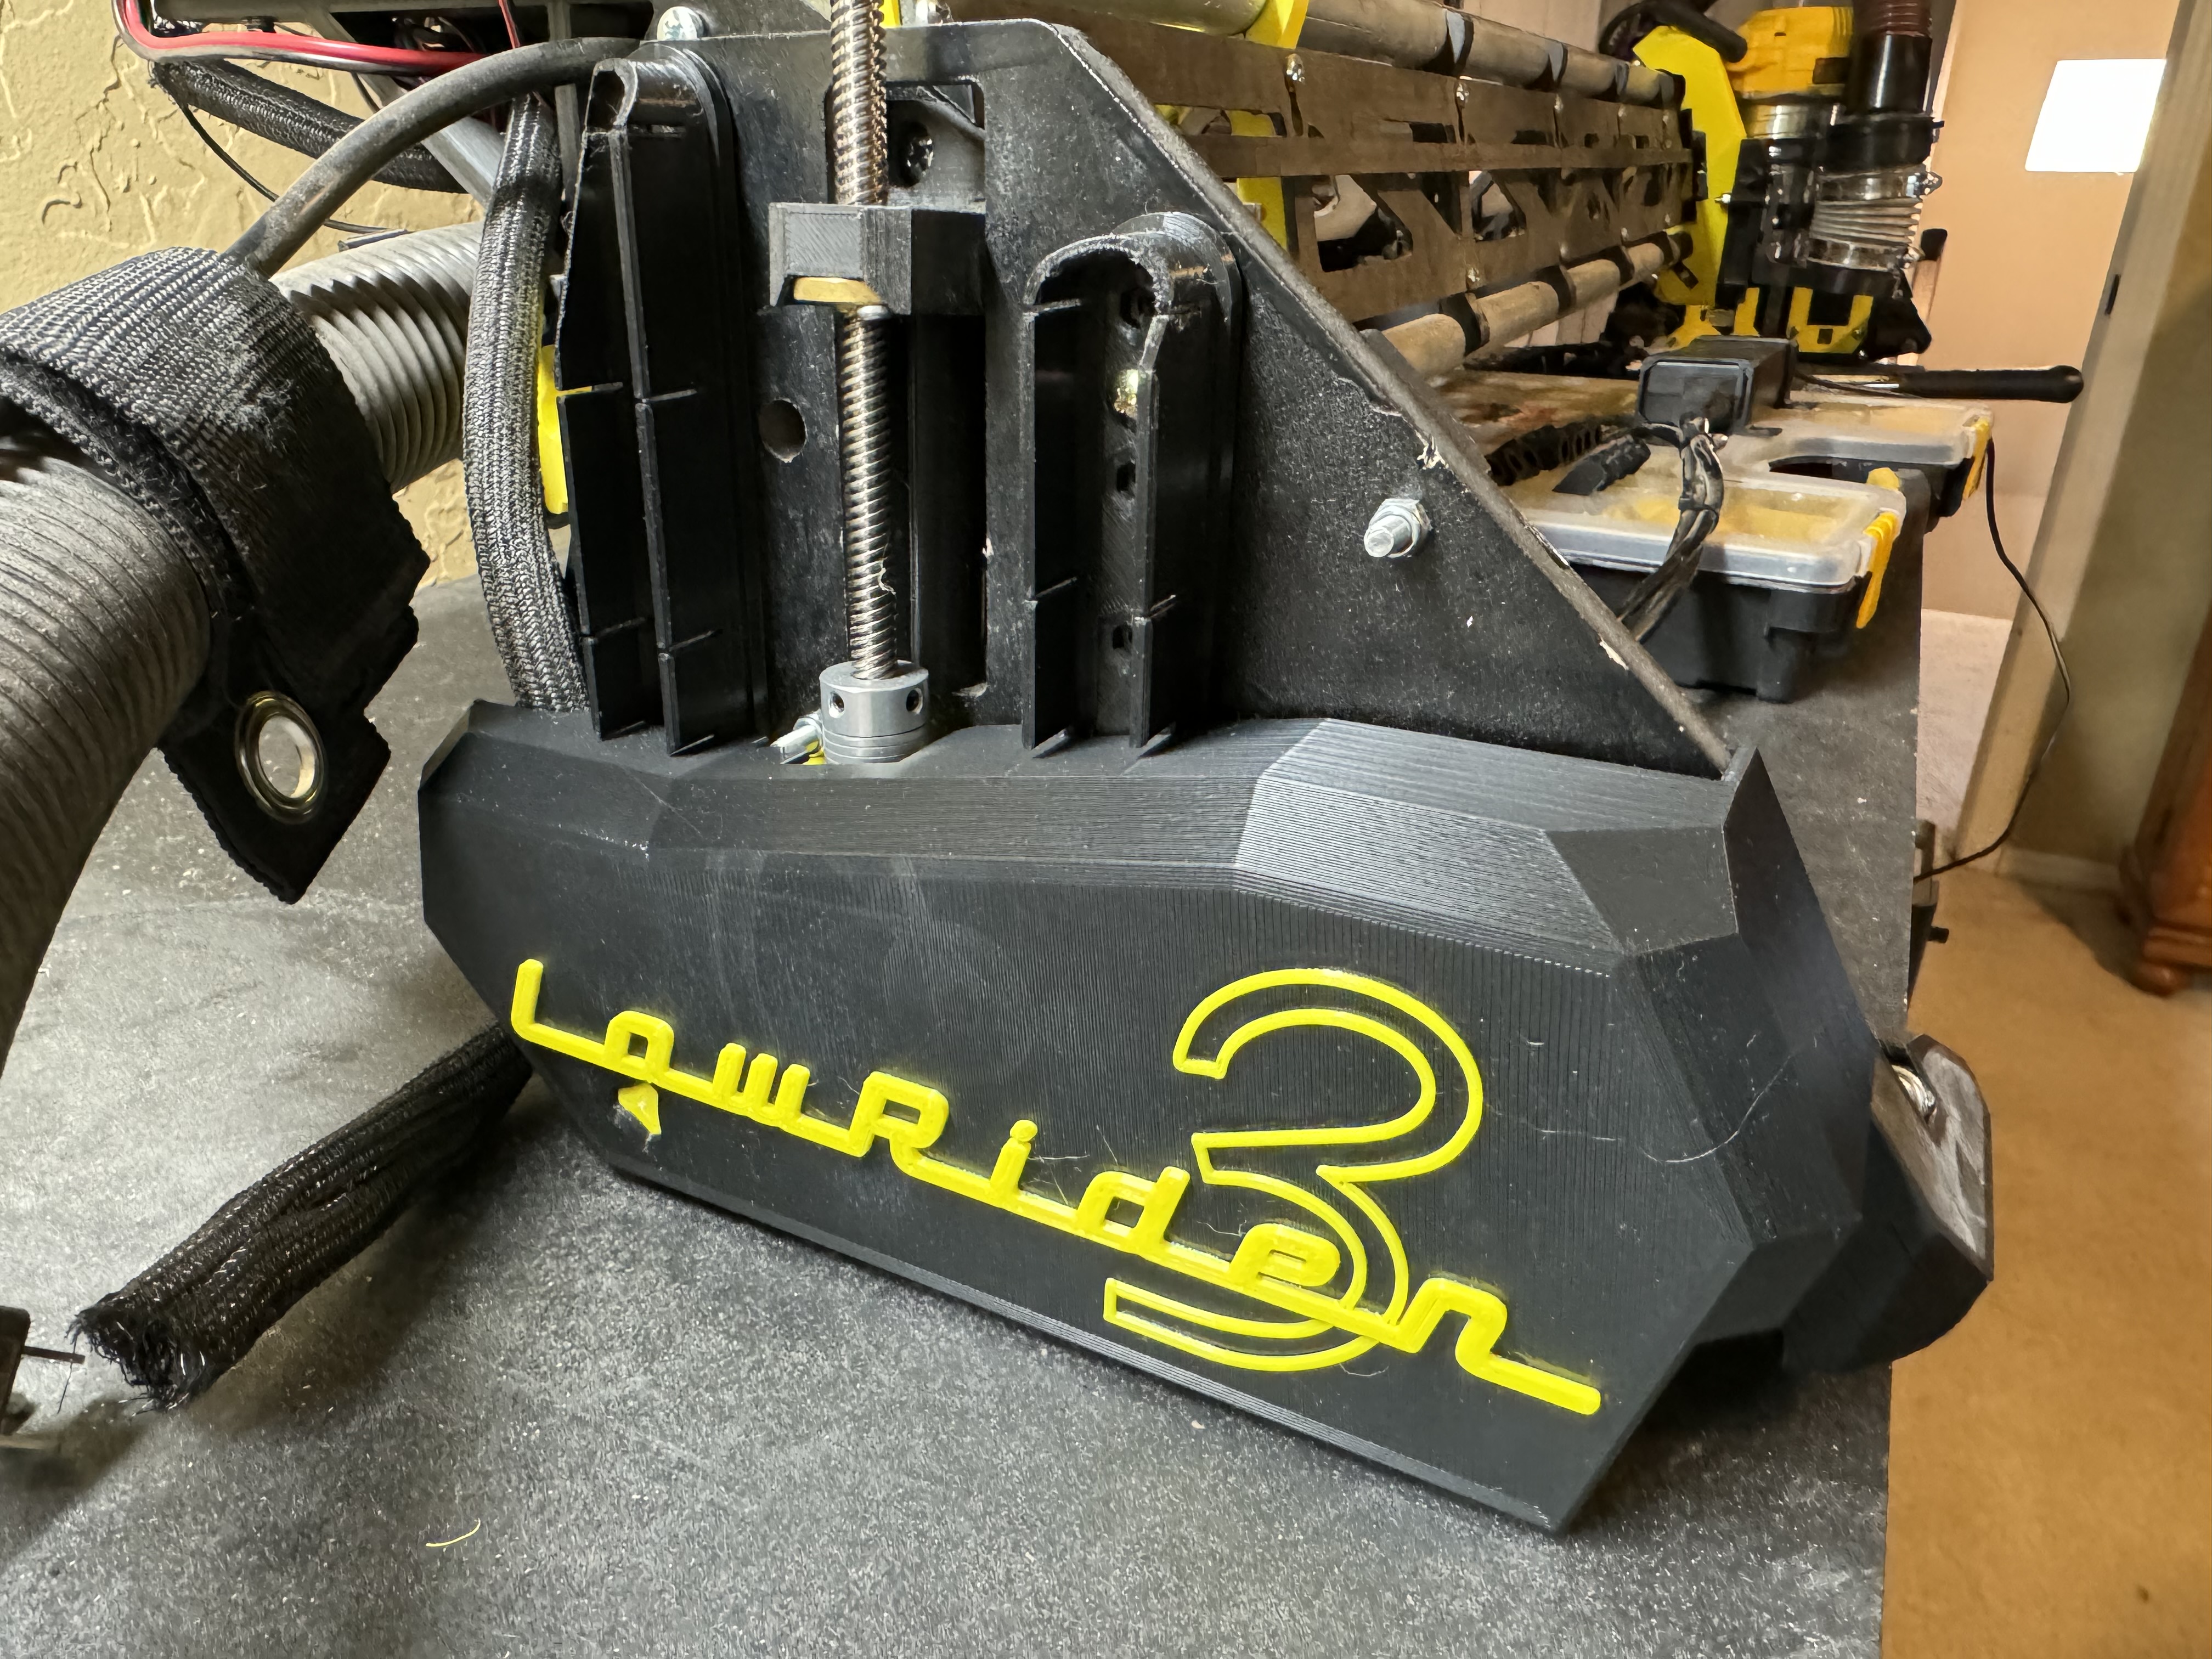
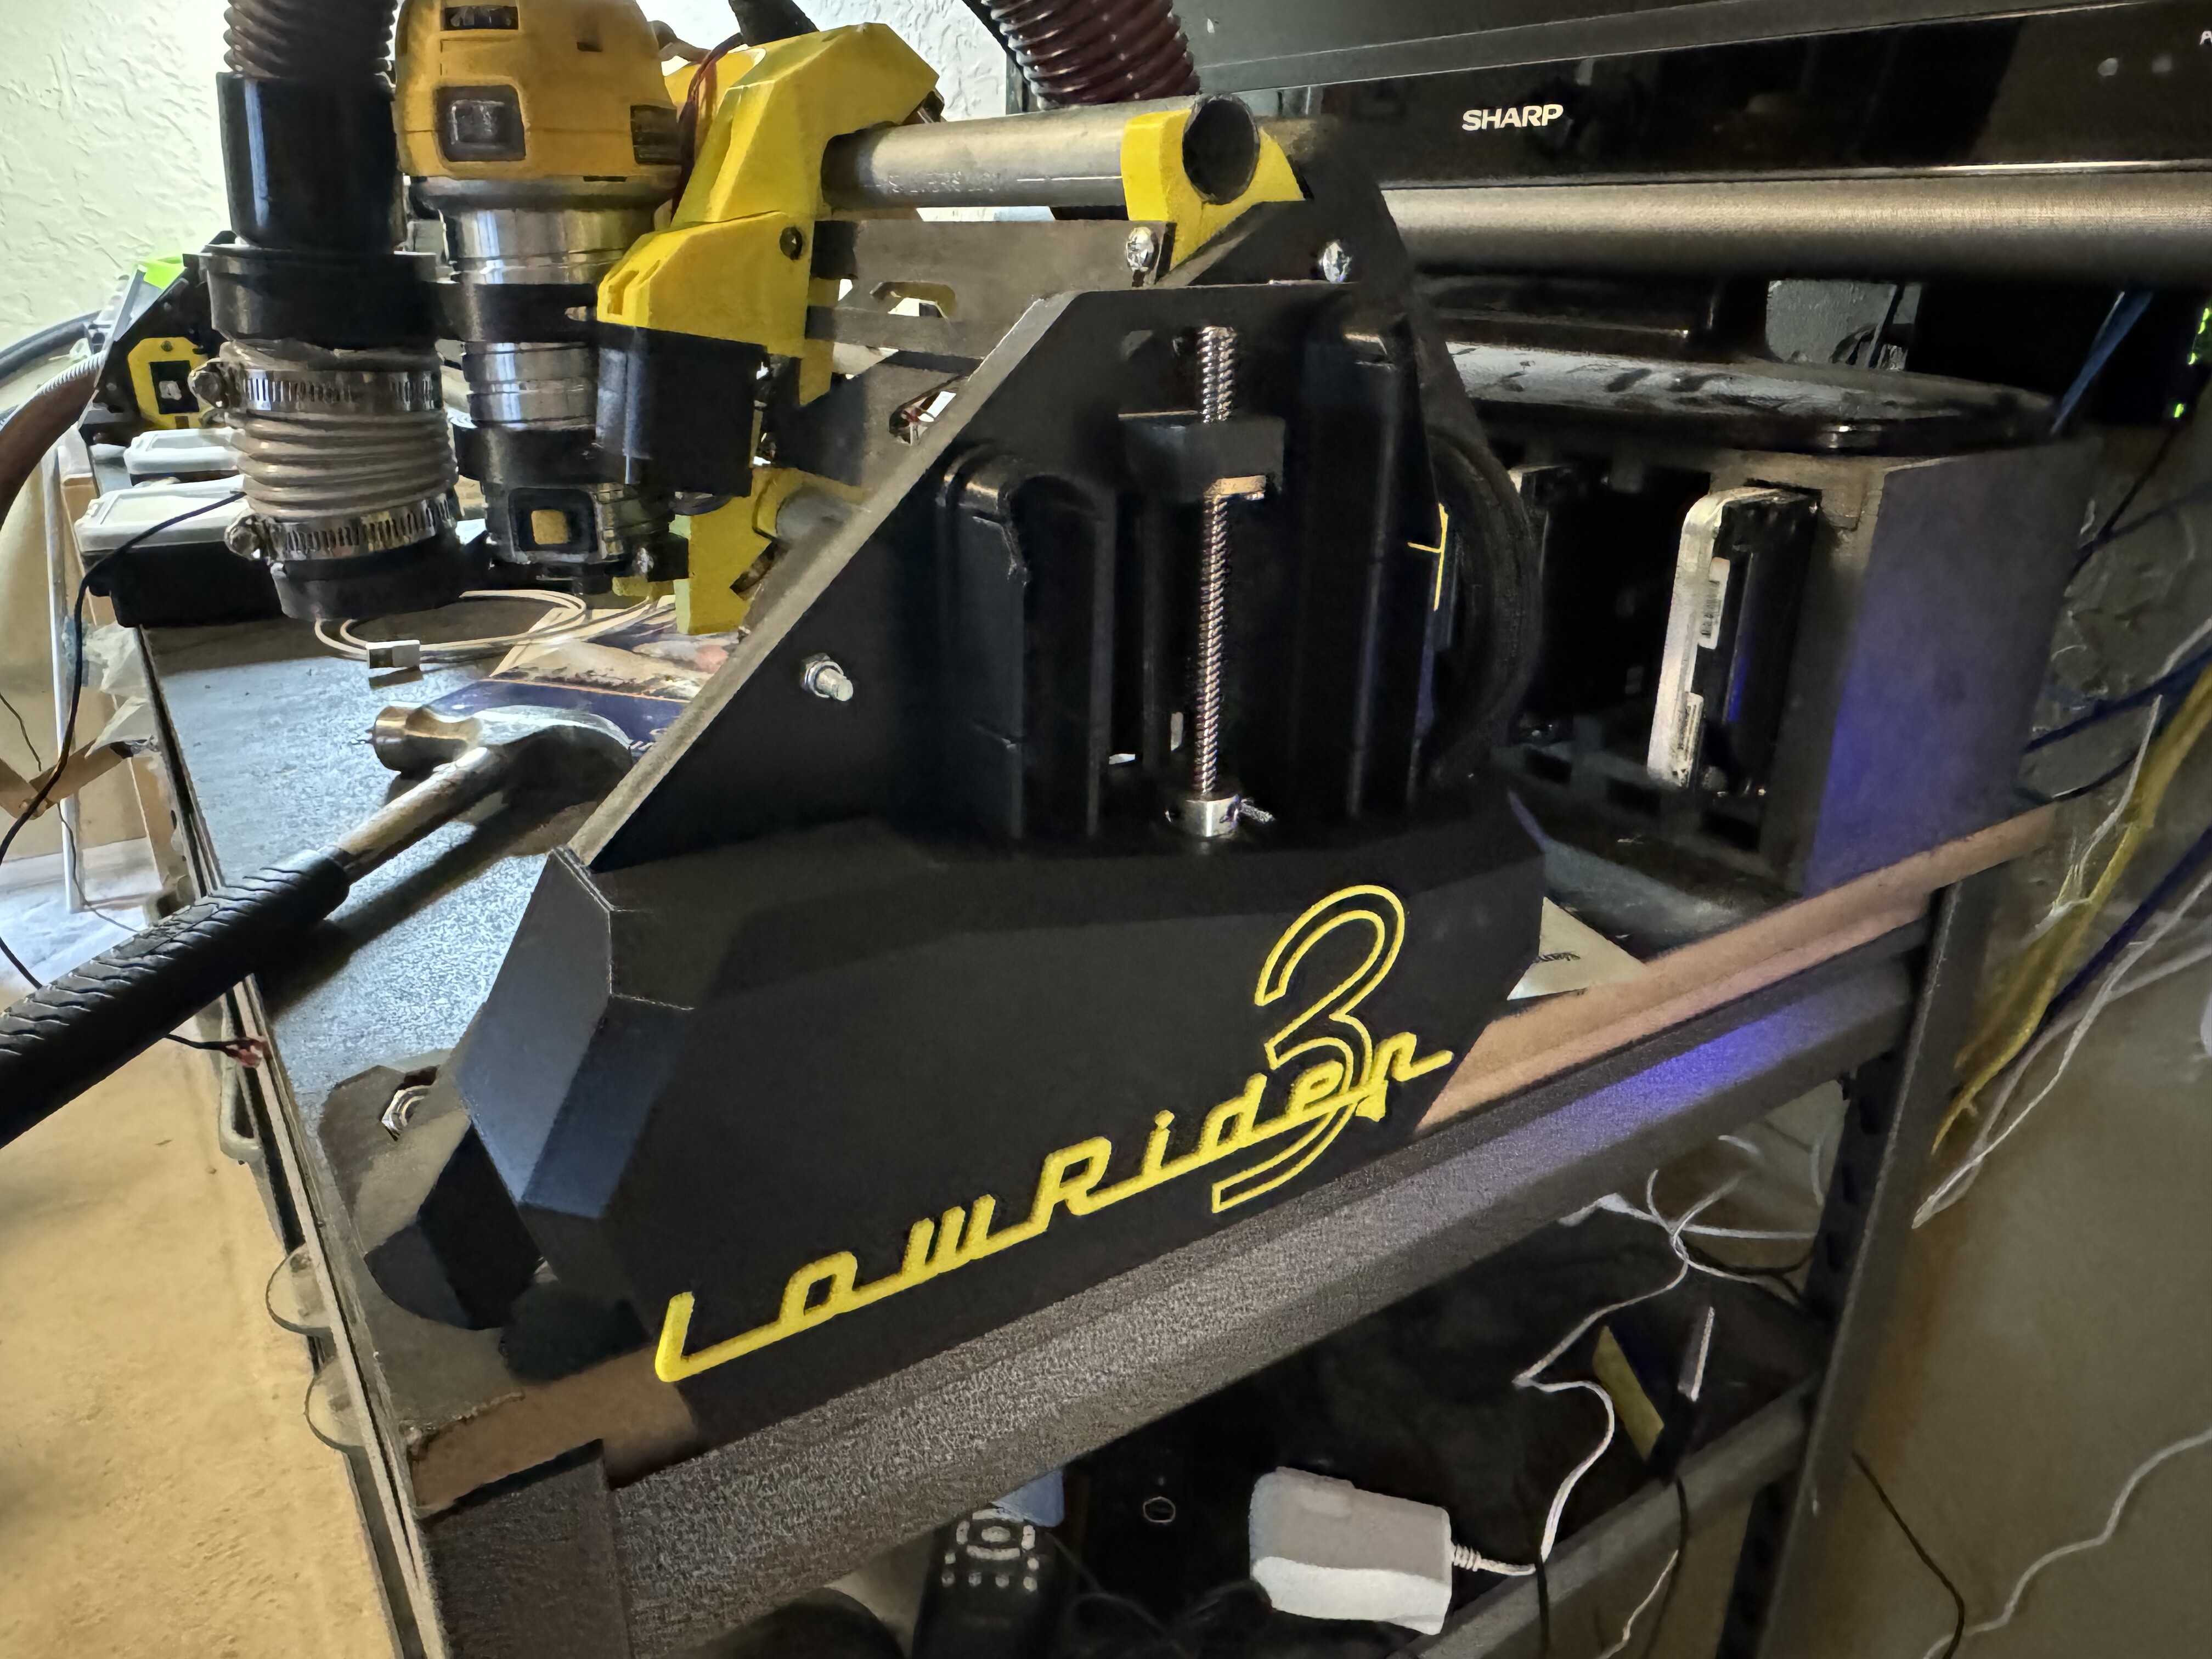
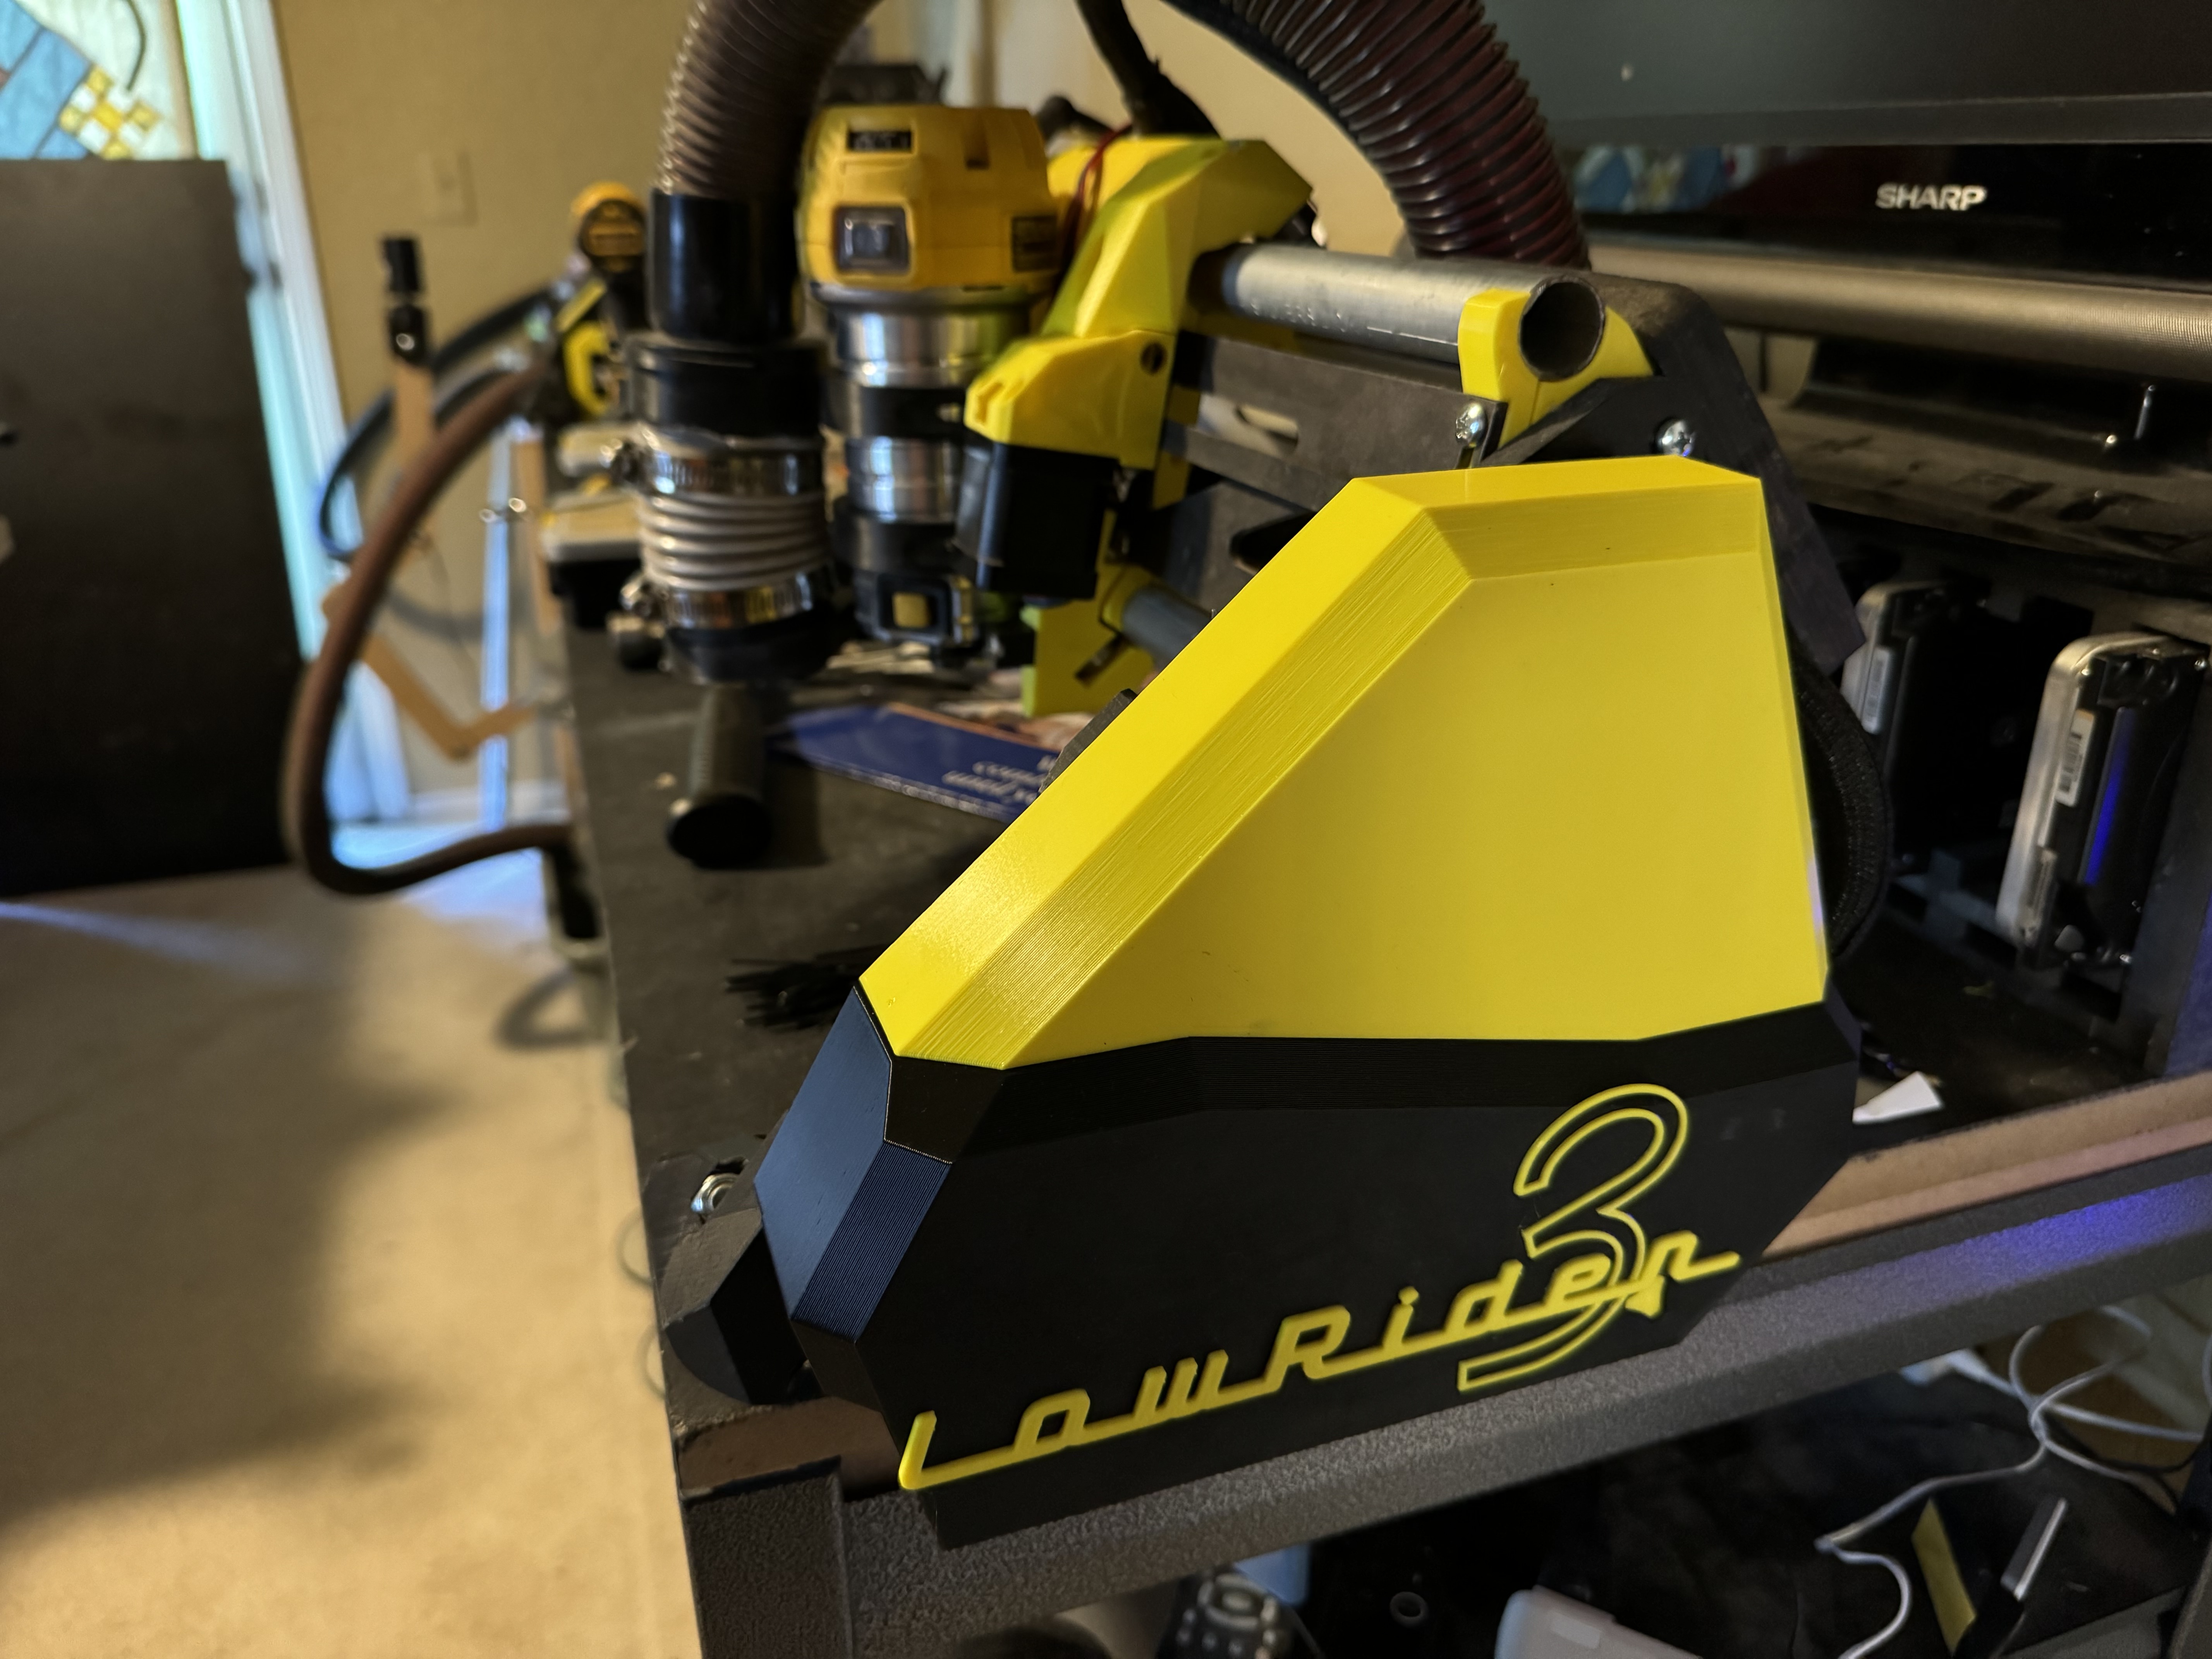
Big shout out to @bitingmidge for all the hard work on all of your LR3 upgrade designs! I’m doing the Fenders, Badges & Logos, Cable Trays and Strut Nut Encapsulators this week. So far, everything is fitting perfectly and your instructions are great! I just need to find my really tiny zip ties to lock everything back down now.
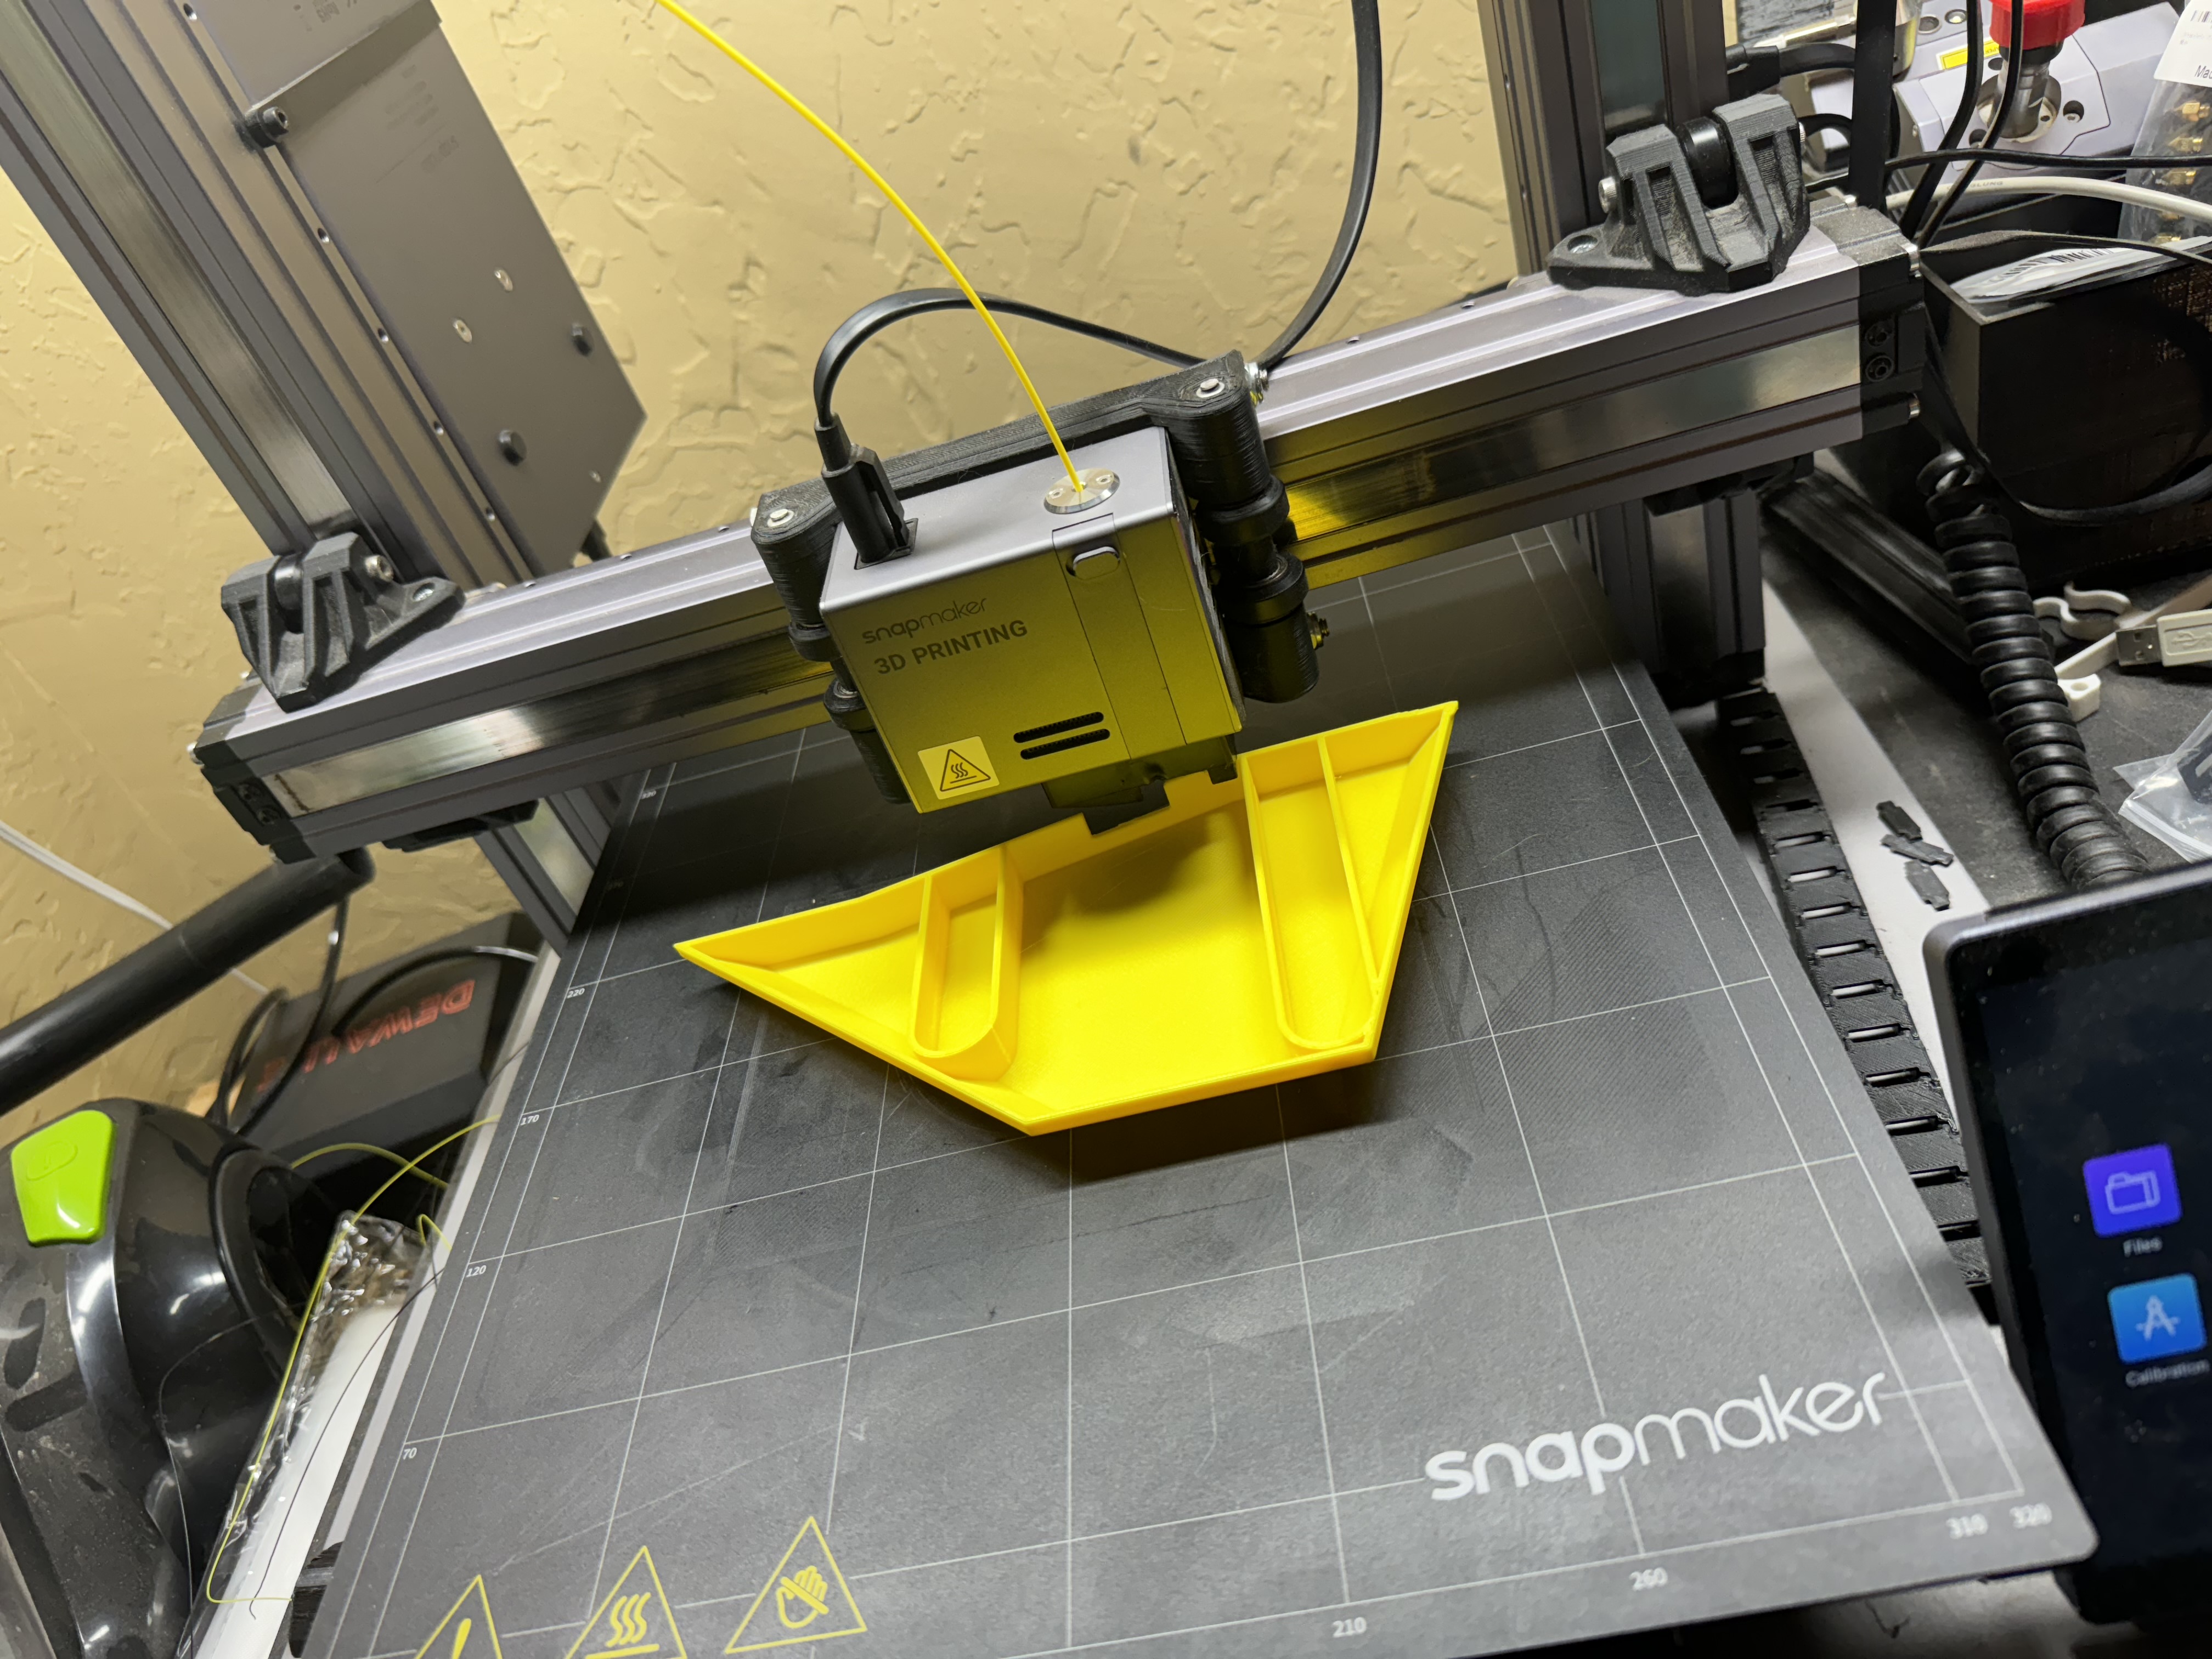
All the yellow pieces are now printing and I’ll probably end up replacing the struts with something a little more stylish as well before I resume garage work during the fall.
I also grabbed your A/C Adapter design for my LR3 and my new MPCNC build. Had a little trouble with Onshape as it wouldn’t let me edit any of the variable values. I may be doing it wrong as I have no experience with that software, but it says view-only at the top of the page. However, it did let me measure everything so I was able to reproduce it in Fusion 360 with the measurements for the current iteration of A/C adapter than @vicious1 is sending out these days. FYI, it’s 31mm x 48mm now.
Thanks for the kind words - your machine looks fantastic!
I’m sort about the issue with Onshape and thanks for letting me know.
I have changed my instructions re- Onshape to clarify that in order to edit files, there’s a ( blue) menu button on the top left that says something like “copy to edit”?
The file then appears magically in your own account and you can edit at will.
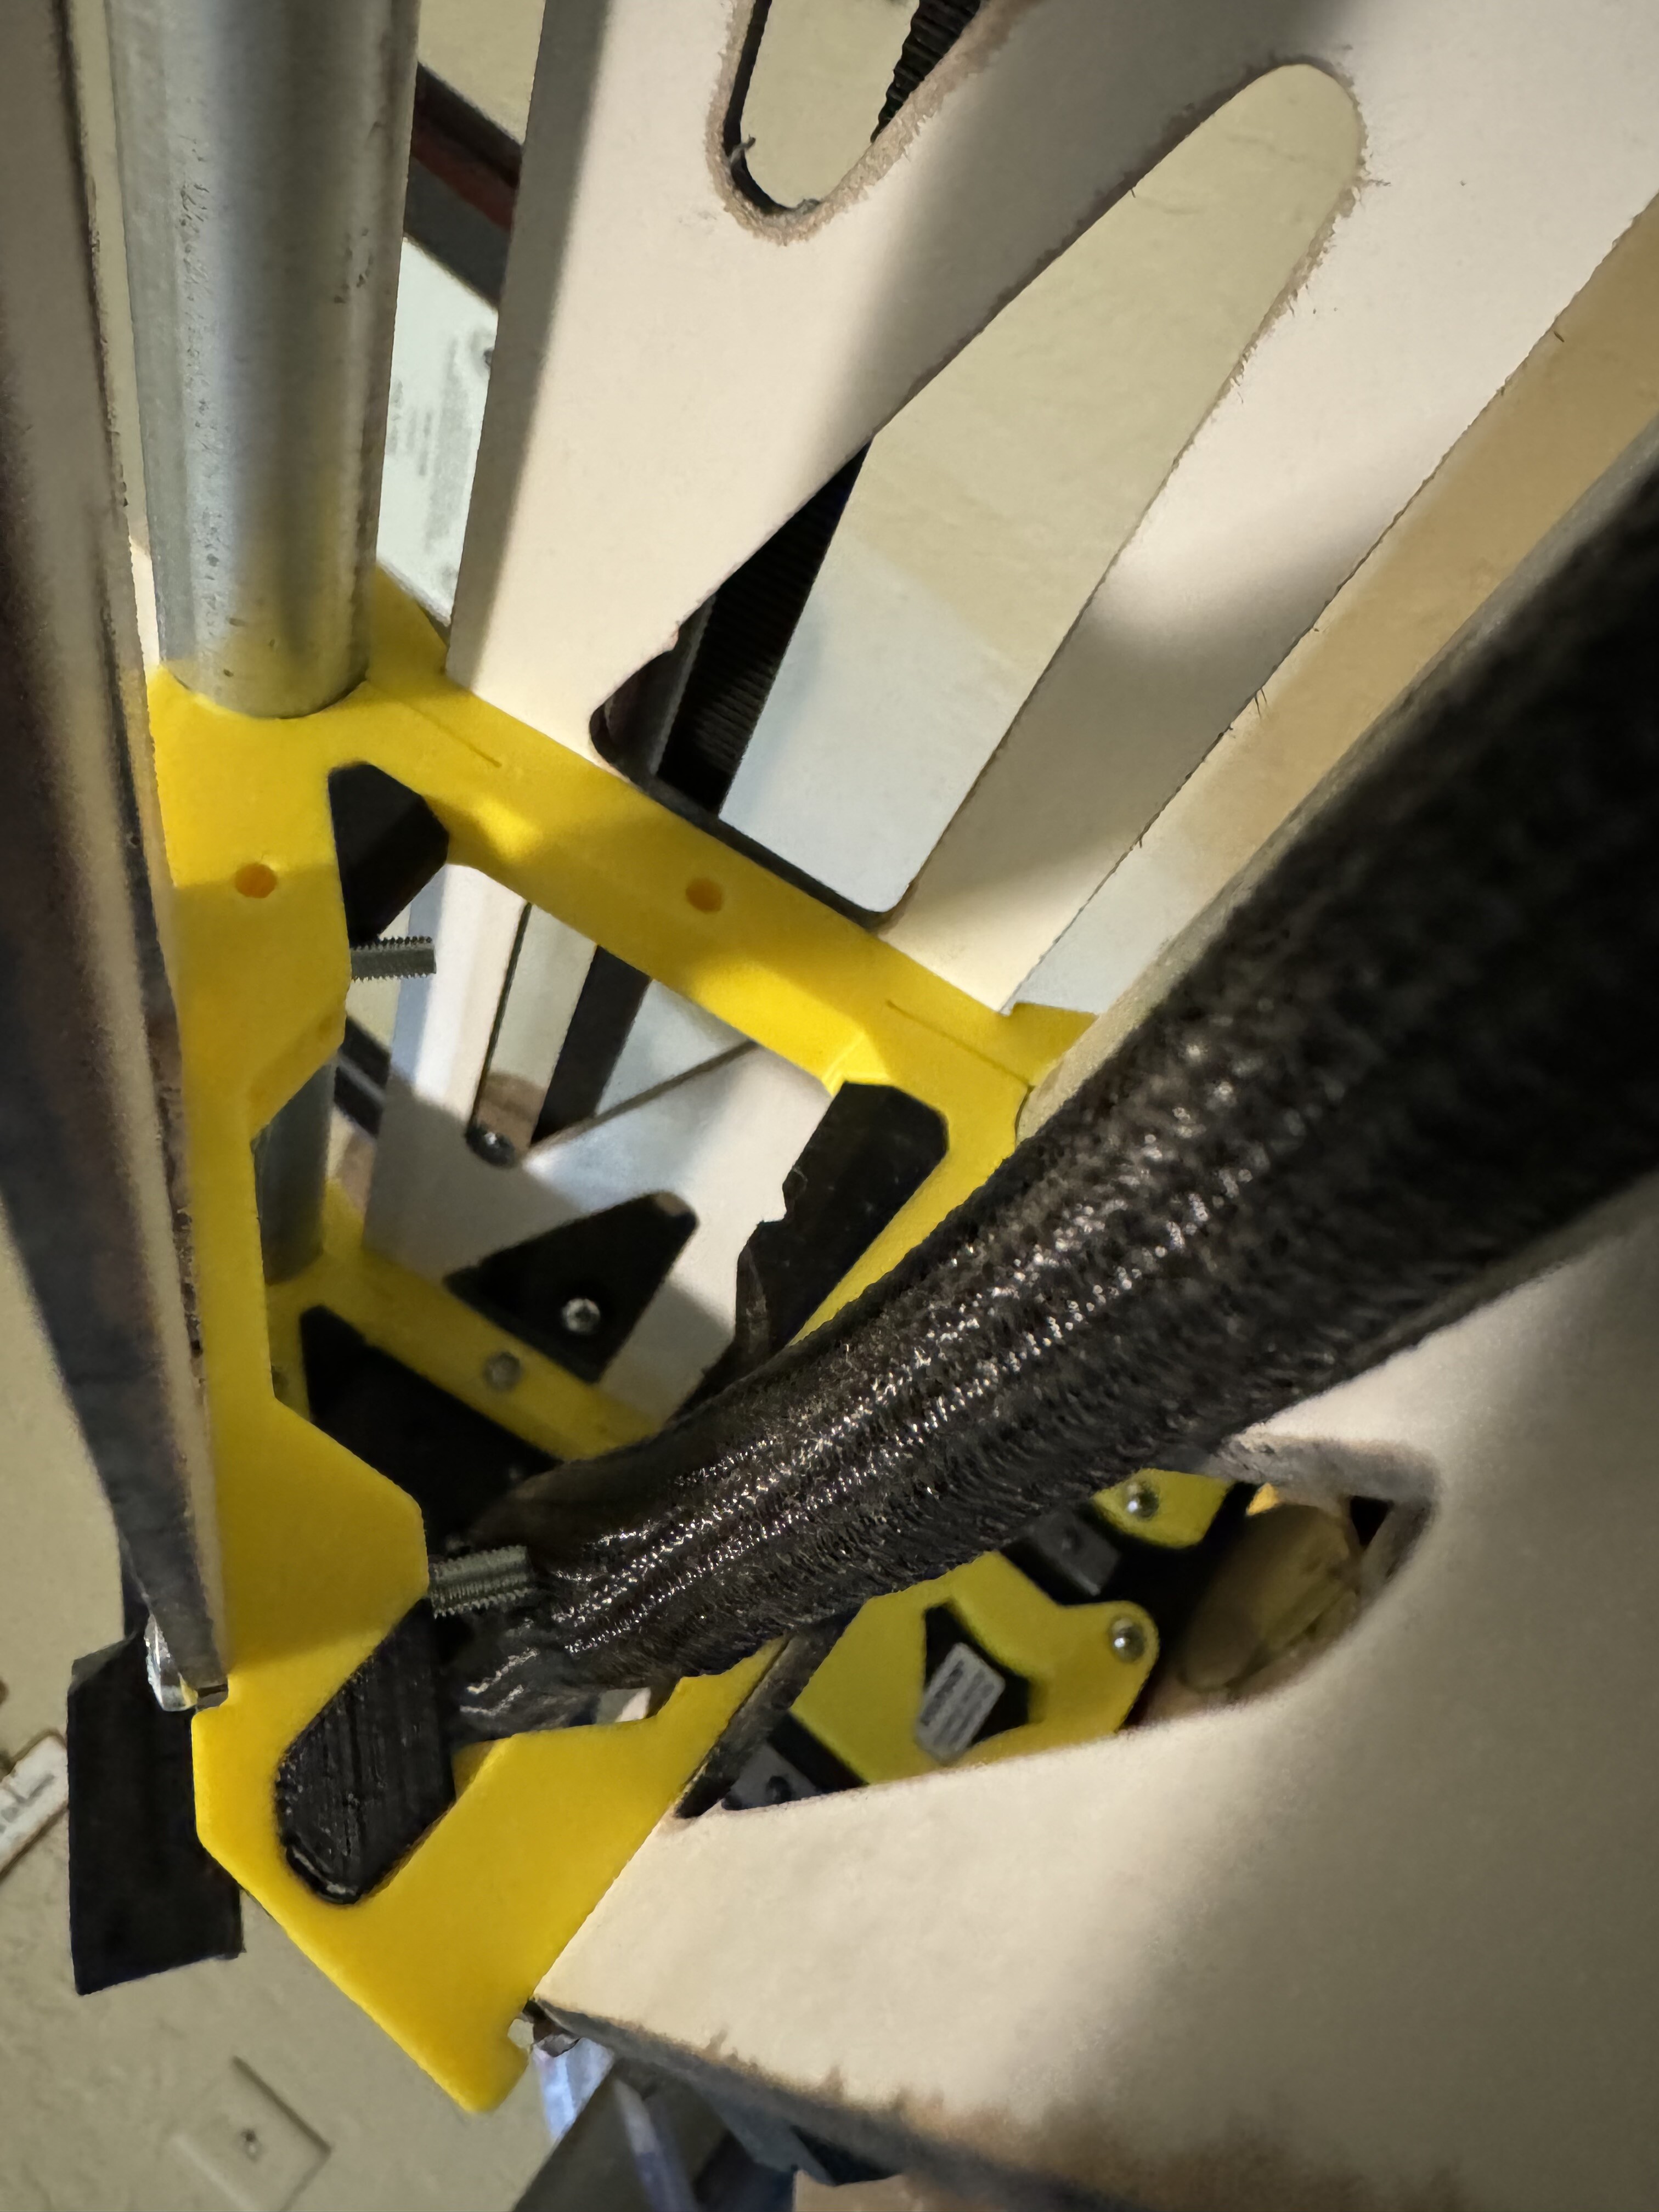
Finally found my tiny zip ties and got her all fitted back up! Those little cable trays are fantastic! I’ve always worried about hanging wires and movement up and down the y-axis, this should clear up that issue
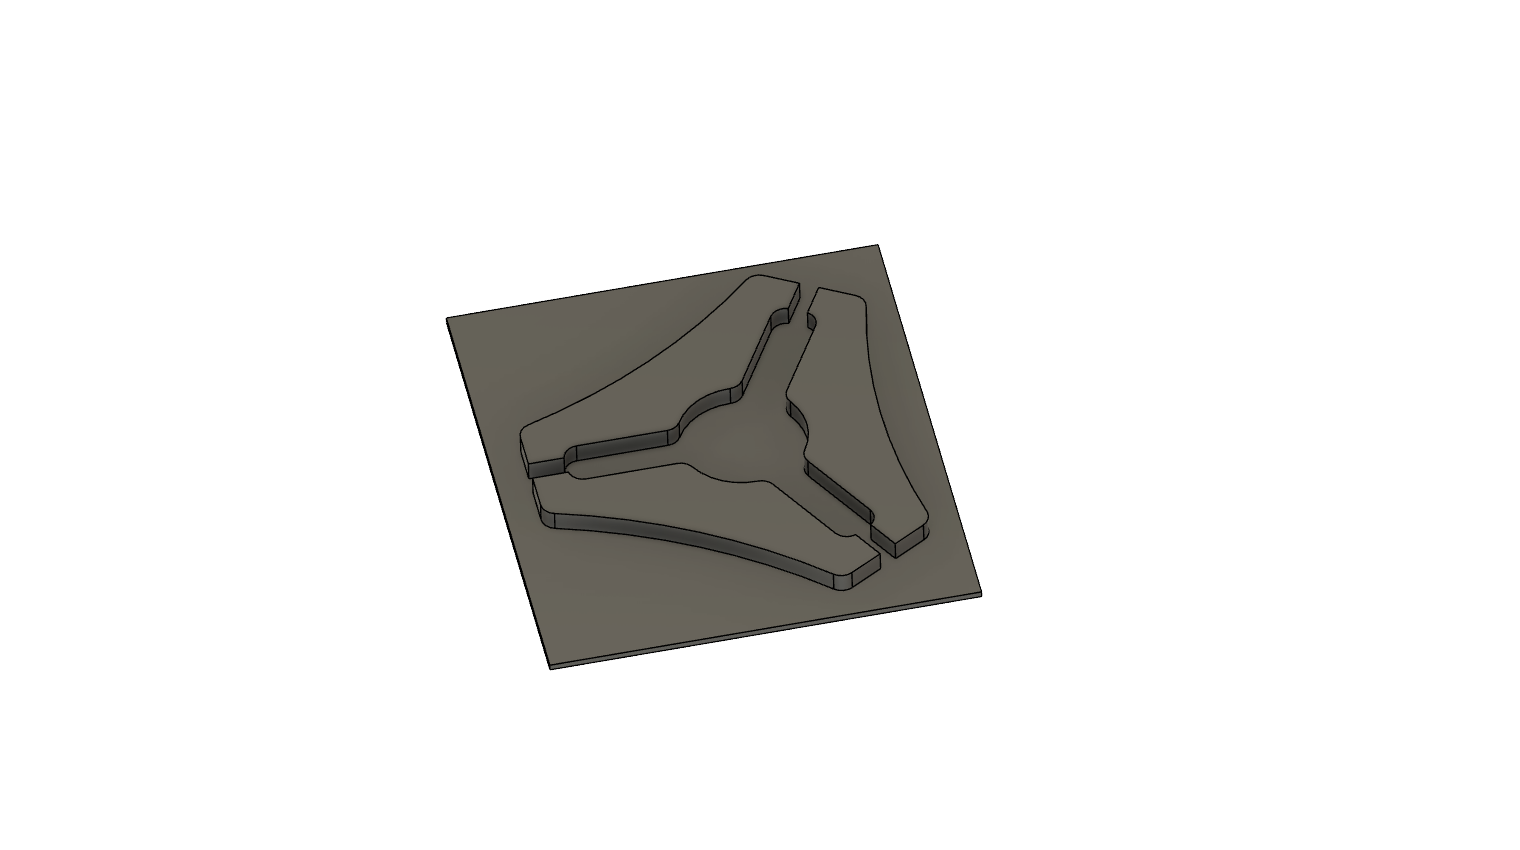
I have the vacuum hose and power systems removed so I can get the back strut out for the encapsulator installation. I’ll have to reassemble to cut new struts afterwards, but I’m still debating both the material and design. I used hardboard originally and honestly I’m not a fan… any thoughts out there? I want to maximize gantry stiffness cool looking being a not so distant 2nd concern. Metal probably isn’t in the budget and I’d hate to paint it black anyways…
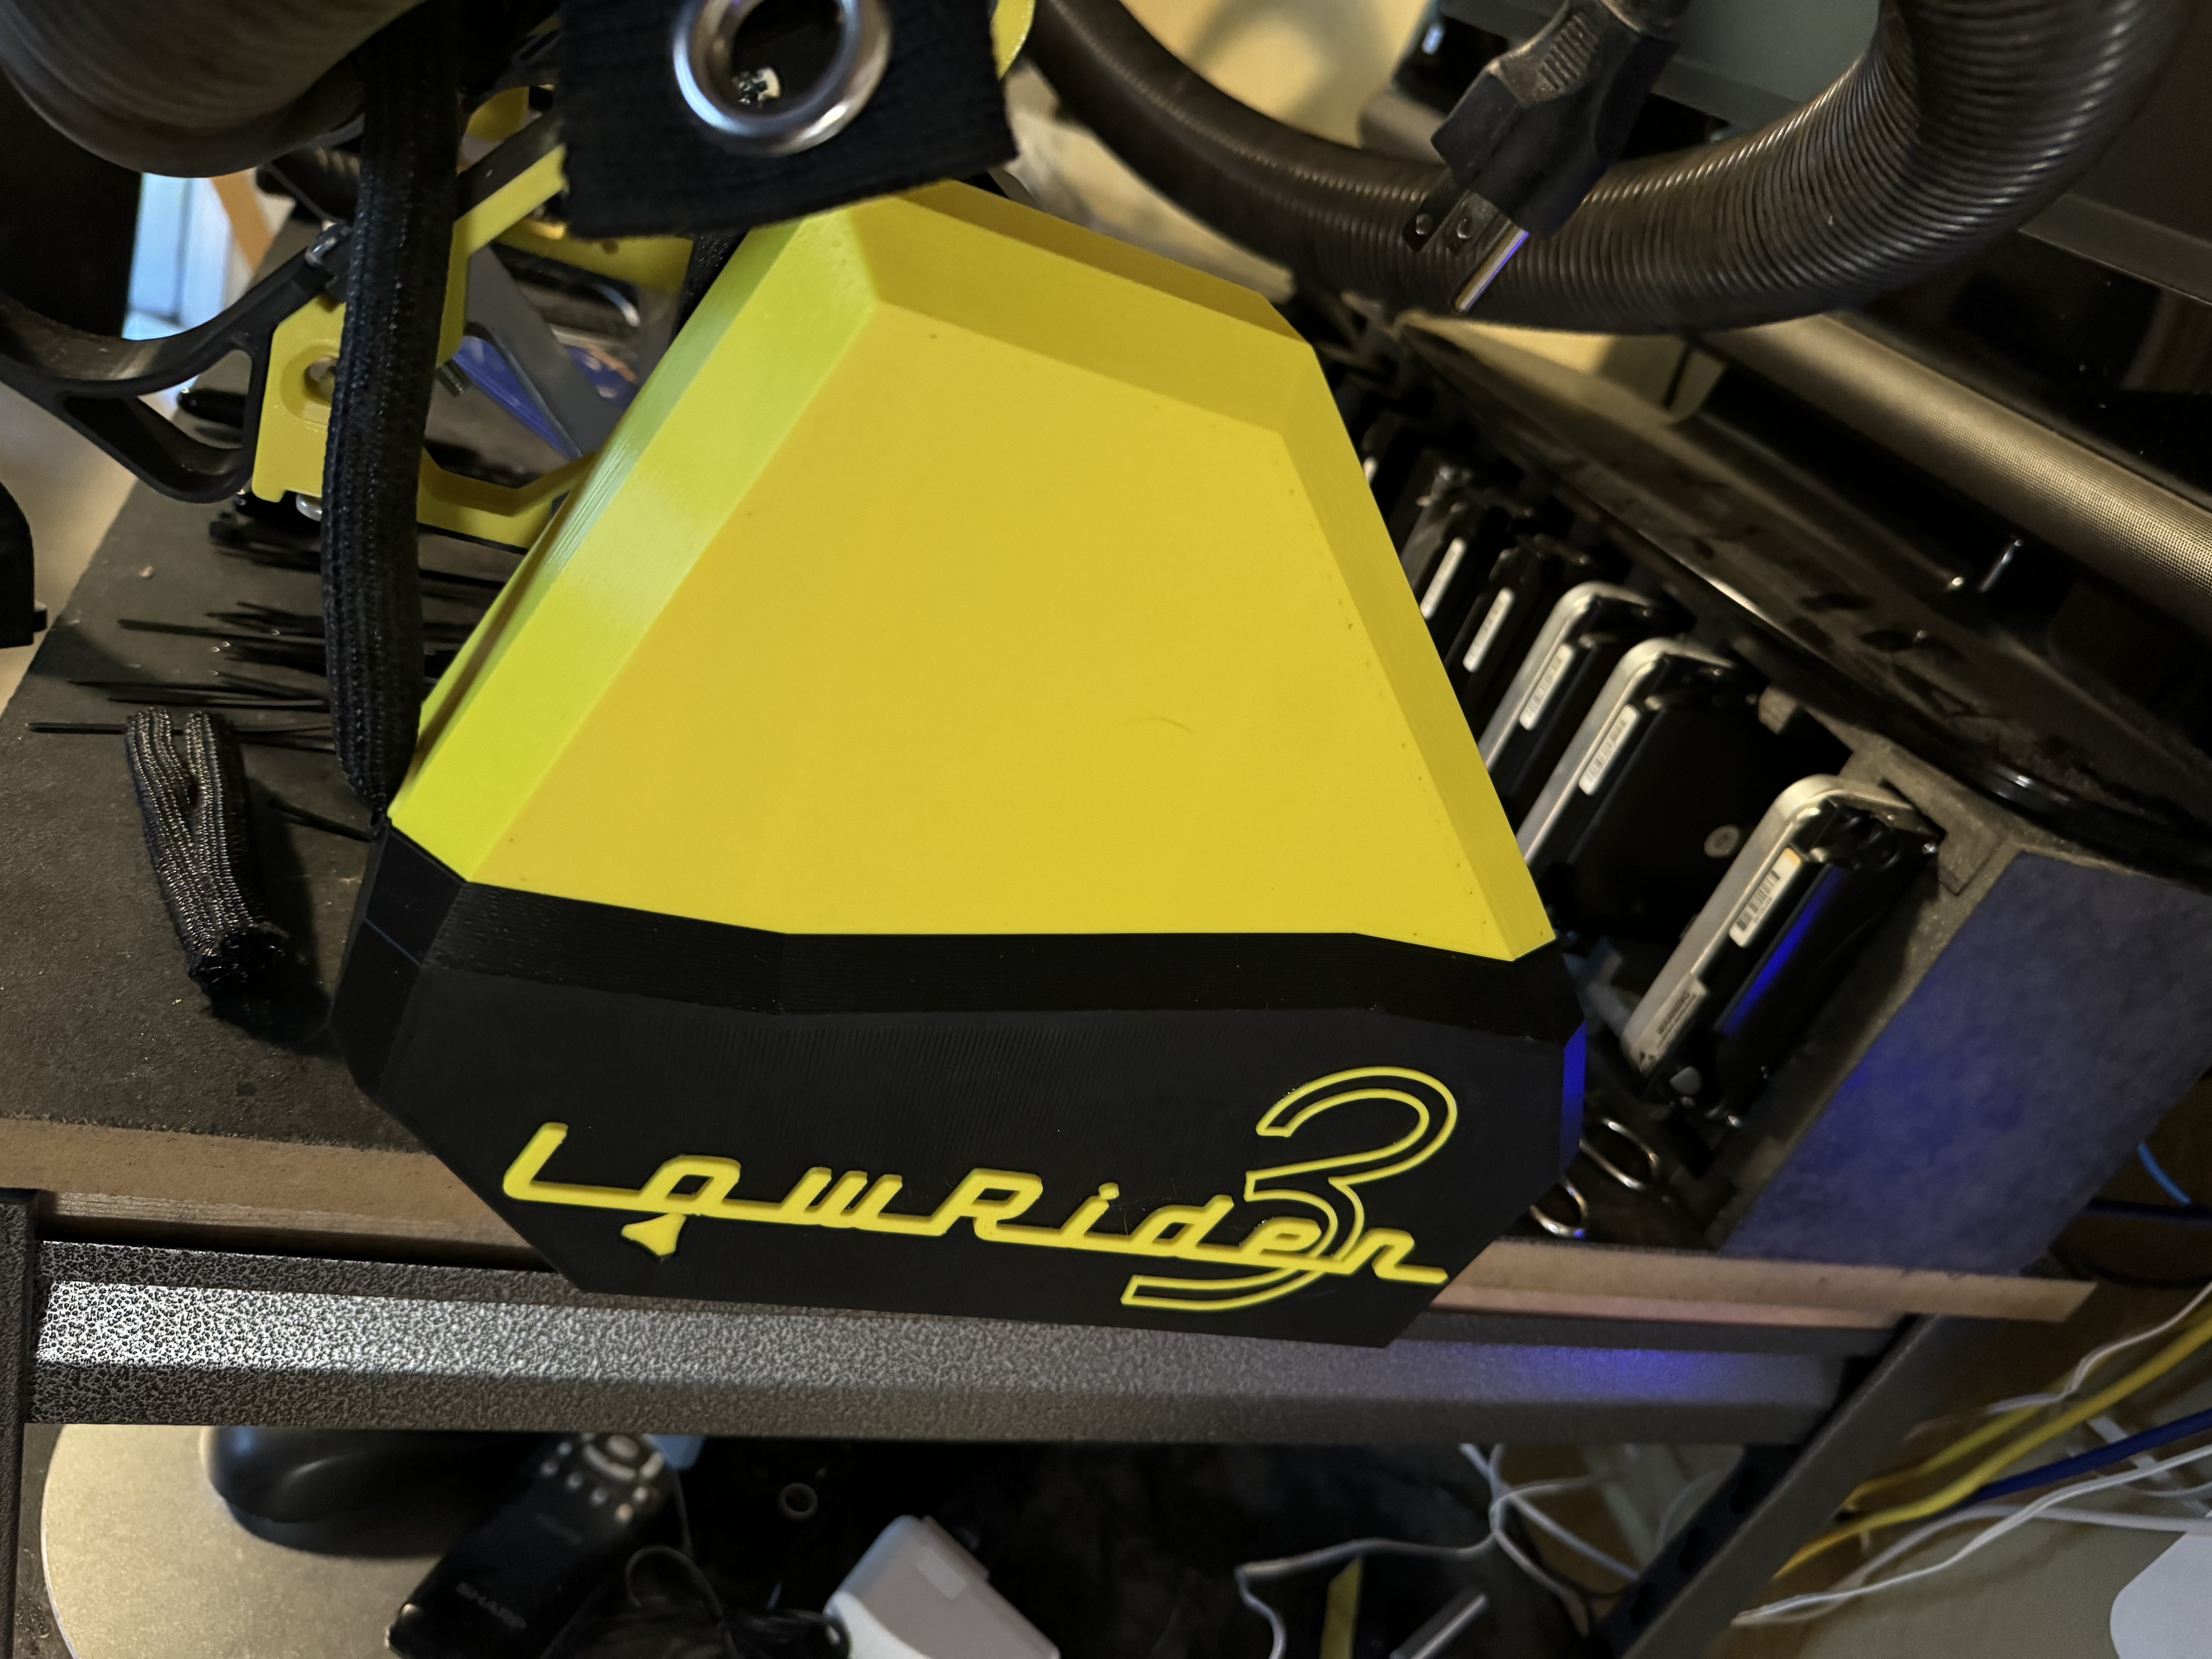
It started off trying to color match that Dewalt trim router, but couldn’t quite color match it lol. I do like this shade of yellow and black too. My wife is also a Pittsburgh Steelers fan, so brownie points there too. I just need to add that yellow, red and blue diamond pattern badge somewhere…
If you really want to be fancy take away the keyholes and just do the screw holes. They aren’t any harder to put on and look so much better finished up.
I skipped any glue or epoxy for now, but I may add some CA glue when I install the new strut plates down the road. I thought about printing the new front strut plate inserts in clear PLA and adding led strip lights behind them, but that might be taking it a bit too far, lol.
Reassembly is running pretty smoothly, just waiting on a new set of vac hose hangars to print. When I took my original set off, they came off in pieces as soon as the bolts loosened a little, so I guess I might have been a little rough on them. A redesign with thicker and more robust supports, purpose built for my equipment seemed liked a good idea. We’ll see how I did tomorrow when they’re done.
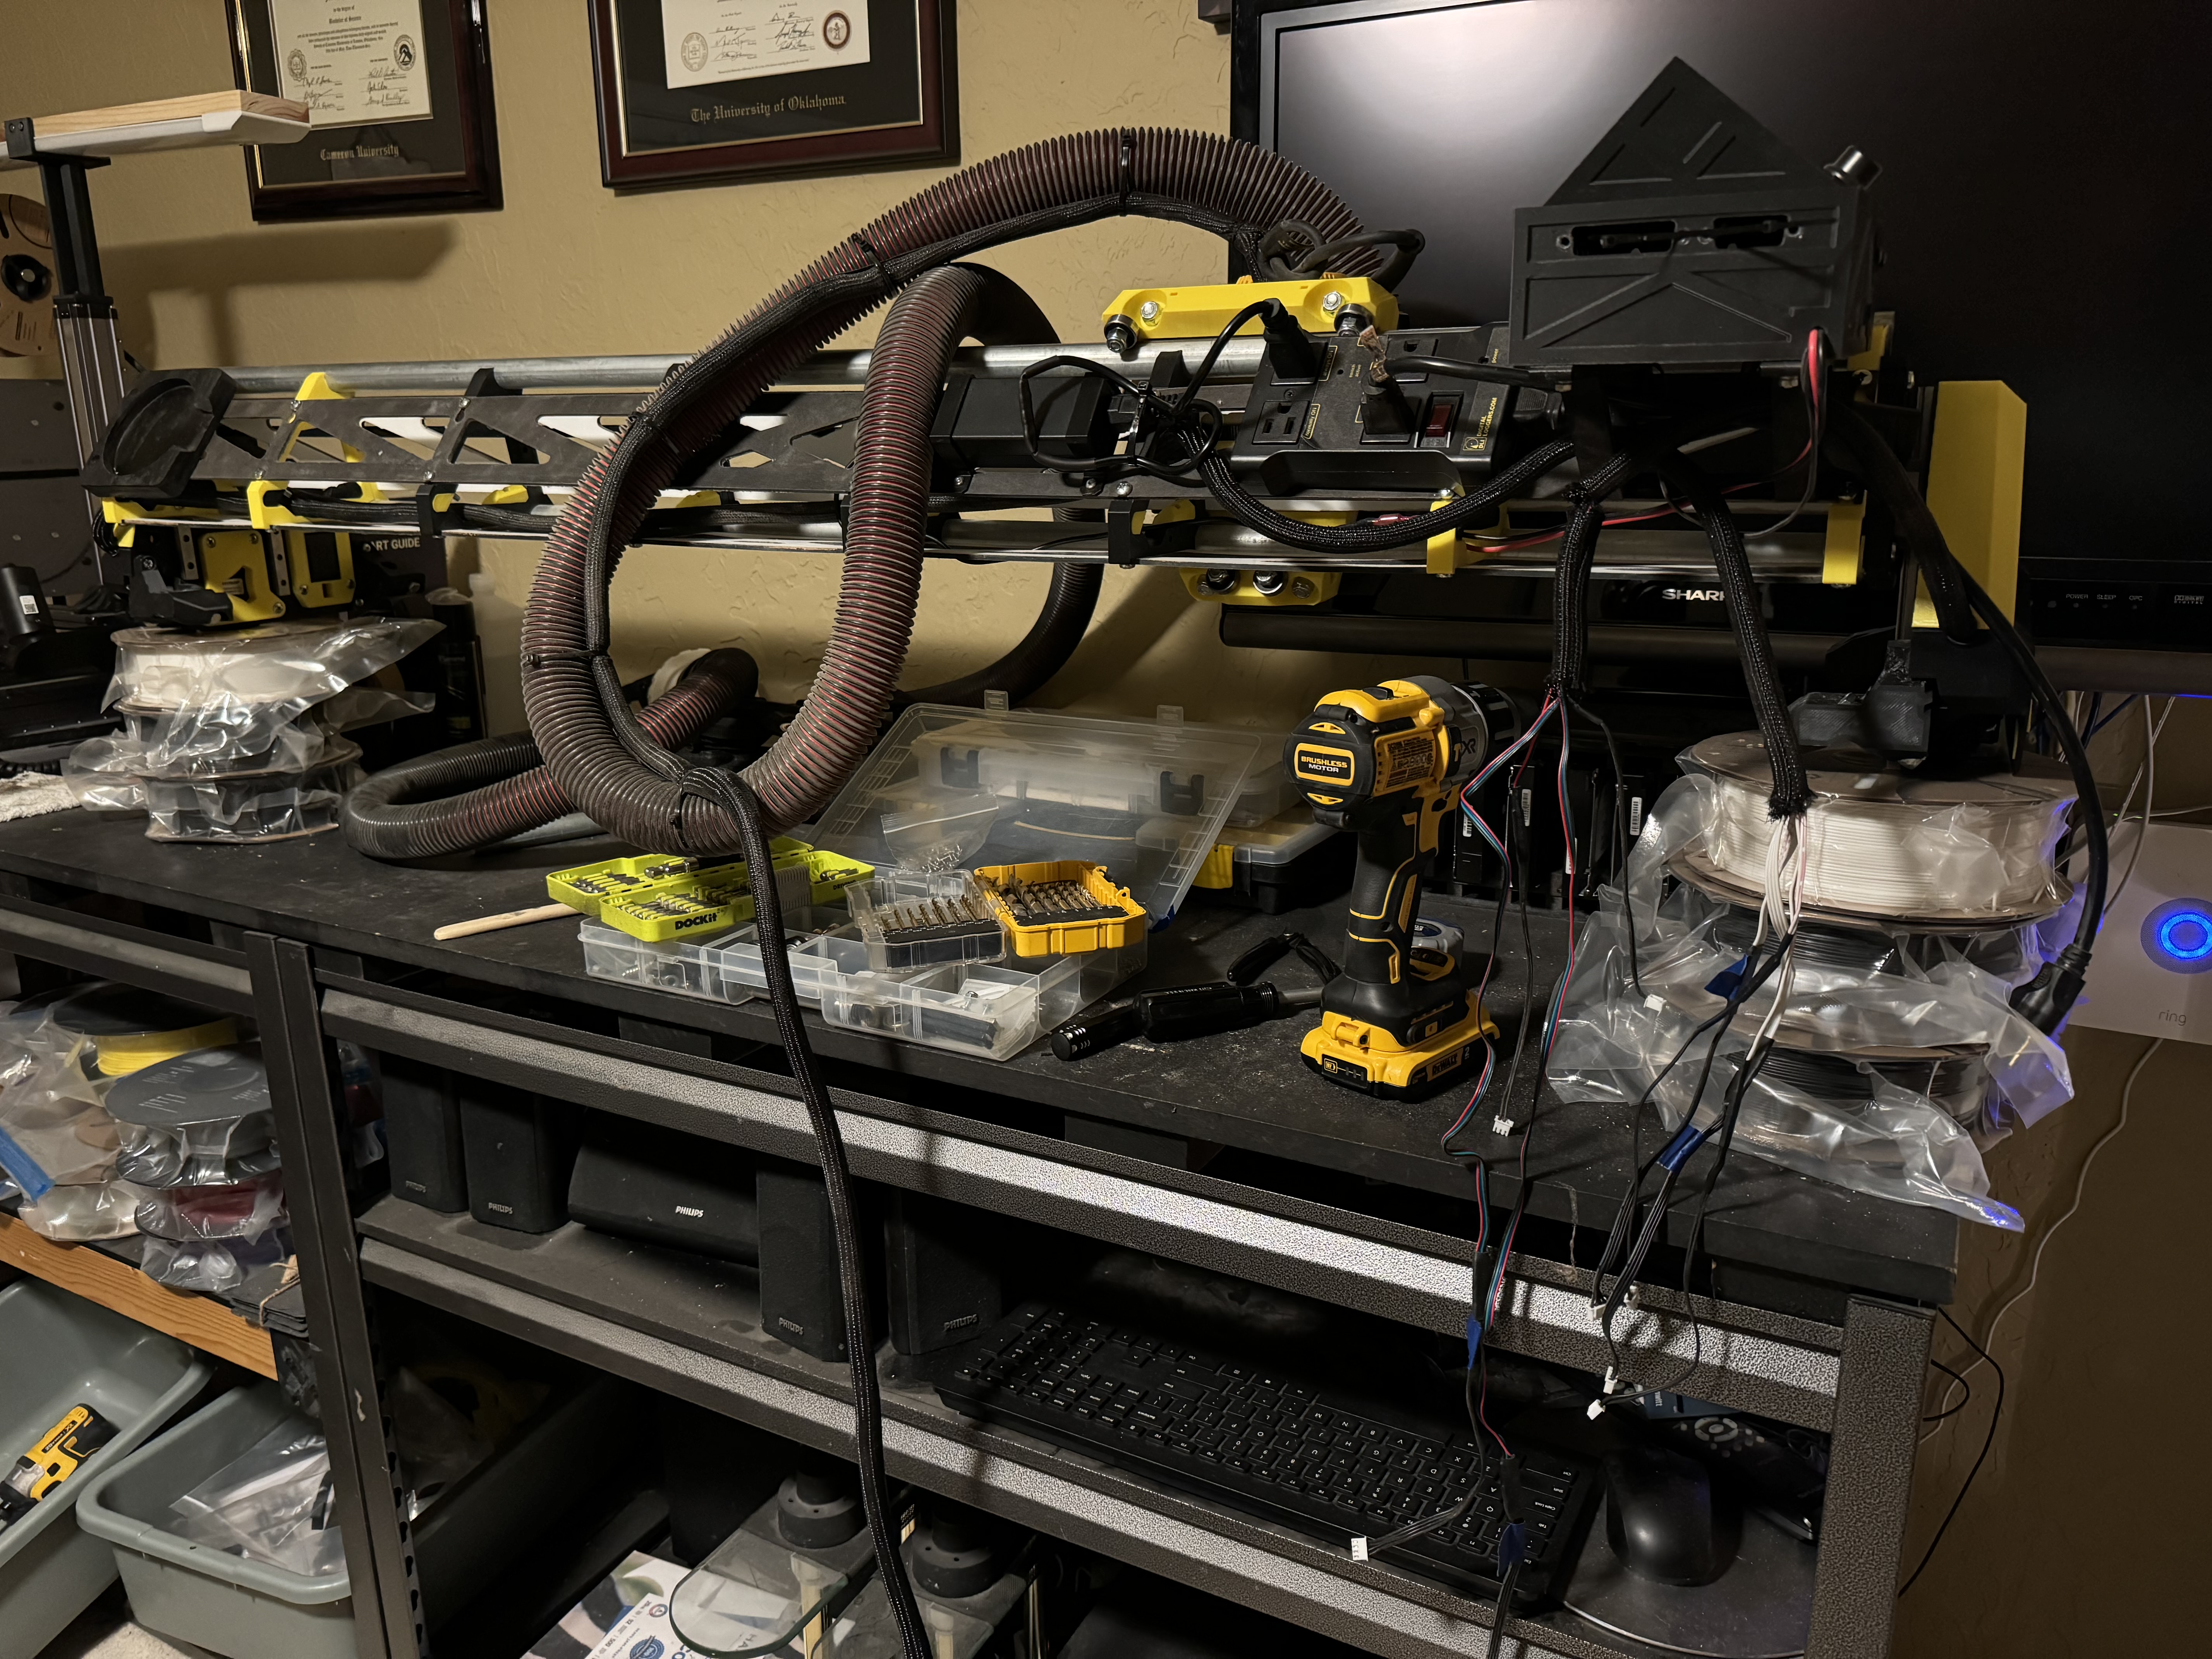
I borrowed some filament spools from the 3DP to jack up my LR3 so I could more easily access the underside strut parts and it worked pretty well! I think I’ll just leave it up there until I’m done running wires and zip tying everything back into place.
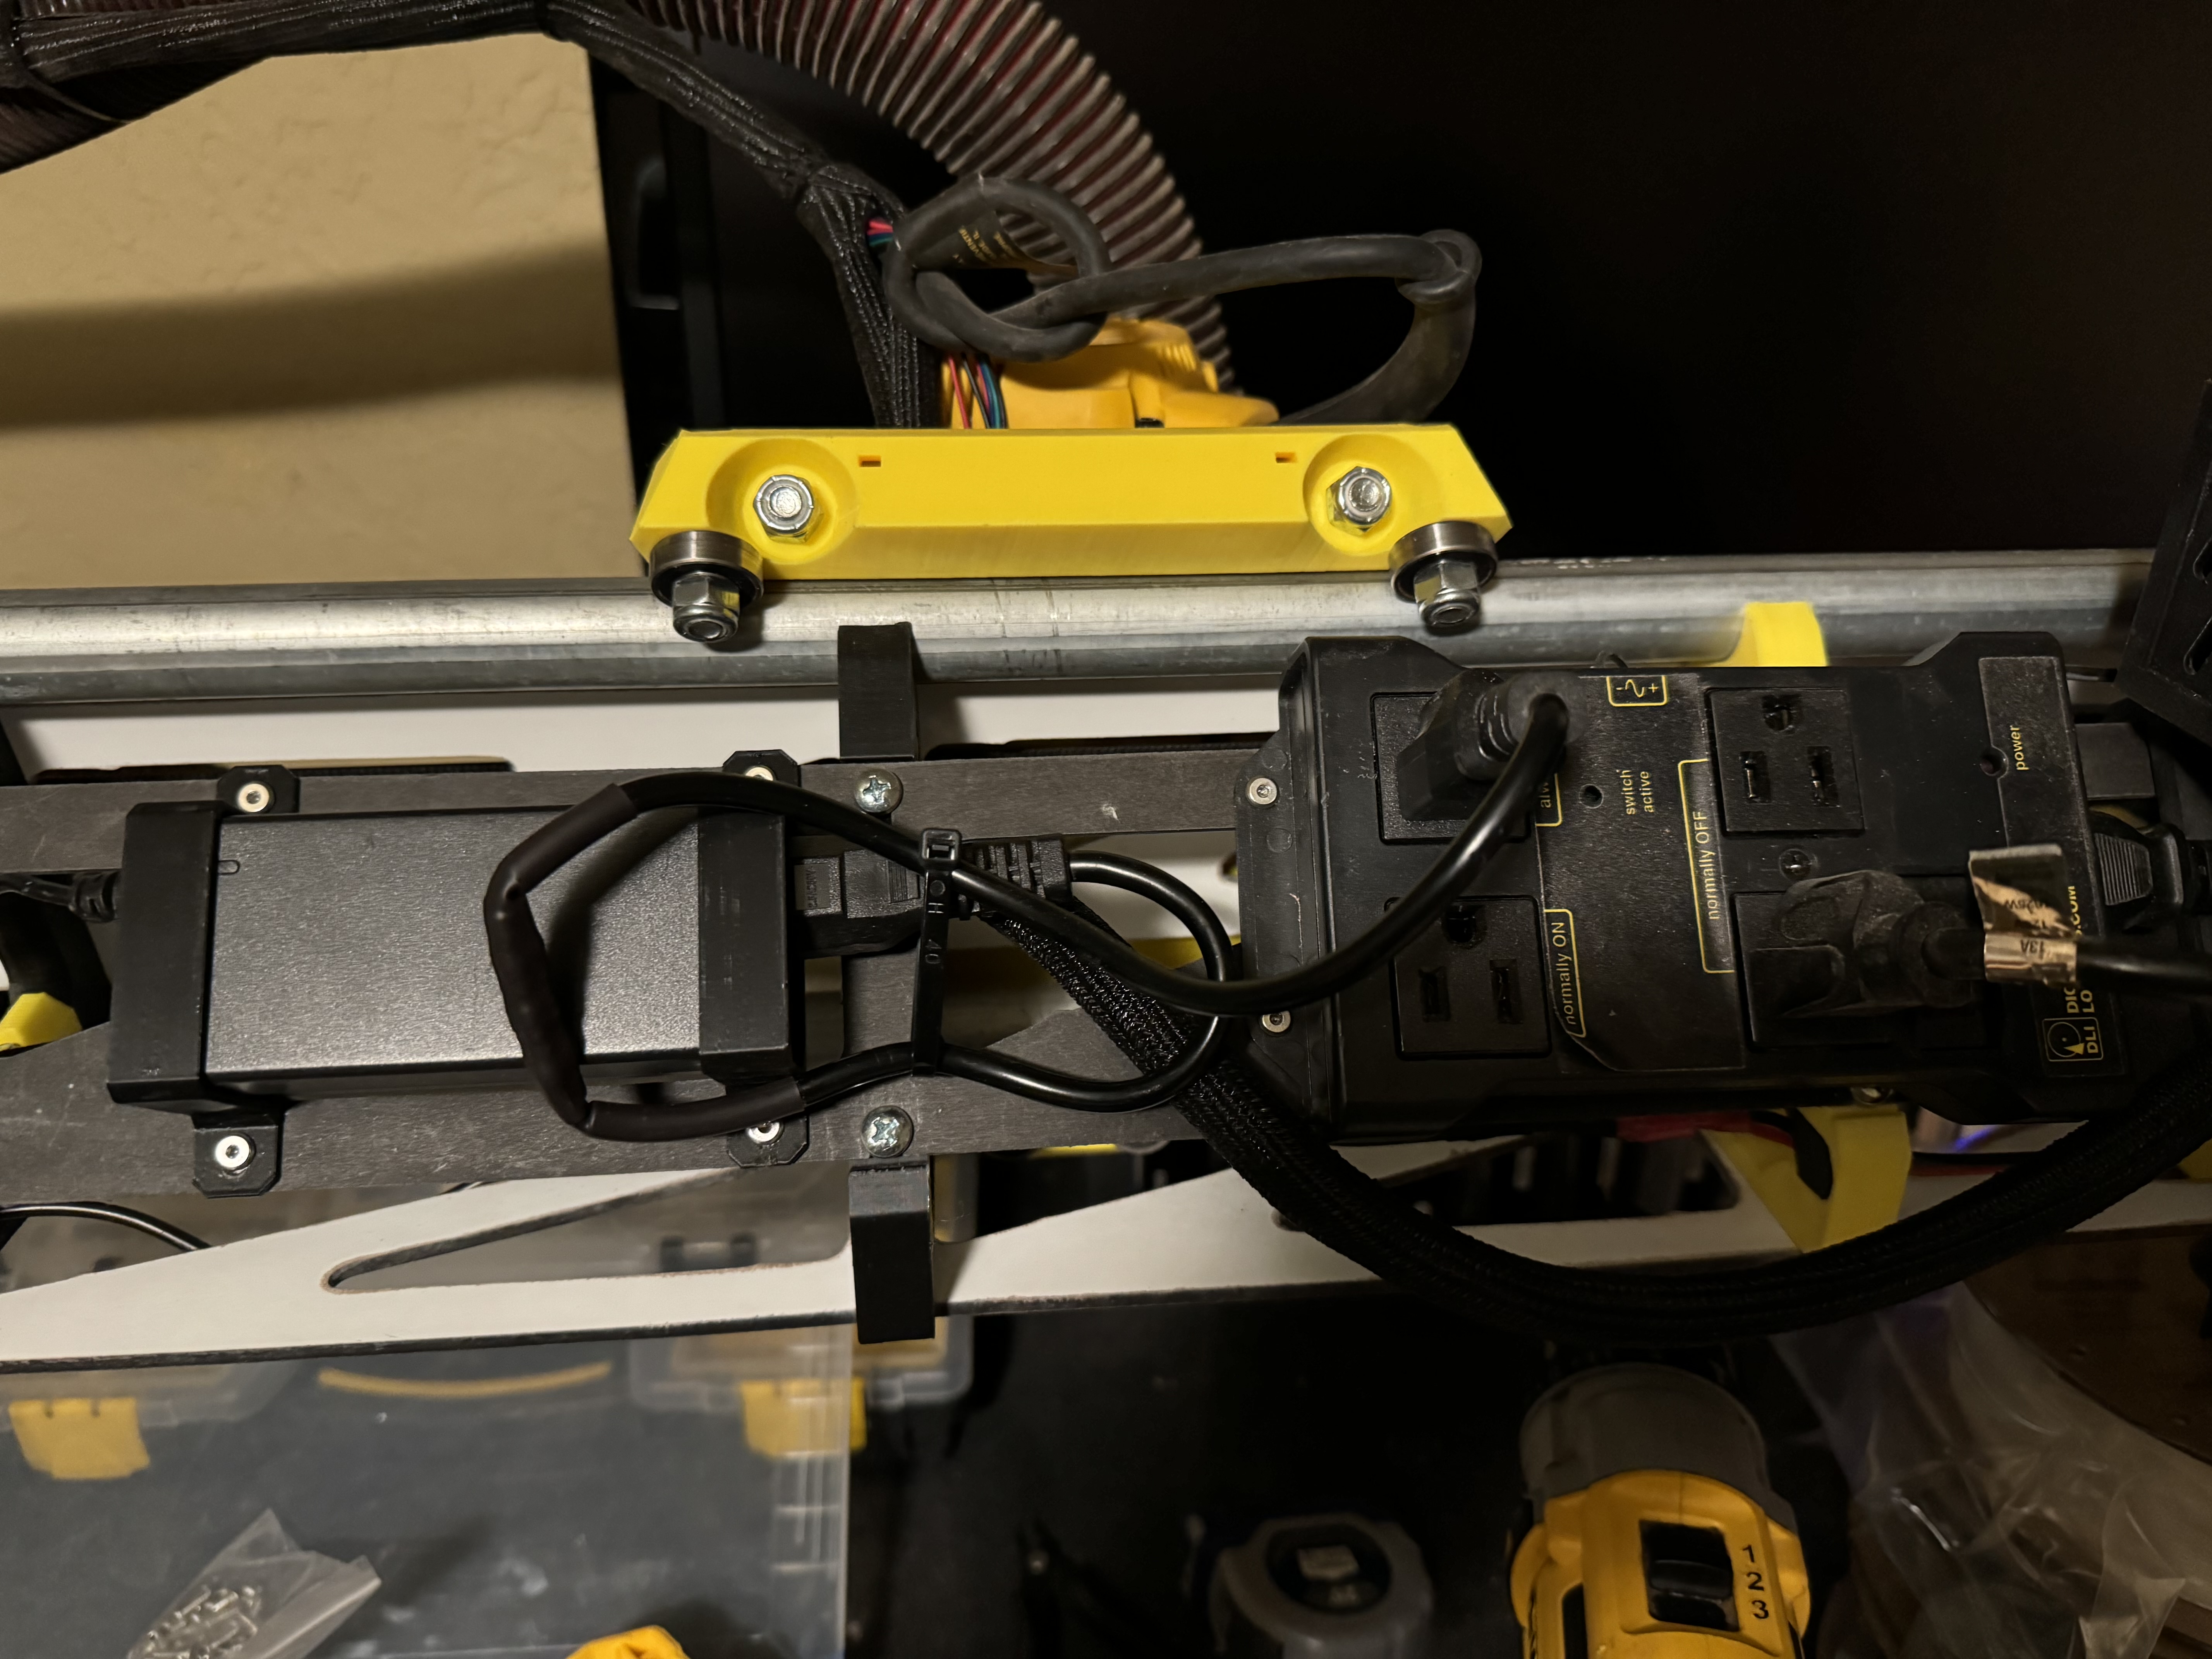
While I’m reassembling, I figured securing my power systems was a good use of time since it was kind of just laying on top of my vac hose and before. Printed up some brackets and secured directly to the back strut with some short screws.
Depends on which board you are running. If using the SKR then yes you can run it from the board. If using the Jackpot like me you run a separate ESP32 with WLED on it