Doing a quick and dirty here before I misplace the info.
Video link ---- here (soon)
WLED setup.

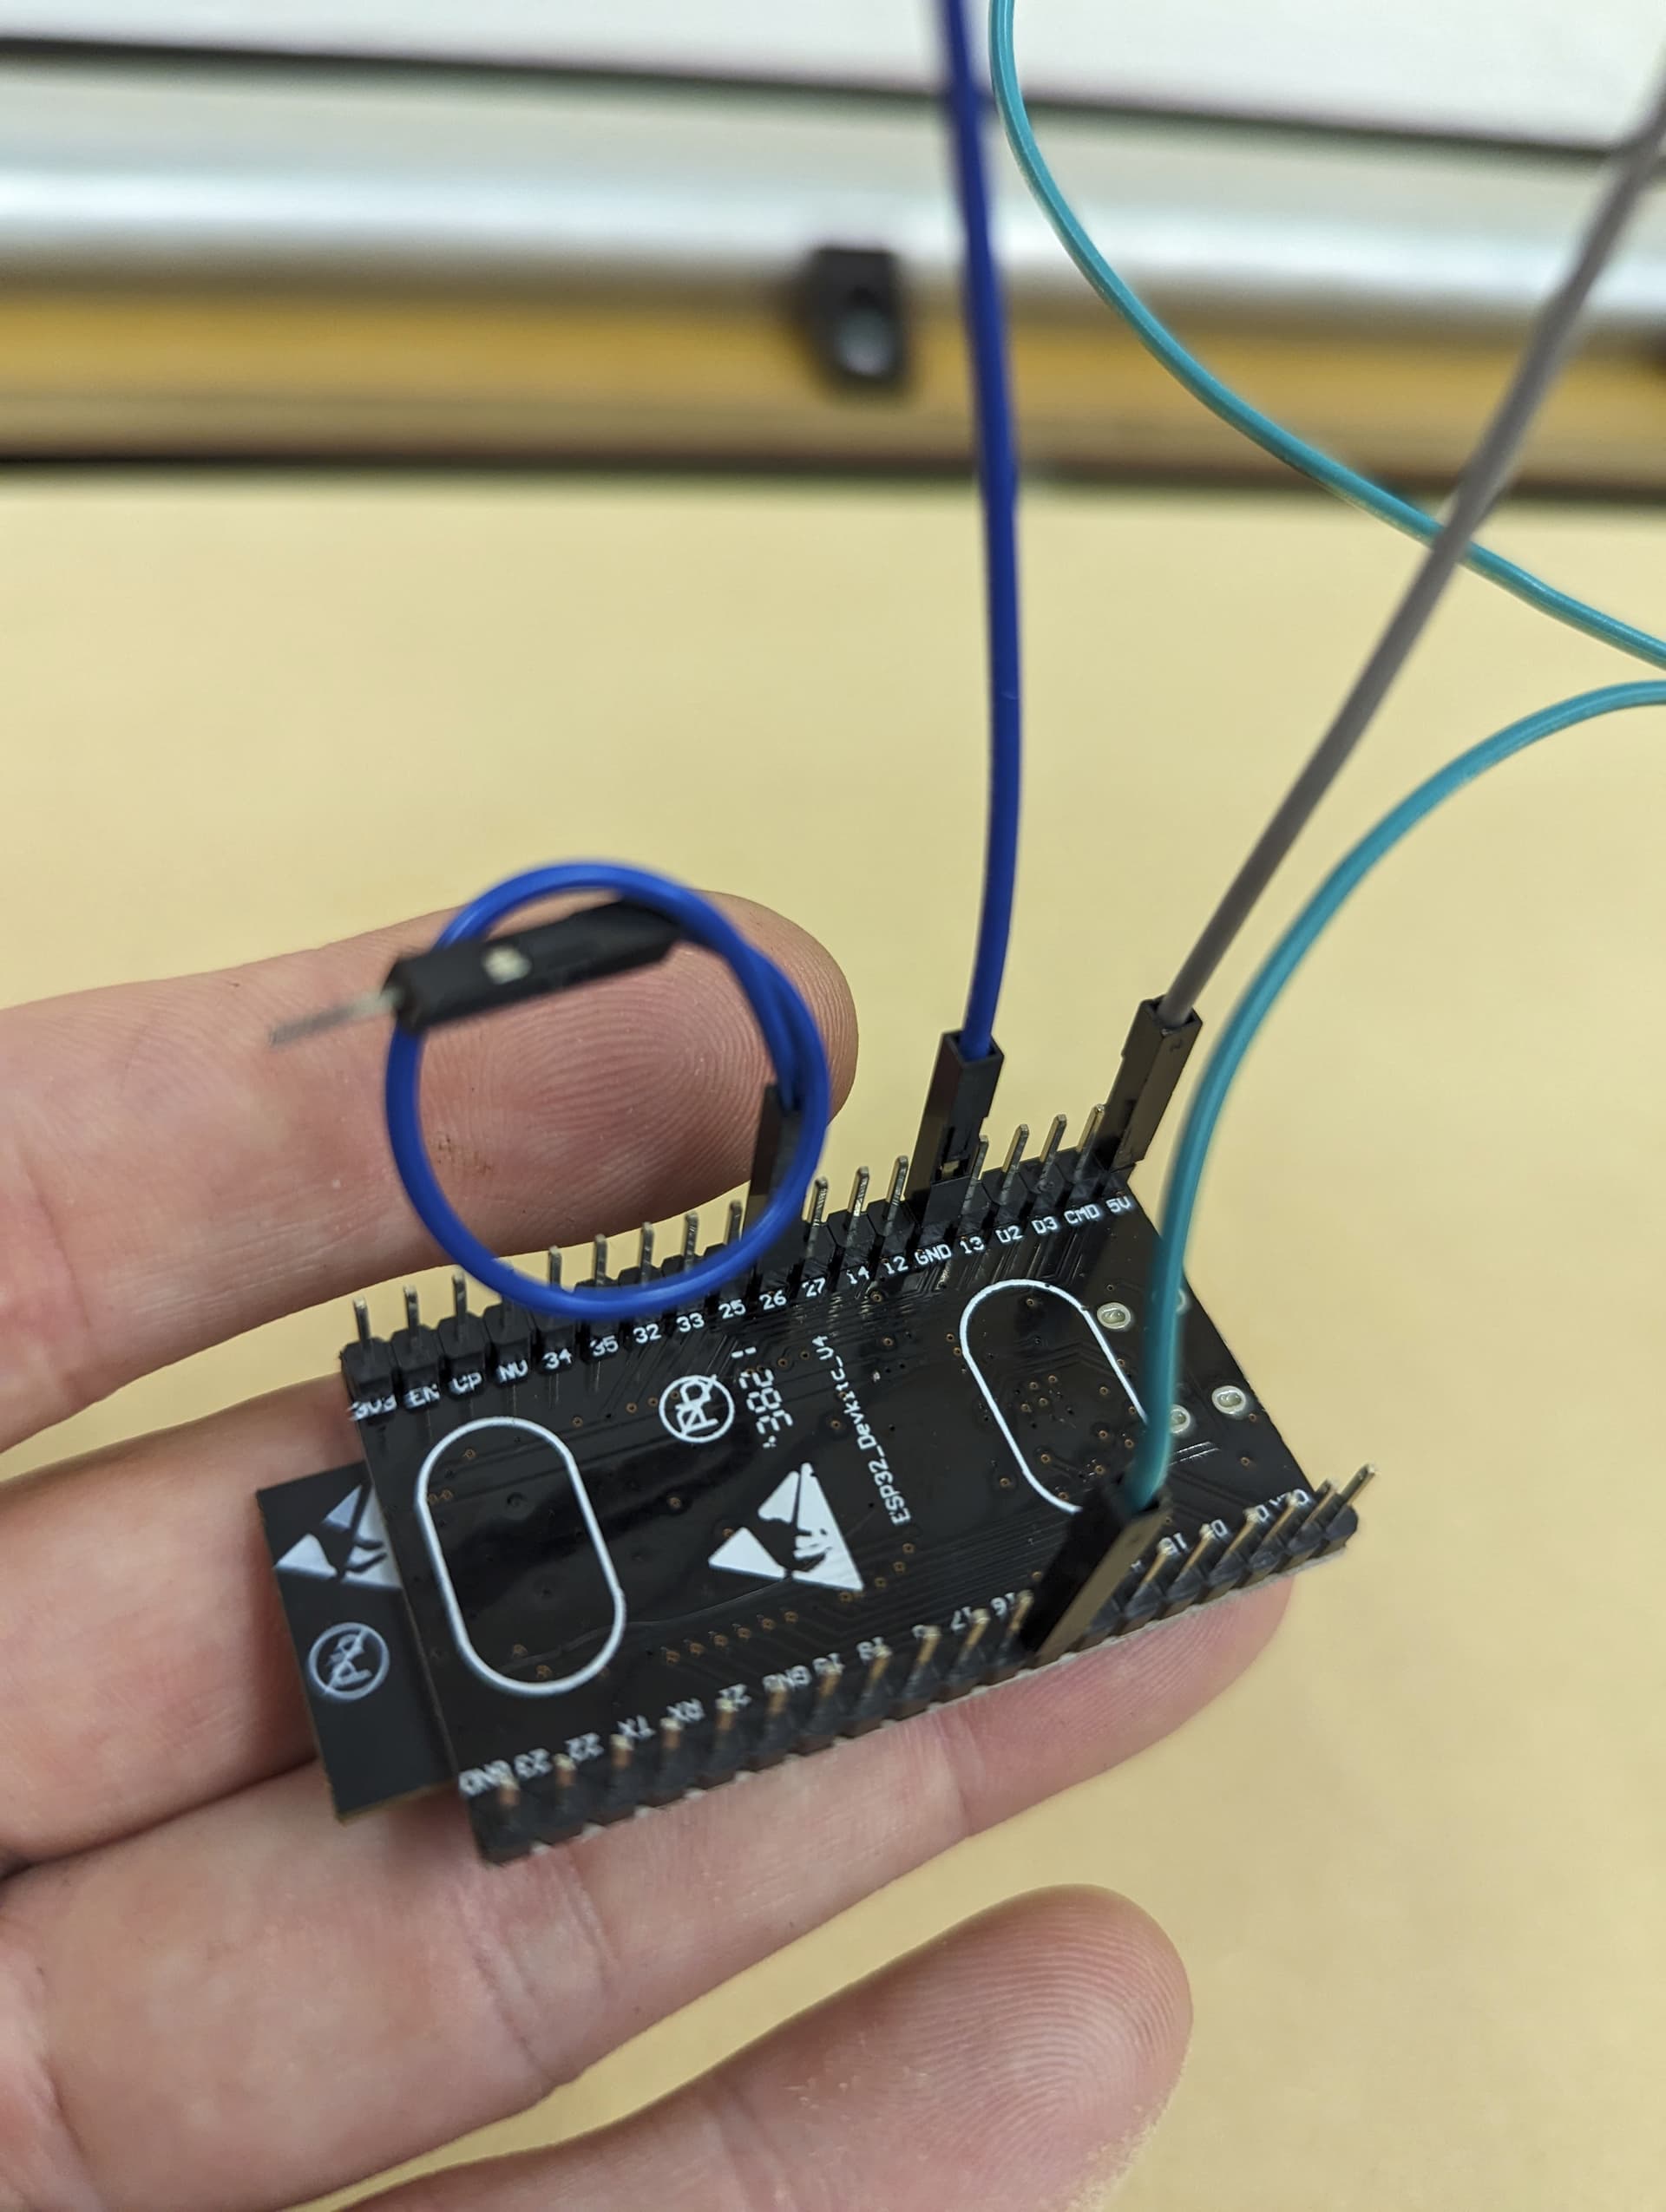
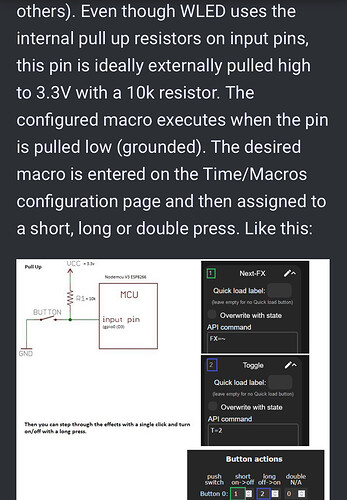
Select a pin to use as your input. 26 has a DAC in case you want to try something fancy with the analog controls (have not tested that). You will also need to set up all the other info like what LED’s and how many. You can also set what preset it boots into.
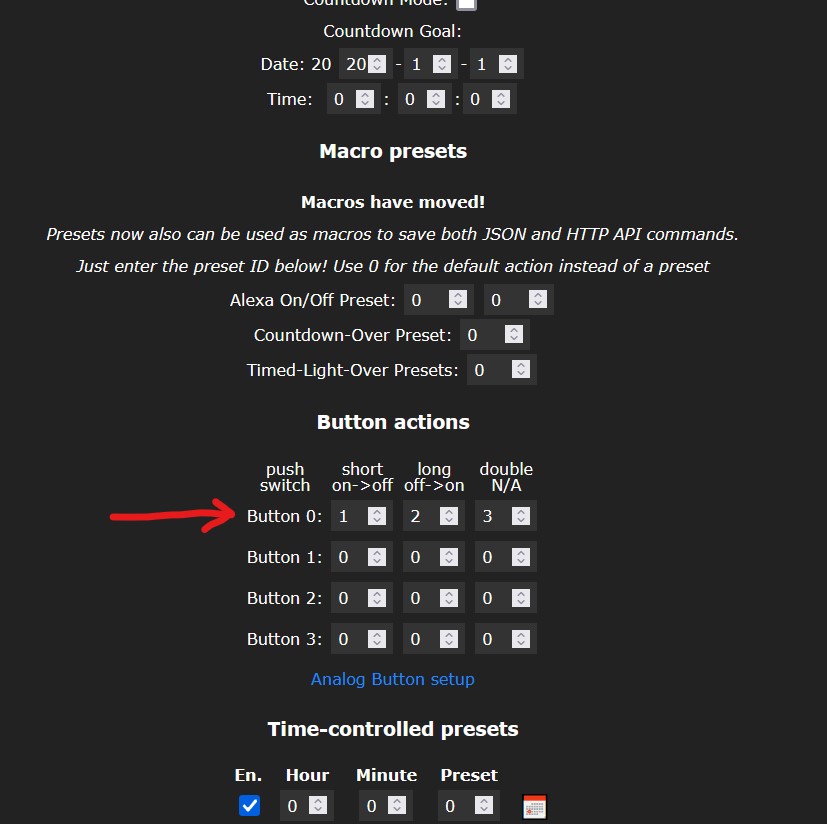
Choose what patterns the button presses will trigger. You will need to set some presets as well.
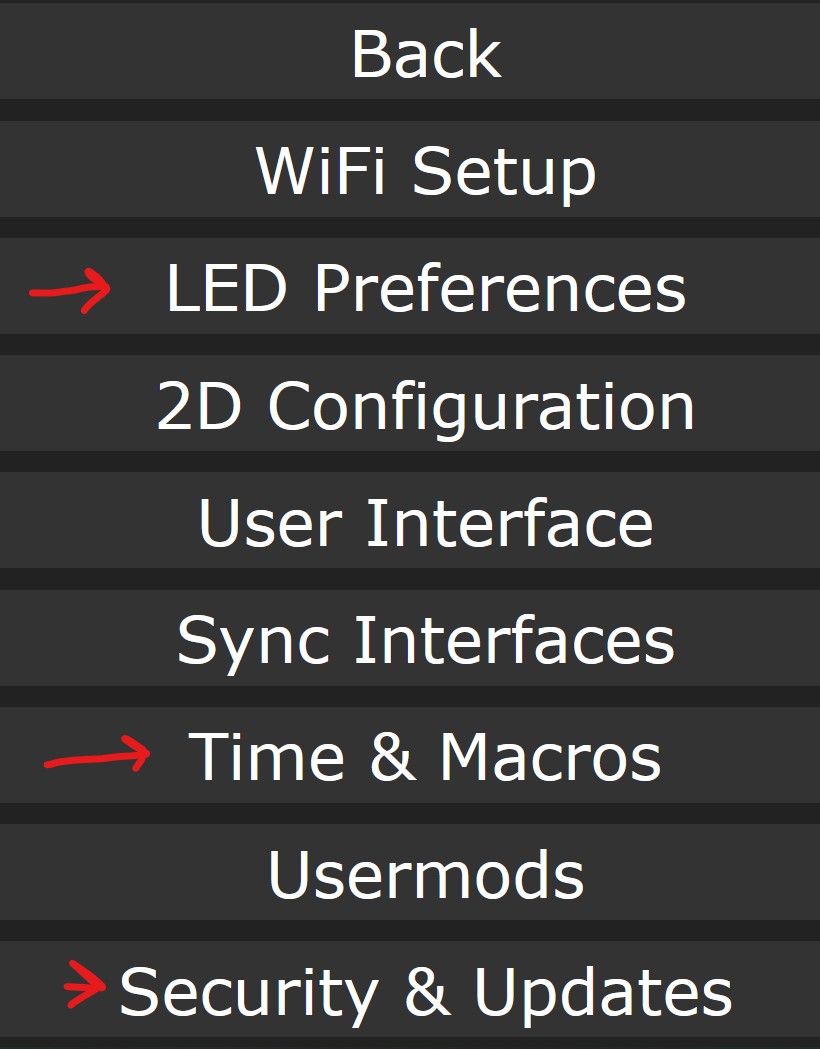
The three screens we need to use.
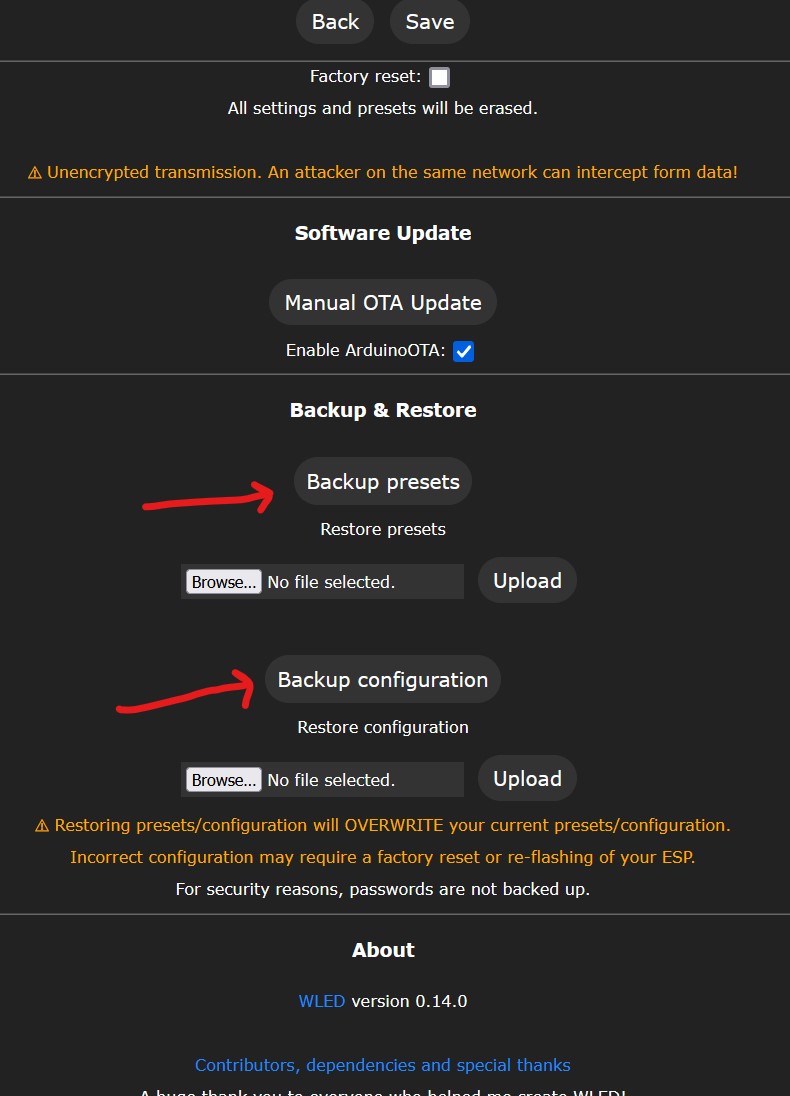
Do not forget to save your presets and settings. If you mess up with your input or grounds your wled will get erased.
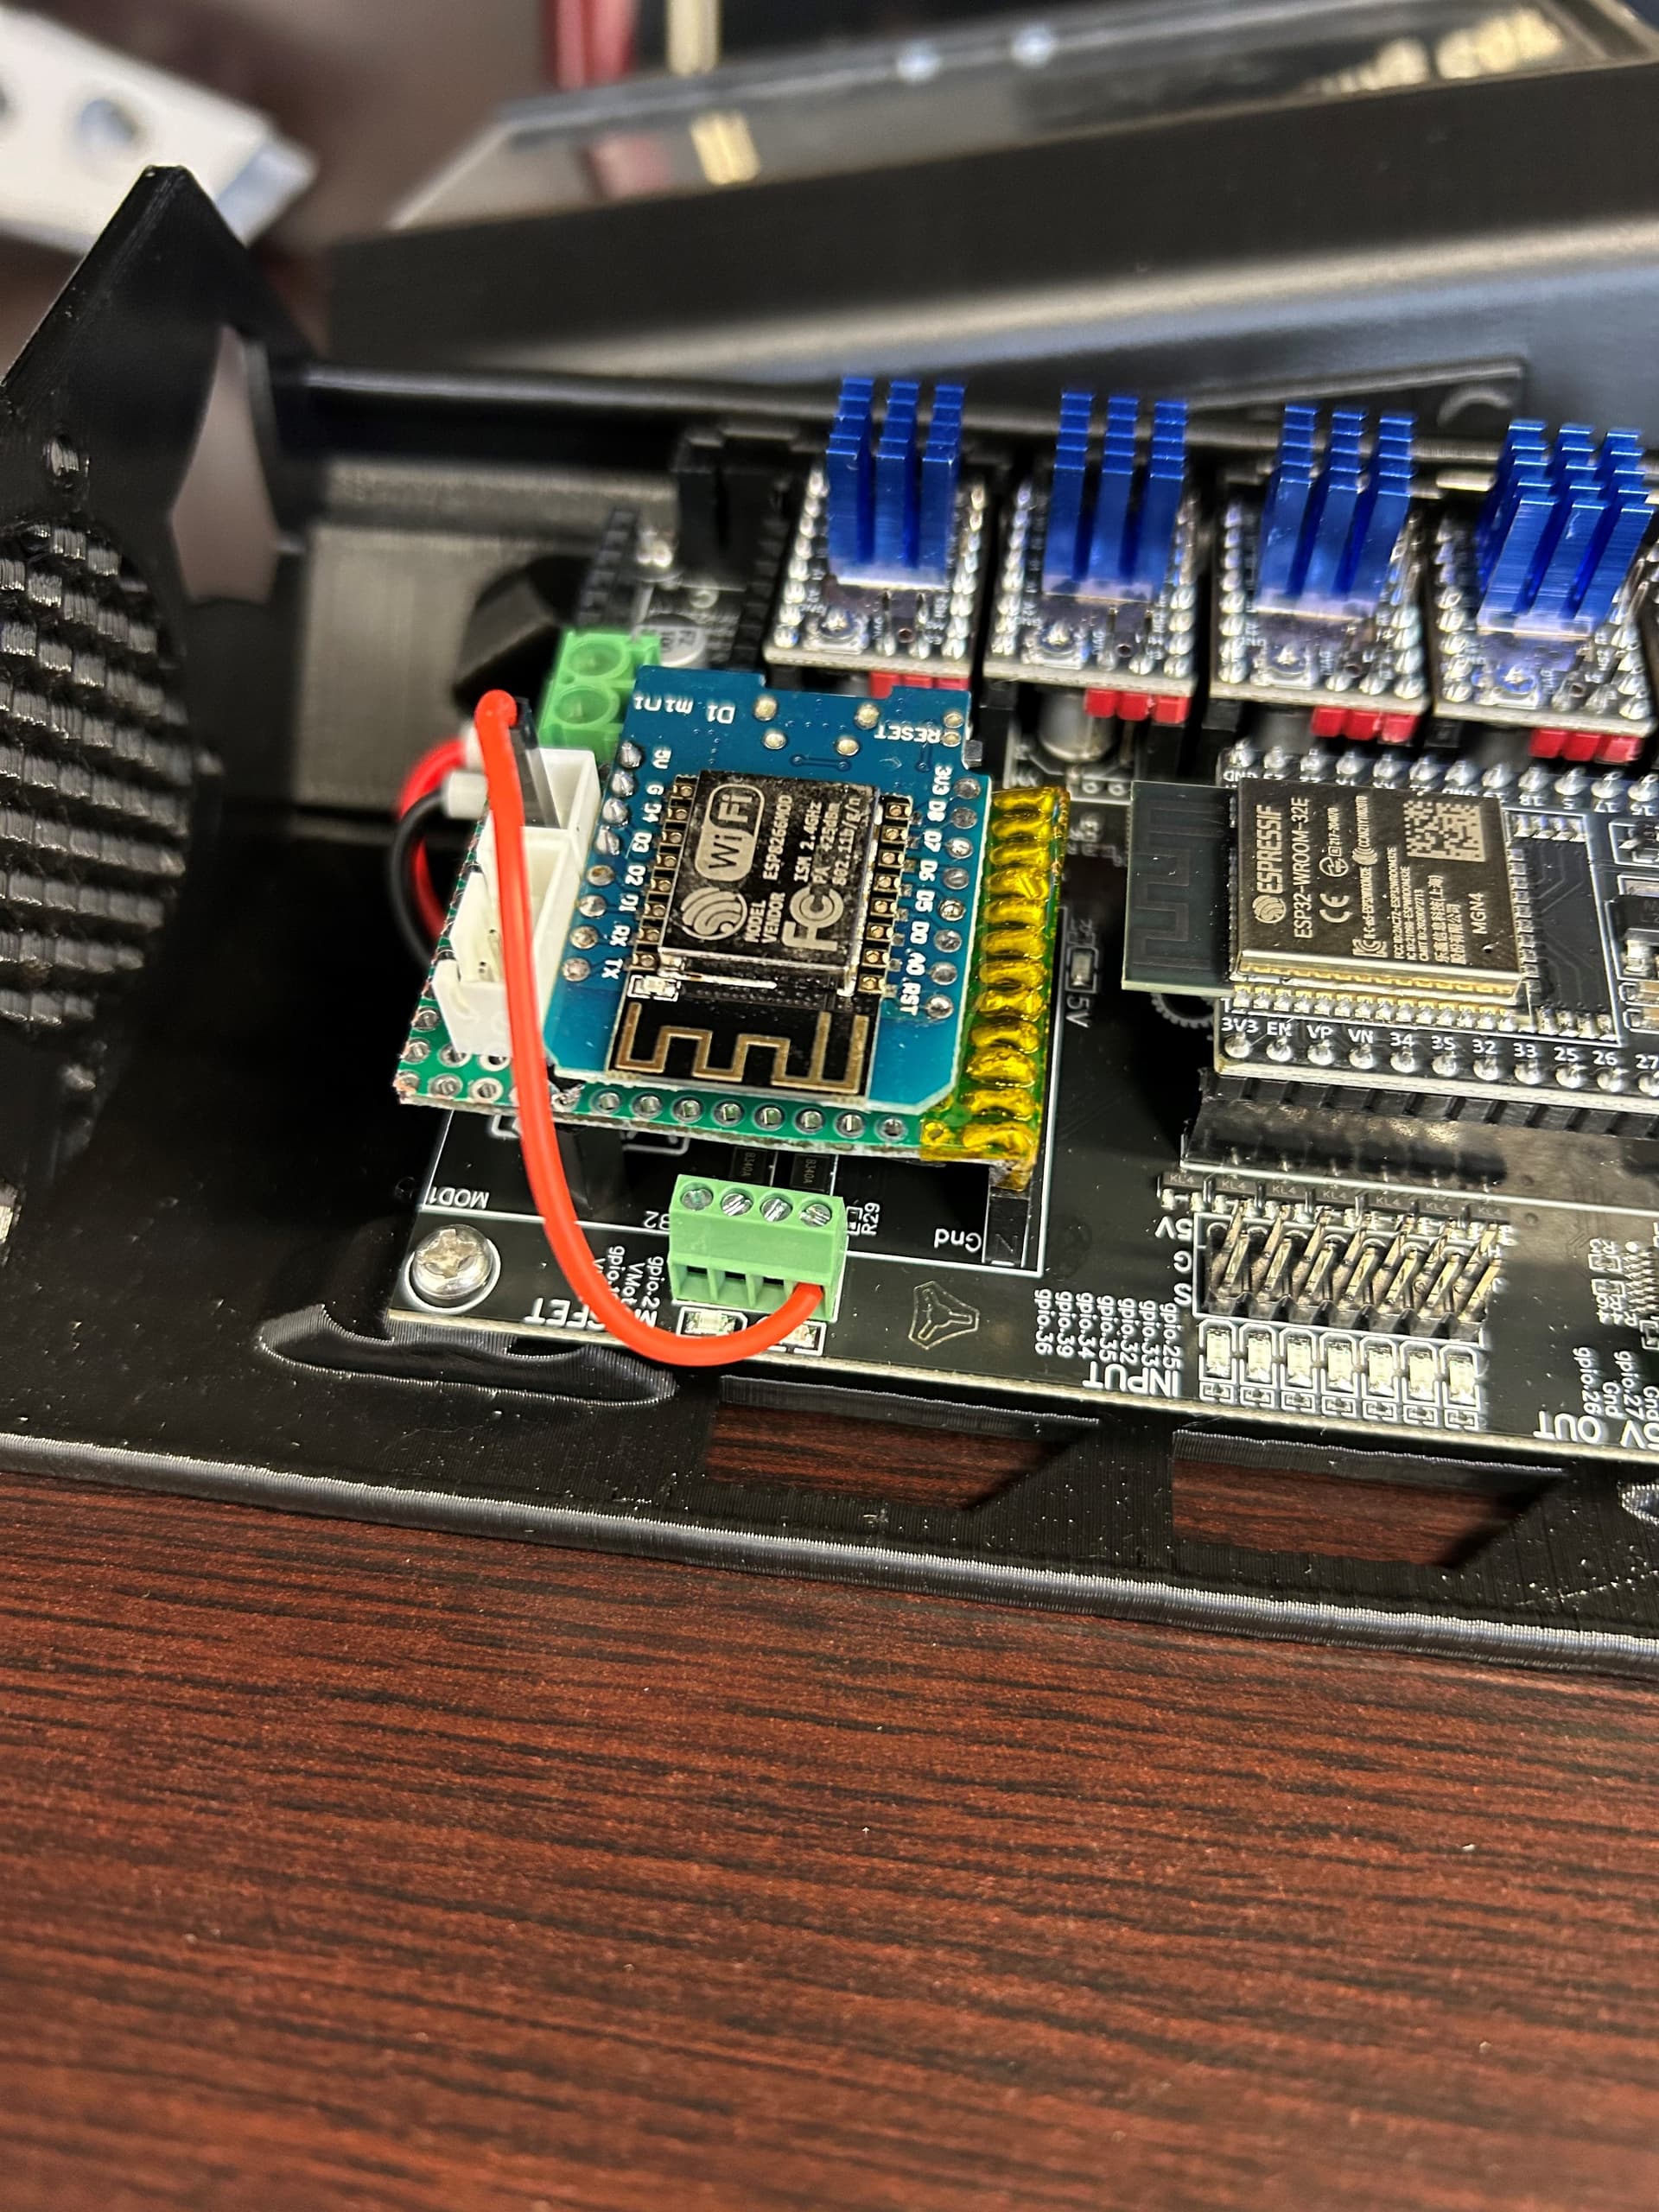
Jackpot setup.
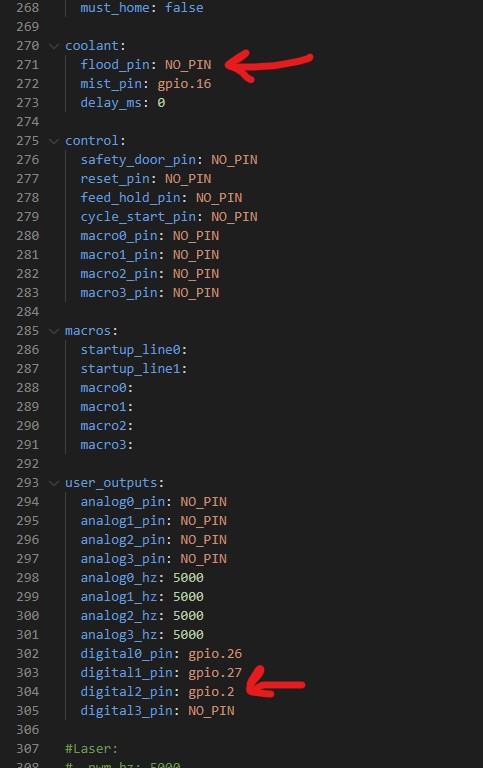
Use the negative terminal (gpio.2 or gpio.16) as you output to the wled input pin. One wire, do not connect the VMOT pin.
You can use macro’s or add them to your CAM, start, stop, and tool change. The P=seconds of delay. I did not test many values. .5 seconds still counts as a short press, 1 is a long press so the actual is somewhere in between those.
Single click
M62 P2
G4 P0.3
M63 P2
Long press
M62 P2
G4 P1
M63 P2
Double press.
M62 P2
G4 P0.3
M63 P2
M62 P2
G4 P0.3
M63 P2
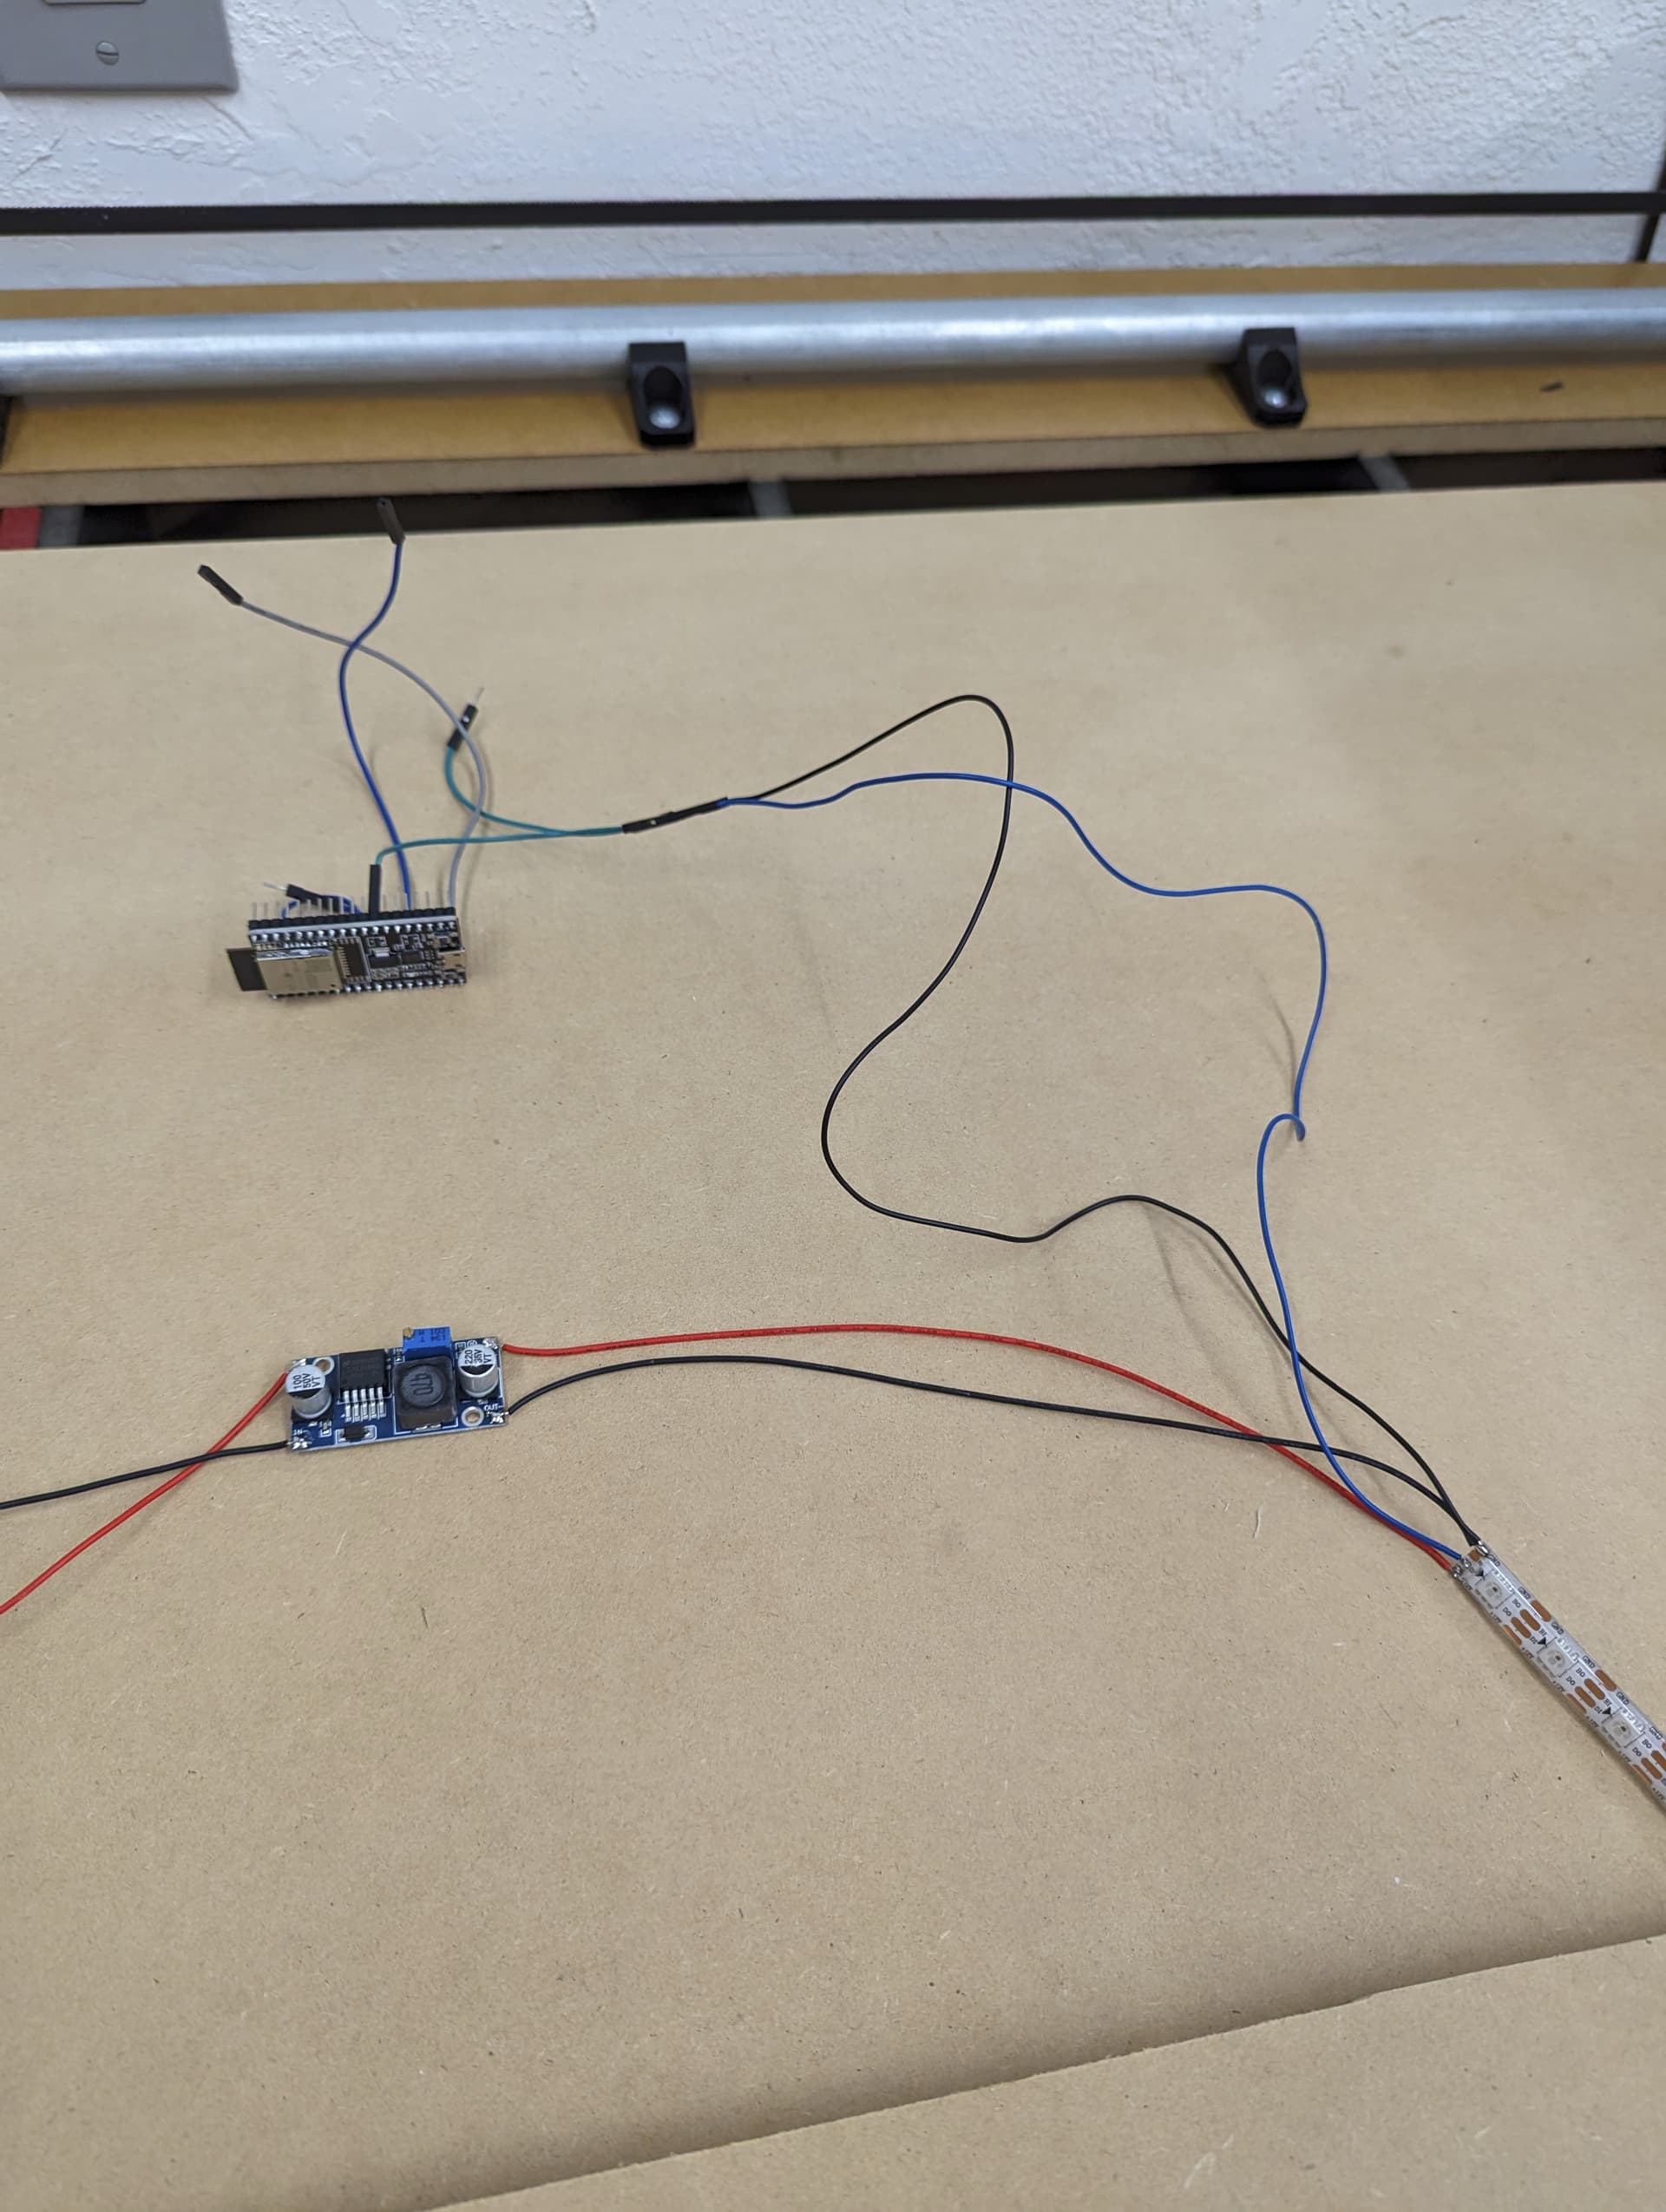
Wiring
You really should just refer to the Wled setup page for this.
LED strip-
-power 5-24v depending on your LED’s 24v would be the easiest (or whatever your input power supply to the jackpot is. direct to power supply, or to the other Vmot output if you want to control the lights on and off as well.
-one digital pin to the wled board
-I use two negatives one to the wled board and one to the jackpot.
Wled Board-
-Vin to jackpot 5V pin
-Gnd to gnd
-input to jackpot gpio.2
I used an adjustable 24v to 12v converter. I had 12v and converters on hand not needed if you are buying new.