I went out to see exactly how I would make a table for a 4’x8’ Capable CNC if I did not already have a CNC. Besides just two full sheets of plywood on the floor I think this is the next easiest.
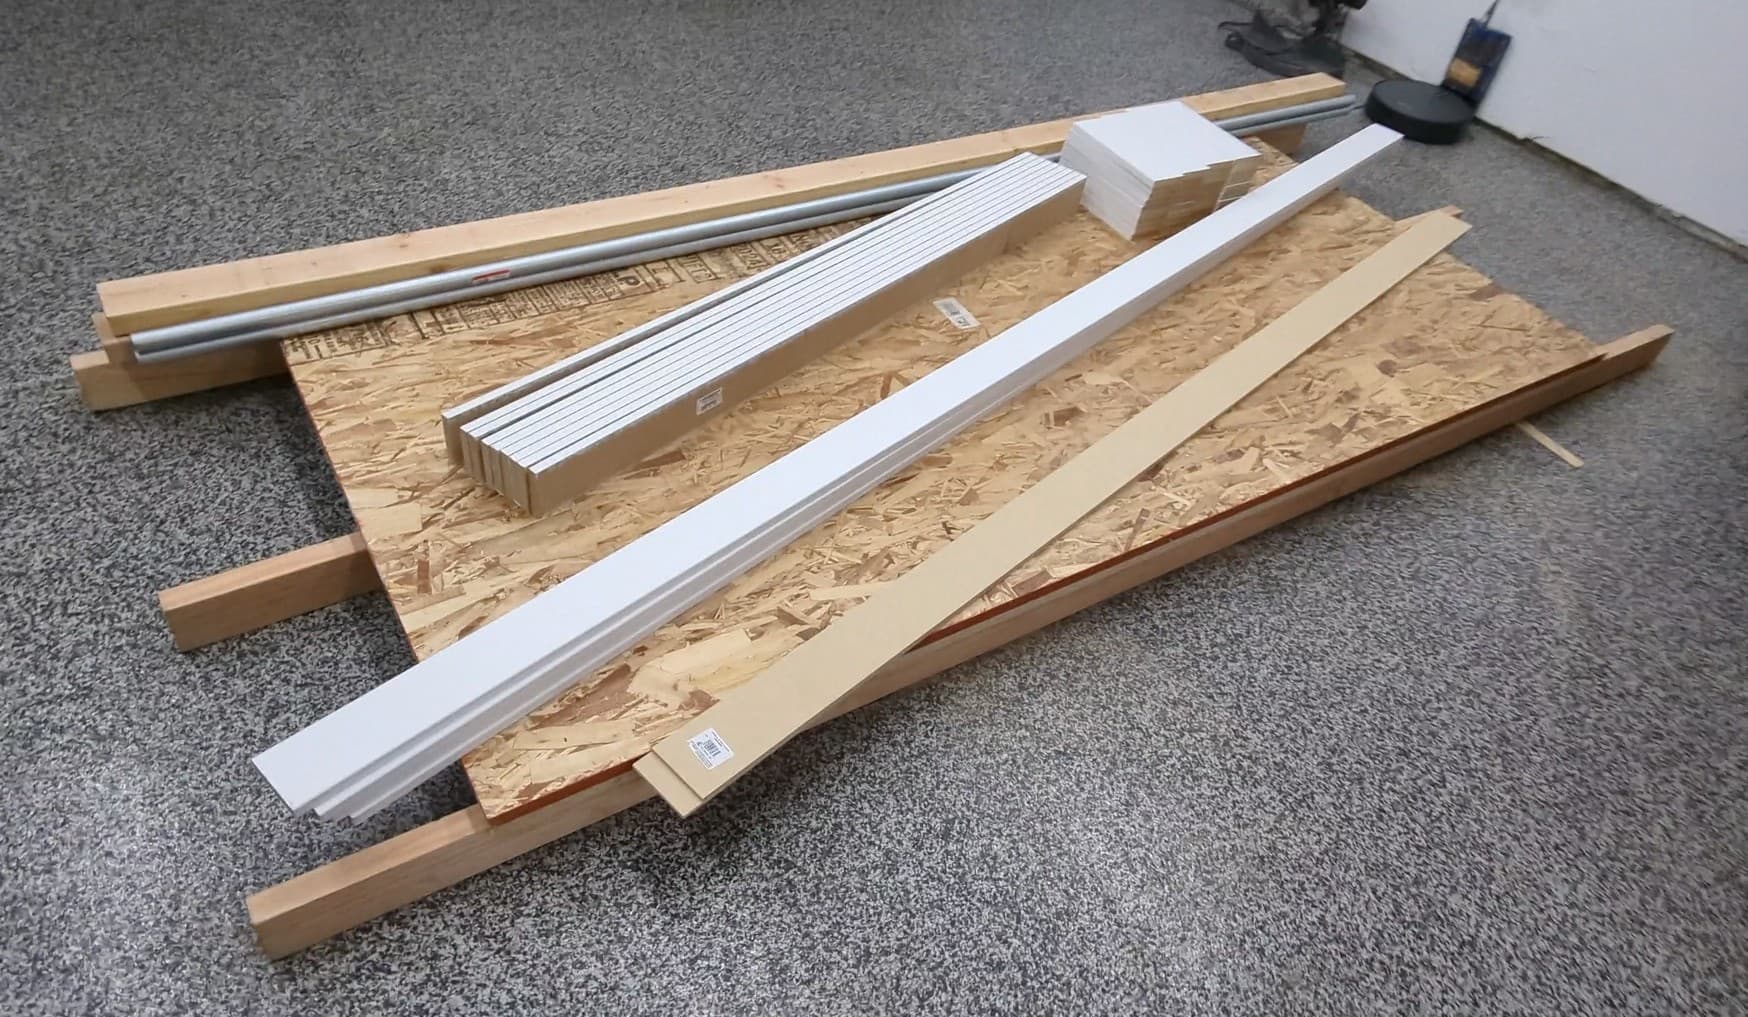
I used
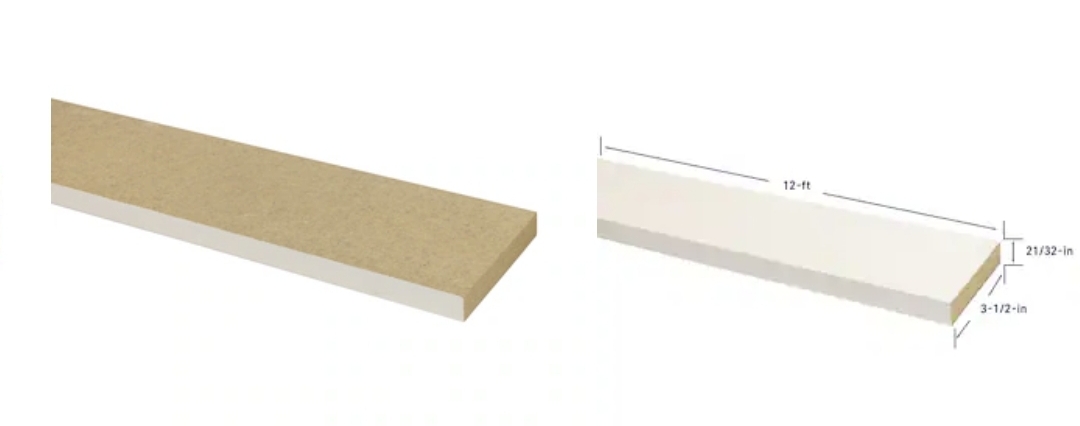
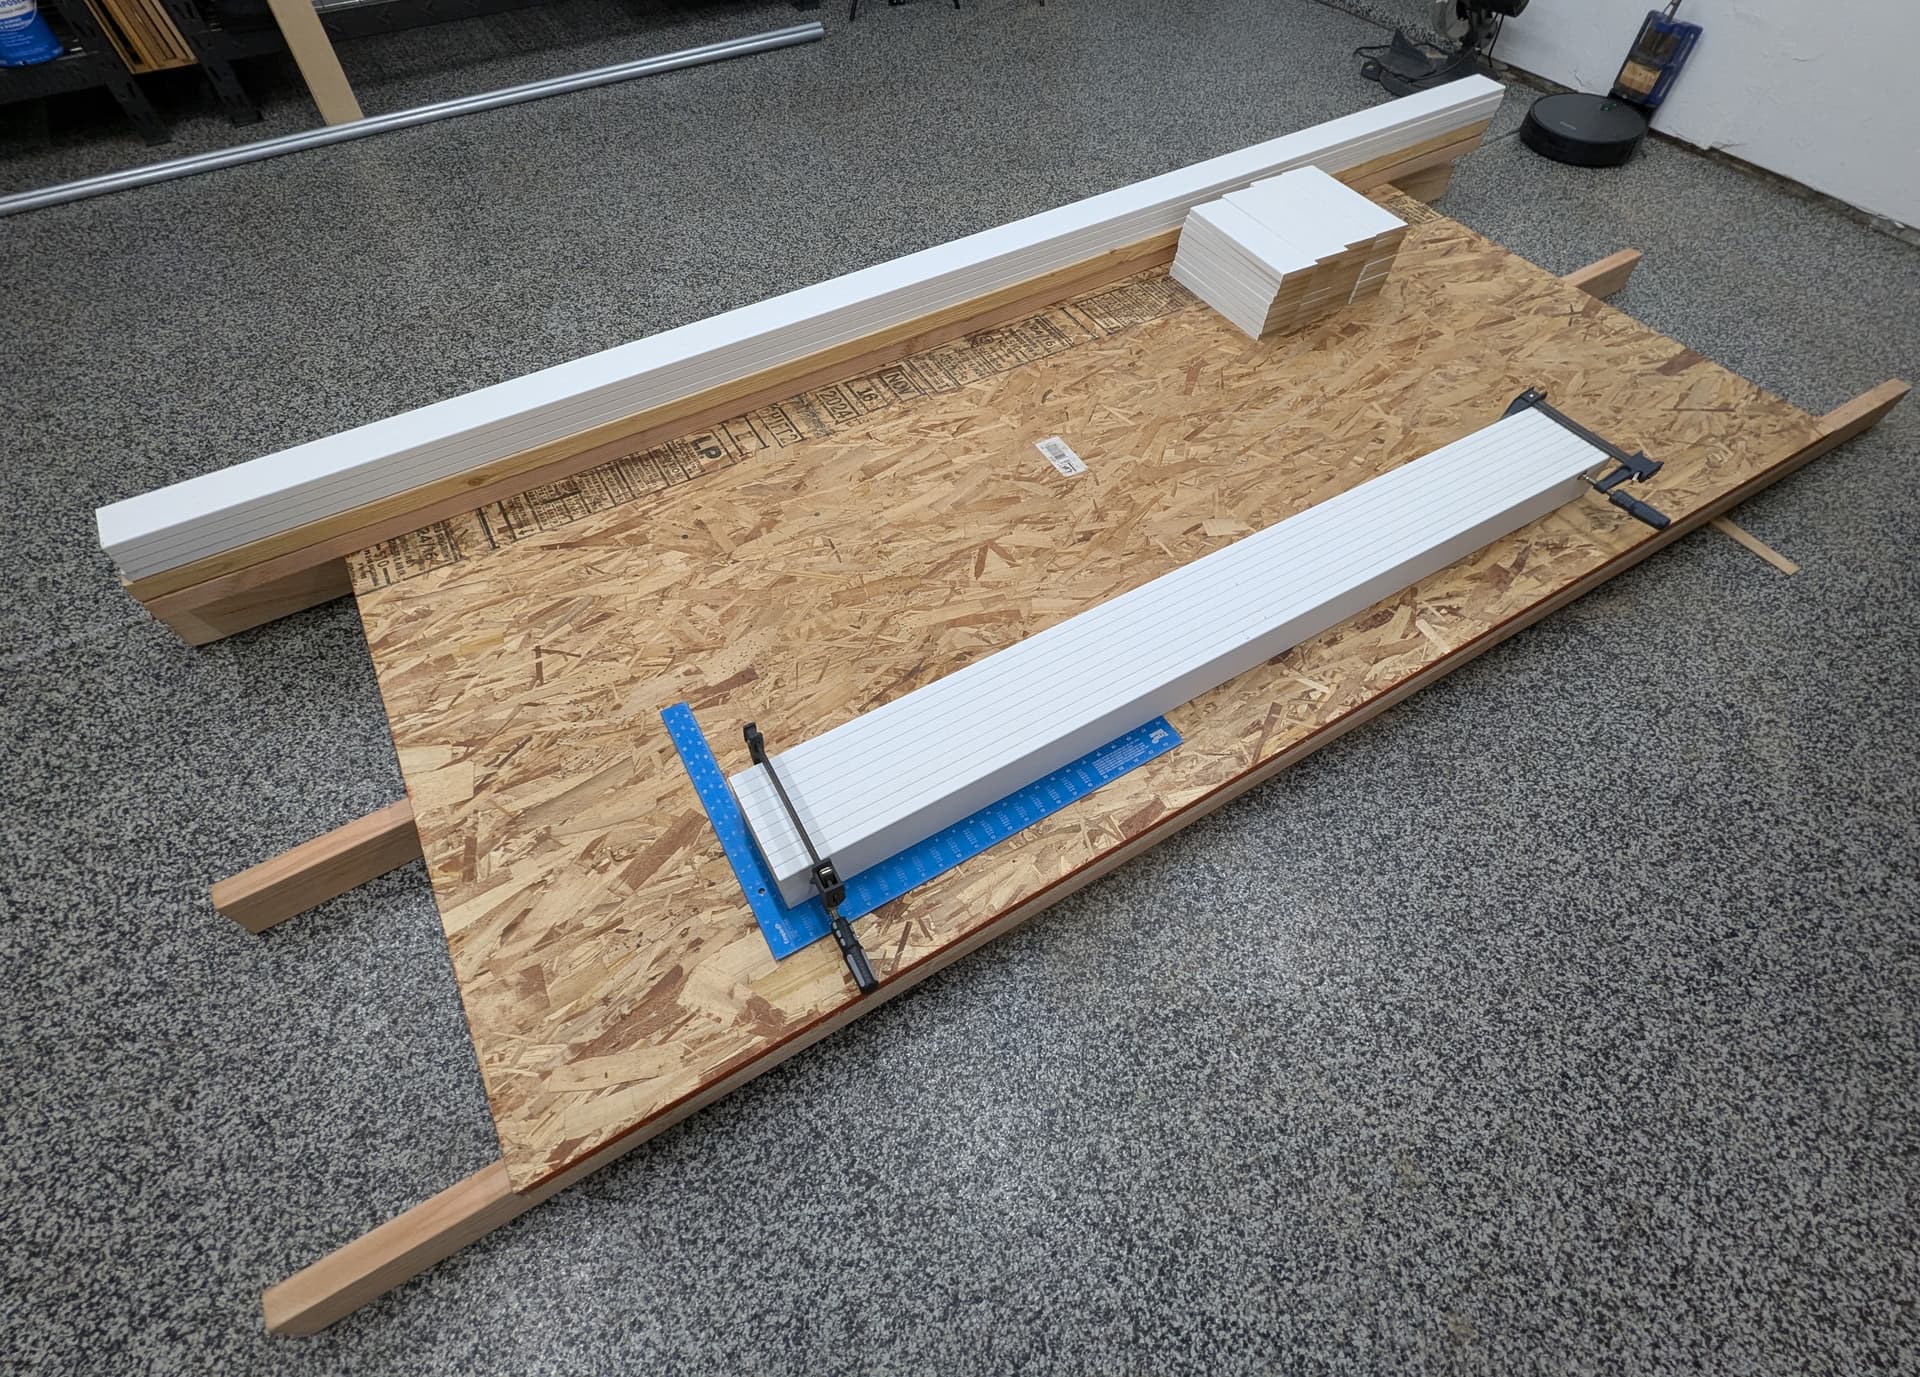
0.7"x3.5"x10’ Primed MDF strips, super easy for the torsion box
2"x4"x8’ For the saw horses and cross brace
1/2" OSB sheet for the bottom
1/2"-3/4" Particle board sheet for the waste board.
Light gray spray paint just to clean it up a bit.

Used the uncut 2x4"s with some shims to make a flat surface (not necessarily level) with the particle board and OSB to work on.
I used a chop saw to cut the pieces to length, power tools are not needed. I used a hard stop so all the pieces are easily and accurately sized.
You can use many different tools to do this.
How cool is this picture it is all the material needed to build a LR and the table for it. Really not that much?!
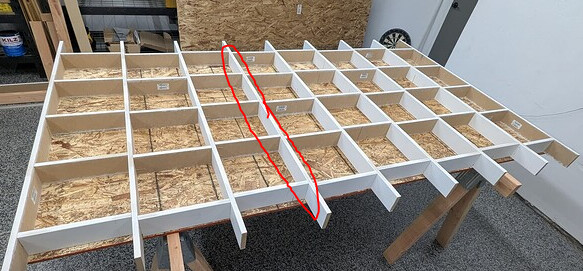
I clamped the longer x pieces so I can mark the blocking locations. Making sure the ends are nice and flush.
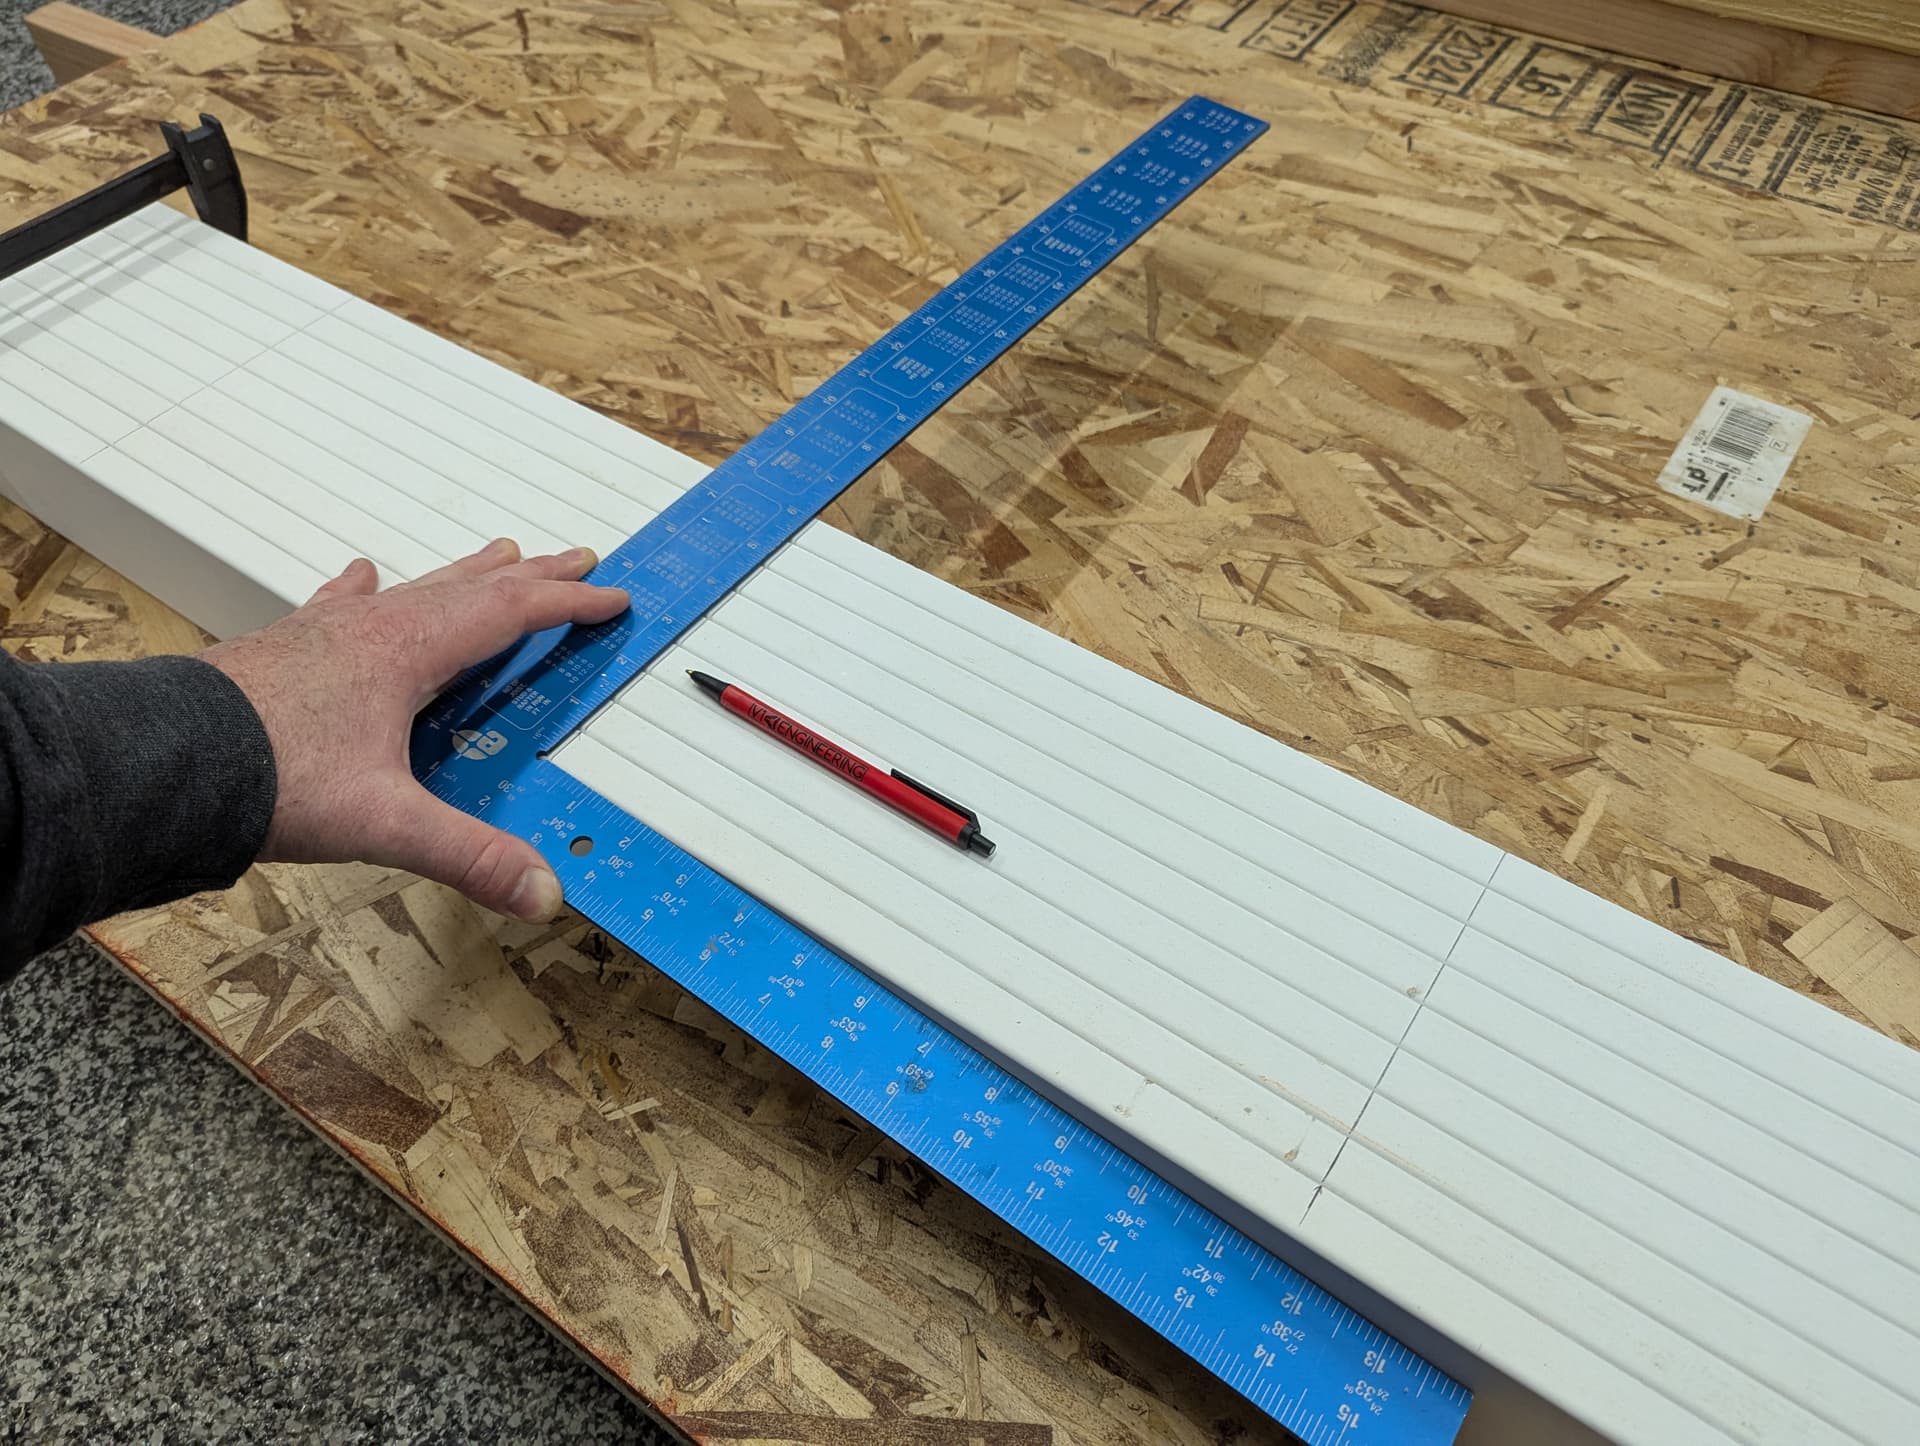
Using the cad for the center locations I marked each one.
I used a square to transfer the line down both sides. This will help with blocking alignment later.
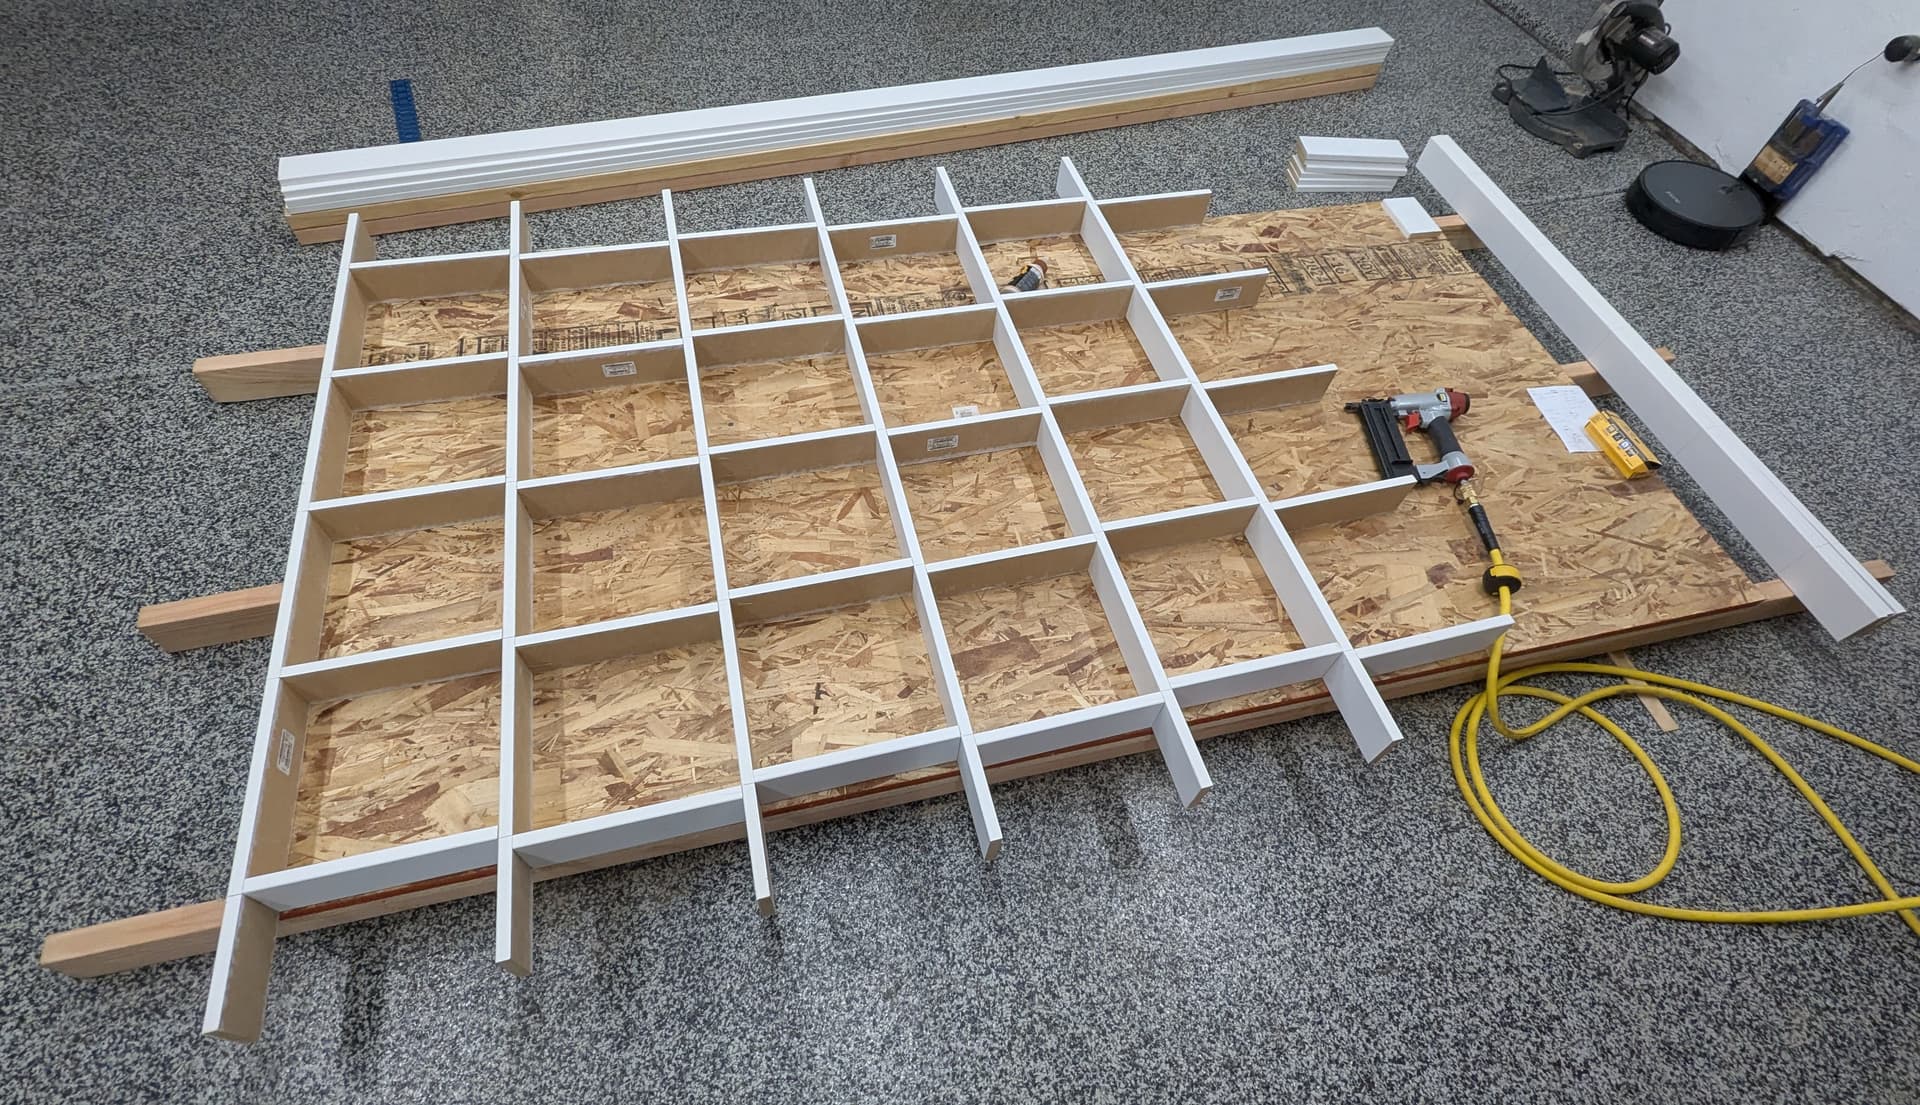
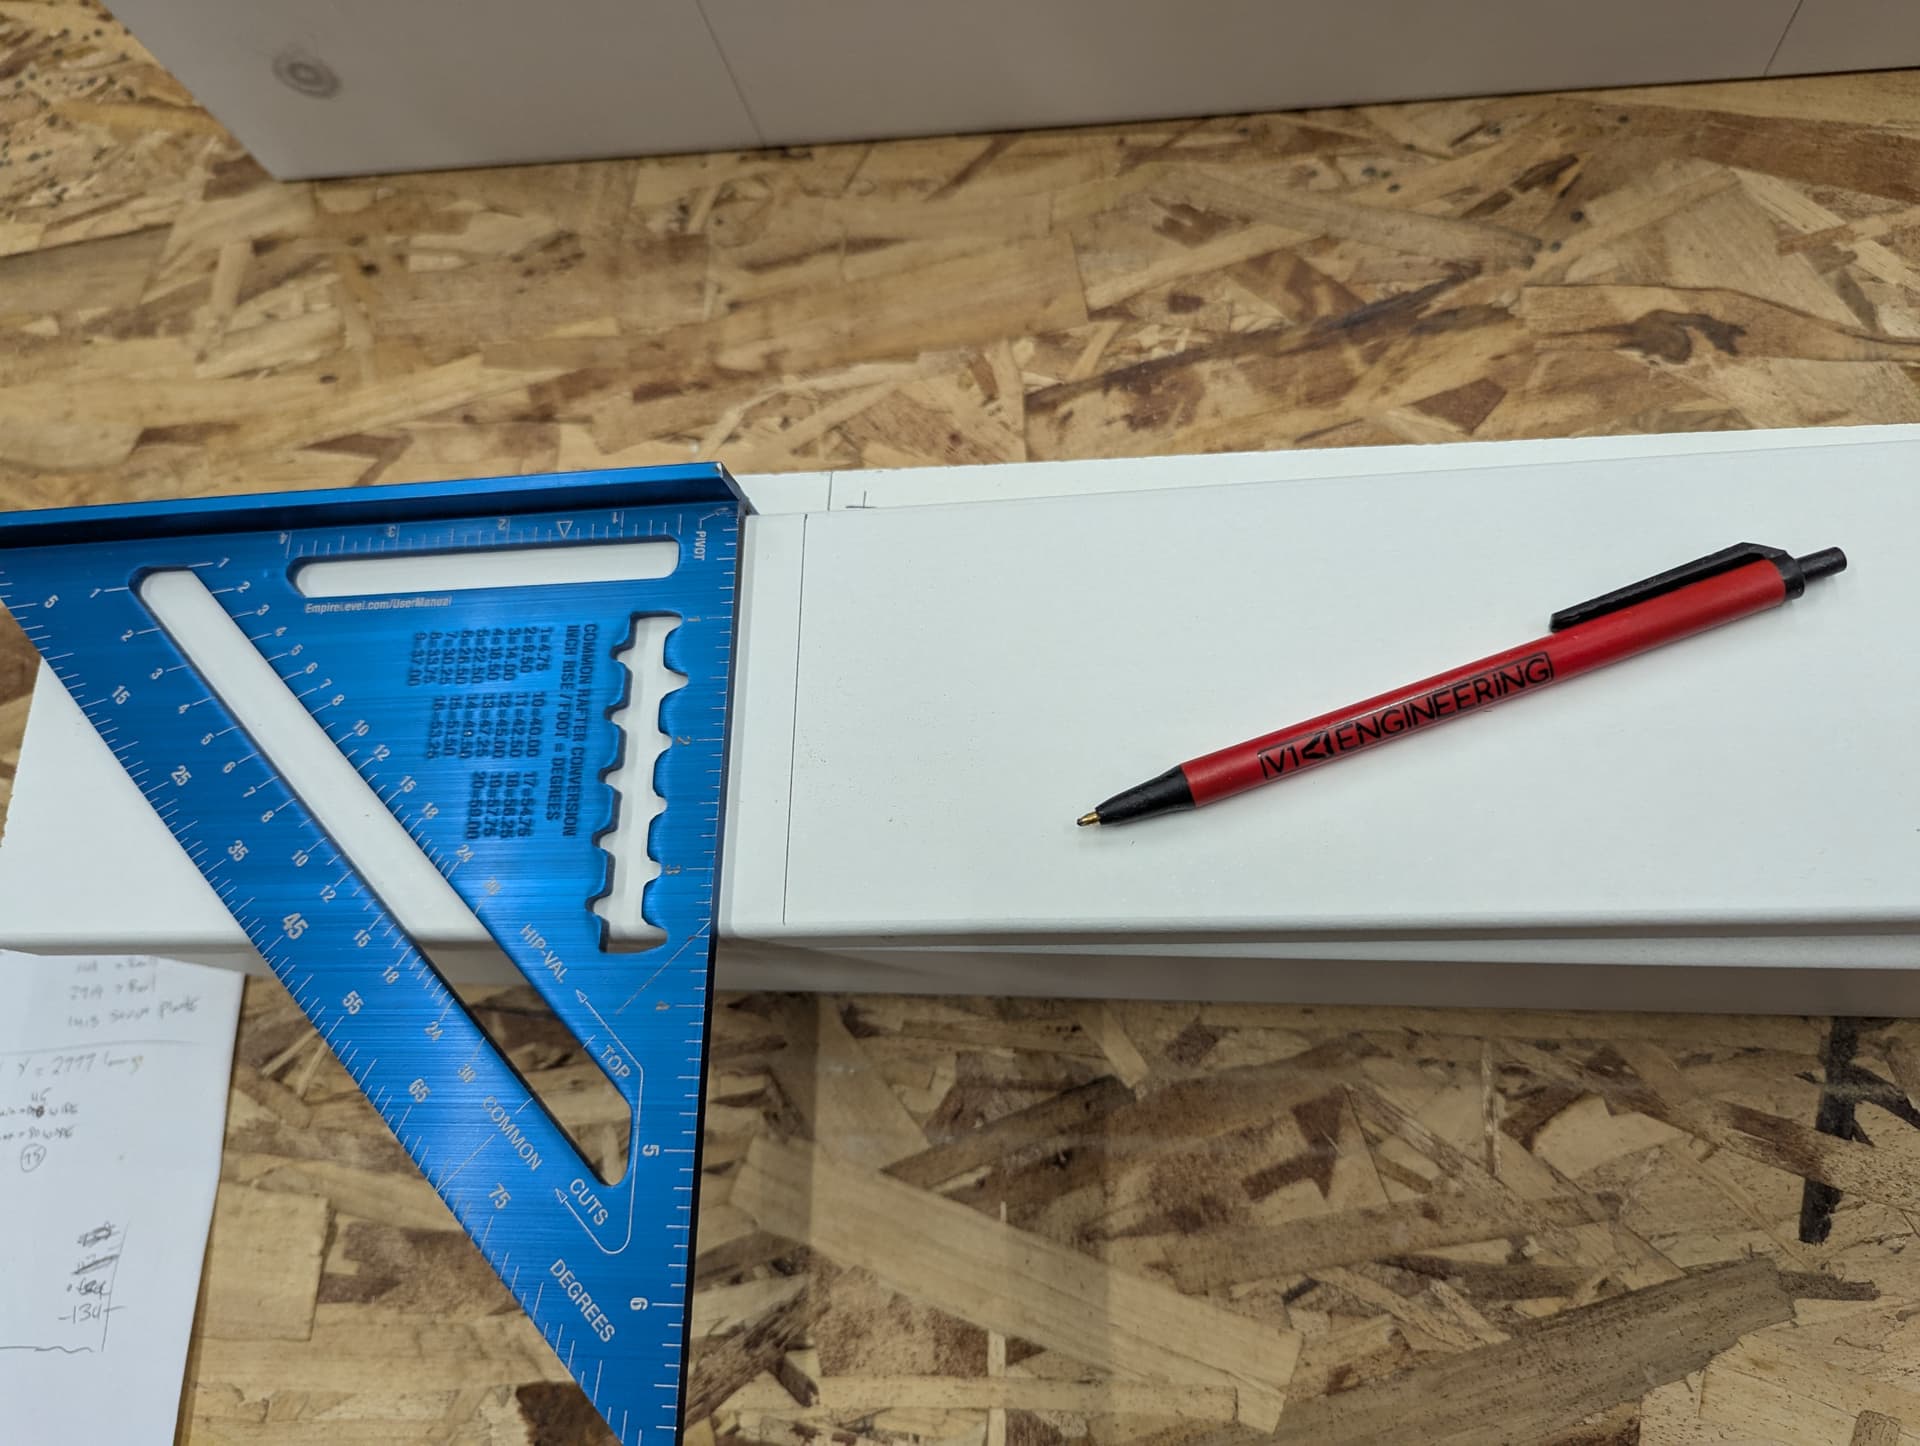
I used a bit of glue on each end and nailed them into place. Brads are fast but you can use many other fasteners.
I just held the by hand aligned as flush as I could get it and as close to each side of the center line as possible. Pop a nail and move on.
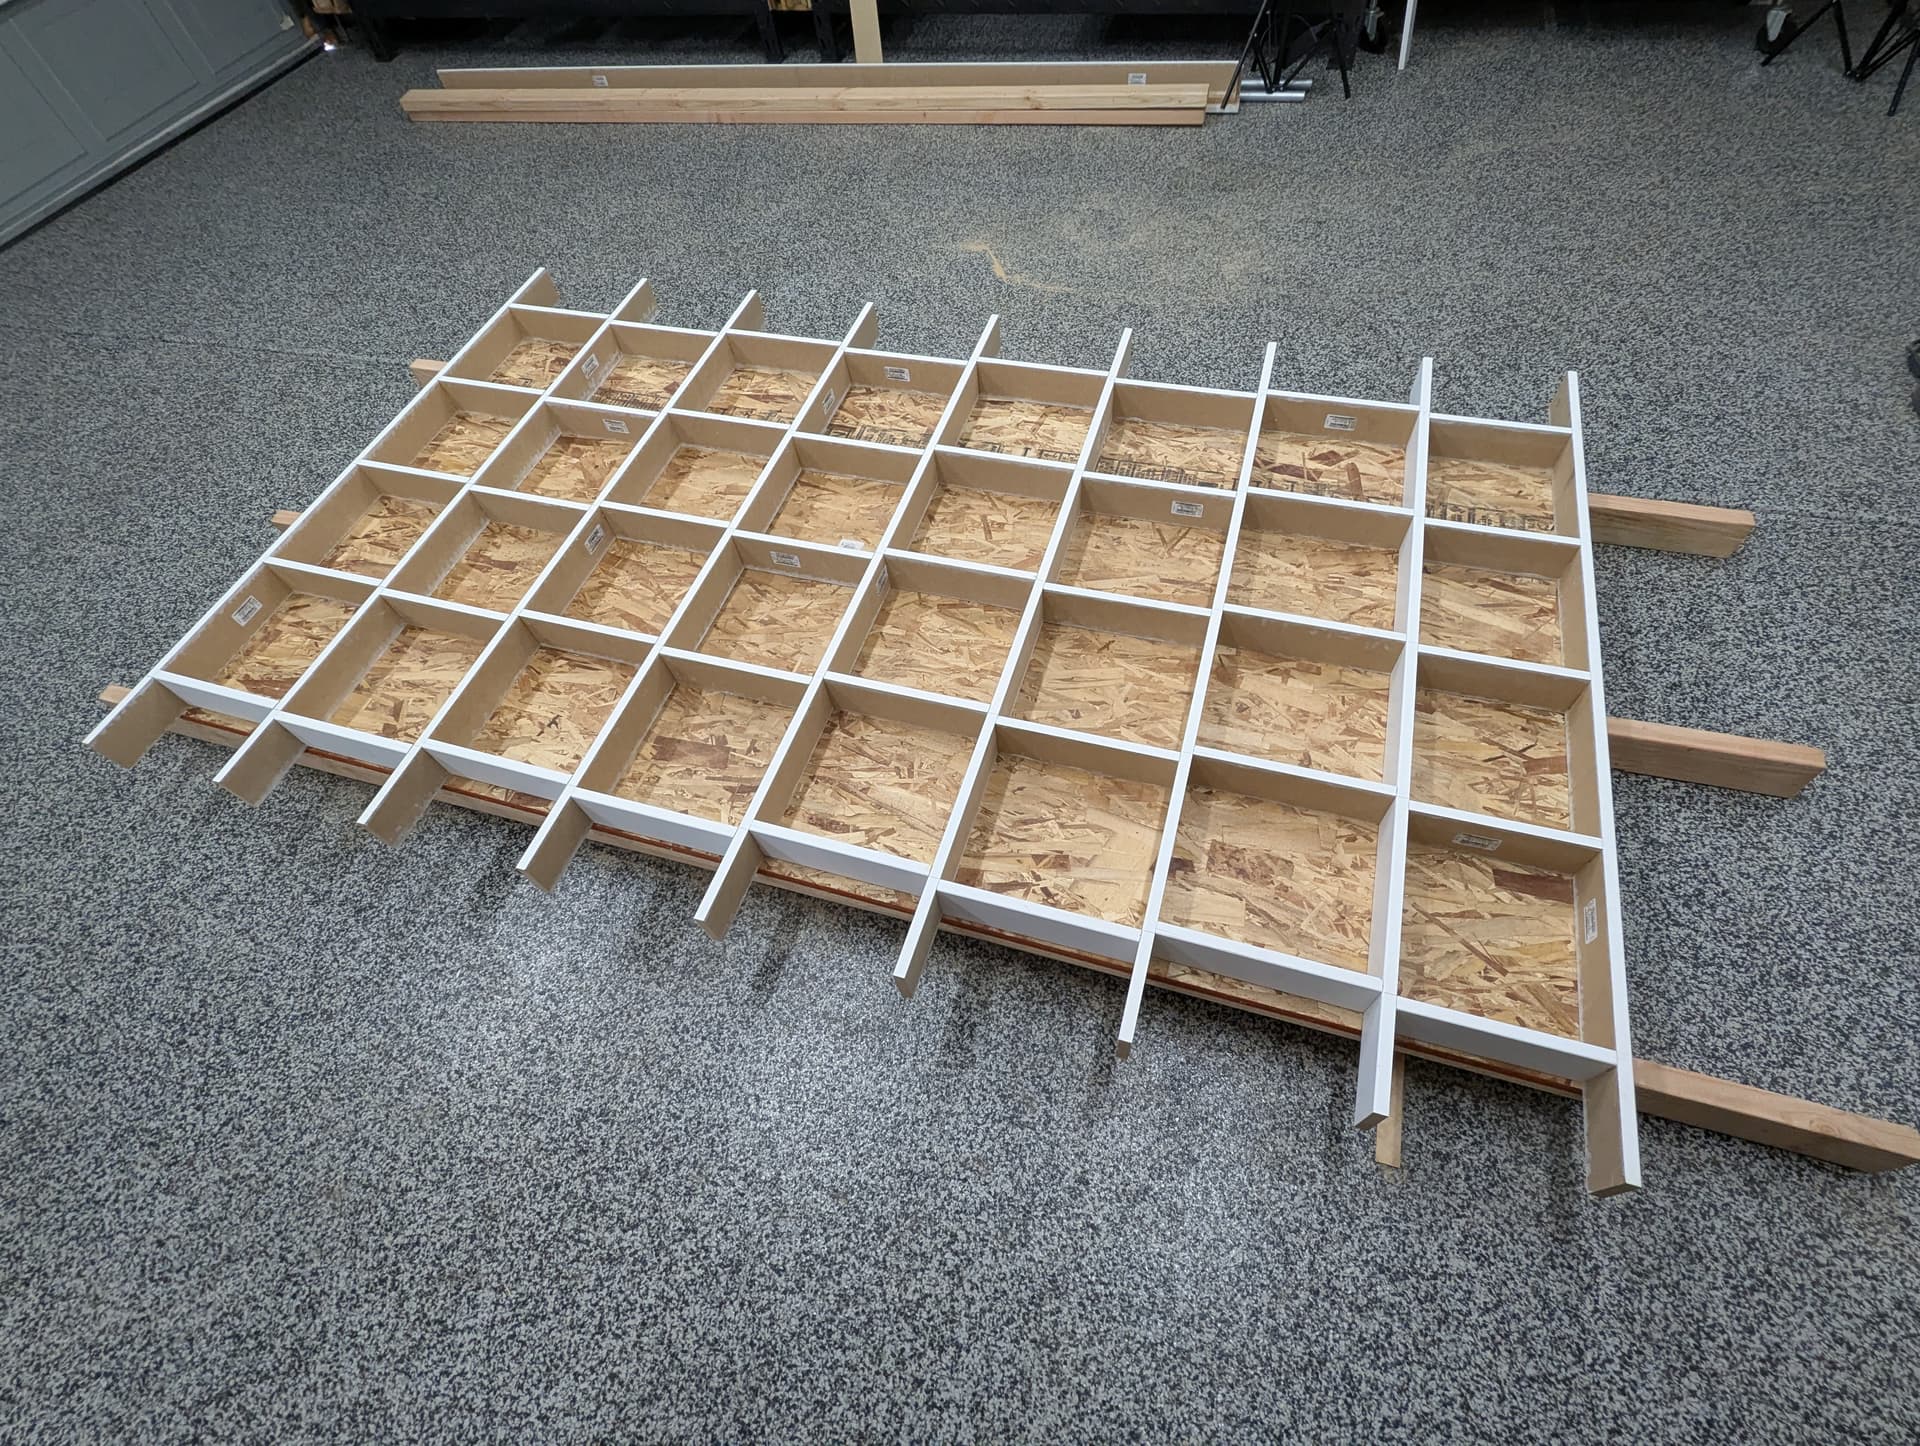
When it was all done I checked the overall diagonals to make sure it was as square as possible and let the glue dry.
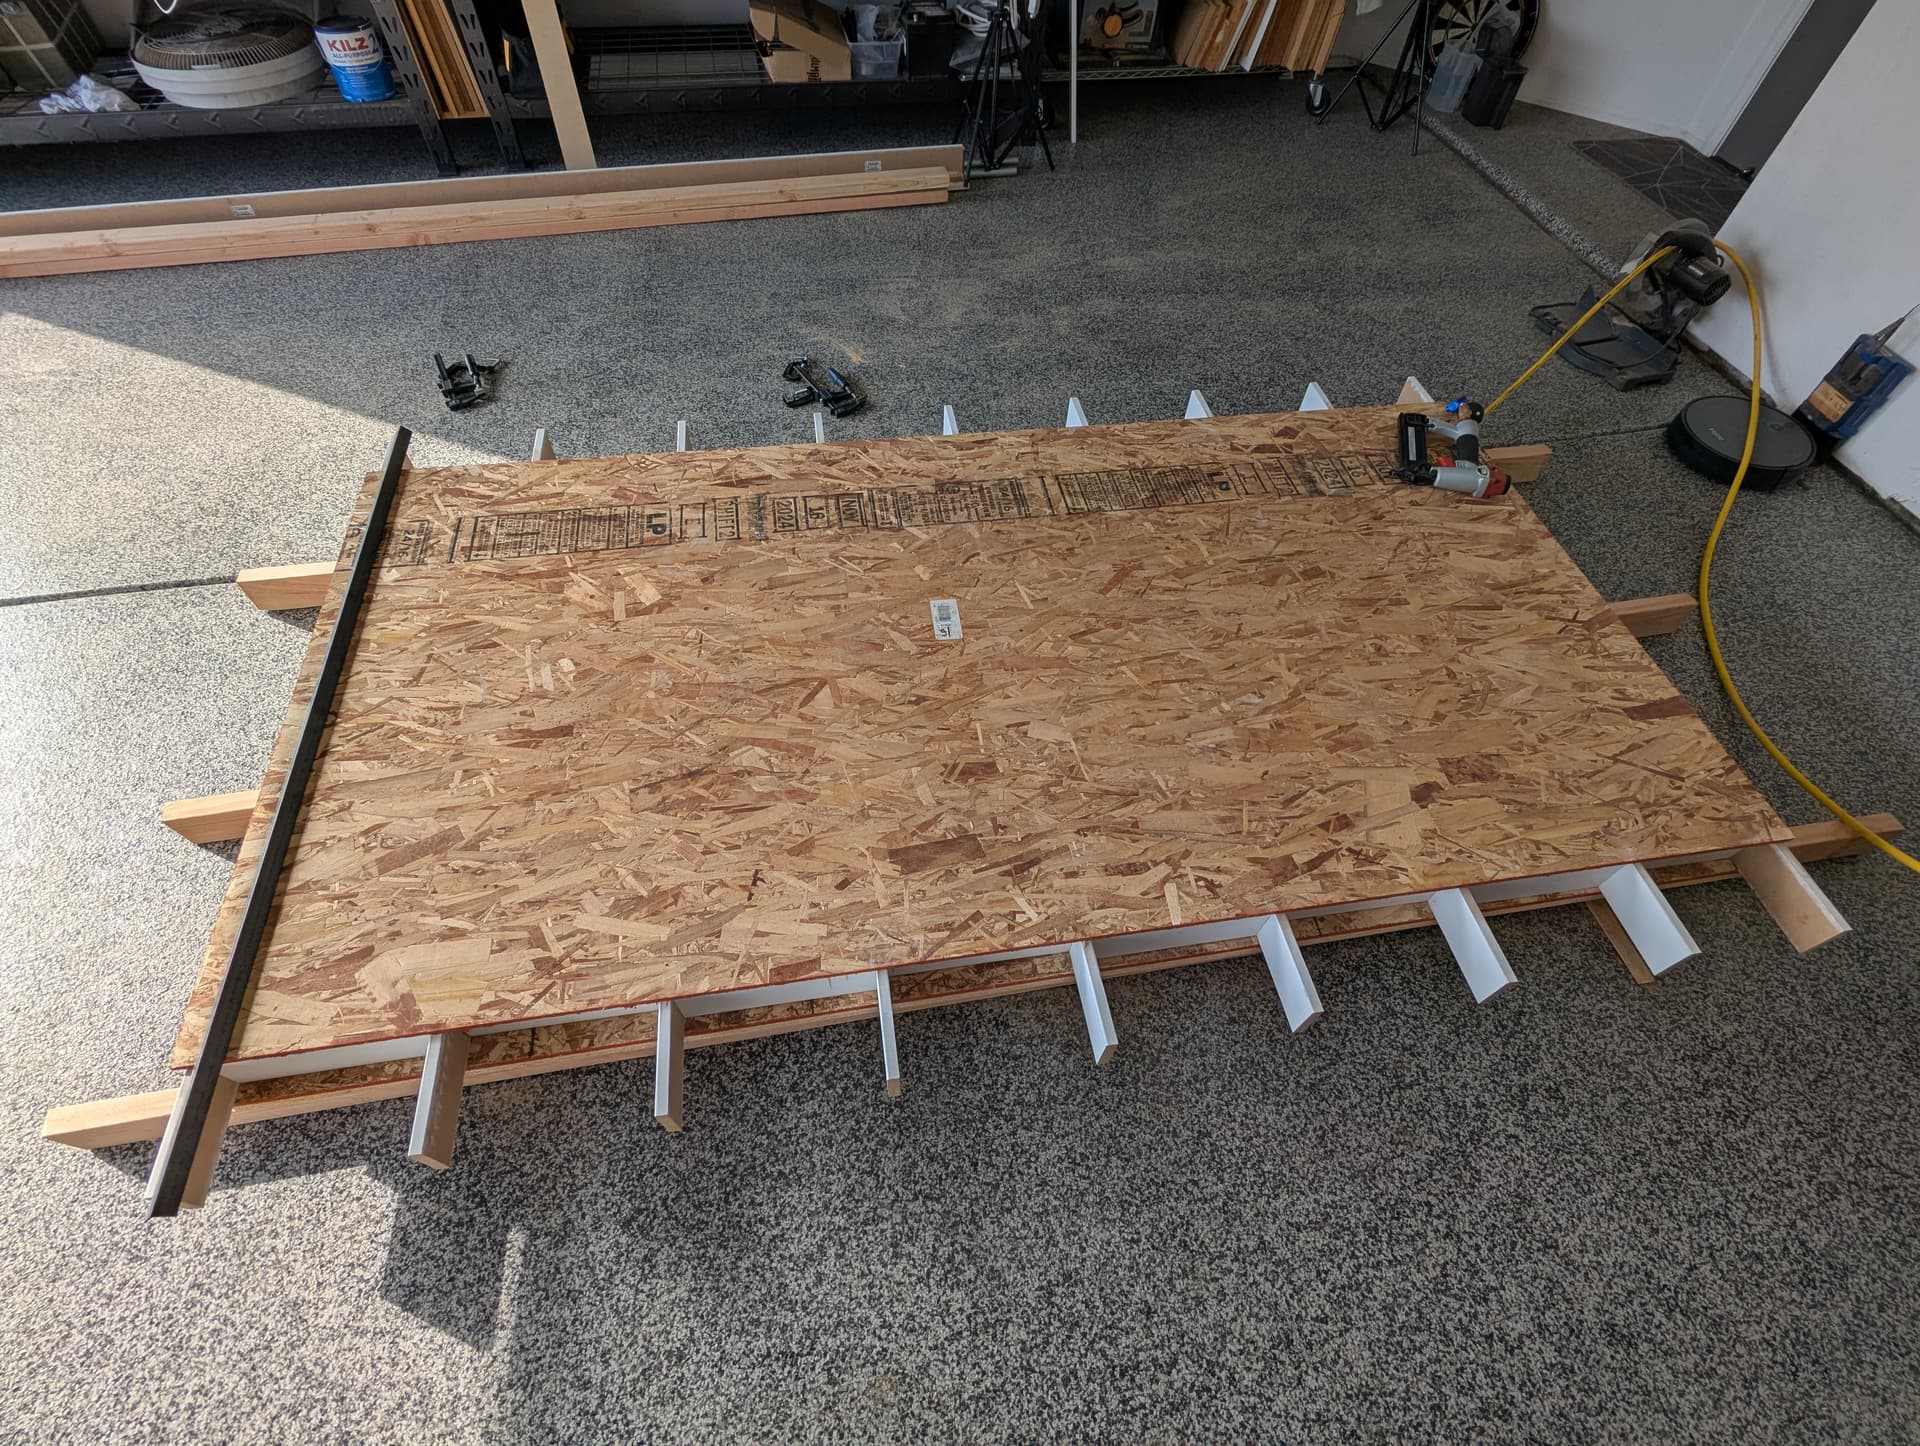
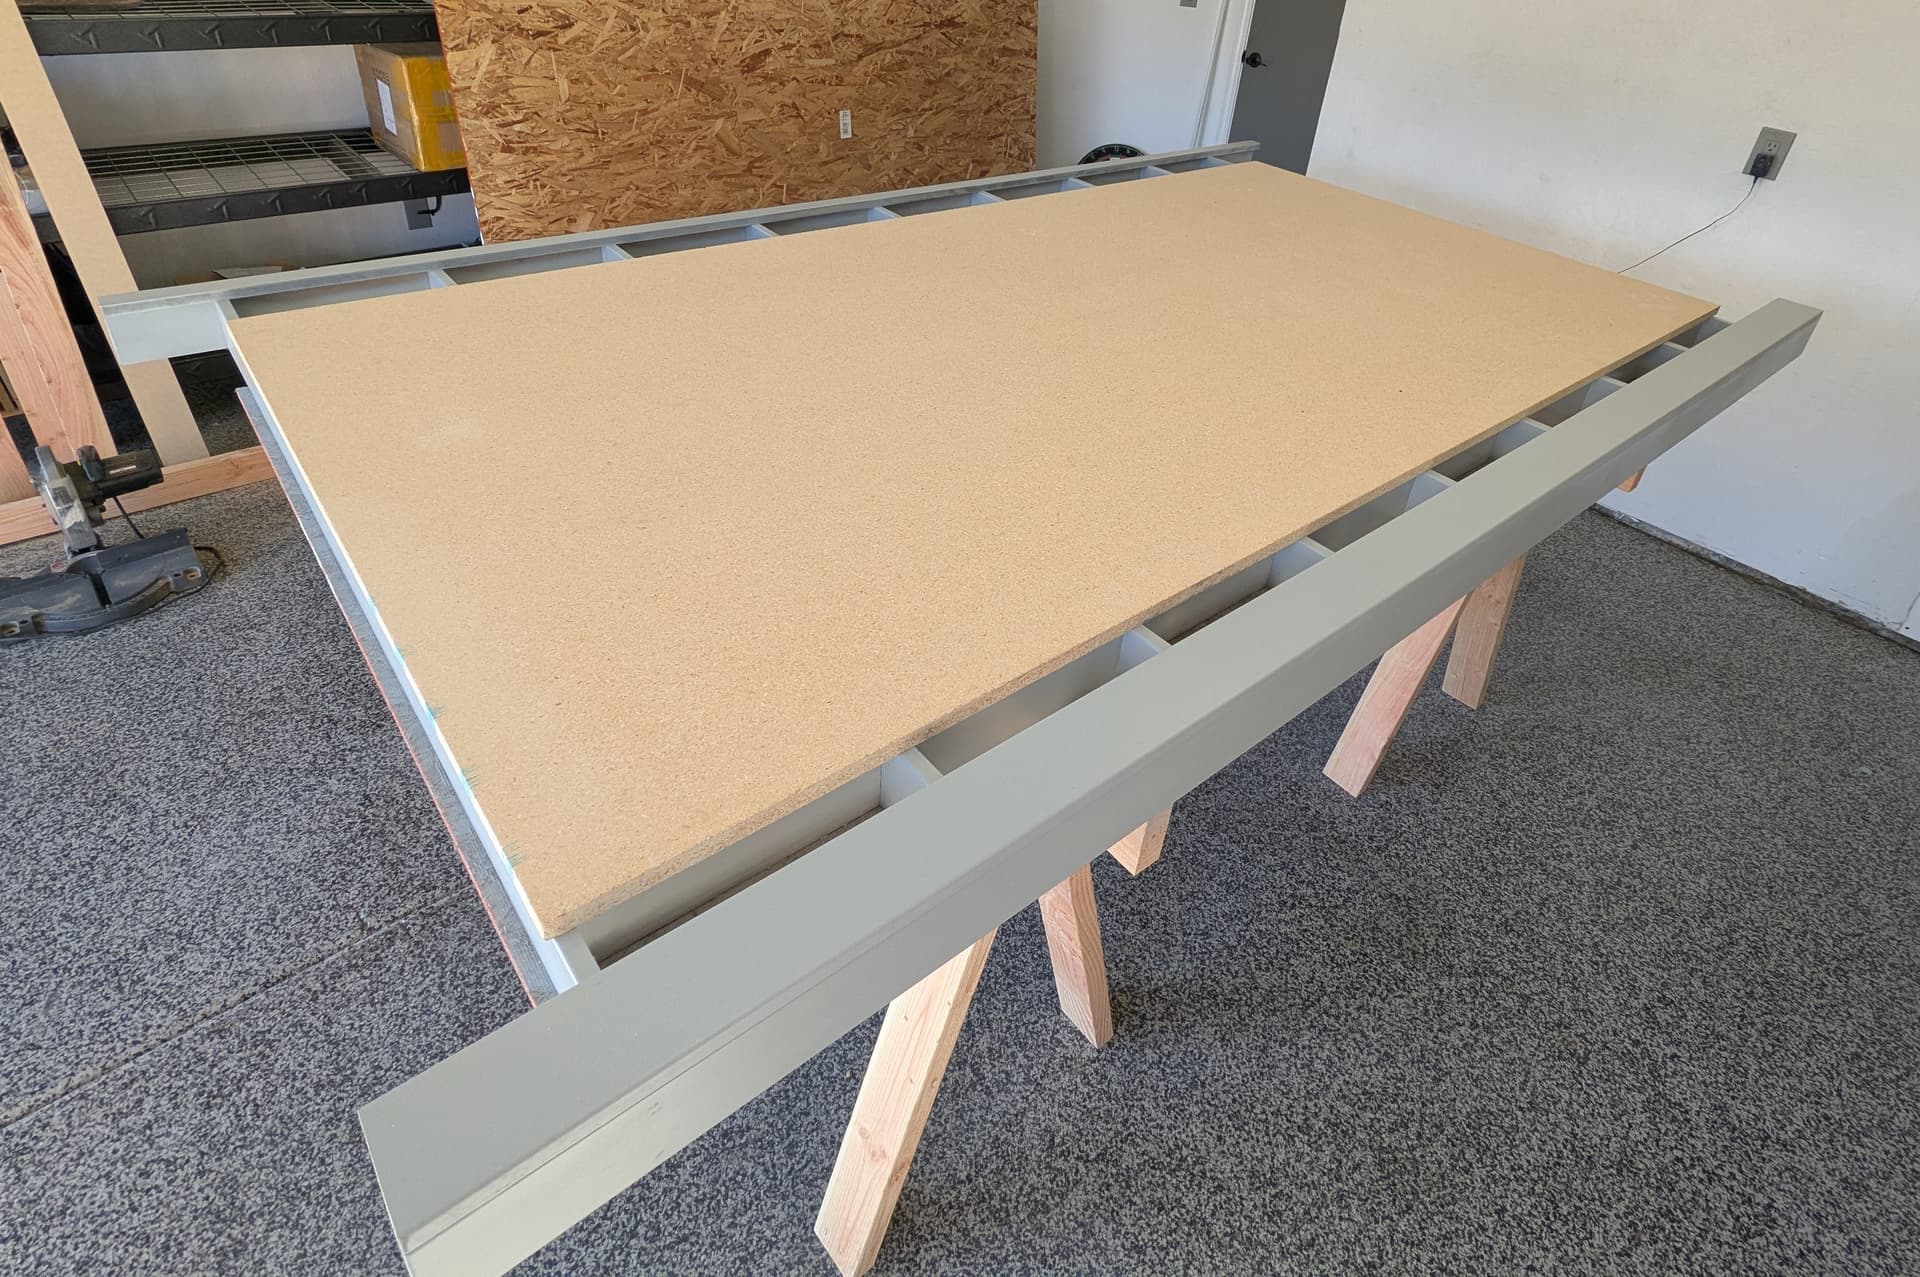
I flipped it over, and added glue to all the white pieces. Then added the bottom piece aligned as good as I could get it. I used the straight edge to pop a few brads down each runner. You can use any fasteners or just weights and let the glue dry.

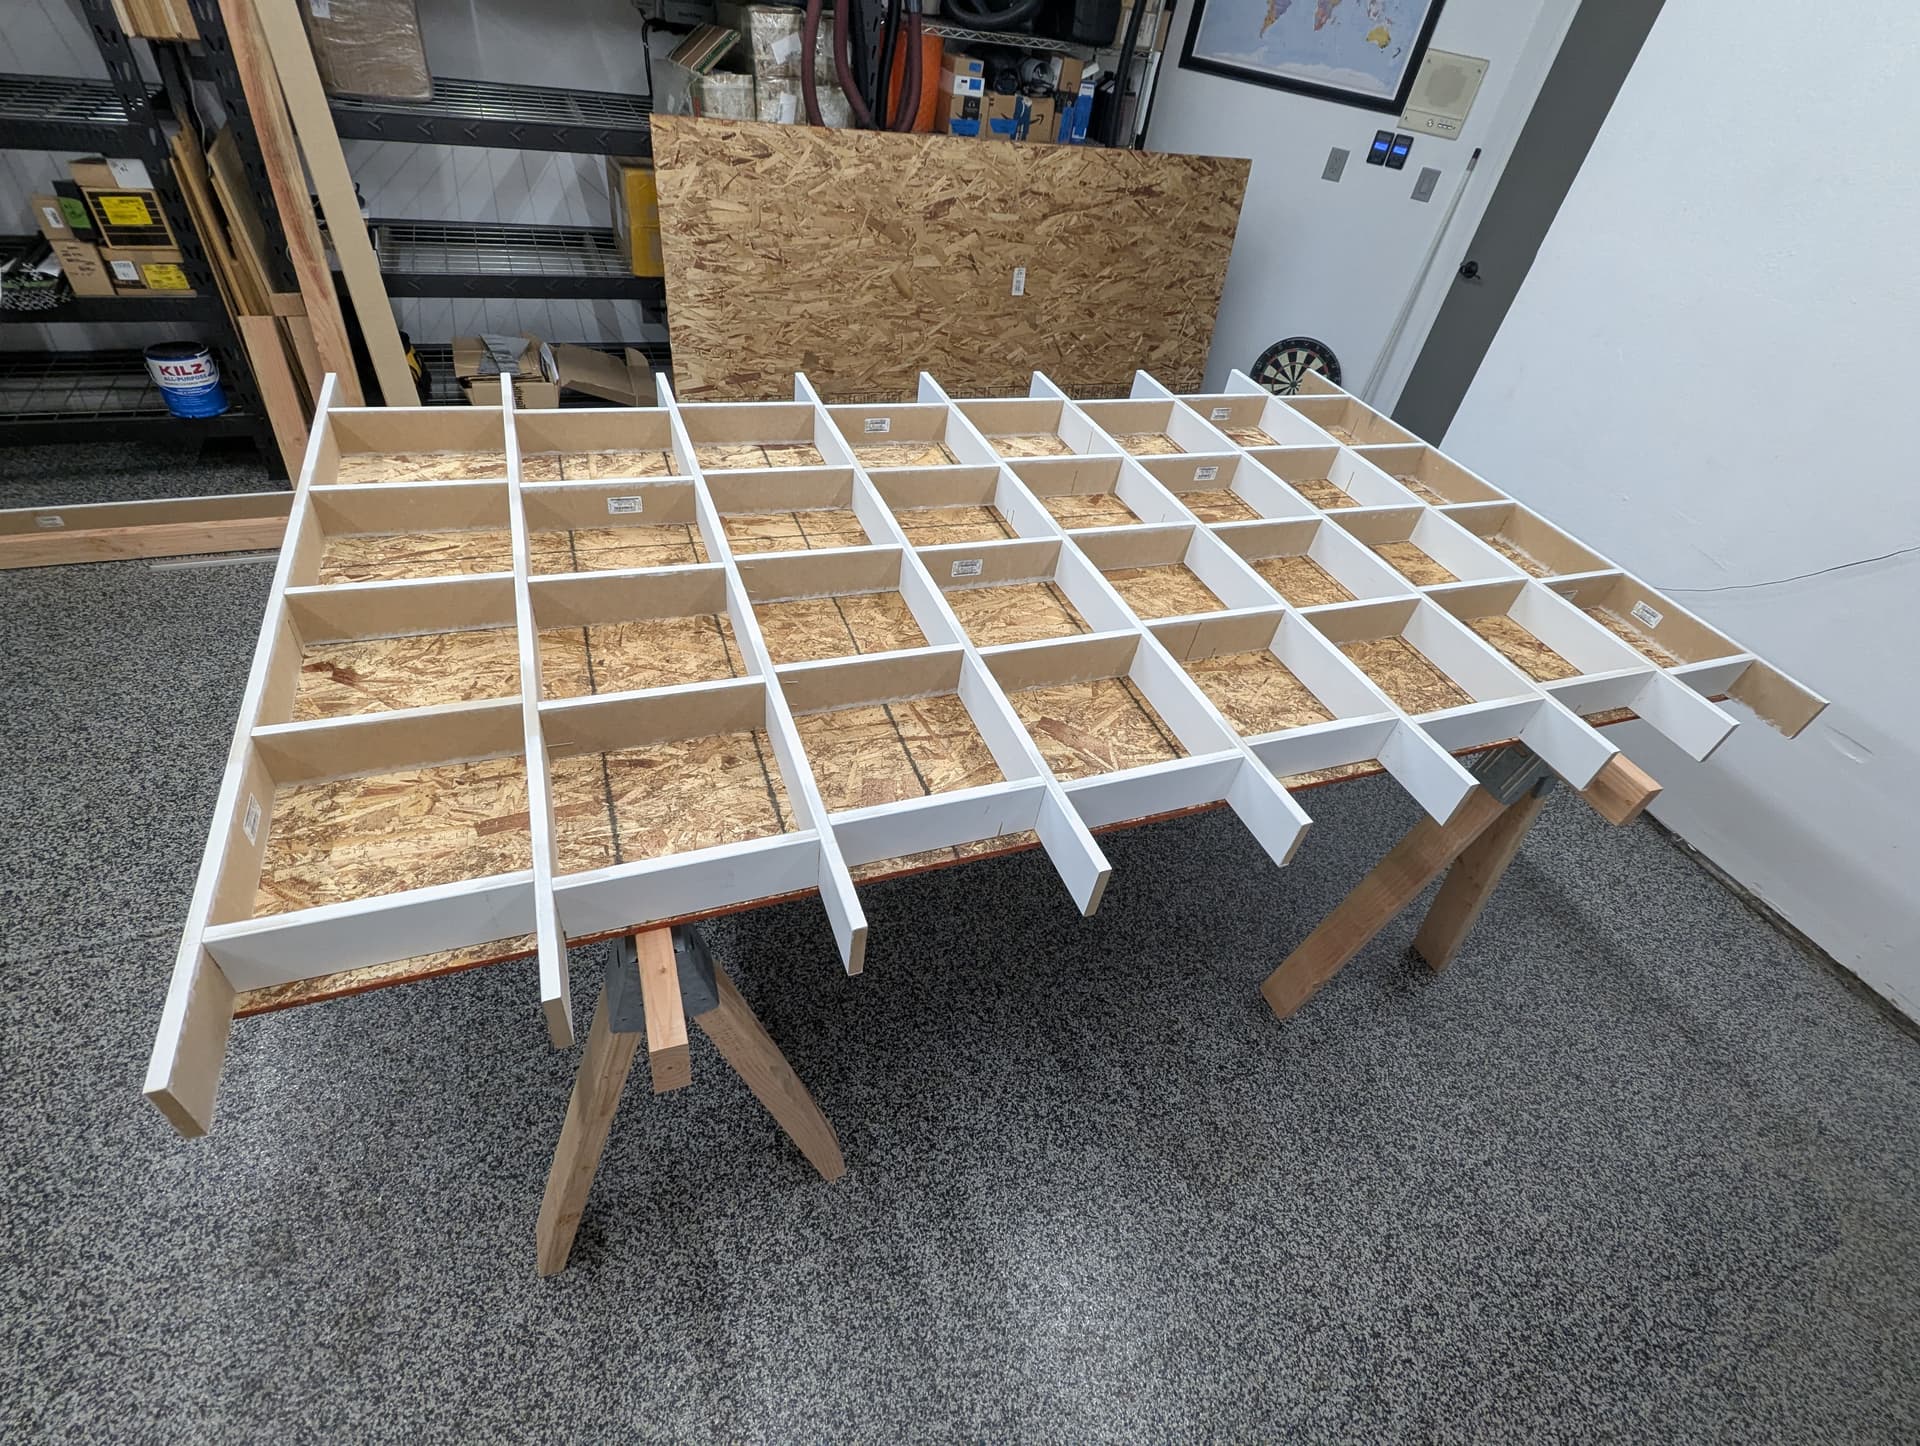
I flipped the table back over and sanded all the top joints to smooth out any misalignments there might have been. It is very easy to see with the pre-primed MDF, I checked each section with a straight edge to make sure the surface was as flat (not level) as I could get it.
I then added the saw horses with the crossbars at the bessel points for the main table, marked in the CAD.
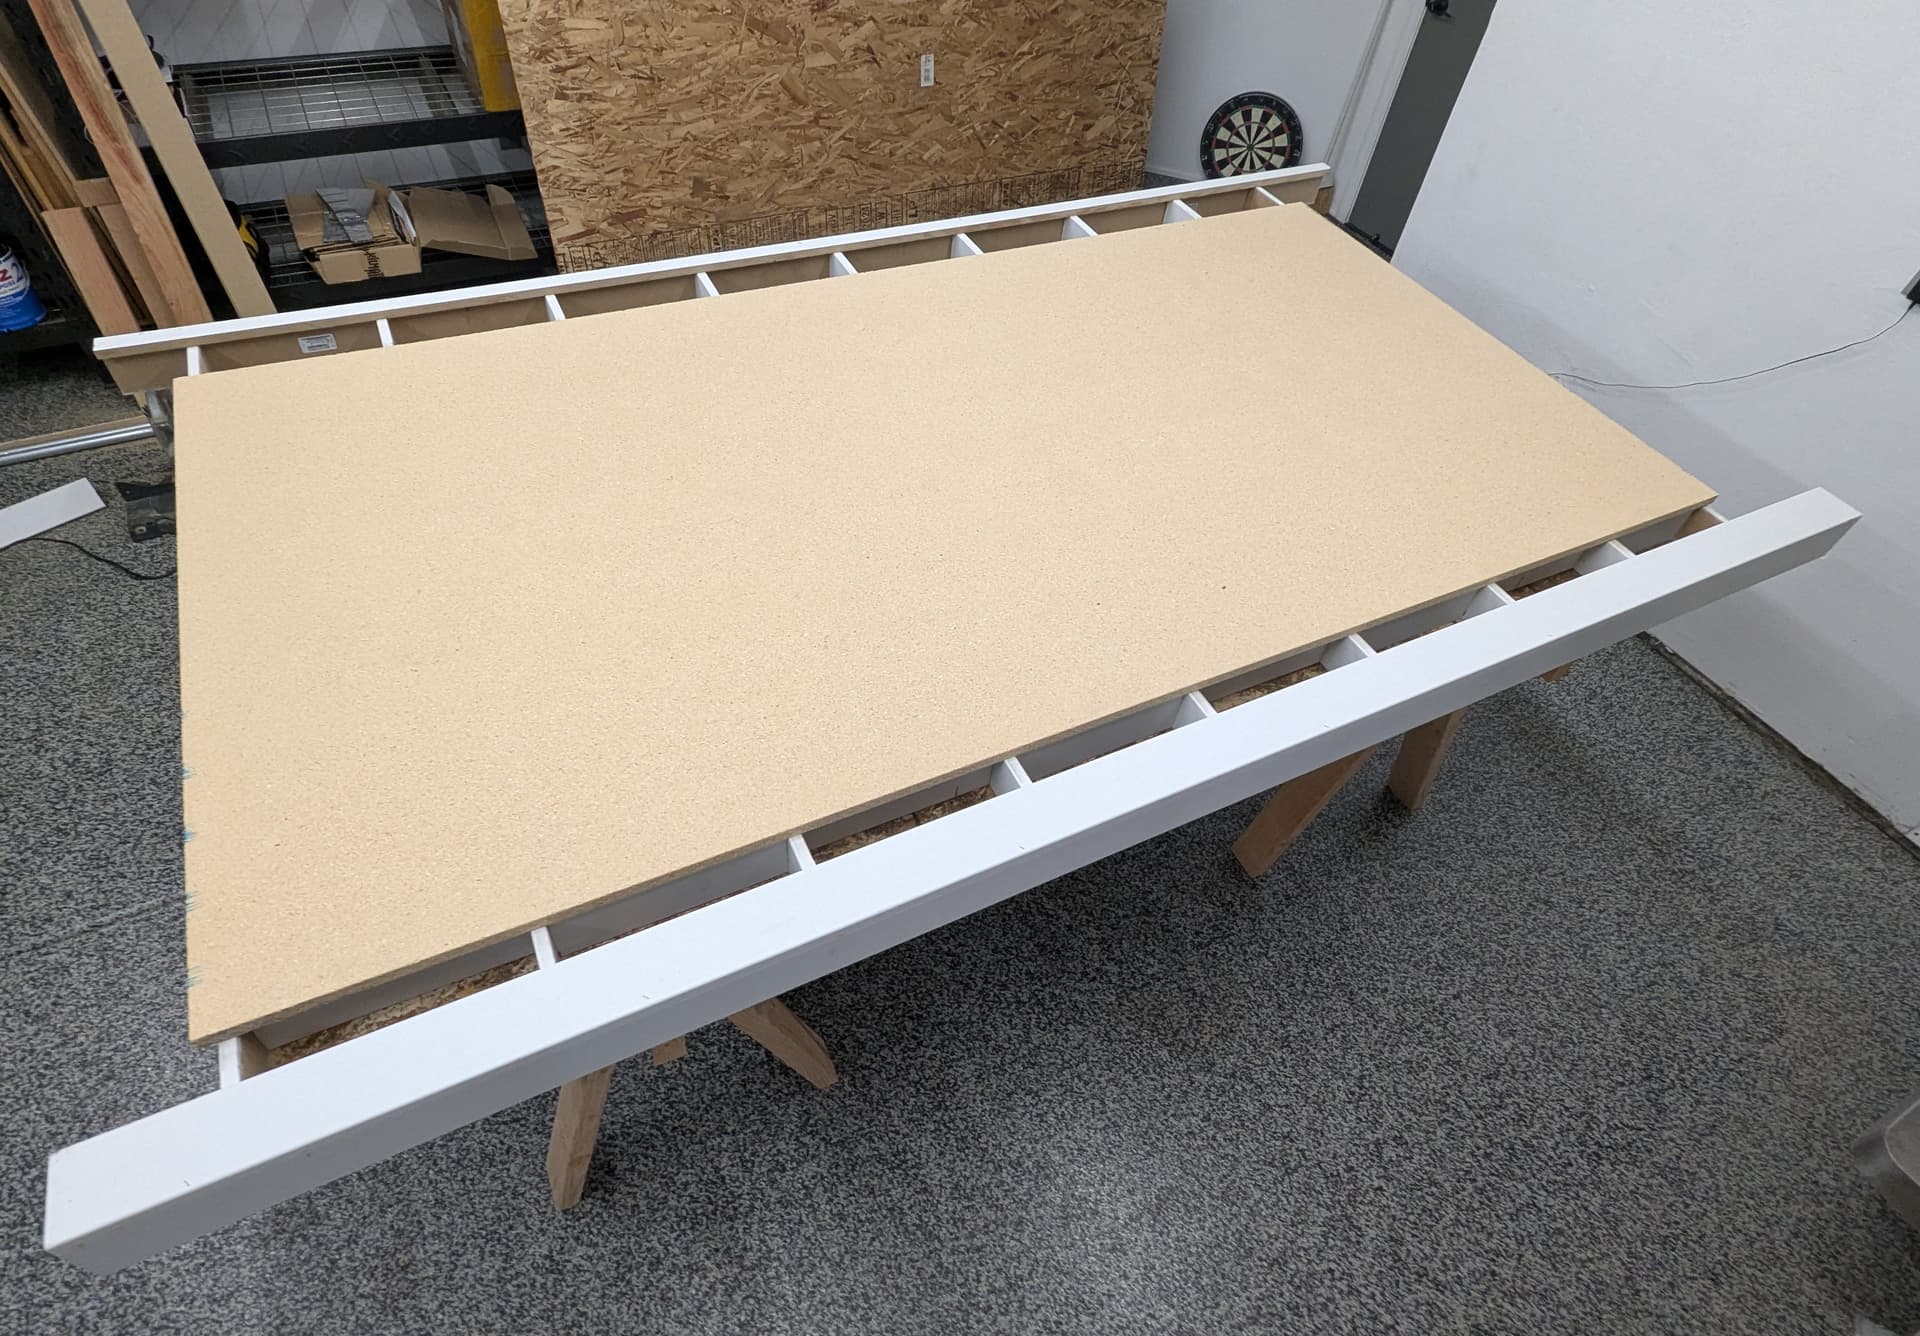
I glued and nailed the two Y rails together and cut them to length. Then glued and nailed them to the table. At this point the top is just sitting there, it is not attached.
I pulled the top off and spray painted the torsion box. Then set the top surface back on. This surface will not get attached until after the LowRider is fully built so the location can be accurately centered.
…Centering, Counter boring and attaching the surface pics coming soon.
CAD - Onshape