Slow LR3 build

It took me a long time to get my MPCNC Primo done. I printed the first parts around 2 years ago.

Back than I chose the Primo because I liked the look better over the LR2.

Now that I have the Primo working for a few weeks and really looking at the LR3 for the first time I think this is a fun new project.

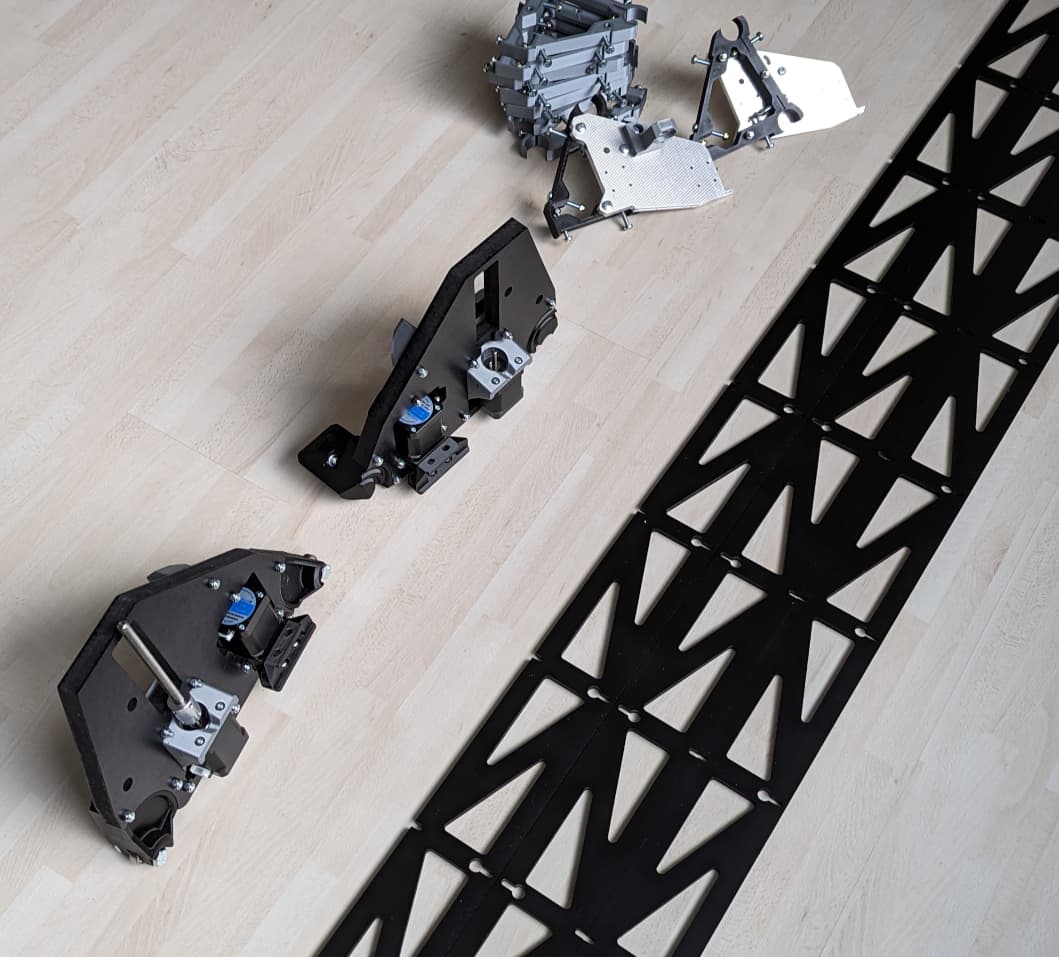
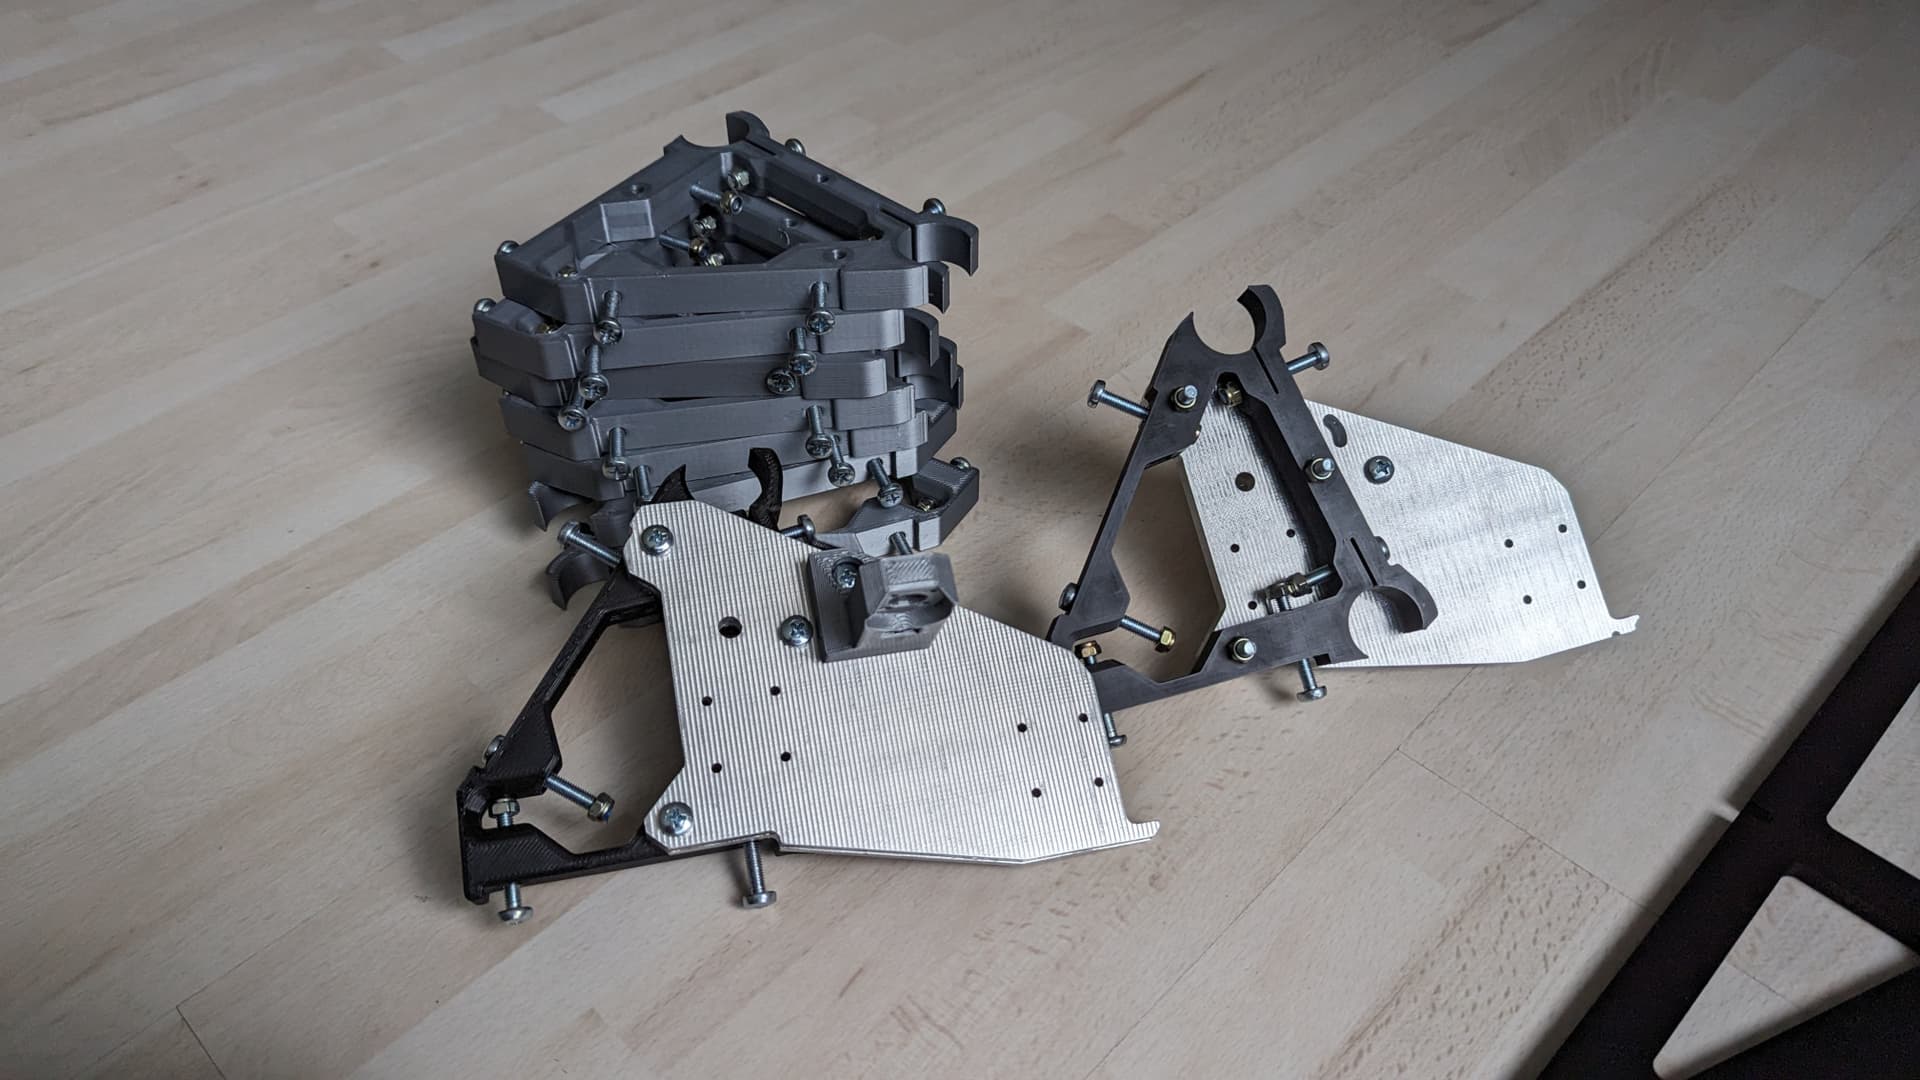
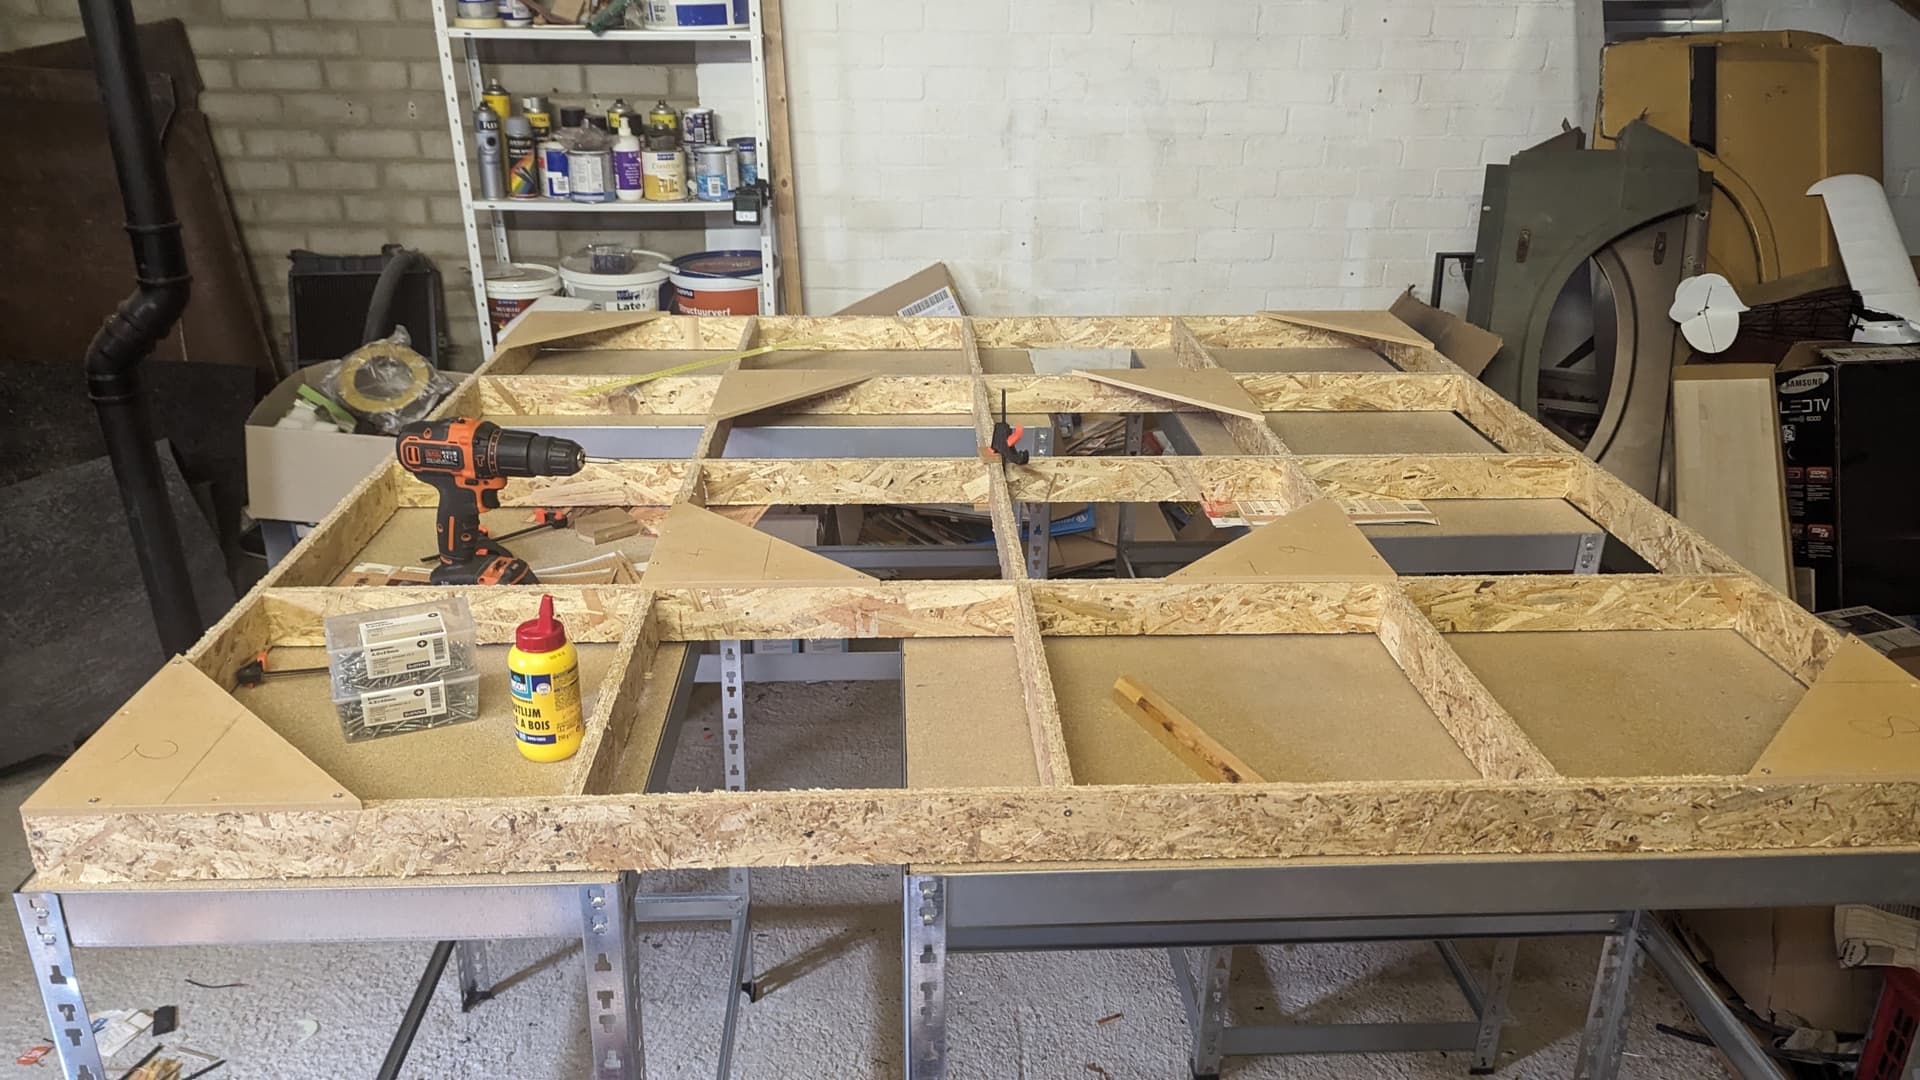
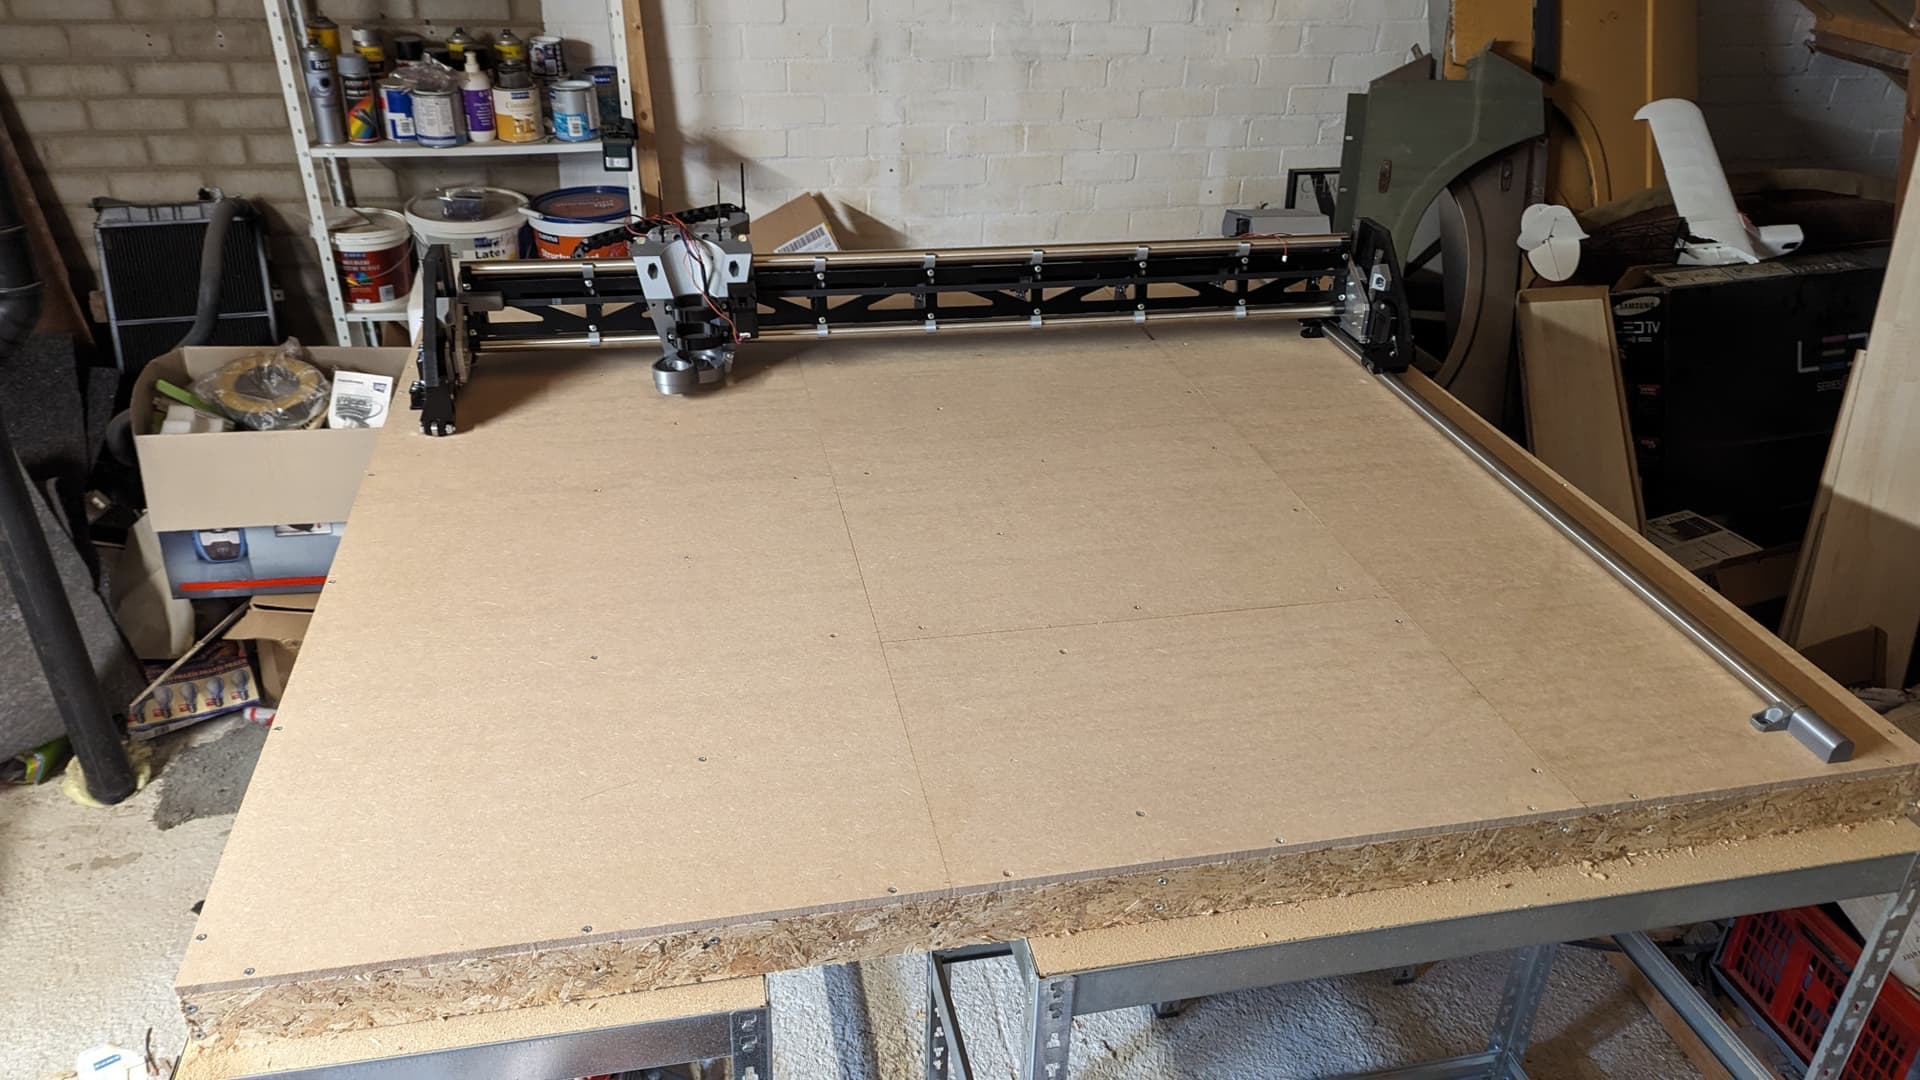
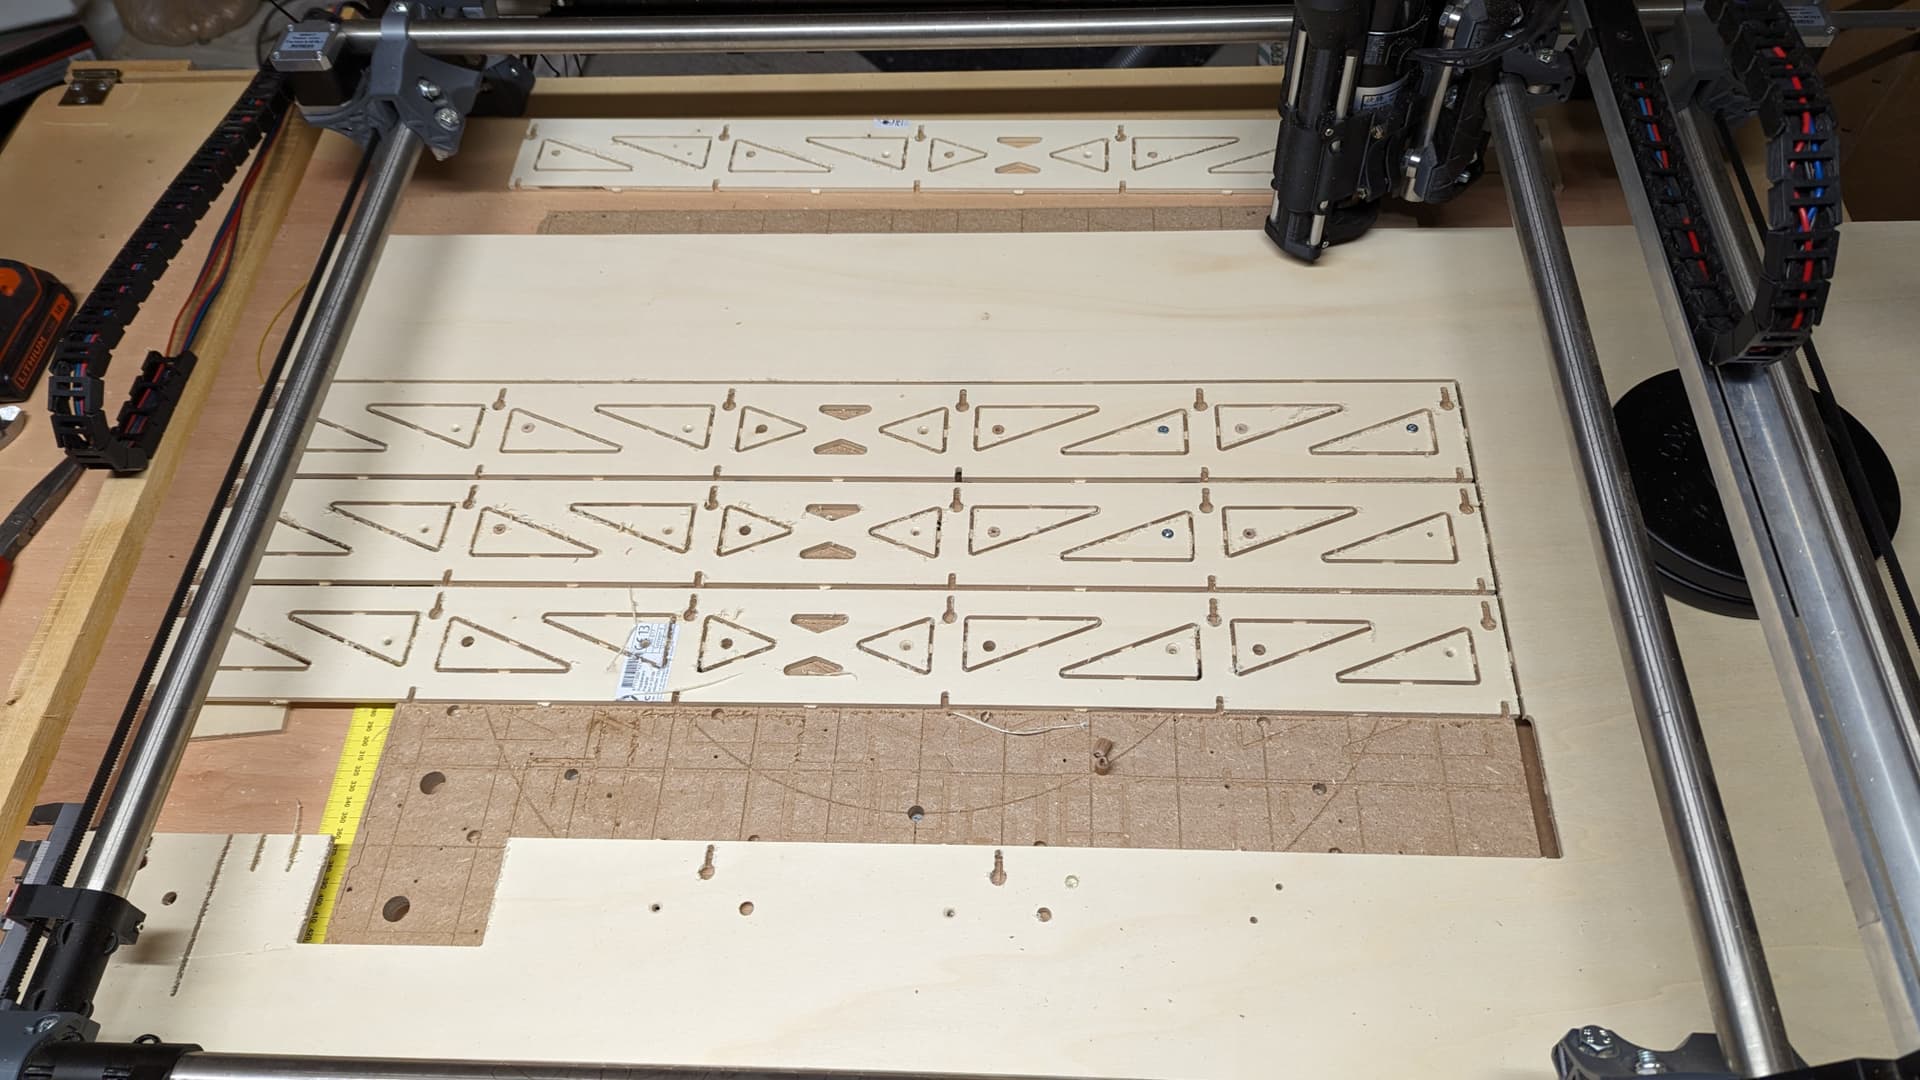
At the moment I’m test things with the Primo. Things like work holding and cutting parts longer than the Primo in 2 or 3 steps. That is why I already made the strut plates for the LR3.

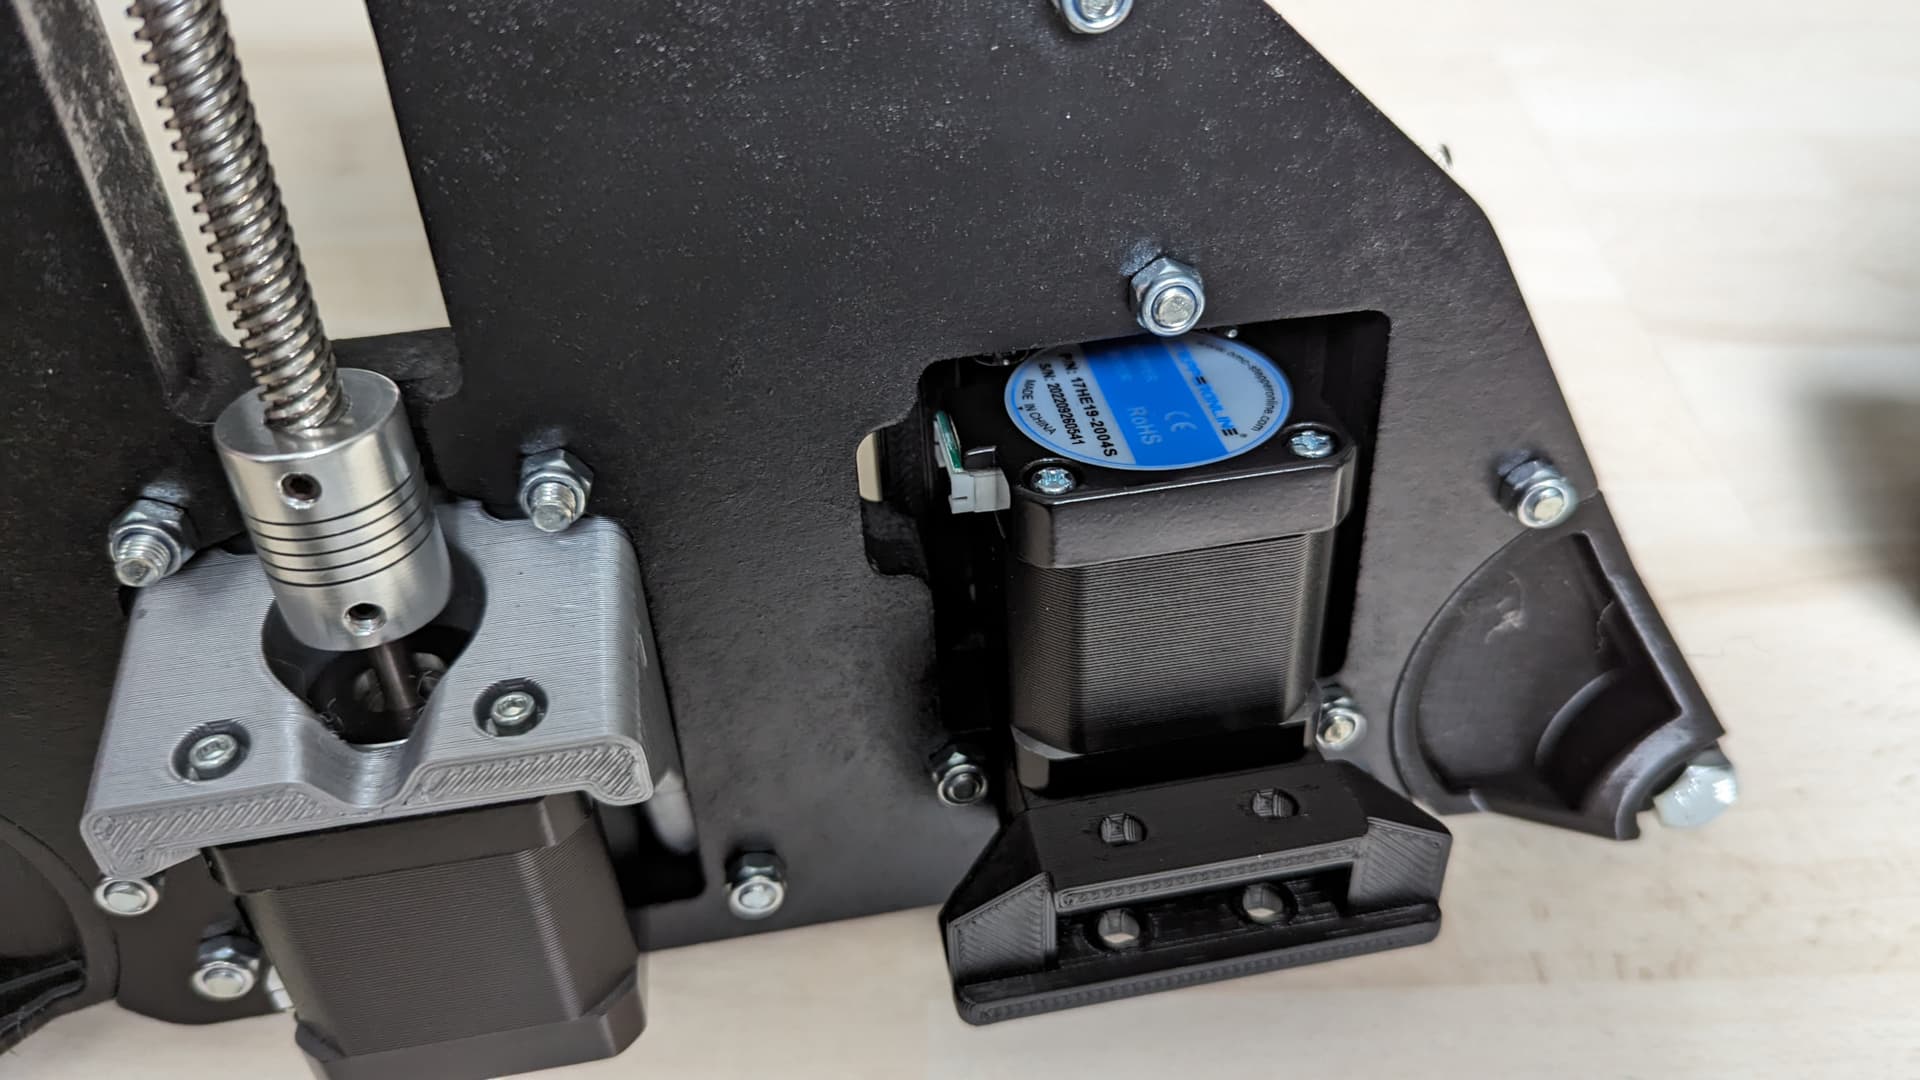
The decision to start with the LR3 was made when I found the Alu plates I had laying around for years. I had problems with the Primo when I started because of crappy endmills.

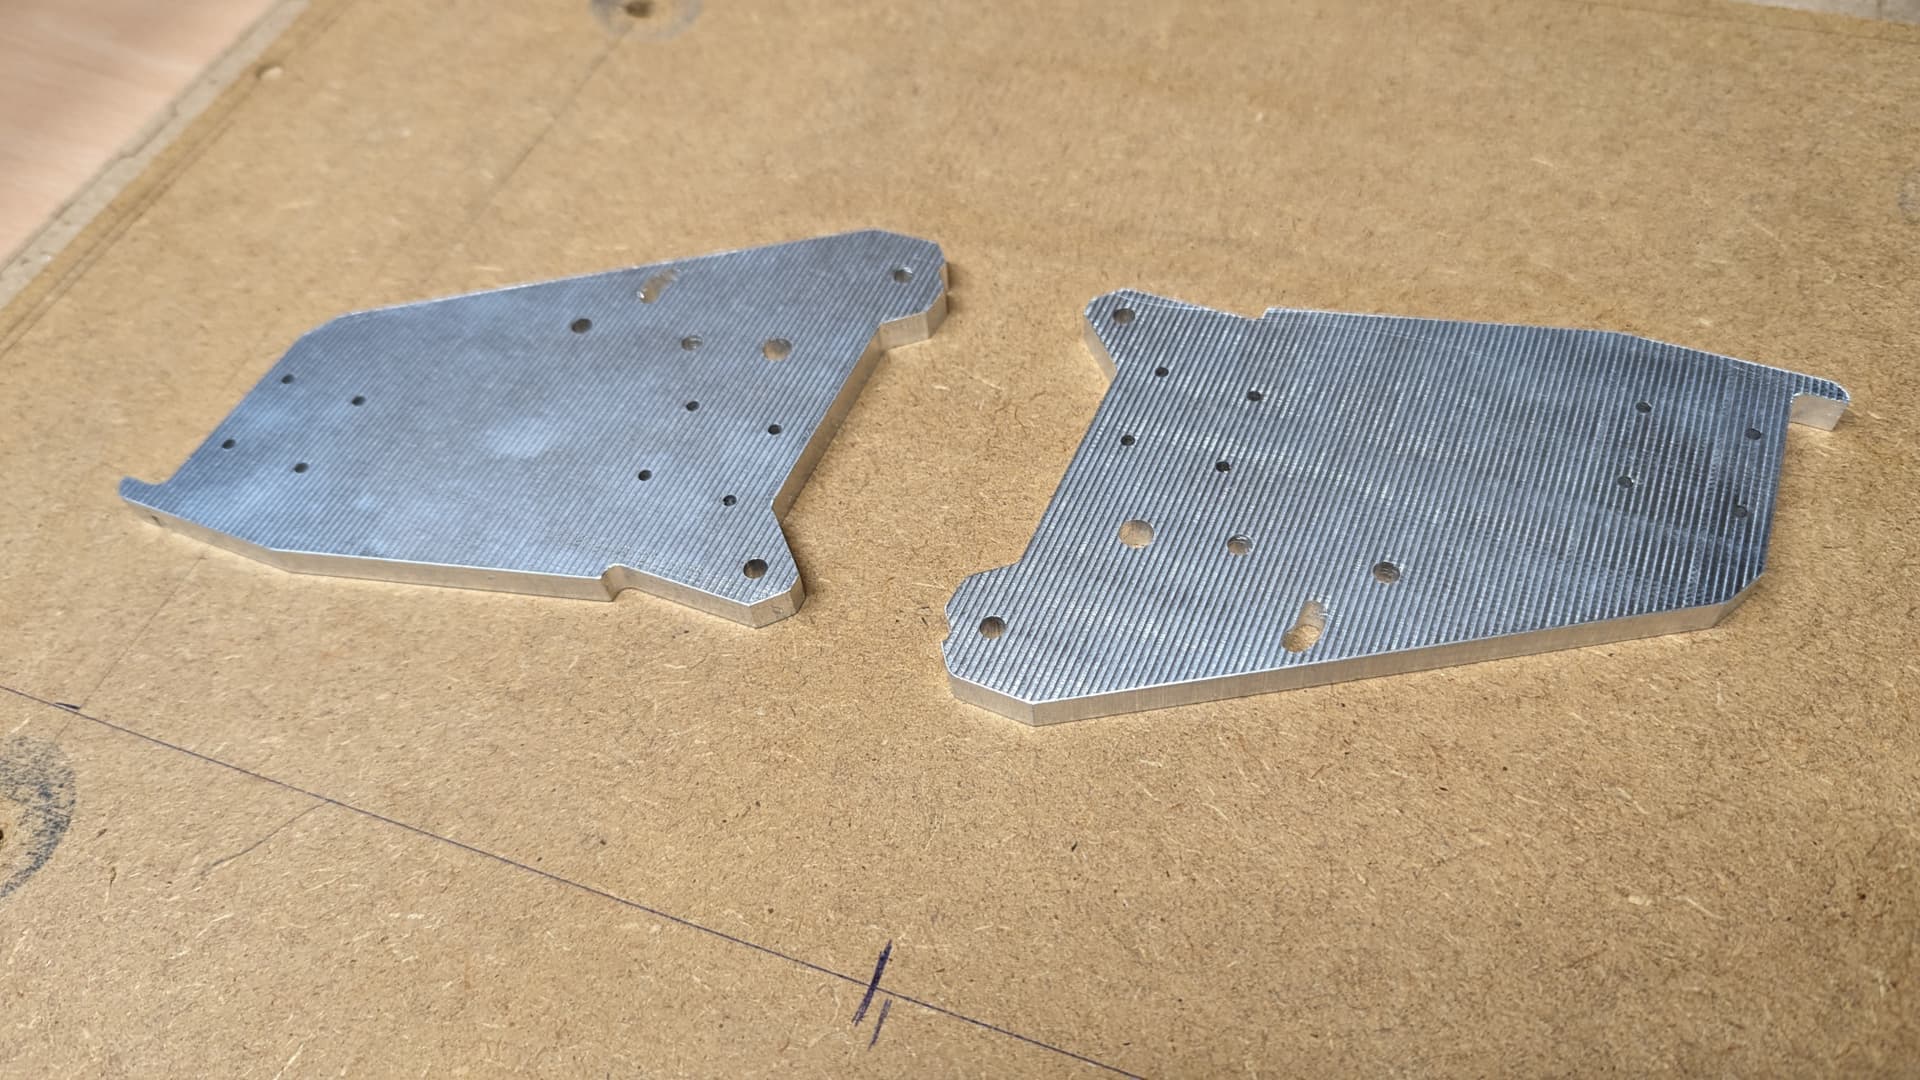
When I bought better endmills I also bought one for aluminum.

I made a few mistakes and had to start over a few time and figure out a way to find the work origin again.

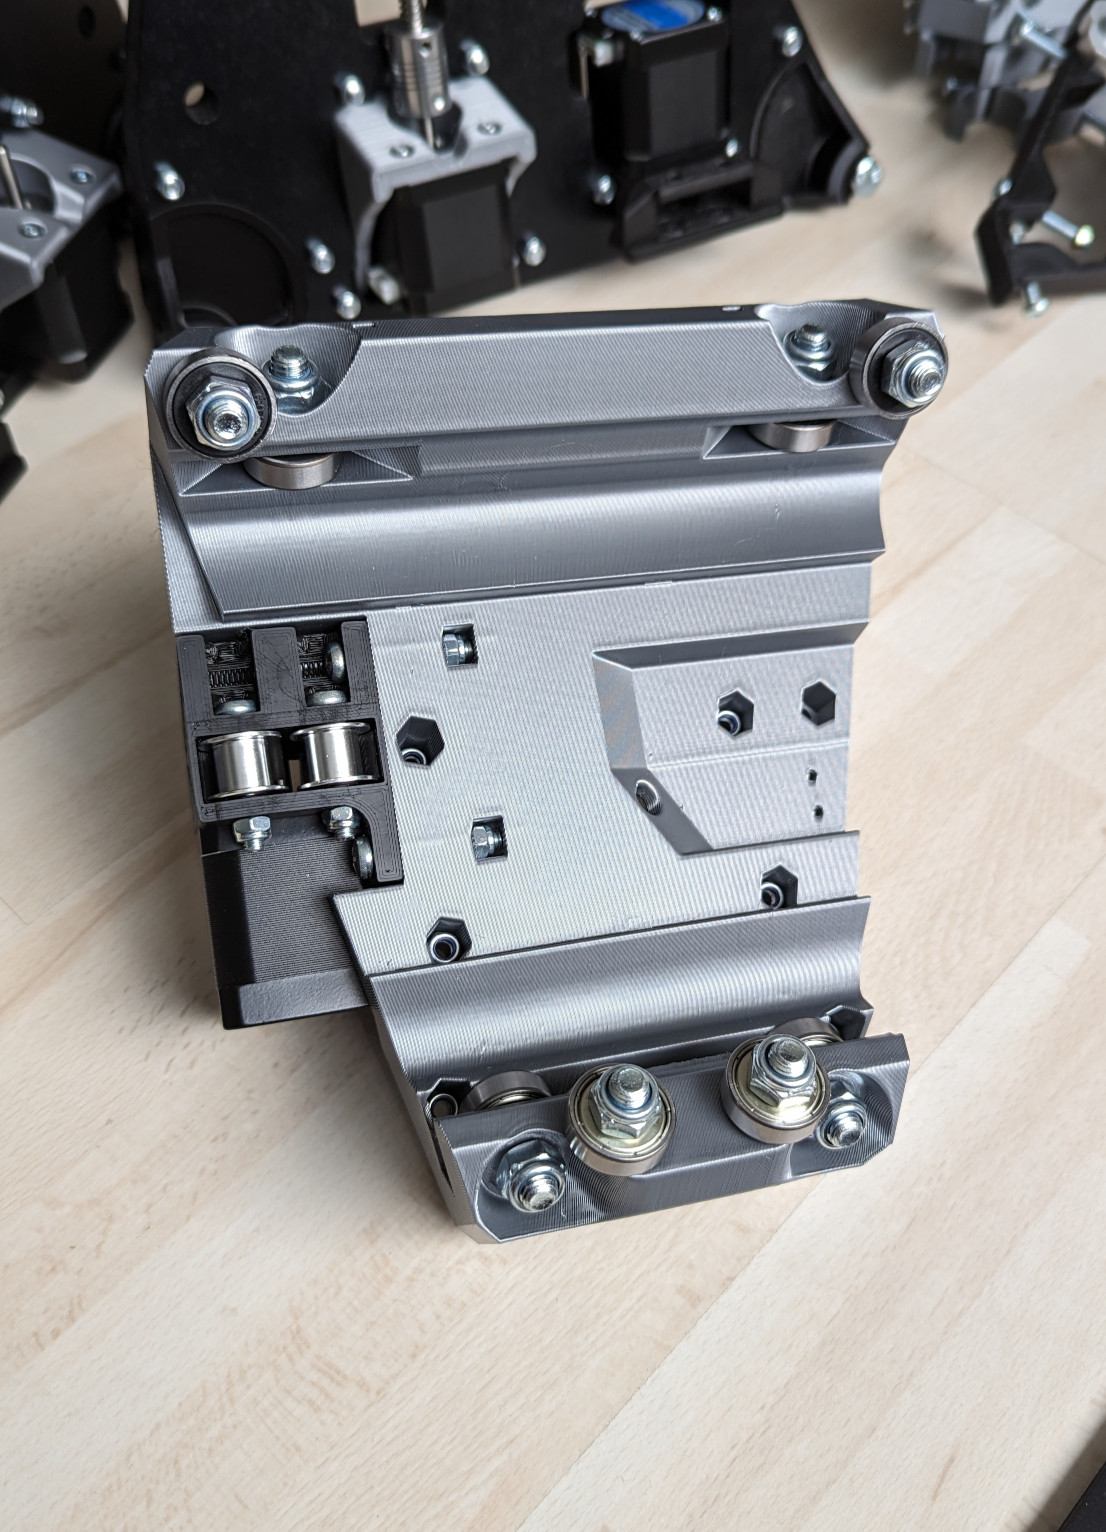
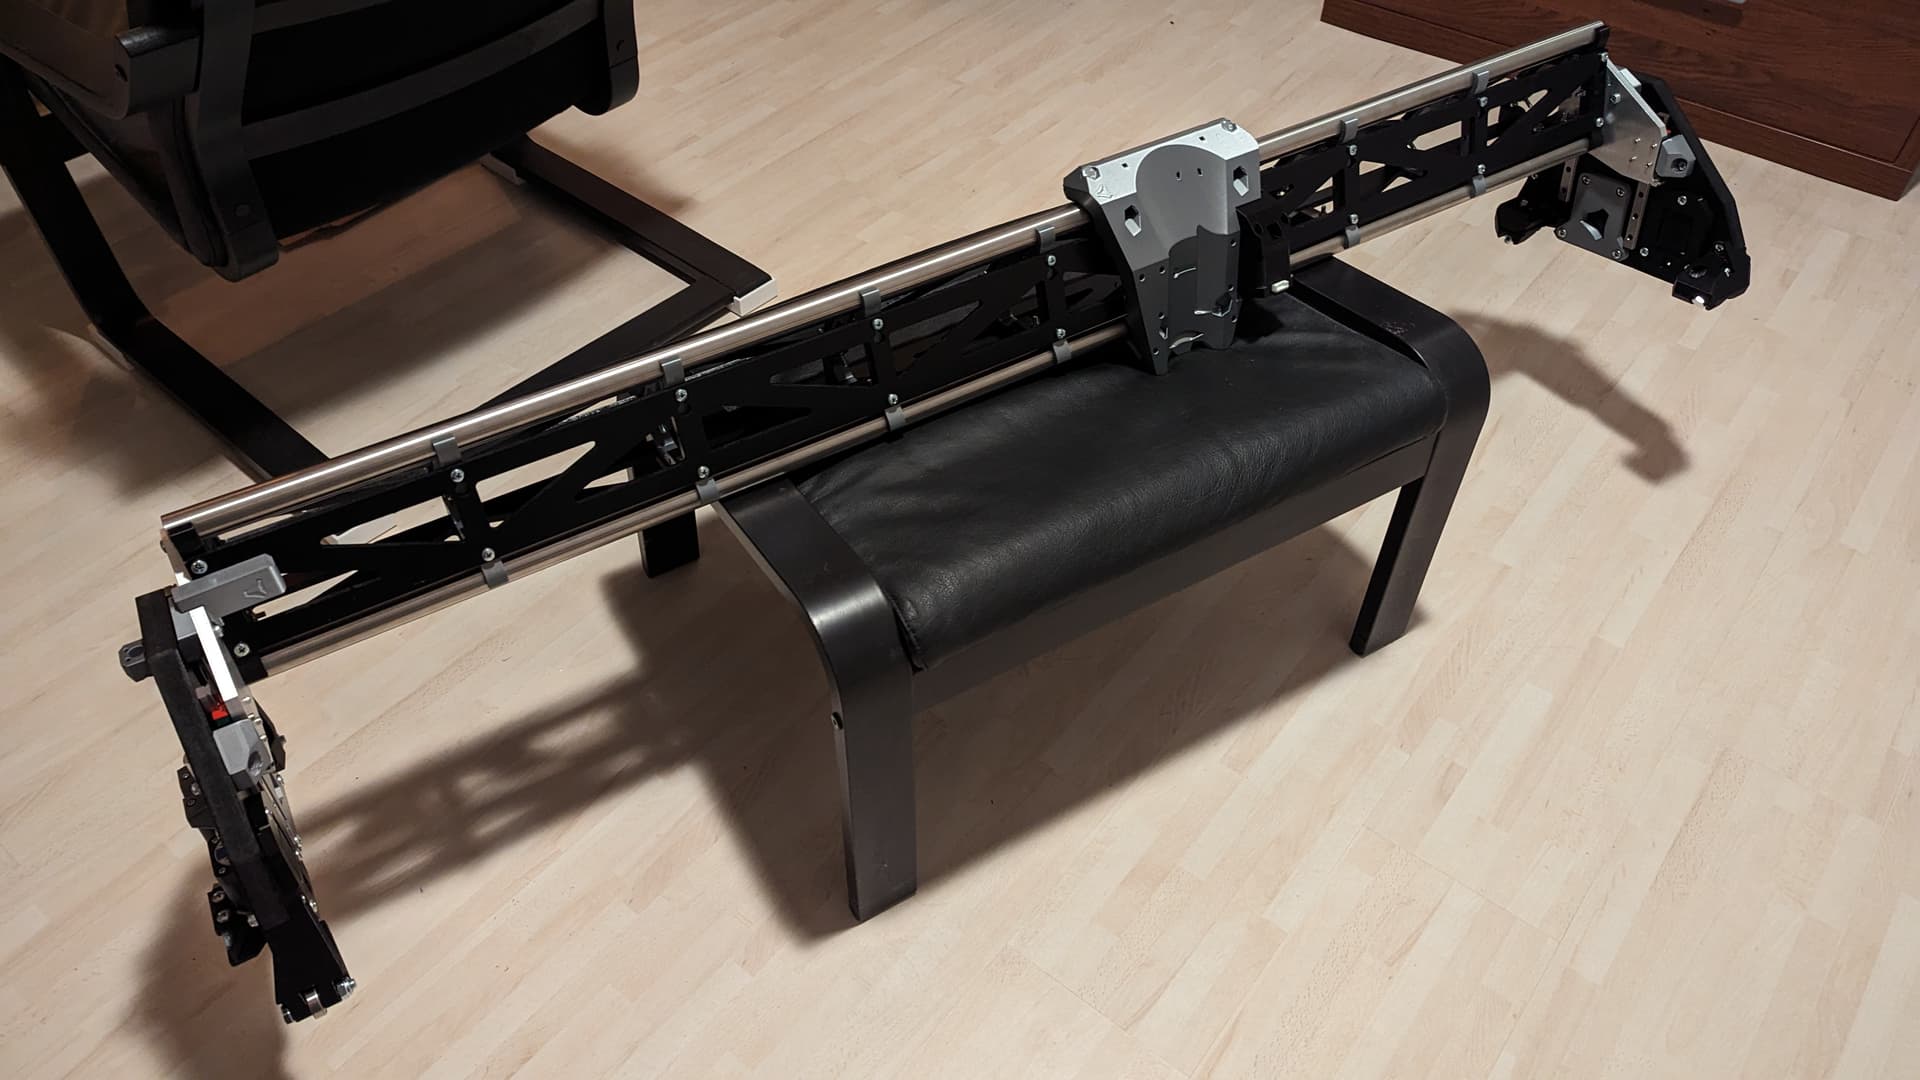
In the end I have learned a lot and have two nice Alu XZ plates. 9 mm Alu is a bit overkill, but it is a good feeling to know I made those myself.

I was amazed how well the Primo did on Alu.

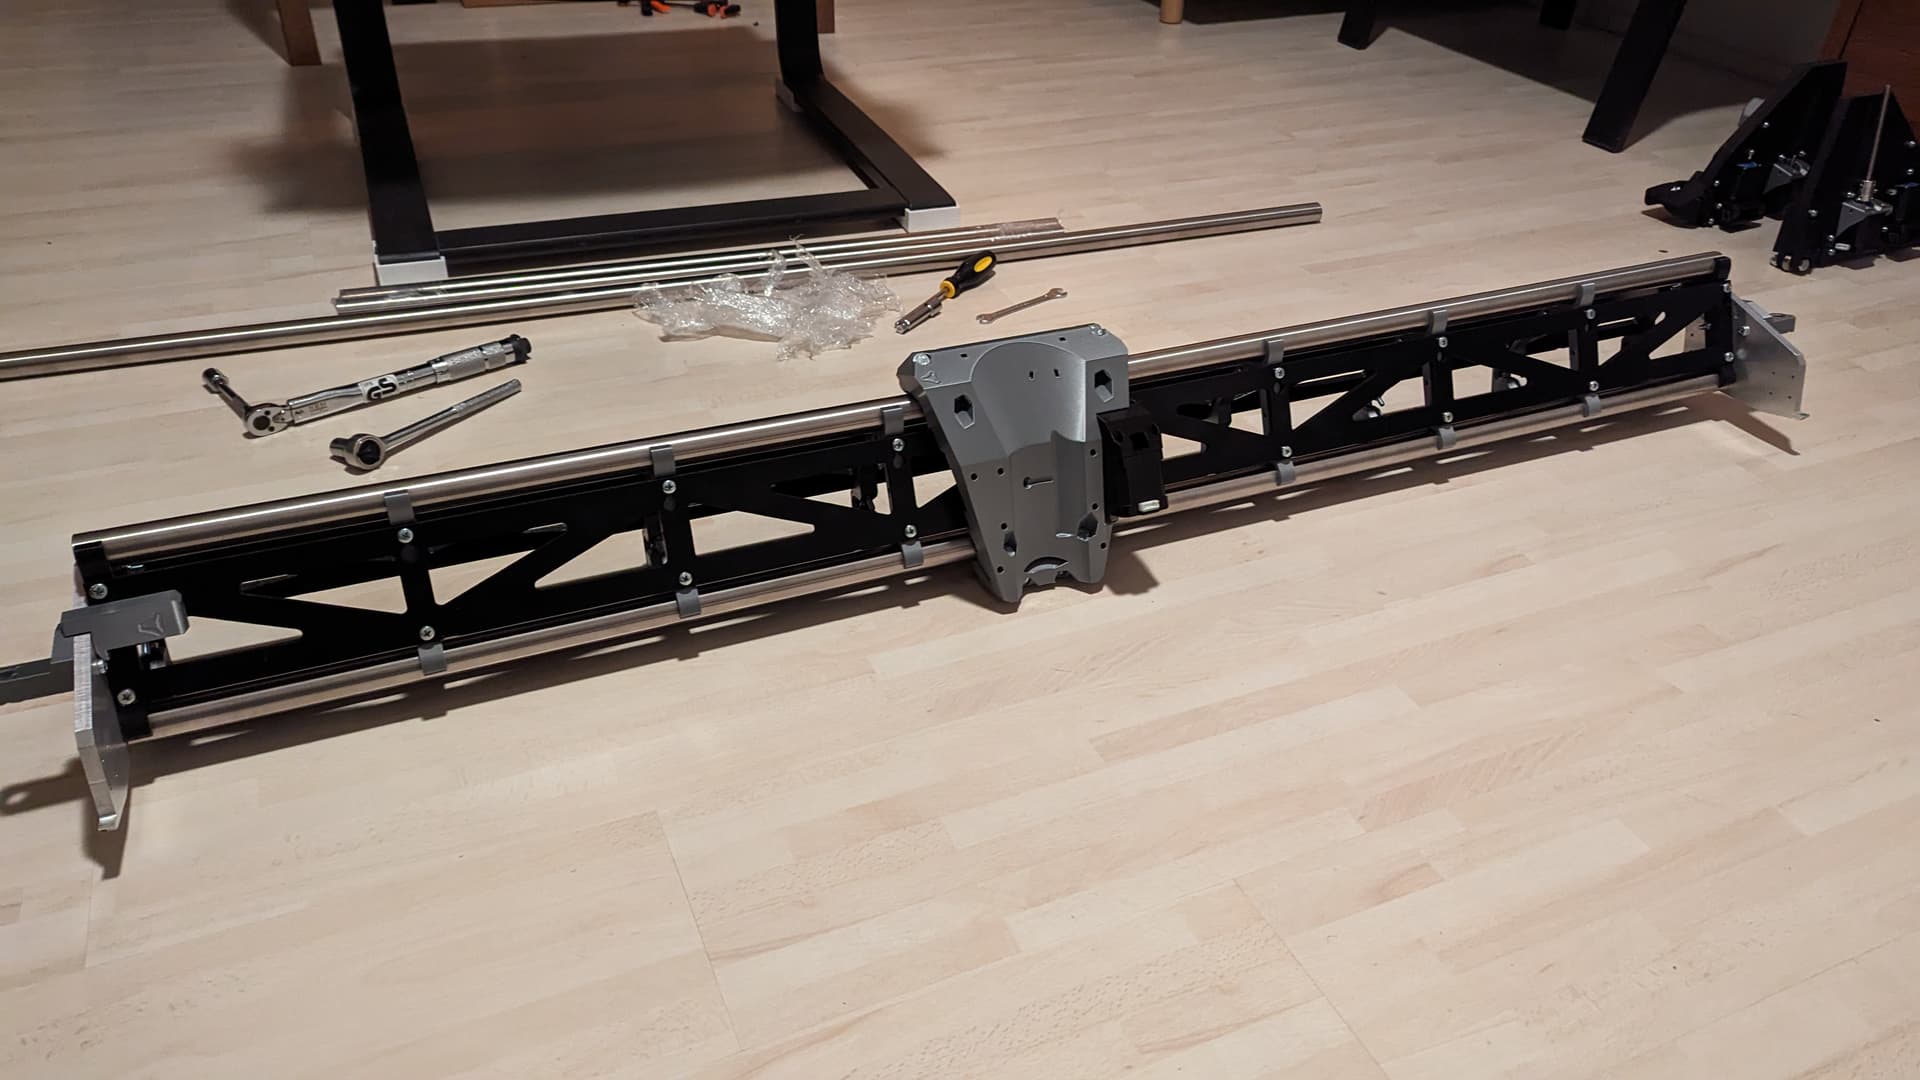
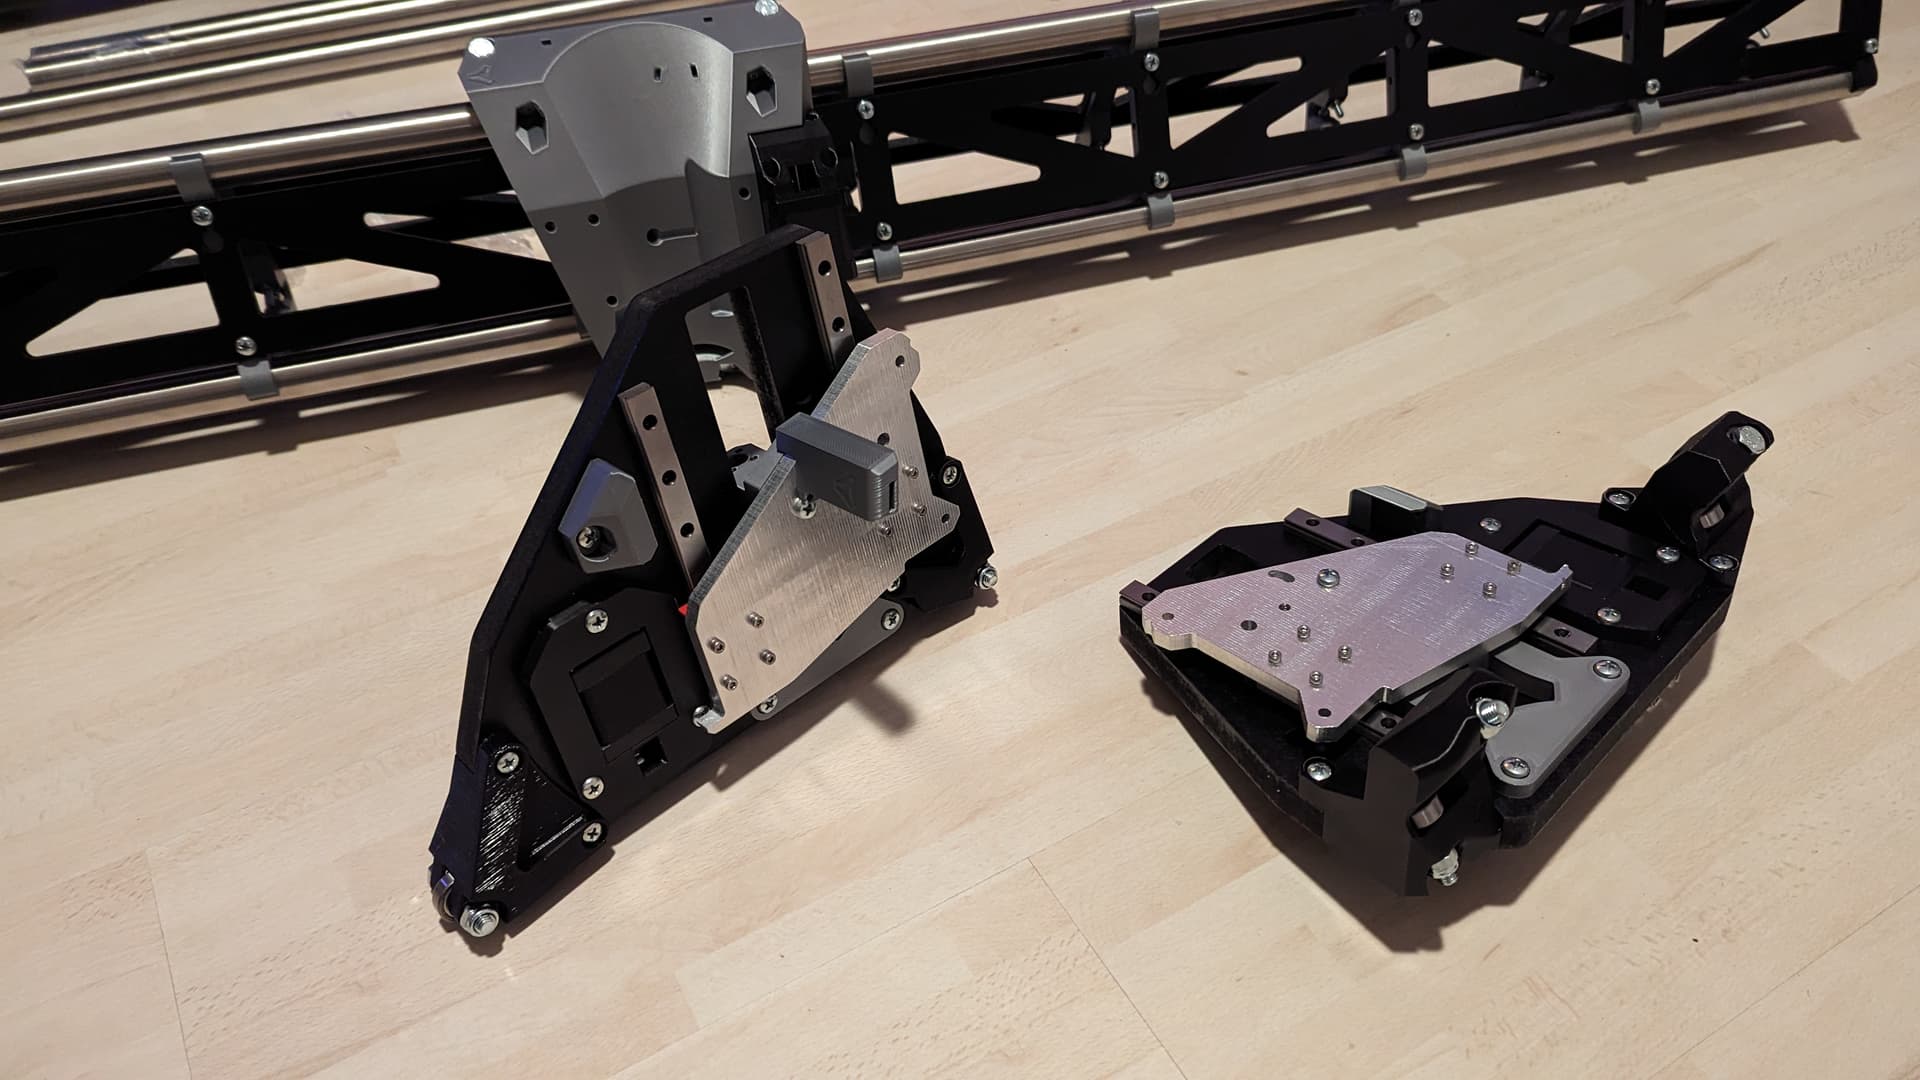
Now I have to decide what size to build. I cut the strut plates at 830 mm for a 650 mm for a usable X cutting area and a 1300-1400 mm Y.

But looking at Der Froschkönig from @Tokoloshe I’m not sure now. The wider X compared to the Y gives some neat options to cut larger pieces.

Maybe just stick to the original plan and see how that works. That should give a rigid build.

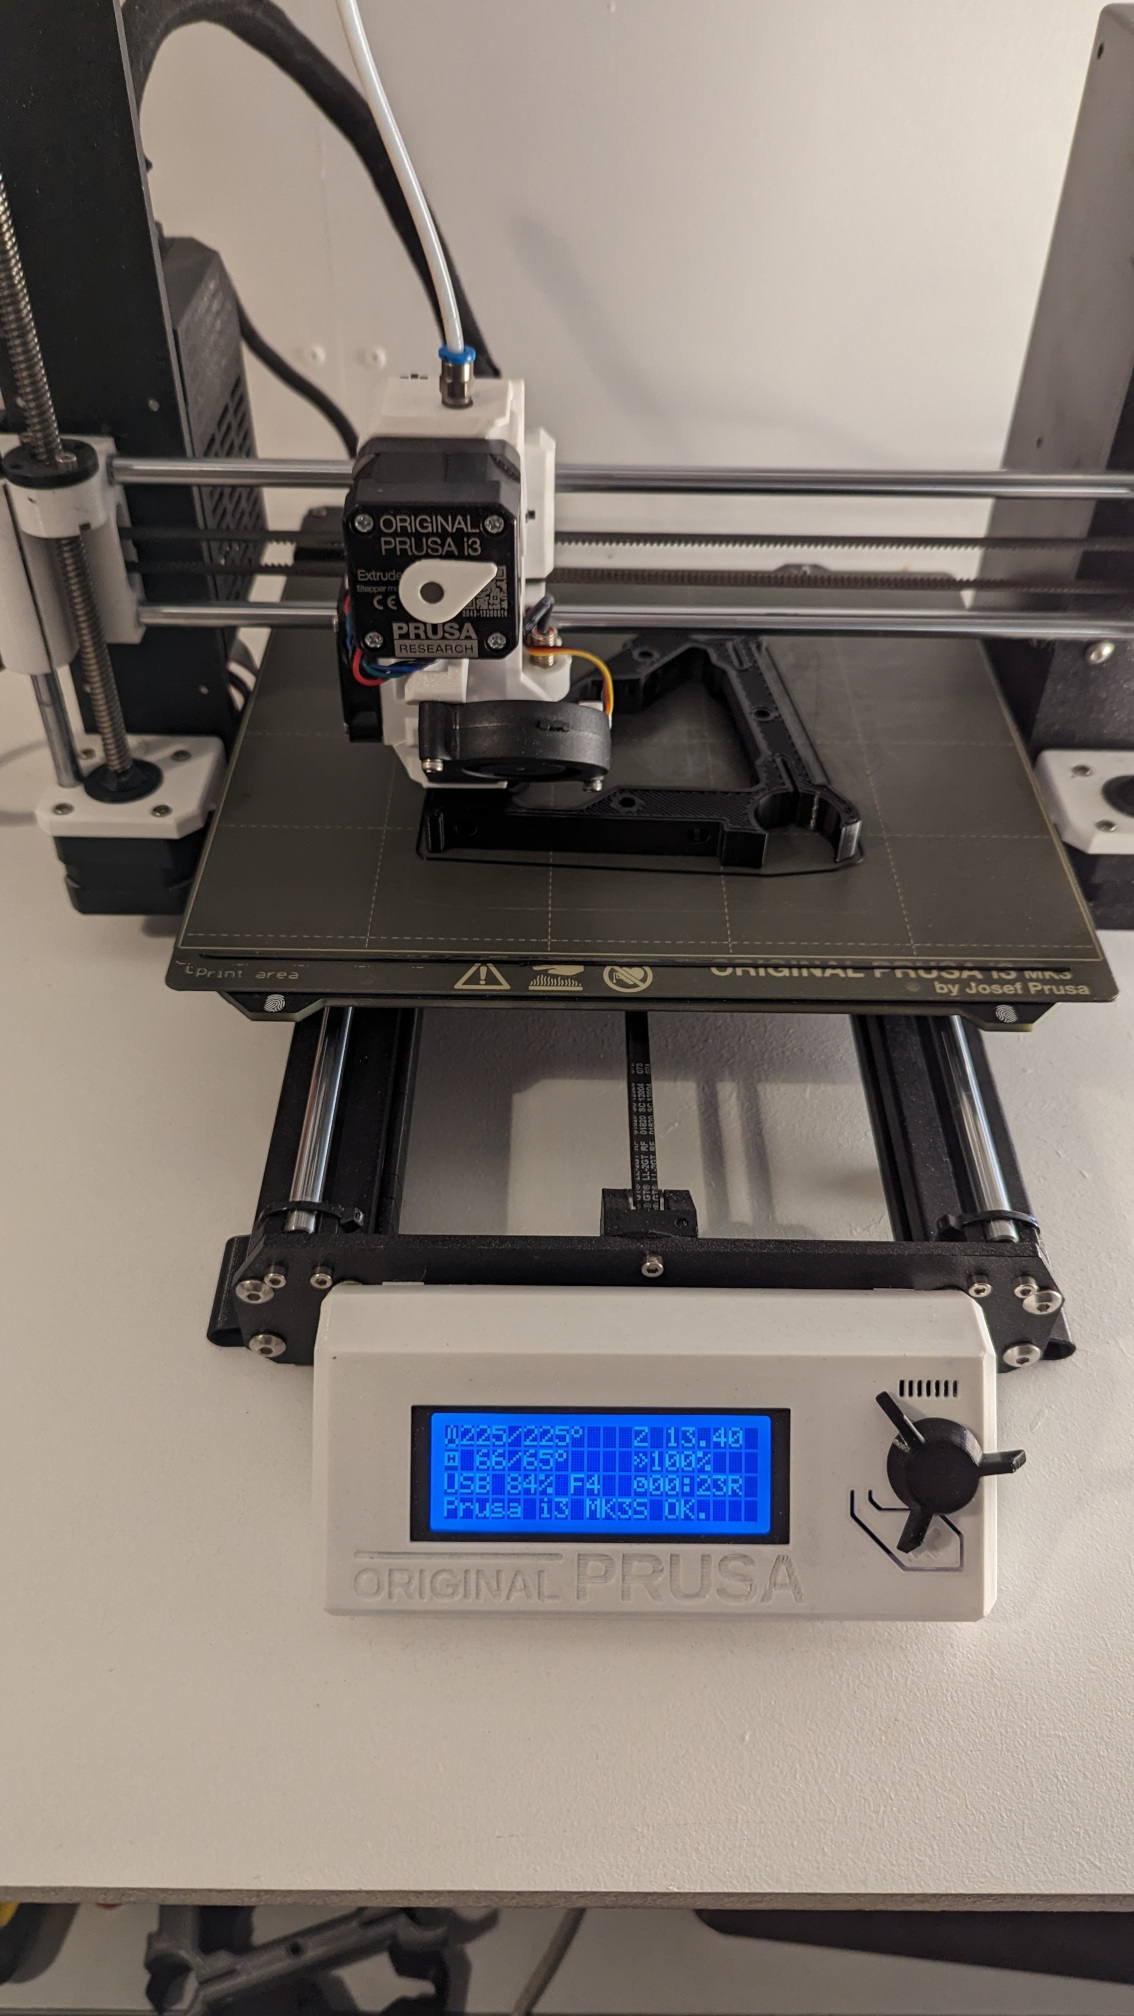
And decide what control board and firmware to use. I started my Primo with and old Ramps 1.4 board and Marlin. After killing that board (my own mistake), I now use a MKS TinyBee with FluidNC.

I would love to order a Jackpot board, even if it was just to support Ryan. But the shipping cost to The Netherlands is a bit steep.
Maybe go for the Jackpot anyway, or another TinyBee, or a SKR Pro with touchscreen.
Not sure if I want to use Marlin again. FluidNC has been flawless since the last update.

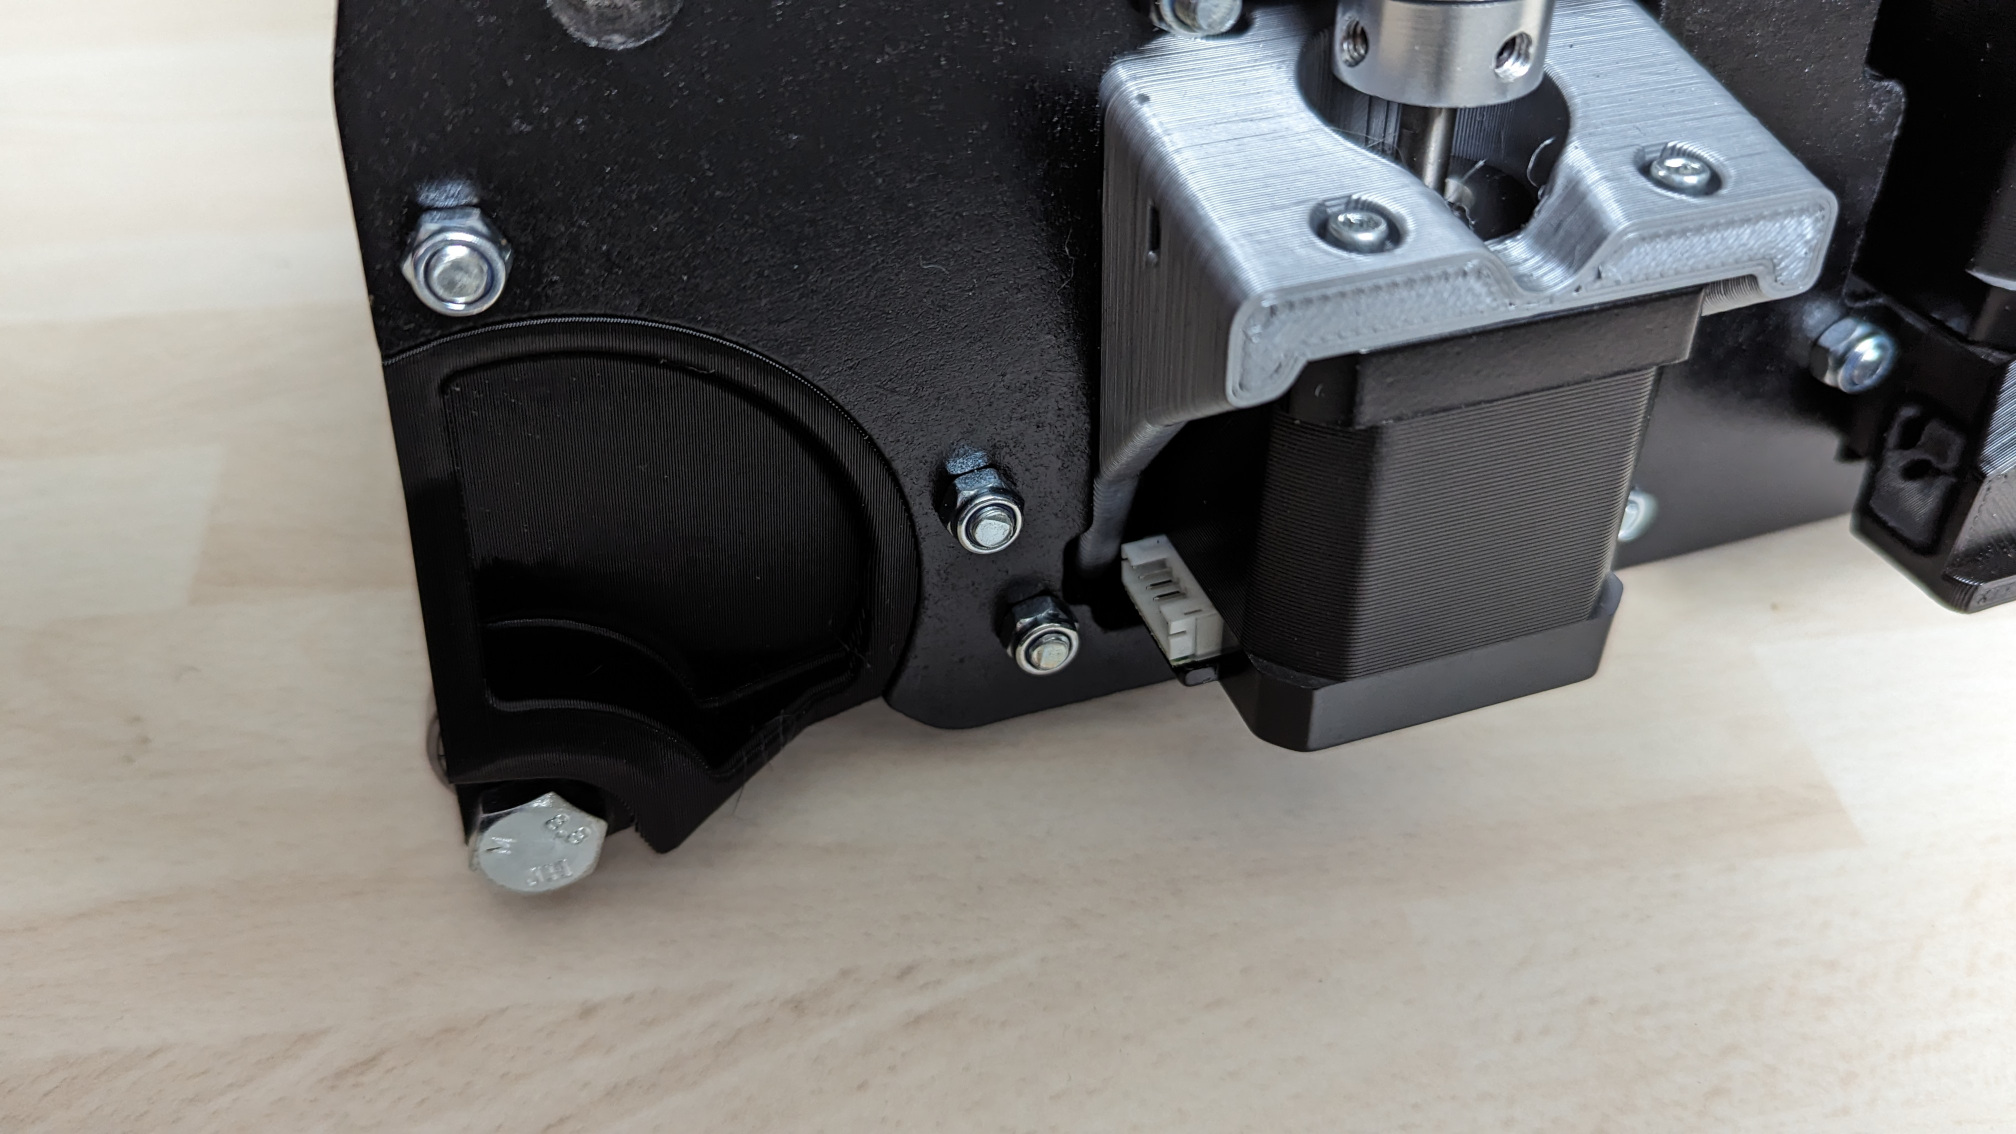
And of course I managed to mix up the print files and print 3 braces in the wrong size.

Now printing the 25 mm version instead of the 25p4.

2 Likes

I don’t regret having built it the way I did, since I now always have the possibility to make Y longer. I couldn’t just make X bigger. :slight_smile:

Your aluminium plates look really great, I should have done mine as well, but didn’t have the time or alu. :stuck_out_tongue:

And if you want a jackpot, you can get one here maybe: European group buy of jackpot boards They bought a few, I think there are some left. They are in Spain, so shipping is not that much at least. I bought it from Ryan for my old Primo because I wanted to support him somehow after three years of hanging around here. :smiley:

2 Likes

Nice!!!

That is what I was thinking too. And if needed it is easier to shorter X again.

Just finished printing the core. Just like the core of the Primo, I can’t imagine how much work it took to design these parts.

4 Likes

Looks great! And that were exactly my thoughts, that core is a work of art. :heart:

2 Likes

I was still not sure what size to make the X axis. I feel that I build my Primo a little on the larger than I should have done.
That is why I’m a bit more careful now with the LR3.

But today I made up my mind after some test fitting. I have cut the 1410 mm strut plates and printed the extra braces.
Even without the X rails the beam feels very strong. With the 25 mm stainless tubes that I plan to use I don’t think I have to worry about the size.

Now it is time to build the table. Not completely sure, but at the moment I think I will build with the X and Y cutting area the same size.

3 Likes

Nope, you don’t. Mine is working fine. :slight_smile:

2 Likes

What version number are you on for FluidNC?

I had a problem with FluidNC after doing a reset. see: X and Y move after reset
But now I’m on 3.7.10 and haven’t seen any strange behavior so far.

I had already seen that thread, and for that reason I was hanging back on which version I was using. Thanks for the info!

I received some parts today and had time to put some things together.

The YZ plates are 18mm MDF. The steppermotors that I have are with connectors on the motor and separate cables. I like these because it makes it easier to take the motors out if needed. But I had to make cutouts to make room for the connectors. And for the coupler too.

When I fitted the first wheel bracket I noticed something that didn’t look right to me. The parts are made for thinner plates. With the 18mm plates parts are not flush on the outside.
This doesn’t matter for the function, but I remixed the parts just for the looks.


And the core with some parts mounted.

And the XZ plates and braces waiting for the tubes. Hope to get these tomorrow.

If you look closely you can see where I messed up on both plates.
Again this doesn’t matter for the function of the parts and is hardly visible when installed.
But I know it is there and notice it every time I look at the plates. :cry:

Some things may be a little over done. But I know myself to good for that.
If I don’t to it right the first time I know I will not fix it later if the machine works.

And part of the fun for me is in building the machine anyway.

3 Likes

I had the same problem before and just turned them to the front. :stuck_out_tongue:

Great work!

Got the tubes today and ofcourse I had to do a test fit of the X-beam. :smile:

This feels already a lot more rigid than my Primo. Can’t wait to have this working.

I have started with a table, but now I first have to clear out some space to make room for it.
3 months ago I started assembling the Primo as my first CNC. And now I’m working on the next one.
I hope Ryan waits a while before he introduces a new one or a major update. :stuck_out_tongue_winking_eye:

3 Likes

I really like the look of my LR3 build, but I’ll admin I’m a little envious of those aluminum plates…

Thanks. I’m happy I tried to make them when I found the alu plates I had for years.

I understand your feeling. I have the same when I see some of the workshops people have.
I have to do with an attic. It is big but with limited access.

Got some parts today and thought I could assemble most of the gantry.
I knew I had some leadscrew nuts , but when I found them they where the wrong size. :angry:
Going to order those soon.

Now I really have to start building the table and decide what spindle to use before I start with the wiring.

6 Likes

Love the color scheme! :stuck_out_tongue:
Kinda reminds me of something I saw at home ^^

1 Like

I knew this would be a slow build, but hoped it would be a little quicker than this.

Finally had some time to clear out some space a start with the table.
That plan was to use OSB for every thing on the table. I had bought some and used it for the ribs.That was when I discovered that I really don’t like to work with OSB. Maybe it was just the sheets that I got.
The top and bottom of the table will be 9 mm MDF. With a 12 or 18 mm spoilboard.

And I had to put the LR3 on it to see if I got the size right, before I did the other side.

I haven’t decided yet on what to do with legs or storage under the table.

2 Likes