Never really finished it as I experienced unexpected shutdown in the middle of the job…debugged this until january 2020, never found out what was wrong, and I let it down for a while
Re-worked on the build in november 2021, changed the Z screws, the controller and a bunch of things…
Started some major home improvement in the meantime, so I put it away once again…
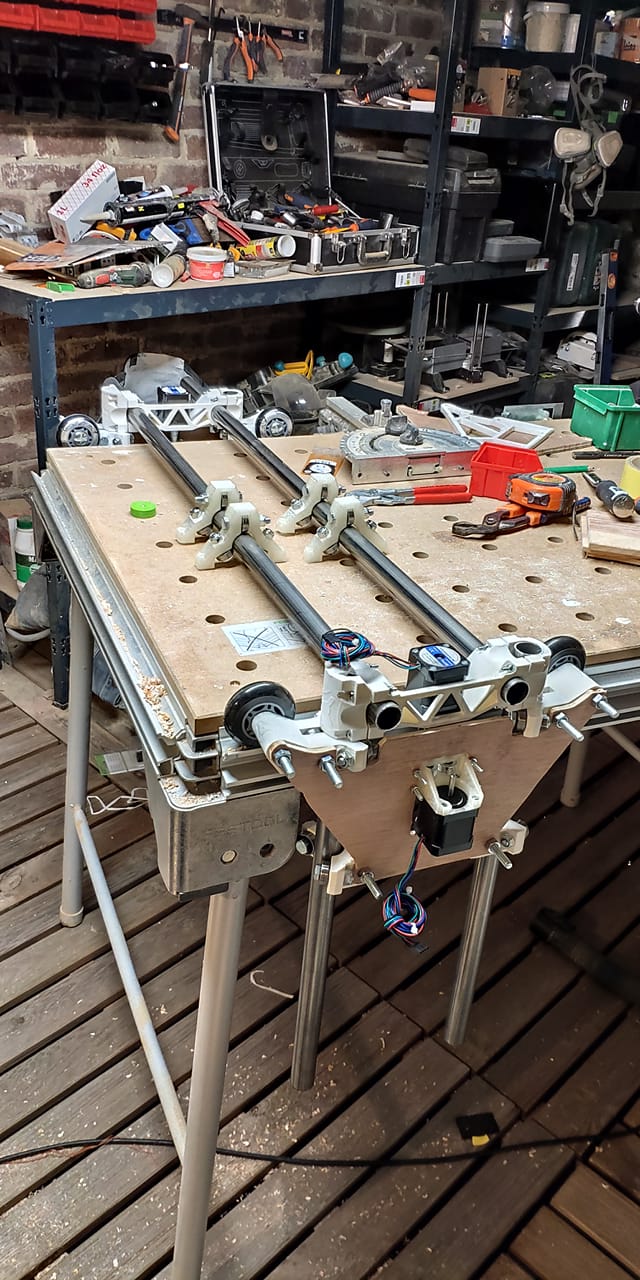
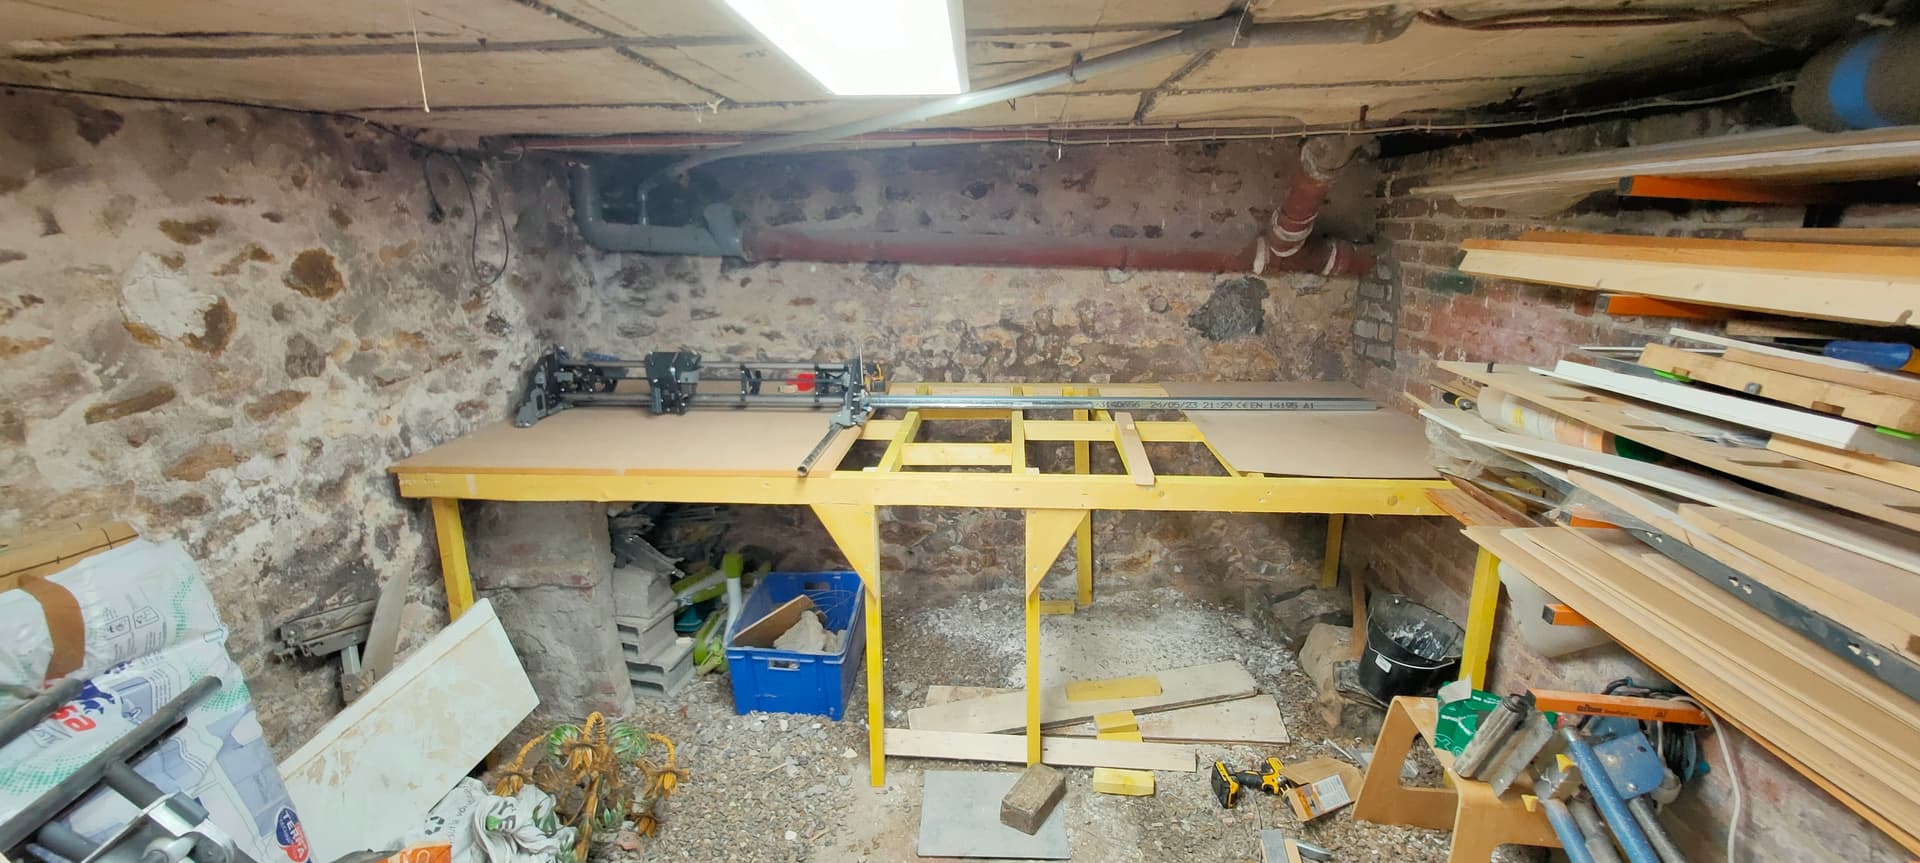
As I set up a removable frame, it was slightly more convenient to store away this time
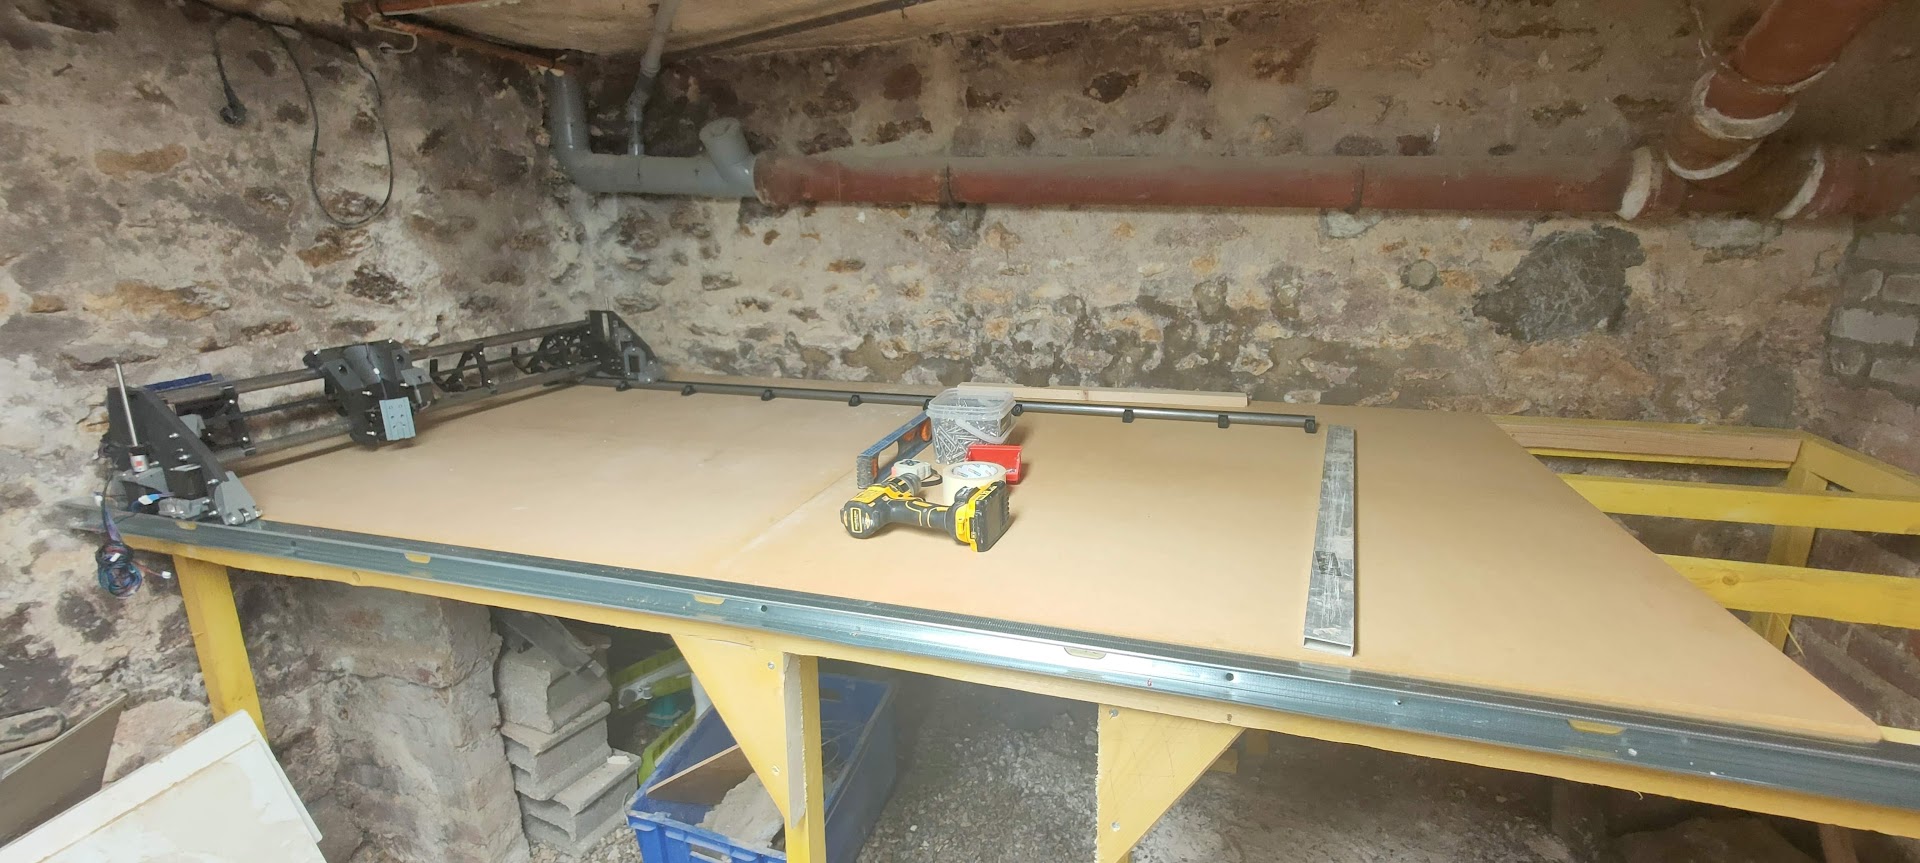
June 2023… I decided to bring the LR up to cut some ornaments for my son’s birthday.…
Changed controller, once again… installed a laser, got nice cuts out of this one…
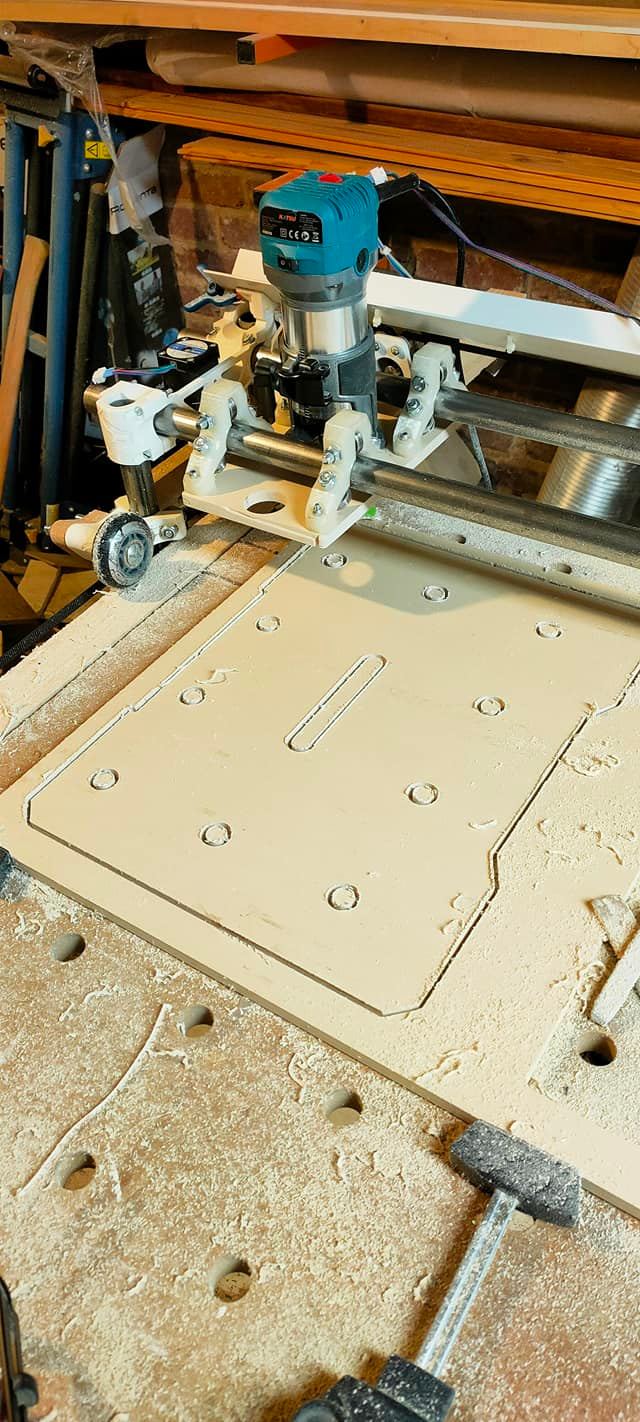
So… I tried to cut some flat parts for the LR3 with the LR2…
Milling went bad for the most part…
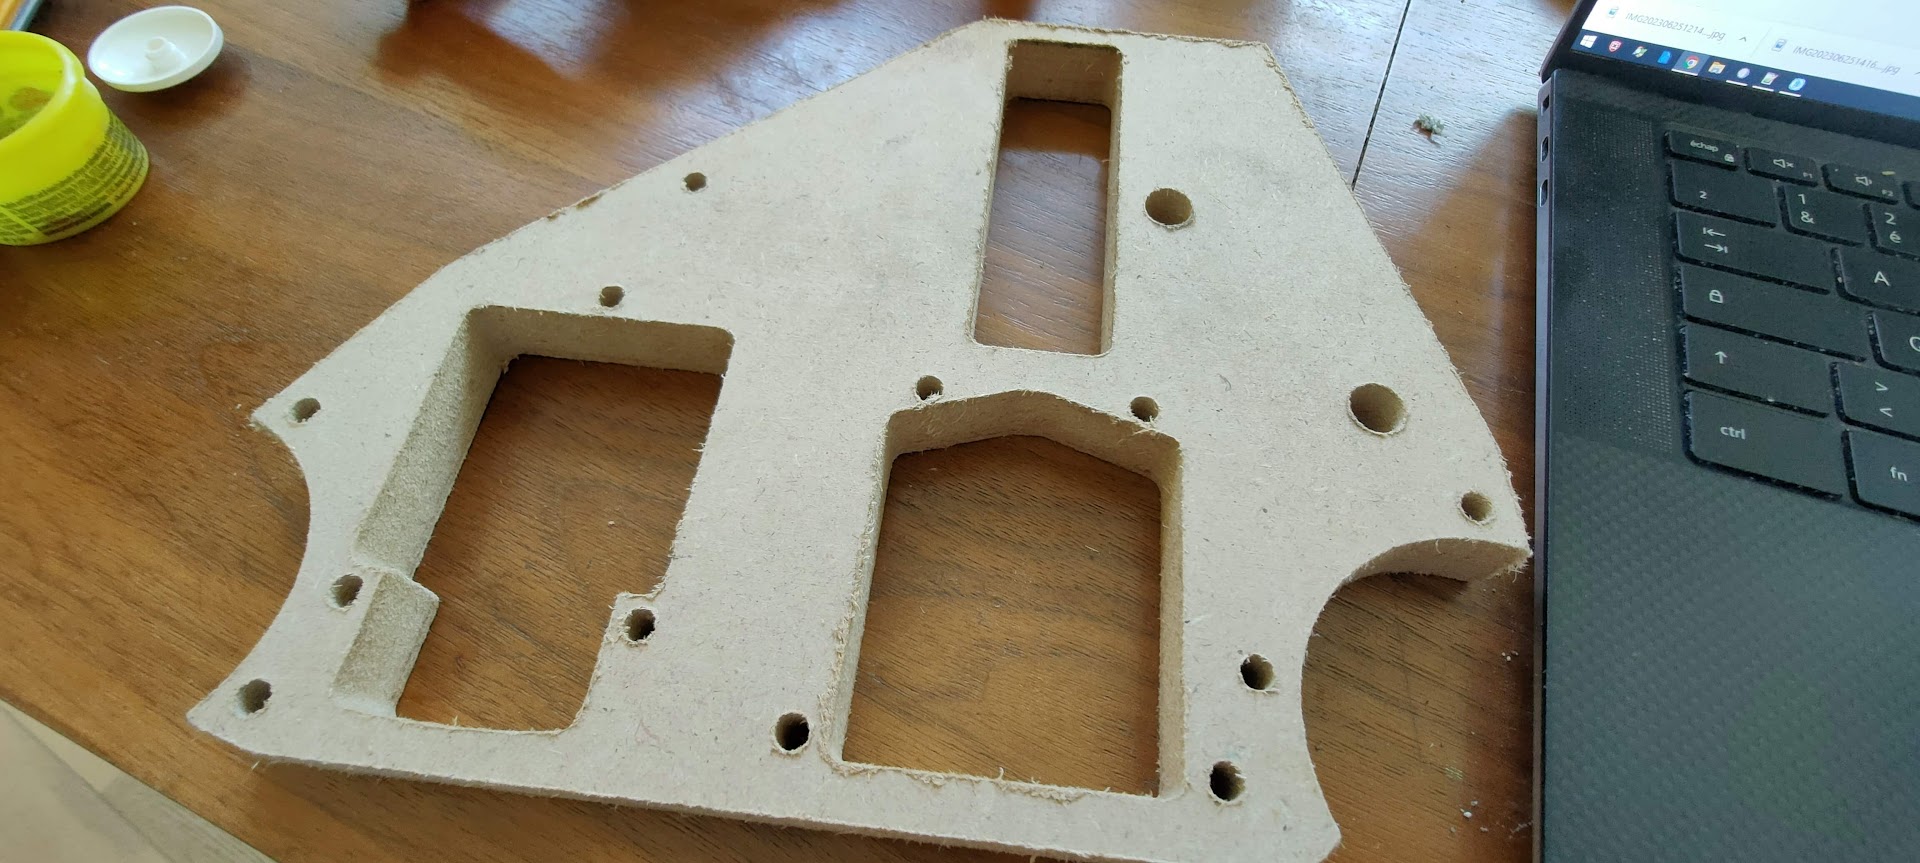
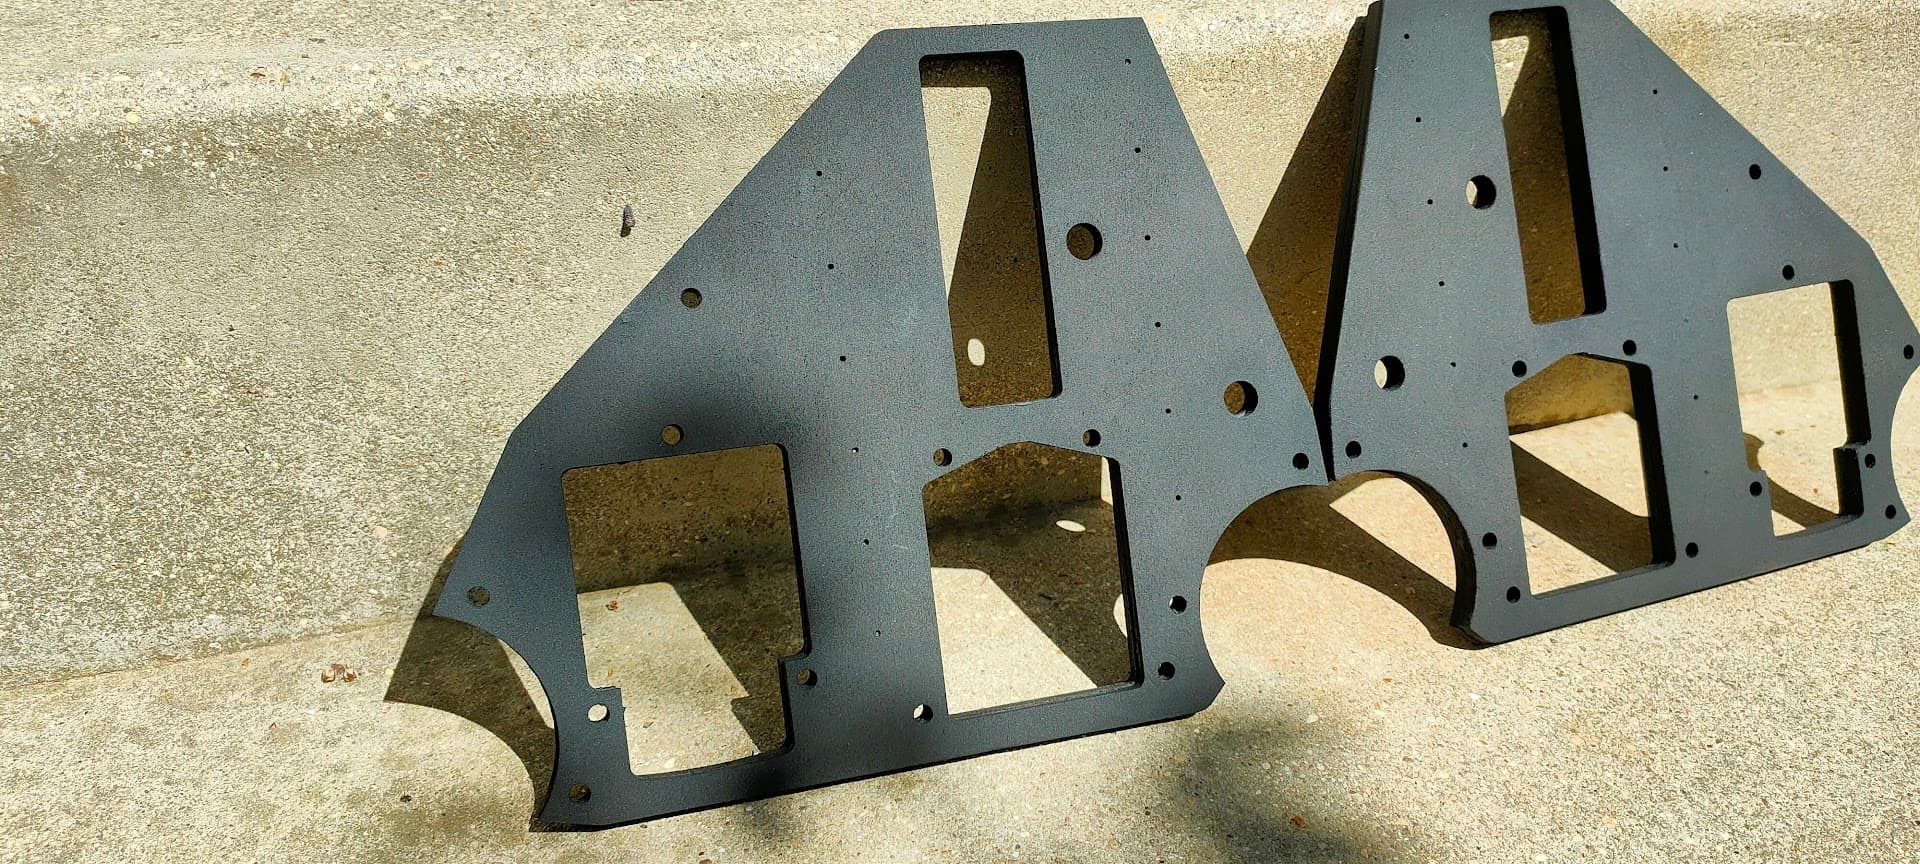
Only part I could successfully cut was one YZ plate…
Excrusiating cut, multiple slow 1.5mm DOC passes… only to realize I cut it out of 20mm MDF, too thick to be easily usable…
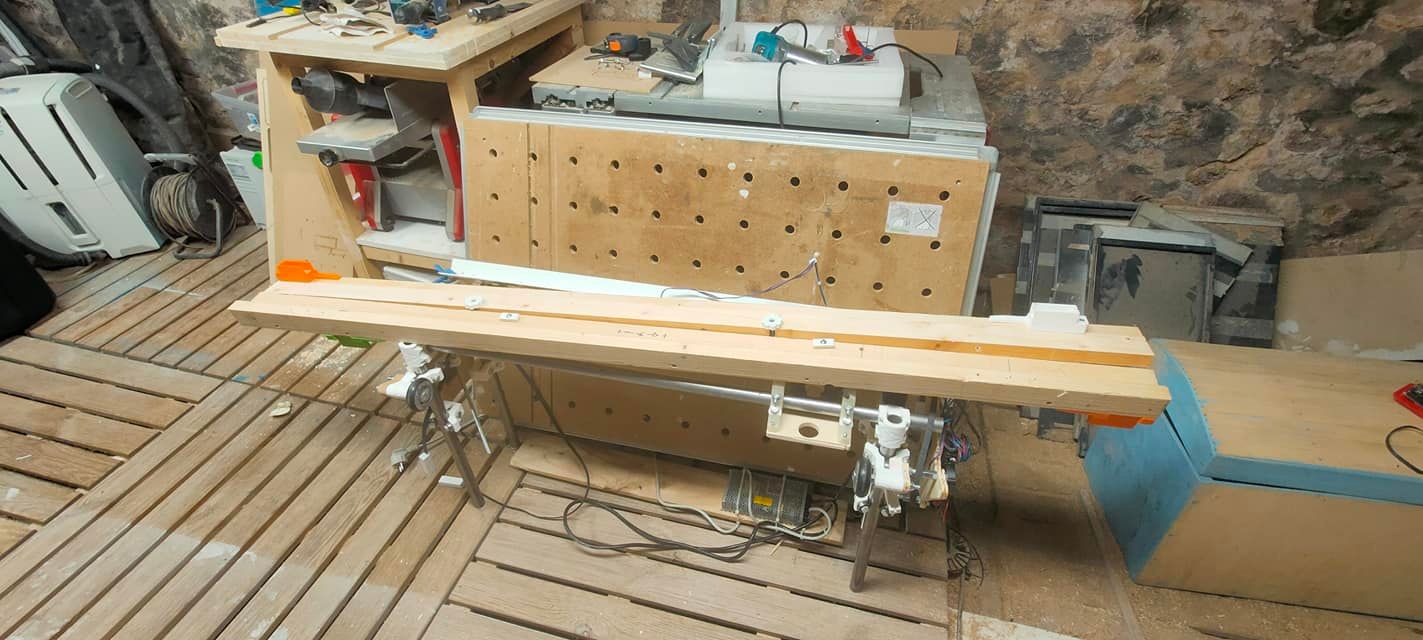
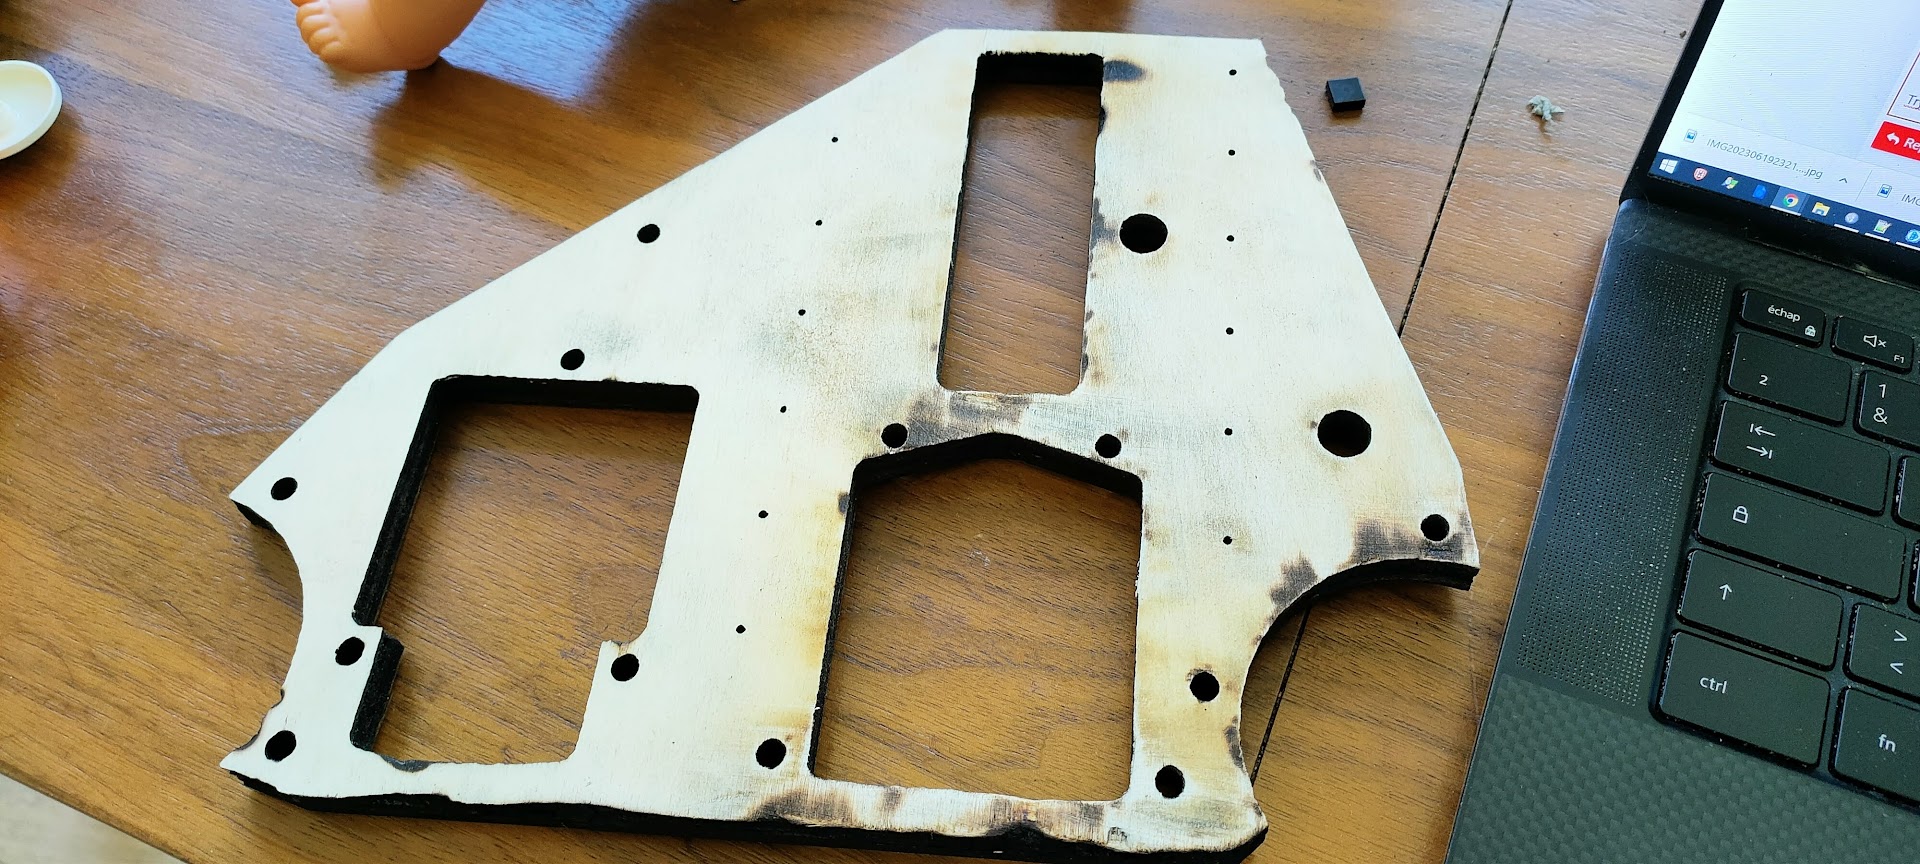
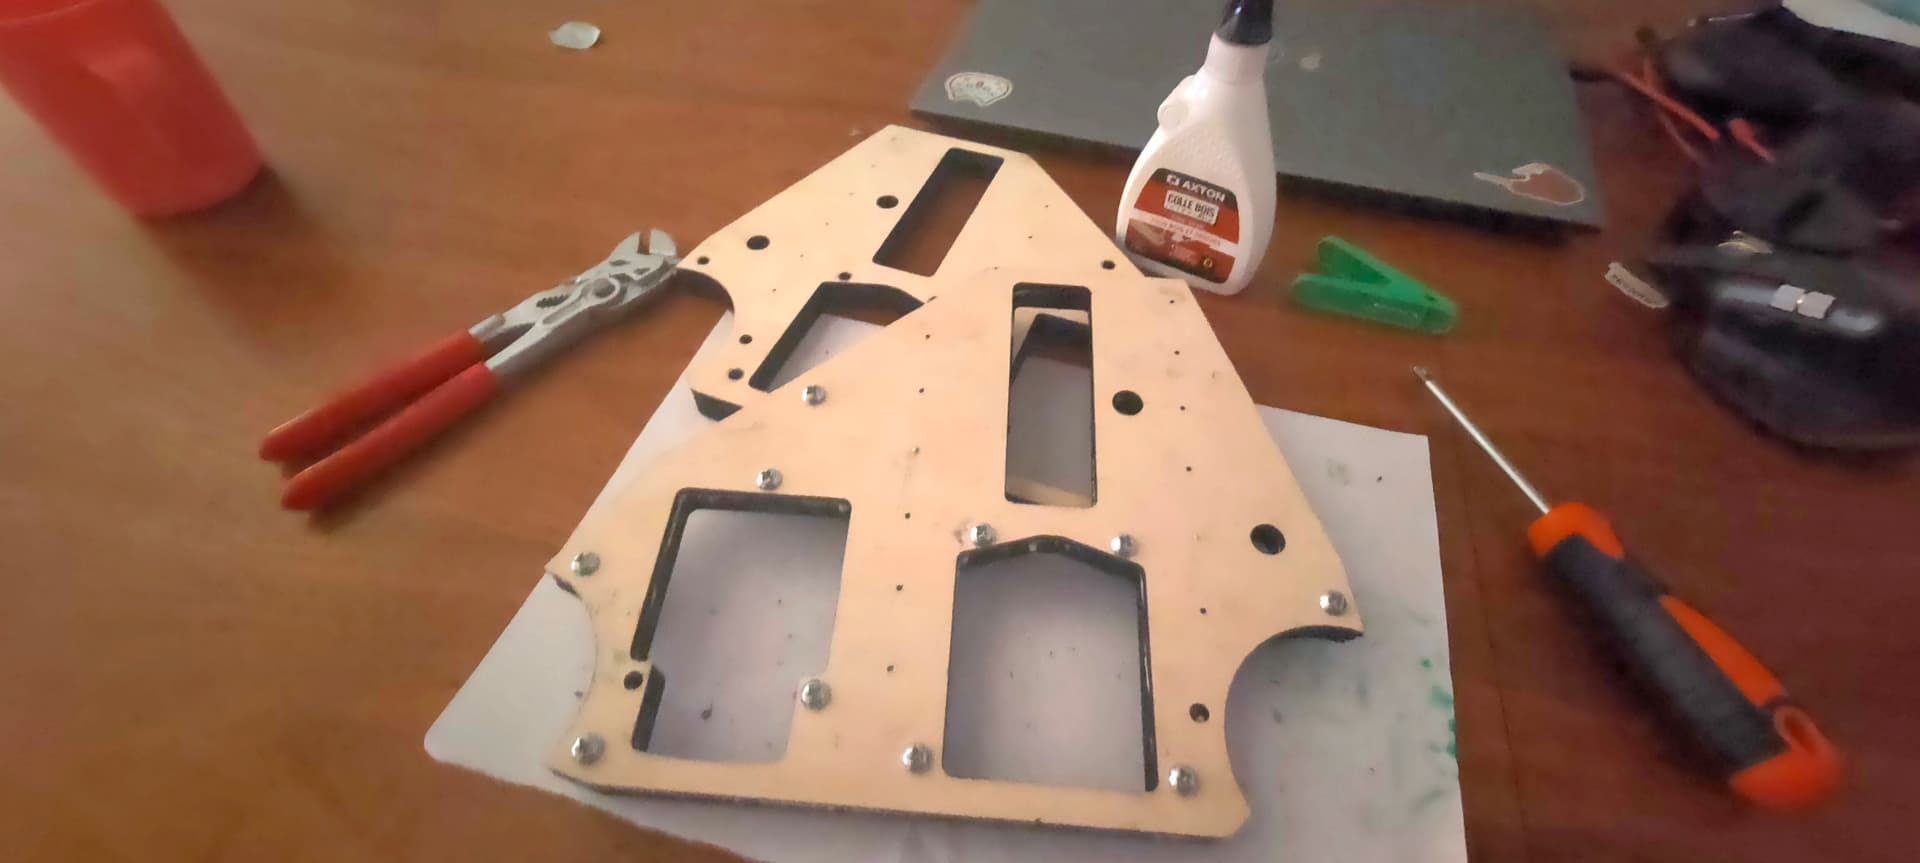
So I decided to cut two mirrored plates out of 5mm plywood (easy slow single pass), and glued them together
And a small touch of matte black (heat resistant, because why not…) spray paint later:
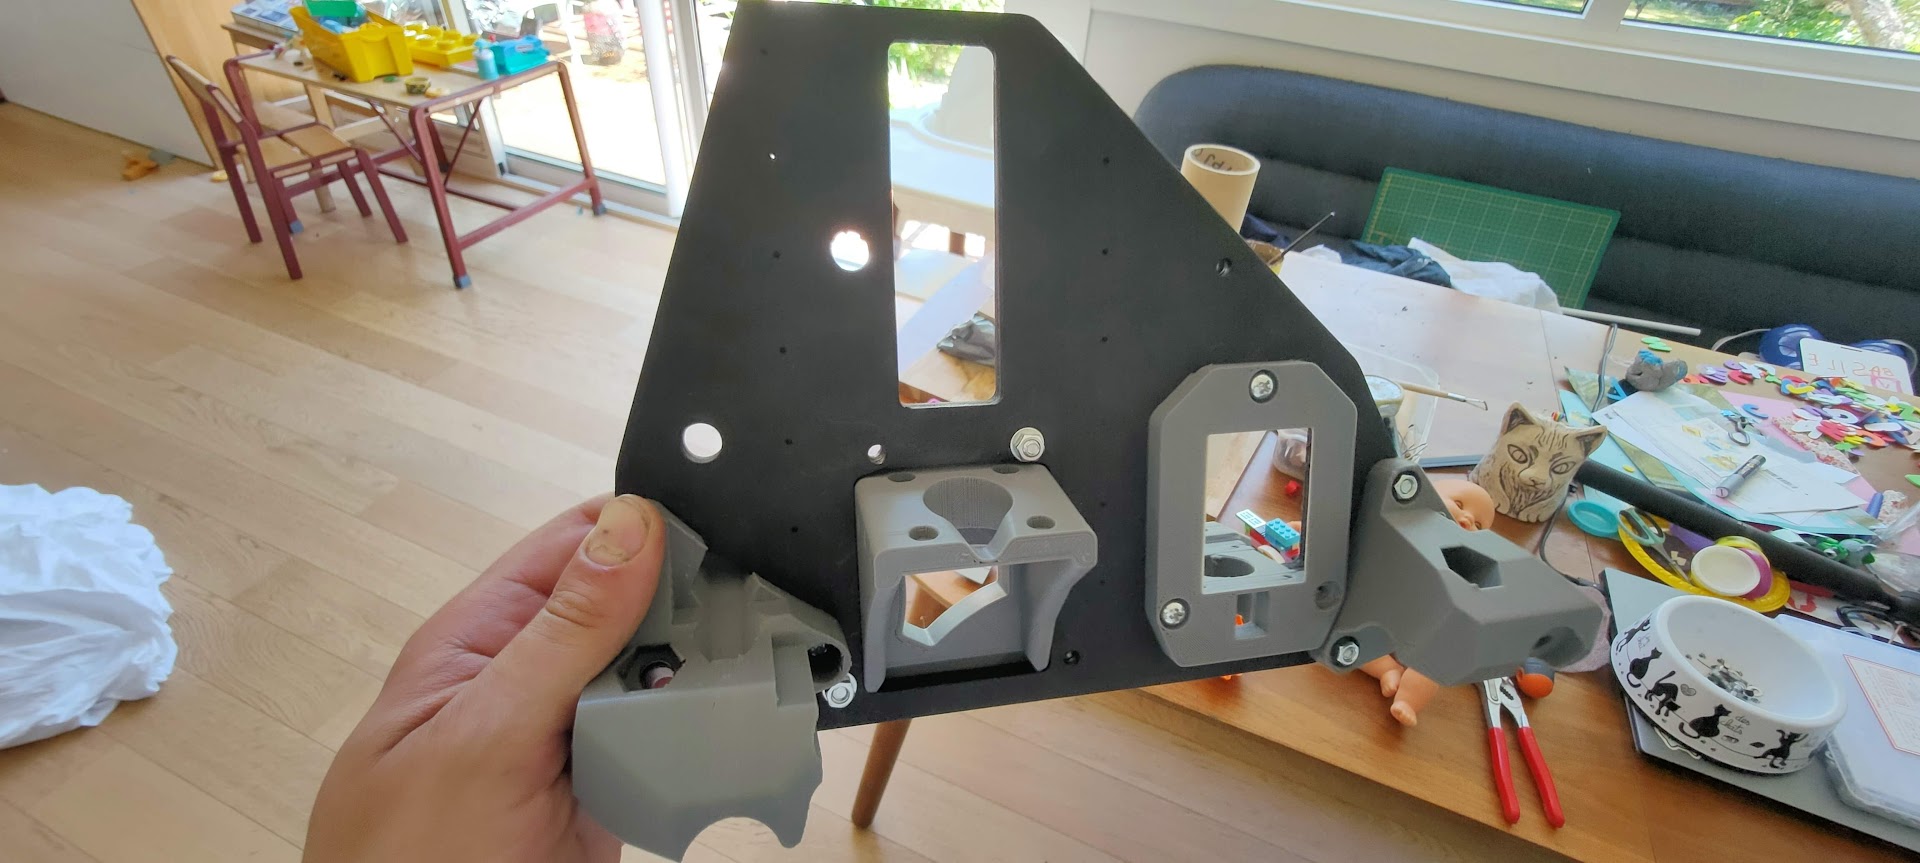
I still have a slight alignment problem because my LR2 isn’t square, so X and Y are not the same, and the pieces don’t have the eaxct same shape as they were cut with different orientations (part of why I’m rebuilding to an LR3)
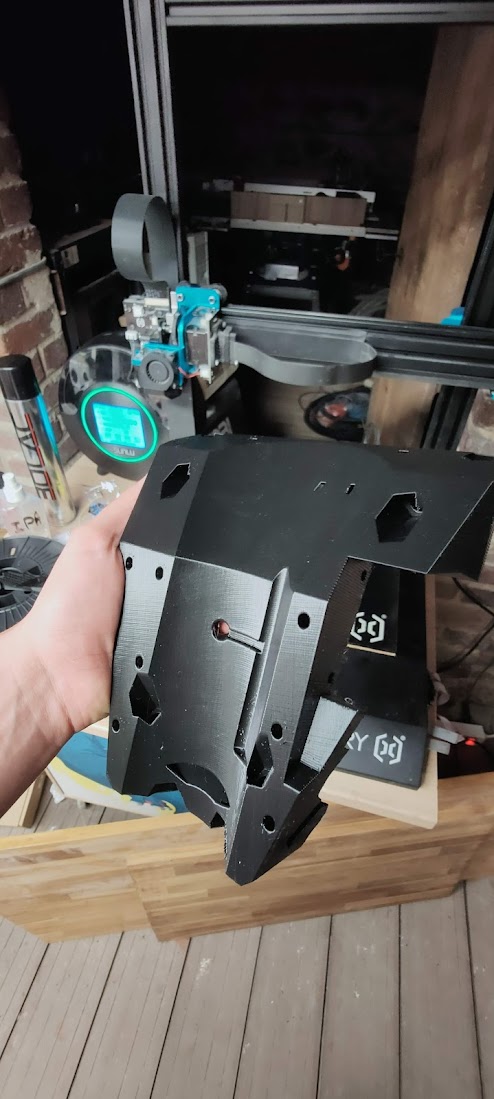
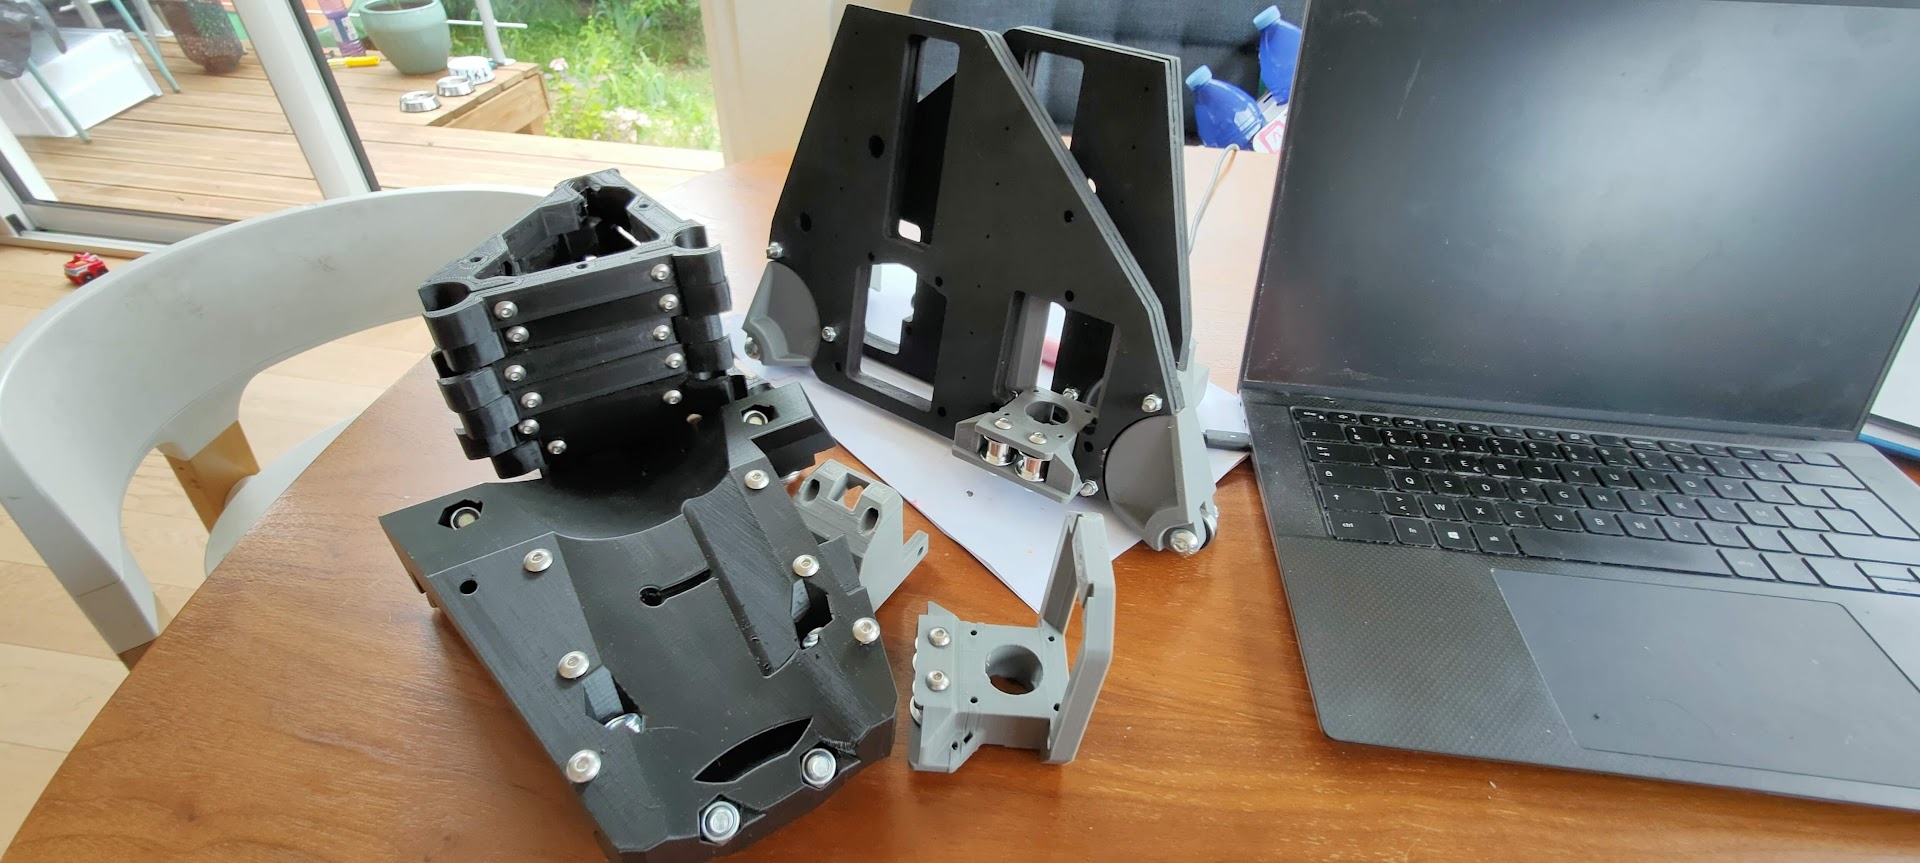
Printed parts and bolts do fit correctly though… so not bad I guess after all…
There is not a significant benifit over milled xz plates compared to printed ones. I would just go ahead and print them since your prints look really nice
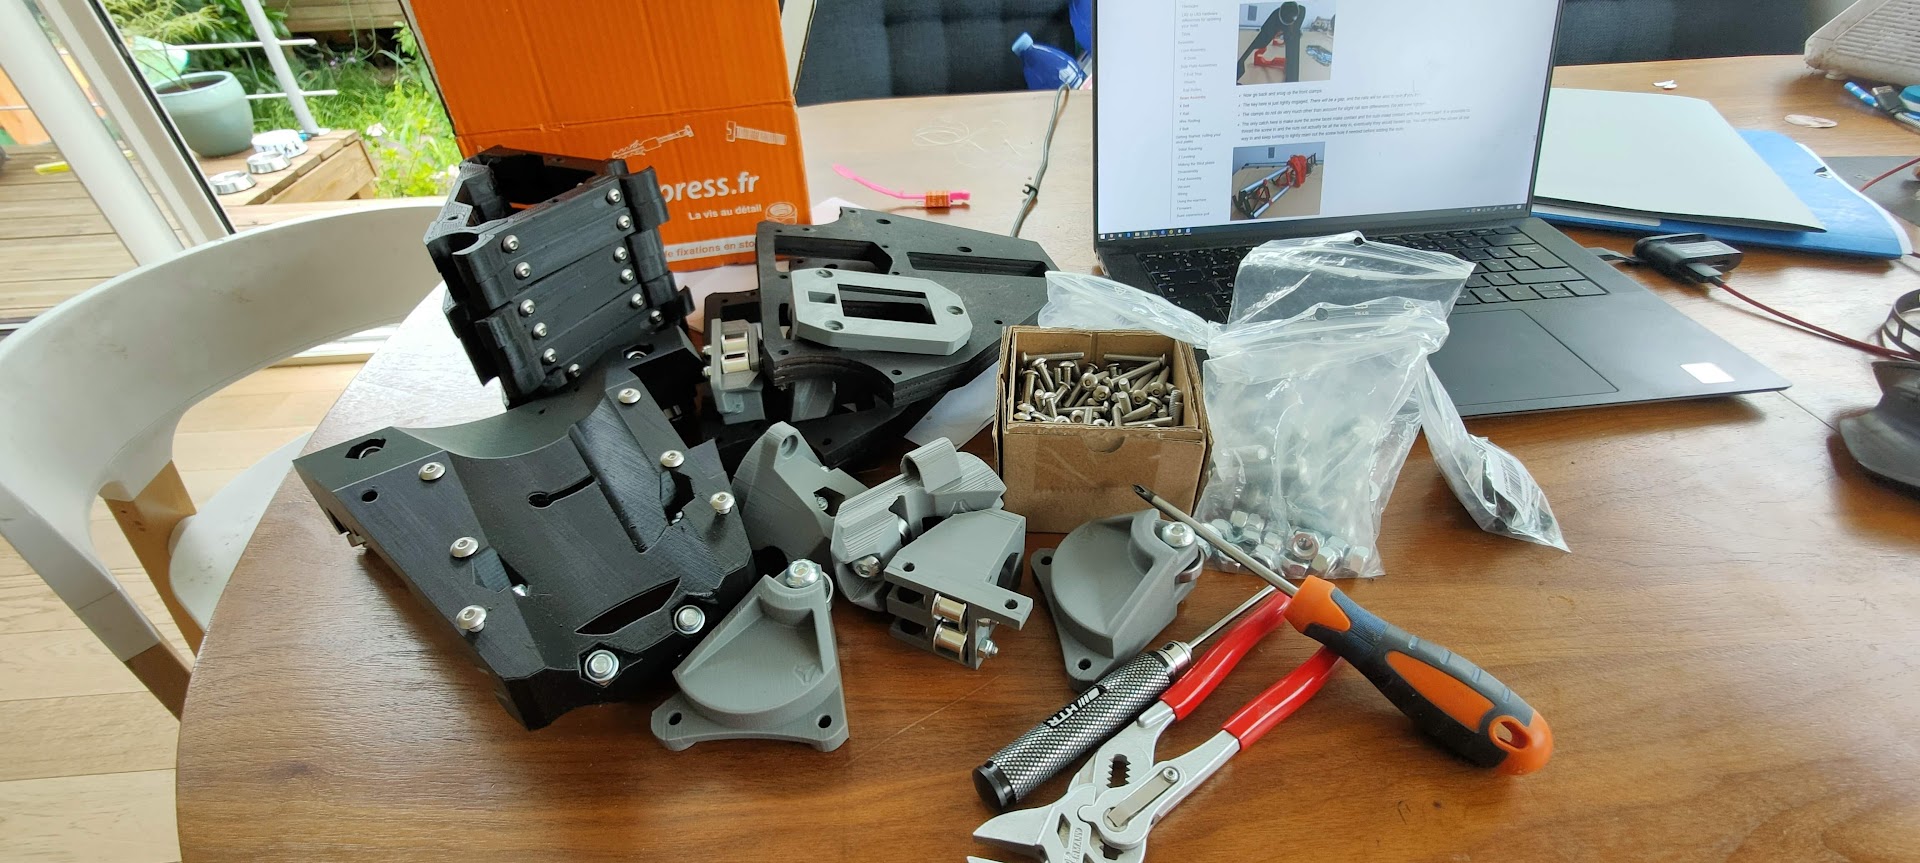
That’s why I printed the parts back in september… I had a well running 3D printer, a dry spool of good filament, so I thought “why not try and print these parts, just in case…”
Not sure I can pull out nice and clean prints this time too, but I’ll try
Just as I could predict, the printer went crazy, stopped mid-print four times in a row… 8 hours of printing lost in total
Turns out the gcode was read from a corrupted segment of the SD card, resulting in a freeze…
A few quick questions that lay have already been answered alsewhere but hey… maybe a can spare a search
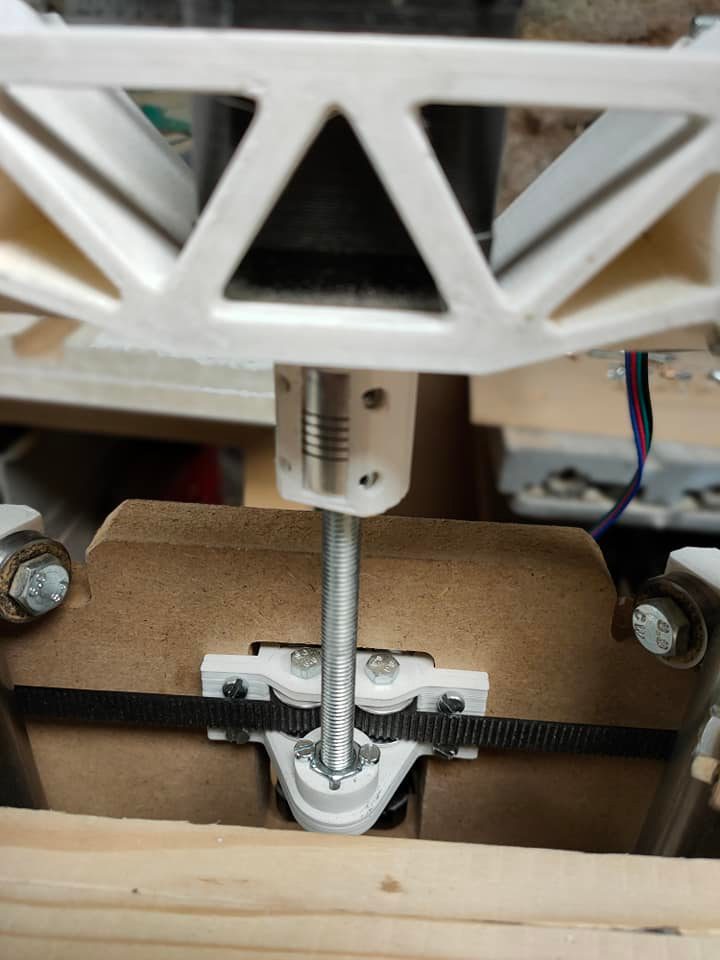
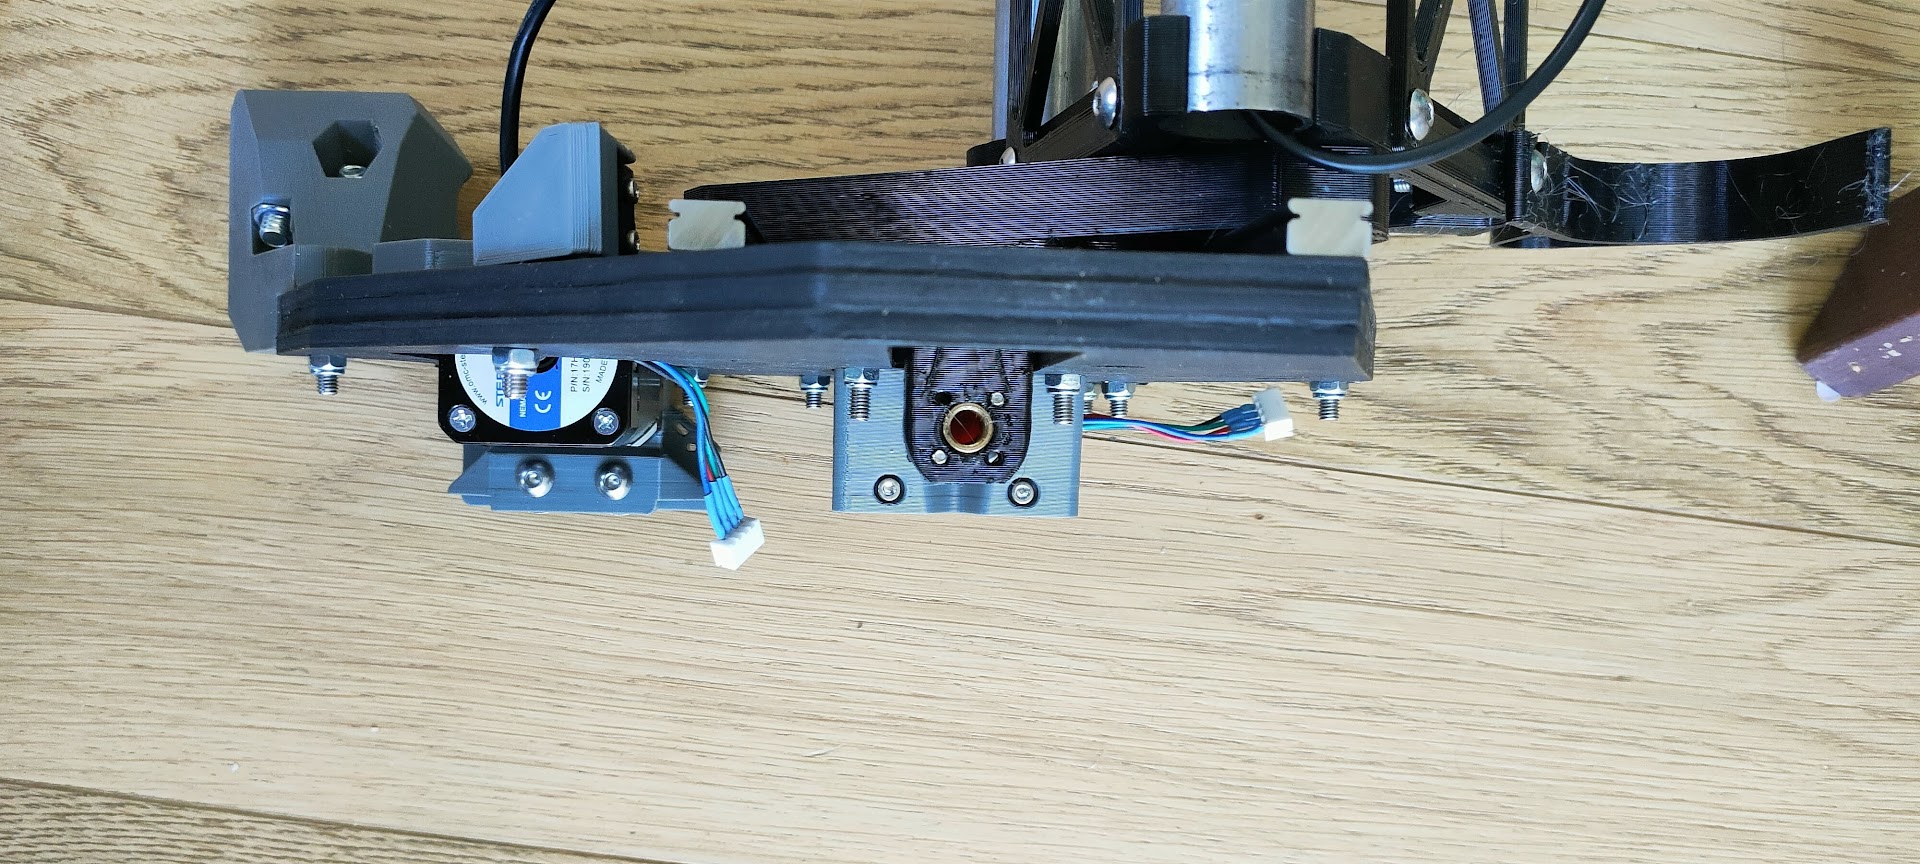
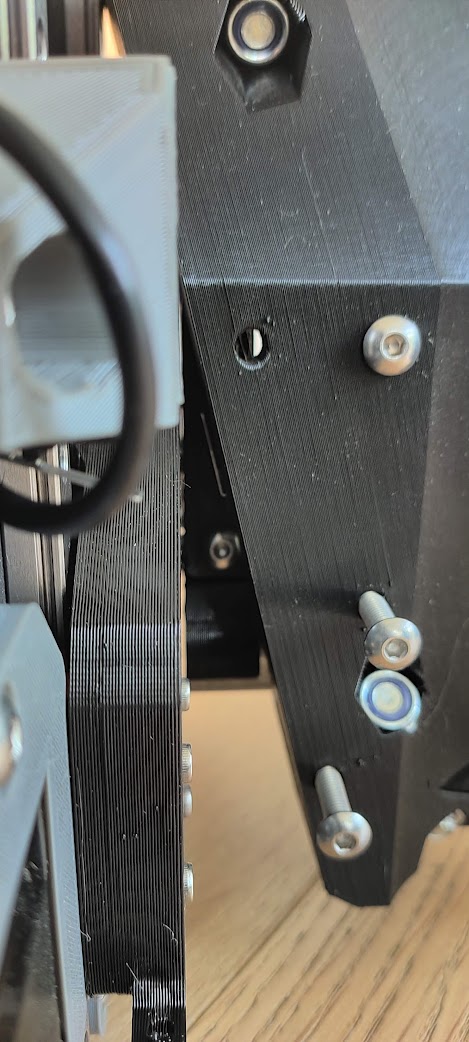
1/ The Z screw “stub” does not align with the motor axis perfectly, the motor axis is a bit closer to the side plate than the lead screw (the Z stub sticks out a couple millimeters too much)
When the lead screw is engaged, the slight angle makes it very difficult to turn.
Am I missing something? (using printed XZ plates and 15mm side plates)
EDIT: I think I know what’s going on… I upped the Z e-steps a bit during the print because the head was scrapping on the top of the print… I may have a bad Z calibration due to this “live tuning”
Don’t really want to re-print two XZ plates though… so I may be adding shims somewhere to make up for this…
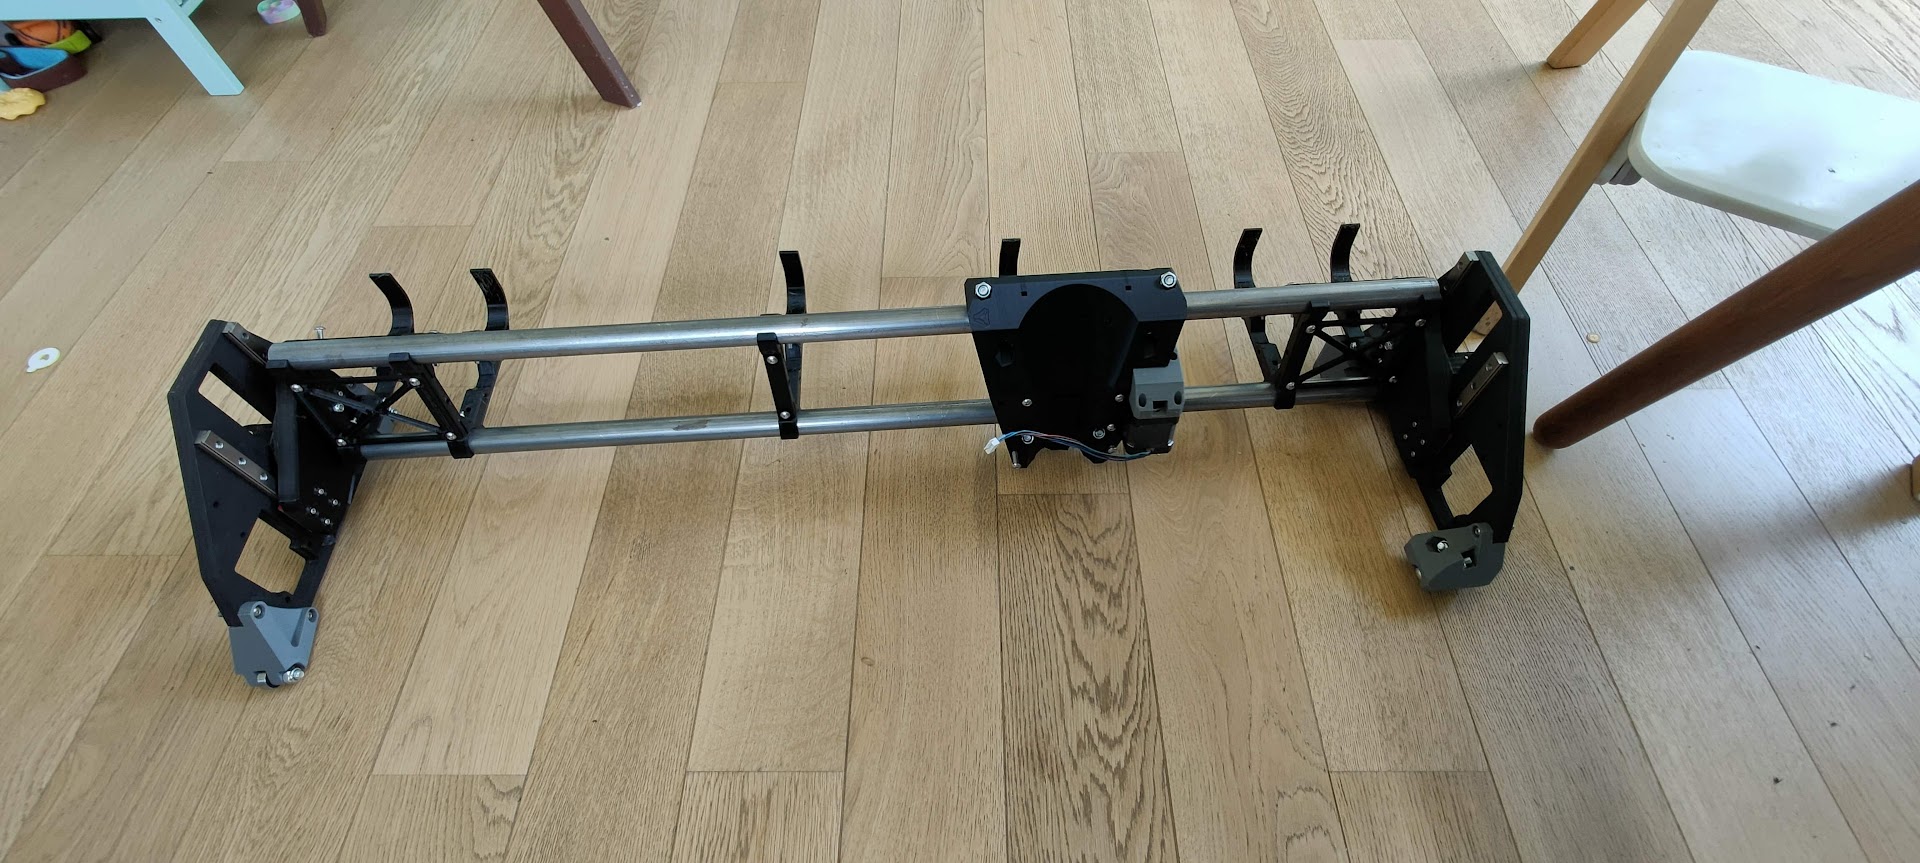
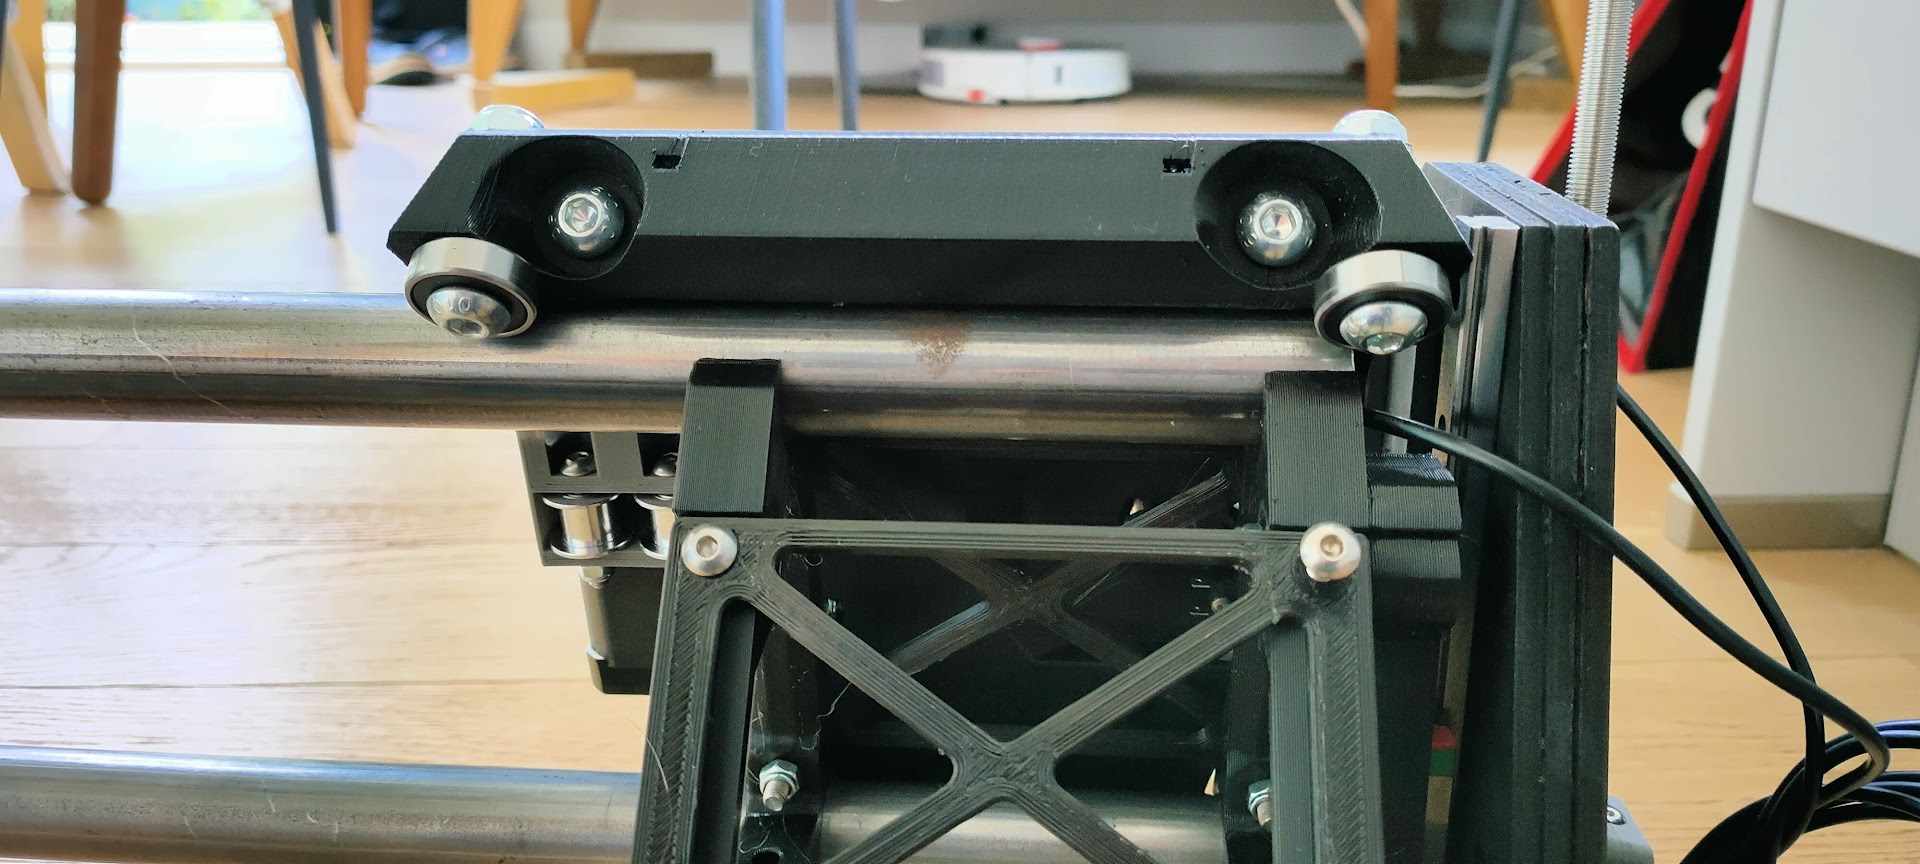
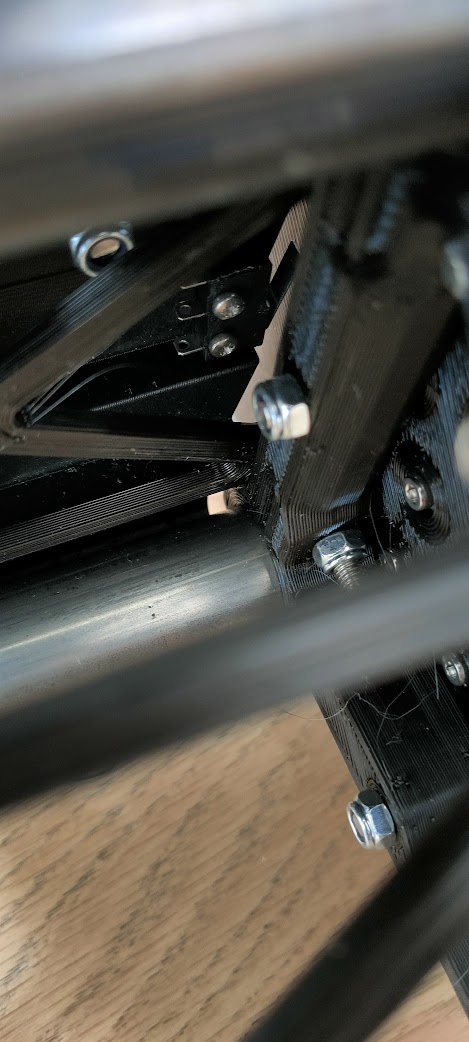
2/ The core’s outer top bearings can slide past the tube on the X axis, is that normal? Also, the X axis switch doesn’t hit anything, am I missing a part? Maybe the two issues are related?
EDIT: after a quick search, it seems the X limit switch is meant to hit the X tensionner I have not yet installed… guess I’ll see this soon enough…
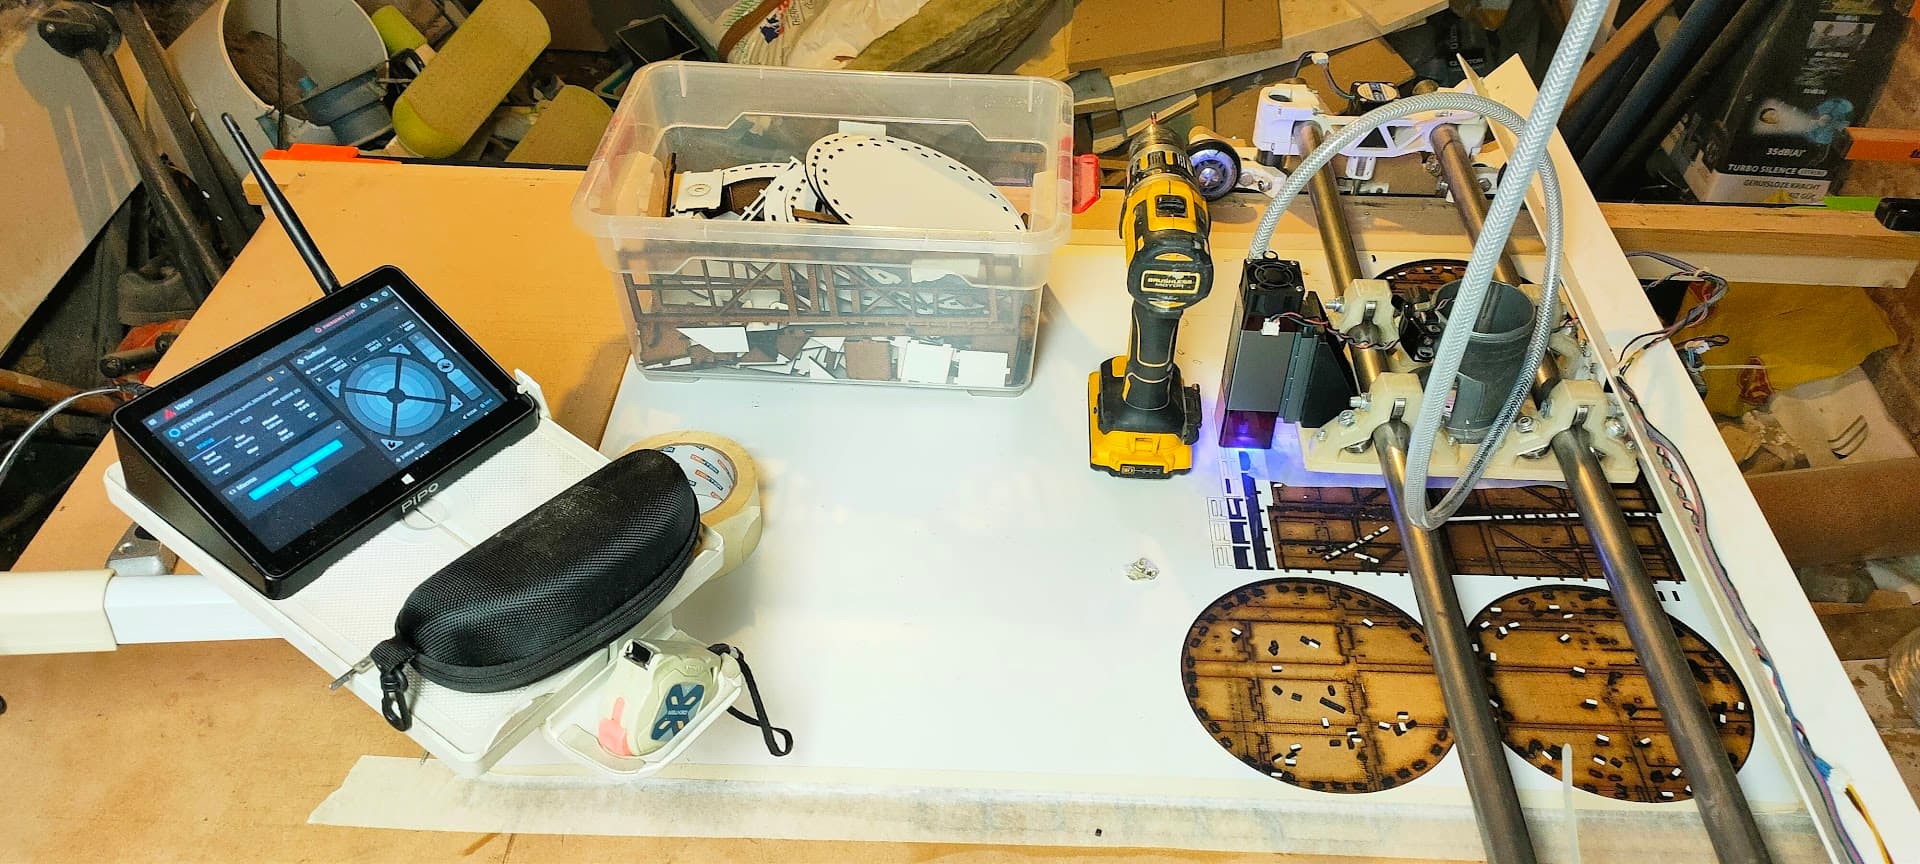
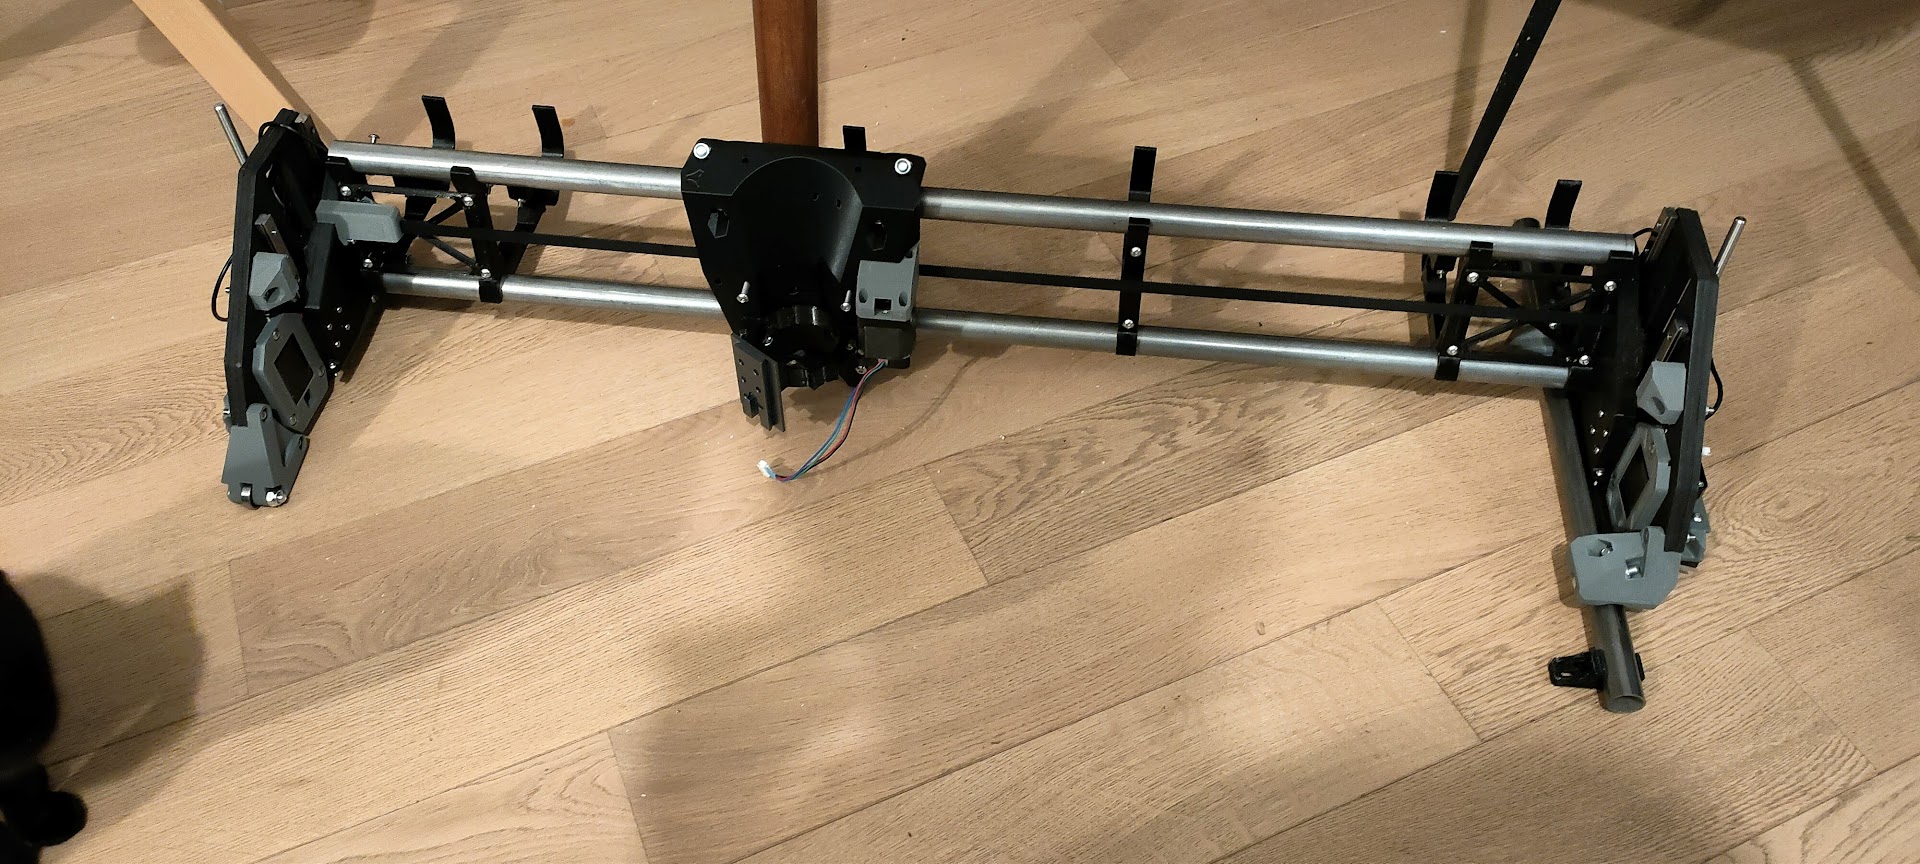
Currently printing the modded parts for the "belt inside unistruts " mod…
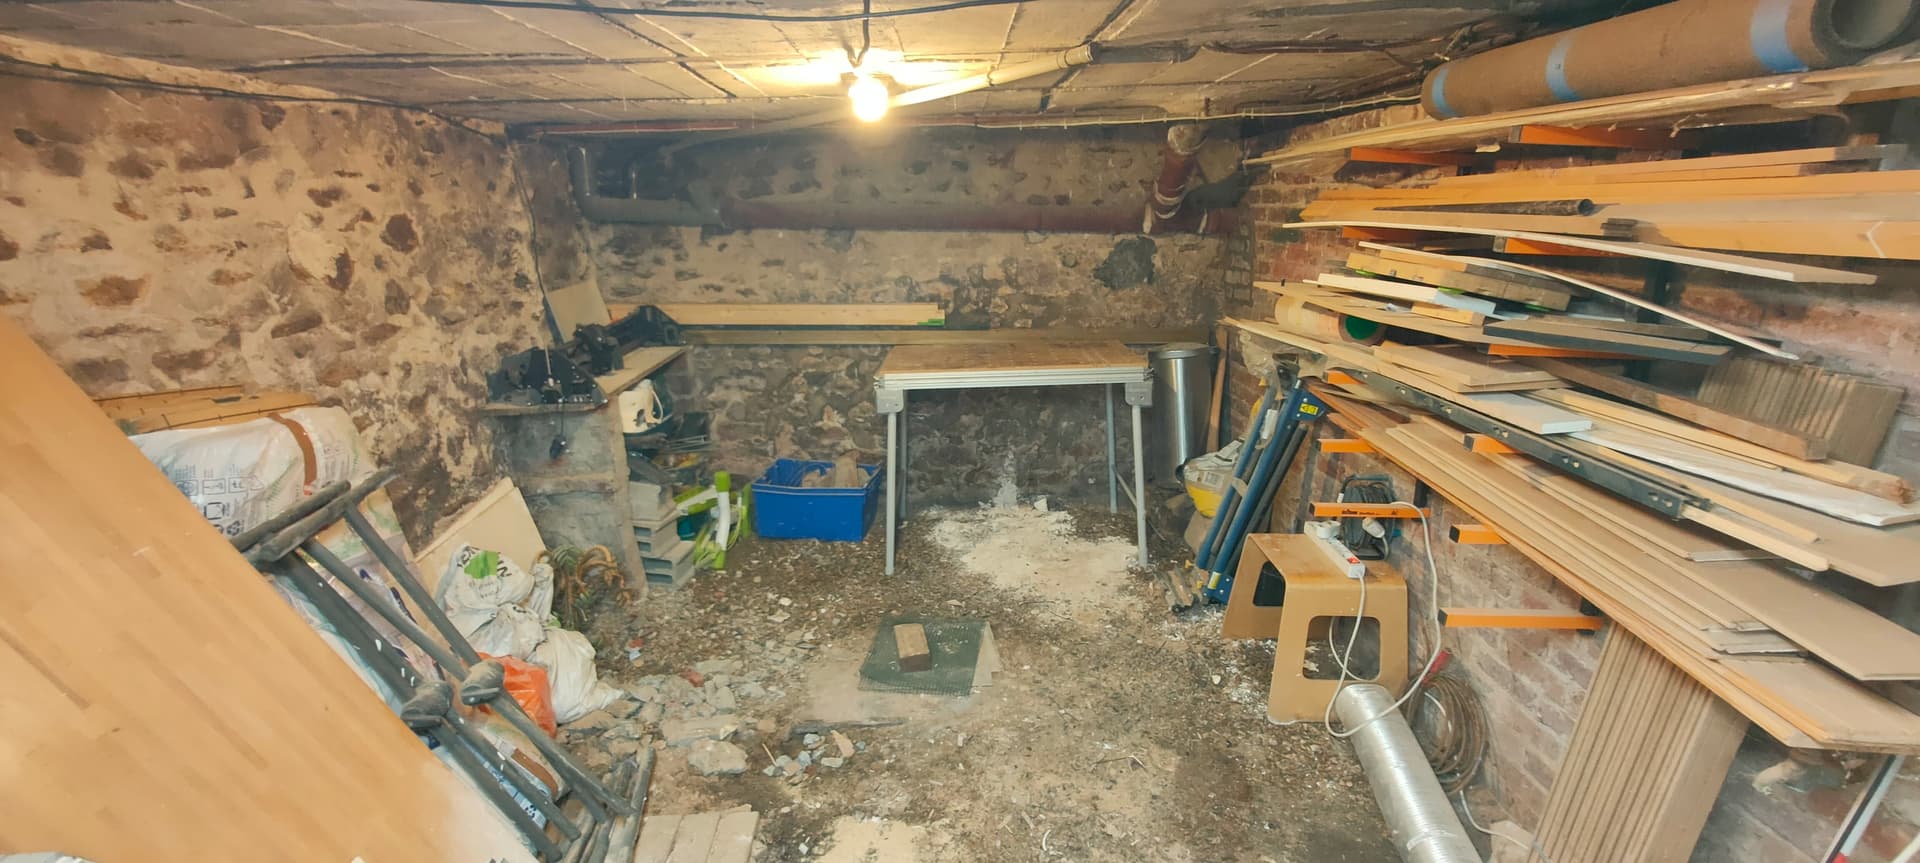
In the meantime I’ll finish the table if I Can (I may need a trip to the home depot)