I got some nice 2020 hinges from ZYLTech.
Black Aluminum Swing Door Hinge for 20mm Extrusion w/ Mounting Hardware - ZYLtech Engineering, LLC
2 Likes
Somewhere around here, a day or two ago, I remember remarking something along the lines of “if we were concerned about finding the ultimate strength of different methods of printing, perhaps it’s time to consider using a different material”.
I think you are on the cusp of that time!
However, not wanting to give up, what would happen if you changed the geometry ever so slightly, and moved the cabinet mount forward and the lid mount down? That would change the angle of the resultant force on the hinge and might just squeak you through.
Or it might break sooner!
1 Like
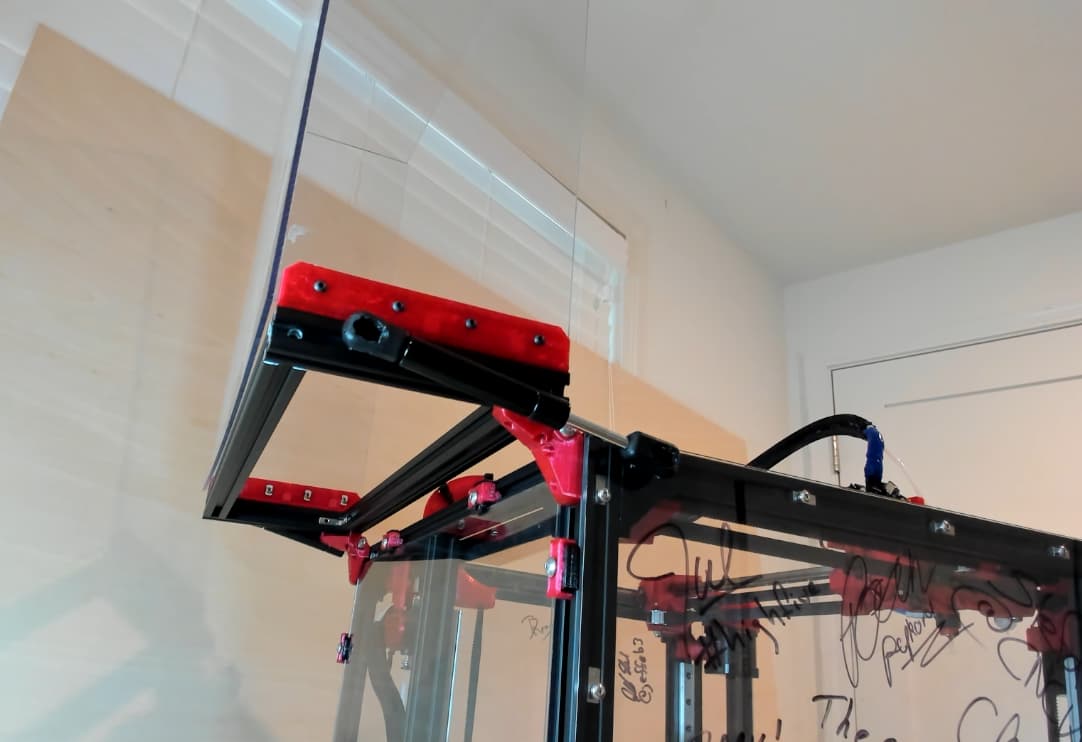
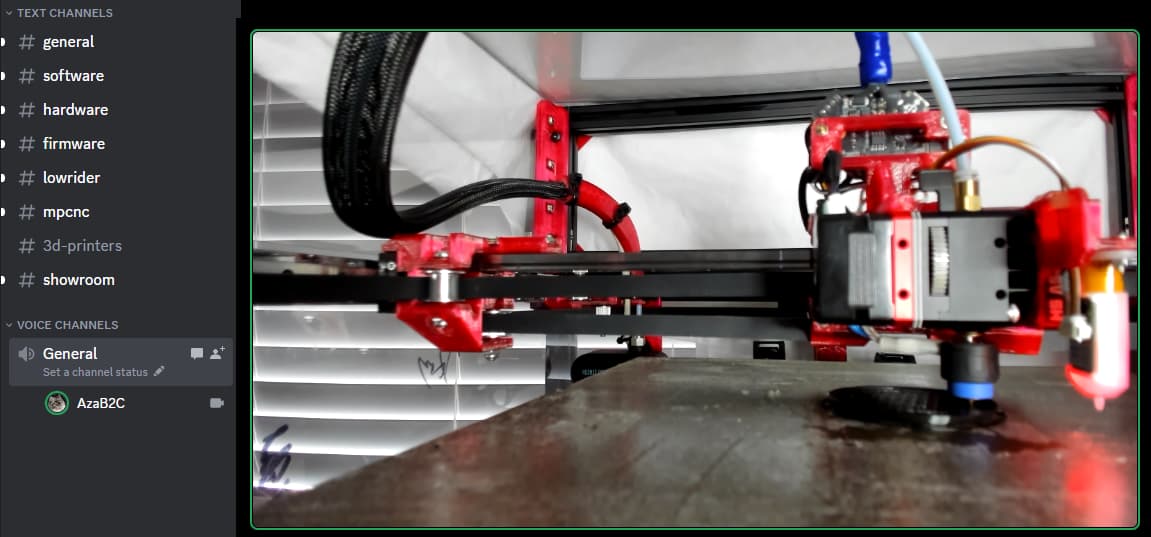
Some close ups of the PTFE guide with runout sensor mount for @Jonathjon. Gray wire is Cat5 for the power/signal to hotend’s CAN Bus EBB36. Ideally I would have clipped wiring to underside of rear top X extrusion, but my wiring is too short, hoping to redo that at some point after critical features like gratuitous lighting are taken care of ![]()

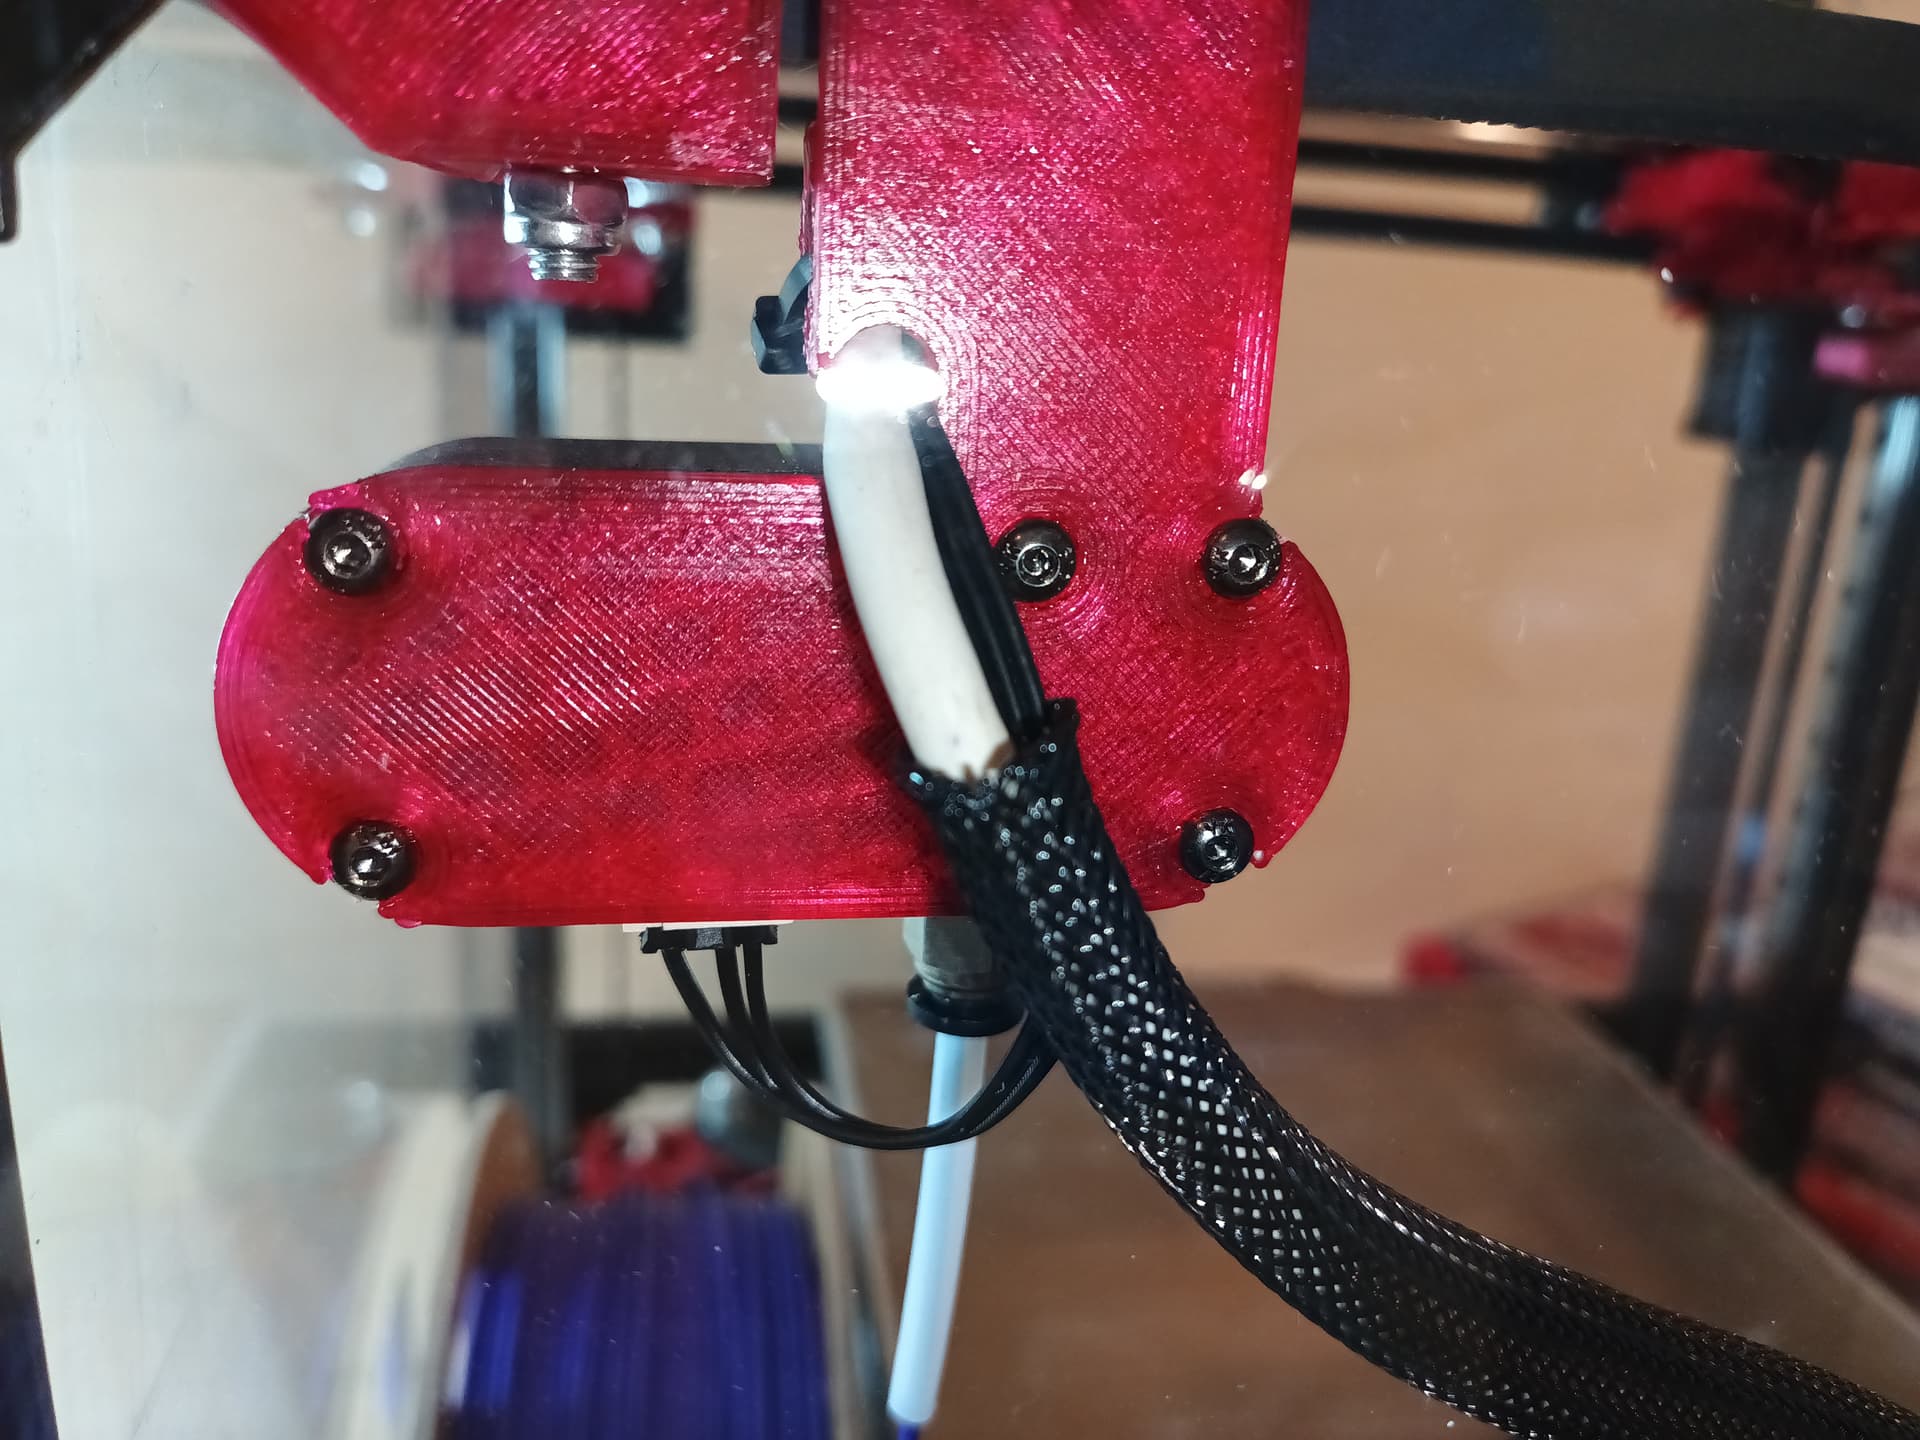

Hope that helps, cheers!
3 Likes
Thank you so much!!! That helps a TON!!! That is what I thought it could be for but wanted to be sure. Now I will take it back off and run the wire through there lol. Seriously, Thanks a ton for such a quick response!!!
2 Likes
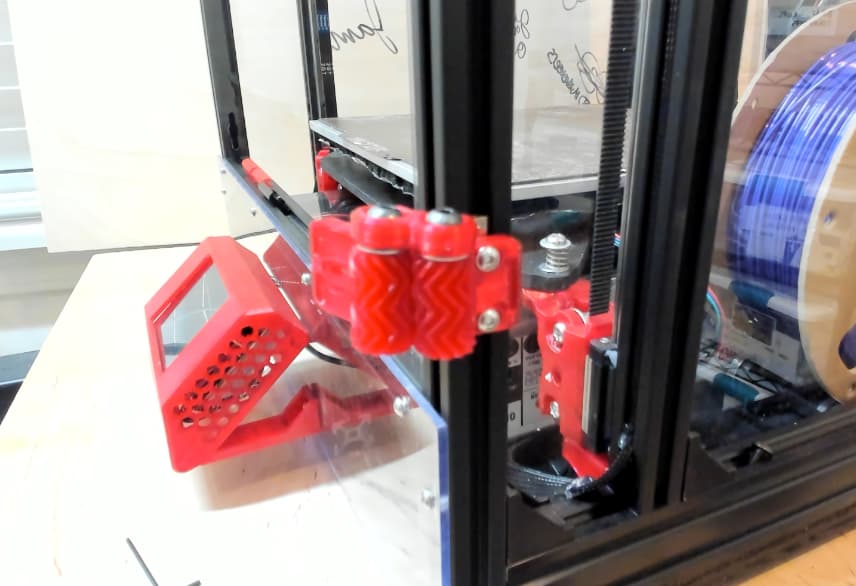
Most welcome @Jonathjon. Here’s some pics from the front…
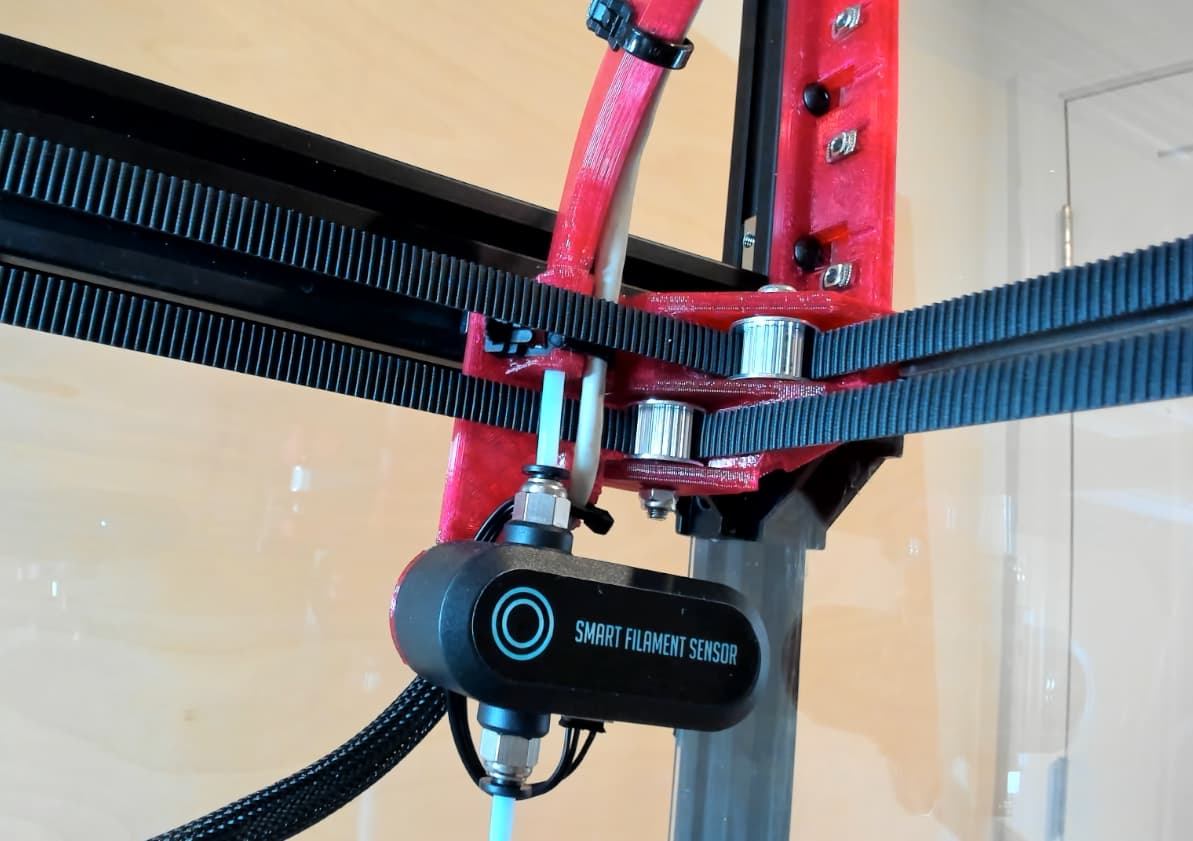
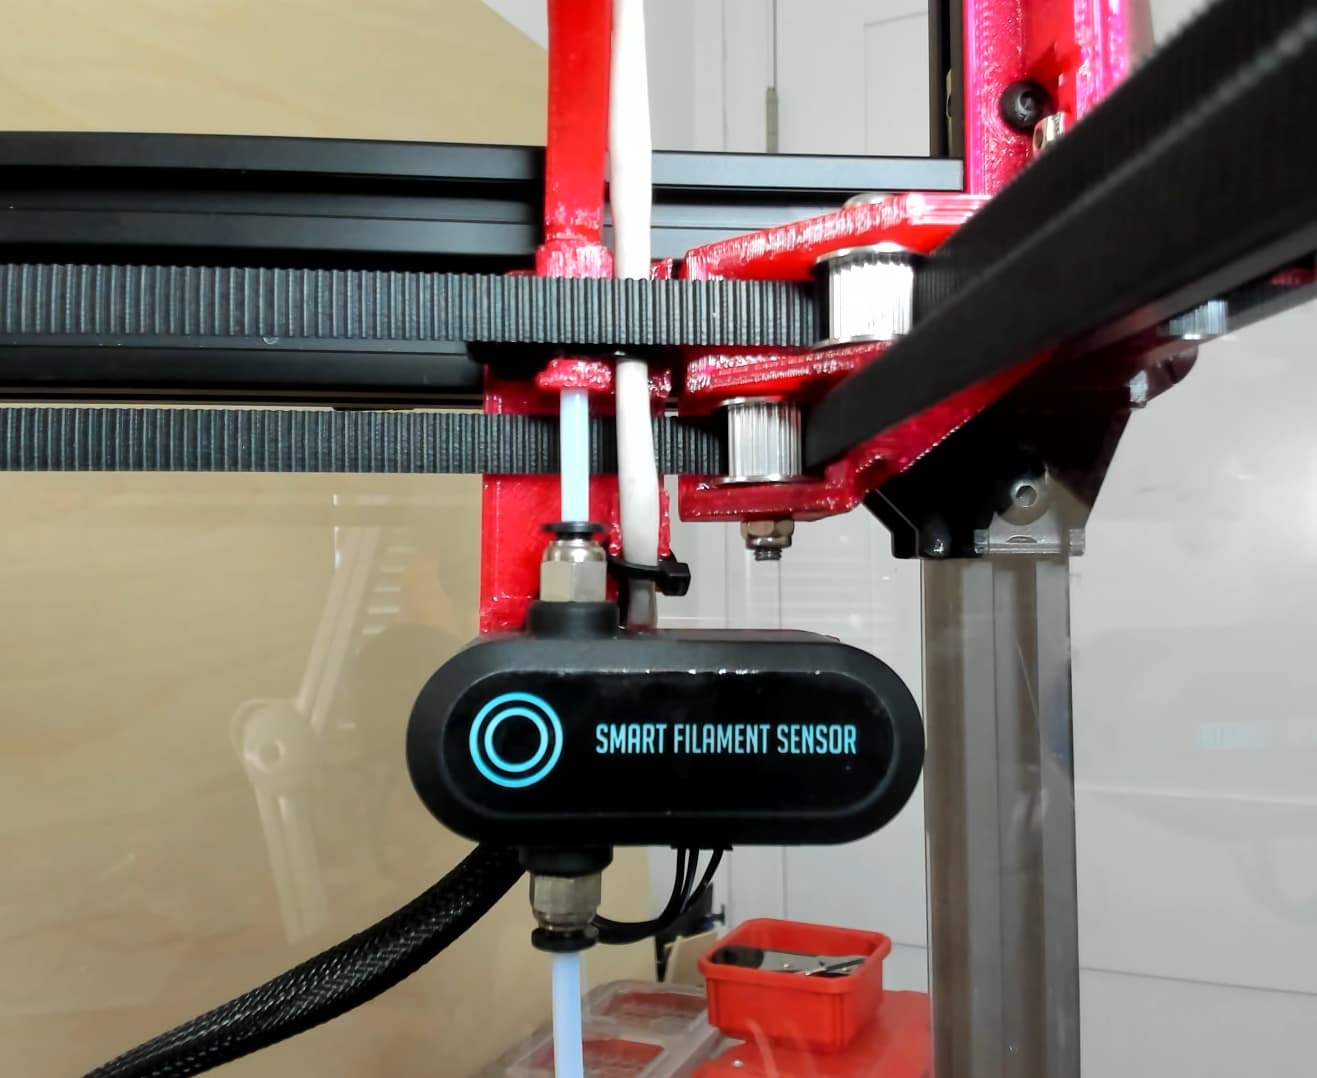
Hope that helps, and/or entertains… Credit goes to @niget2002 for idea of sneaking PTFE between the belts.
4 Likes
Am reprinting my 2020 corner panel clip hinges after recently discovering cause and fix for Wall Separation issue that impacted some of my recent printed parts, including the hinges. So…
Created better hinge, shared at Printables and GitHub :
- Switch from M3 to use M5x30mm bolt (common for V1E builds)
- Add 90 degree stop, with more material to help keep overall hinge rigid enough for 30N Struts. Trying 80% infill, 3 walls/top/bottom, 0.6mm nozzle, 0.32mm layers.

This stuck with me, makes sense, I appreciate the tip. This hinge isn’t a huge print, but am going to save as-is, then temporarily slice parts am unsure about into smaller printable parts to check fit.
23-08-06 Edit: Printing partial prototype helped quickly identify 4+ additional needed tweaks…
Installing/replacing hinges would’ve been easier without Struts installed. However… Post-it note spacer and small clamps helped line up, and hold extrusion while installing the new hinges.
5 Likes
This may already be shown, but… You’re running a bolt (or something) through as a hinge pin right?
2 Likes
Really pleased that you picked up something from my ramblings!
If you are not using Prusa slicer - it has superb slice’n’dice features. Worth a bit of time to become familiar with it- no need to make any temporary changes in CAD
1 Like
Thanks Peter! Will check out Prusa’s slice’n’dice Cut Tool feature.
No idea what best practices are? Lately, have gravitated towards grouping a set of suppressed Test related split operations/features towards the end of a timeline which can be temporarily enabled when needing to export subset of a part am needing to check fit/finish of. This approach means I can still edit/insert operations before the Test-split so (re)exporting Test .stl’s isn’t too bothersome.

3 Likes
I love the prototyping phase, but it can take a heck of a lot of plastic. At least we don’t have to also ship those parts somewhere, like was so common not too long ago.
That hinge looks amazing!
4 Likes
Cheers!
Happy with how hinges and lid are turning out…
")
Shared on Printables and GitHub.
Exactly! M5x30mm bolt with captured T-Nut, tweaked hinge holes to have varying diameters to help hinge rotate, but also grip bolt threads where made sense.
Need to figure out fancy pants front door/hinges/mounts/something… Suggestions appreciated!
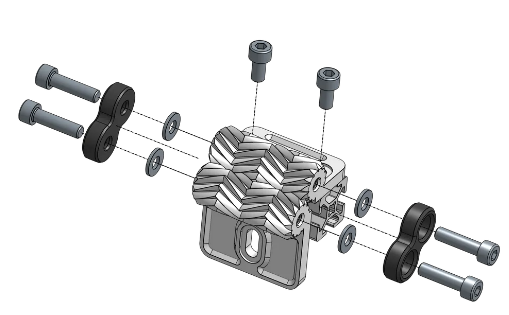
Edit : Not sure if this herringbone gear hinge will work for my situation (remix of an original, has several sibling (?) remixes). Looks too cool to not try out though…
Edit #2 :
|
|
23-08-09 Edit: Looking at various 2020 Hinges on Printables that’ll work given door and lighting setup am trying out. Selecting/making hinge after thinking through how lighting etched panels will work. Learned from others, and explored some ideas in this topic.
6 Likes
and you are asking me? ![]()
![]()
![]()
Will expand on my workflow in a couple of days once I return home and back to my desk.
5 Likes
Sharing rough draft of sped up montage in case it helps people…
")
Short update… Currently wrangling content for my never ending printer build.
My build journey took quite a few detours, including some dead-ends that needed reworking. Cause was largely me not having built a printer from scratch before, and also choosing to experiment with adopting/creating/modding a few non stock things…
Planning to share cleaner video(s), calling out things that I could have avoided and done better. Will share the underlying content to help with walking through specific steps.
Edit: Removed v.long list of build steps, will move them to my GitHub Repo, will reshare if/when I figure out timestamp links…
9 Likes
That is so much footage! Man I wish I could remember to film stuff like that.
2 Likes
Too much footage… ~37hrs, 405 files, ~150GB total. Plus some footage of misc legends tagging the panels at RMRRF. Forgot to capture you tagging at RMRRF/OpenSauce ![]()
Knew I was underestimating this project at the beginning. LR3 was definitely a way easier build.
Being able to use LR3 to help build such a precise sweet looking machine has been great. Learnt that I enjoy building machines that build machines, and seeing/helping others do the same.
3 Likes
Updated draft with new captions + icons to help provide context and learnings. Tagged sections most relevant to every MP3DP builder.
")
-
 Steps that every MP3DP v4 Maker will do. Probably, maybe…
 -
 Extra/different steps and mods I decided to try out.
 -
 Steps taken, but thrown away later on, i.e
 wasted worklearnings. Included cause in video captions. Cause was usually misadventure/mistake, or experiment outcome that I didn’t like, and/or I found some other shiny way to do things. -
 High Voltage stuff that could kill you. Get Professional help…
Video includes some other captions/logos that are more self explanatory. e.g. Poop emoji is when Stuff Happened. Where as Fail icon is when I fluffed up.
Speaking of, this video includes most of my mis-directions and fluff-ups, let me know if edit of Stock V1E only steps, no mistakes, and no detours/experiments would be helpful? Am assuming people like seeing fluff-ups, as well as victories?
Separately trying figure out how to bulk upload 10x content, or realtime even.
Edit: Figured out how to batch upload content. Encoded a bunch of content. May have figure out a way to make most people happy.
5 Likes
I love the format, BUT I think there’s way too much in the one video, it’s moving too quickly for me to see what’s happening AND read the captions. Halve the speed and break it into three and I think it would be SUPER!
(Says the bloke who hasn’t made a video worth two cents!) ![]()
3 Likes
I agree as a consumer…
One of the problems I had trying to use your LowRider build video was that even at 0.25x speed, sometimes it was hard to see what was going on, so I struggled to use it as a reference.
It’s cool to see the fast videos just to watch for fun, but it’s hard to use as reference/guide.
So maybe keep that one as is for general idea of process, but it would also be helpful to others I think to see some slower versions as @bitingmidge suggested. (At least for the assembly parts…cutting montages, of course, speed is fine)
(Edit: I still watched the whole thing even though I have no intent of building a printer anytime soon lol)
5 Likes
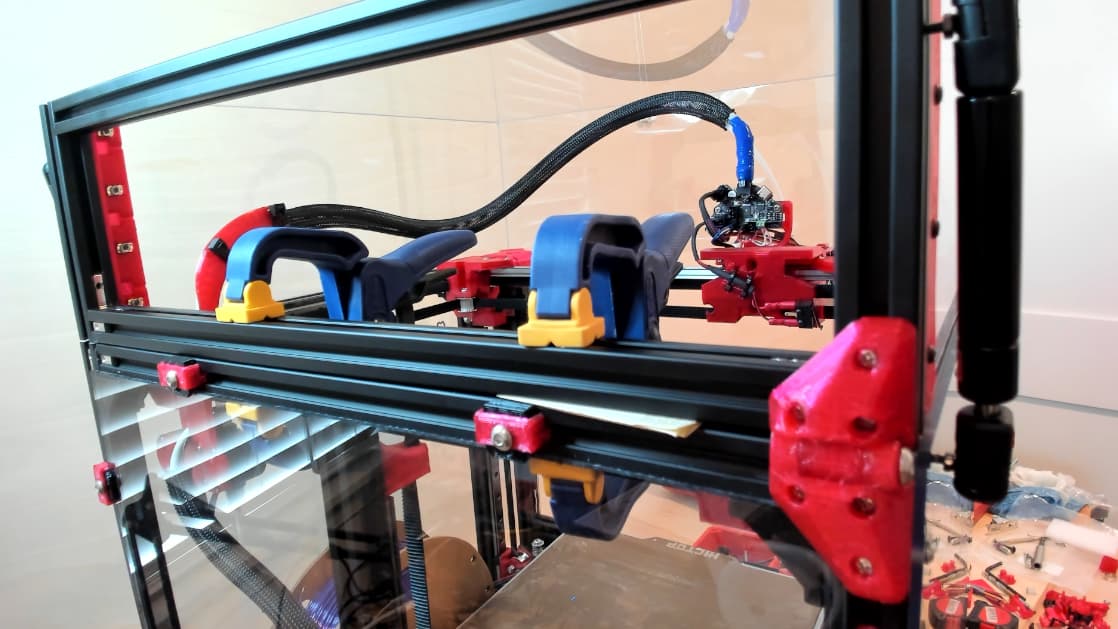
Printing some Ikea table leg caps. Streaming on the Discord…
I need to raise/support umbilical better. More curves on the parts would help reduce snagging. Very happy with print quality.
3 Likes
Looking good… I was about to send you a message to ask if you knew you were connected to voice on Discord lol
1 Like