Plan / Design > Intro
Who doesn’t want an automatic tool changer? That’s something I always wanted, but I still can’t rationalize the time/material cost of pursuing a full on automated solution.
However, @jamiek’s innovative LR3 IDEX build topic, now that seems like a neat achievable upgrade with decent enough ROI to be worth trying out. Also, his design allows cutting multiple identical/mirrored parts at the same time. So, here we go…
Jamie’s already figured out the details, written up and shared LowRider Dual-Carriage How-to (IDEX). So, am hoping this upgrade will go quick and smooth… LOL
Currently figuring out parts, have a router and filament already.
Parts > Hardware BOM
Specialty Parts
You can buy most of the Specialty Parts and hardware here, V1 Shop
| QTY | Description | Comment | Link |
|---|---|---|---|
| 1 | Steppers, Nema17 | 20mm+ shaft length | Shop – Amazon |
| 1 | Stepper wire extenders | Shop – Amazon | |
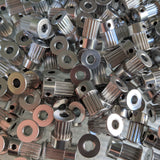
| 1 | Pulleys 16T 10mm | 10mm GT2 16 Tooth | Shop – Amazon |
| 2 | Idlers Smooth 20T | 20T Smooth 5mm Bore | Shop – Amazon |
| 2M | Belt GT2 10mm | See Calculator, no steel belt | Shop – Amazon |
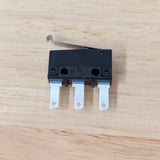
| 1 | Endstops | Shop – Amazon | |
| 8 | 608-2RS Bearings | Shop – Amazon | |
| * | Thread locker | Optional for grubs screws | Shop – Amazon |
| * | Lube | Optional for idlers and linear rails | Shop – Amazon |
| * | Vac Hose | Optional any 1.5" OD Vacuum hose should work | – Amazon |
As an Amazon Associate, Ryan earn’s from qualifying purchases.
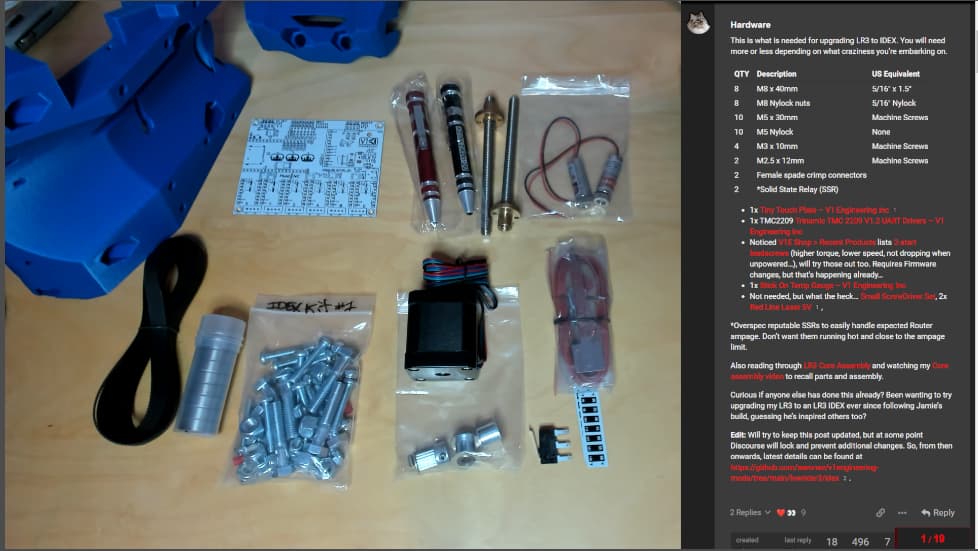
Hardware
This is what is needed for upgrading LR3 to IDEX. You will need more or less depending on what craziness you’re embarking on.
| QTY | Description | US Equivalent |
|---|---|---|
| 8 | M8 x 40mm | 5/16" x 1.5" |
| 8 | M8 Nylock nuts | 5/16" Nylock |
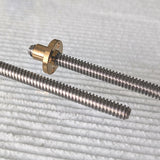
| 10 | M5 x 30mm | Machine Screws |
| 10 | M5 Nylock | None |
| 4 | M3 x 10mm | Machine Screws |
| 2 | M2.5 x 12mm | Machine Screws |
| 2 | Female spade crimp connectors | |
| 2 | *Solid State Relay (SSR) |
- 1x Tiny Touch Plate – V1 Engineering Inc
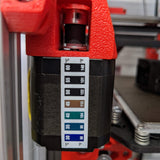
- 1x TMC2209 Trinamic TMC 2209 V1.3 UART Drivers – V1 Engineering Inc
- Noticed V1E Shop > Recent Products lists 2-start leadscrews (higher torque, lower speed, not dropping when unpowered…), will try those out too. Requires Firmware changes, but that’s happening already…
- 1x Stick On Temp Gauge – V1 Engineering Inc
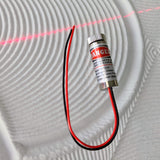
- Not needed, but what the heck… Small ScrewDriver Set, 2x Red Line Laser 5V,
*Overspec reputable SSRs to easily handle expected Router ampage. Don’t want them running hot and close to the ampage limit.
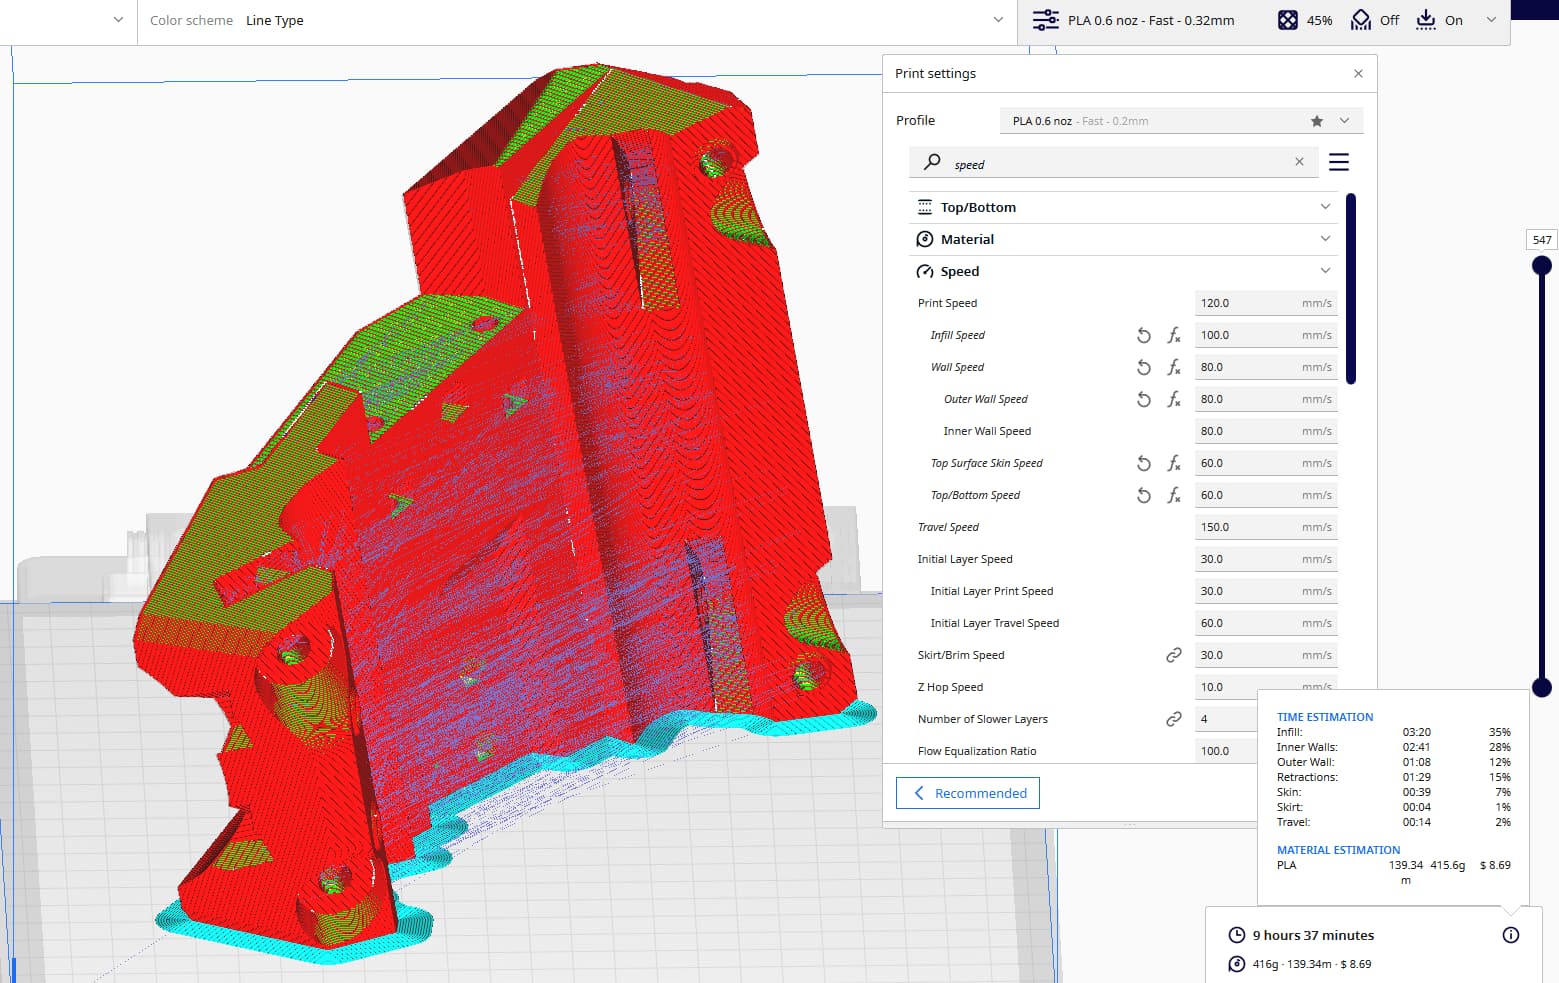
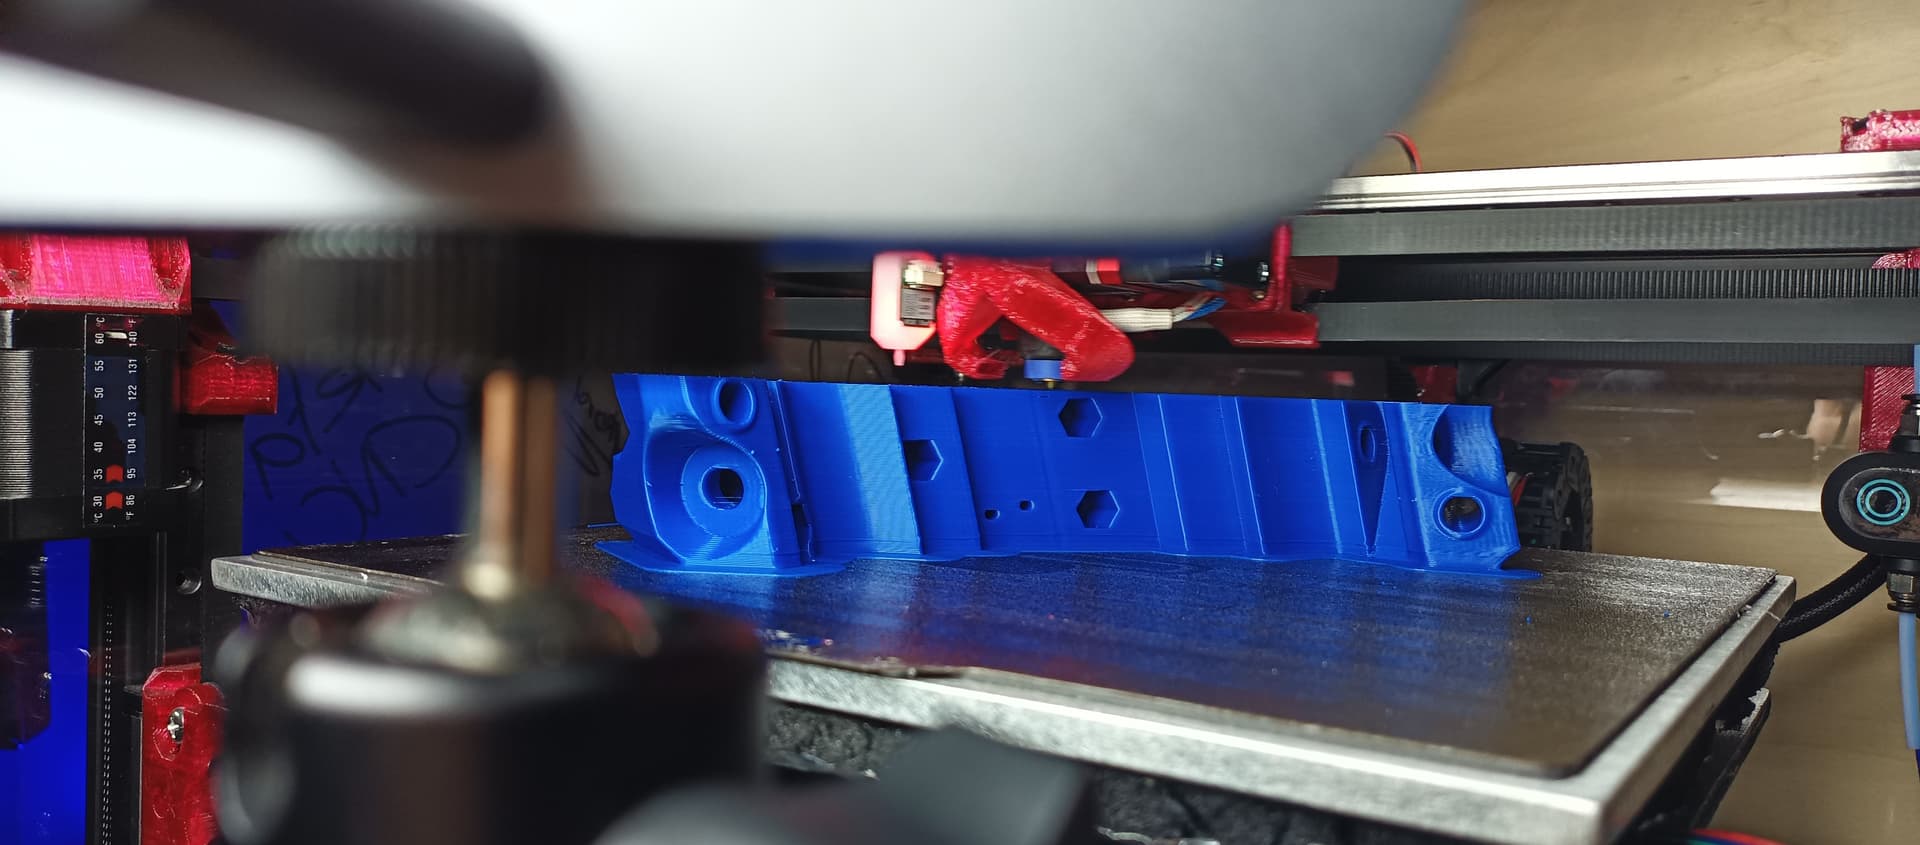
Also reading through LR3 Core Assembly and watching my Core assembly video to recall parts and assembly.
Curious if anyone else has done this already? Been wanting to try upgrading my LR3 to an LR3 IDEX ever since following Jamie’s build, guessing he’s inspired others too?
Edit: Will try to keep this post updated, but at some point Discourse will lock and prevent additional changes. So, from then onwards, latest details can be found at v1engineering-mods/lowrider3/idex at main · aaronse/v1engineering-mods · GitHub.


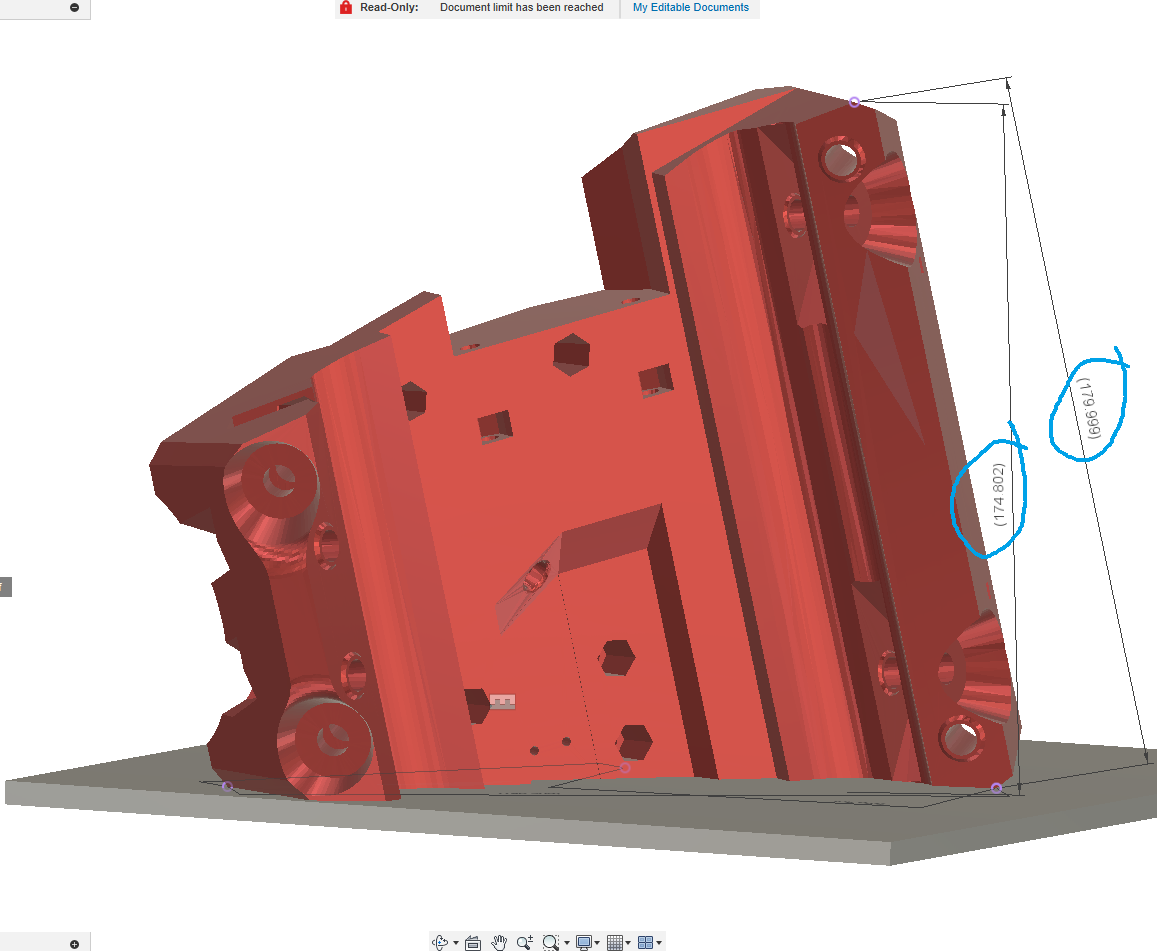
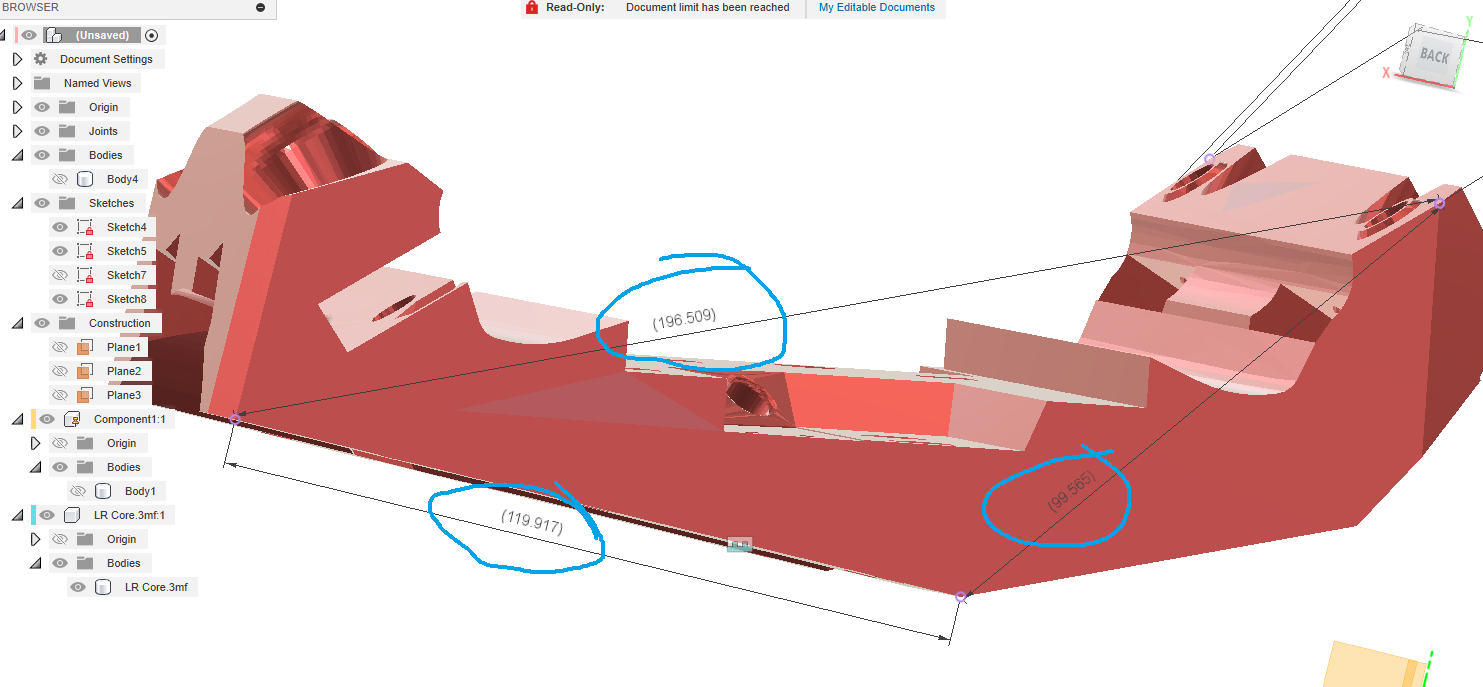
 Part 1 — Parts » Conjure a Core (V1E LowRider 3)")
 Part 2 — Parts » Print Core #2 - Success (V1E LowRider 3 CNC)")