Yesterday they merged the laser code into Marlin’s bugfix-2.0.x branch. I’ve not yet updated my fork, but will do so soon using just that branch. I did test the code on my fork (which is basically what is now in bugfix-2.0.x) and it works great with a spindle on aluminum and wood, so it feels like the settings are right. Will be doing laser soon.
Hey @cmidgley ,
I read through the thread a bit (but not all of it of course) and have the same problems as shown from the beginning posts. I have a dual end stop configuration and my laser module is up and running using TTL on D44. I can flash the above fork of Marlin and if you have some G code you want another crash dummy to test, post it up and I can run it asap.
I uploaded the bugfix code from @cmidgley 's repository and made a few changes based on my setup. Lser TTL is fed from D6 now with D4 being some sort of enabling pin which I can’t understand how it works.
It’s performing much better but I think it could use a little tuning. It seems to slow way down on edges and I think it is over lasing these areas. I also added a laser shroud which is causing the smoke issues.
To get it to work, I had to replace all my M106 commands with M3 commands.
Sharpness has increased magnificently! I’m going to keep playing with the jerk/acceleration! and try other images.
Old Marlin at a feed rate of 800 mm / min
New Marlin & Shroud at a feed rate up to 1600 mm / min (I changed feed rate throughout test, see if you can tell where)
Source Image

Thanks for trying it! Good to hear it is working.
I was worried about this. Some thoughts:
- If you are using RAMPS (or something slow like that) you might want to play around with the LASER_POWER_INLINE_TRAPEZOID features as they have mentioned that RAMPs gets bogged down with these and therefore may be less responsive (and causing edge burns?)
- On the other hand, if you have faster processor, try changing LASER_POWER_INLINE_TRAPEZOID_CONT_PER. It defines how rapidly power will adjust, and I have it set to 4 but perhaps it should be faster (such as 1)?
- The default intercept/slope is linear from 0 to 255 (across a 0-100% power). You might want to adjust that by changing SPEED_POWER_SLOPE and SPEED_POWER_INTERCEPT (in the laser section) so that the laser has lower power at slower acceleration speeds.
You can use D4, for example, to control a relay power outlet. This way you can power off the entire laser system, rather than leaving it powered up and increasing risk of accidental laser engagement. I use IOT Relay from Amazon.
If you do any more tests, please post the results! I’ve finally got everything for my laser, but I’m distracted on another project right now. Hopefully I’ll get back to the laser soon.
1 Like
@cmidgley I have a switch that controls a relay that controls my laser, its generic like this https://www.amazon.com/dp/B0151F3A9Q/ Granted that leaves room for operator error but it’s worked so far. glasses on switch on; switch off glasses off.
I am using a basic RAMPS board with a standard MEGA and DRV8825 drivers. I’ll play with the LASER_POWER_INLINE_TRAPEZOID settings and report back.
Thank you for all your work!
1 Like
wow…there is a load of great work in this thread!..I am left though thinking that a MPCNC, a RAMB0 board and Marlin is a bit of overkill for a simple laser engraver. a lot of the problems that have been encountered in this thread were because you have started out with less than ideal hardware and software for this task.
A simple lightweight frame that can position the laser head is all that is needed, RAMBo has all mannor of extras that are simply not used and Marlin does not appear to me to have the laser mode that GRBL has, this not only allows the laser power to be ramped up and down according to head speed but also keeps the head moving during spindle speed changes…an absolute game changer when lasing.
for those who might be interested I documented a cantilevered laser engraver (actually used to cut out balsa pieces) on another forum a while ago…here
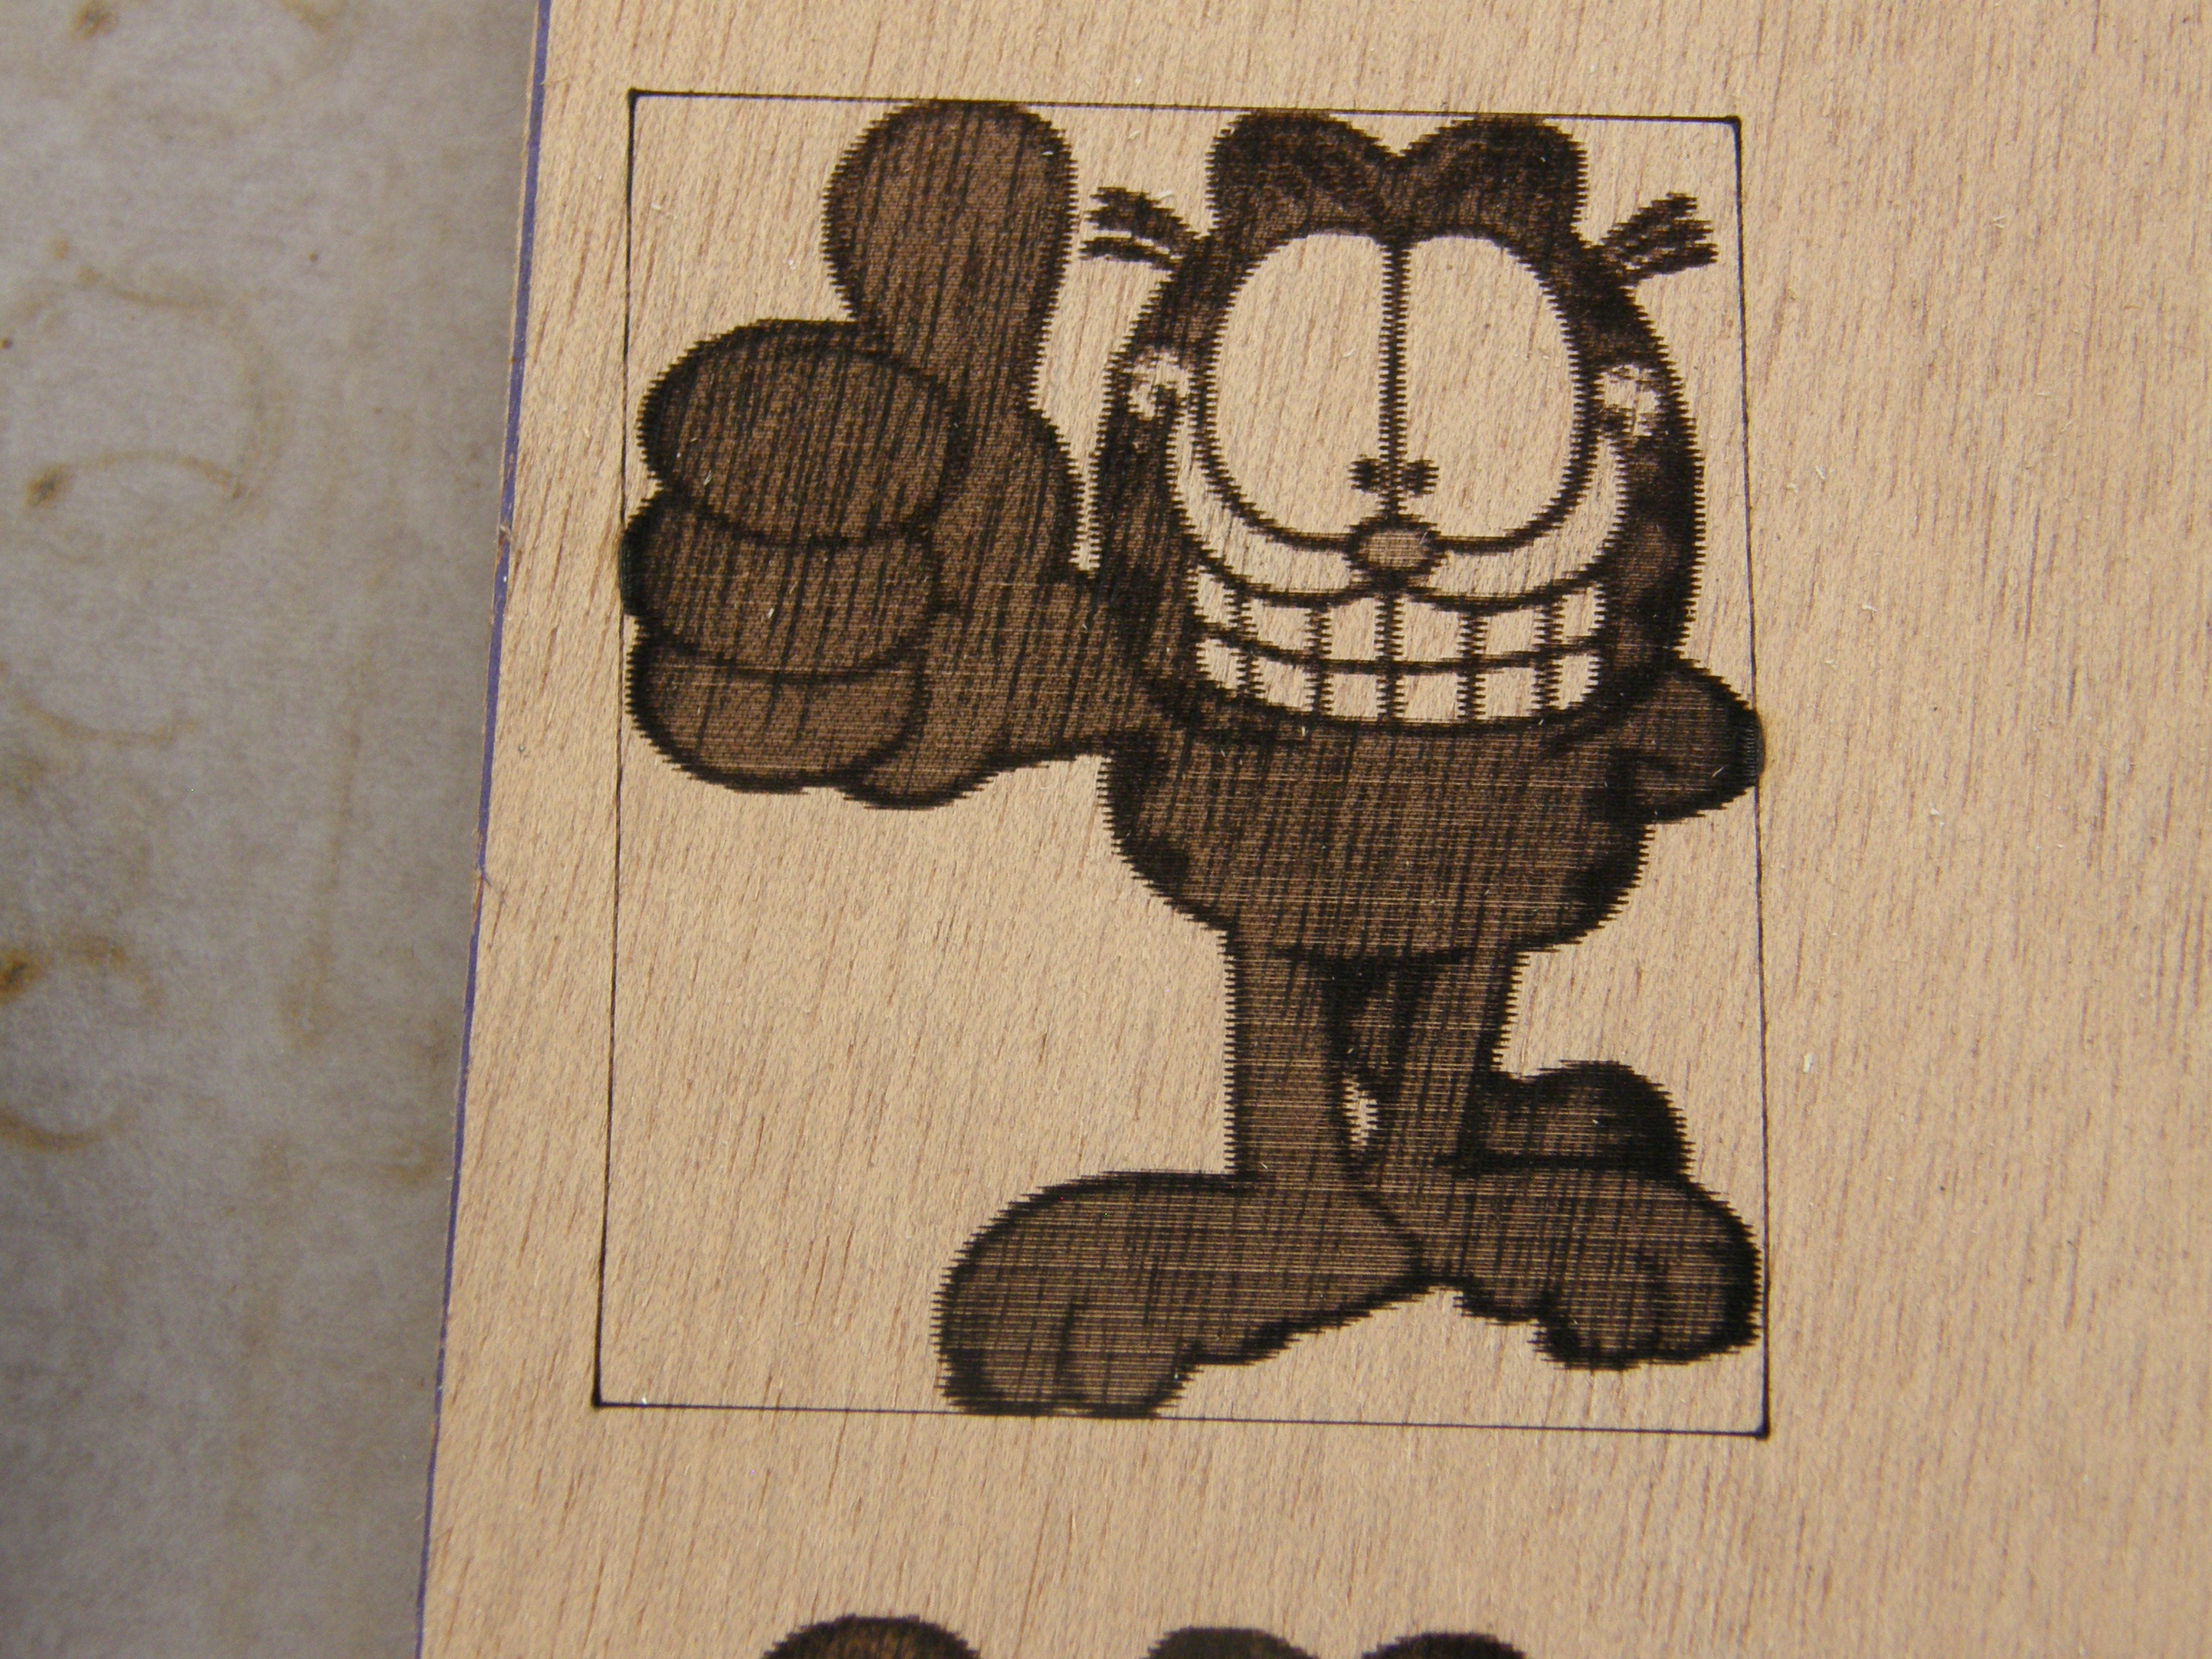
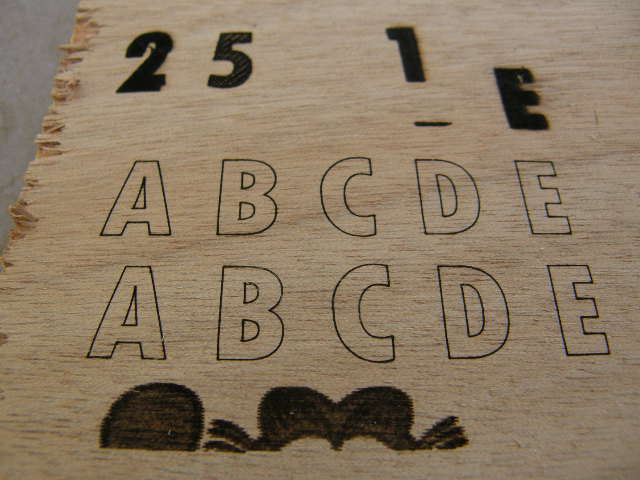
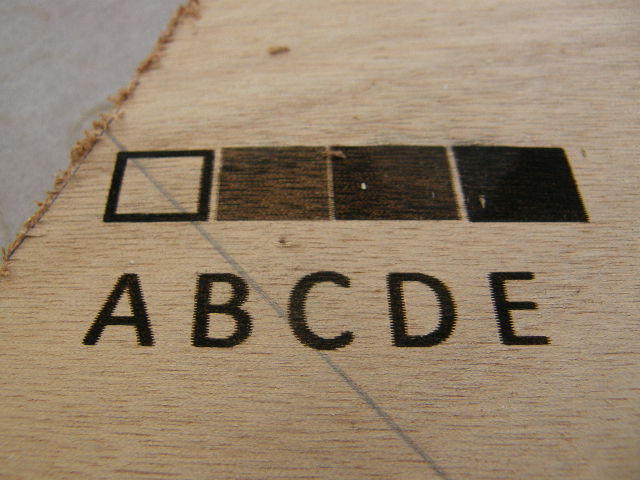
I have just done a quick engrave on 8mm ply… I couldn’t find the Garfield that David used but I used a similar one.
I have a youtube video of the long version of my cutter working Here
2 Likes
So this had me playing again…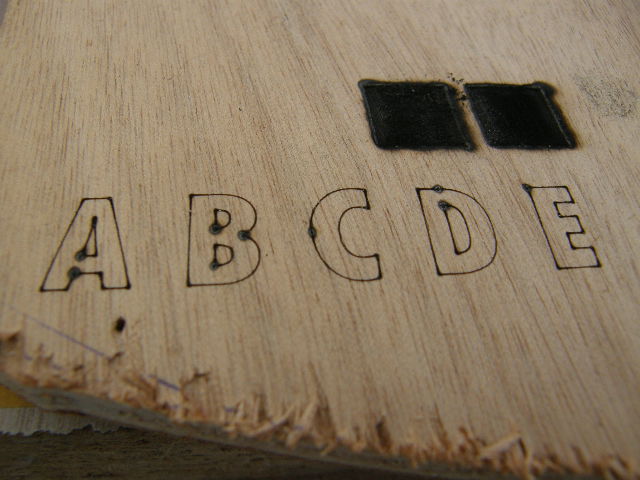
This is the result of having some Z component in the gcode, the laser is on awaiting the carriage to (not) move in the z axis…you don’t want any Z component in the gcode!
playing with the feed speed with vector graphics

Playing with the infill in a carve toolpath, also crosshatch v offset infill
Raster graphics
PWM.zip (2.1 MB)
Quick video of the PWM working
1 Like
Hey, MIke! Thanks for your comments. I pretty much agree with everything you said but do feel compelled to mention that Ryan’s MPCNC platform was originally designed to carry a spindle… and that the addition of lasers, needle cutters, drag-knives, pens/markers, etc. only serve to show its versatility. If Ryan’s original intent was to simply design a laser engraver… yes, it’s overkill.
I like your cantilevered laser engraver design… I’d not seen it or the ModelFlying forum. I have, however, built a couple of Edward Chew’s TimSav foamboard cutter systems… which greatly resembles your machine (and, apparently, that ripped-off Chinese design ![]() ) and carries a needle cutter, originally developed to cut RC plane parts out of foamboard.
) and carries a needle cutter, originally developed to cut RC plane parts out of foamboard.
When we were doing all the testing during this thread, I had a “stock” MPCNC, running Marlin, that I had set up as a laser engraver… using the M106/M107 fan control gcodes. And, yes, we quickly uncovered the fact that Marlin wasn’t really designed with a laser in mind. While I was getting a reasonably good-looking raster engrave… others were not. Ultimately, we discovered that relatively “innocent” changes in the fan control section of later versions of the Marlin firmware seriously impacted its use for controlling lasers. A work-around was found and soon everyone started getting reasonably good Garfield engravings. But, yes… it is still “lacking”, especially with the stop and go action with power changes and not ramping the power as the laser speed adjusts to enter and exit a corner or boundary.
Fast forward to now… I’ve joined the Lightburn and GRBL crowd. Not disparaging Marlin’s use with MPCNC… but since much of what I do nowadays is lasering and pen-plotting, I’ve found GRBL’s “laser mode” to be far better suited to my need. Several threads in this forum (here, here, and here) show laser engravings far superior to what I was able to achieve with the Marlin-based testing we did in this thread.
And, now, inspired by @geodave’s Rolling Plotter build, I’m currently testing and adapting a version of it as a “rolling gantry” machine. It not all that dissimilar to your machine in that… it uses “tractors” where your machine’s feet are, uses the long axis almost verbatim, and essentially turns your cantilevered axis 90*, to become the Z-axis.

As mentioned, I’ve also joined the Lightburn camp and can’t begin to say enough good things about it, when it comes to laser engraving. One fellow in particular, @Bulldog on the Lightburn forum, has been doing incredible engravings on wood, ceramic tile, children’s scratch pads, etc… all with just a 2.5 watt laser. It’s been great fun applying his tricks and techniques to my own engravings.
Again, I like your work… and thanks for sharing! I look forward to seeing more from you… ![]()
– David
1 Like