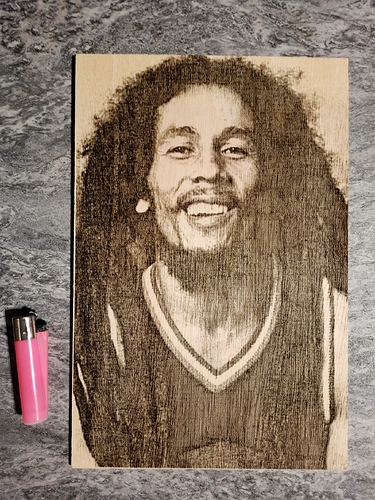
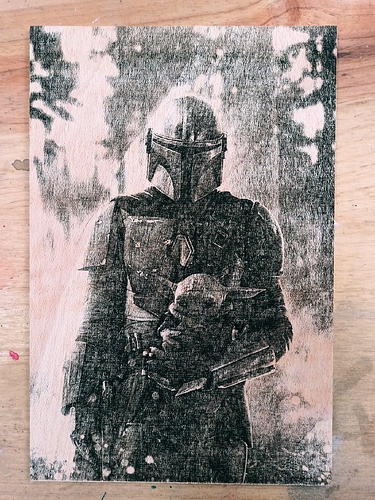
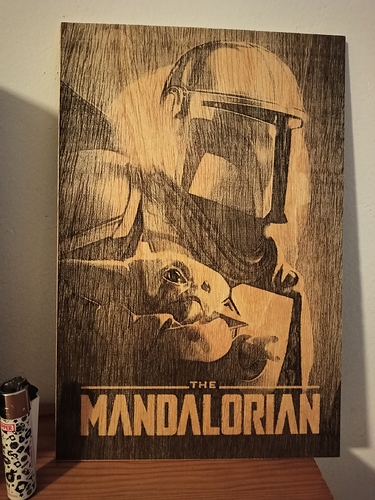
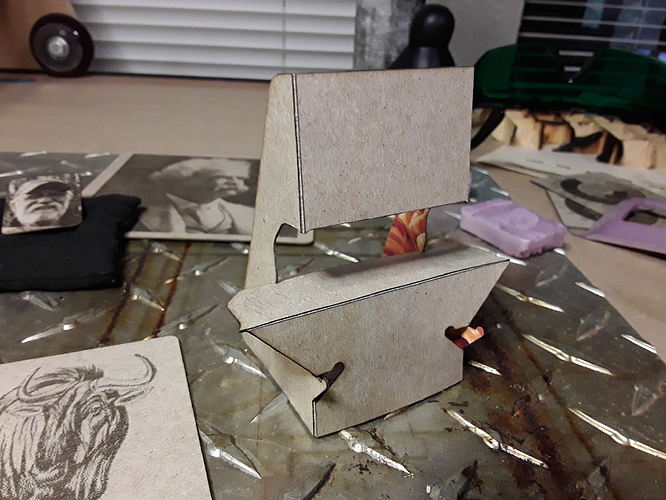
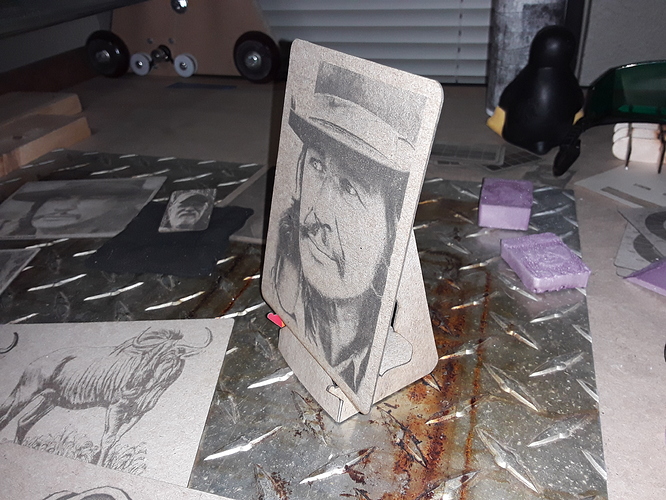
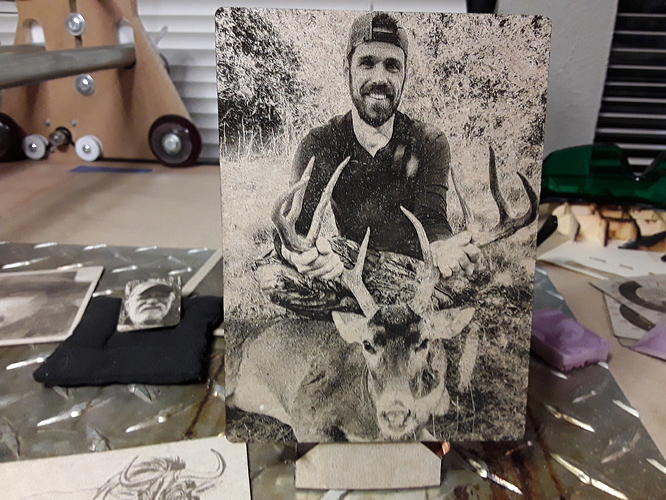
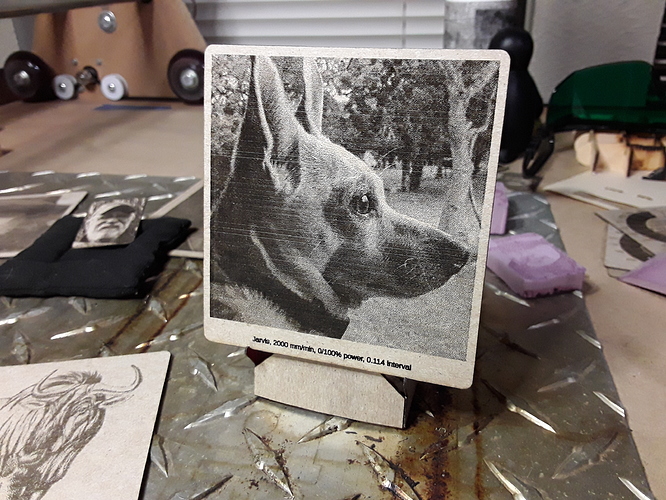
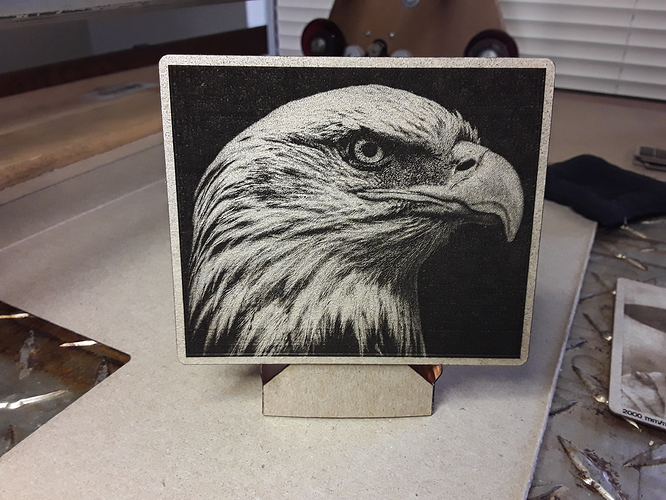
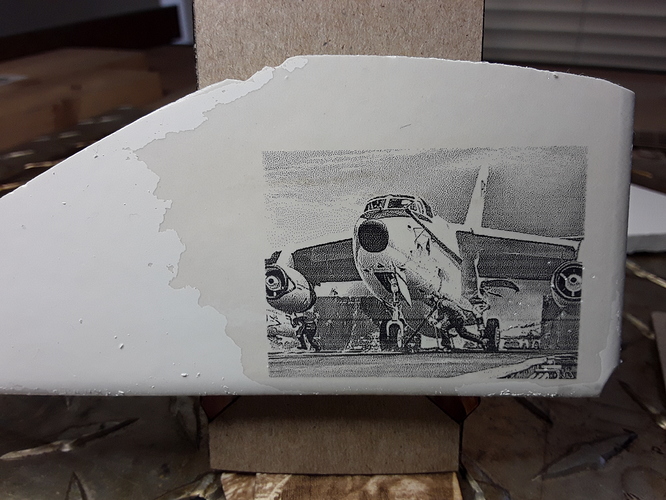
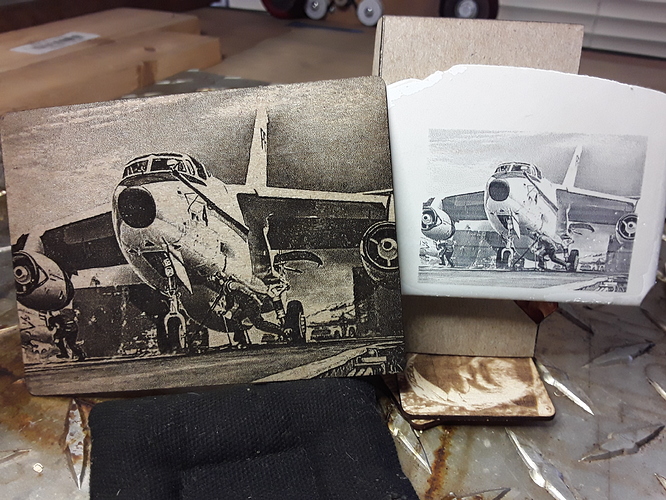
Some tests with the new laser installed in the Lowrider2
Awesome results! What power laser are you using?
Looking really good, Roger. Are you white-washing the wood?
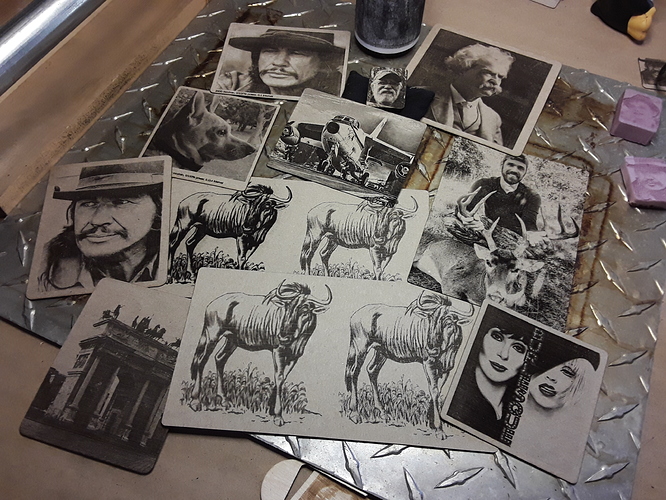
I’m still stuck playing with cereal-box chipboard, photo prep for “laser ready”, and Lightburn’s grayscale and dither settings…
All here are Jarvis dithered except the lower-left wildebeast (grayscale)… with a 2.5 watt laser. I hope to move on to wood and ceramic tile soon, ala @Bulldog’s work, over on the LB forum.
Hi Byron, this one:
Greetings, David,
I’m not bleaching the wood, the only post-processing I apply is spray varnish, so that it does not stain to the touch.
These tests are done with ImageToGcode 1.2.9. I am looking forward to start doing some tests of this kind with Lightburn. So far I have only used it to make some cuts.
His works on chipboard are excellent. I’ve been to the LB forum and I’ve seen what he says, they are amazing works.
Now I’m working on tool changes between bits and lasers. I think I can do interesting things by combining both in one job. In my Lowrider the position of the bit and the laser are different, so I have added in Marlin some custom commands to automate the position change and coordinate reset between both.
I’ve found that a lint roller seems to pick up most of the soot from my engravings… and I then use a spray clear-coat to lock it all in.
I played with ImageToGcode a bit back in the “not getting good results” thread… but had to run it in Wine on my Linux box. I felt it gave me the best images at the time… but really wished all of us Linux guys could use it more easily. Then I discovered Lightburn and haven’t looked back.
While “cutting stuff” isn’t a diode laser’s strength, the thin chipboard cuts nicely… and gives LB opportunity to show off how easily it does cutting and vector/raster engraving all in the same job run; i.e. here a simple folding easel can be cut right along with a raster image and its profile cut… all in the same gcode file.
The roller thing would never have occurred to me.
I really like those folding trestles. Without a doubt LB is a very powerful and complete software, I have a long way to go with it. By the way, I love Linux too, I’ve been using it for many years 
And I think now, our diode lasers are not capable of marking ceramics (maybe I’m wrong). They print the surface with some product to be able to mark it, right?
It really works…
It’s amazing, David. We have to try 
Yes, we do. I’ve actually got all the materials to do it, I think… a broken nearly-white tile, paint thinner, flat-white paint, and a lot of information to digest from @Bulldog’s posts over on the LB forum. I’ll see if I can’t give it a rip in the next couple of days… 
Here’s a screenshot of the LB window with the different cut-types and settings on each layer (color)…
Under the “Laser” tab (lower-right) there’s a “Save Gcode” button… and all the cuts set to “Output” will go into the gcode file, here in the order listed on the right panel. I don’t use the LB’s hardware control functionality… I just use it to generate the gcode.
– David
With regard to the white-washed wood engravings @Bulldog has shown… he generously provides the following “recipe” for one of them…
Where we can/will, I hope we’ll all share this kind of information about what we are doing… 
– David
Thanks, seems similar to one I have/had, perhaps with a better power regulation board.
You don’t need many watts of power to do this, in fact, in the software I have limited the power to 50%, which would be the darkest area. To make cuts is another matter, there if you need a powerful laser and 100% to try to do it in the least number of passes 
I did up some software to slice an image into layers of darkness, the idea being repeated coverage with one level could achieve similar results to pwm, it works for ink somewhat, limited to 4 passes in perceptual gradients before it’s just black, never got a chance to try it with a laser, probably no need going by the above. (I had power issues and on /off delays, pwm just not happening, then one day it just wouldn’t turn on, I think it was a lesser unit speced too high.)
Surely you have noticed this, but my English is limited, to a great extent I help myself from the online translators, I don’t know if I understood correctly, do you think your laser is defective, or do you think it’s a configuration problem? What electronics/firmware do you have installed on your machine?
The drawing is impressive, I love it 
An update on my progress…
Pretty happy with images on chipboard…
so decided to give the Norton method and piece of ceramic tile a try, as promised.
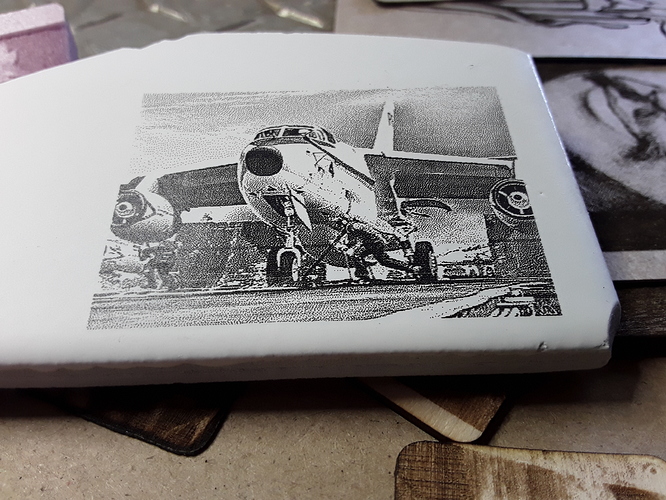
Had a small broken corner piece of off-white ceramic tile, cleaned it with paint thinner, lightly coated it with flat-white paint, allowed it to dry, and then the image was lasered with 2.5 watt diode laser (Jarvis-dither, 1200 mm/min, 85% power, 254 dpi) …
Image lasered but paint not yet removed…
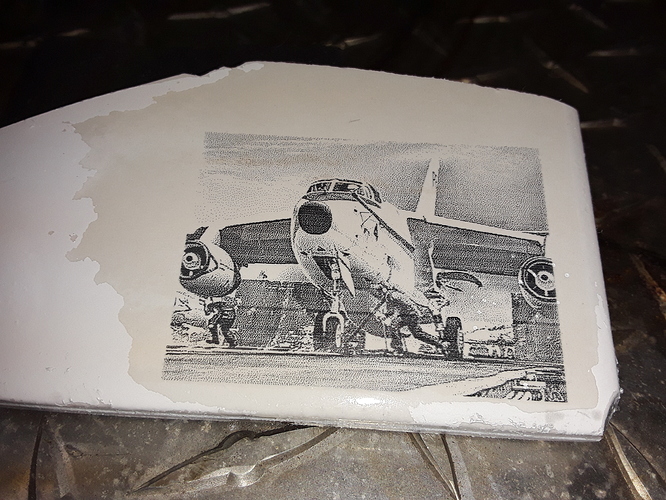
Poured on a little paint thinner, scraped pretty vigorously with metal putty knife, and… voila!
It could be darker yet but I am happy with this as a first attempt! And that image is indeed fused(?) somehow into the ceramic… no scratches from the metal scraper at all. Amazing!
– David
Amazing David! You did it!
I love it, you got it on the first try, it looks perfect.
I’m going to see if I can get the materials I need to make an attempt tomorrow and share the results.
My congratulations.
Thank you, Roger. Just pretty much followed directions… for once 


Oh, I have lifted traces on the board, pretty sure that at least is fried, laser lights a bit but no real power, not actively looking to fix it, but thanks. ![]()
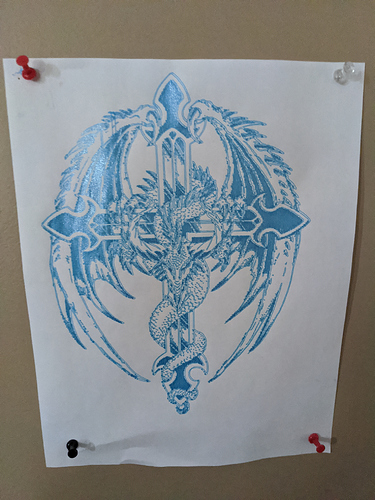
It’s just a tattoo I found on the internet, just an example of going over the same thing in different spots with ink to create some kind of shading. The drawbot I used doesn’t have homing. ![]()
I still had paint on the broken tile, so decided to see if I could do it again…
Lasered good (“close”… like  ) friend Kate’s likeness on old paint…
image before removing paint…
paint removed…
and everybody approves!
So, who am I to say different? Success! 
Eleksmaker 2.5 watt laser - Lightburn, Jarvis dither, 1200 mm/min, 100% power, and 300 dpi
– David
