Thanks again to everyone that helped me get here. I really hoped to get more in progress photos but none the less here we are!
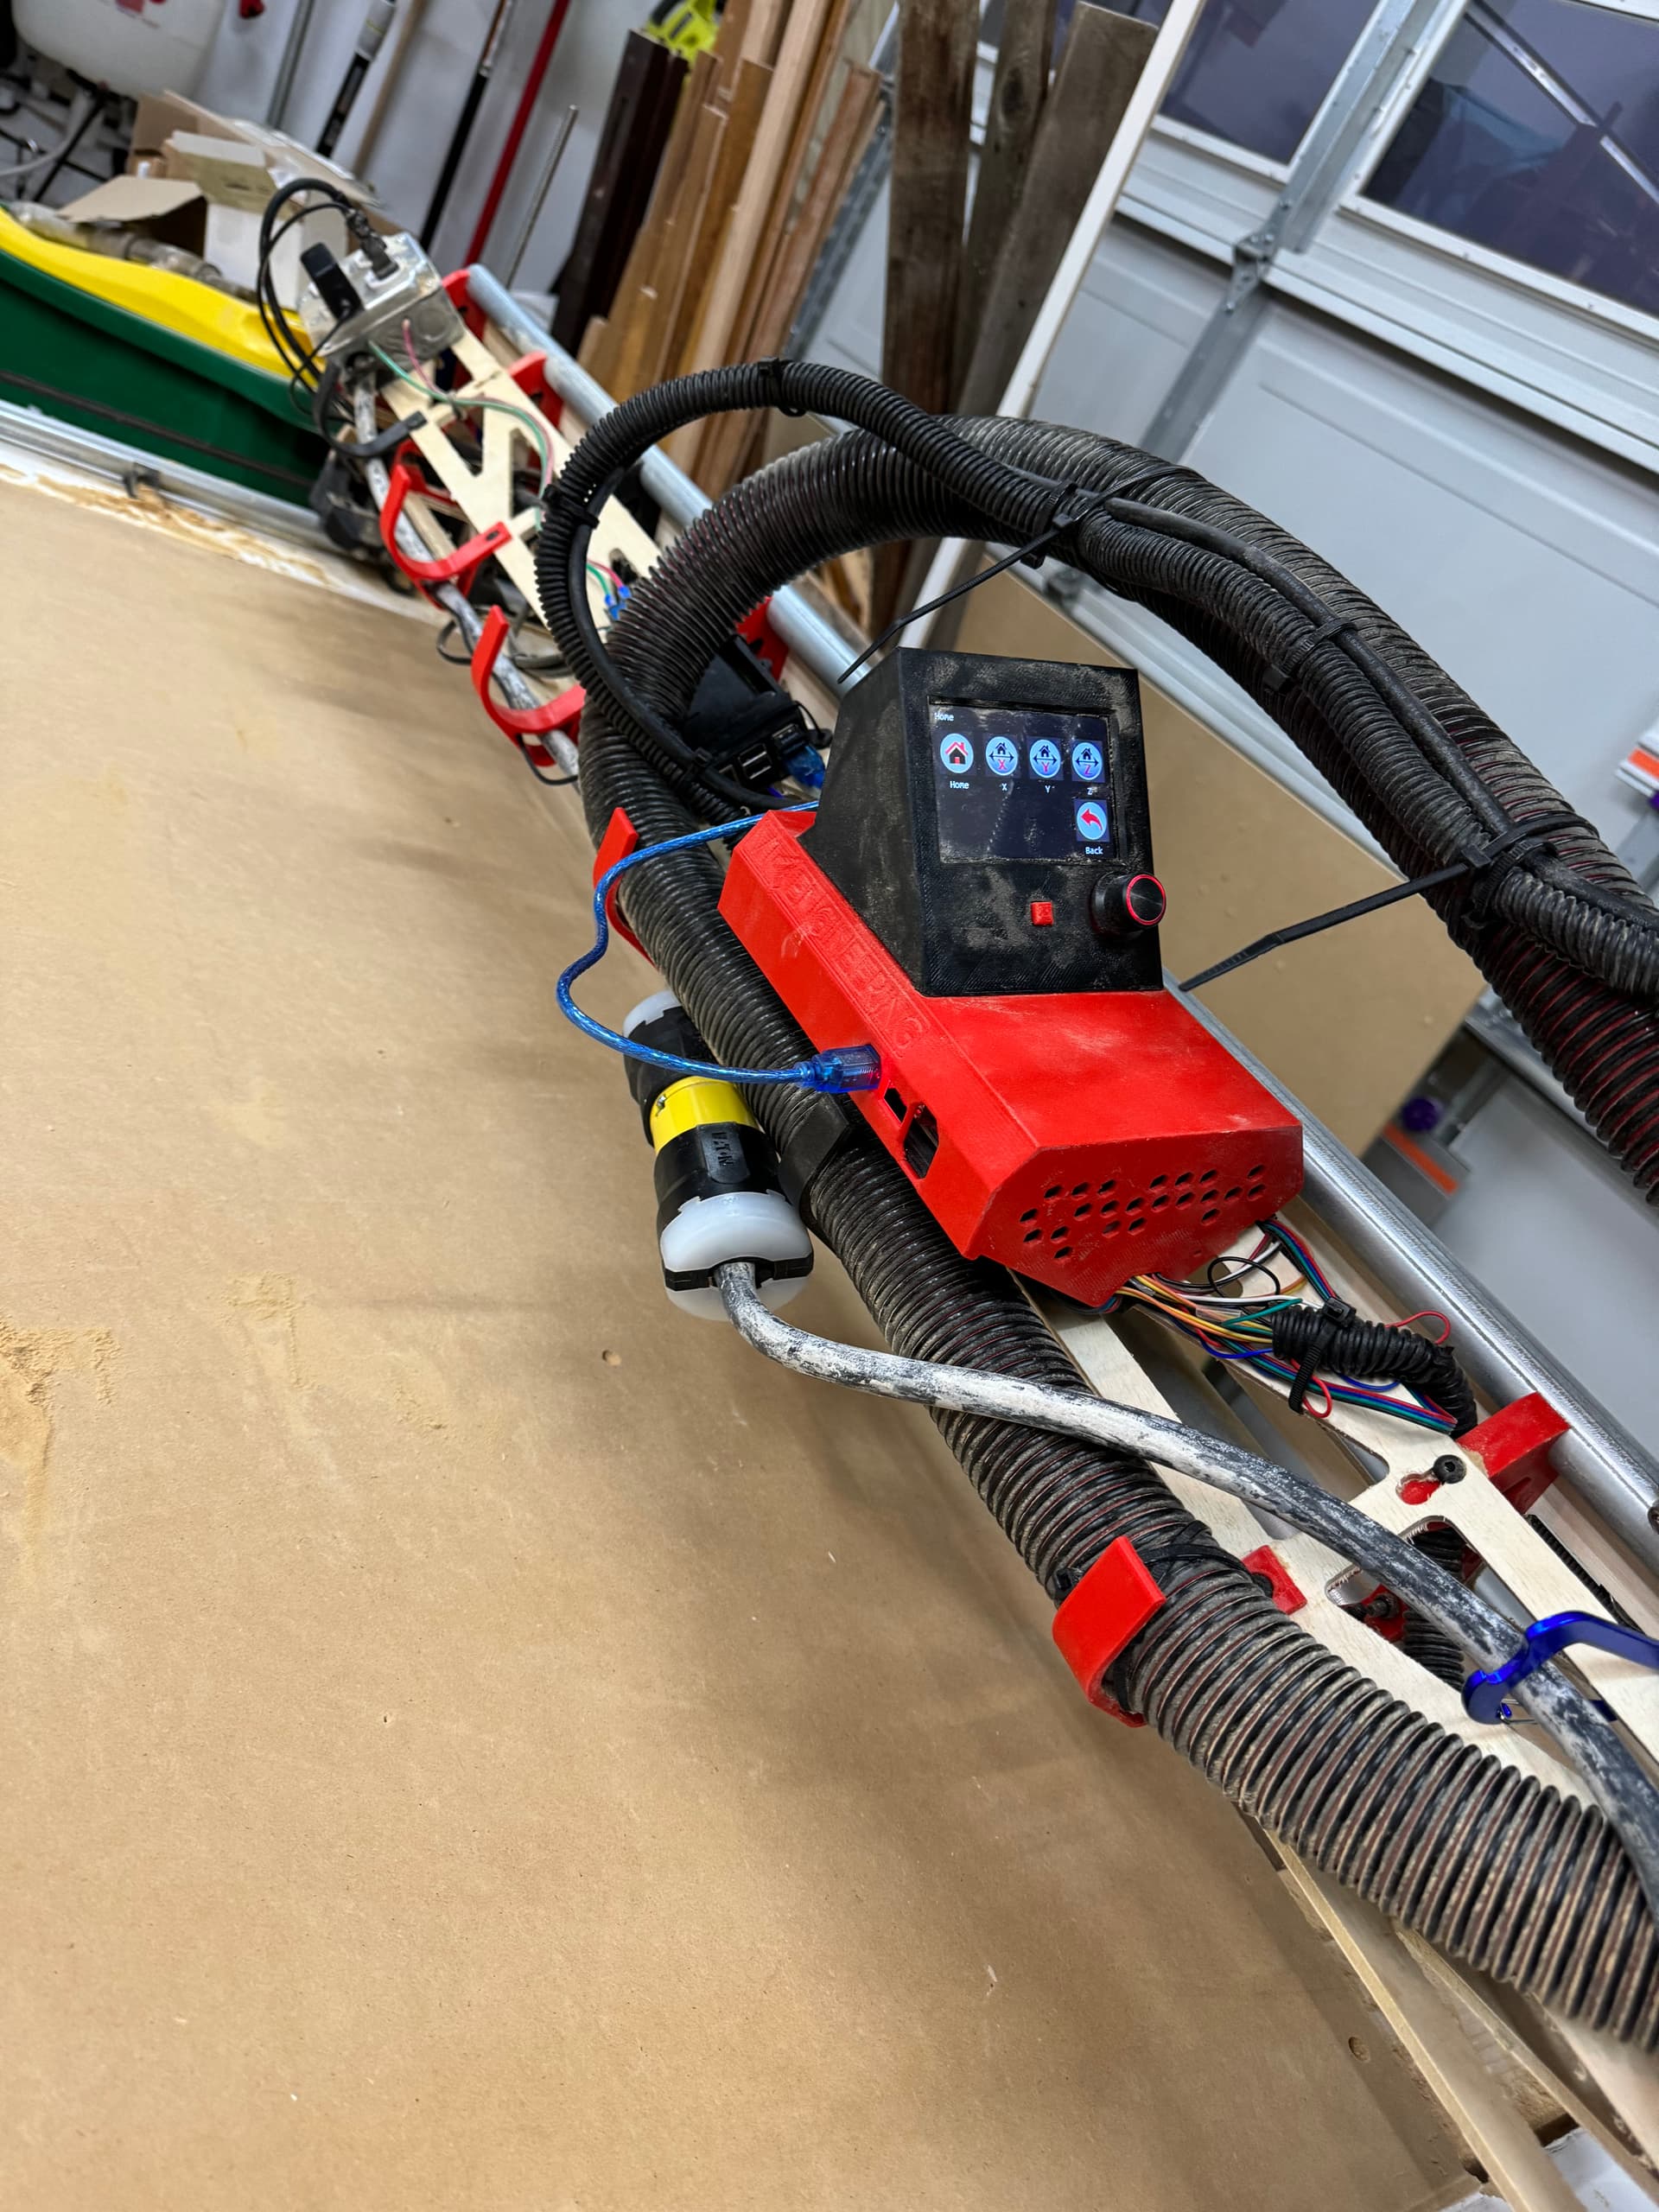
I went with the SKR Pro 1.2 with the TFT screen and later decided to add on a le potato (RaspPi alternative). I HAD picked a black and red color scheme… Then things broke, or imperfections found their way to the surface… yada yada yada… Which is why I have (at least for the moment) gone with the name Work in Progress. It is also a work in progress, in the future I hope to have some sort of color scheme vs the "art " that I currently have. I also plan on adding a custom front strut (Thank you @azab2c), doing much more finishing work on the wiring and dust collection, LEDs! cause why not, a diode laser, and possibly a drop section on the table.
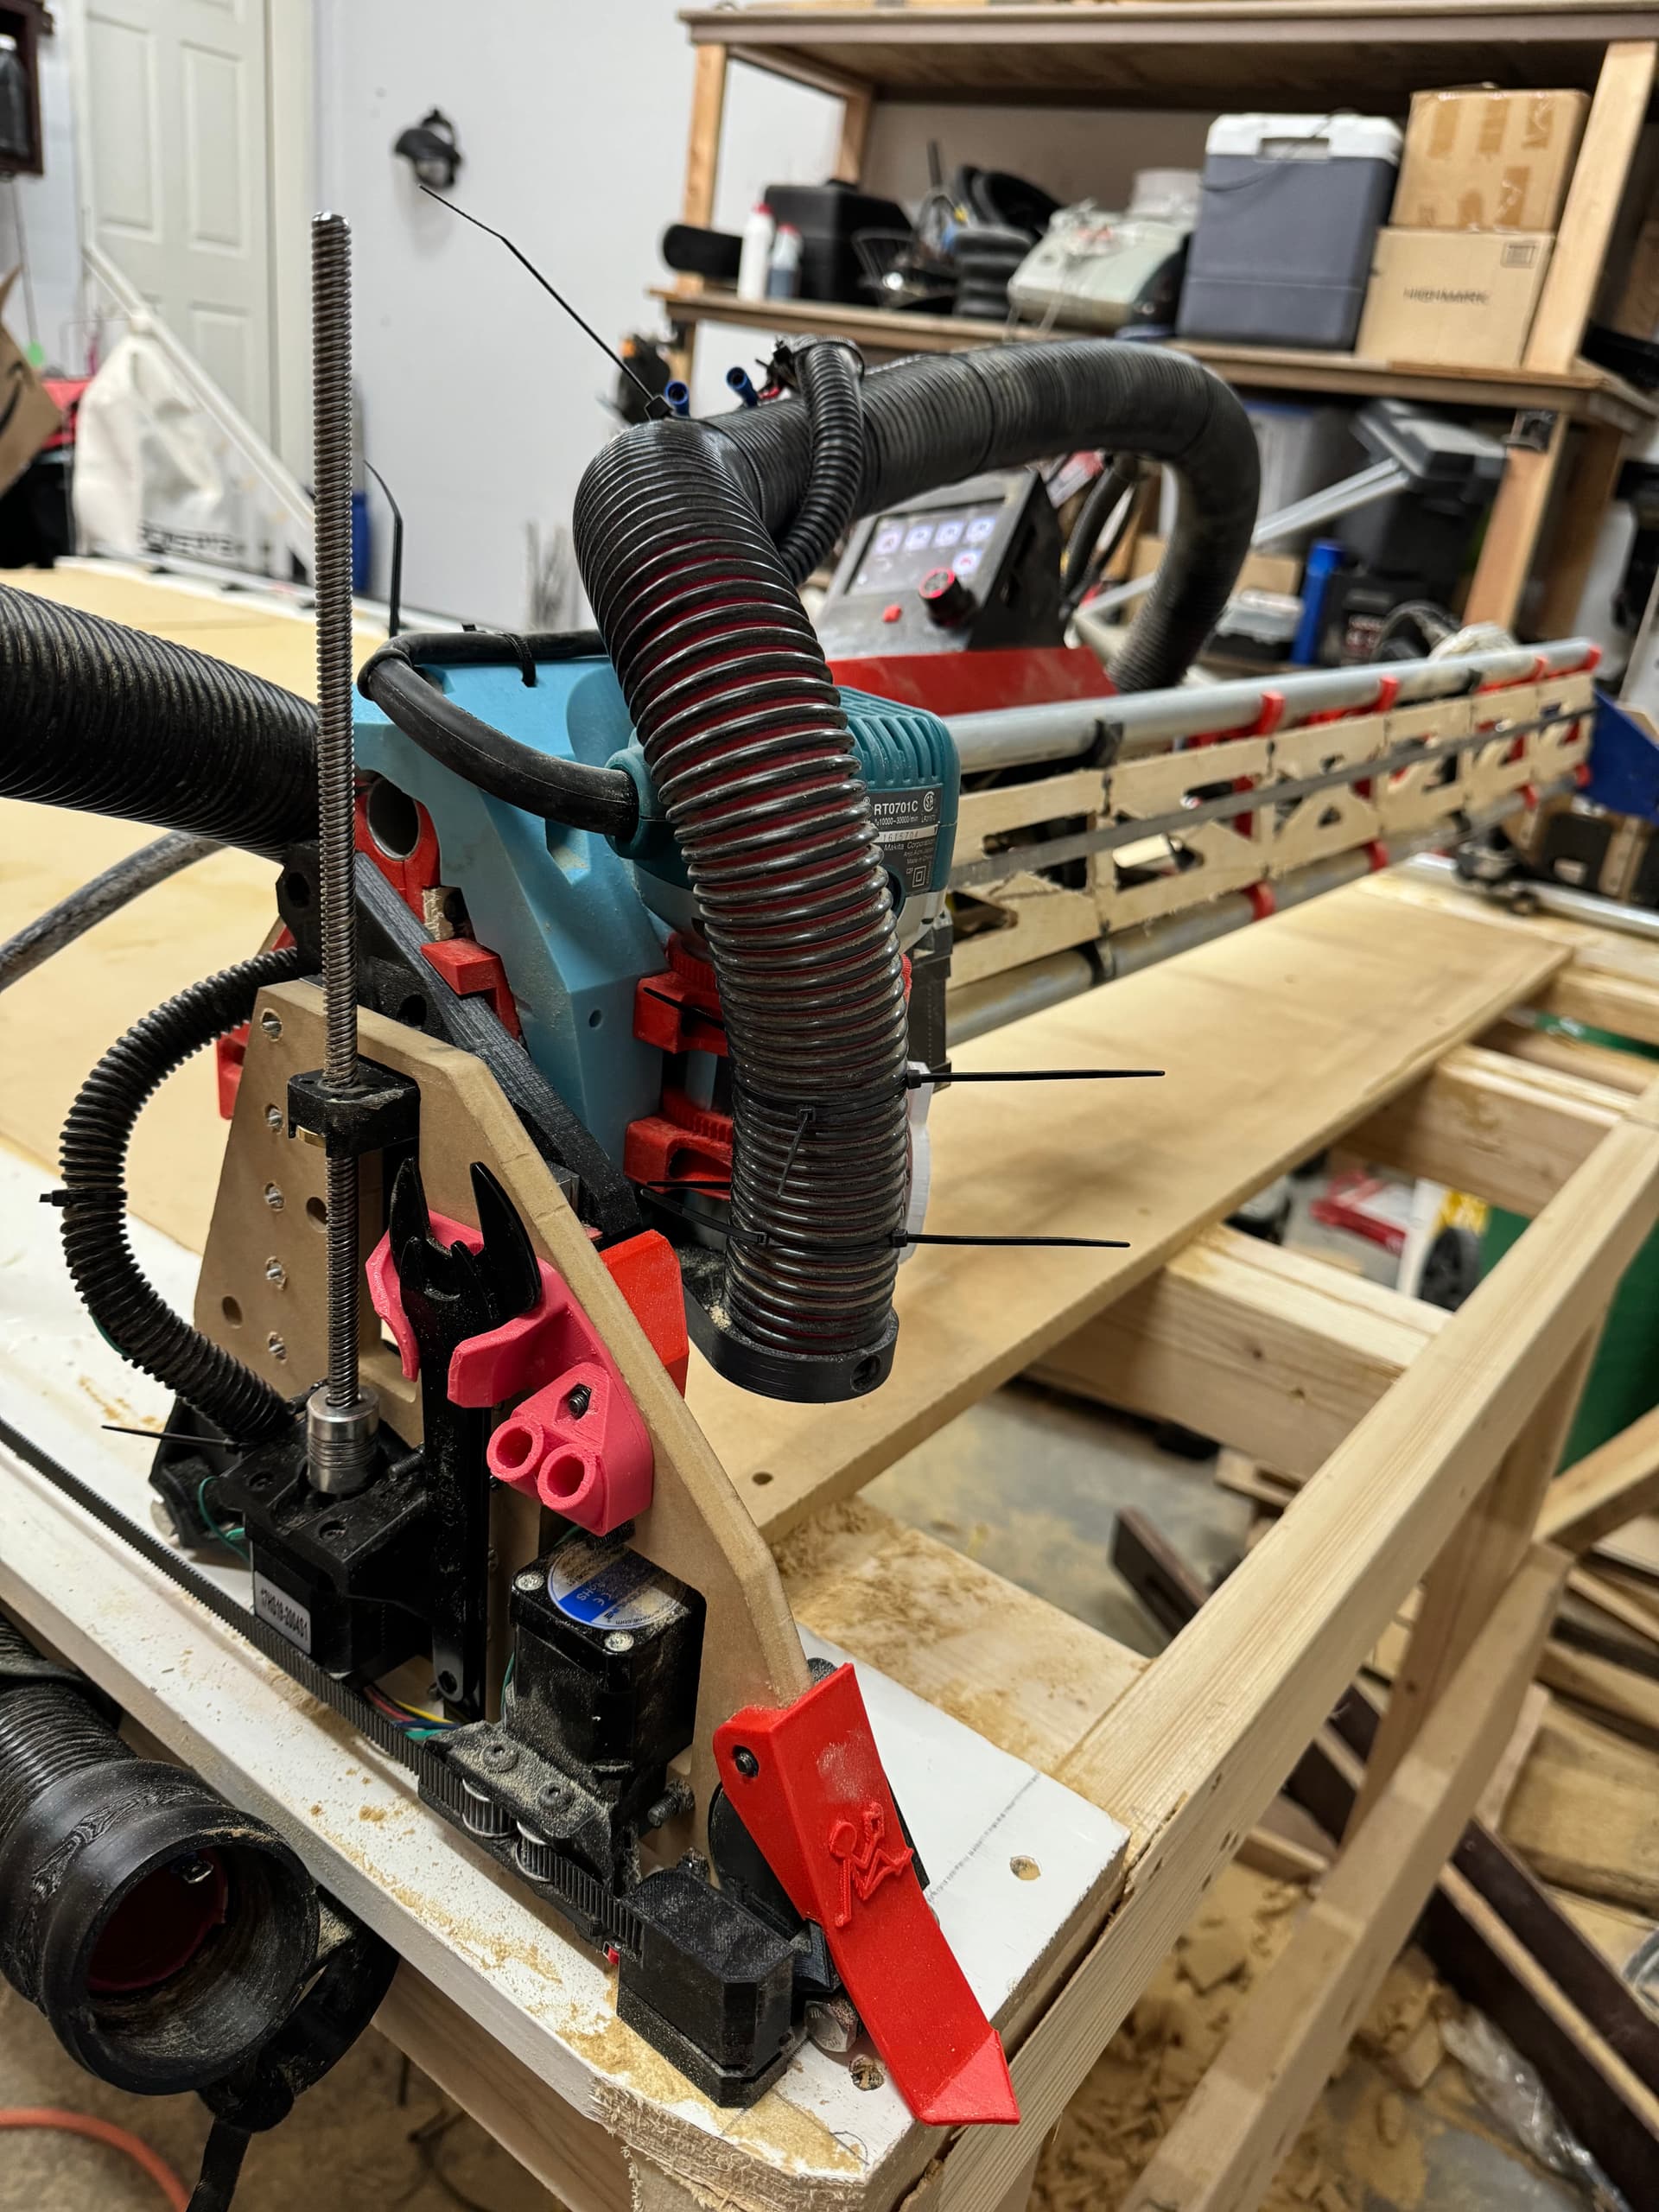
So without a further ado I present a Work in Progresscough…cough… ignore the uncut zip ties
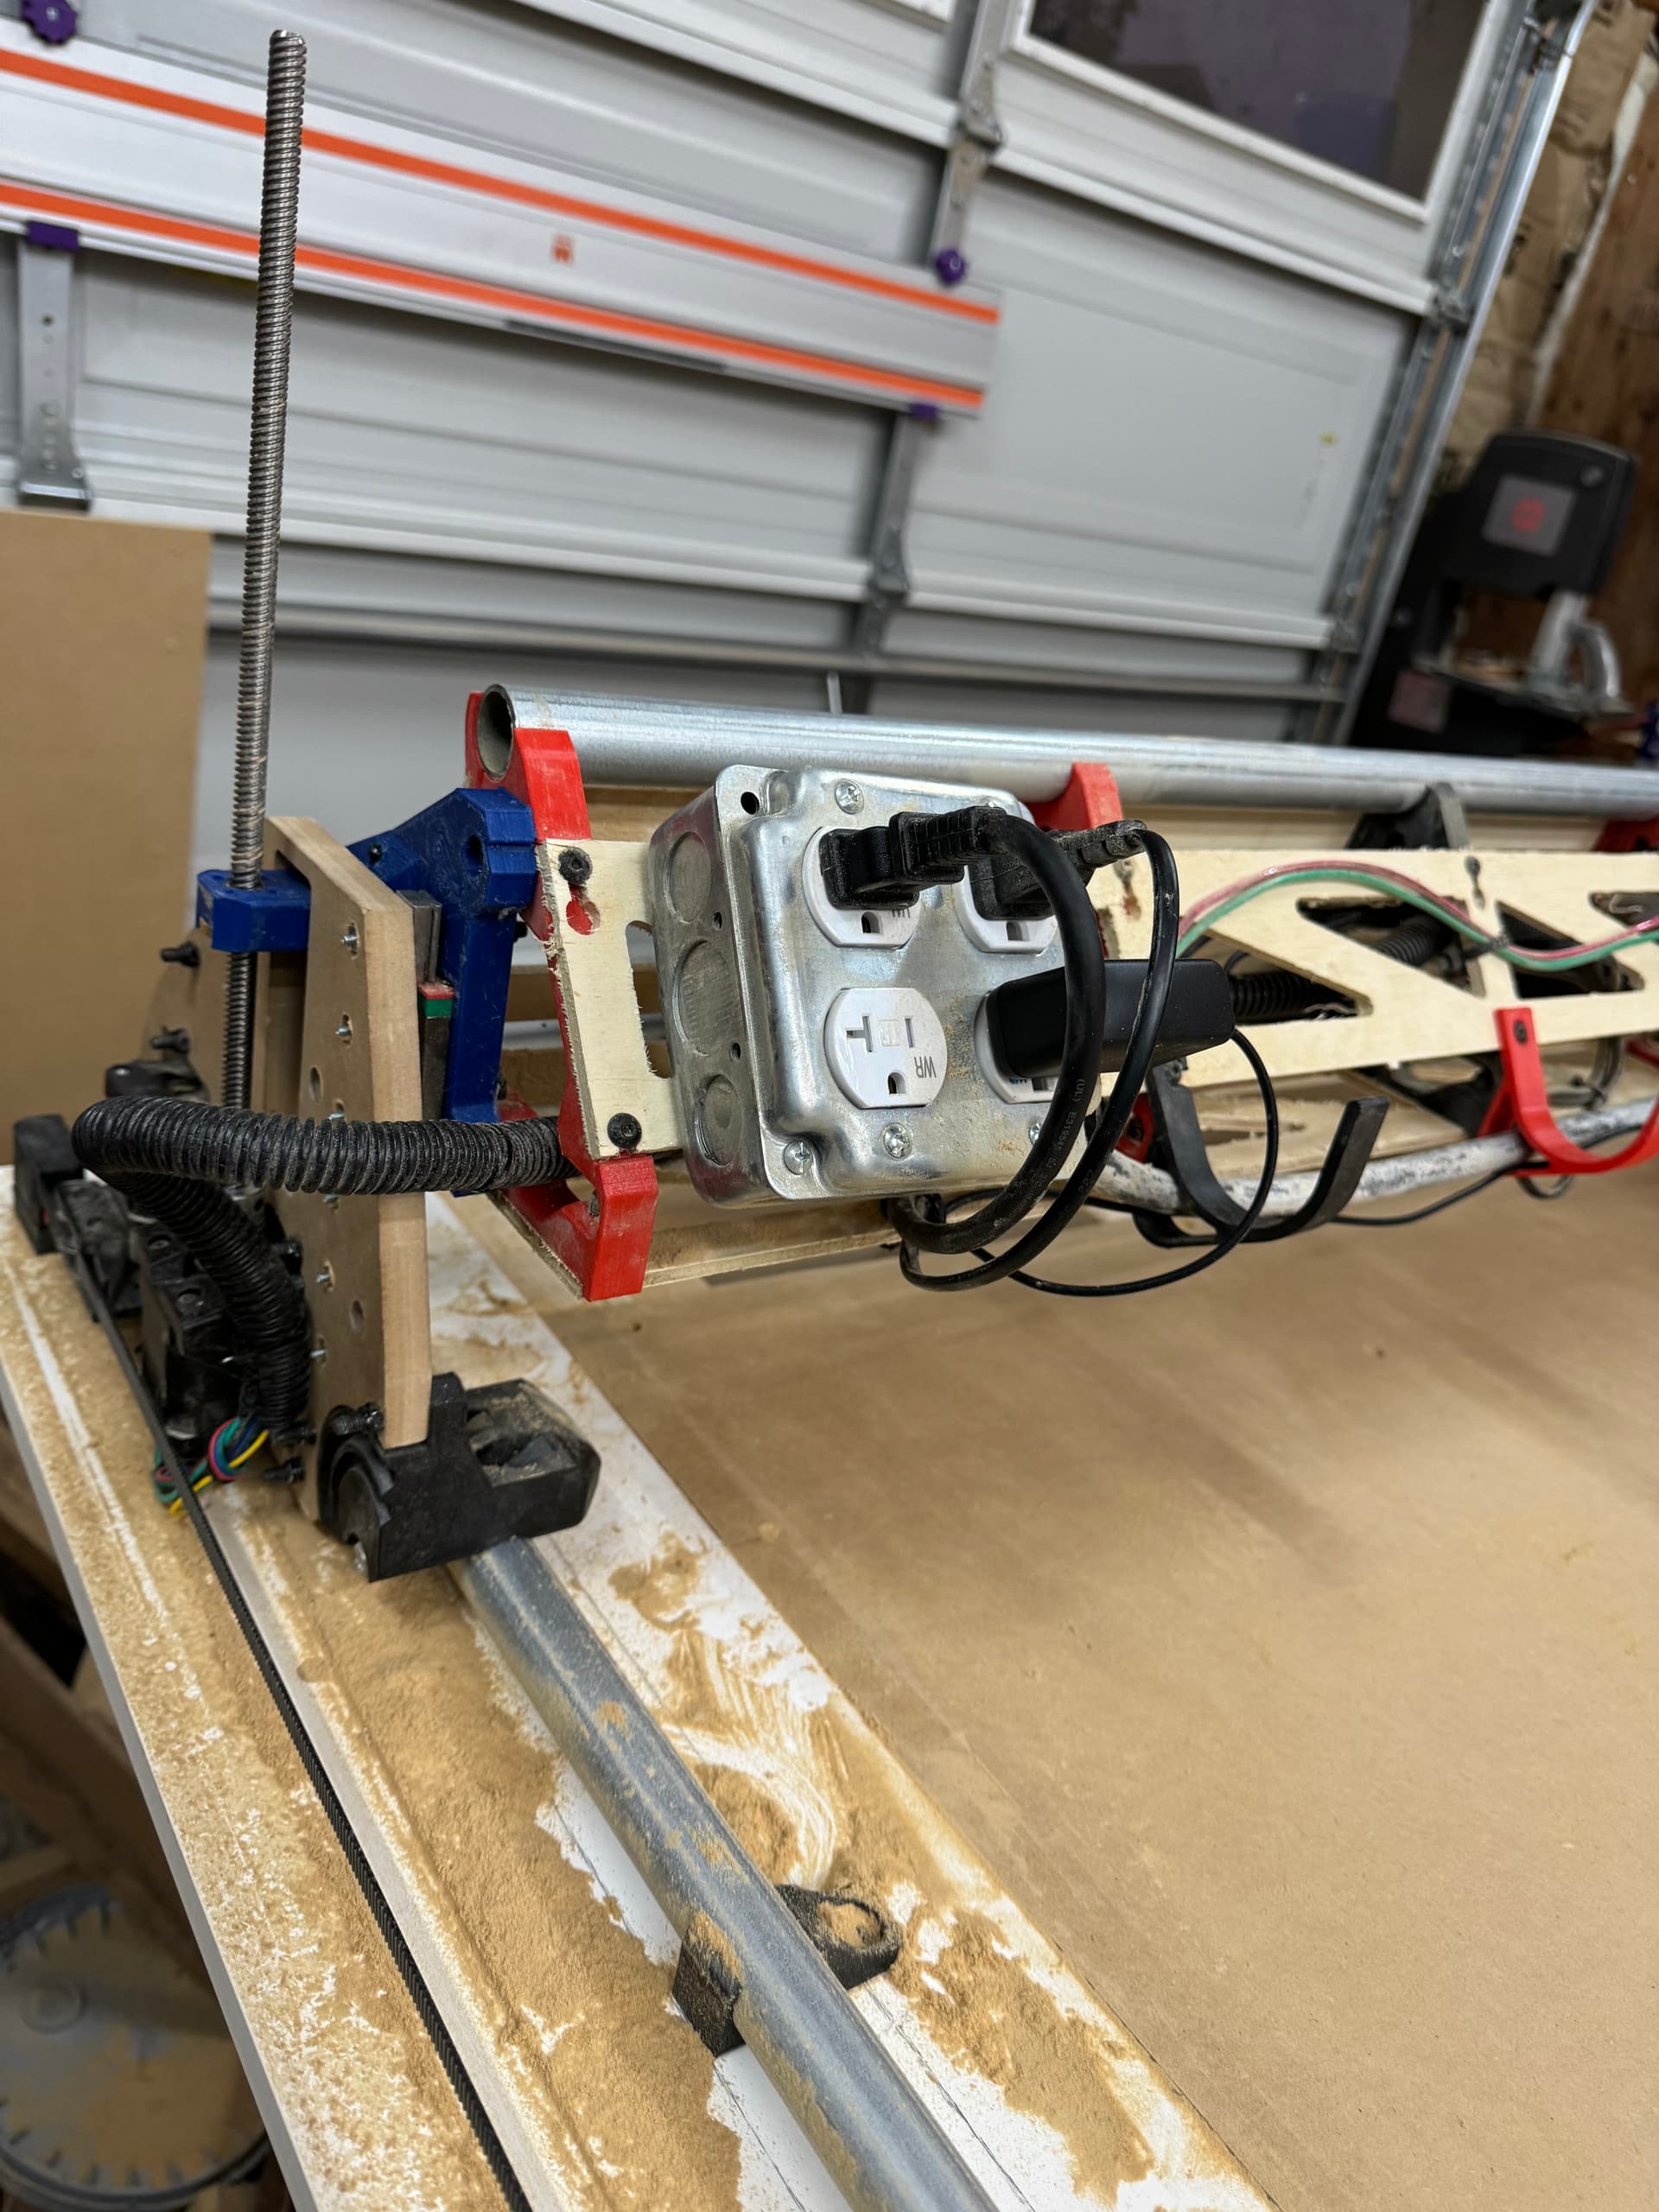
Some special features that I added was a incorporated outlet with half of it being switchable via low level relay; I used a 250v plug and connector to create a quick disconnect for the outlet; used a quick connect adapter for a grounding cable in the vac hose; I used @*vicious1’s vacuum hose connector; I added many of @*DougJoseph accessories like the kinematic accessory mount with pen mount, Boot tips, Makita tool and collet holder, and the extended dust boots (not pictured); Also used How To Homemade (not sure the tag) reinforced hose hanger, and table hose hanger; Also @*azab2c Dust Flap; Finally I also added @*Michael_Melancon Makita adjustable mount.
It looks great. I somehow feel the tool holder should be included in the base files, nearly everyone prints it (though I always take the collet out when cutting because the rattling distracts me).
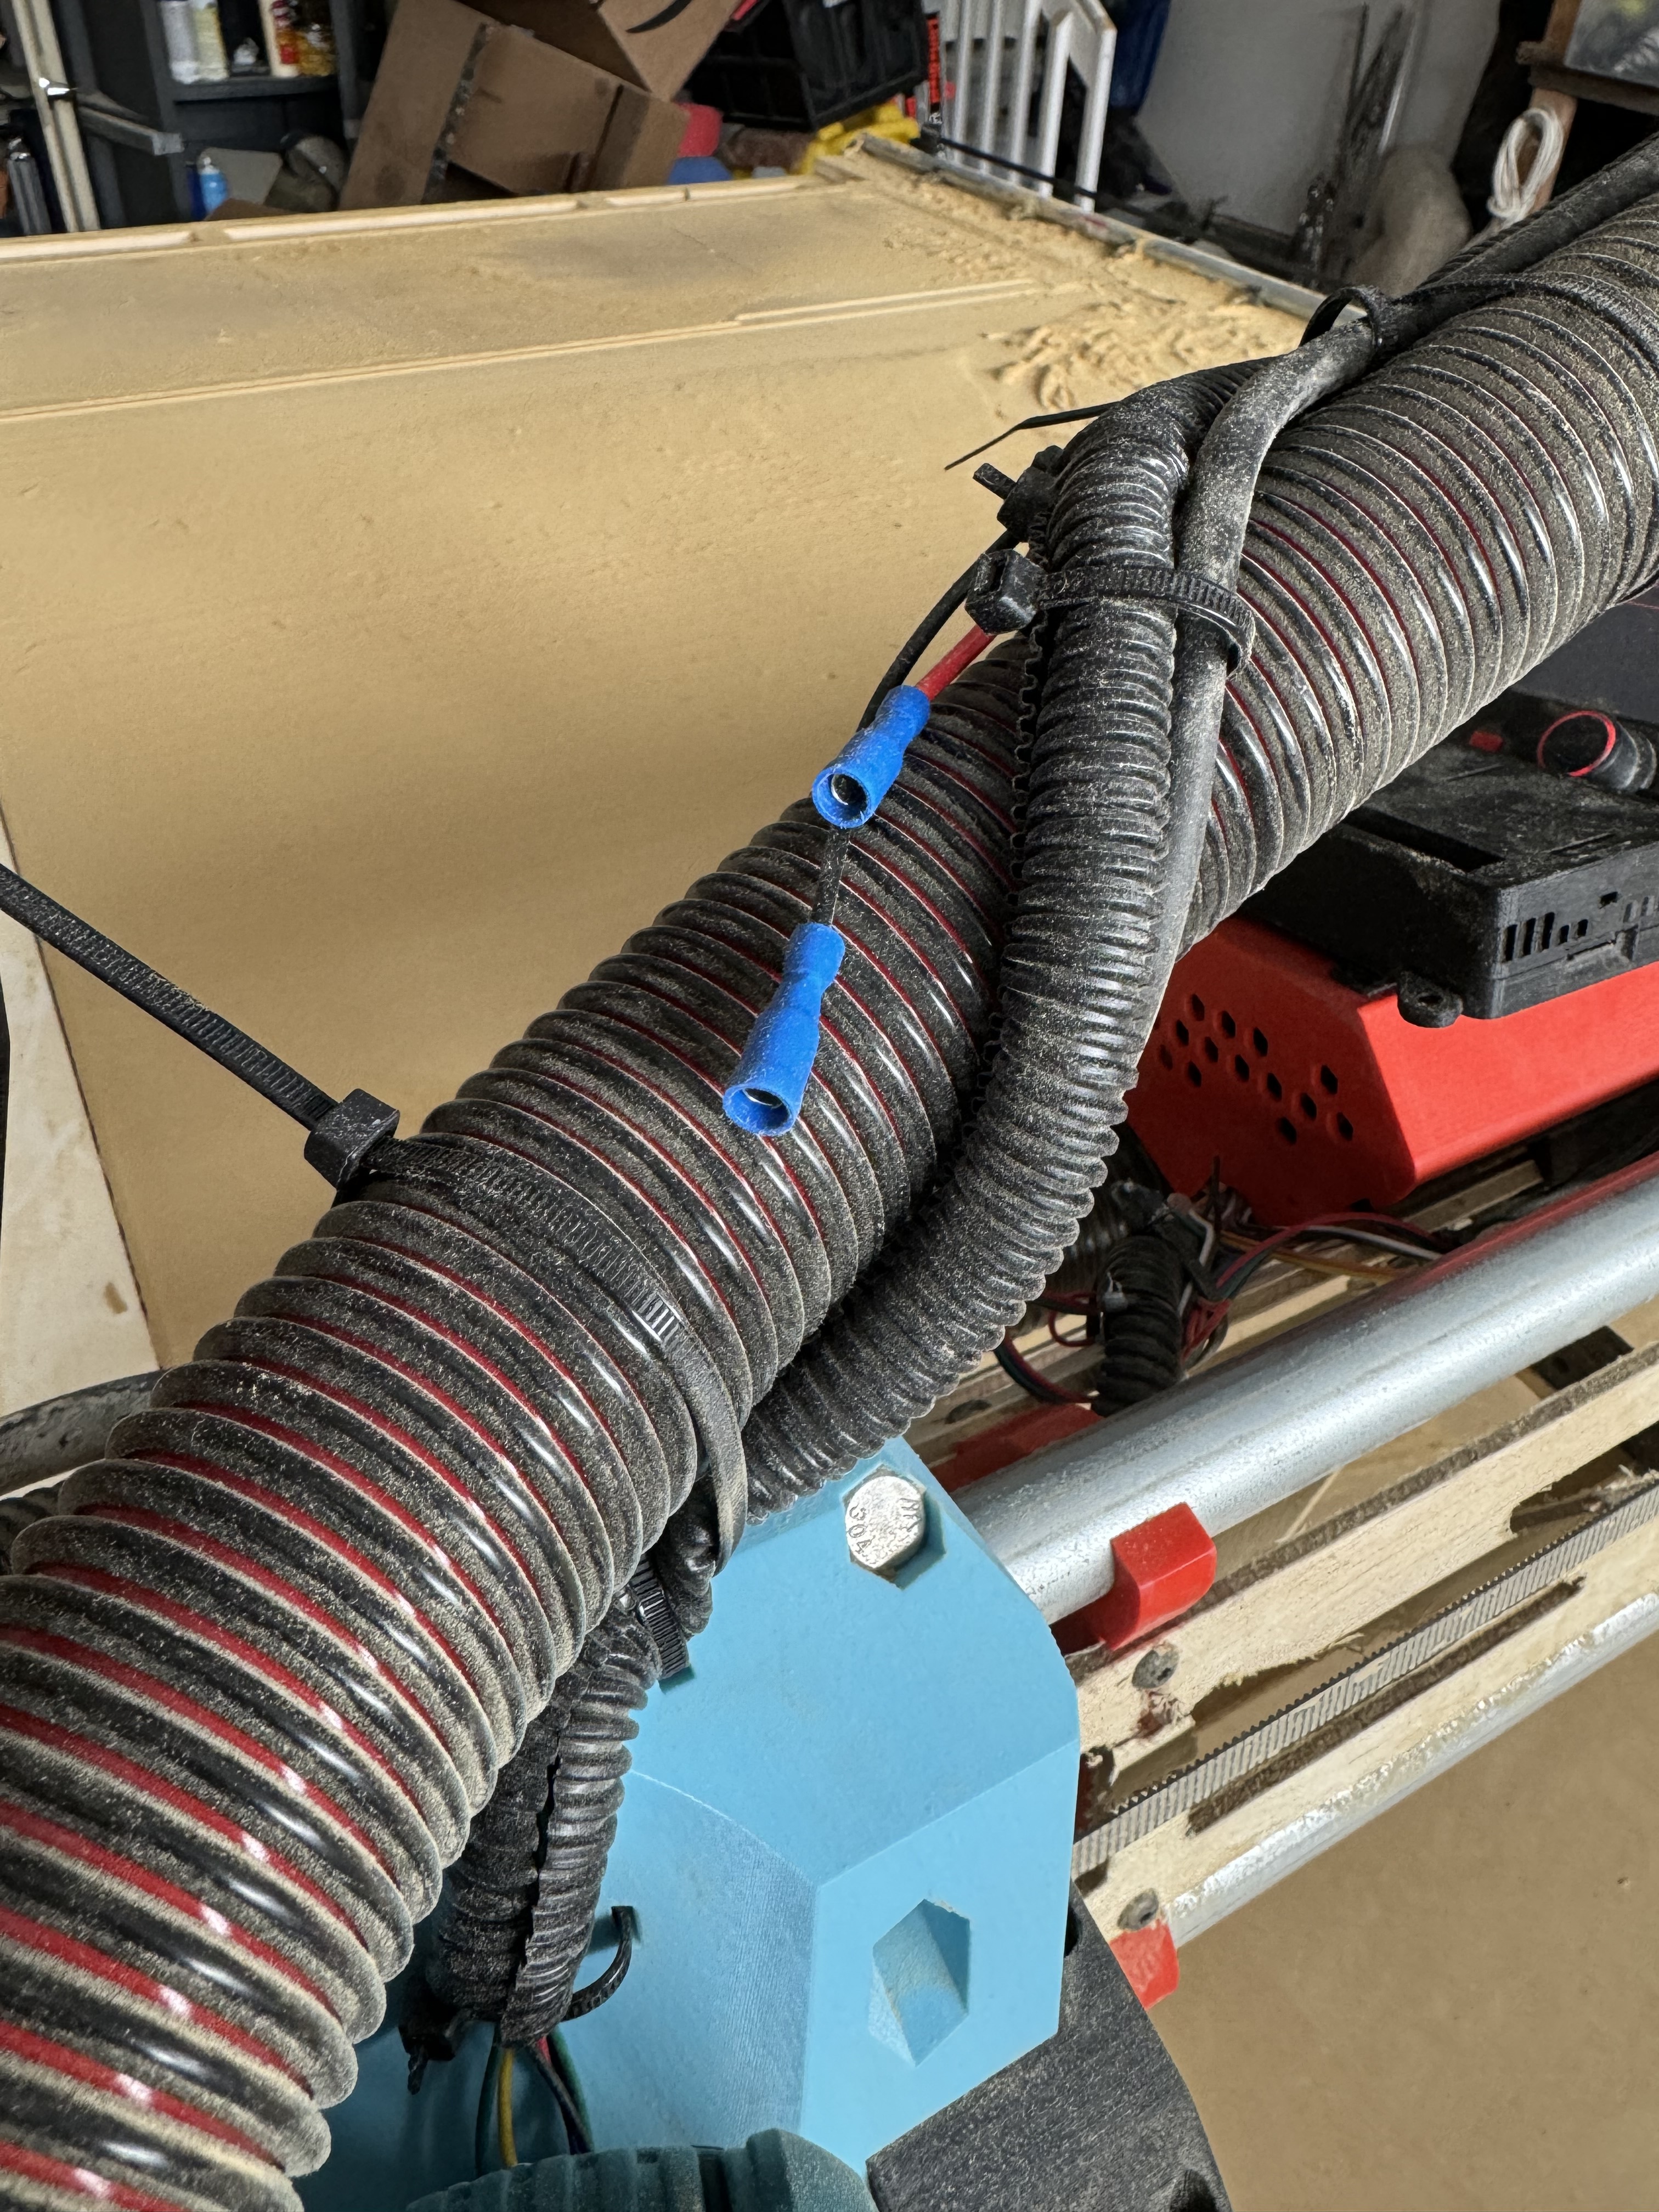
Haha in all seriousness I just re-ran most my cabling after the router change and wanted to make sure I liked where it is before going through the process of cutting everything off.
I can definitely concur. It’s really handy. Now just need to make something for my touch plate. ( *slaps face, I didn’t even mention the touch plate above. It’s pretty unique and screams red neck. Going to have to get pictures of that)
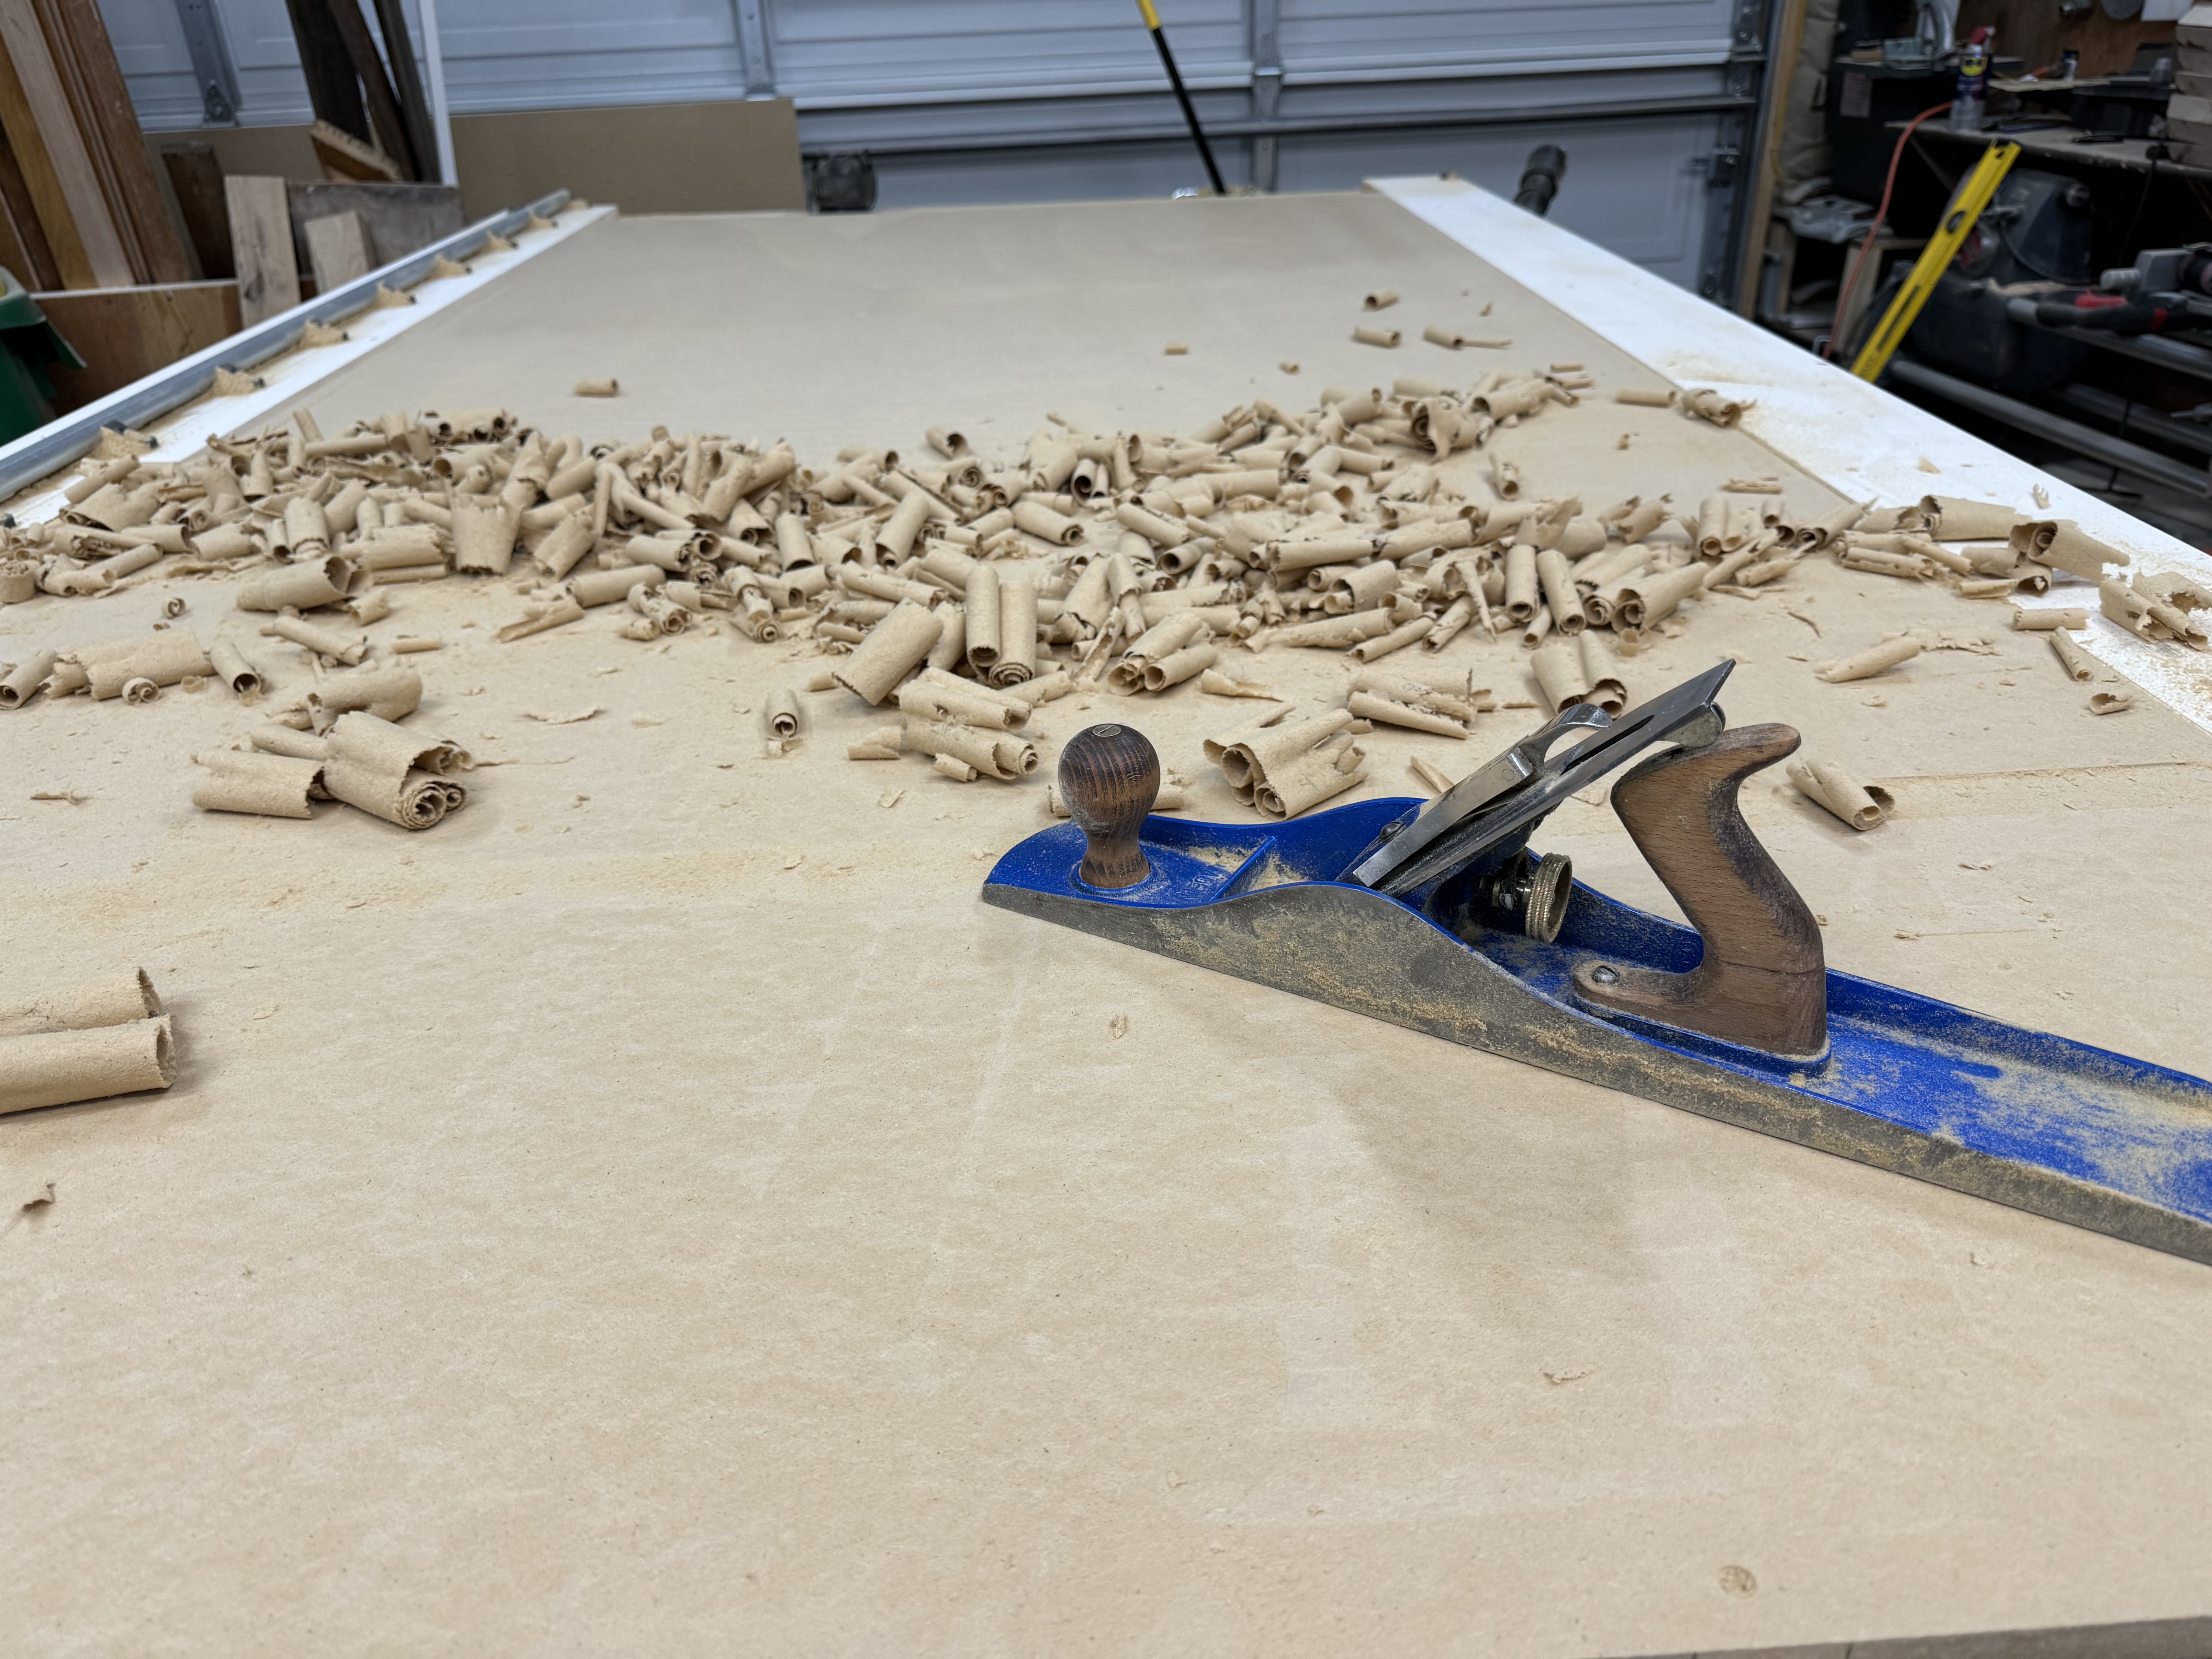
Got around to trying to finish the spoilboard today. Forgot my rail was re-squared/fixed and thus the cut would be different. Caused a jam which was strong enough to loosen the toothed pully on Y2 (maybe I didn’t tighten enough, will check in the AM).
The dust collection hose is also causing some missed steps if it twists the wrong way, either need to find a way to stop the machine end of the hose from twisting, or build a ramp (3d or wood) by the outlet so it doesn’t bind when the hose does twist.
Back to Estl for the gcode, and tearing apart the Y2 in the AM
It is at least a learning experience, and will likely be one off issues. At least that’s what I keep saying to myself.
Got the Y2 stepper fixed (set screw came lose, must not have tightened it enough)
Going to design up some kind of ramp for the hose today. Hopefully have everything ready come tonight and can finally finish this board.
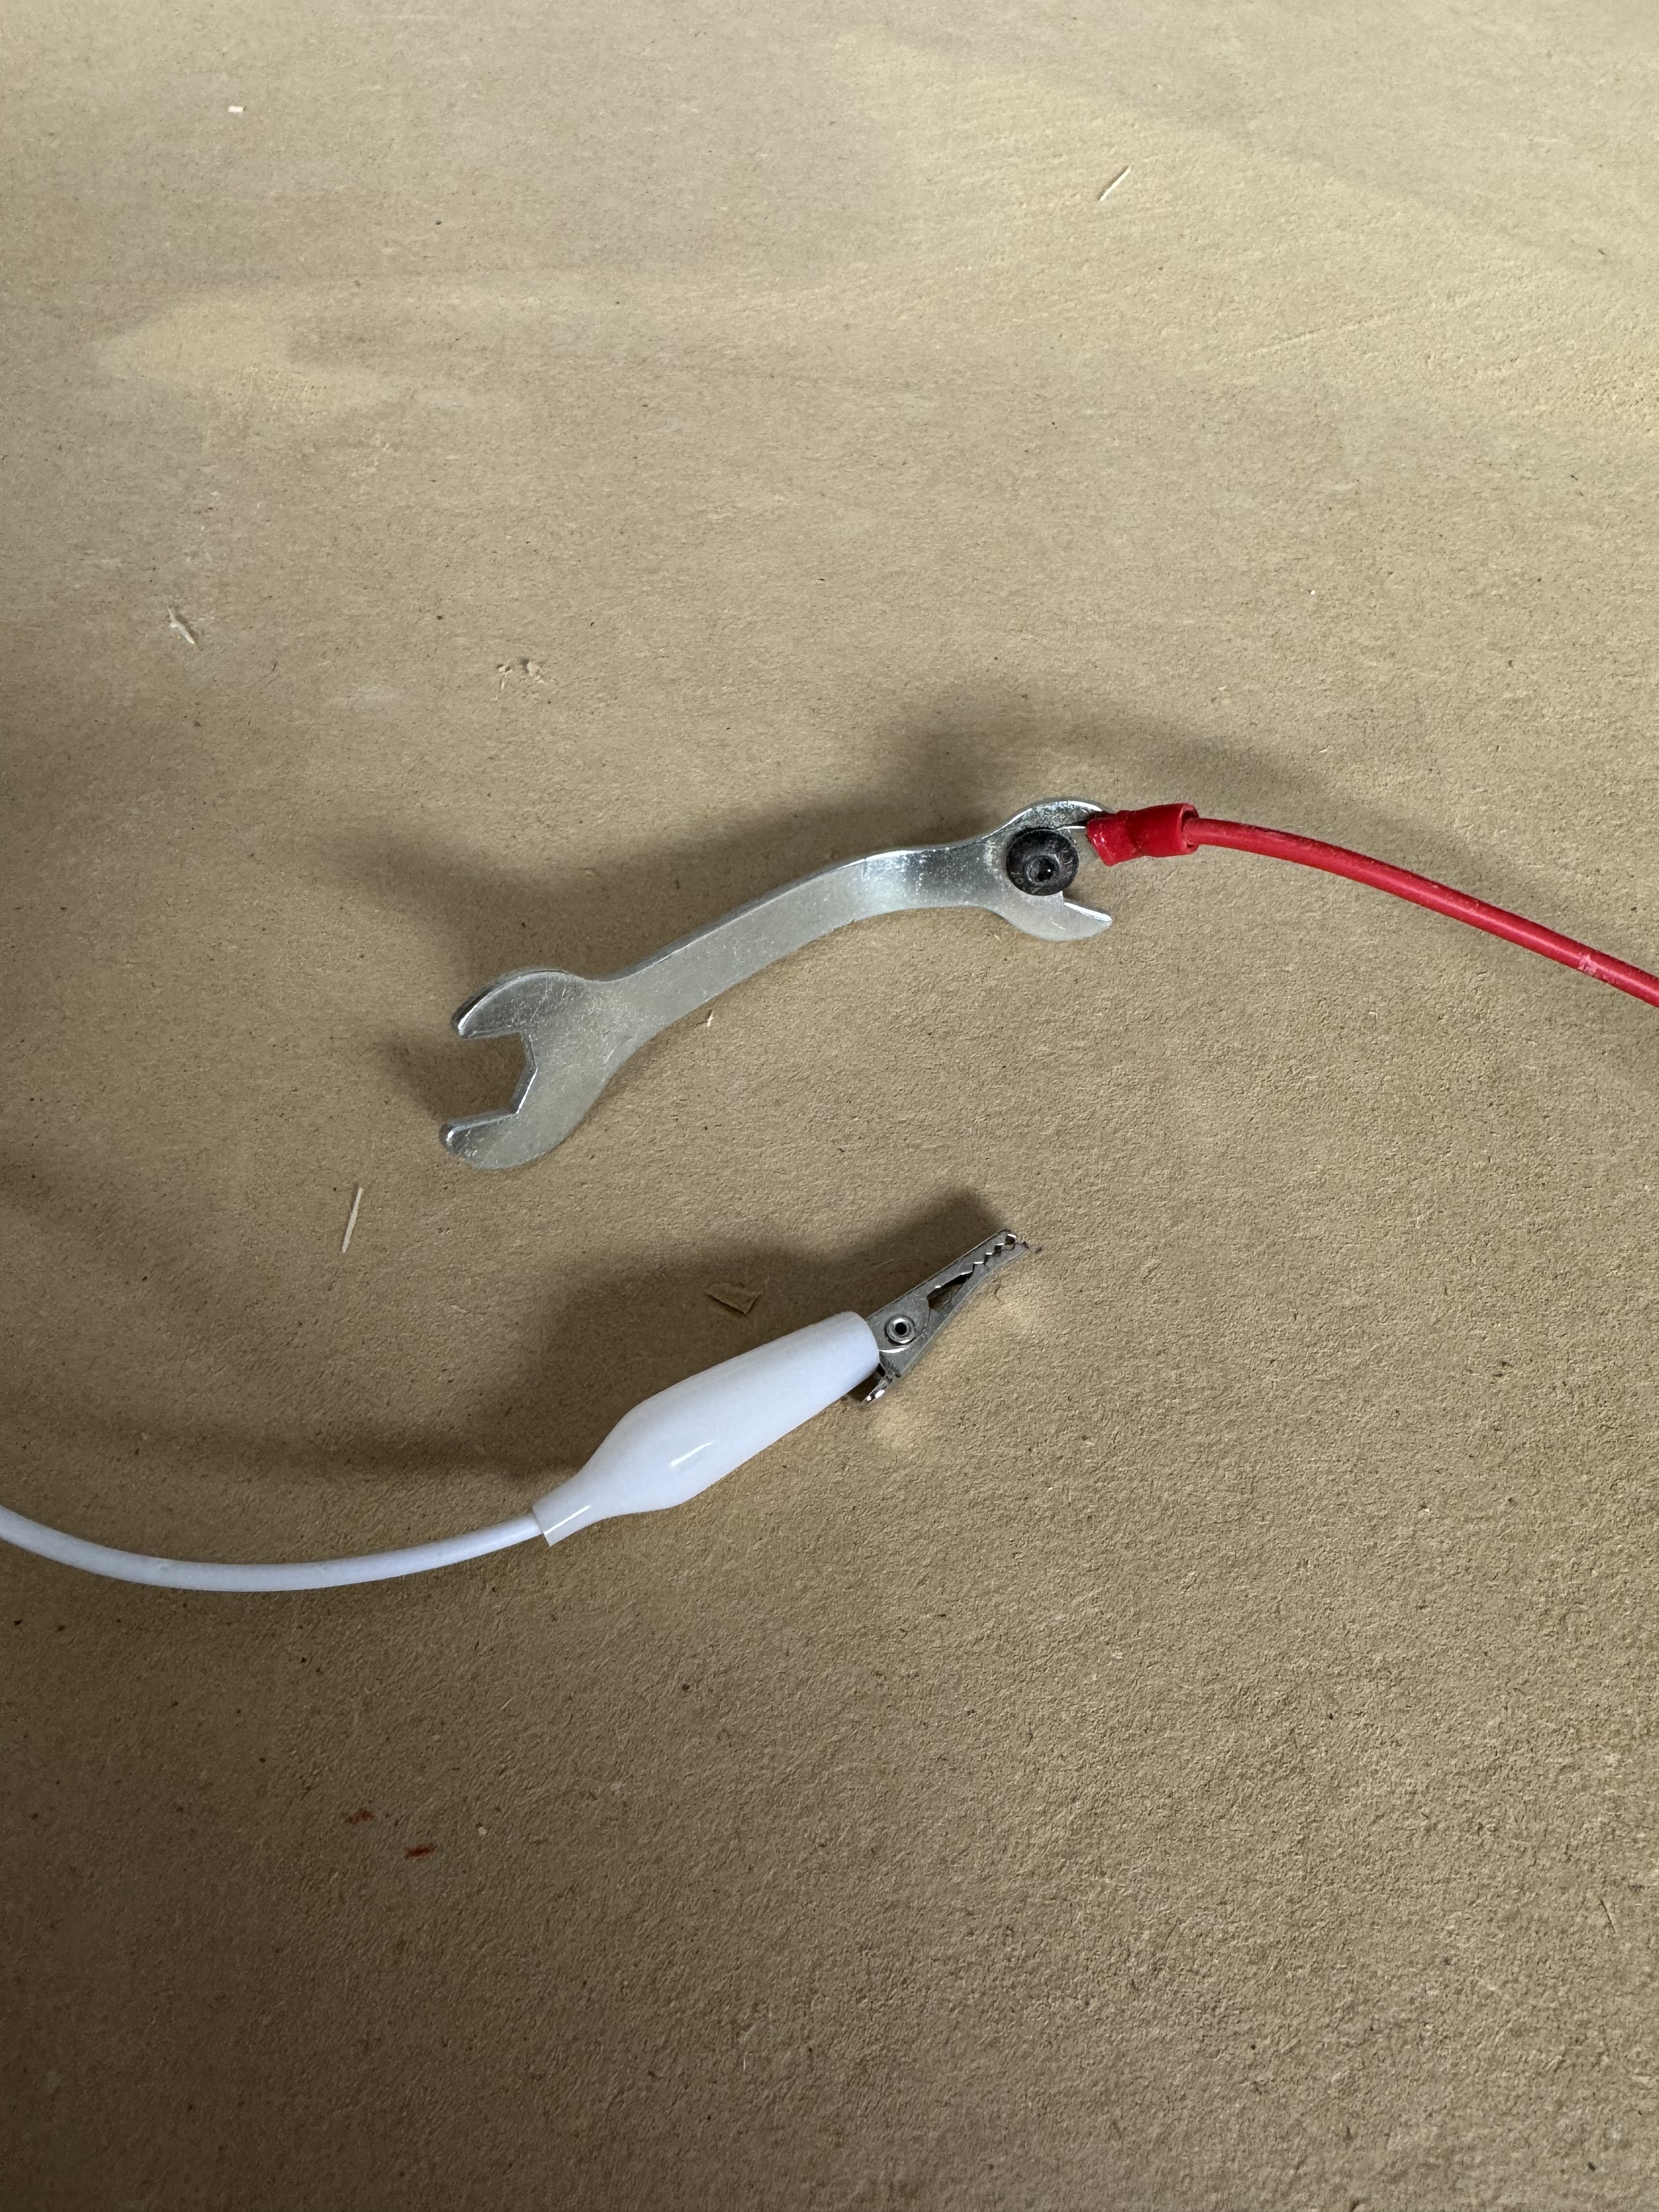
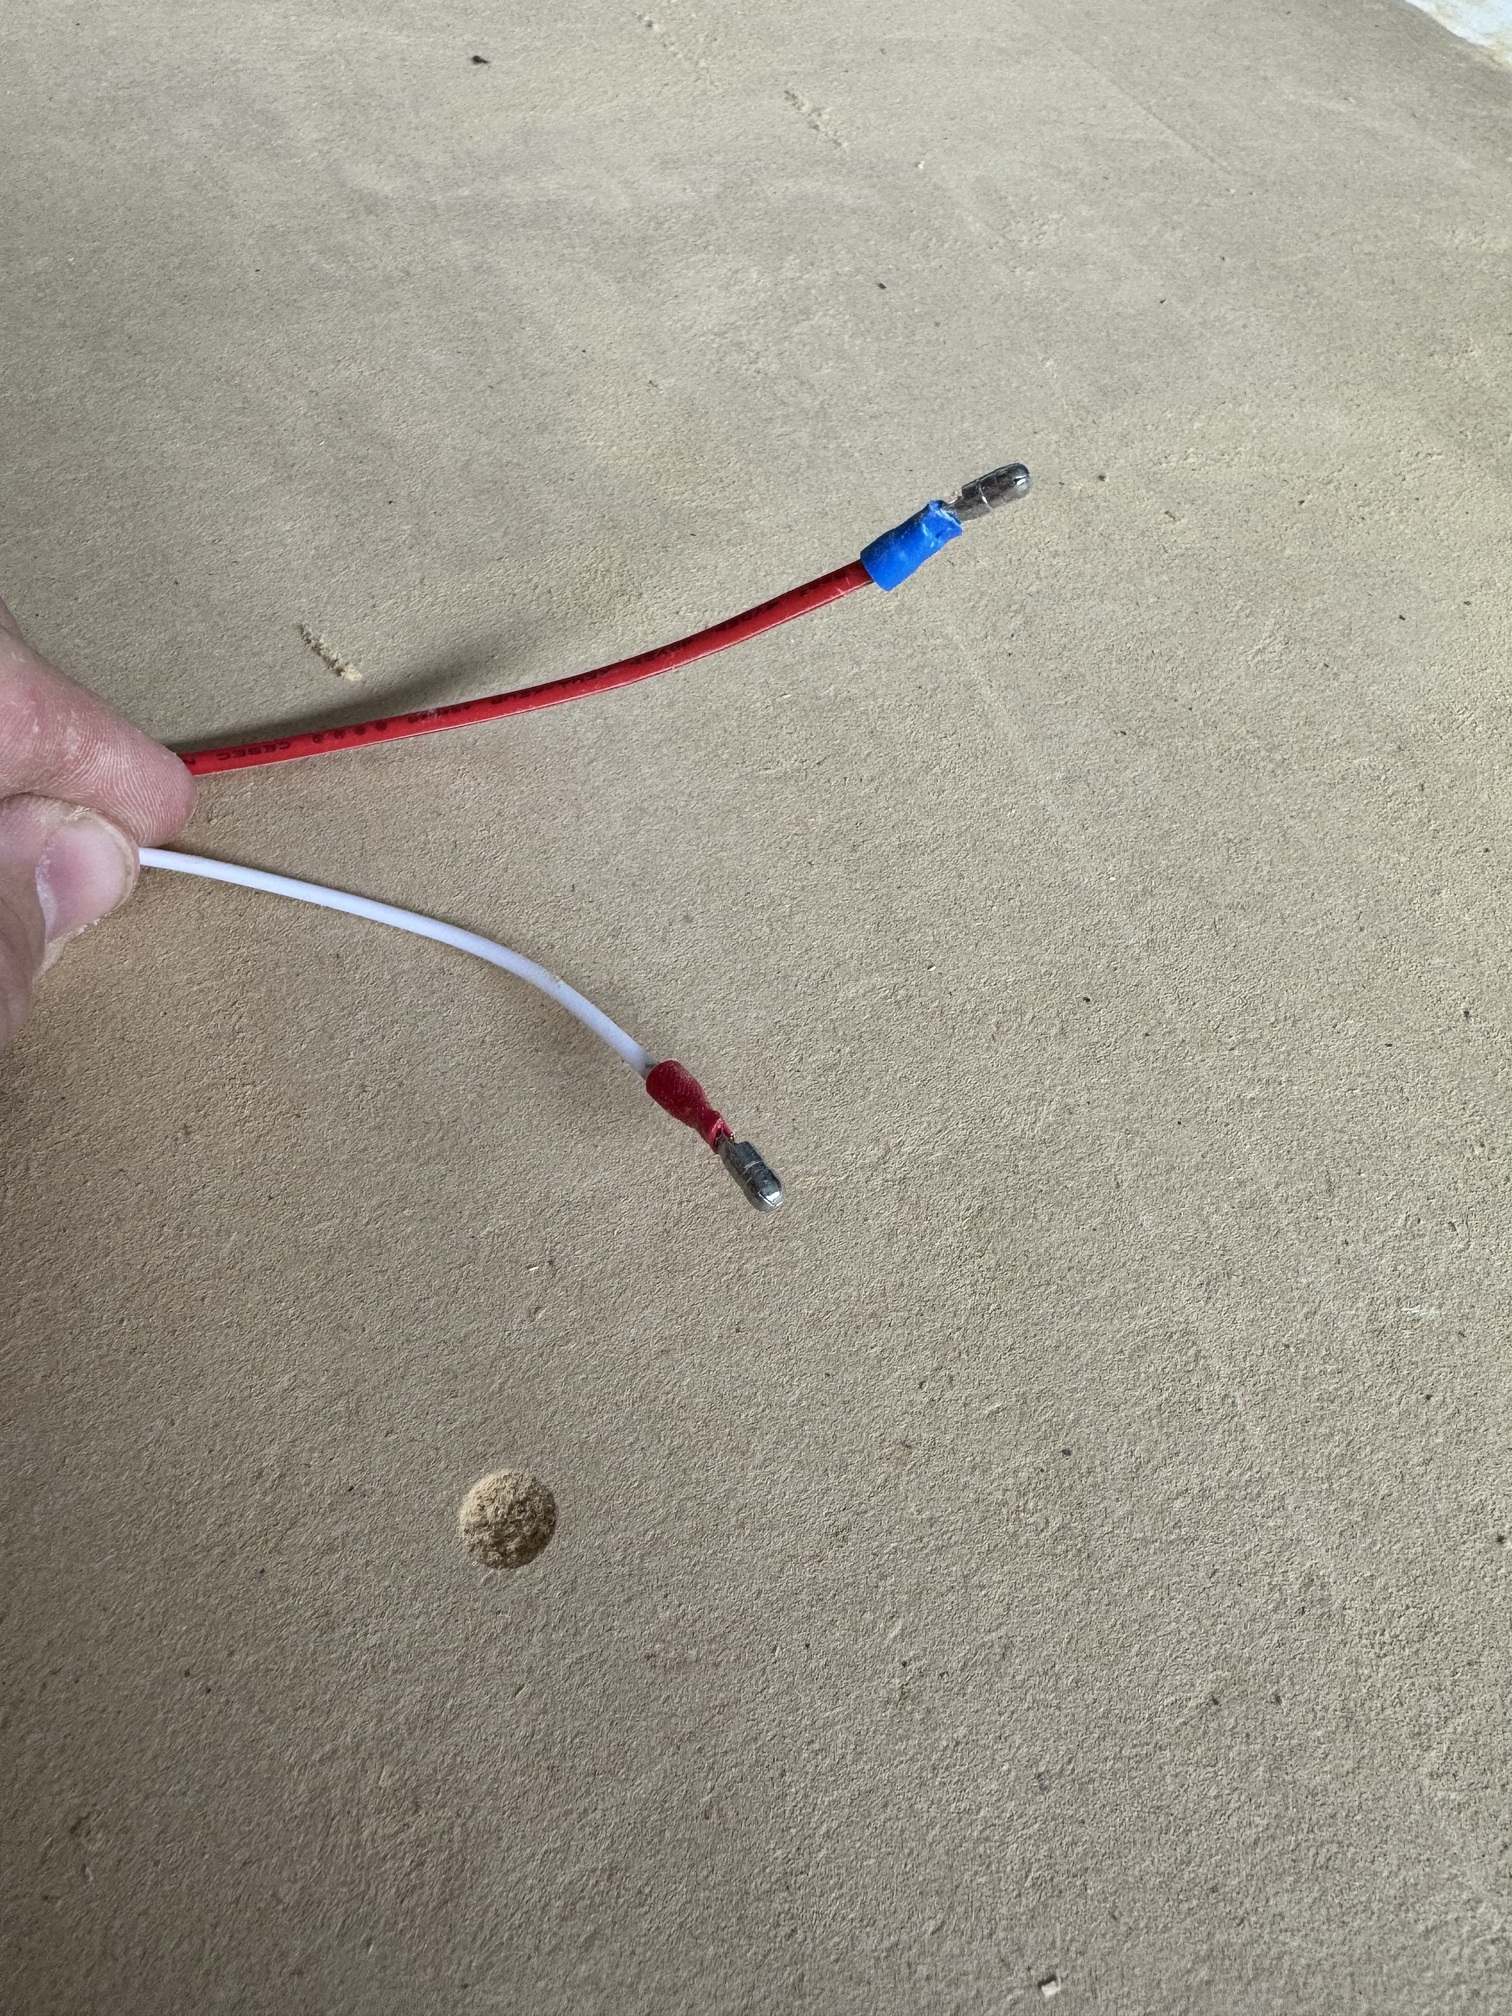
Got some photos of my touch plate. This is a recycled wrench from a 3d printer upgrade kit. I used my calipers to make sure the thickness was uniform. Bent it so I can use some force to make sure it’s flat as well as provide clearance for the bolt that attached the cable. Other end is a simple alligator clip I had on hand. Both are detachable via some wire crimps. And attachment is just above the core (I like this spot vs on the core cause it’s easier to reach even with the core in the middle). I need to build a mount for them still so I can keep them tidy and not risk losing them.
That’s a big bit and a pretty deep depth of cut. I have not run it through my GWizard calculator, but it sounds like a lot. What kind of RPM on the router?
I have a trouble shooting thread on it. One of them mentioned maybe a current issue but I wasn’t able to get any results as it was with the dewalt which had bad bushing by the time I got to it. Wife actually pointed to my extension cord as asked why I used such a long one. Maybe that’s at fault. I know people do seriously long carves with the Makita so I wouldn’t expect it to overheat.
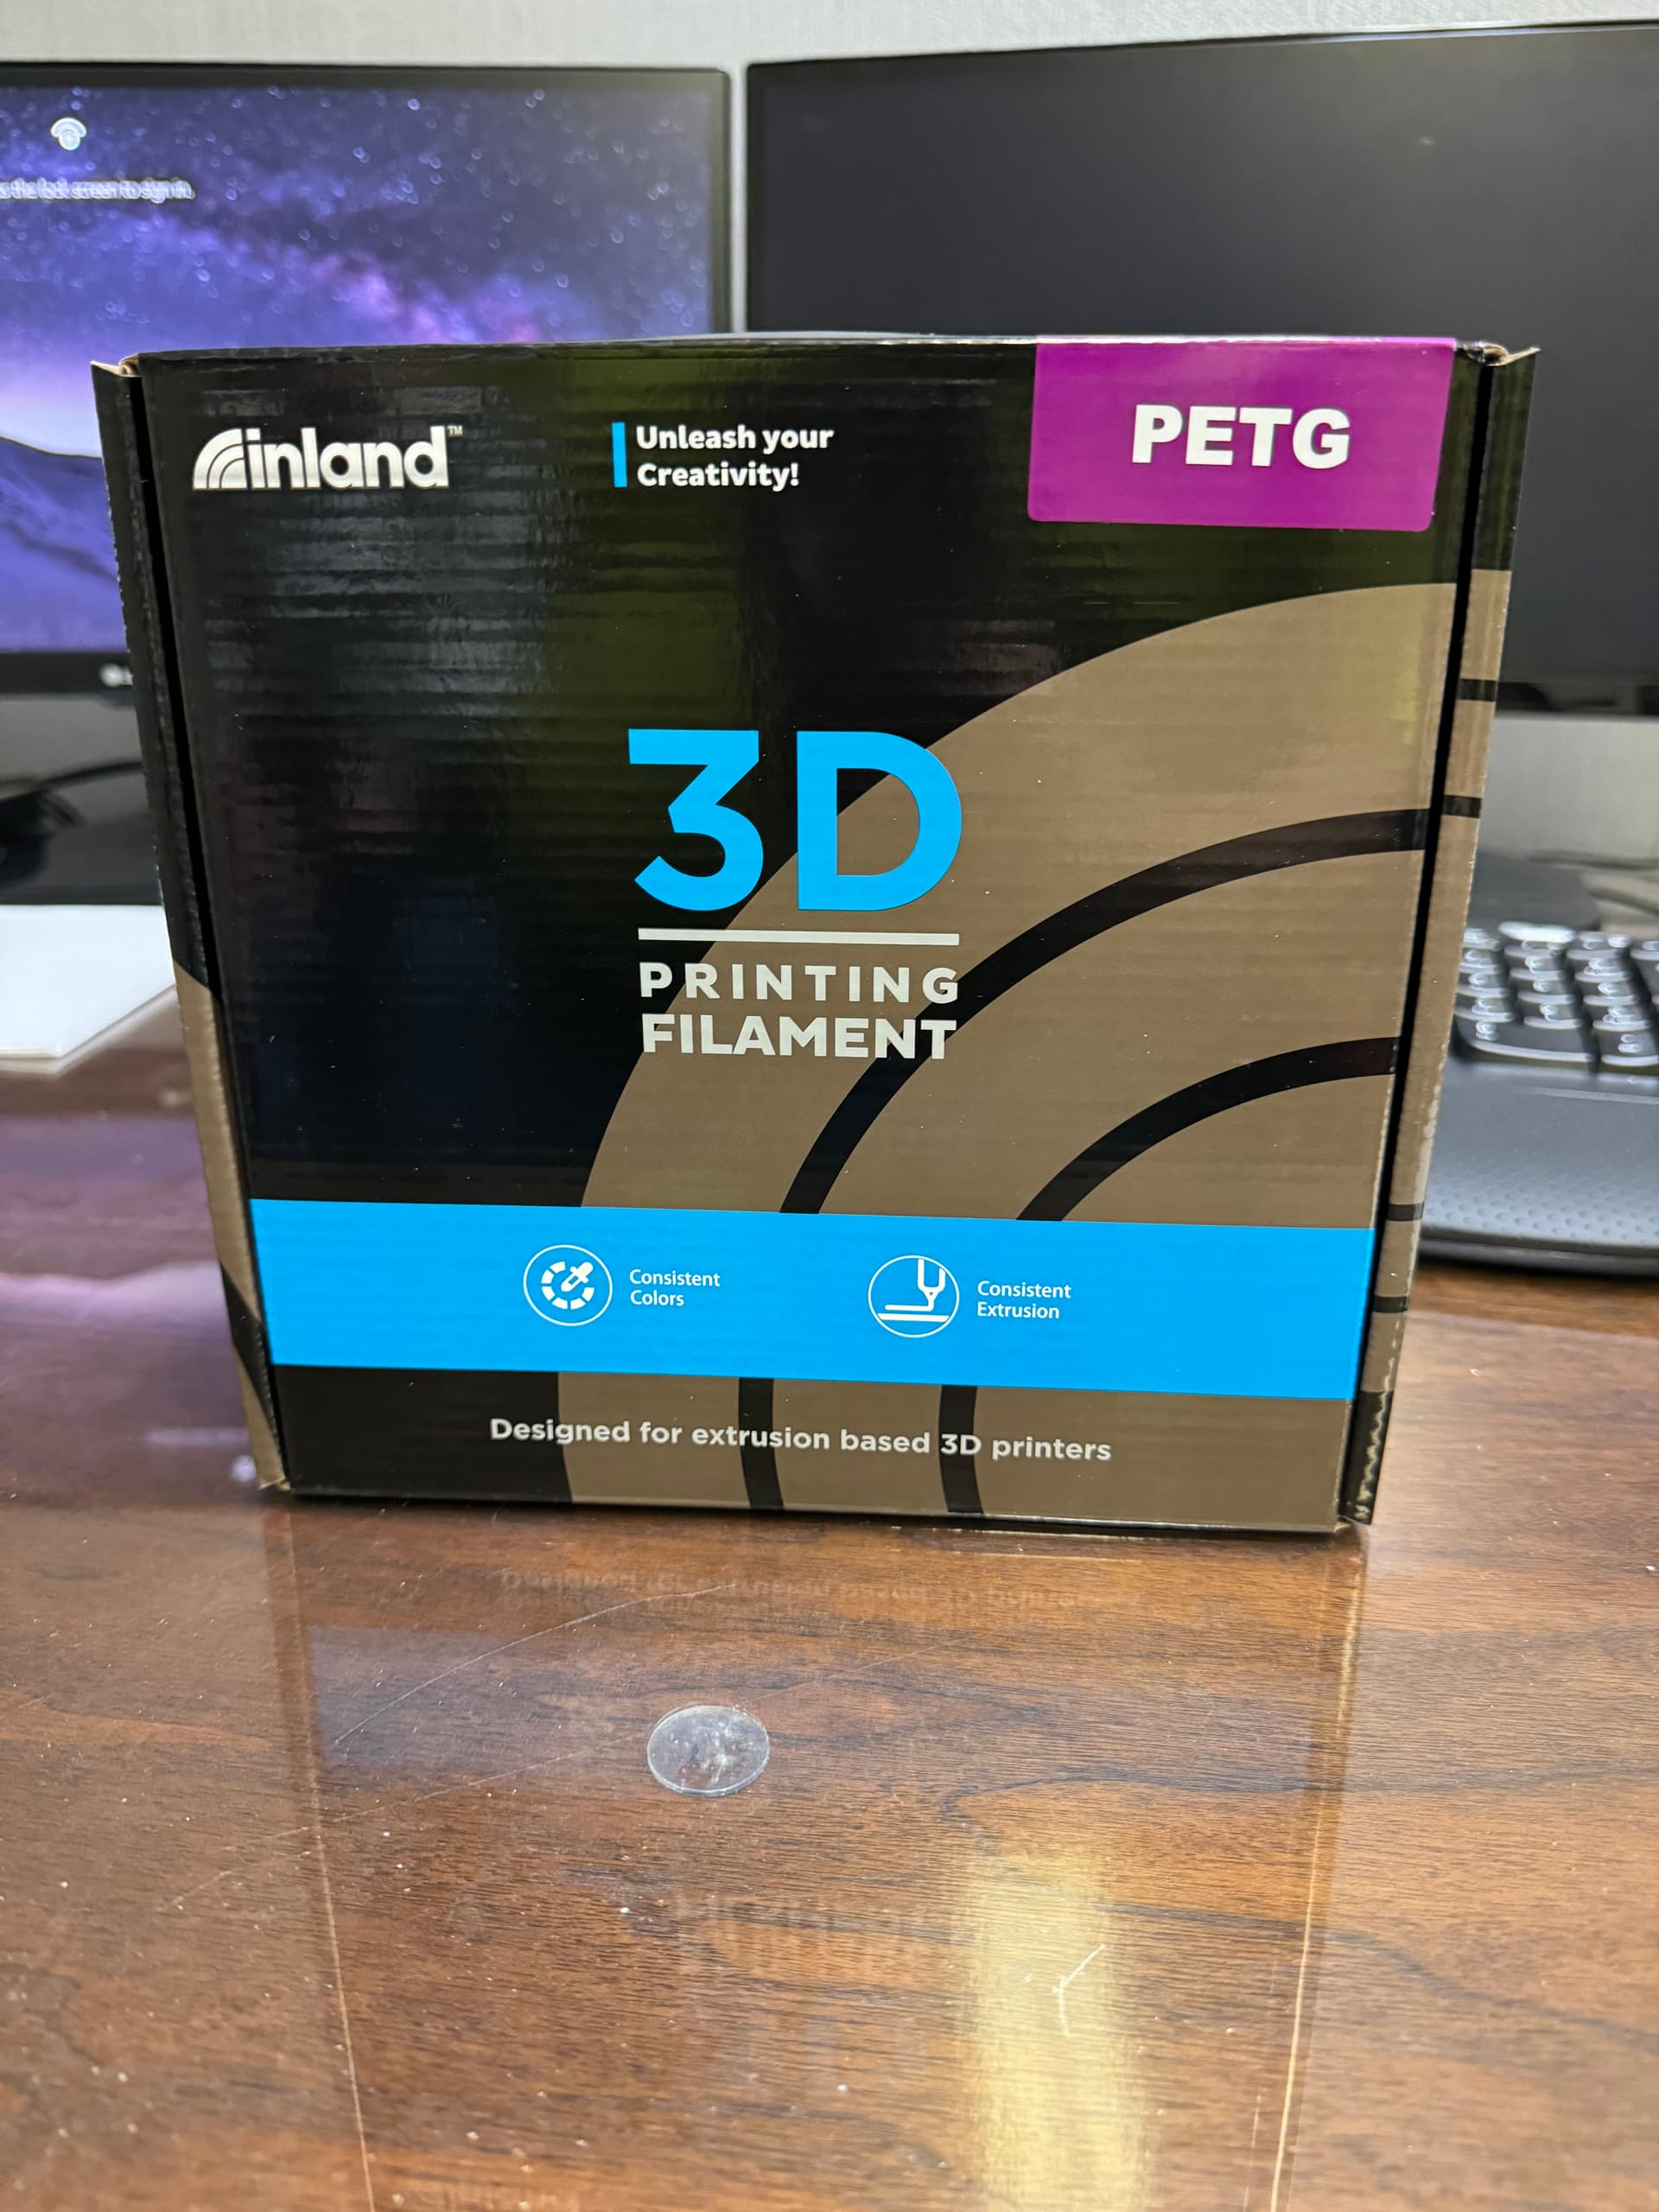
It was a in office day today. Managed to convince the boss to let me run to one of my favorite stores up the street. Picked something up while I was there.
First Calibration cube for PETG failed, Some kinda issue with X axis. Lowered Speed and Temp and trying again. The PLA residue on my extruder is making one heck of a smell. Good thing I have windows!
Update:
Smell is starting to go away
Second Print was successful. Did point out my retraction distance was to large (uneven thickness)
Ryan pointed me in the right direction. I had just slightly reassembled my hotend wrong
But now if I get the chance to soon I can run a fast very shallow (thinking 0.25mm) spoilboard surface and should finally have the spoilboard I want… but I still have to tram the Kobalt
Now my issues. This week I found out the Grub Screws SHOULD be loctited and it is not just a “over-engineered” recommendation (Now that I know Ryan more I know this is not his style… my gut told me to too. But my loctite was at the office…). I am also having a issue with the lead screws/z-steppers; I’m losing steps I initially though it was a lube issue but I’m having to lube way to often and even with I’m having issues. I made a thread for this here; I’m guessing its my untuned drivers but we’ll see what the others say and if I get shop time before what tinkering does for me.
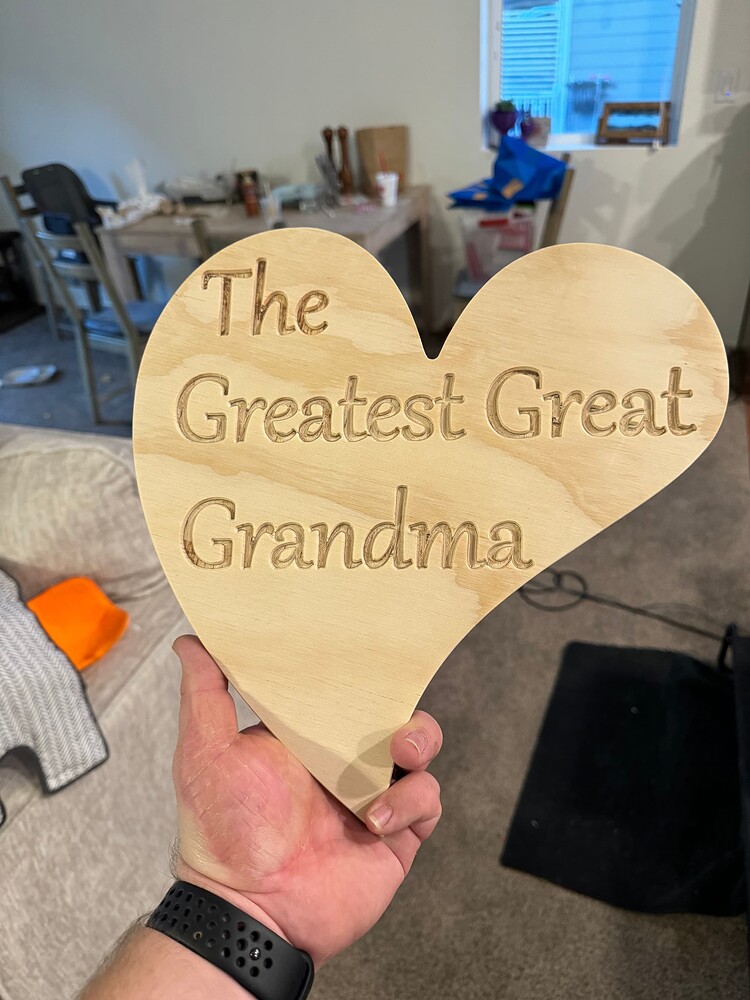
Welp, mistakes were made today. Got a piece for my mom’s bday present. Planned on doing it today (party tomorrow) surface the wood a few times. Got final thickness measurements and got ready to cut out my piece. Realized that I don’t have a long enough but to cut all the way through… and final piece would have been too big for my small bandsaw. Man I wish I had thought about that sooner… now I’m trying to figure out what I can do quickly in the AM if even possible.
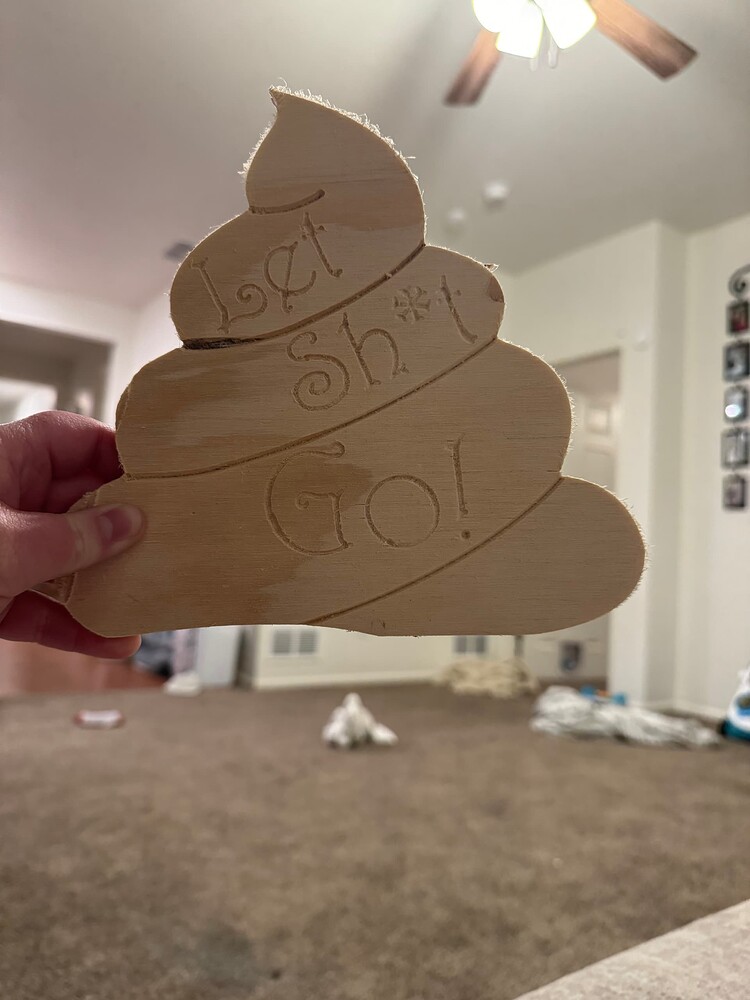
Okay. So I finally tried making tape to section off things to paint… it didn’t go well. I’m assuming my details were too small and the tape didn’t stick it just lifted off in areas. Where it stuck it was very clean cut. But too many close together details just make it come loose. I’m gonna do some research but anyone got tips for after a piece is cut?