Not sure what you mean. I’m going to assume paint bleeding into the wood…? I typically spray some polyurethane over the whole piece before painting to seal the wood before applying paint. It also makes cleaning an oops easier. ![]() I’m not a great painter, so there are more oops then i care to admit to…
I’m not a great painter, so there are more oops then i care to admit to…
That’s more what I’m talking about. A alternative to oramask is masking tape (suggested by some others here) but it’s holding strength isn’t as good so on these small details it got pulled up some. I guess I could overspray the paint then sand it back down, I just need to be careful of some of the fine details.
Yeah, i haven’t had great luck with ormask type films. Unless the piece is painted first, then the cut out areas painted, but still not perfect.
Welp, I’ve probably signed myself up for more work than I gathered but I’m upgrading to the jackpot sense my Pi board quit on me. If I have time I’ll try finding some stuff but if any of you have any tips I’m all ears!
The new board has already shipped! Man that was fast sense the order was placed around the holiday!
Its here, Its here! Now the question is… how much do I take on…Do I redo some of it, take it apart and paint it all pretty. Or do I simply get a case for the jackpot printed and plug it in?
Okay Getting lots done despite the rest of my life being ![]()
![]()
![]()
Made and remade some of my first things for 3d printing, it’s only tinkercad but it did work wonders
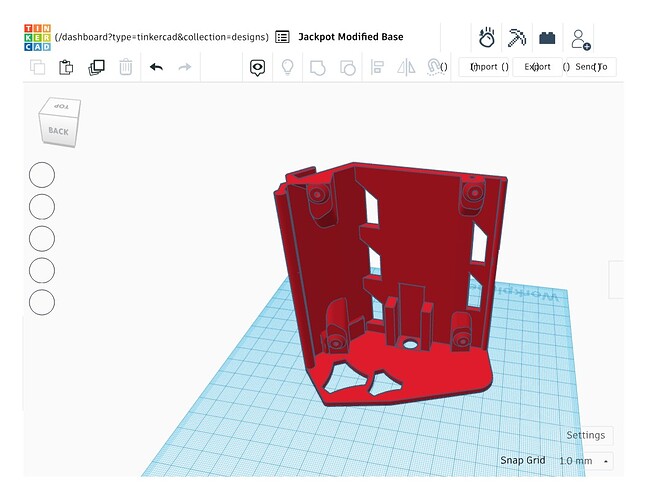
remixed the jackpot case to use a power jack
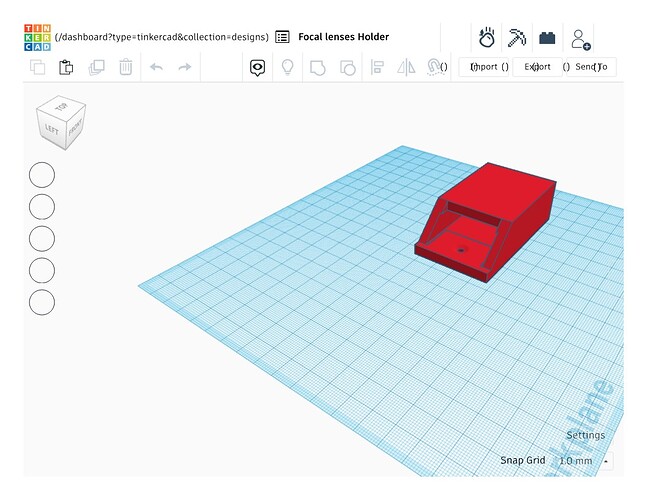
Made a mount for the focal lenses that came with the Laser
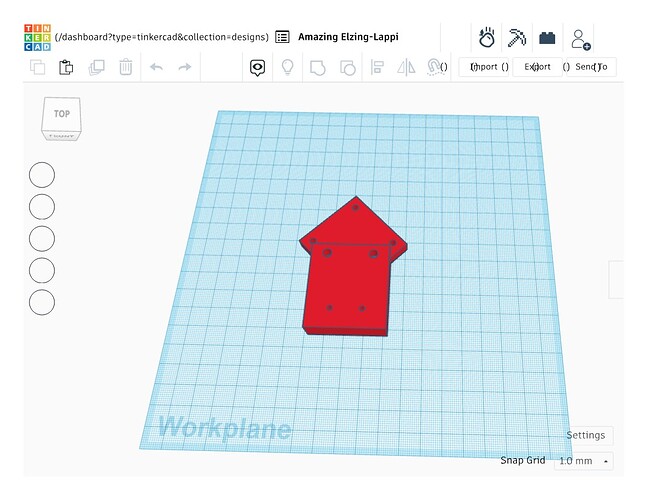
Made my own mount for @DougJoseph kinematics mount (or Mag mount)
I hope that clears up for you soon!
Tinkercad is surprisingly useful.
Those three parts are all functionally useful for you, and that’s what counts.
Nice work! Sorry for the troubles, hope it gets better for you.
Thank you both. I know this is just a makers forum but you all really make it so much more than that. And I hope to share more of what’s going on with all of you soon but the truth is I don’t know where any of it is going currently and I can only ride the waves as they are coming at me.
Well I have more time to myself now. have to use it to do the LR3 stuff as I need/want to get this stuff over with sooner than later.
I’m looking at setting up some test files for the laser and was starting with the speed and power grid everyone does. Couldn’t figure out what I should top the speed out at… Then I was curious what Ryan set the limits to… 9000 mm/min (~150 mm/sec) ![]()
![]()
![]() ; on the skr I upped my limits to 6000 mm/min (~100 mm/sec) but haven’t exceeded 25 mm/sec while cutting.
; on the skr I upped my limits to 6000 mm/min (~100 mm/sec) but haven’t exceeded 25 mm/sec while cutting.
I don’t have a massive concern to go super fast at first here so I’ll probably set the test to only go up to 100 mm/sec sense I do that as my manual rapids frequently. I will also be setting up a DPI test and a focus test too.
It has begun. I tore out the skr, ripped the back strut off, redid the path for all the wiring, and… … … Thread Loced my GRUB screws!!!
Now I have also decided to do Doug’s floating dust shoe.
so here’s my checklist
Finish cable management
Run air assist hose for laser
Turn on and test jackpot board
Tighten strut back on
Assemble dust shoe
level, square, tram router
surface spoilboard
biggest issue I face is I am gone for the weekend; and despite what mighty amazon said some of the parts I ordered got delayed and won’t be arriving on time. Wish me luck
That thing works REALLY well to keep the surface clean during the cutting process as well as almost eliminating sawdust clean up on the spoil board after completion. You’ll always have a little here or there that shoots out of the vacuum zone too quick to catch, but having the shoe closer to the cutting surface at all gantry Z-heights makes a huge difference.


