Classic Jason!
2 Likes
You got me!
I have the parts to assemble a Eggbot heading this way!
This V1E addiction seems to have no end.
4 Likes
The Lowrider was definitely the gateway drug for me. Now I find myself doing all kinds of semi-adjacent things.
That sentence is spot on!
Exactly my experience, a very enjoyable journey.
I am thinking Ryan needs to develop an Eggbot, he is amazing.
2 Likes
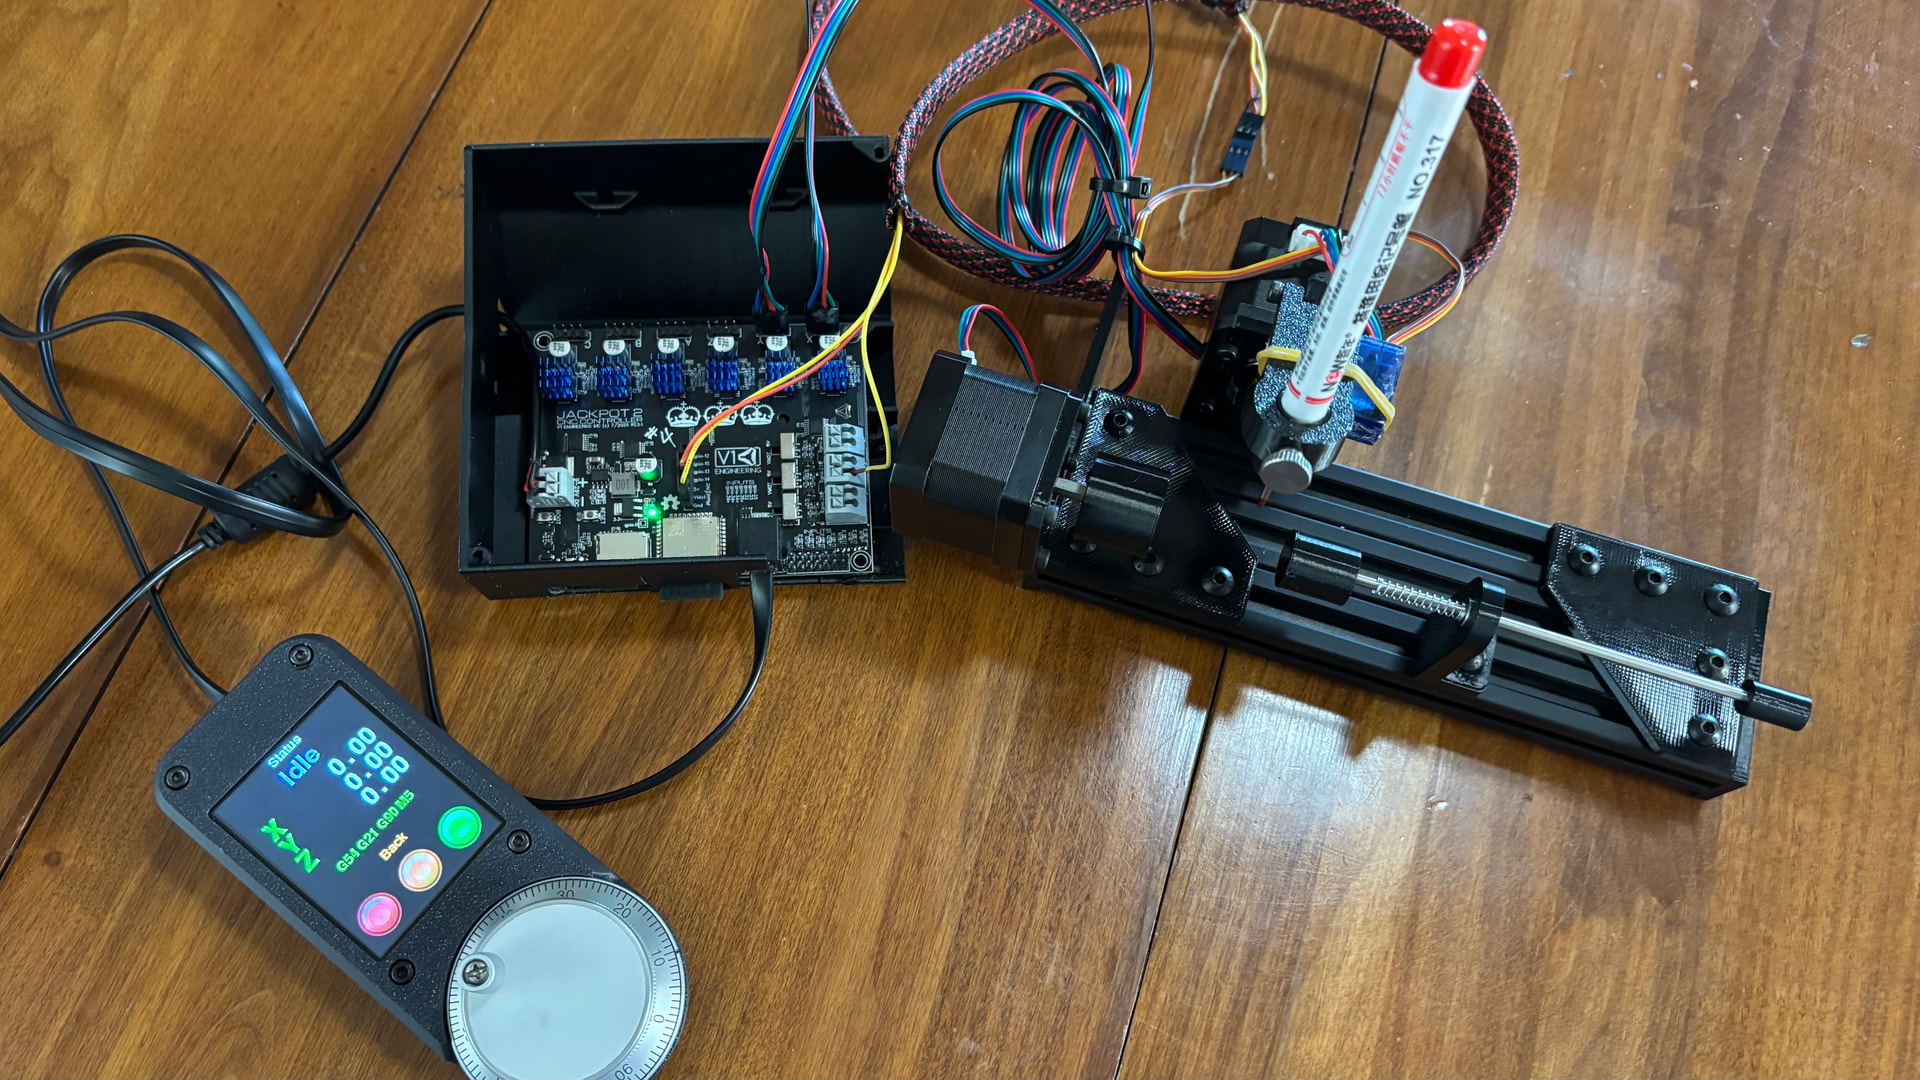
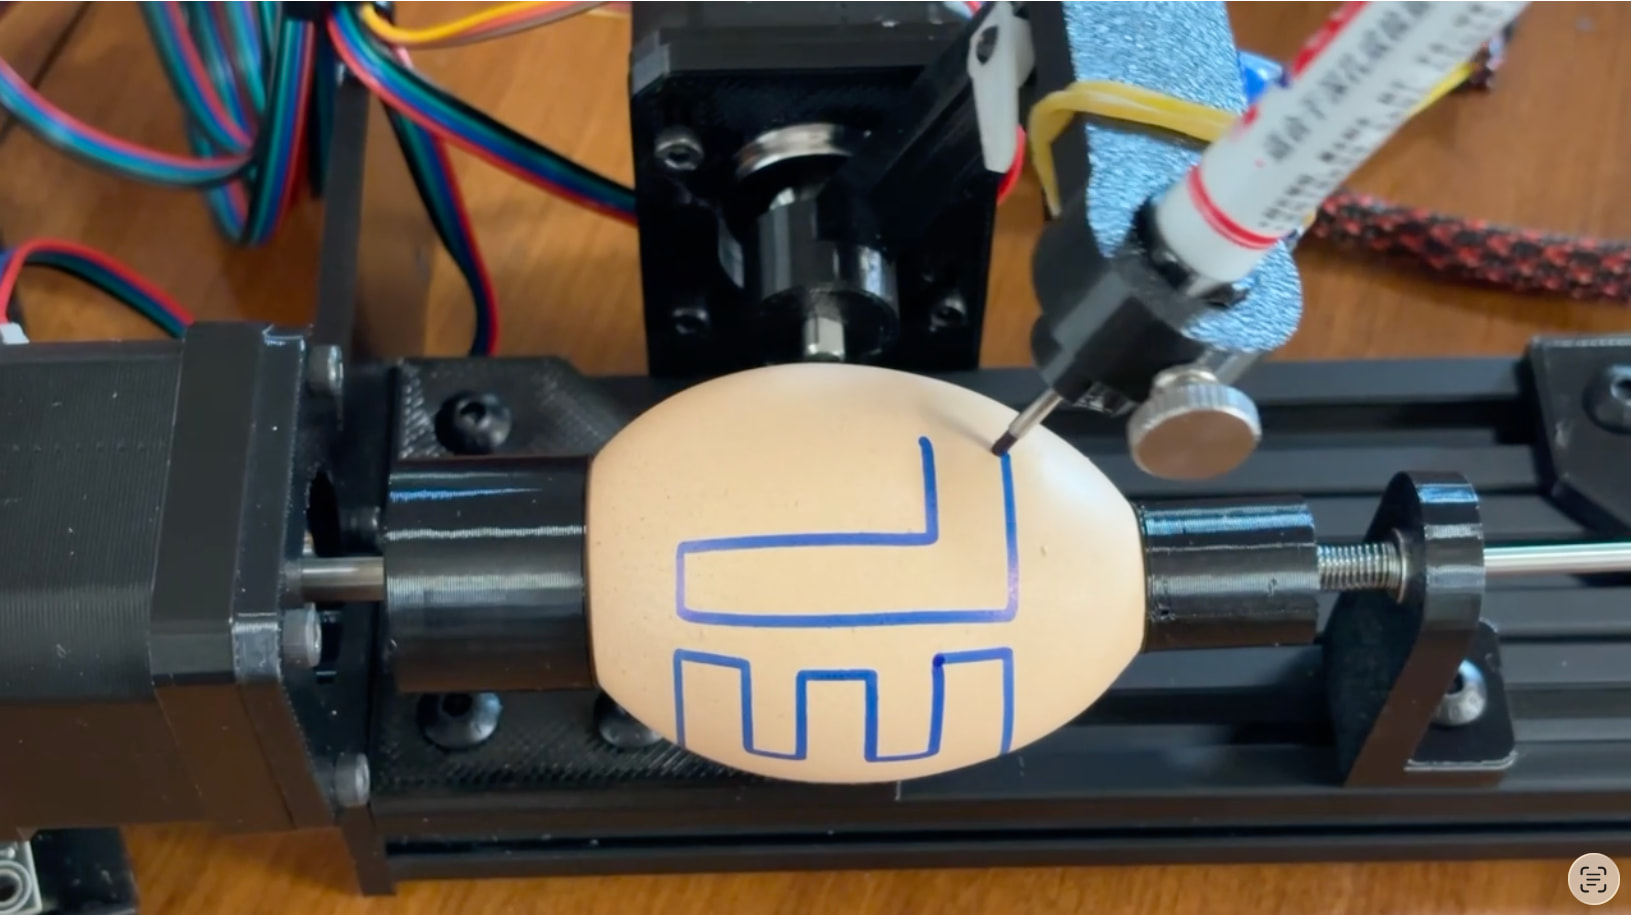
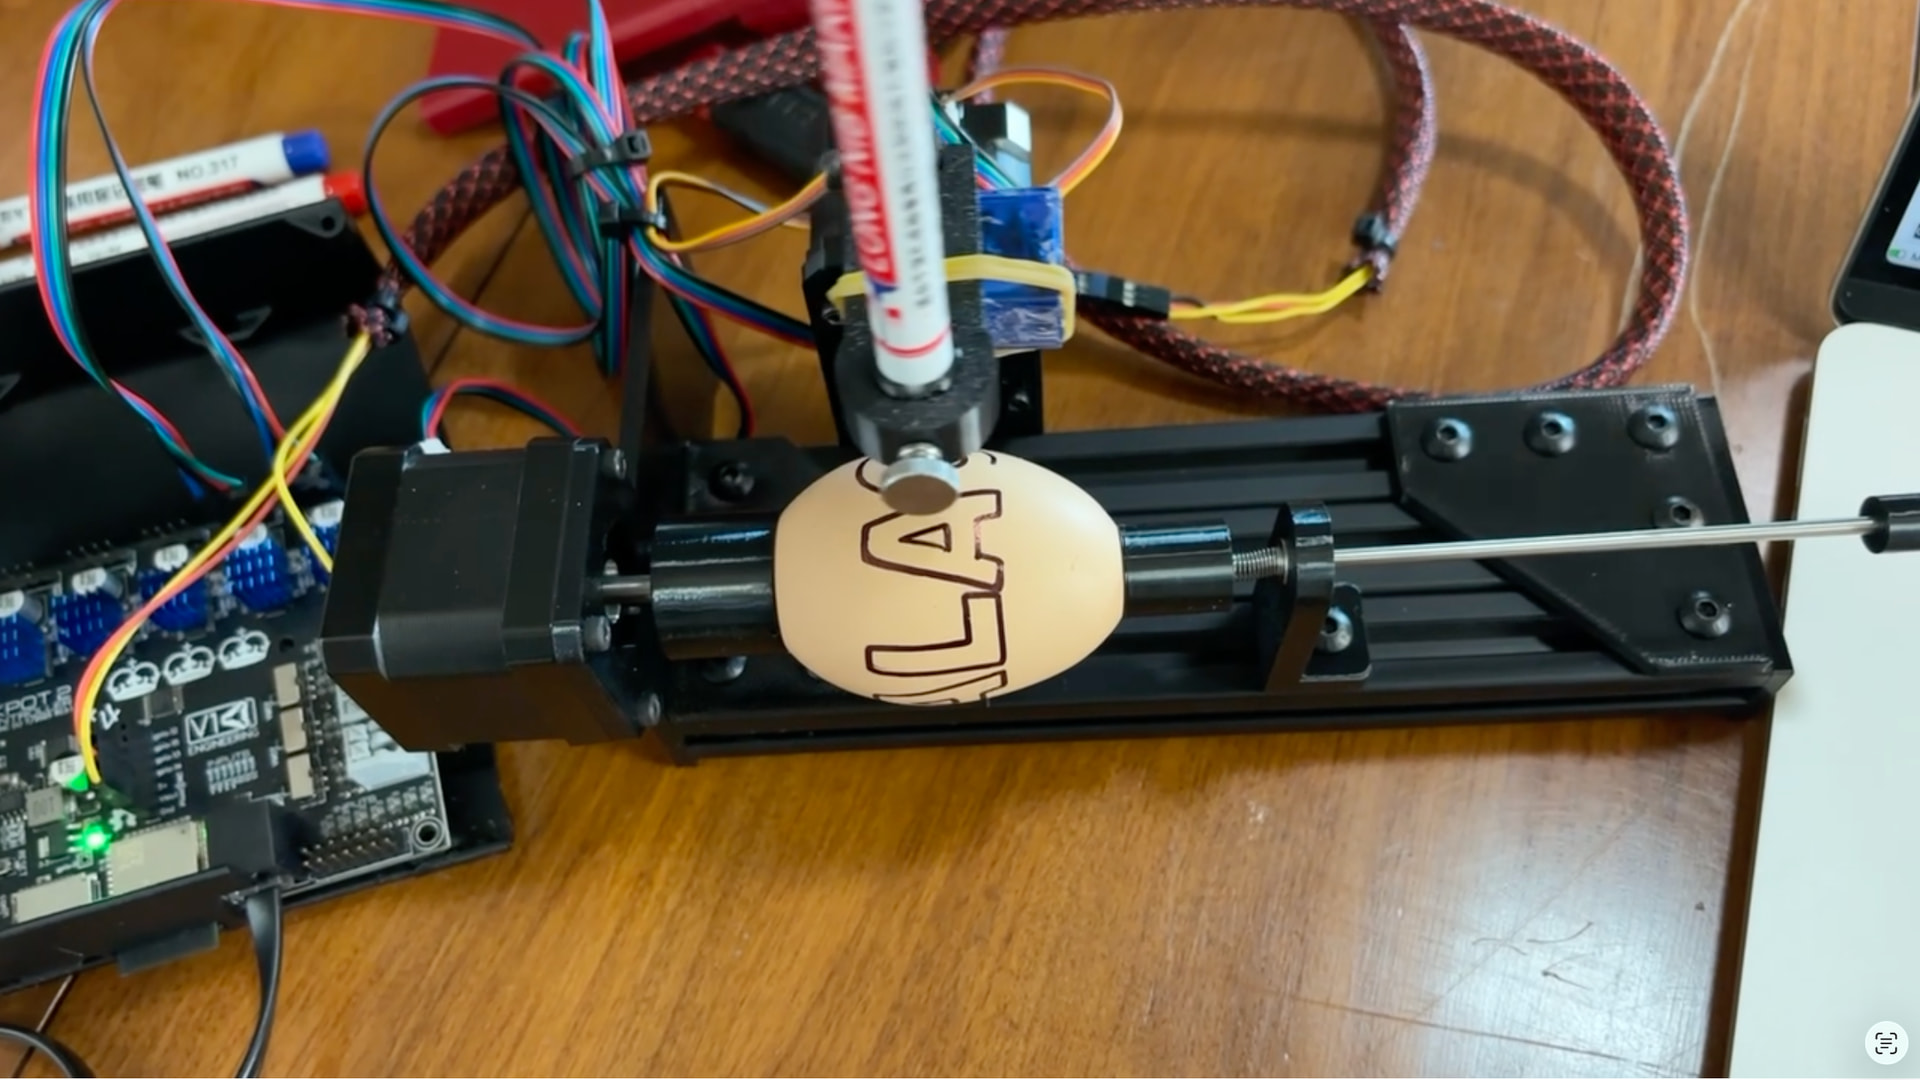
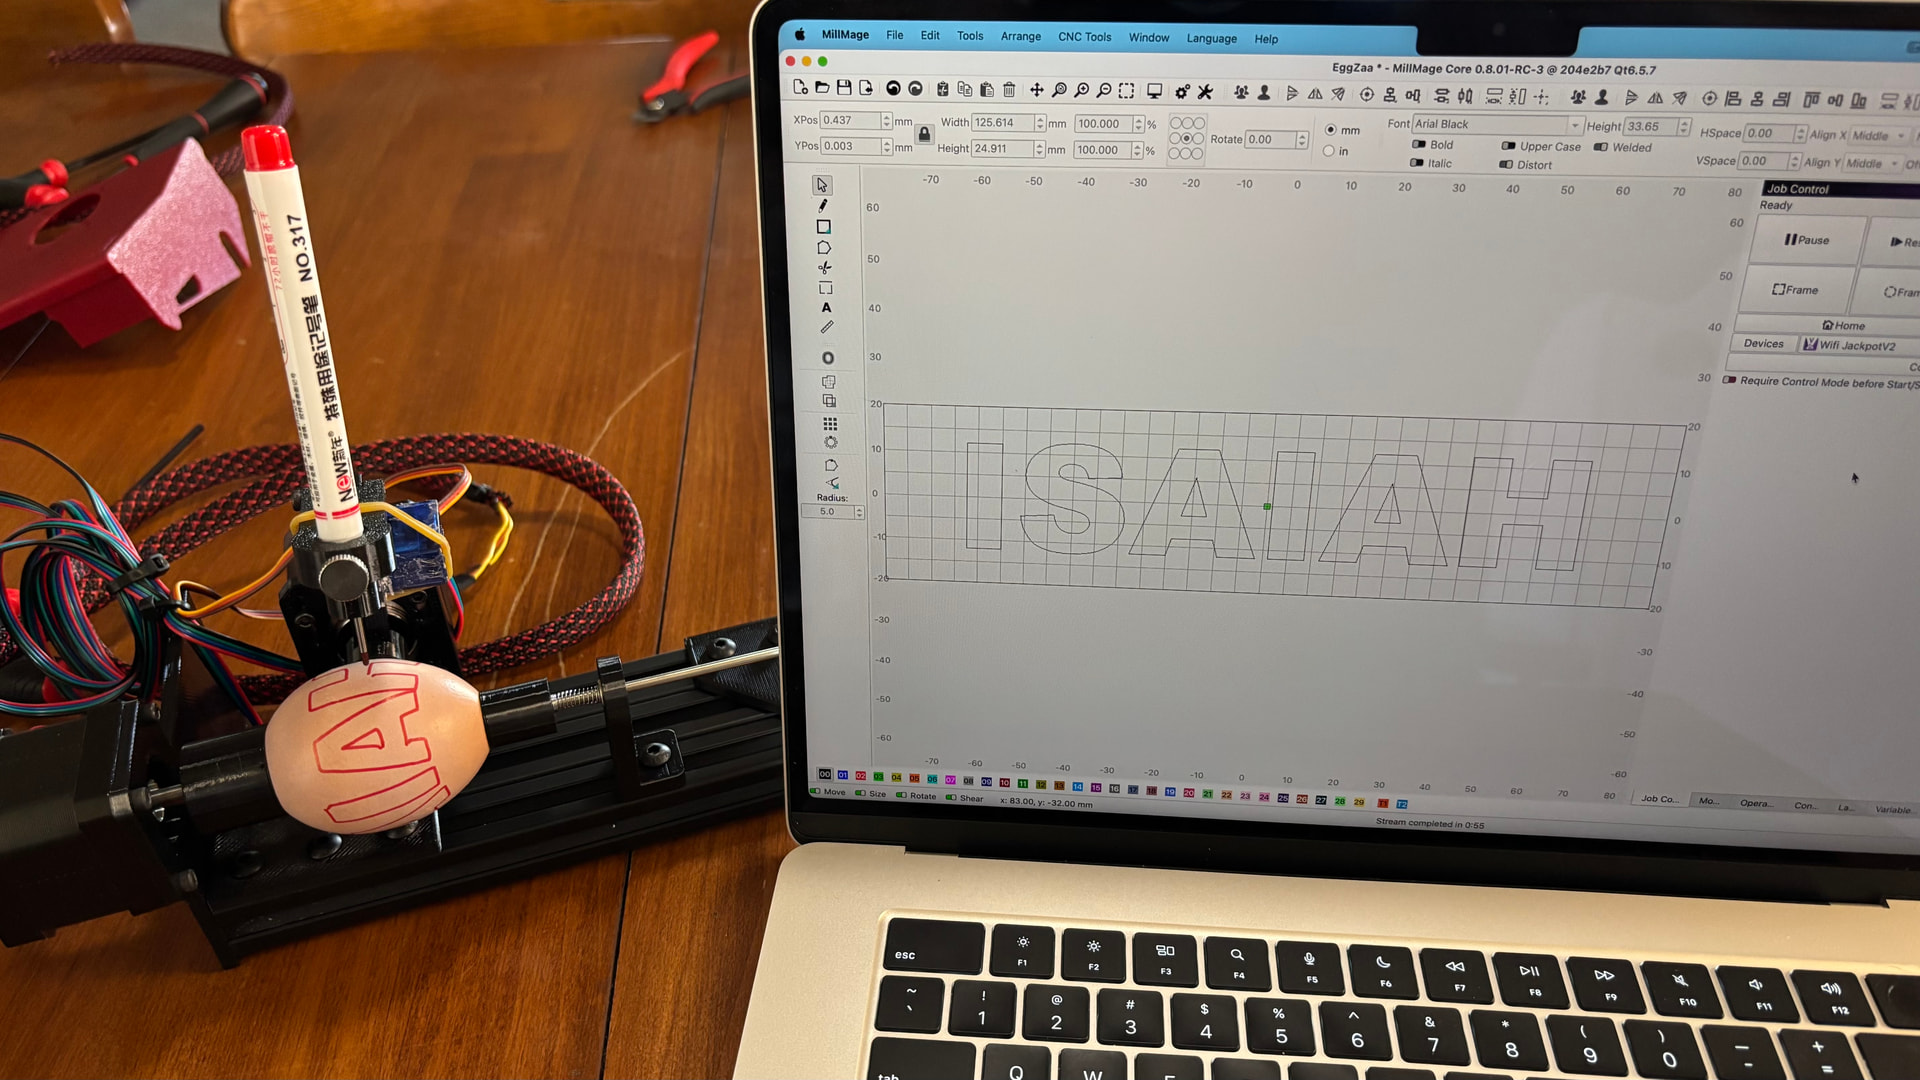
I wanted to do this last year but didn’t get around to it before Easter. Thanks to @Bigburlybug starting a build recently it spurred me to get started on mine. I ordered the parts and the last of them showed up today. I finally got one built. I am using a Jackpot V2 and MillMage for the CAD/CAM. I did some trial runs with my grandsons’ names. It has been a lot of fun! Thanks @jeyeager for sharing your build with us.
5 Likes
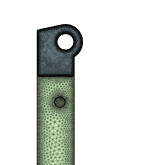
Wow, you work fast! It looks good! What did you do for the vertical Y brace? Seems like the hole for the stepper motor is on the wrong side for mounting the stepper motor. @jeyeager also seemed to have the same issue in this thread.
I’m going to feel silly for spending two hours learning how to edit meshes in fusion 360 to flip around the stepper mount hole if you did it the proper way.
2 Likes
I used @jeyeager Eggbot mod file.
1 Like
BAHAHA, well I still feel silly but at least its only missing a very helpful post vs generally not being able to figure out how to assemble simple devices.
I mis-understood this to be hole I was struggling with and figured he didn’t redesign it after getting it to work. But lo, my little faith in this awesome community was too little. Of course the edited files were uploaded. I’m also struggling with all of the holes being too small for the stepper sizes so this will greatly reduce my CAD editing time (at the cost of losing out on learning useful skills).
Thanks for redirect and for @jeyeager for doing all of the hard work. You got at least four people building eggbots for uploading this post. I love this group and forum.
3 Likes
I don’t know why that is. Jason’s StepperEggHolder and StepperPenHolder both fit my steppers perfectly. I am using StepperOnline Nema 17 steppers.
1 Like
I’m pretty sure I recreated those because the holes were too small in the original parts.
2 Likes
Sorry, I meant the original files from thingiverse were small for me as it was for Jason. @jeyeager files worked perfect.
3 Likes
@jeyeager I’m curious how you came up with 16 steps/mm for X and 20 steps/mm for Y? My X is used for the rotation of the egg and my Y is for the pen. Is this how yours is set up? I thought I remembered you saying is was.
From that instructable, I just translated the esp32 grbl config to a config.yaml.
Thanks
Are you using X for rotation?
Here’s my Z axis for the Jackpot V2:
  z:
    steps_per_mm: 100
    max_rate_mm_per_min: 5000
    acceleration_mm_per_sec2: 100
    max_travel_mm: 5
    soft_limits: false
    homing:
      cycle: 0
      allow_single_axis: true
      positive_direction: true
      mpos_mm: 0
      feed_mm_per_min: 100.000000
      seek_mm_per_min: 200.000000
      settle_ms: 500
      seek_scaler: 1.100000
      feed_scaler: 1.100000

    motor0:
      rc_servo:
        pwm_hz: 50
        output_pin: gpio.27
        min_pulse_us: 1000
        max_pulse_us: 2000
I know I set mine up backwards compared to a normal eggbot. I think I have X rotating the pen and Y spinning the egg. So, I set the pen to the middle of the egg and zero X, and it goes something like -20 to +20 in X and it’s 160mm around the egg. I think. I haven’t drawn anything since I got it back out.
1 Like
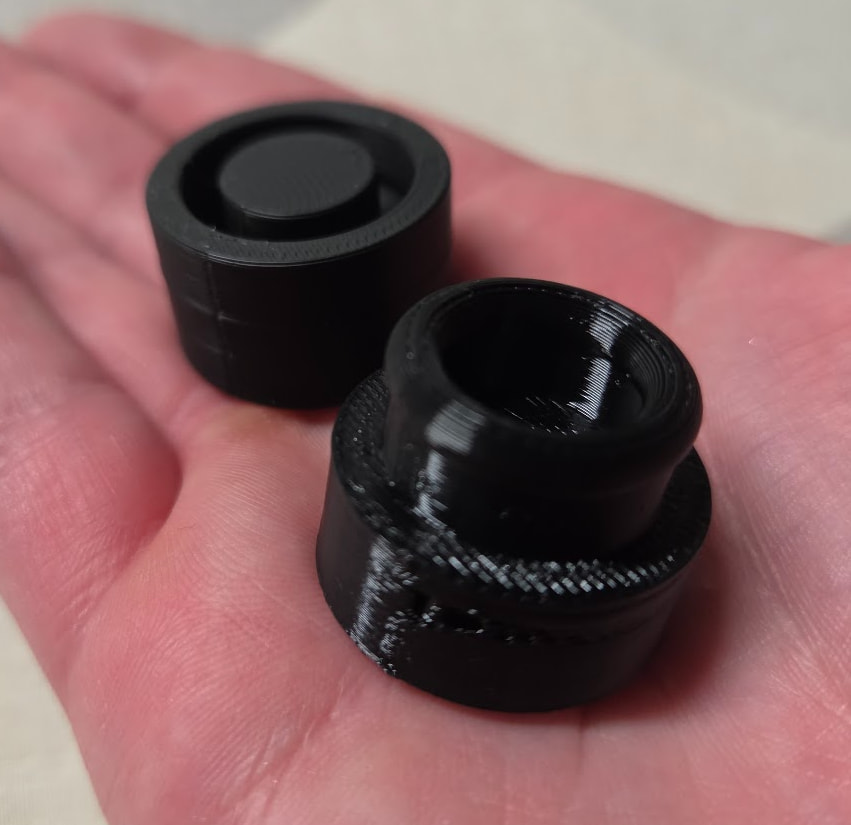
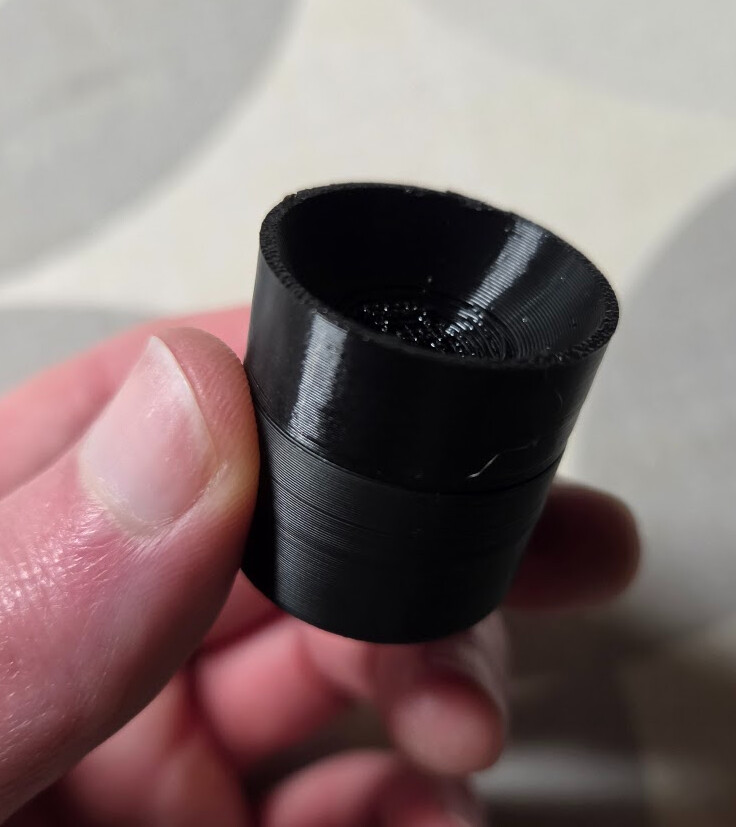
I was playing with TPU tonight. I started 3D printing about 6 years ago and this is the first I’ve ever printed with it. I’m trying to make a base piece for the egg holders with a TPU insert. Well, it works but it spins freely in the joint, probably too well. I’m sure I’ll use something like this again but I need to prevent it from spinning for this purpose.

2 Likes
Look at those beautiful modelling skills! I like the two part piece, looks pretty cool.
1 Like
Could you squirt some silicone in the groove to hold the TPU in place?
1 Like
I could. I was hoping to have it be removable but it’s in there quite securely. The TPU is rigid enough I could just print the whole thing as one piece out of TPU.
1 Like
I’ve had good luck just increasing the infill for the parts of the print where I need TPU more rigid. And then reducing infill where I want it more squishy.
4 Likes