I noticed today that there’s a bit of flex on the plates that the motors mount to. I’m not doing it now but I’d consider printing the back one at 6mm thick instead of 4. I’m going to end up changing that one anyway to attach with M3 screws. I’ve got a hacky workaround using drilled out heat press inserts (would not recommend).
Thanks. I’ll plan to adjust that.
Hello everyone. Jason Yeager can you share your configuration. I also tried to make an eggbot. But I got stuck on the servo. And I’m afraid I won’t make it before Easter.
Here is my config.yaml file. I just tweaked the file that came on the board. There’s still some stuff that doesn’t need to be there.
config.zip (1.4 KB)
The servo is setup for the Z axis. I set the arm so that 0 is touching the pen bracket. So, I do a Z1 to lift the pen and Z0 to lower the pen. It’s setup for max travel of 5 mm, so it only moves when setting Z from 0 to 5. I didn’t quite figure it out but it also seems to operate in machine coordinates, so I tend to set Z to 1, then run G92 Z1 to sync it to machine coordinates. That worked fine so I didn’t investigate further.
Note that I’m using X and Y swapped compared to most eggbots.
1 Like
Thank you very much
1 Like
Thank you for sharing your config file. I spent several hours yesterday trying to get the board side of things working. The pen/laser board struggled to connect to FluidNC Web Installer and was not showing up as an AP. I finally got it to connect and changed it ober to AP mode. Now I seem to be able to see it reliably.
Then I had some type of issue with the steppers. They had power and were holding so I couldn’t turn them, but commands wouln’t make them turn. I installed your config file and all appears to be well now. I’ll have to look at the changes you have compared to the files that come preinstalled on the board.
Now to get my daughter to help me assemble the machine. Then we will figure out the best workflow for designs and generating gcode.
Thanks again!
1 Like
I had a terrible time trying to get it to connect to the web installer too. I ended up flashing it from source via PlatformIO. I didn’t have any issues with the AP network but I did switch over to STA mode.
Well, haven’t been home much and won’t be home much tomorrow either. Tried to draw on some eggs we dyed, and it went poorly. I was rushed and condensation was an issue. Then when I wiped the eggs off, quite a bit of dye came off too. Not sure what was used for dye but it didn’t seem to work well.
Oh well, it’s been a lot of fun and fortunately, it doesn’t take up much space, so I’ll probably be leaving random drawn eggs in the egg carton for awhile. I should be well prepared for next Easter.
Happy Easter! ![]()
2 Likes
Well, little late for easter now…but.
I figured with the Bart closing his tindie store and tariffs rising I better pickup a 2 axis board now for the ZenXY I want to build. It showed up yesterday and I decided to toss it on my original eggbot as a test.
Had a heck of a time getting the web installer to work with it. Wound up trying @jeyeager’s approach and programming it from VScode then was eventually able to get it up and responding.

Only hooked up one servo since by the time I got an initial setup working it was almost my bedtime. But I do have one axis working at least. Should be able to get the other and Z going tonight fairly easily.
And then it will all come apart again so I can repurpose this board and those servos for a ZenXY. Or…maybe I’ll splurge on two new servos and pick up one more board. Slightly tempted to pick up 2 and replace the smoothie board in my CO2 laser while I’m at it…though still not ready to tackle all the issues with that thing and probably shouldn’t create more by swapping it’s brain again ![]()
3 Likes
Over lunch I hooked up my other stepper and the servo and loaded @jeyeager’s config.
Looks like both X/Y are moving sensibly (I even got the motors attached to the same axis - though I’m not sure I like X being rotation.)
The servo took me a bit to figure out…but I did get it moving…it seems backwards to me but that may be my thinking being off. Z0 is basically “lifted” while Z1-5 move the pen towards the egg. Which…I guess makes sense as I type it out - though looking at the machine I Had though of Z positive as up away from the egg no down toward it.
I’ll have to work up some gcode this afternoon and give it a go…I will say it’s much smoother and quieter than it was with the old RAMPS board I ran it on before. Kind of makes me want to finally trim the allthread to length and add a mount for the board. The wireless nature of fluidNC is really nice for the eggbot.
2 Likes
Yea, this is what made sense to me when I set it up but sounds like it’s backwards compared to most eggbots. It should be as easy as swapping x: and y: in the config.
That is backwards of how it works for me. I think you could swap the pulse us numbers in the config.
      rc_servo:
        output_pin: gpio.21
        pwm_hz: 50
        min_pulse_us: 1000
        max_pulse_us: 2000
I’m still getting used to X/Y being reversed from what I expect on my LR4 ![]() So…I’m probably going to swap it on the eggbot so I don’t have to re-learn two machines at once
So…I’m probably going to swap it on the eggbot so I don’t have to re-learn two machines at once ![]()
If you hold the eggs sideways (like yours are in your photos) then I see how X being rotation makes sense. But I’m used to holding eggs vertically and then Y being rotation makes more sense to me.
But that’s the joy of them being our own machines - we each get to make them a way that makes us happy!
Oh nuts…here I had my self convinced it made sense ![]()
And yeah - I almost tried just reversing those pulse numbers but wasn’t sure if that would work or not…though I read some of the docs this afternoon and it sounds like that’s what’s suggested.
So I’ve got a few things to experiment with this evening!
Thanks for doing the heavy lifting on getting a starting config setup!
1 Like
Well, everything moves…just…not quite how I’d like it to yet ![]()
The warping is “normal” that’s what’s nice about the eggbot tools in inkscape - they make distorting things so they draw correctly on an egg easy.
I tried it going the other direction and it didn’t do much better:
Just distorted the other way.
Also you’ll notice I centered the design on 0,0 in estlcam…I’m used to starting the eggbot with the pen centered over the center of the egg and this seemed like the best way to keep that workflow.
The bigger issue is Z. I’m still wrapping my head around it. At first it wasn’t doing anything…so I reversed the directions and then it was working…but…opposite of how it should. So I just manually hacked the Z moves in the code to invert them…then it turns out the servo is lifting so quick it threw the pen backwards and off the servo arm. But slowing the servo down and the moves weren’t waiting for it - the X/Y would start moving before the pen had moved it looked like.
So…I’ve got some experimenting to do with Z still big time.
You know…after I posted that last night I thought about it some more…
That level of warping did NOT look normal as I thought about it. So I fired up inkscape and used the eggbot extensions warping tool to warp the design. The difference was subtle. So I also added a square and warped it to make sure the warping was working:

It was…but like I said…it’s subtle.
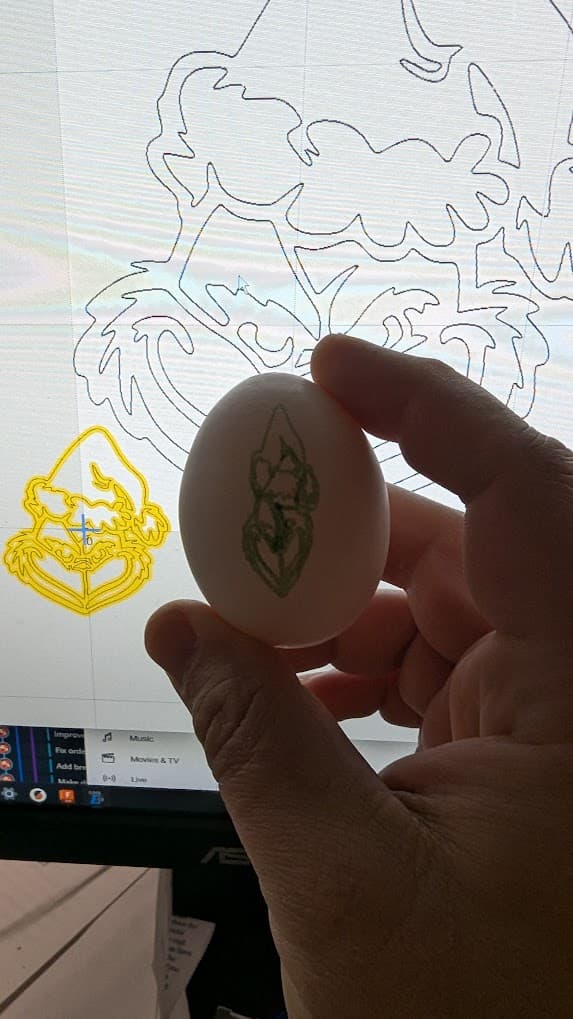
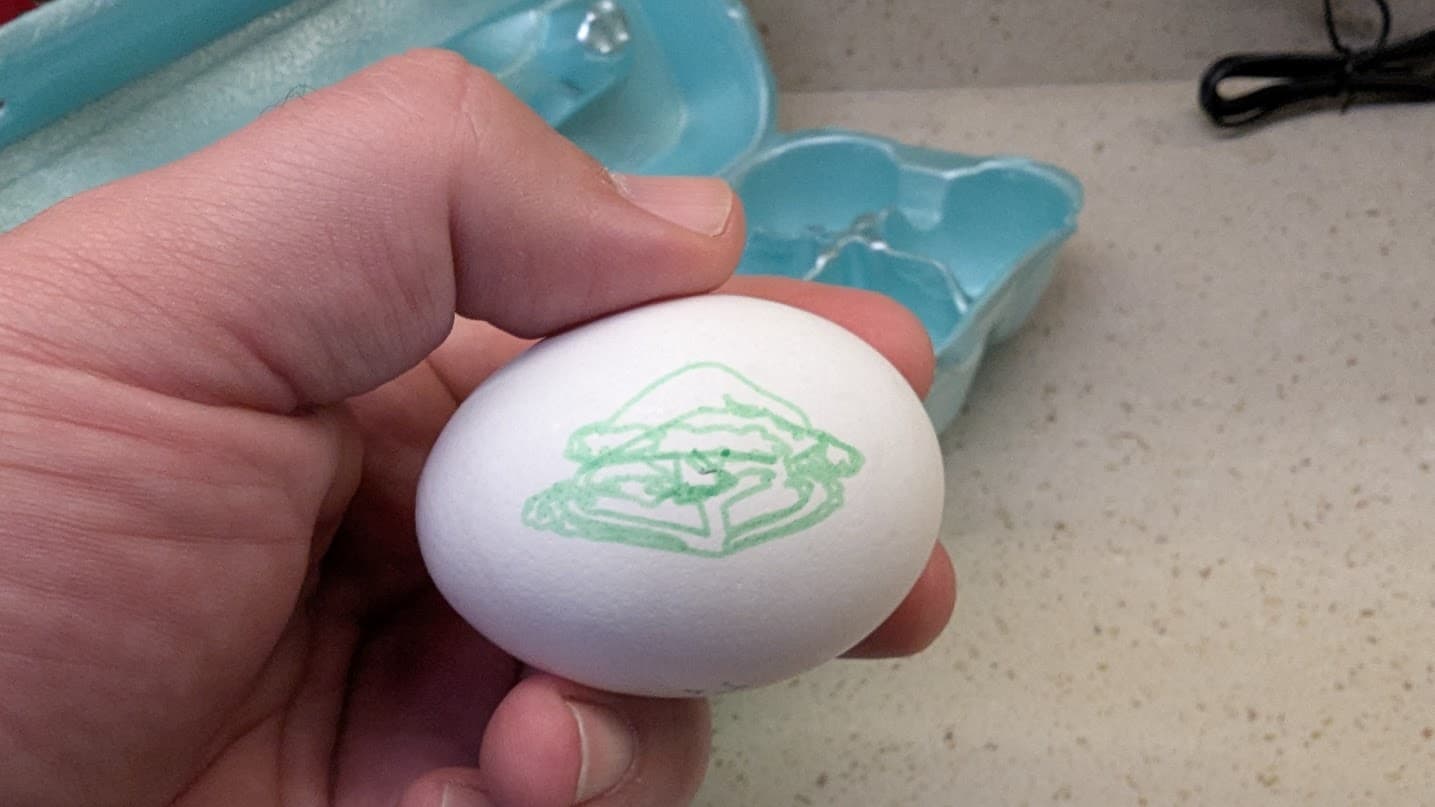
So I plotted this on the egg.
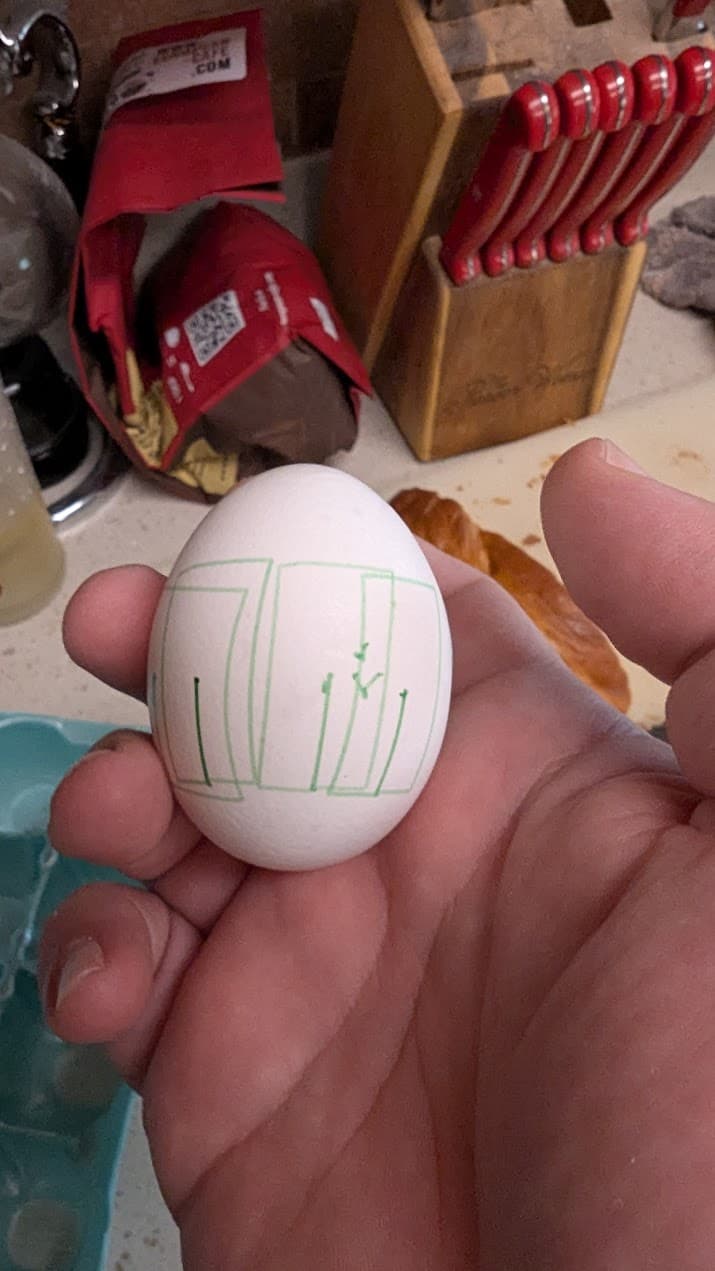
The grinch was a hot mess…on the upside somehow I wound up with multiple passes and they all lined up perfectly making for some nice dark lines. But the Z was still not working right at all and things were even more scrunched up looking…then it go to the square…
And I got a nice TALL SKINNY rectangle.
Yeah…something is NOT right.
So I doubled the steps per mm on X And re-ran it…boom…now I’ve got a square. A nice square with straight edges despite the original looking curved since it now matched the surface of the egg. Sweet!
No photos because I did multiple passes on the same egg and it’s a mess of lines and hard to tell which are which if you aren’t actively watching them draw. But things are definitely looking better - though Z is still something I’m going to have to put some actual thought into.
That’s weird. I wonder if I have a bit of that issue and it’s just not enough to make a big difference.
You could test the theory by adding delay gcode (dwell) after every pen down.
G4 P0.2 would add a 200ms delay.
I was drawing at a 1000 to 2000 mm/min feedrate. If you’re going faster, an issue like this would be more noticeable.
I’m only at 900mm/min - started slow. I think the real issue is my z is working backwards. It’s lifting when it should be down and it’s trying to lower it when it should be lifting. But I keep getting mixed up in my head about when/how it should be doing what. Just too tired and brain fried the last few weeks with work and life to put enough thought into it to figure out exactly what’s off.
Pretty sure it will be an obvious easy fix when I actually get a good nights sleep and have time to look at it when I’m not mentally exhausted.
And playing with it reminds me that the z was always an issue on this design - mechanically it’s a bit suspect. It’s mechanically simple…but the arm on the servo isn’t quite long enough to really lift it well.
Looked at the square tests again this morning…and they’re not as confusing to look at as they were last night…i really was exhausted ![]()
Here’s the “fixed” square with my x steps doubled:

And a few tries before finding that setting:
And the grinch that went really weird and redrew some paths like 5 times:
1 Like
I have some leftover components. I still have a “bart’s” board from when I was planning on adding a Z to my laser machine. I might have to try to get one of these working this year. I have plenty of eggs to test with.
Well, I’m not exactly well rested…but still took a look at it and figured things out.
First - I didn’t realize that “save” on the config screen in webui3 didn’t save to the actual config.yaml…so my servo reversing was lost when I reset the board. Opened the config.yaml manually and reversed the servo settings and doubled the X steps.
Then took a look at the square z-code and realized I was telling estlcam to go to 5mm on z no 0 for the “engraving” So manually edited the code to swap those to 0’s and…I got a nice square!
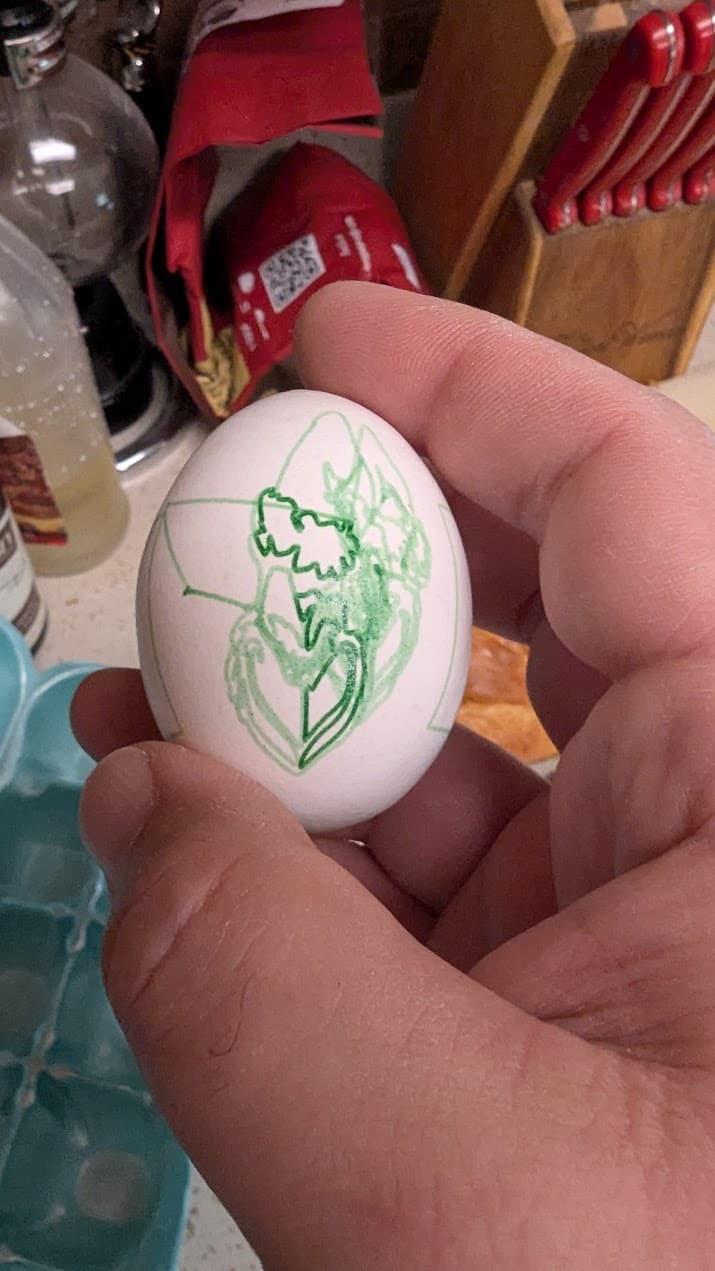
Great…let’s try it with my grinch:
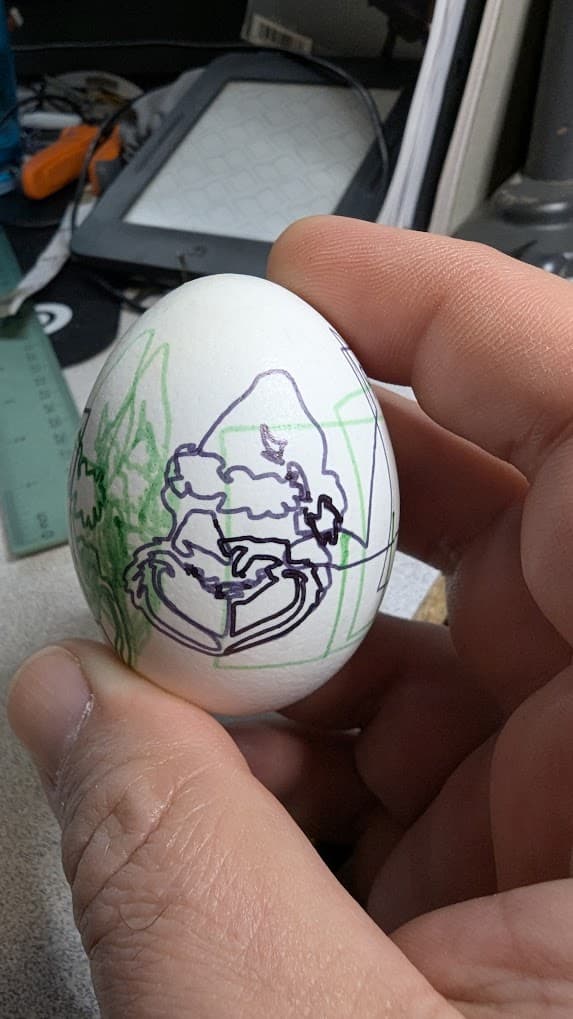
Something got messed up going from inkscape to estlcam that caused most of the paths on the right side to get duplicated several times apparently…so they’re darker from being traced repeatedly…but it worked and no more pen drag.
Then pull out our friend murder kitty and that worked too:
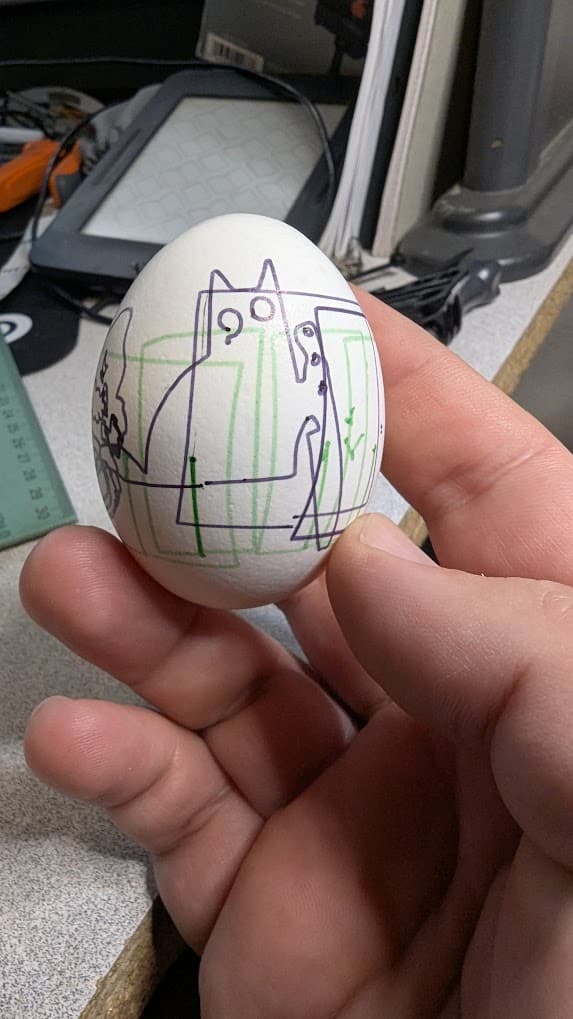
Well…mostly worked…the pen got caught on one eye.
But…easter is over…what else can I draw on…hmmmm
Oh look…baby potatoes!
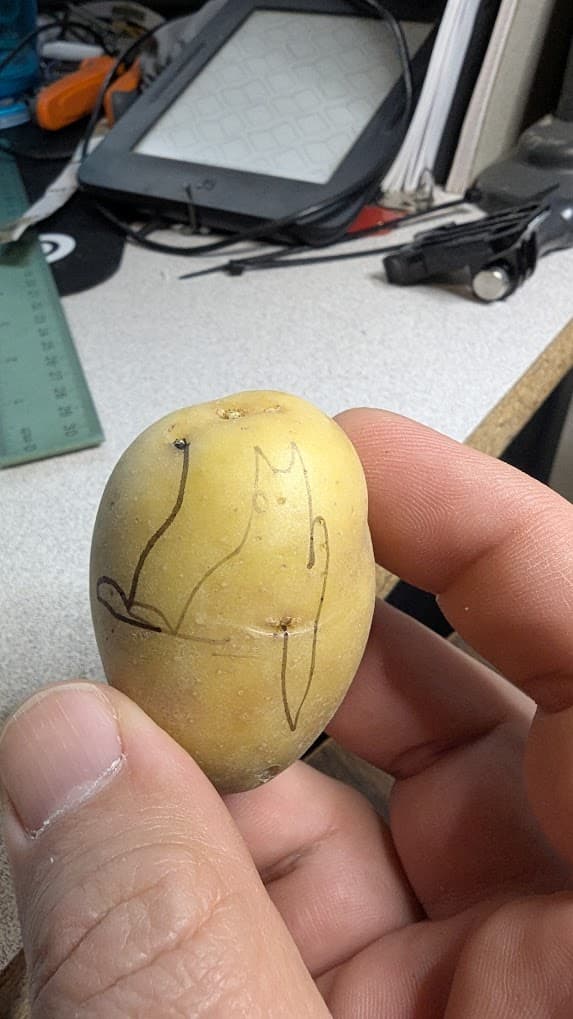
Apparently there’s more reasons than just them being fertility symbols that made people choose eggs as the foot item to decorate. The pen gets caught in the eyes and the skin of the potato gums up the sharpie really fast ![]()
Oh well, at least I tried.
And my eggbot is now working with fluidNC I’m happy to say…and I’m feeling ready to tackle that ZenXY!
Only real remaining issue is that even with the current set to 0.5 my steppers are running hotter than I expected (about 117f) not really not enough to worry me…but still hotter than I’d expect for 0.5 amp on hold/run
2 Likes
Yea, my motors are a bit warm too but I wasn’t too concerned. I would imagine for an eggbot, you could lower the amps even more.