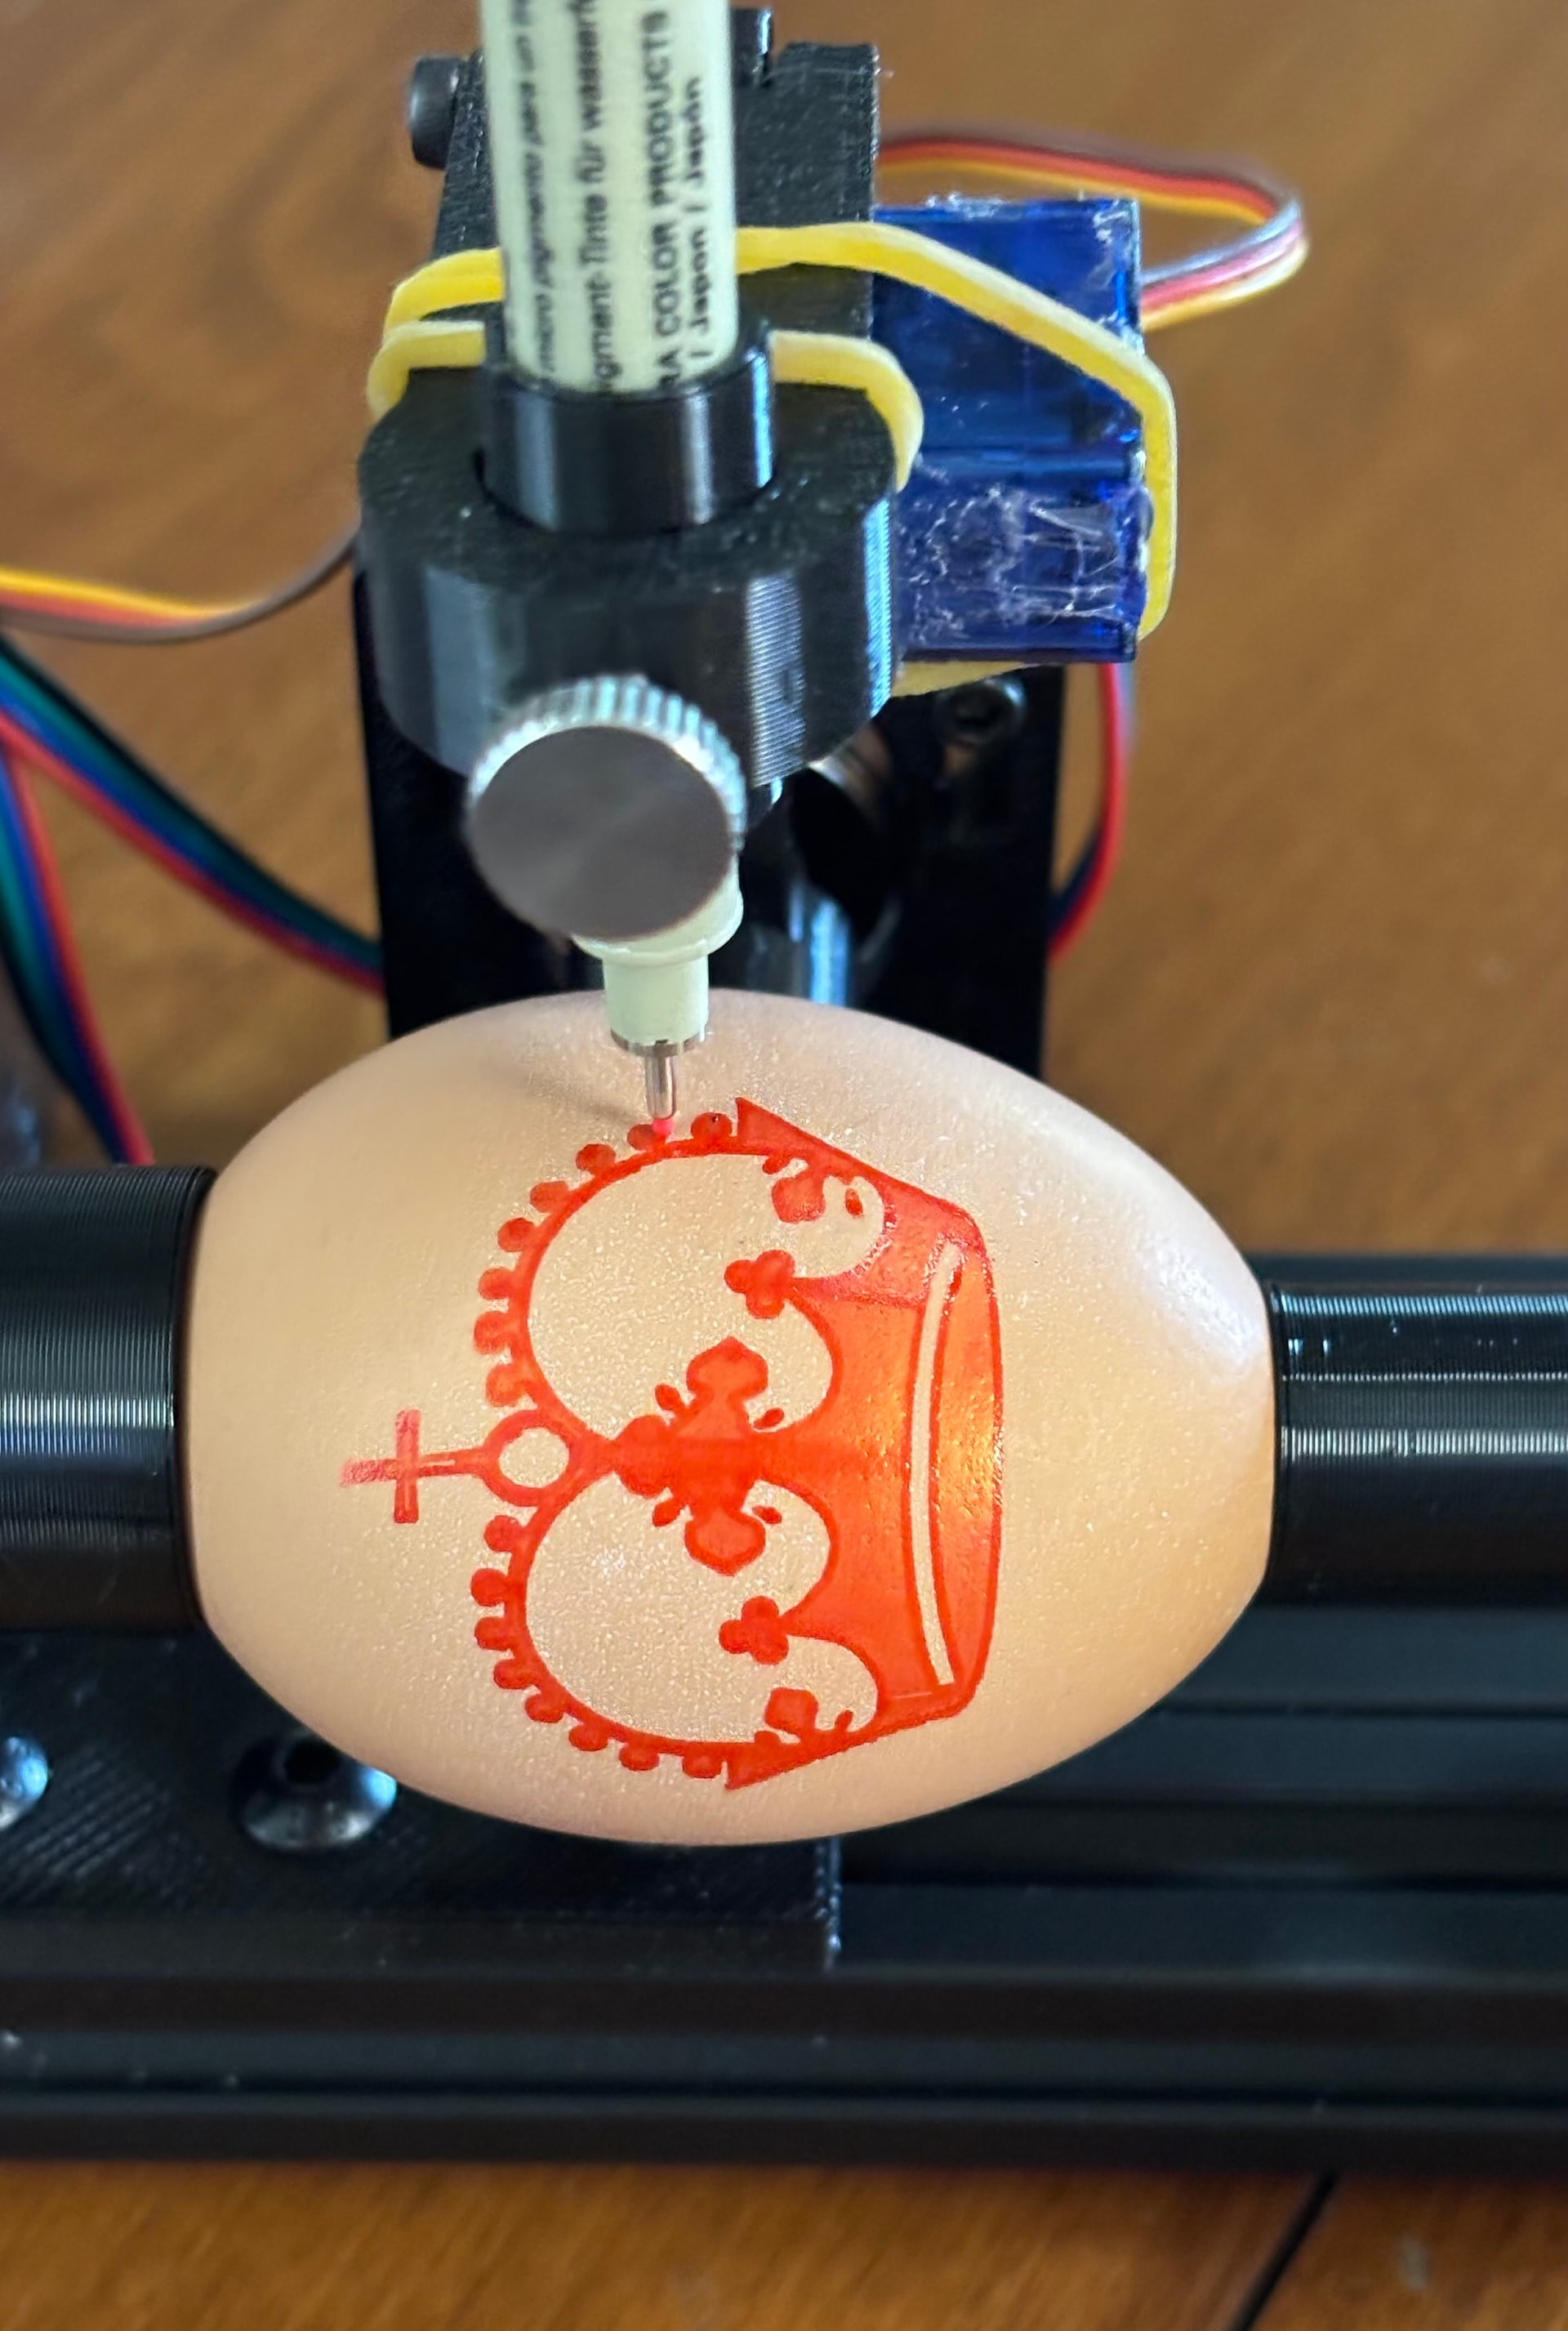
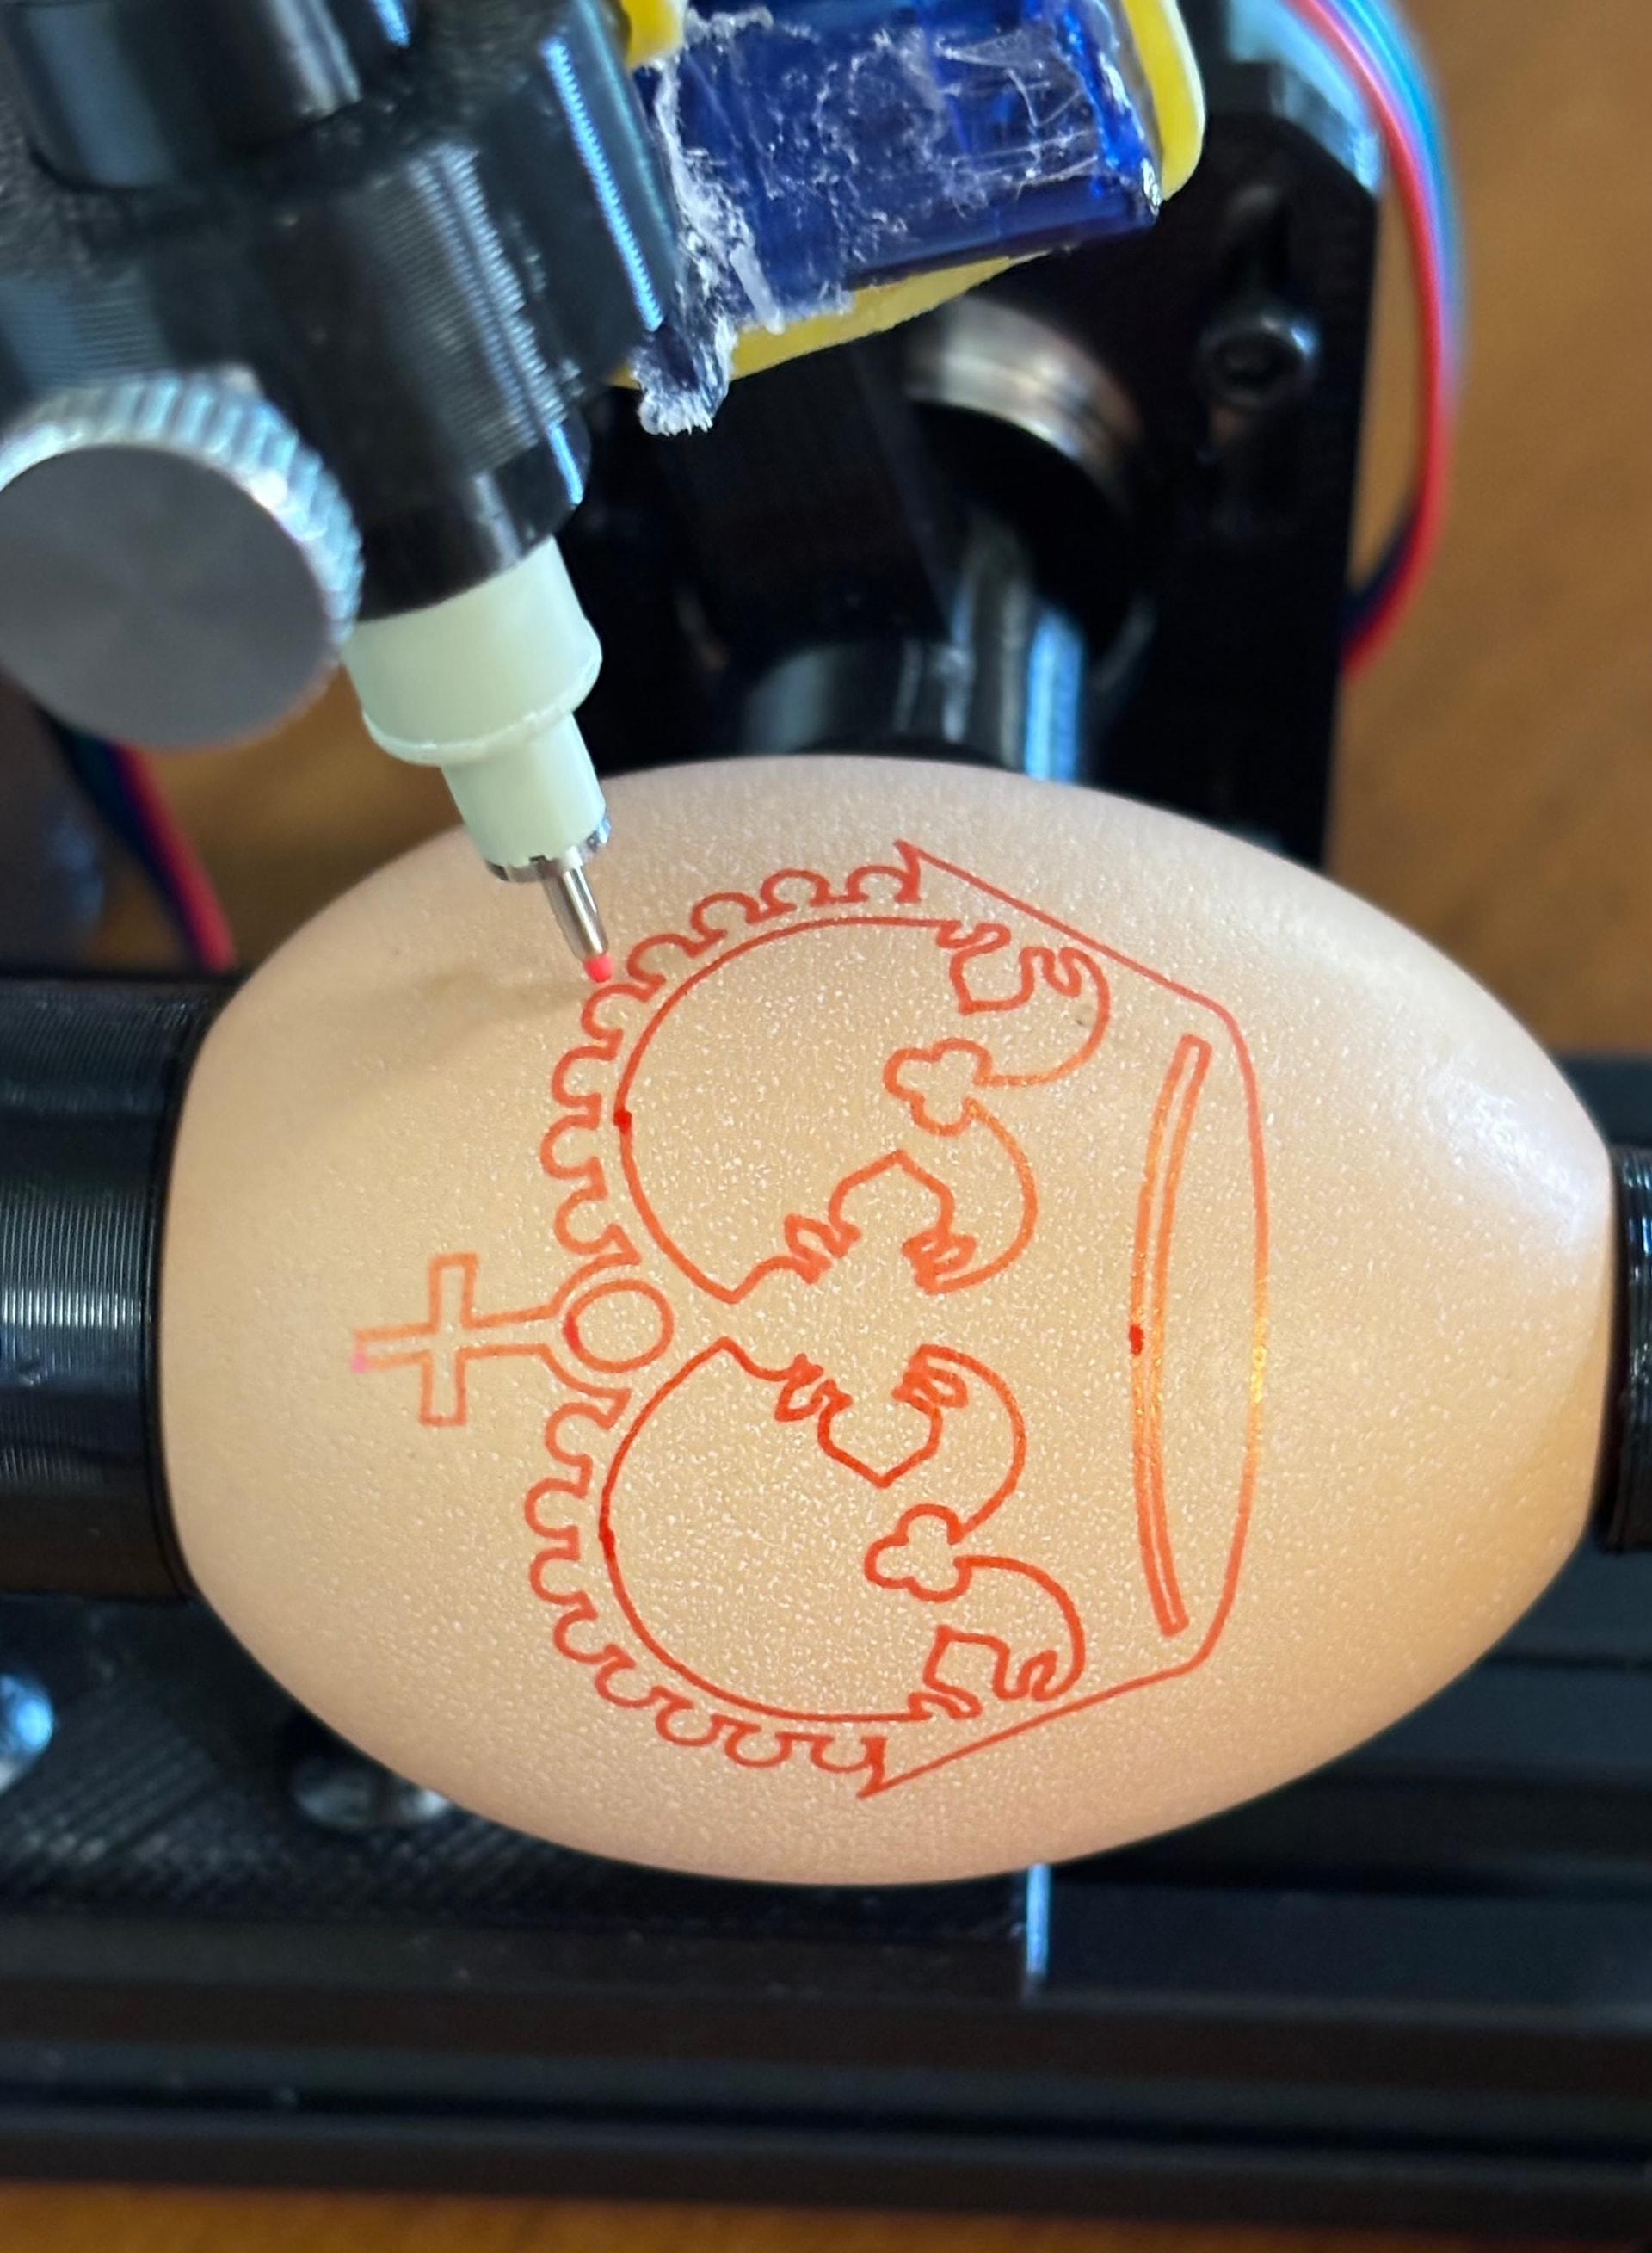
Another option would be to design a key / slot and groove into the parts.
2 Likes
How would you have 2 different infills in one part? I want to try this. I’m using OrcaSlicer.
Use modifiers.
1 Like
I haven’t done it in orca, but I know it can be done. I’ve done it a few times with simplify3d.
2 Likes
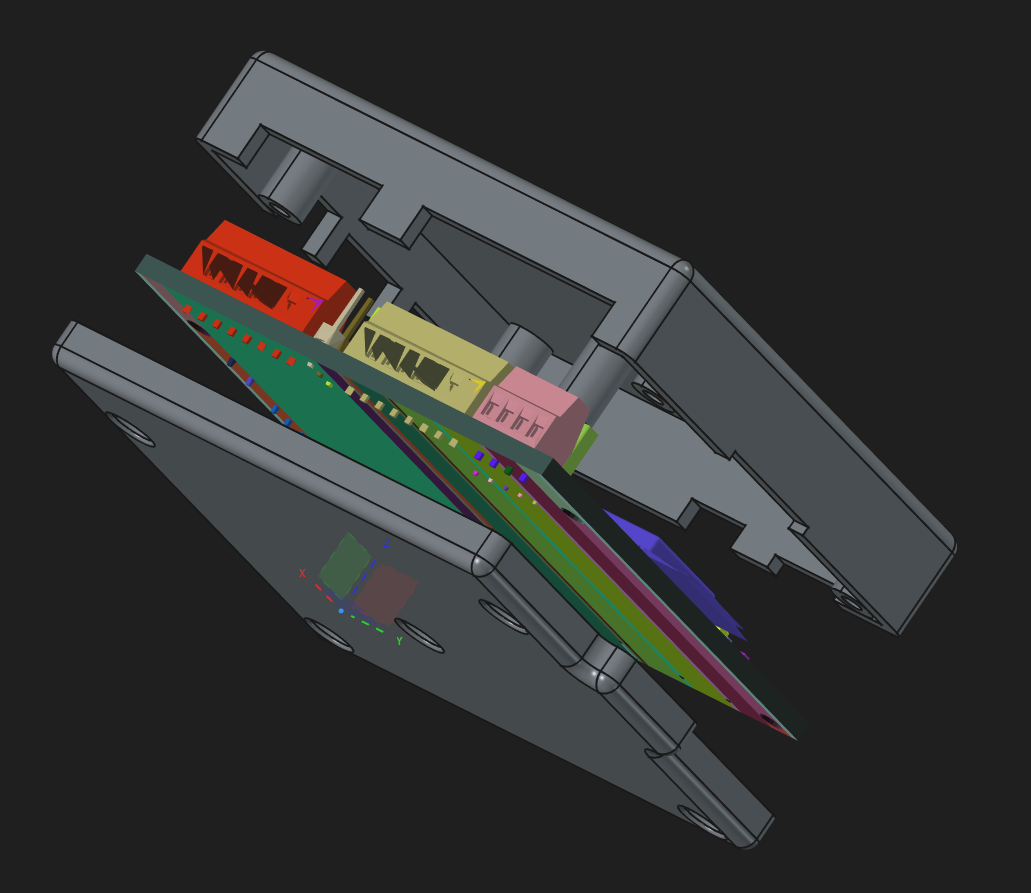
Well, tonight I got caught up in making a standalone case for the pen/laser board after cementing a new mailbox post in the ground after the neighbor’s delivery truck took it out. Still working on it but I’ve been having a lot of fun in FreeCAD lately.
5 Likes
I found a couple of good videos on adding a modifier and adjusting the infill for the modifier. I’ll try printing it out tomorrow. 
2 Likes
I did my first TPU print today. I had to print out a spool support first, which took some modifications to get it to go on my FlashForge AD5M. It turned out well though.
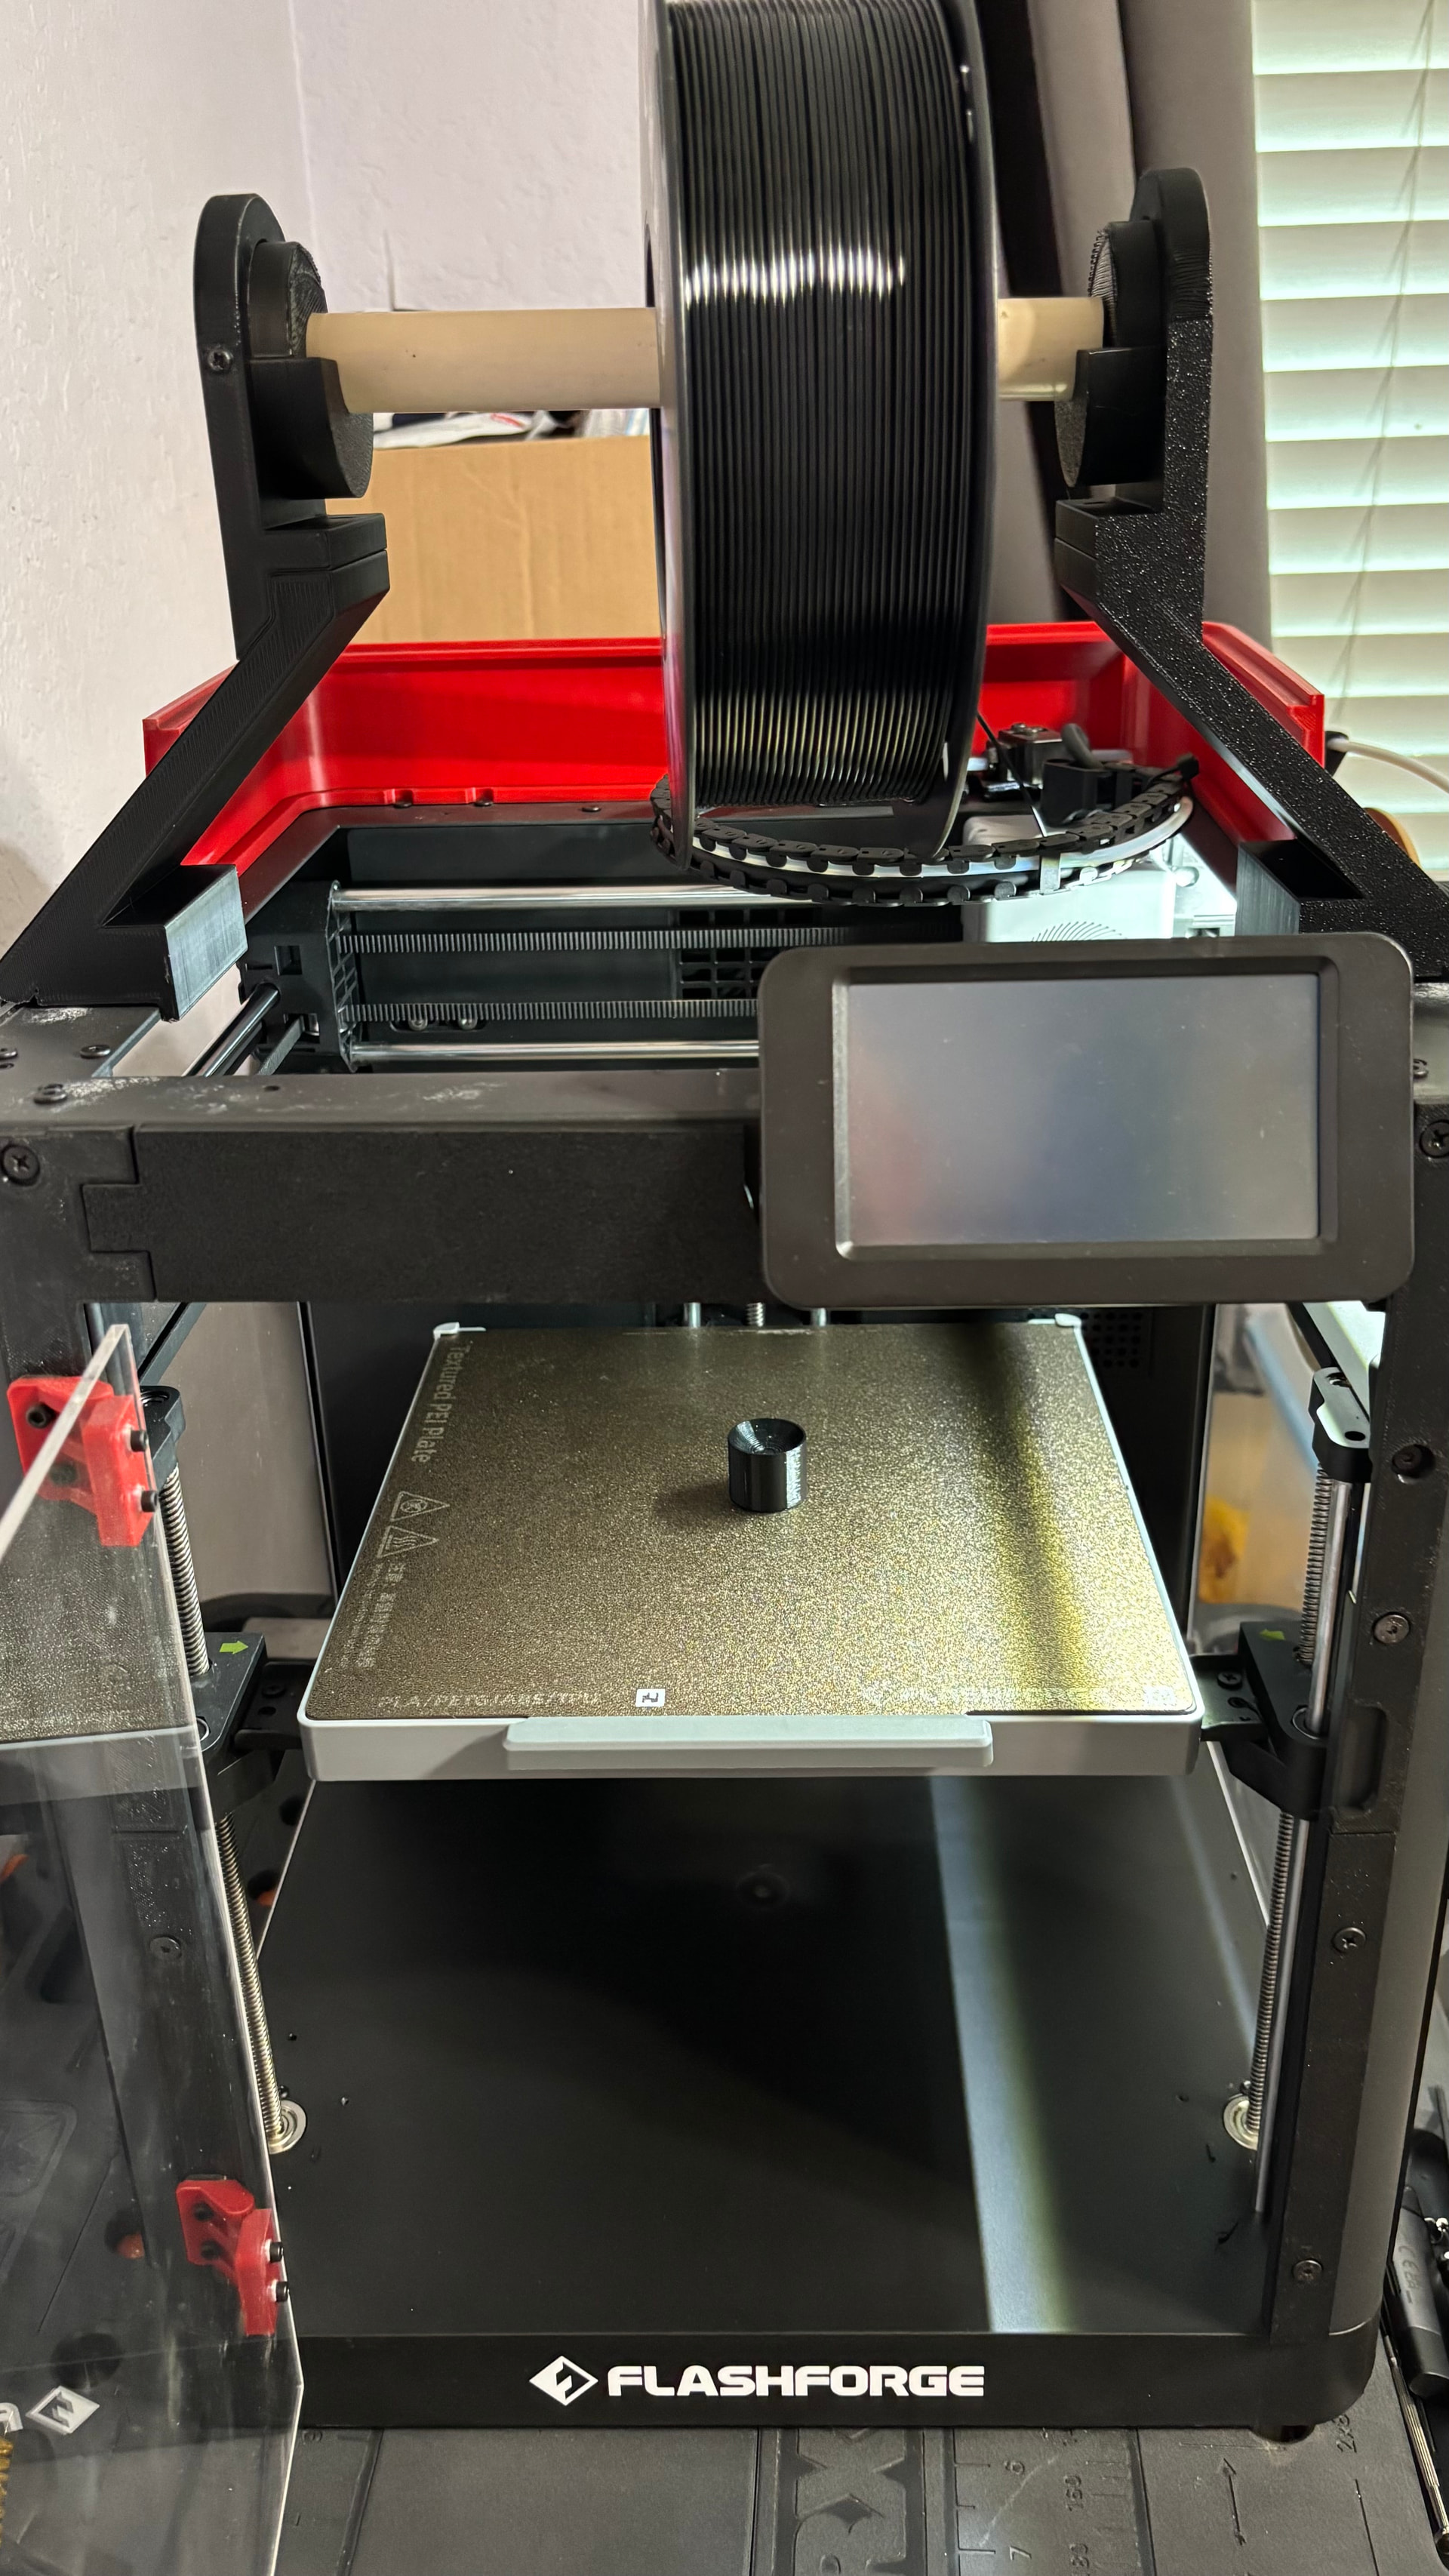
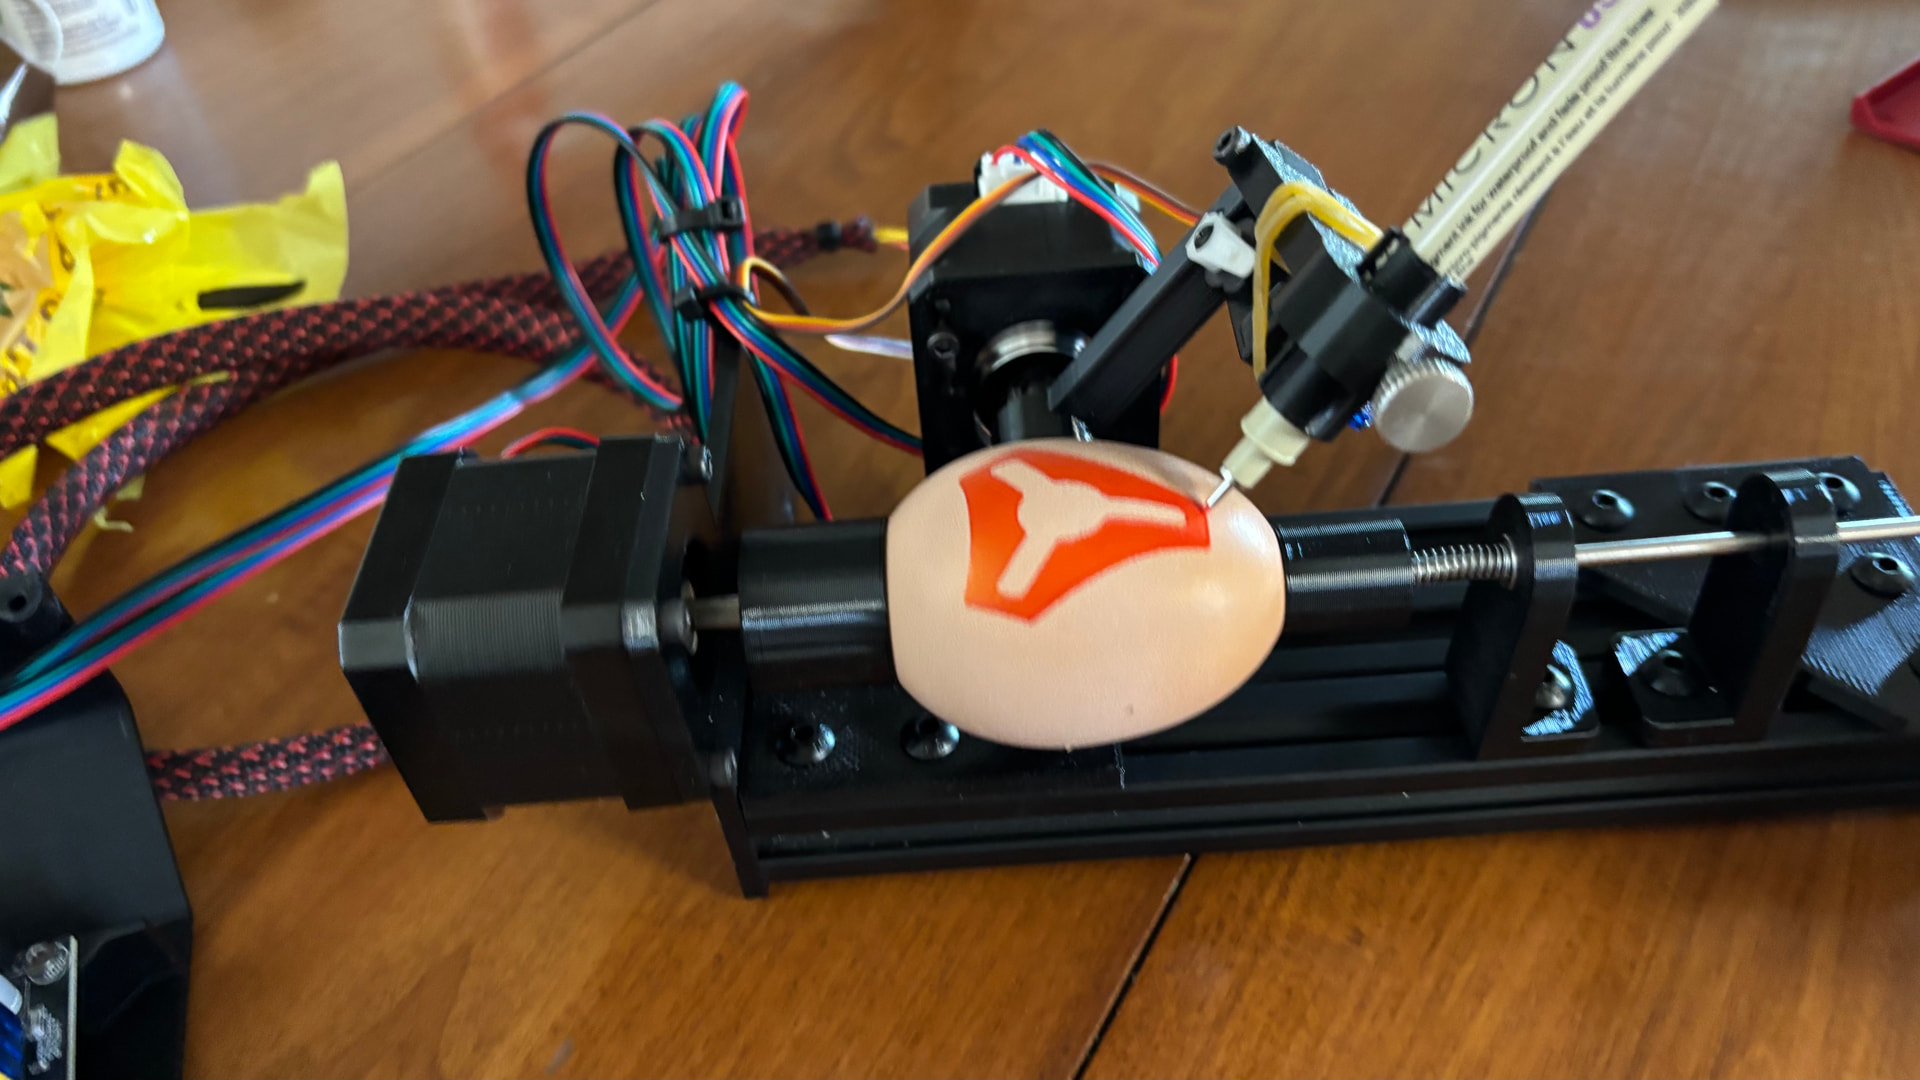
The TPU eggholder turned out really well. I used the modifier to increase the infill to 55% at the bottom where it slides onto the stepper motor shaft. I set the cupped part to 15%. I also printed out the smaller righthand eggholder in TPU.
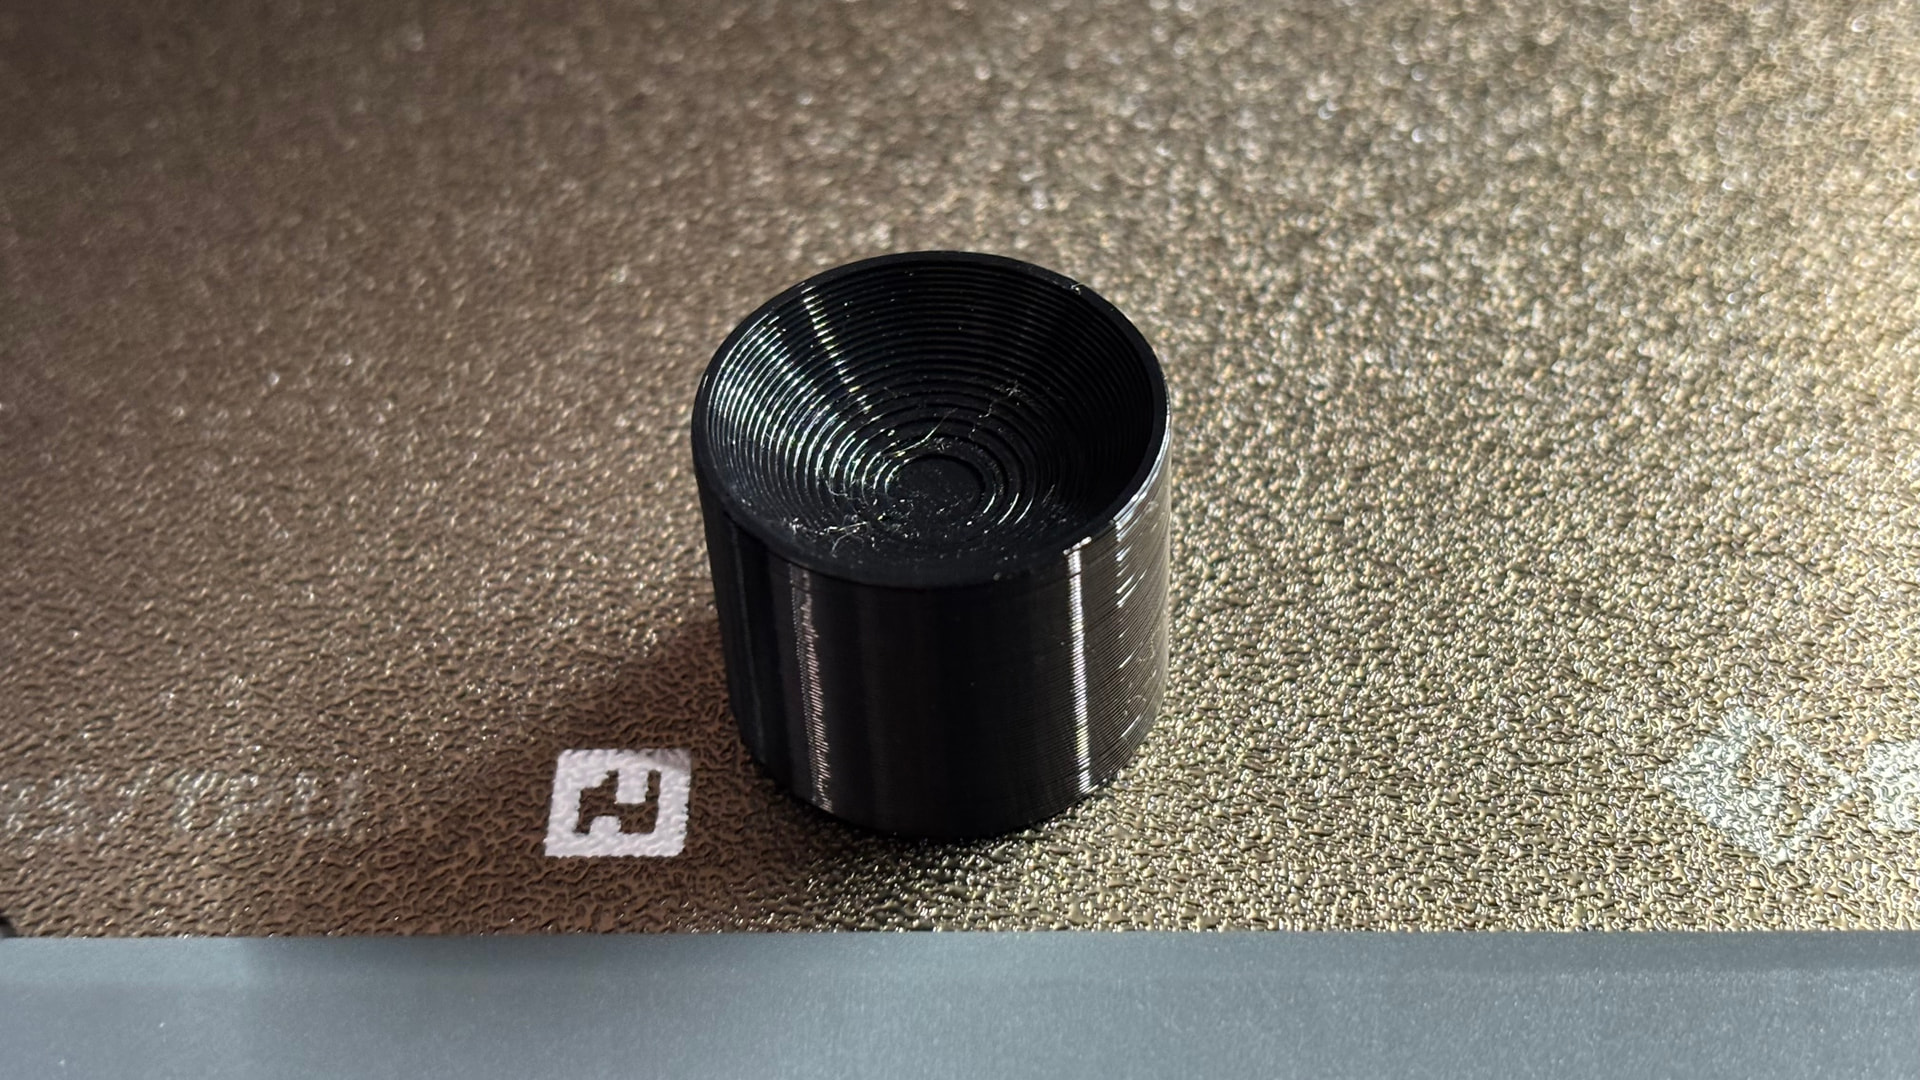
I installed the TPU eggholders and tried them out. They grip the egg much better than the PLA does. First print came out really well.
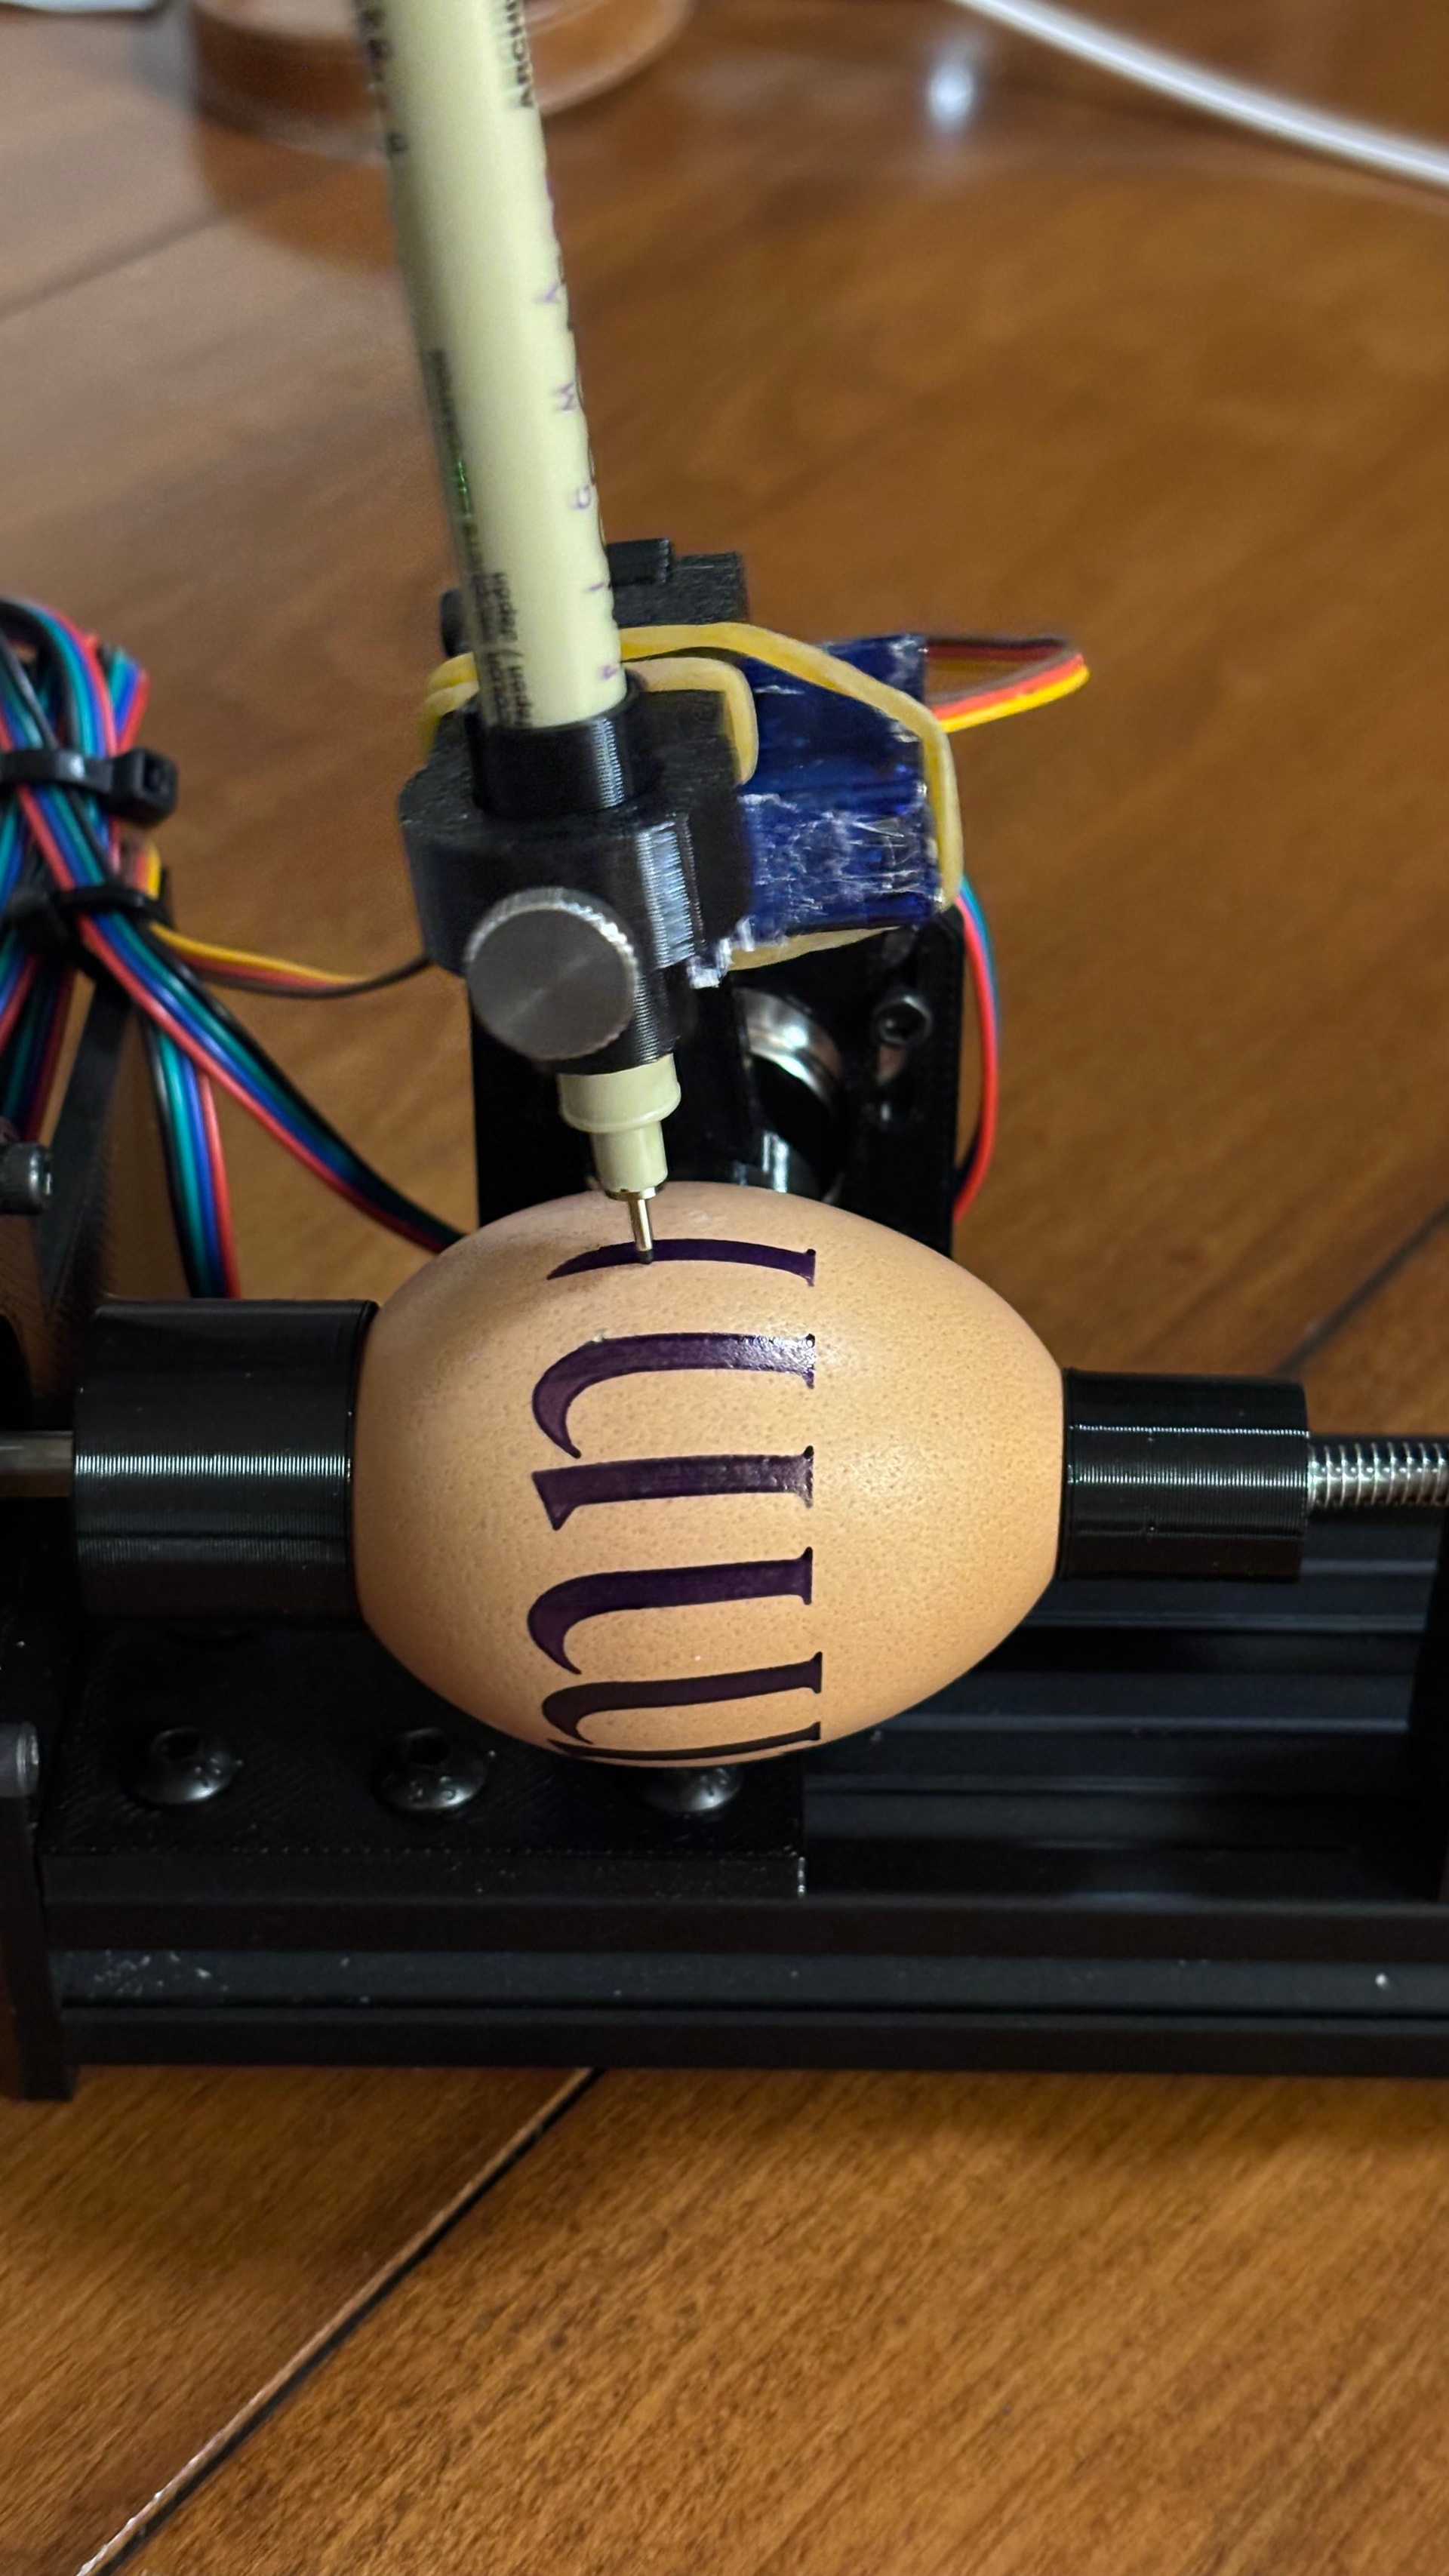
Thank you again @jeyeager! You inspired me to build an eggbot and to try printing with TPU.
4 Likes
Sure did! Great result.
2 Likes
I have some parts from my old Mpcnc, steppers and a rambo board. I am also off work this week.. guess I know what I’ll be attempting!
3 Likes
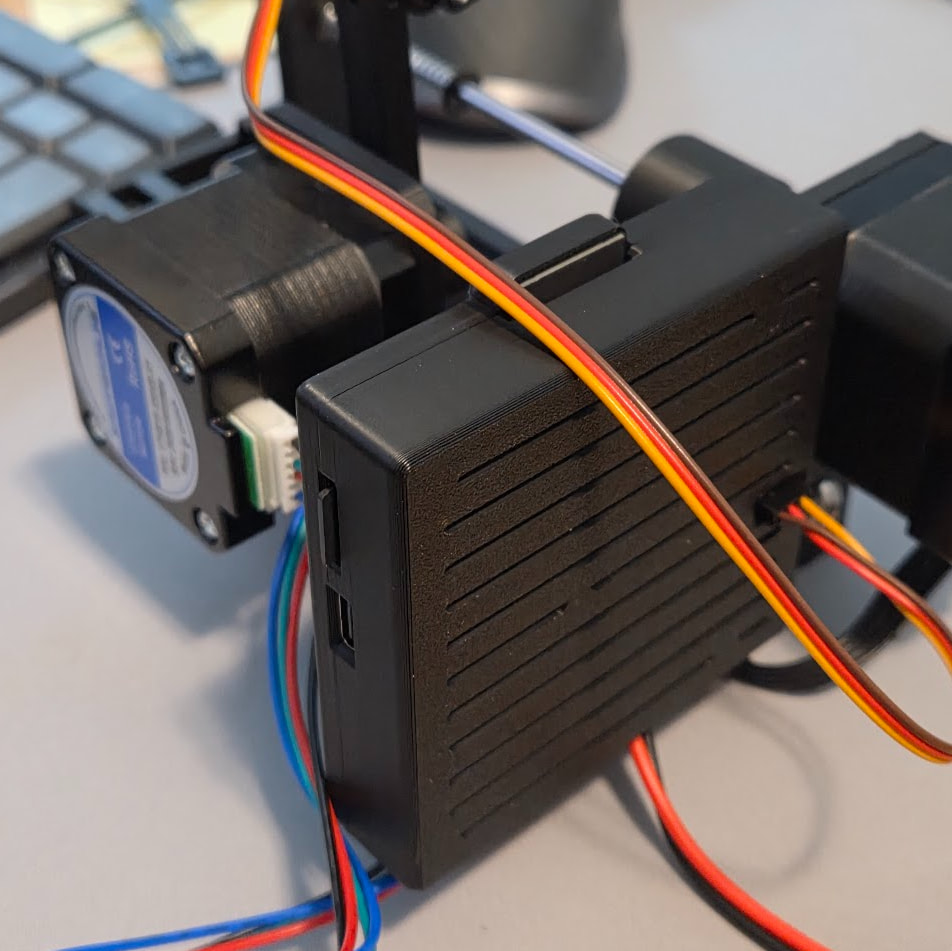
I finished this case. I’m really happy with how it came out.
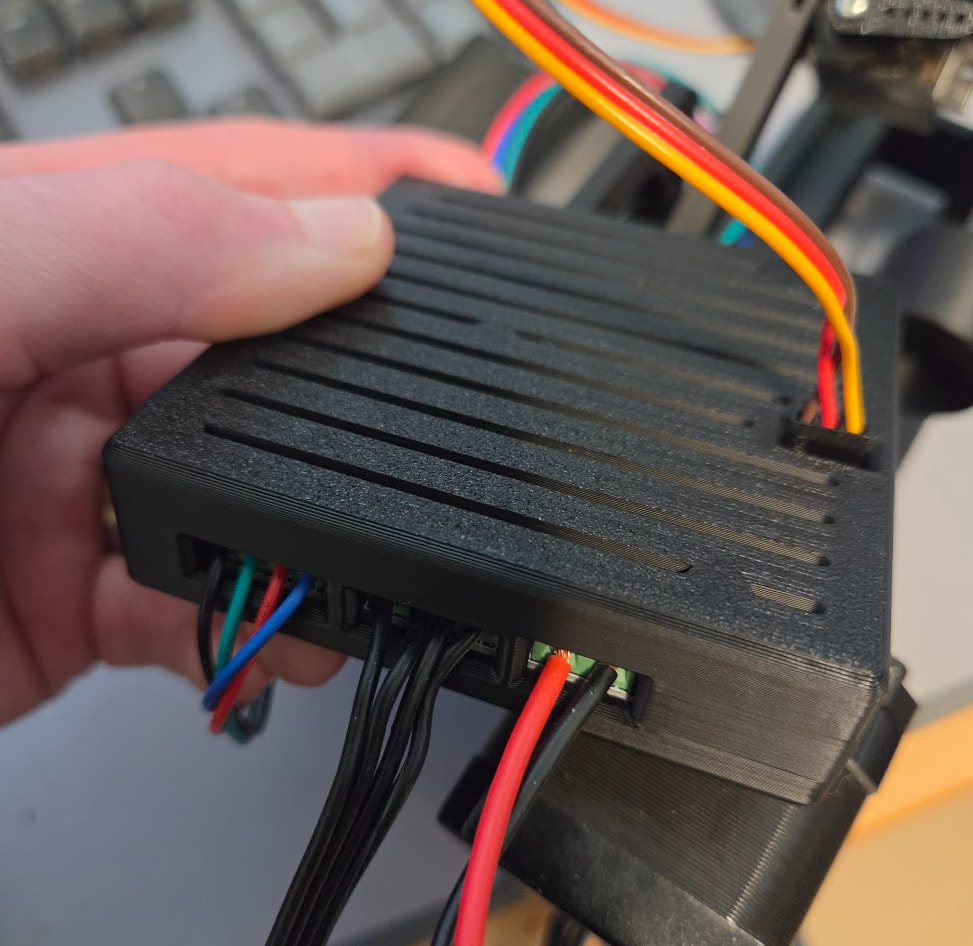
I’ll probably upload this to Makerworld and maybe Printables. I haven’t done that before.
PenLaserBoardCase.zip (3.5 MB)
There’s a top and bottom piece. You screw it together with M3 screws (preferably button head, socket head will stick out a bit). I used 10mm but probably from about 8 to 16 would work. I drilled out an existing hole in the eggbot end plate to 3.5mm and attached it with a single 16mm screw there. Note that you’ll want to poke out the holes in the bottom plate before putting the screw in. I put a single layer so it would print properly without supports.
I think I need to wrap up whatever changes I’m making for this year. That will be to shorten the wires and print the egg holder parts in TPU. I just figured out how to do the different infill in Bambu Studio.
4 Likes
9 Likes
That looks great!
1 Like
Rather use printables and have your files on EU servers than to give them to a Chinese company that ignores customer’s rights. 
So apparently I only have 4080 or 2550 extrusion around. So I either have to adjust the parts, but I’ve already printed them, buy a piece of 2060, or print a piece of 2060. I think I will try printing it for this project, if a friend of mine doesn’t have a scrap piece laying around.
1 Like
I used 3 pieces of 2020 that I connected together and it’s working if you have any of that.
1 Like