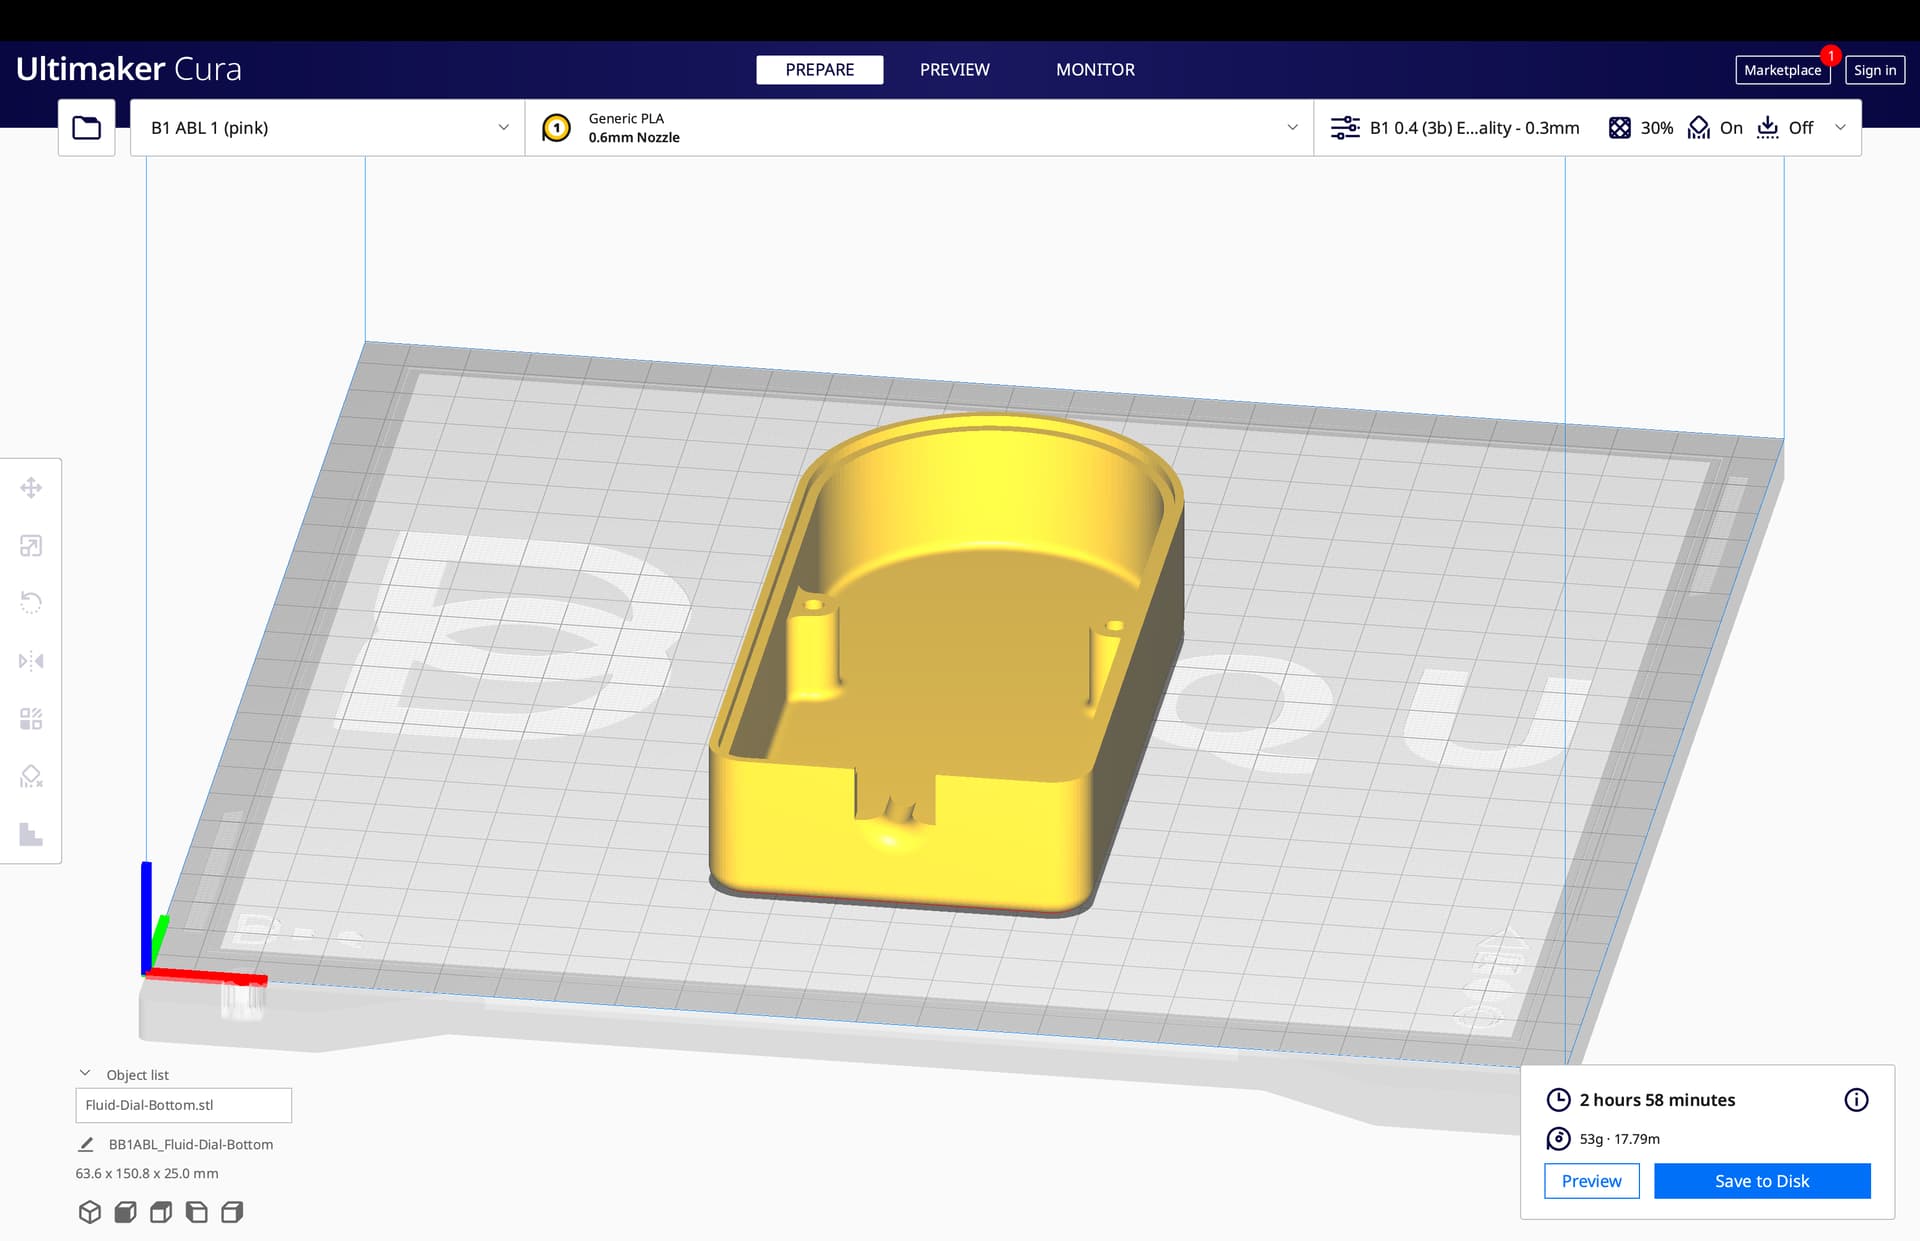
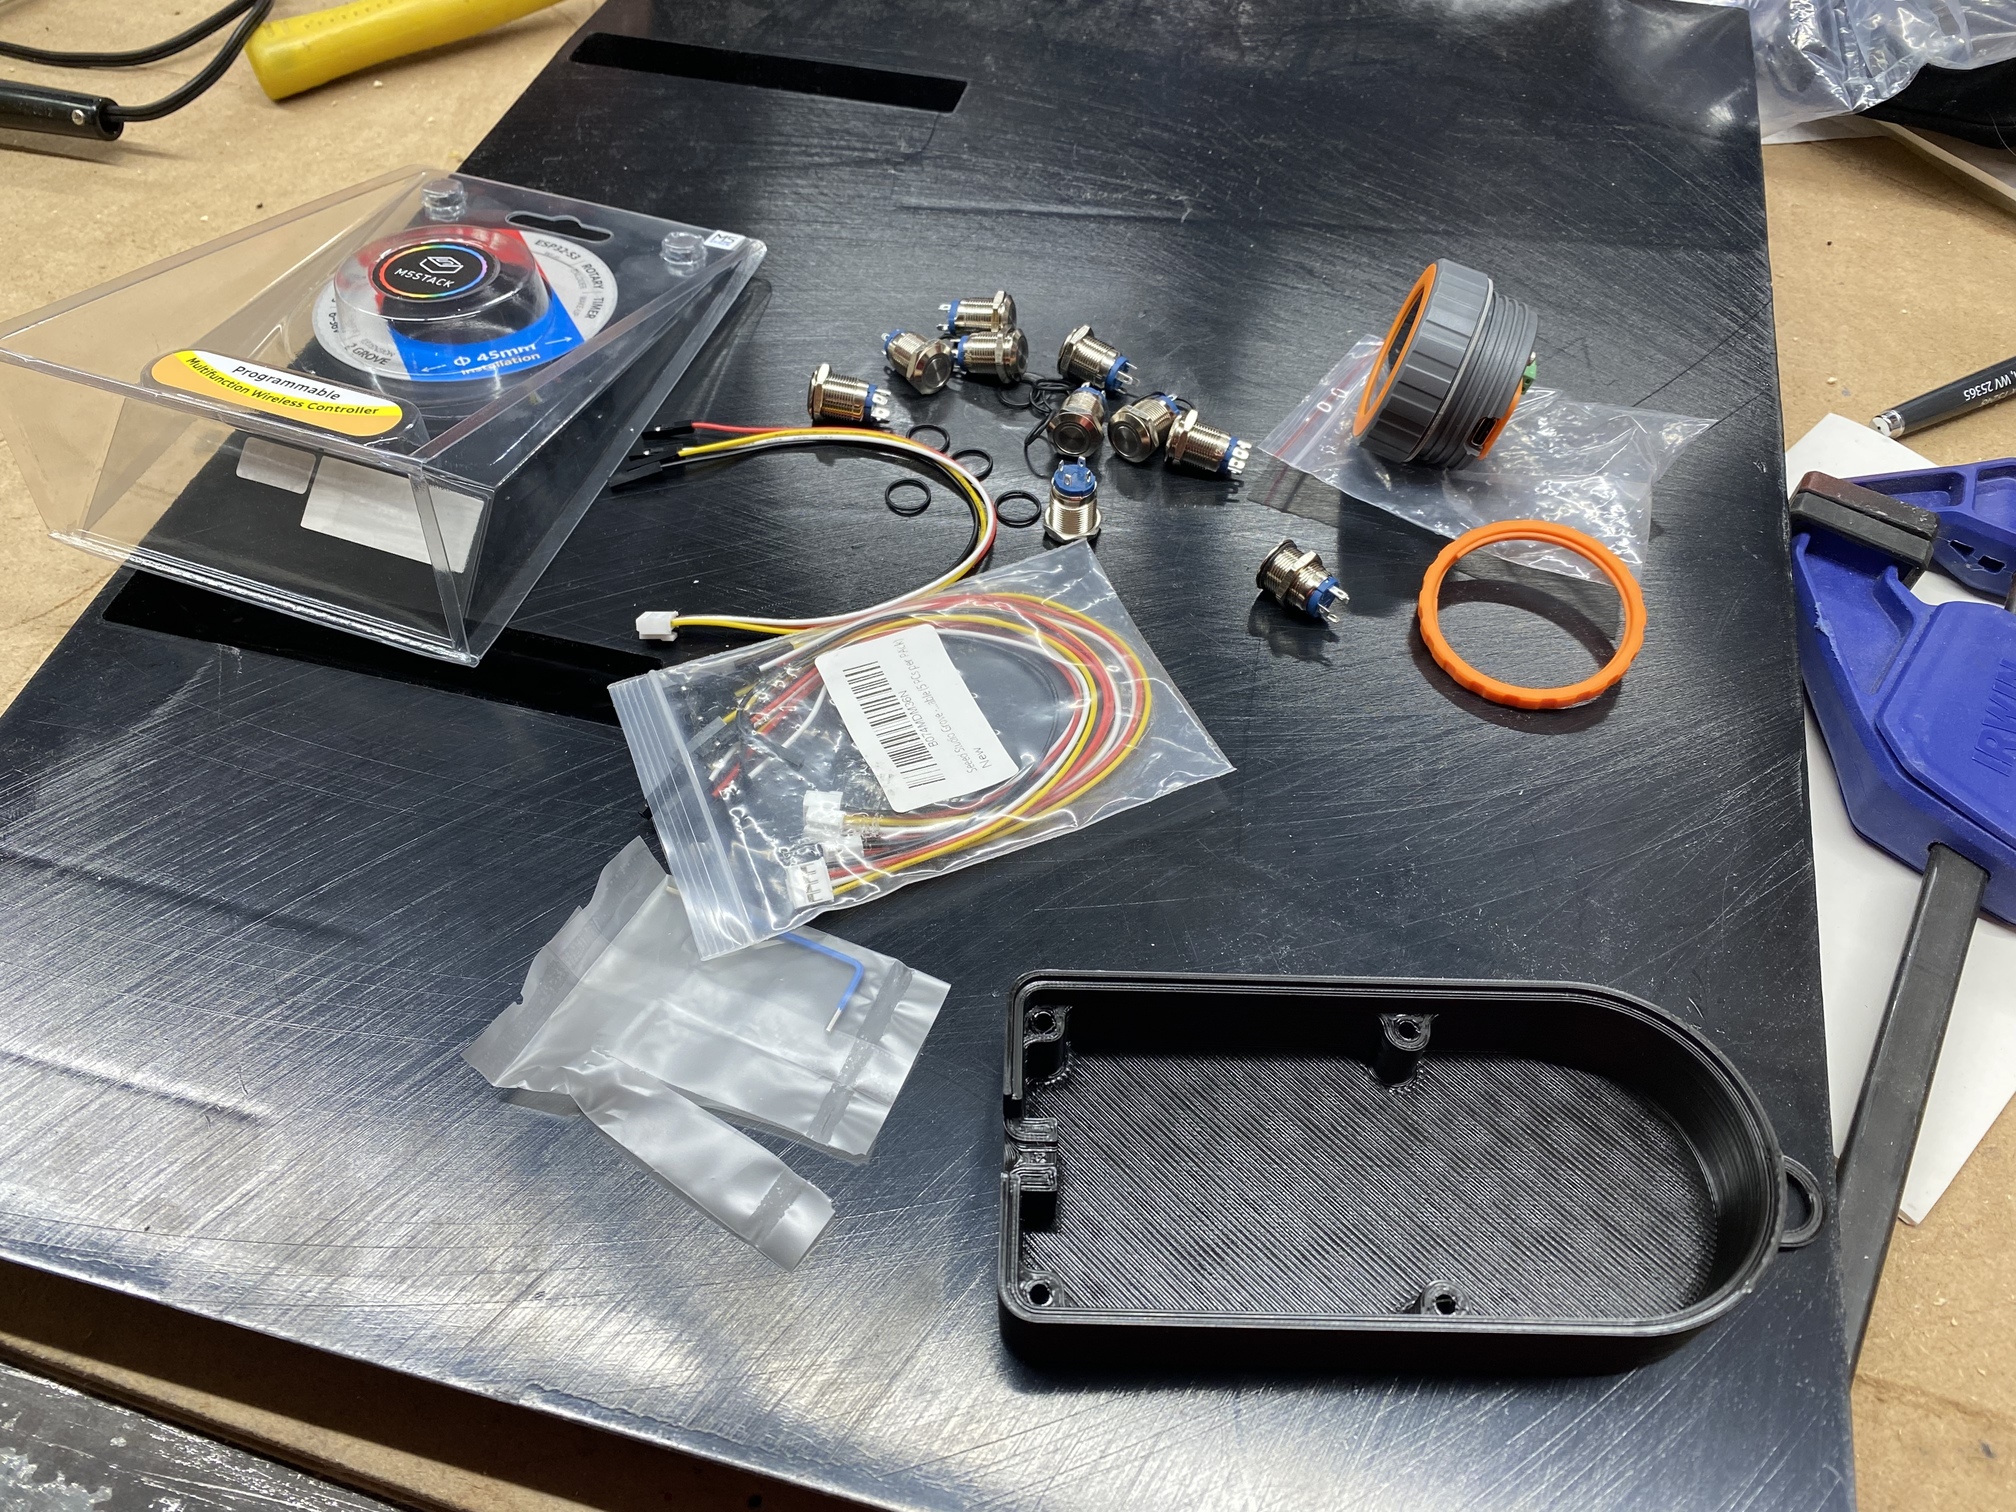
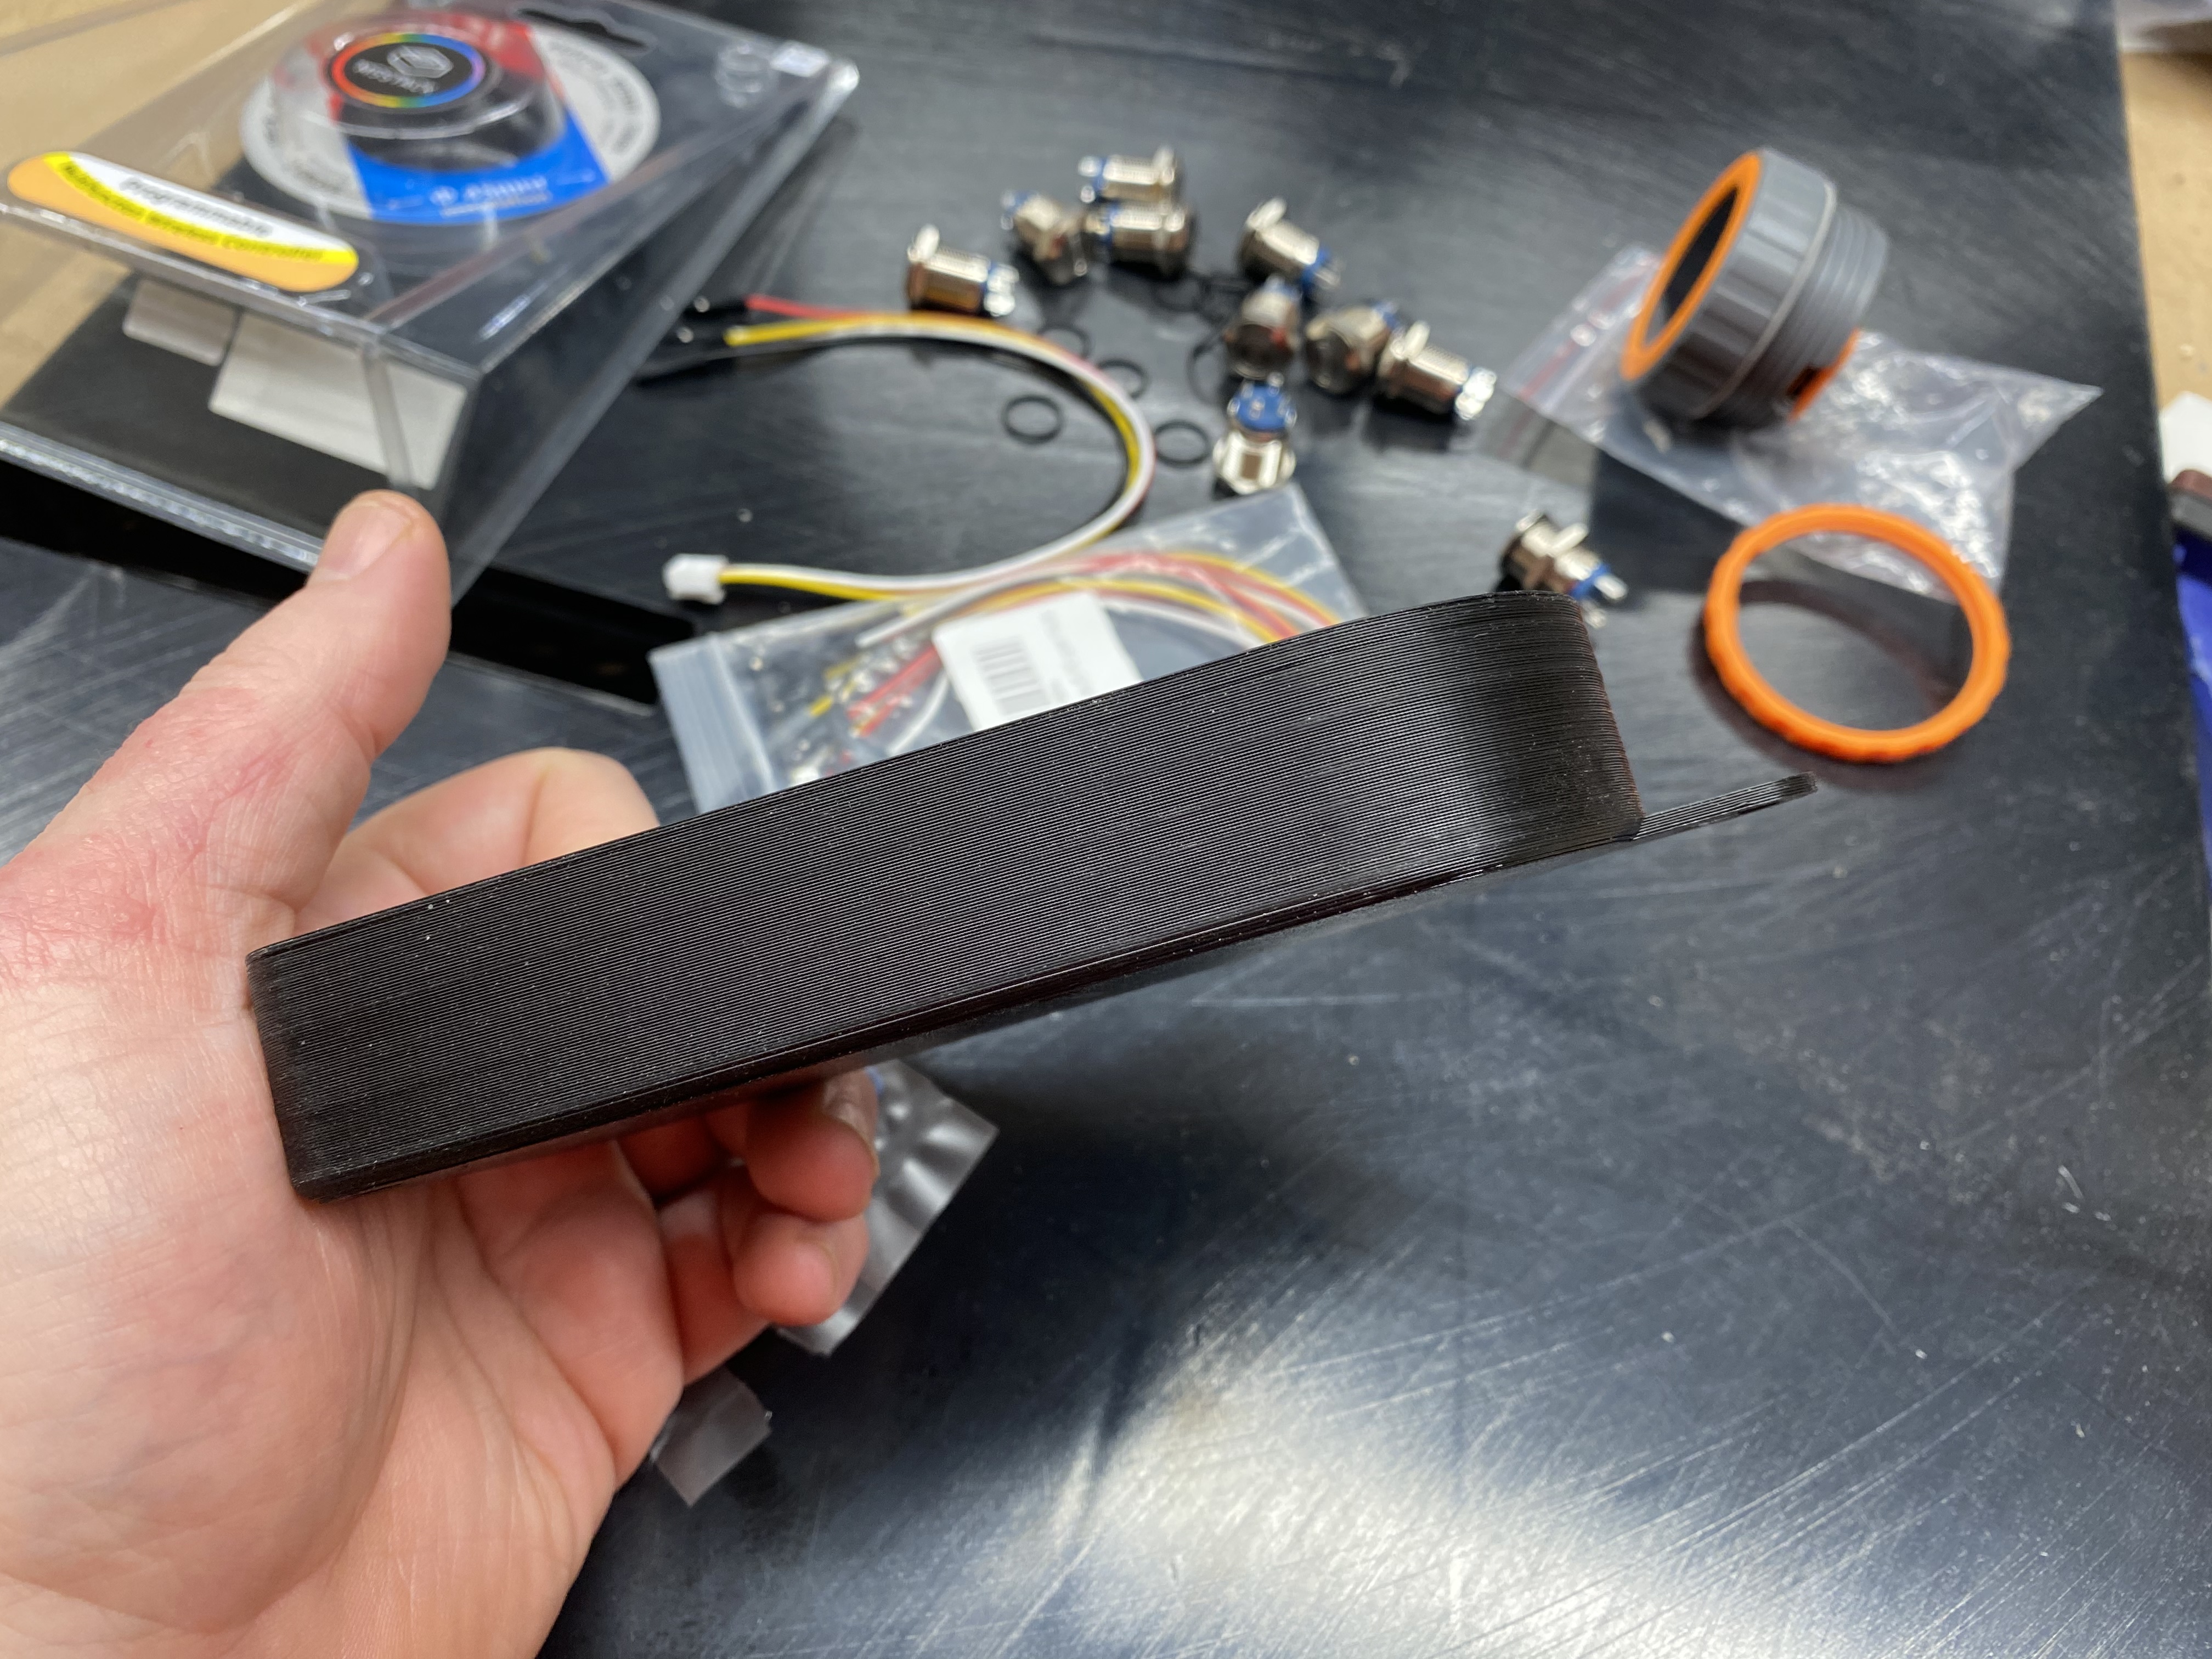
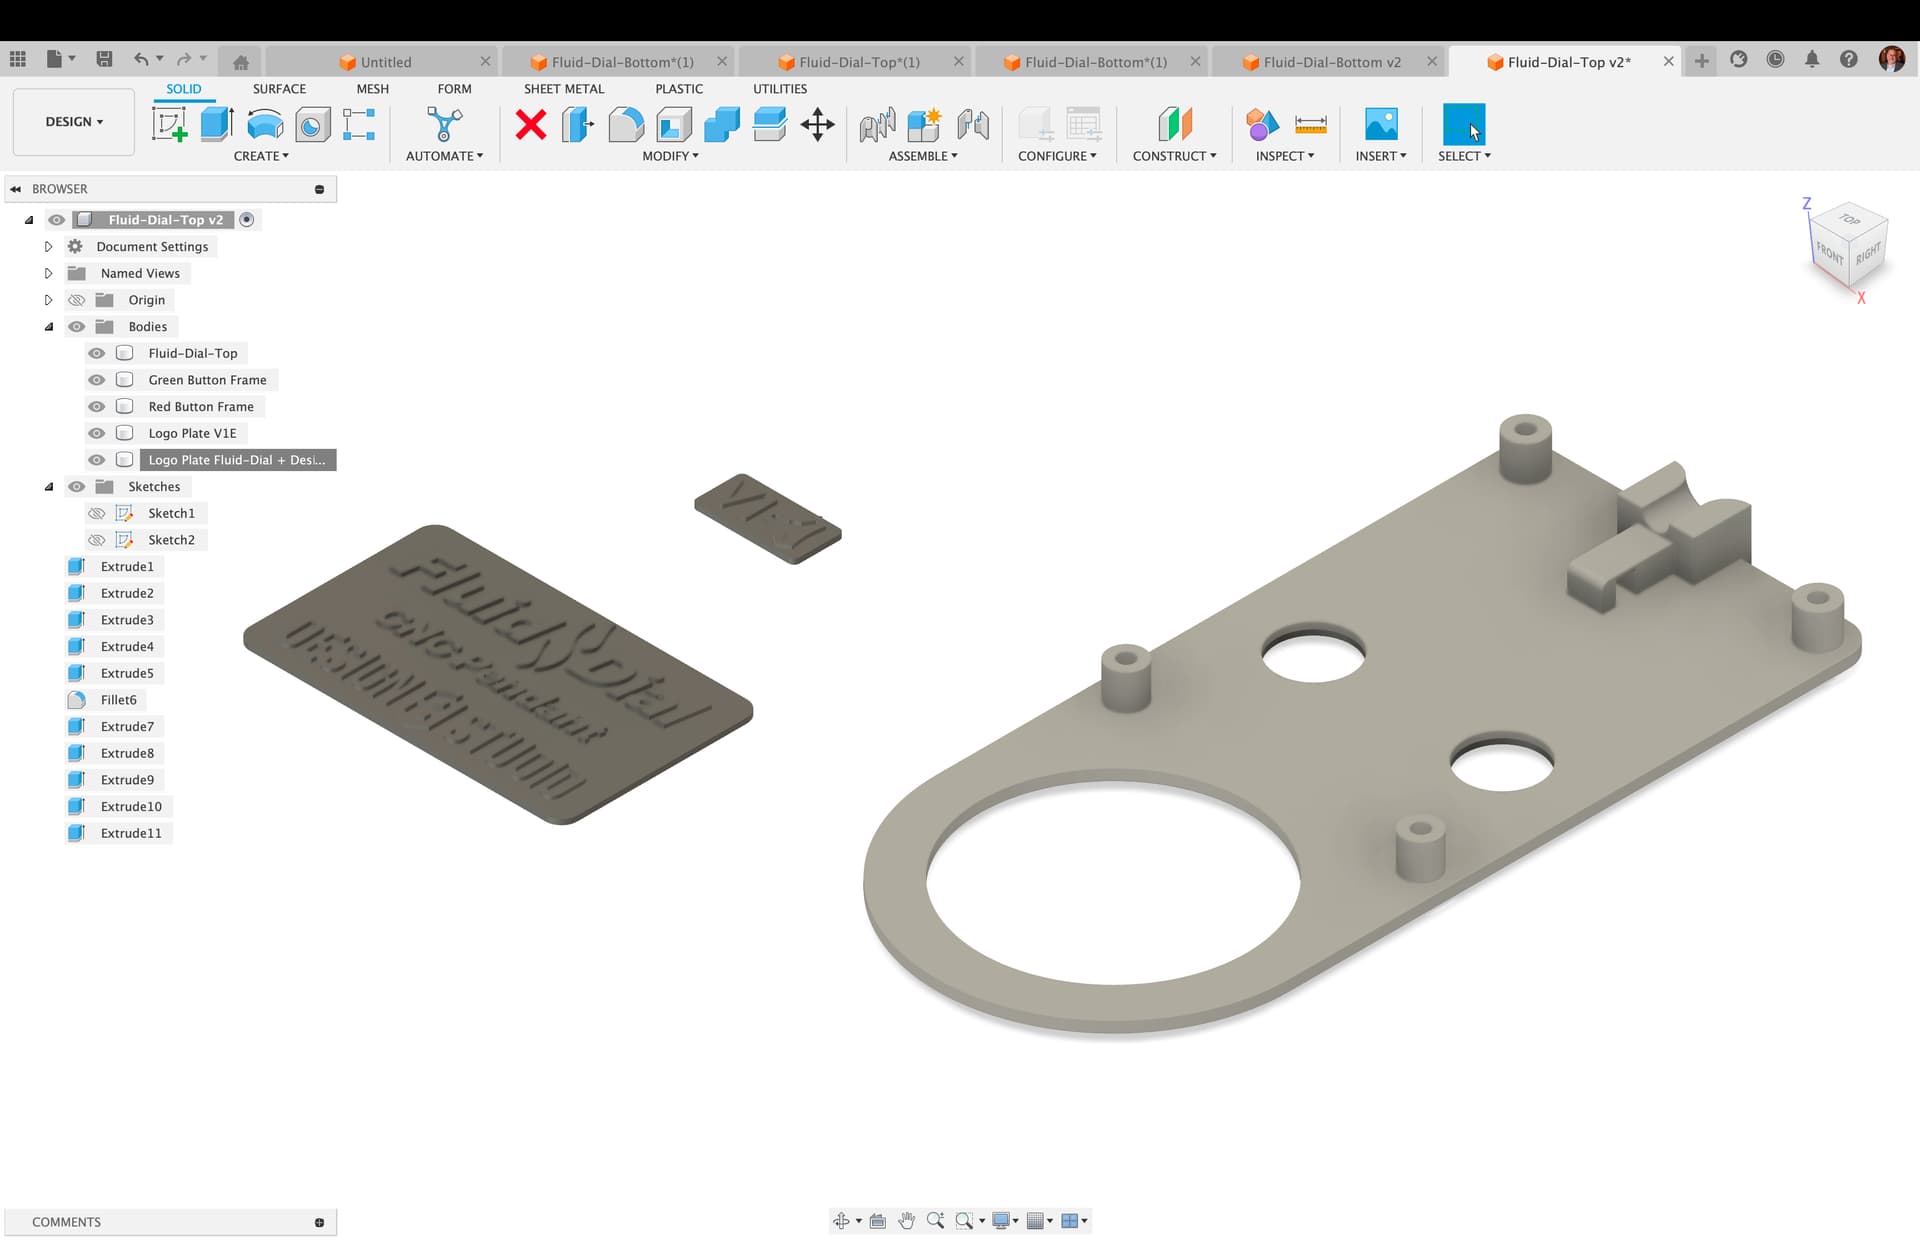
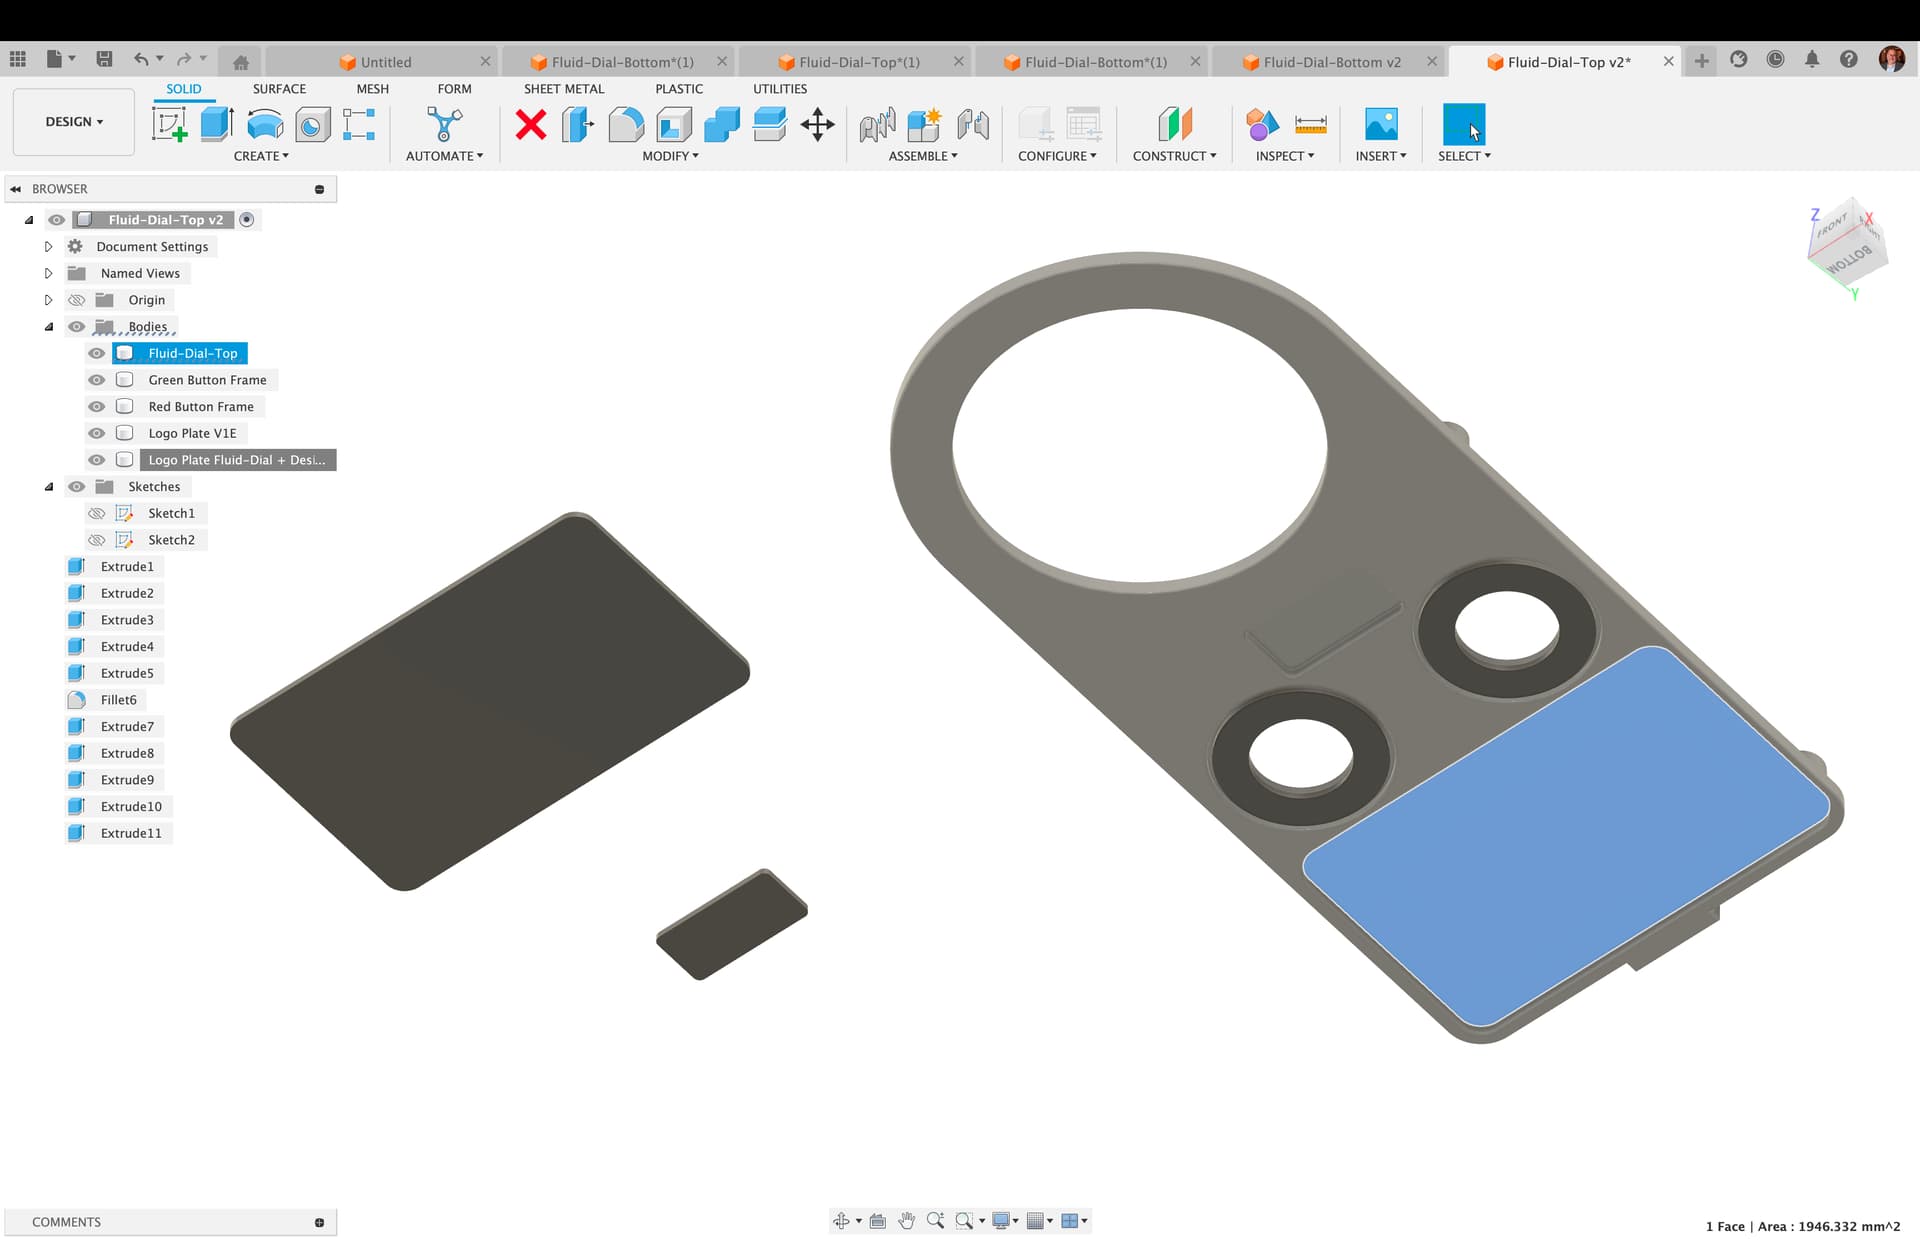
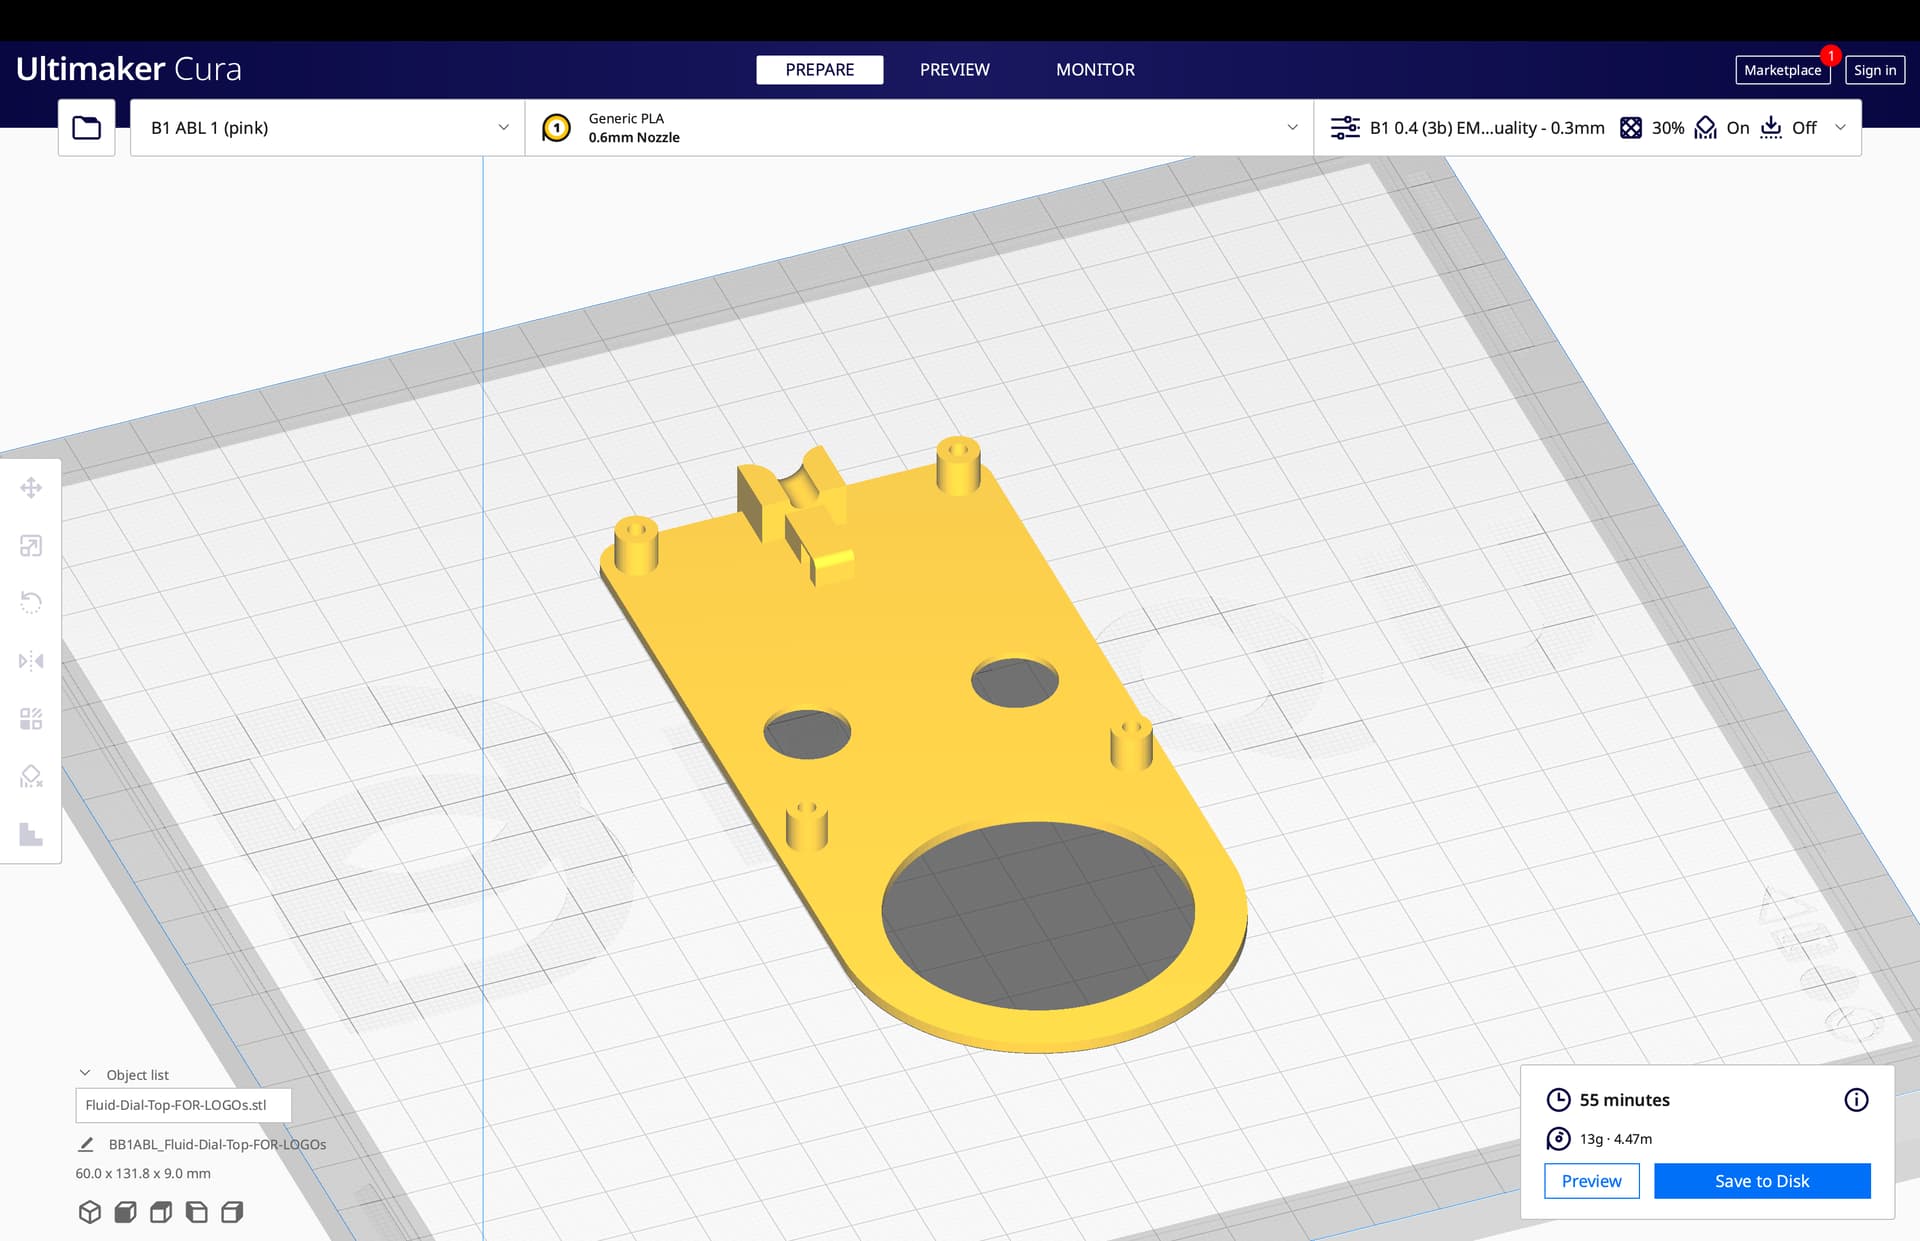
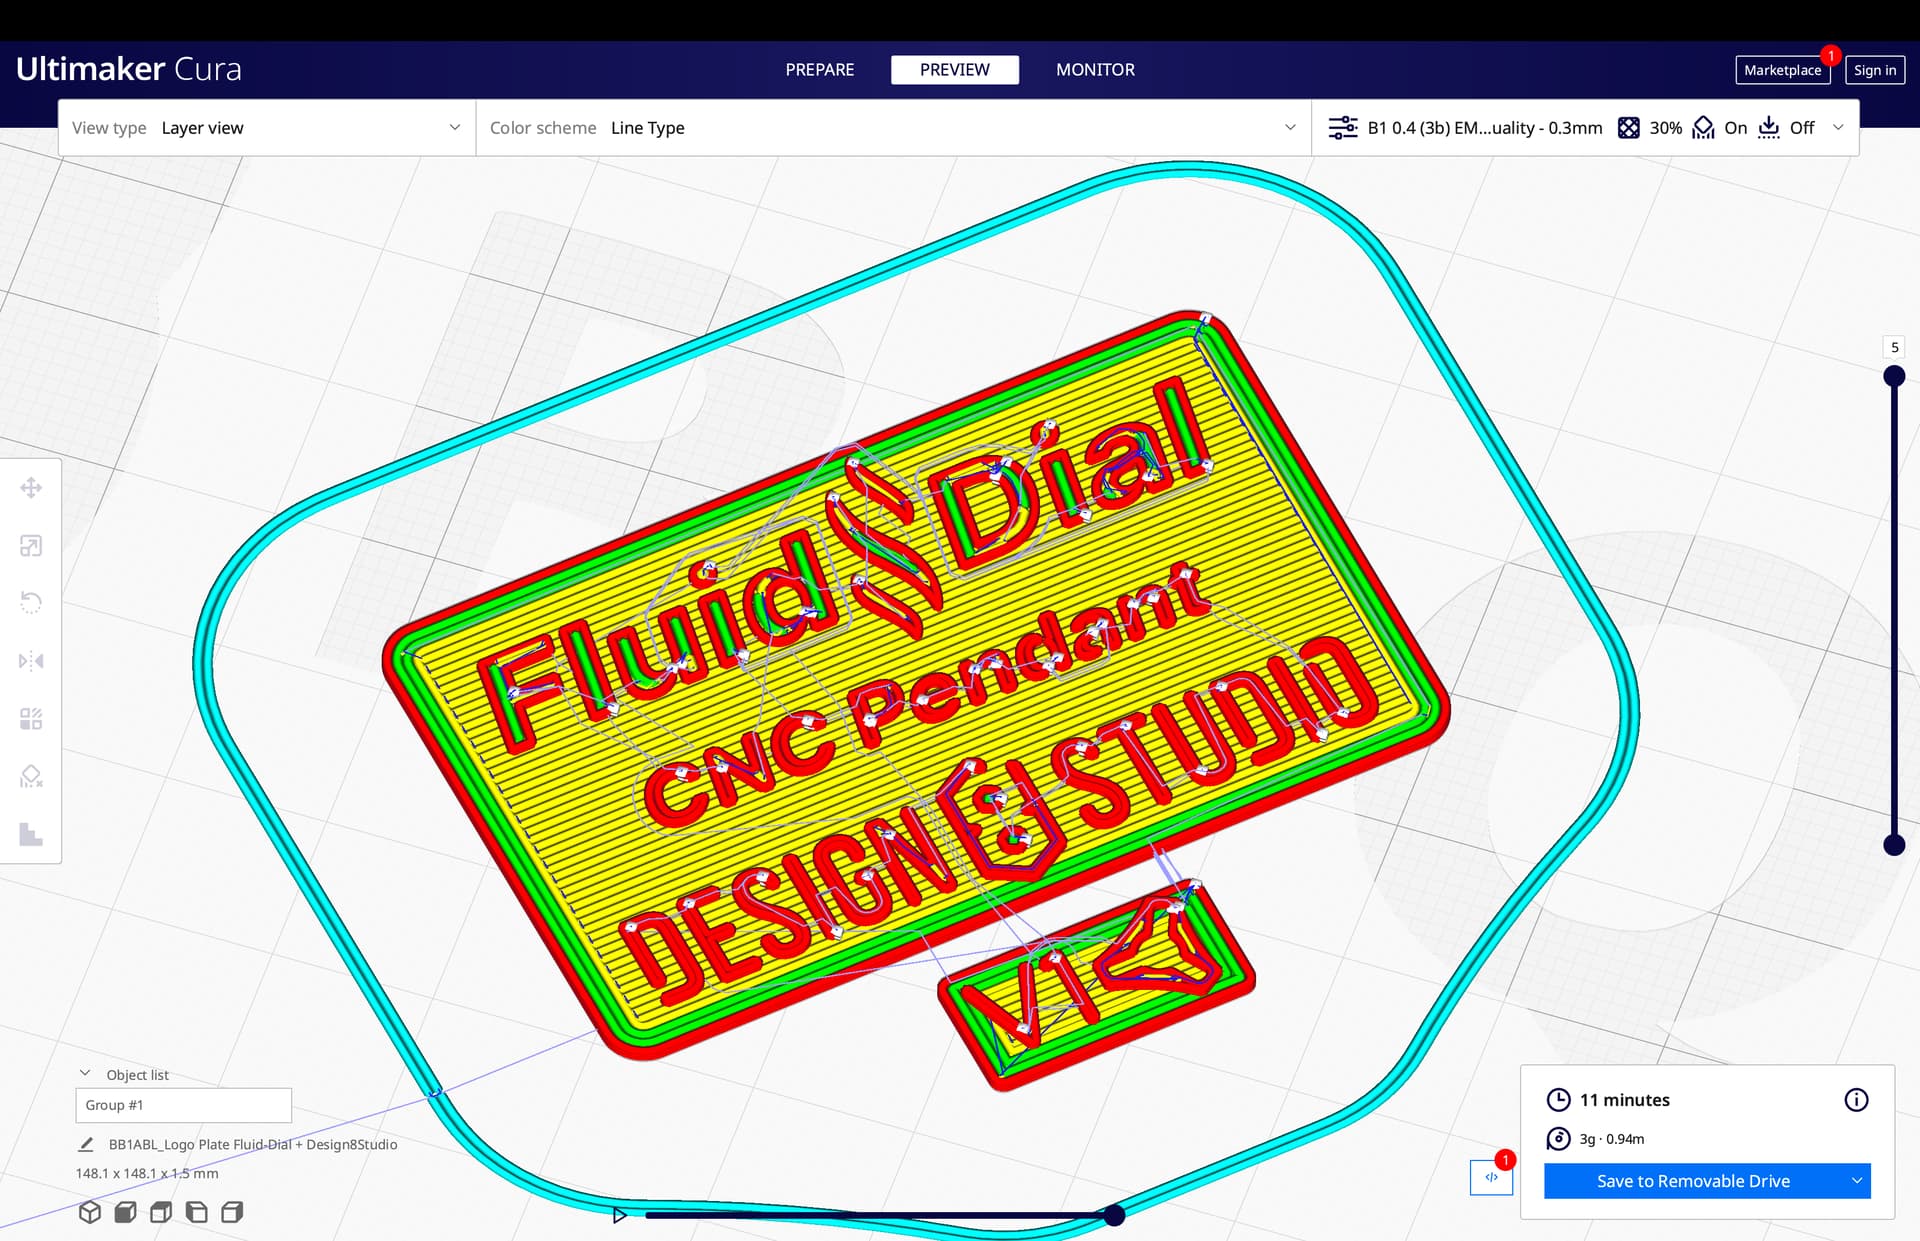
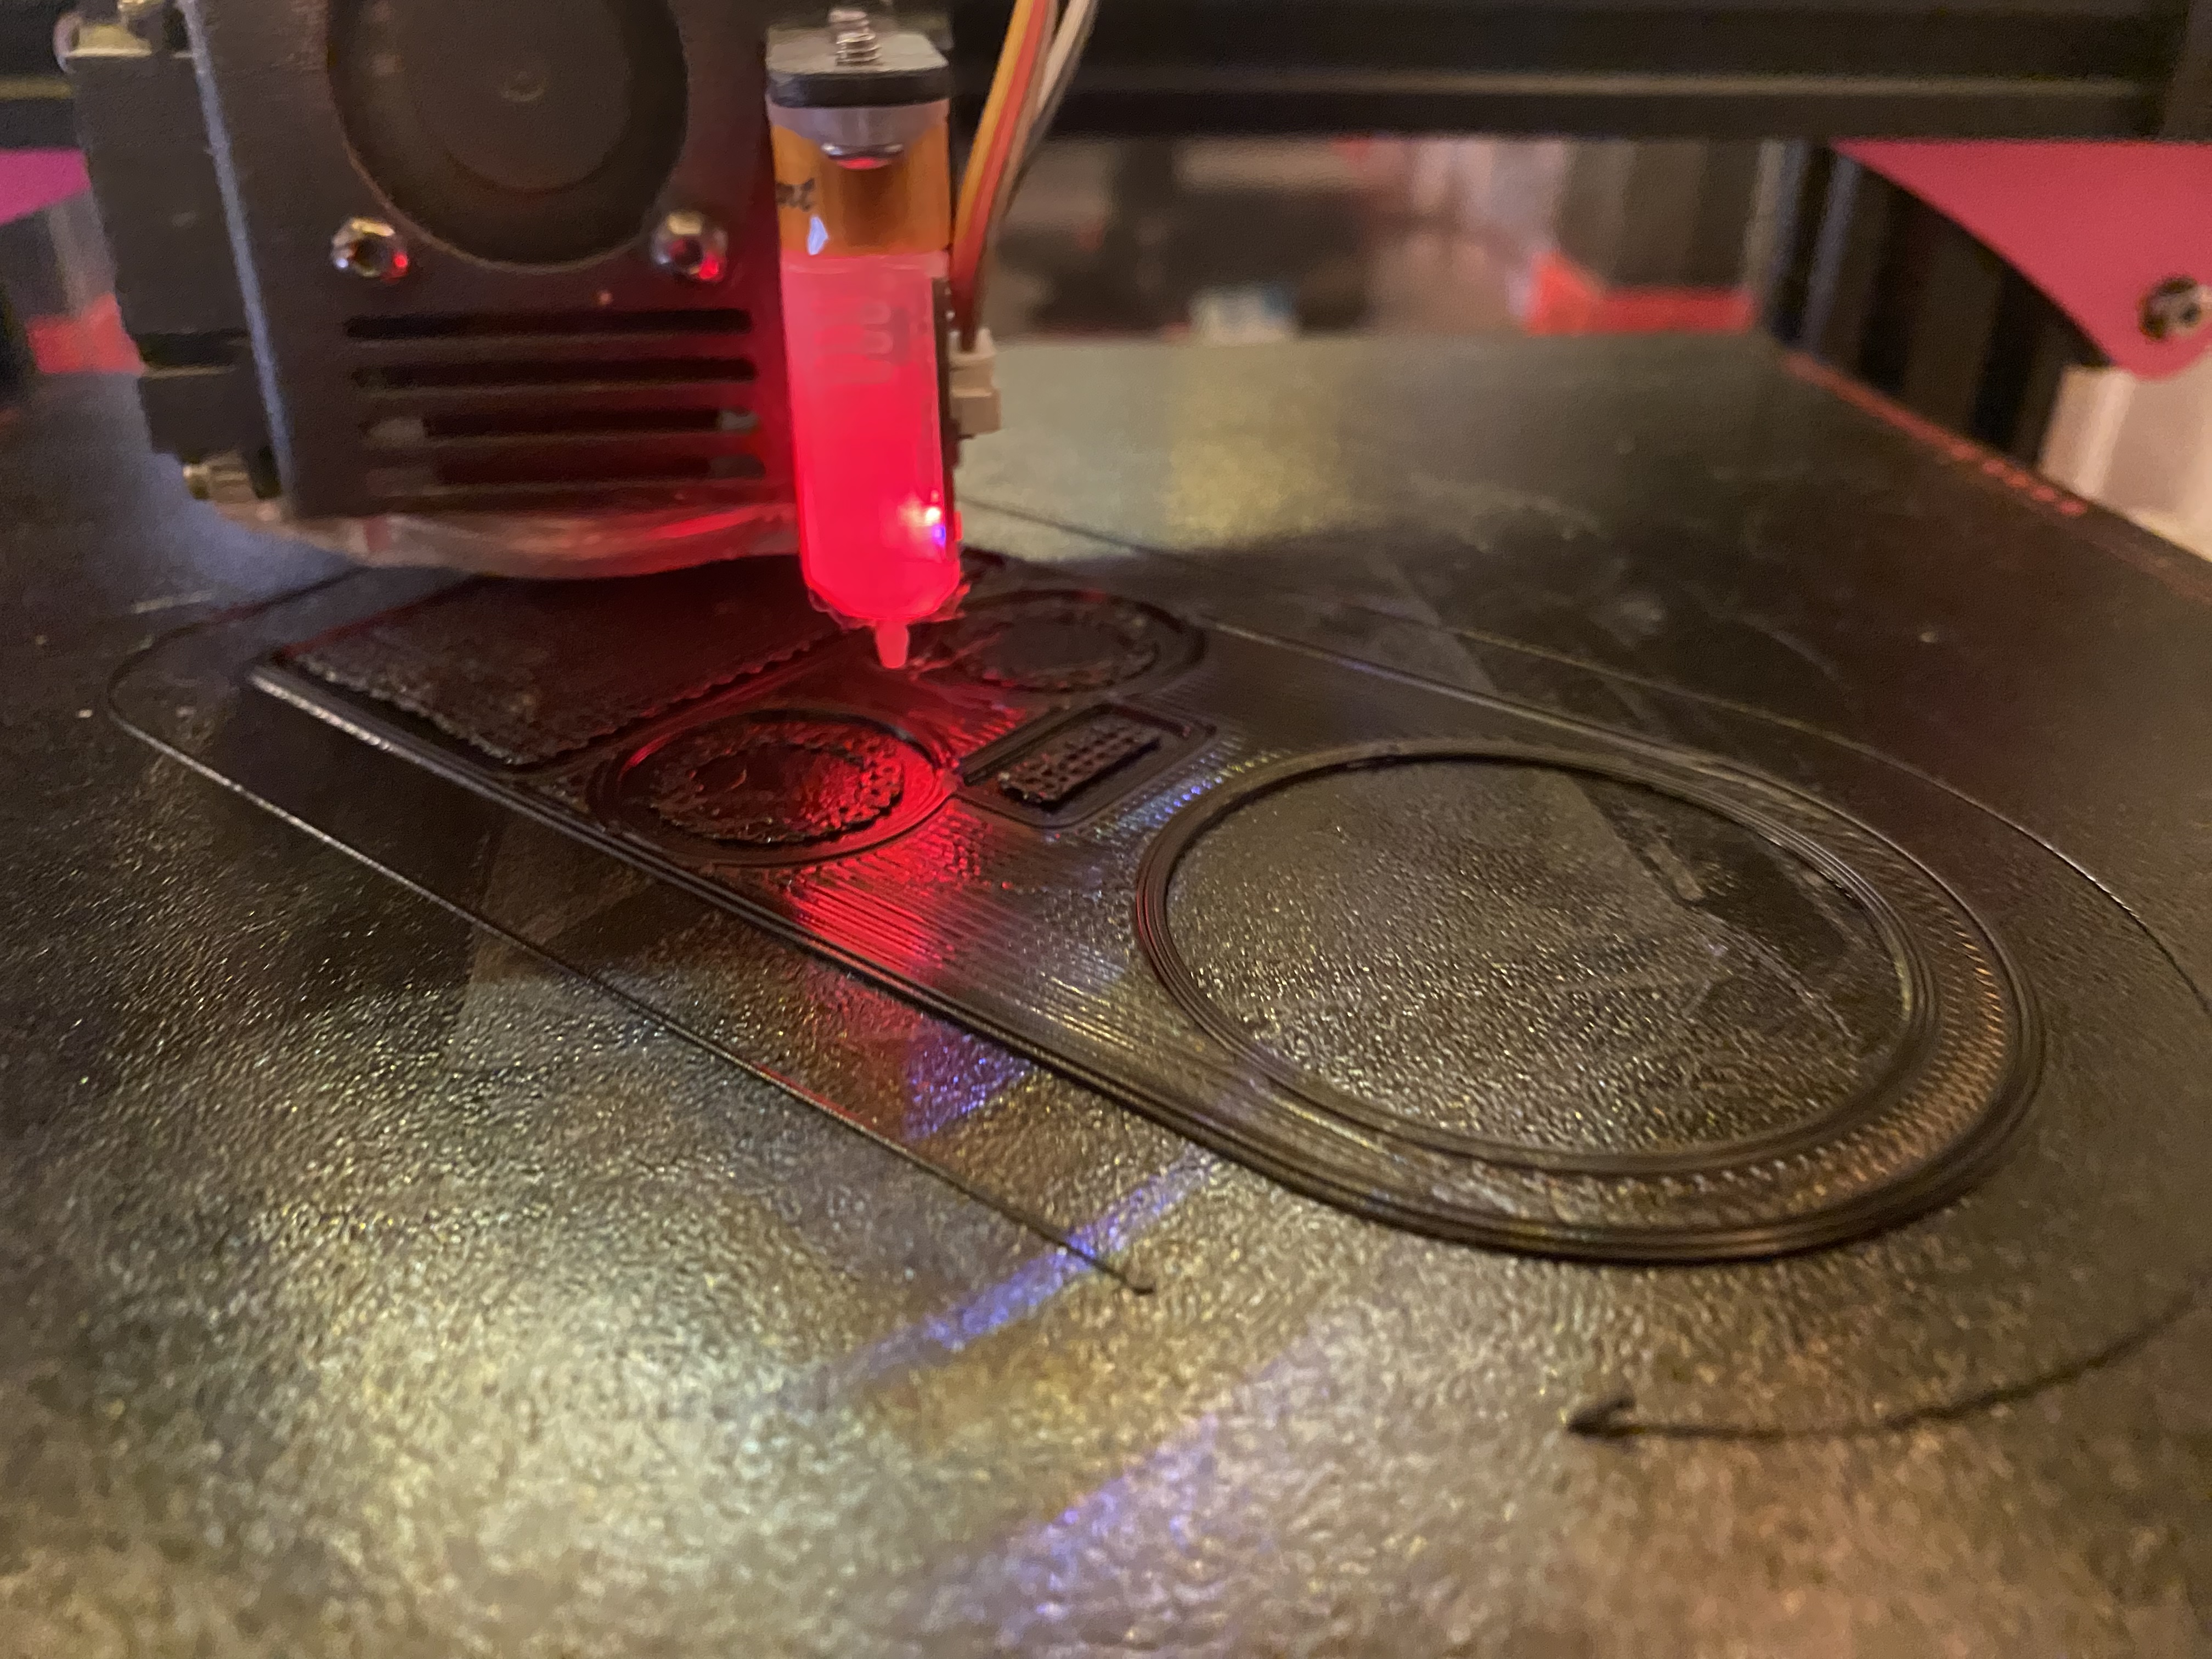
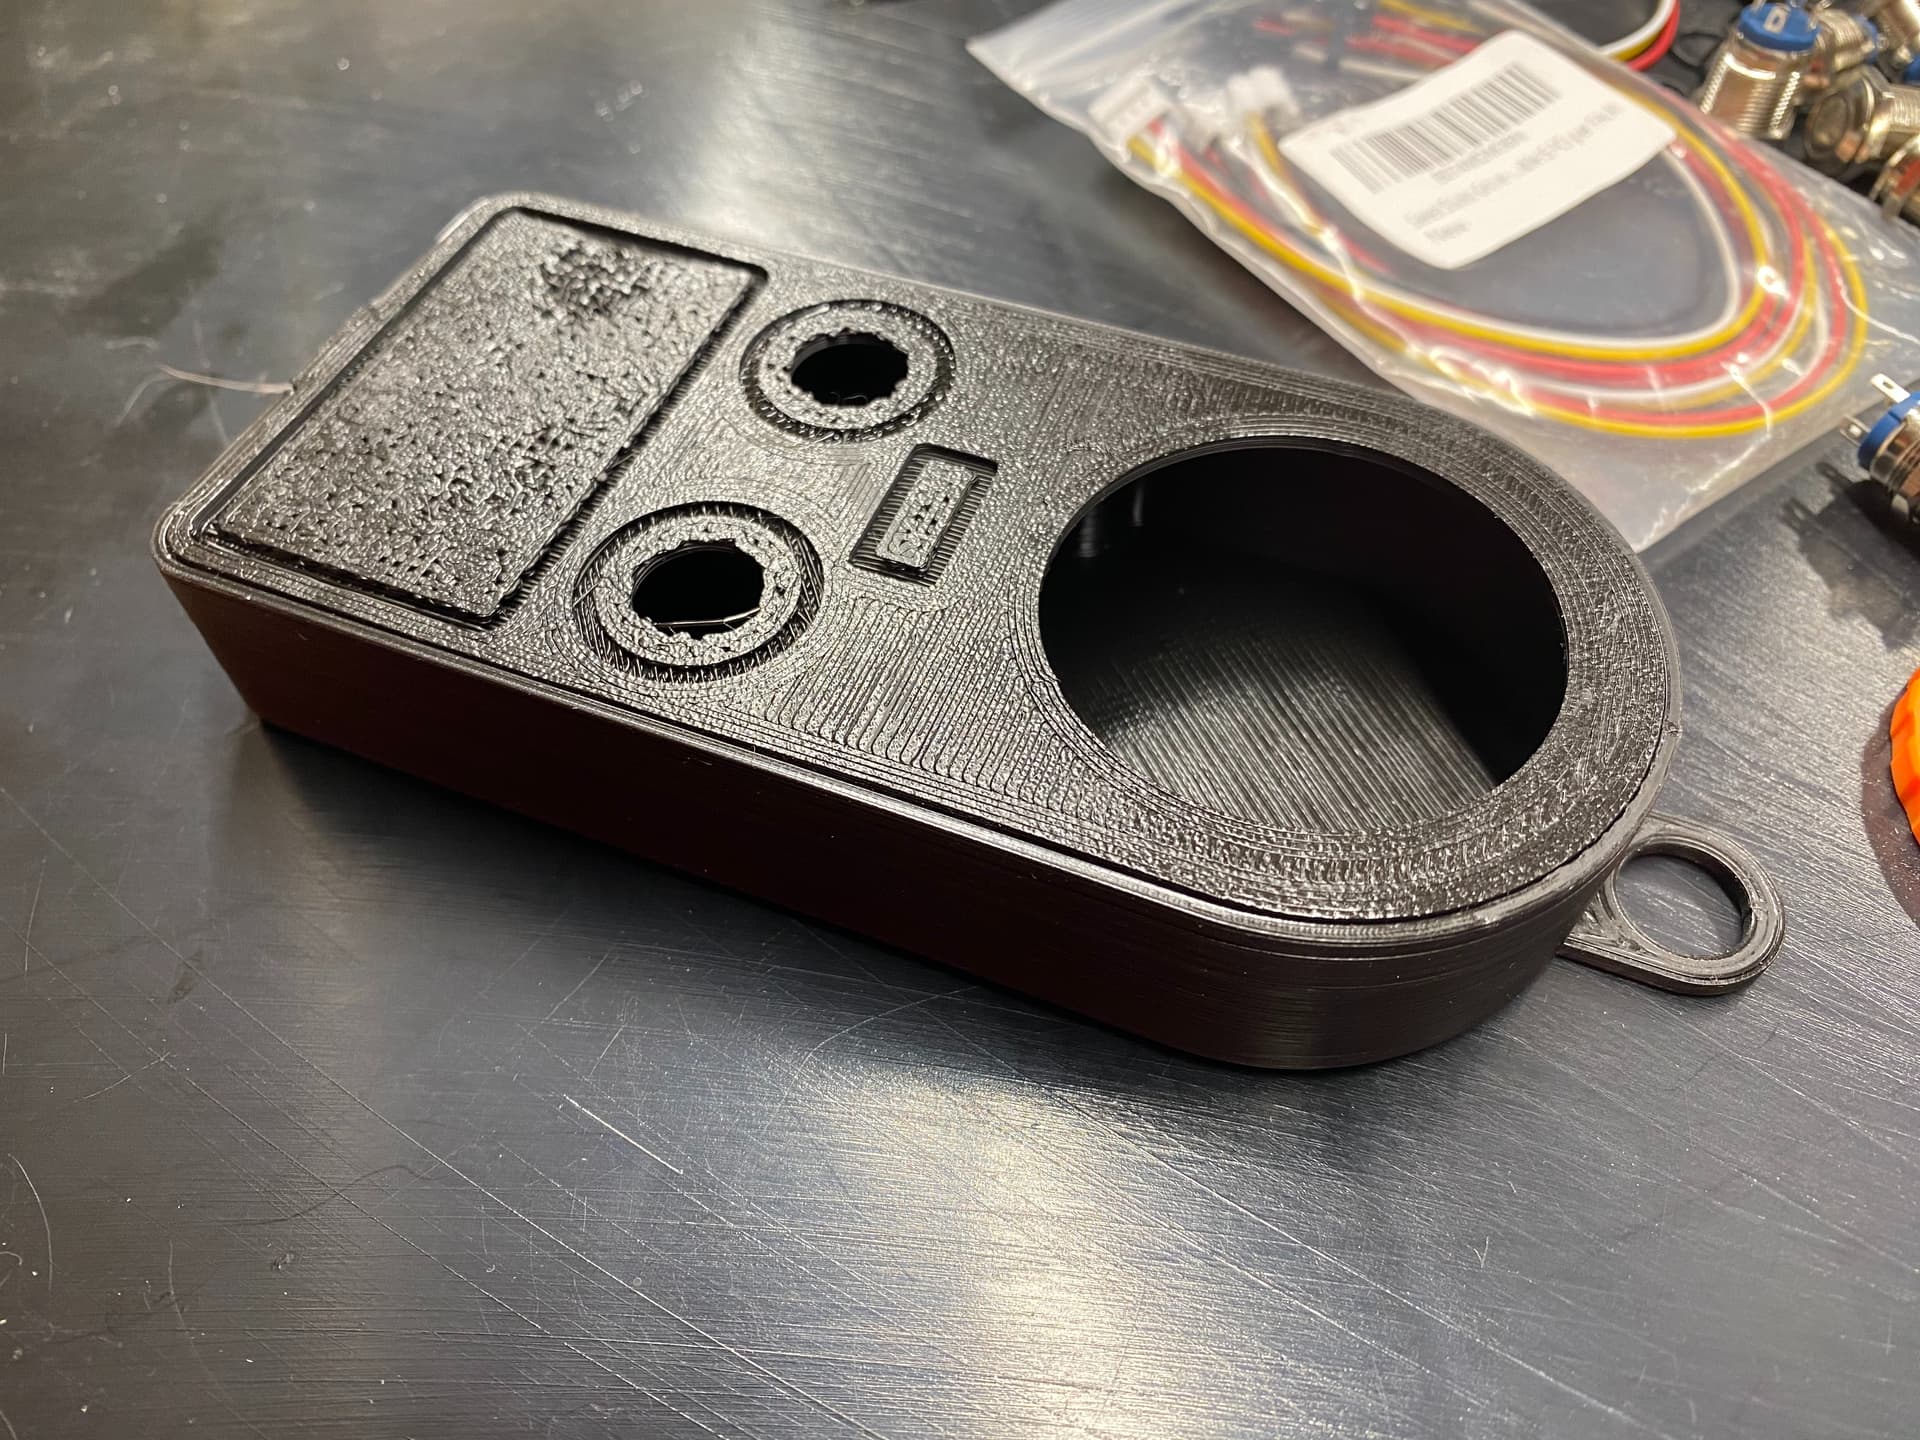
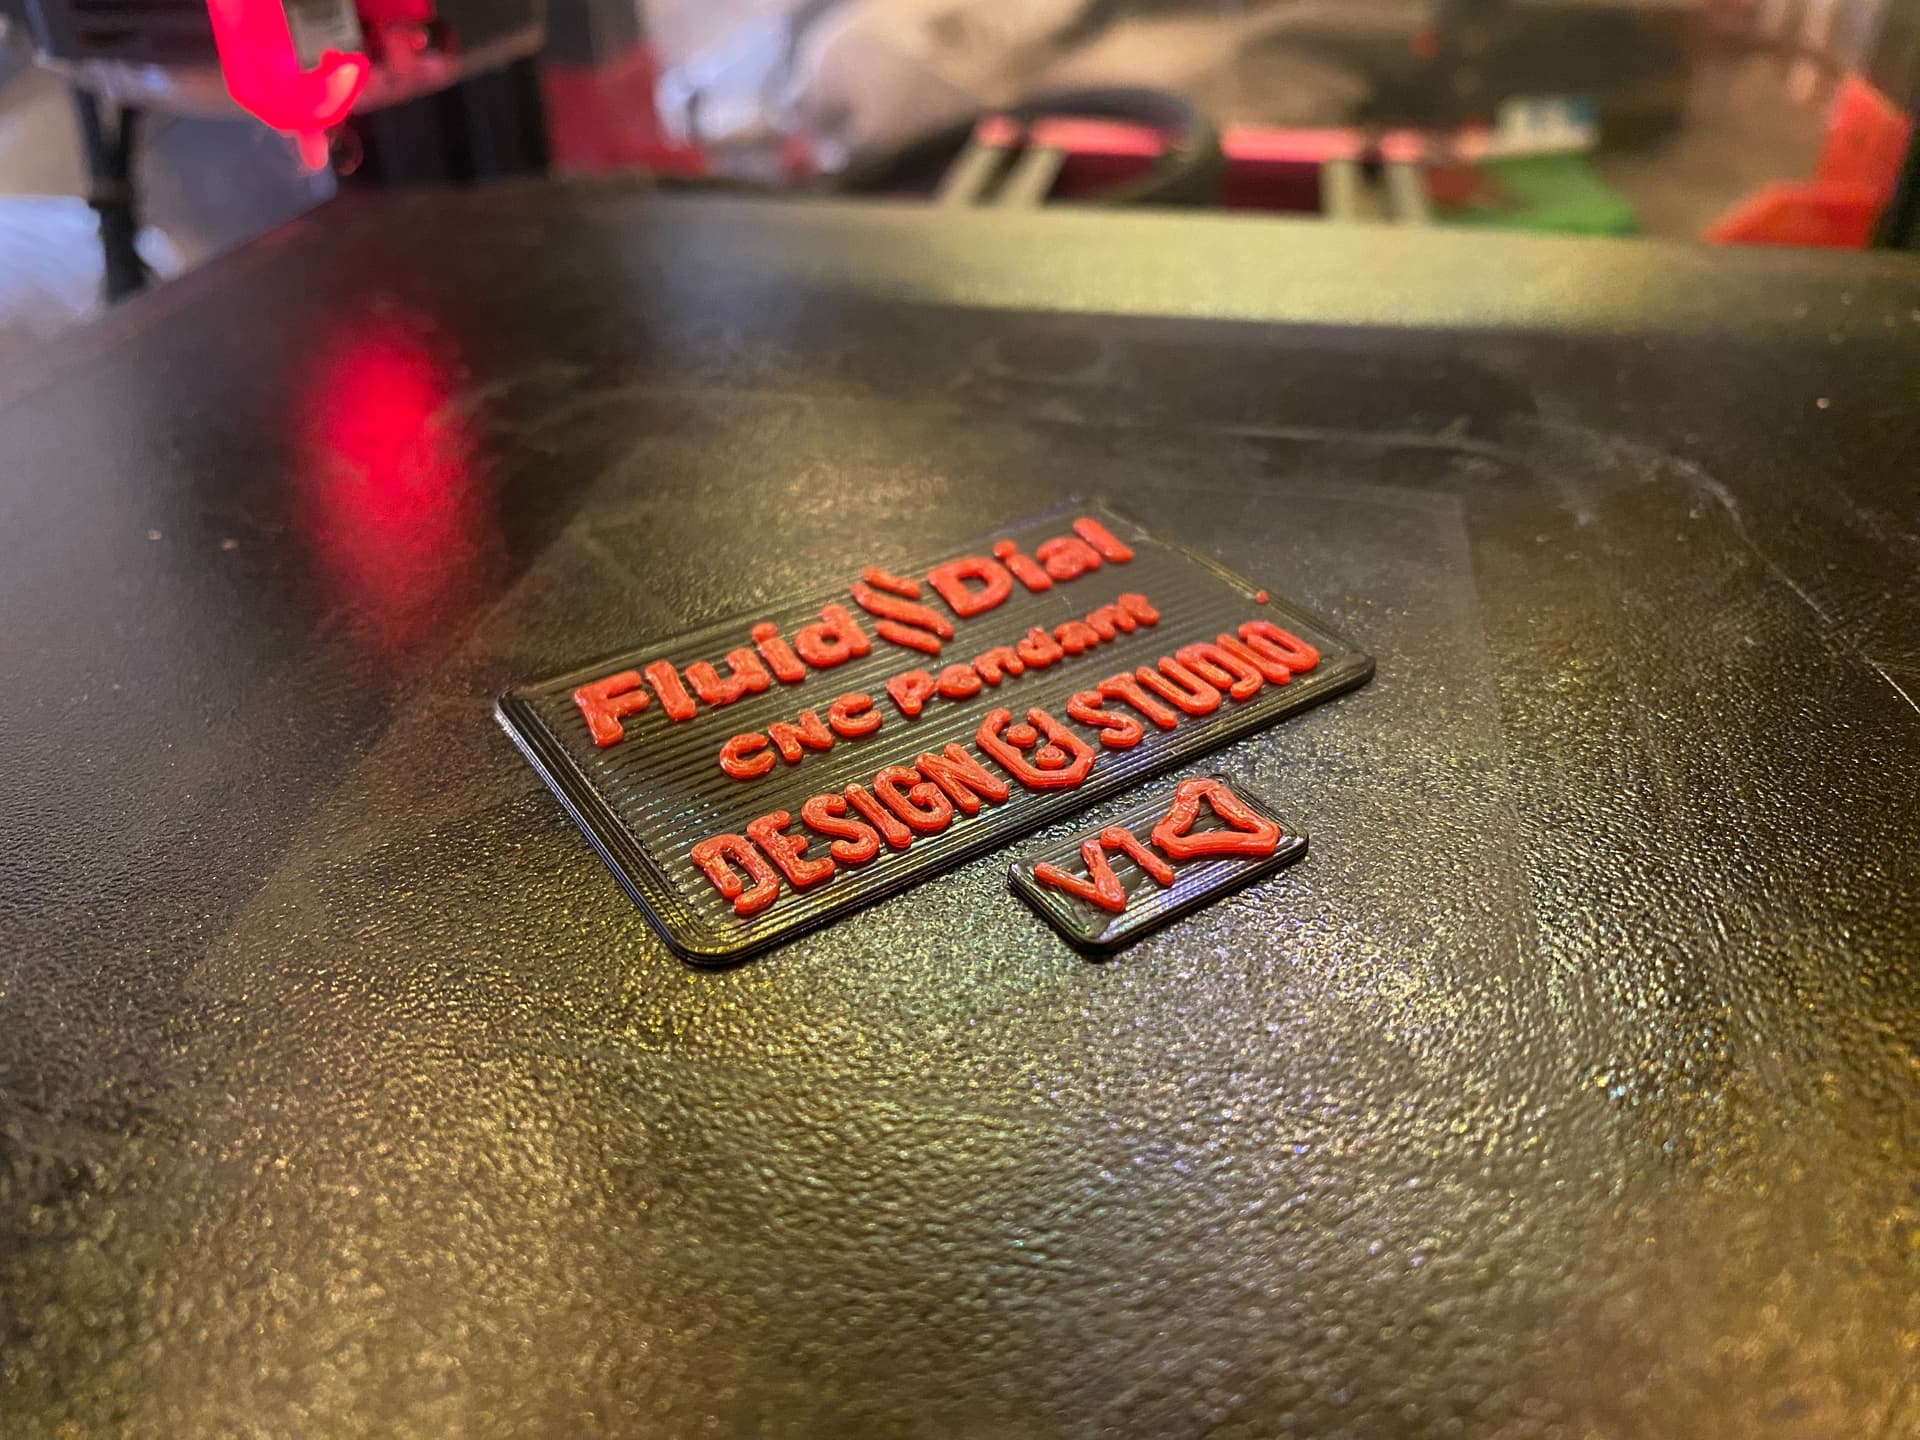
My purchases (of the M5 Dial, the 12mm momentary buttons, and the wiring tails) have arrived, and I am printing the case (tweaked the lid for printed logo medallions to be added), and I’ve downloaded and installed the Arduino IDE. Will try to post updates as I move forward.
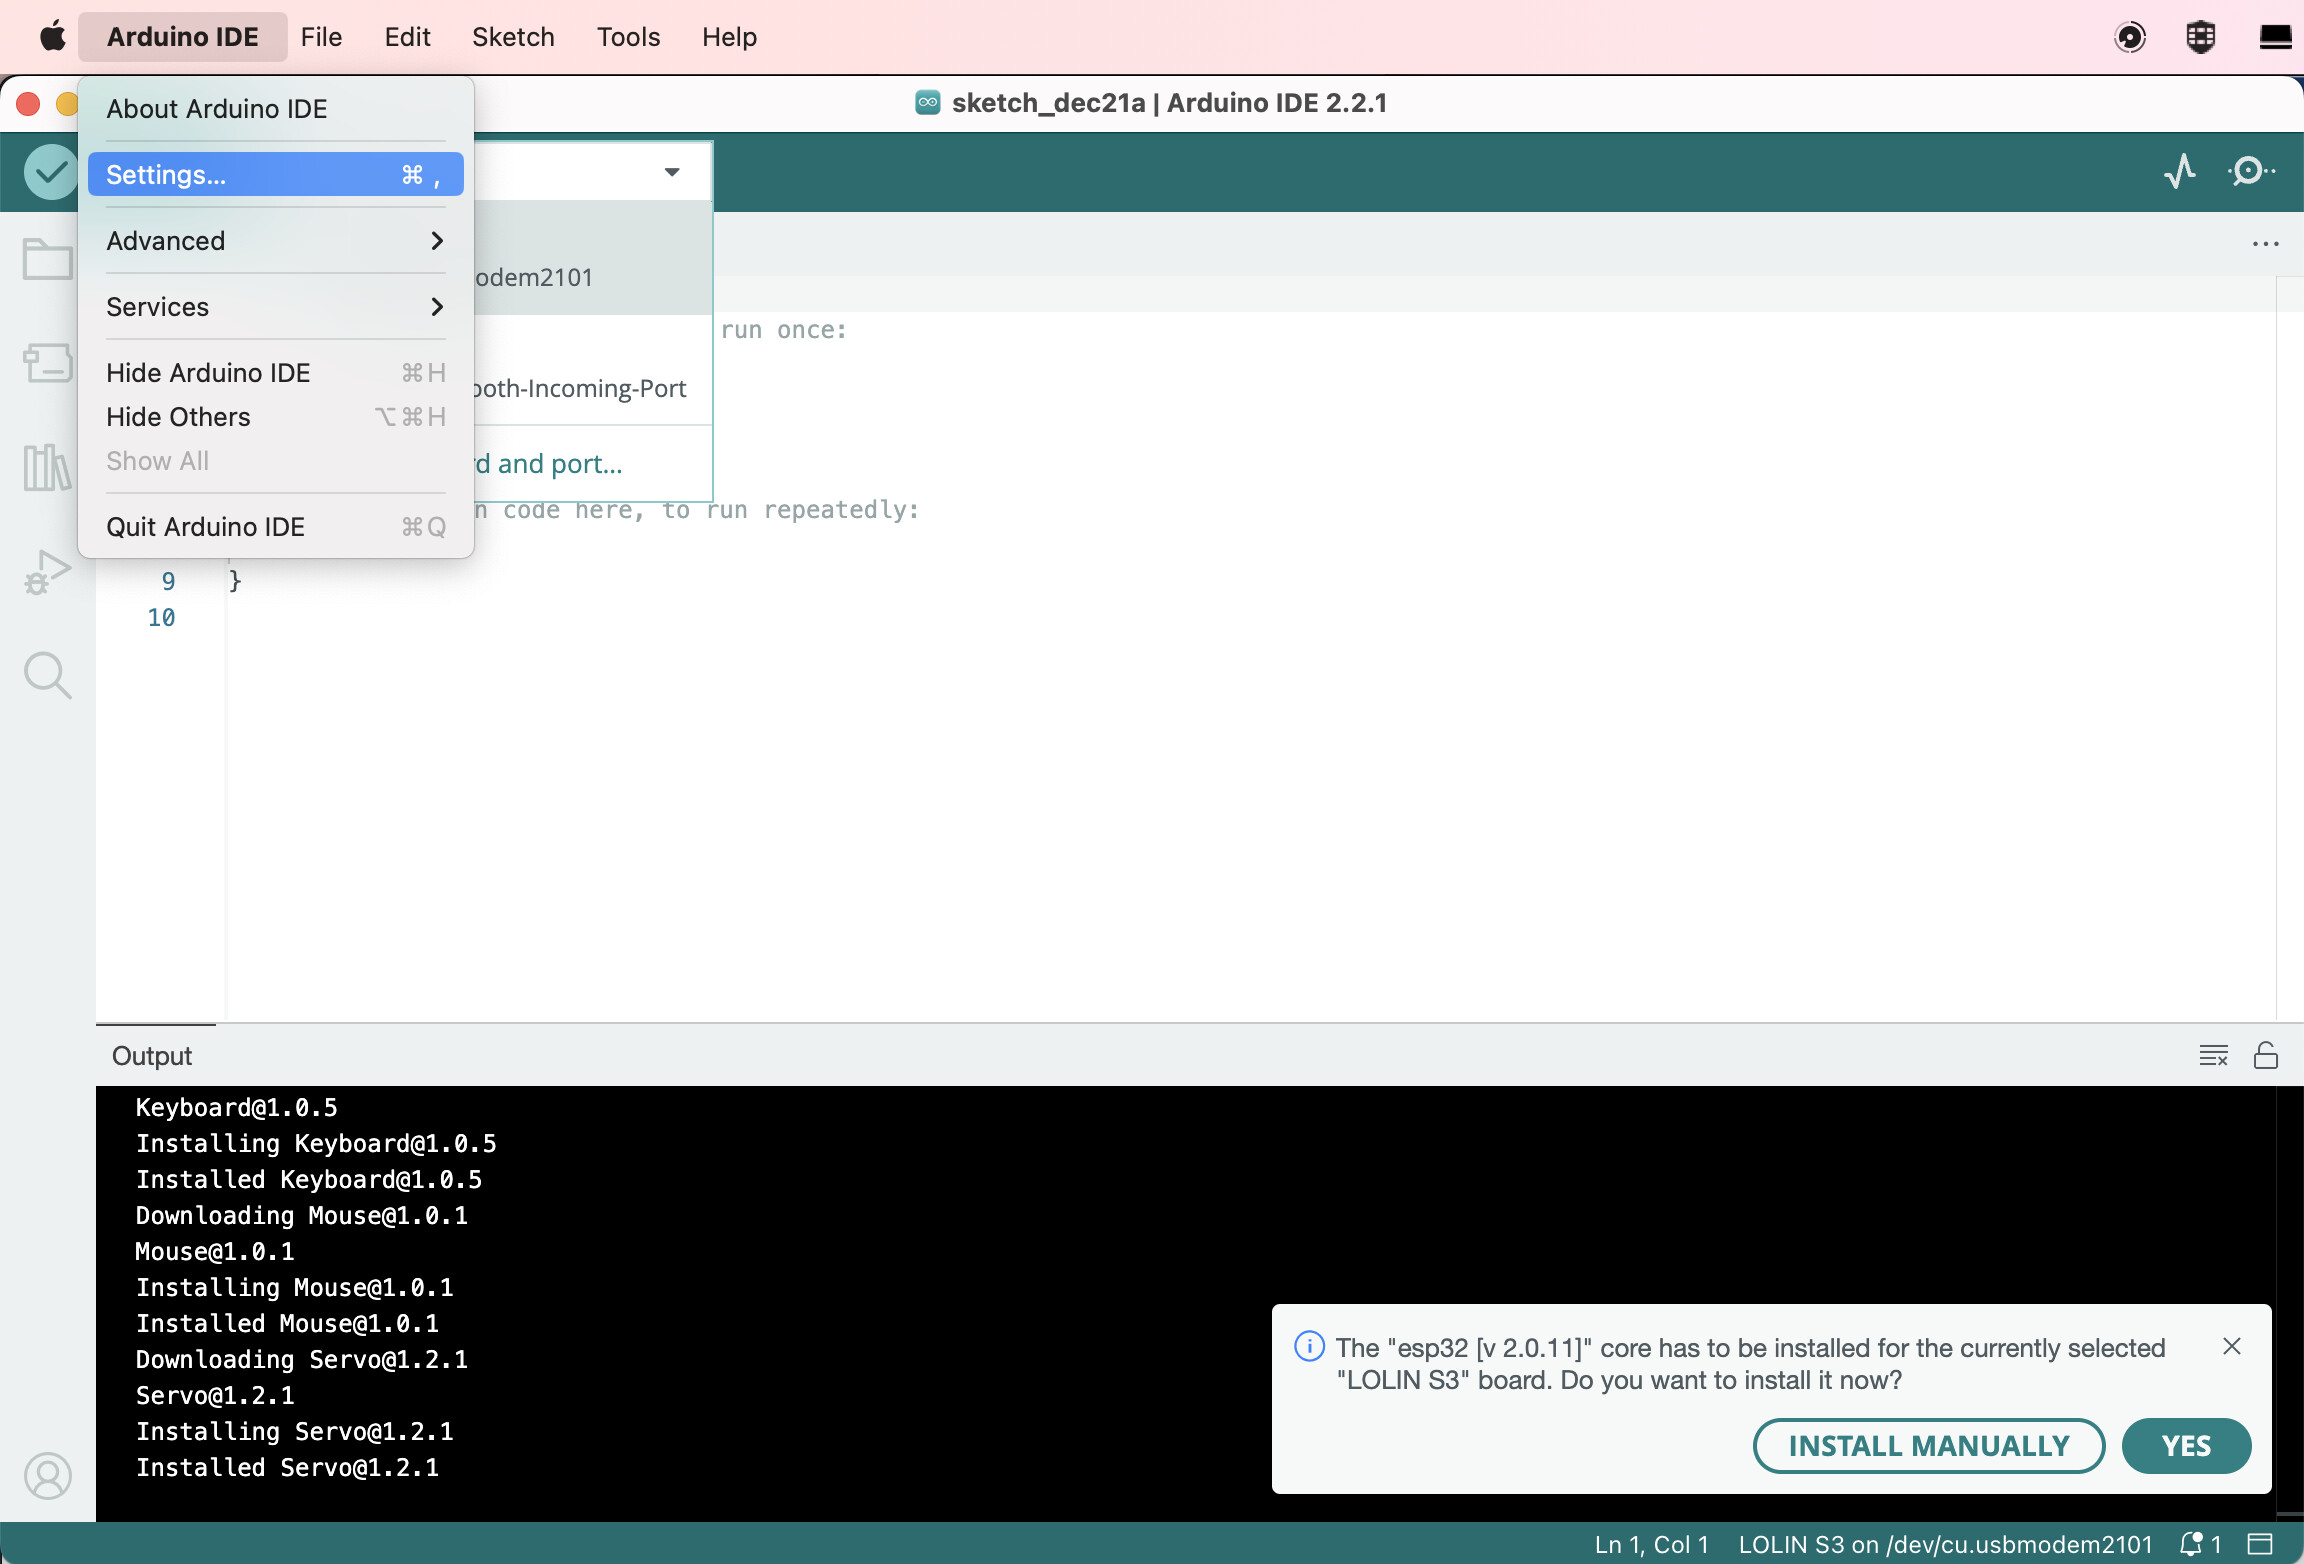
NOTE: regarding the following mentions and images of Arduino IDE… I later posted this update: "Well, after downloading the Arduino IDE, I read further on the Pendant wiki and saw that Bart recommends using Visual Studio Code with platformIO. Since I am already familiar with that, I guess I will pivot to using that!“
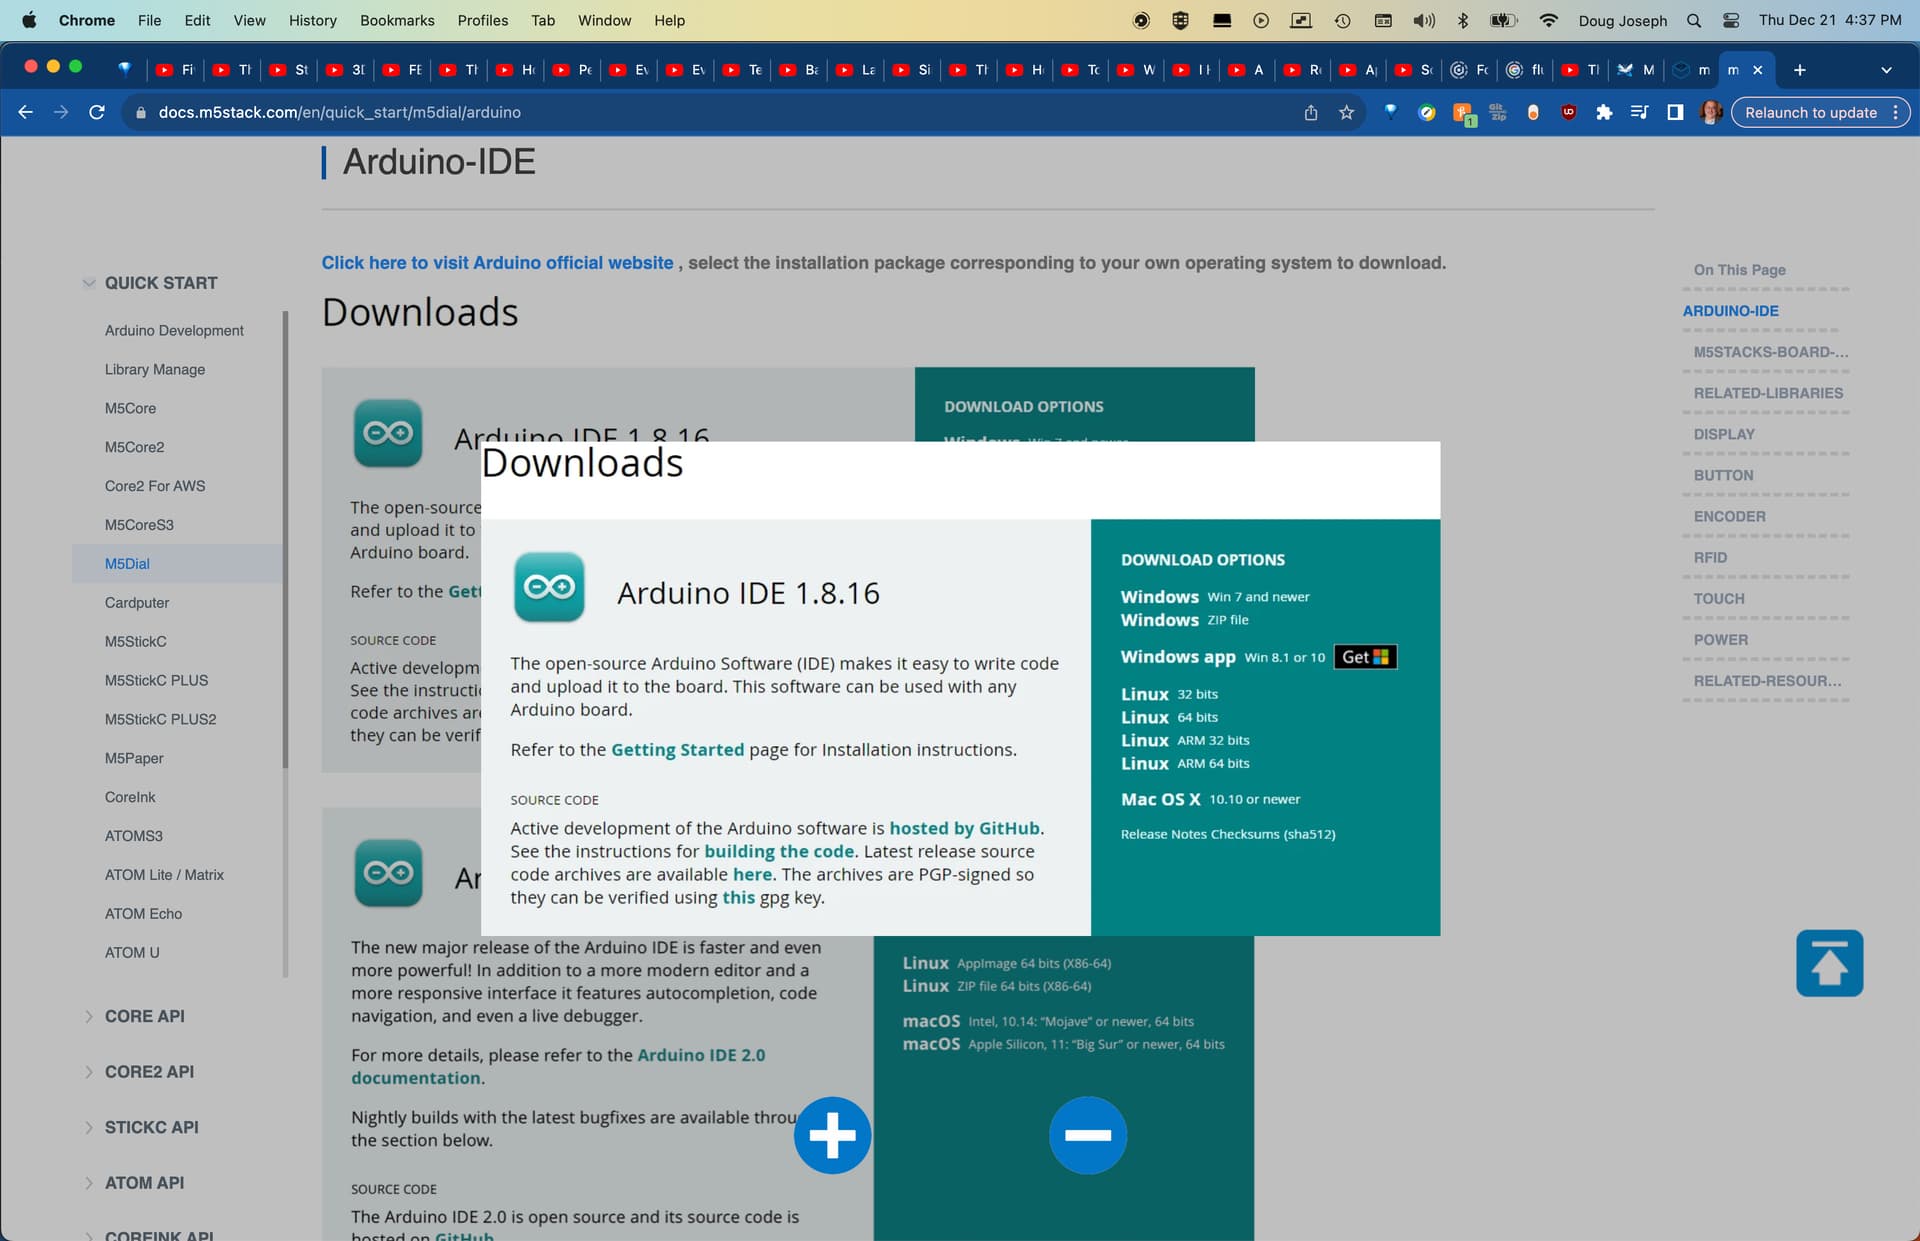
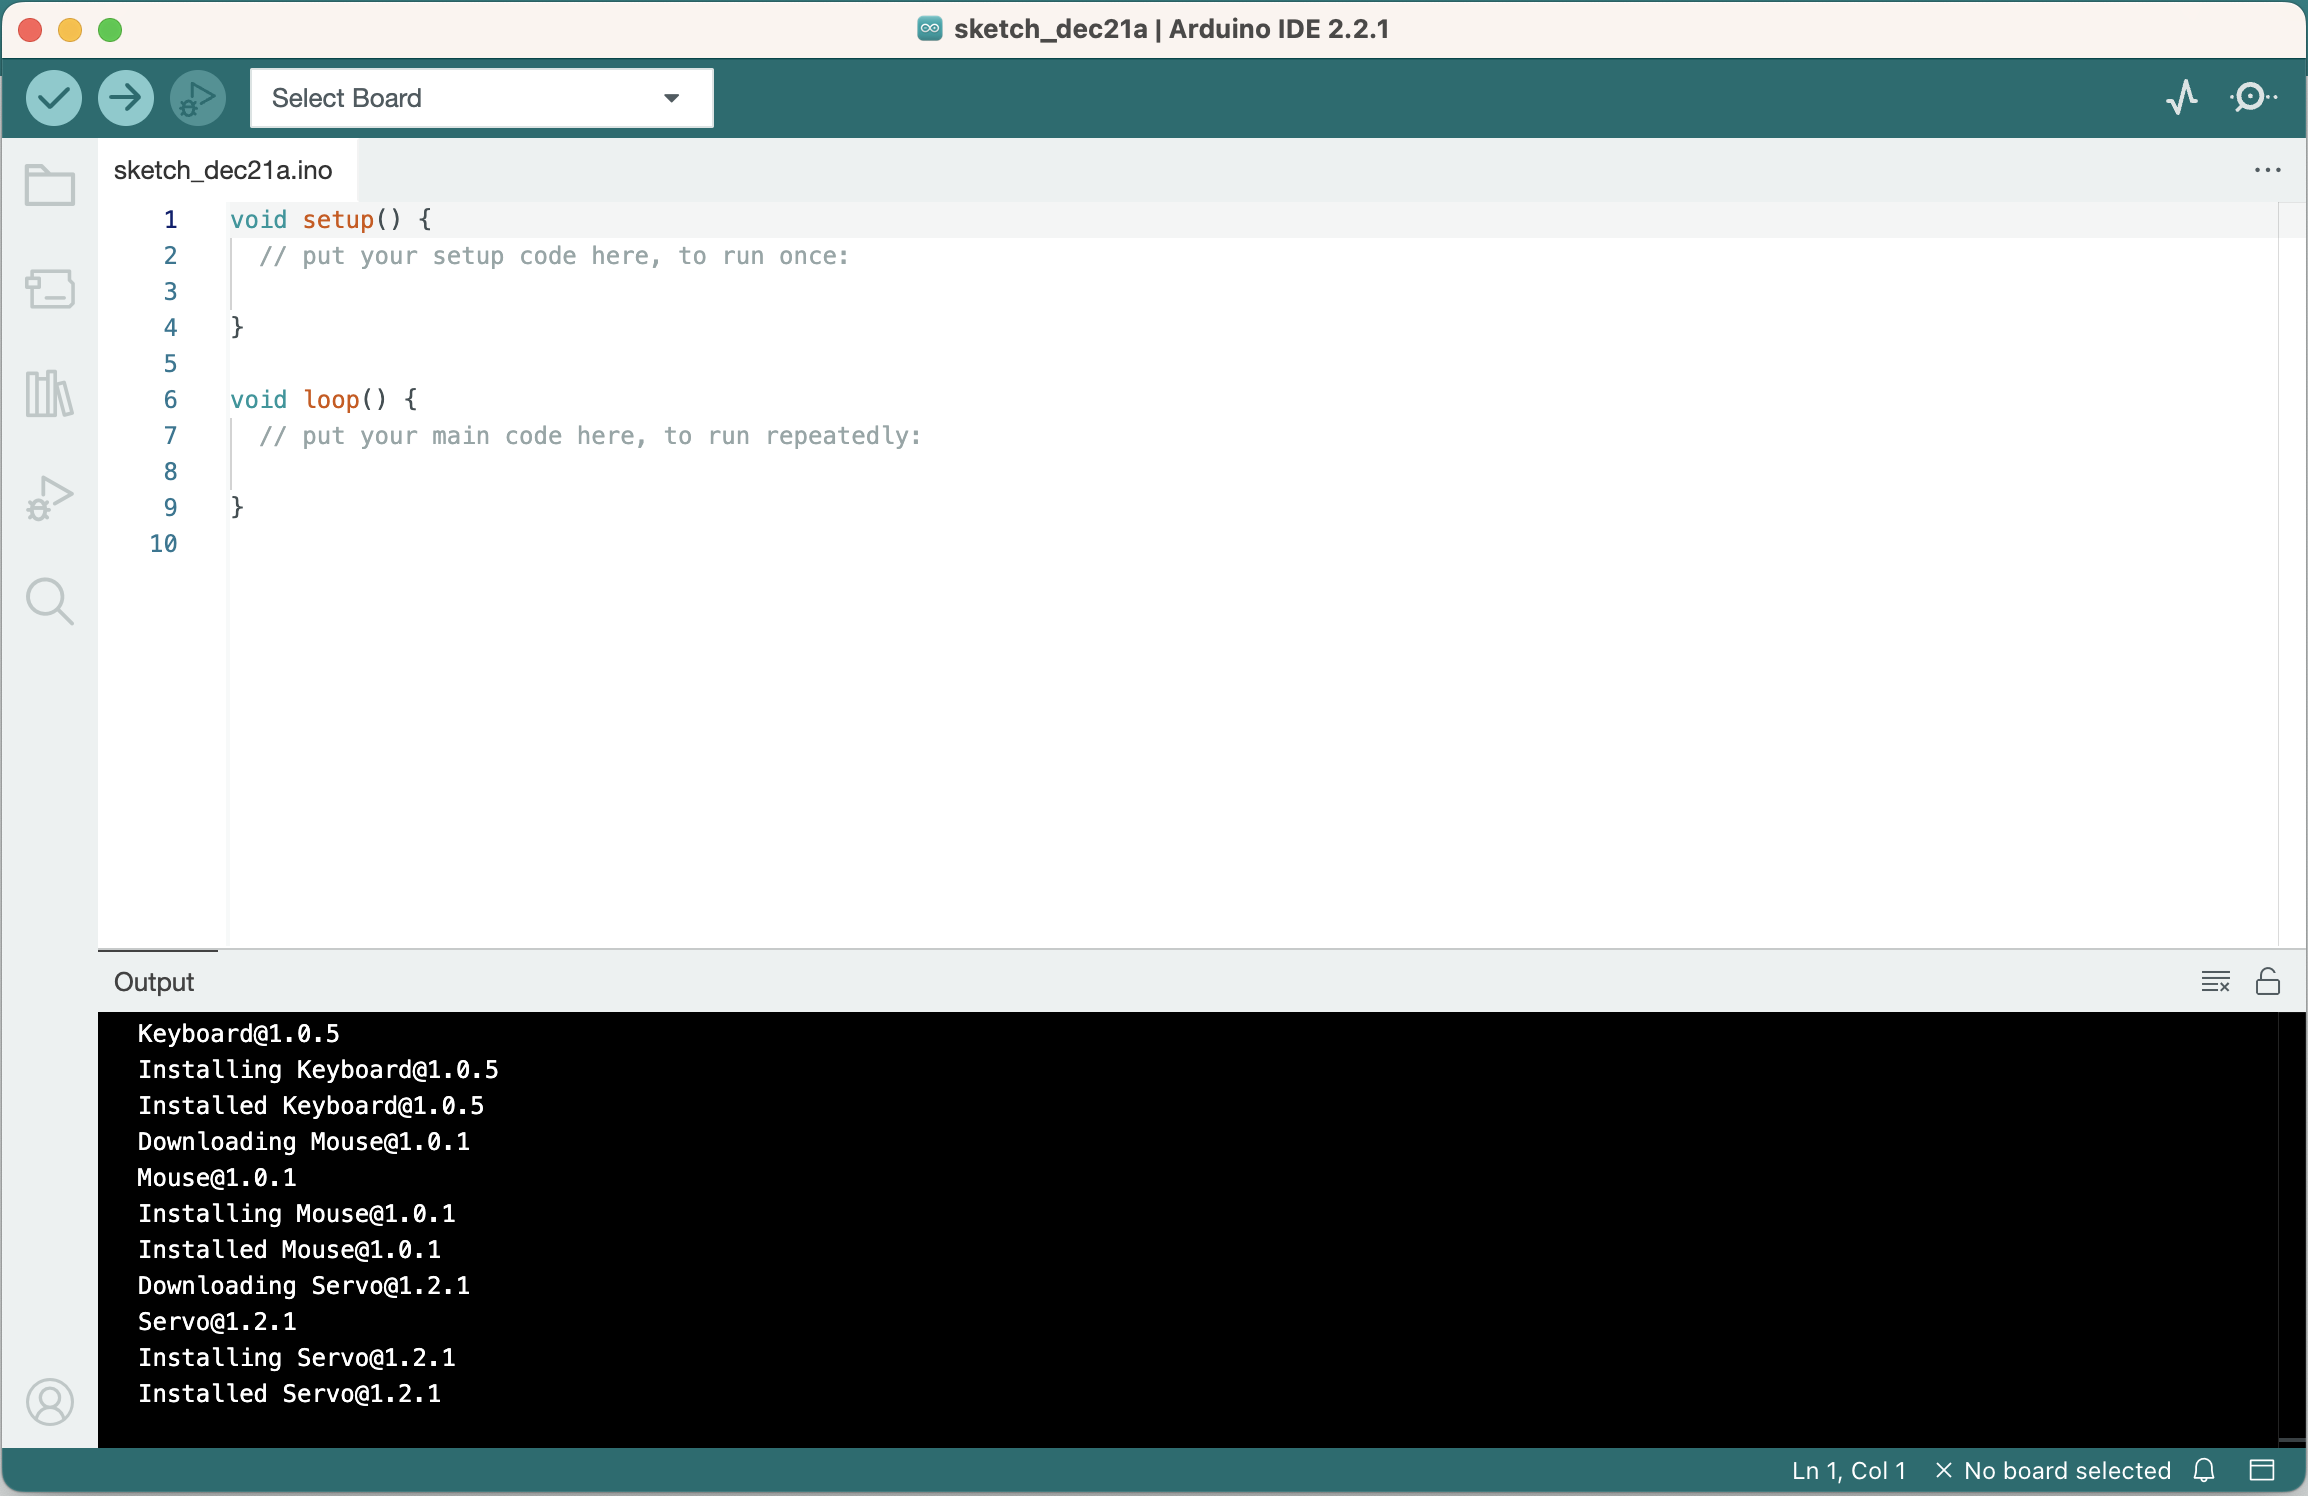
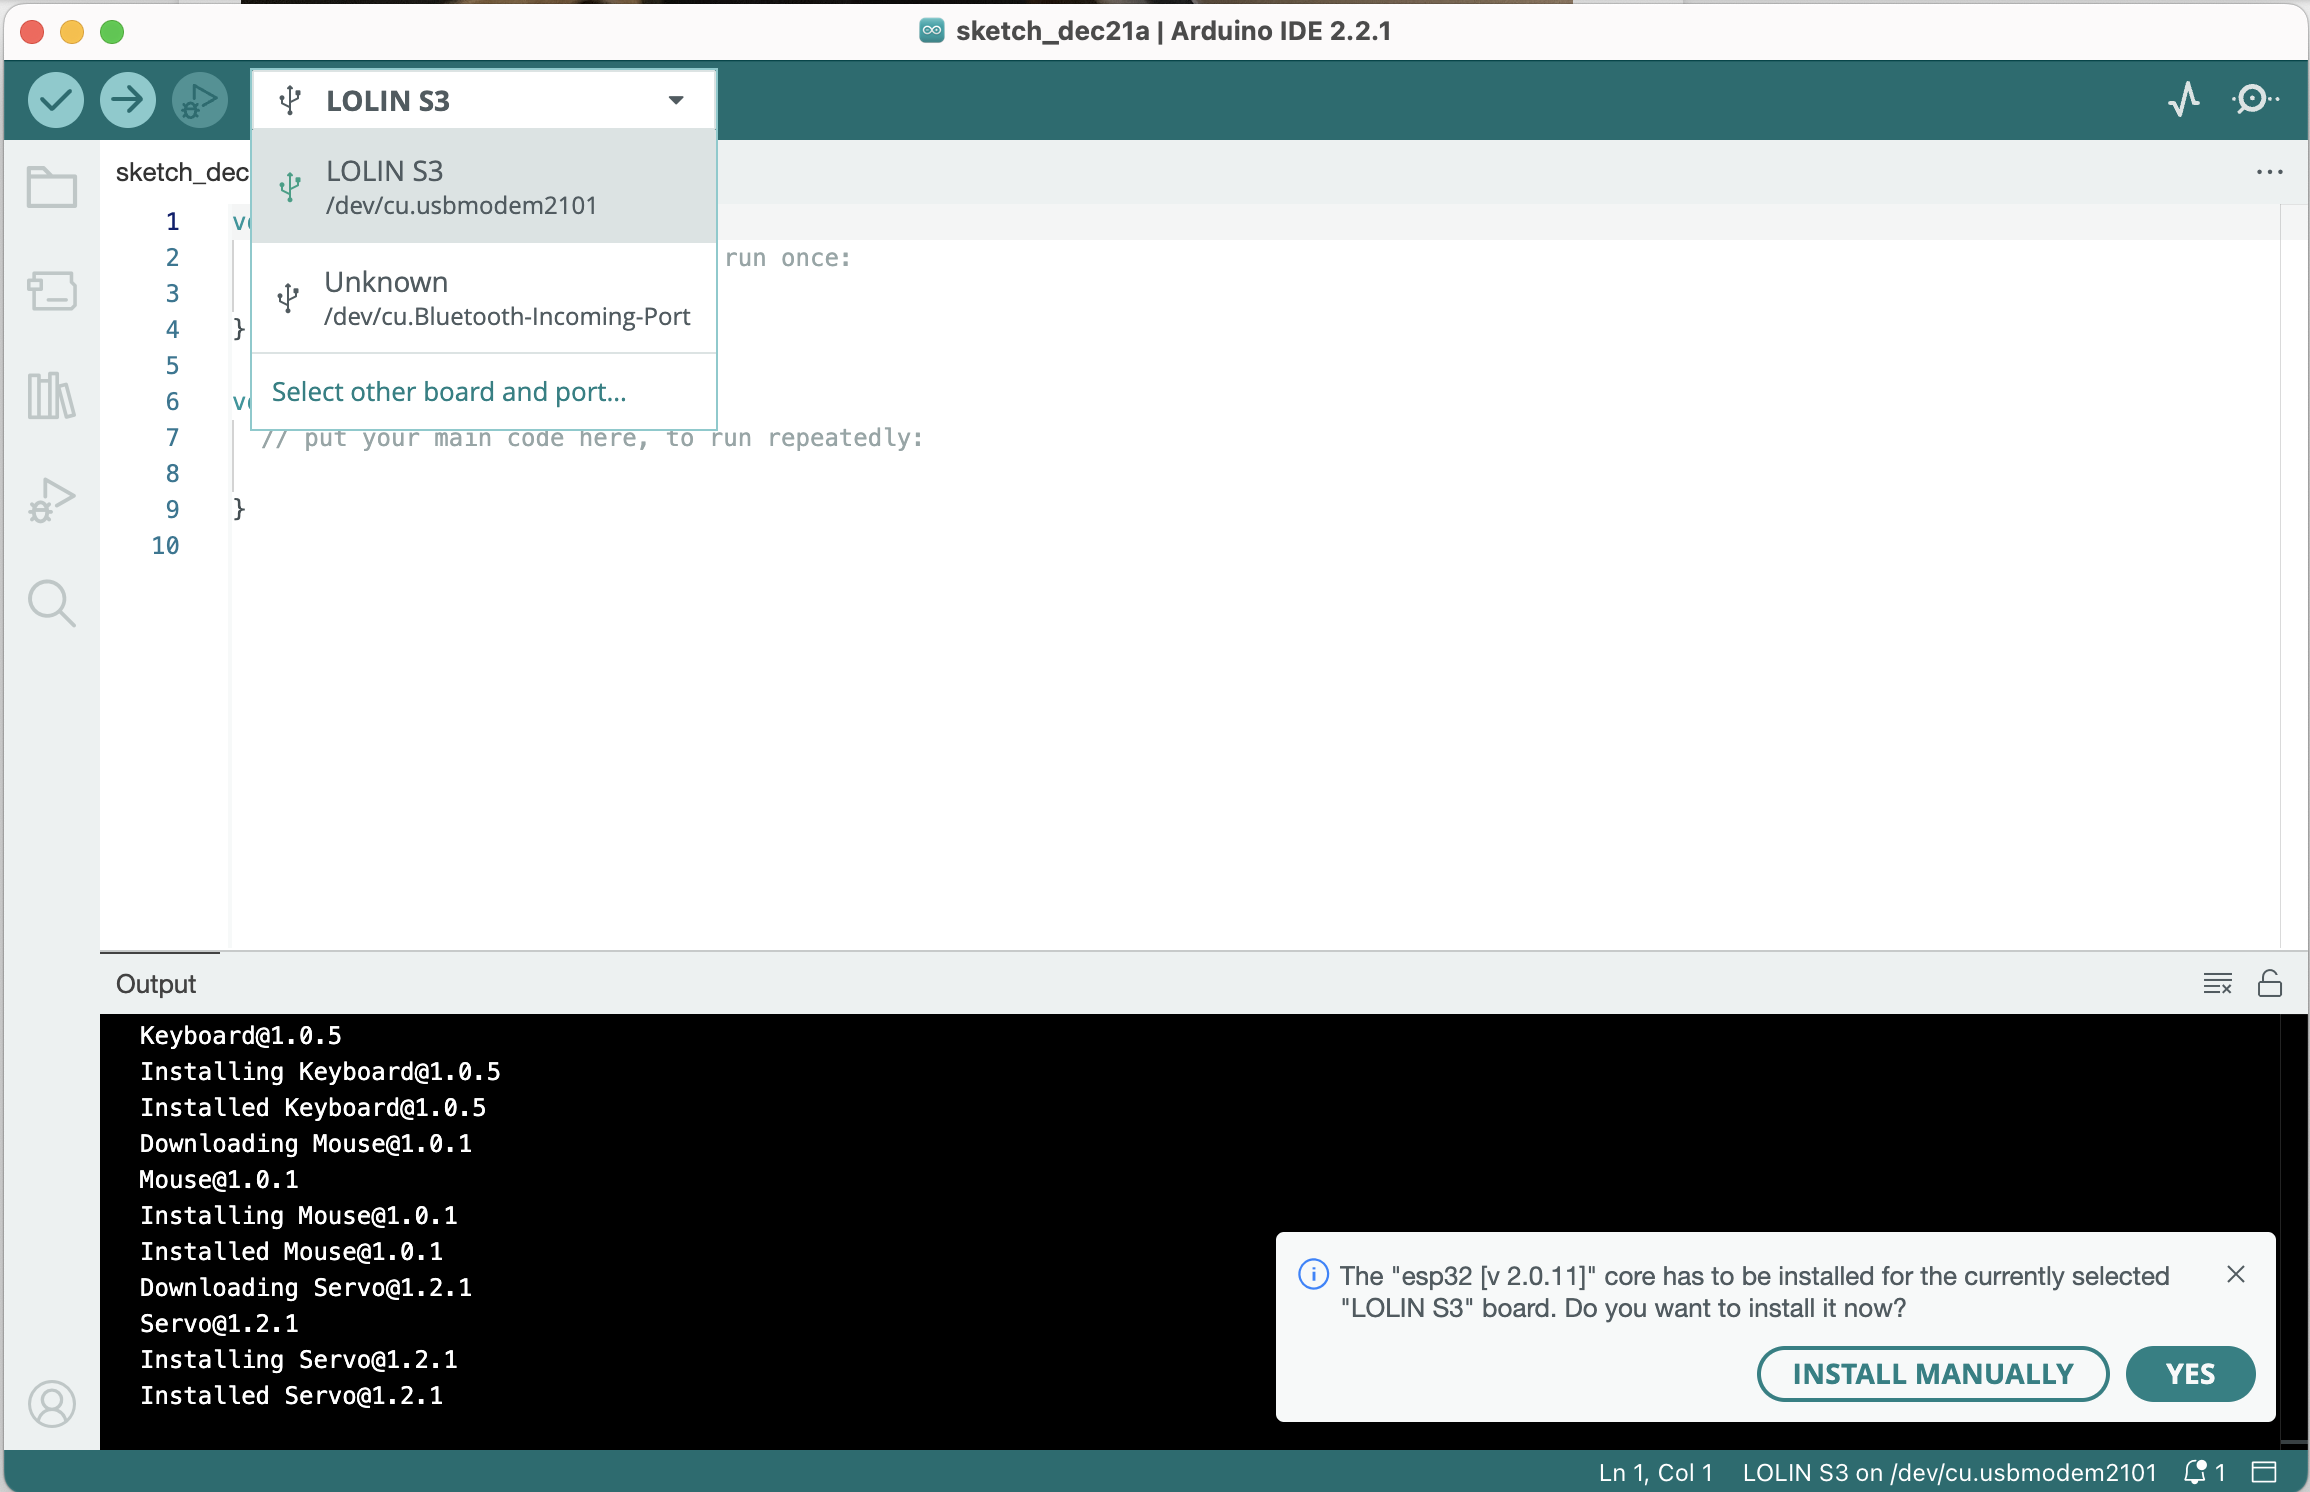
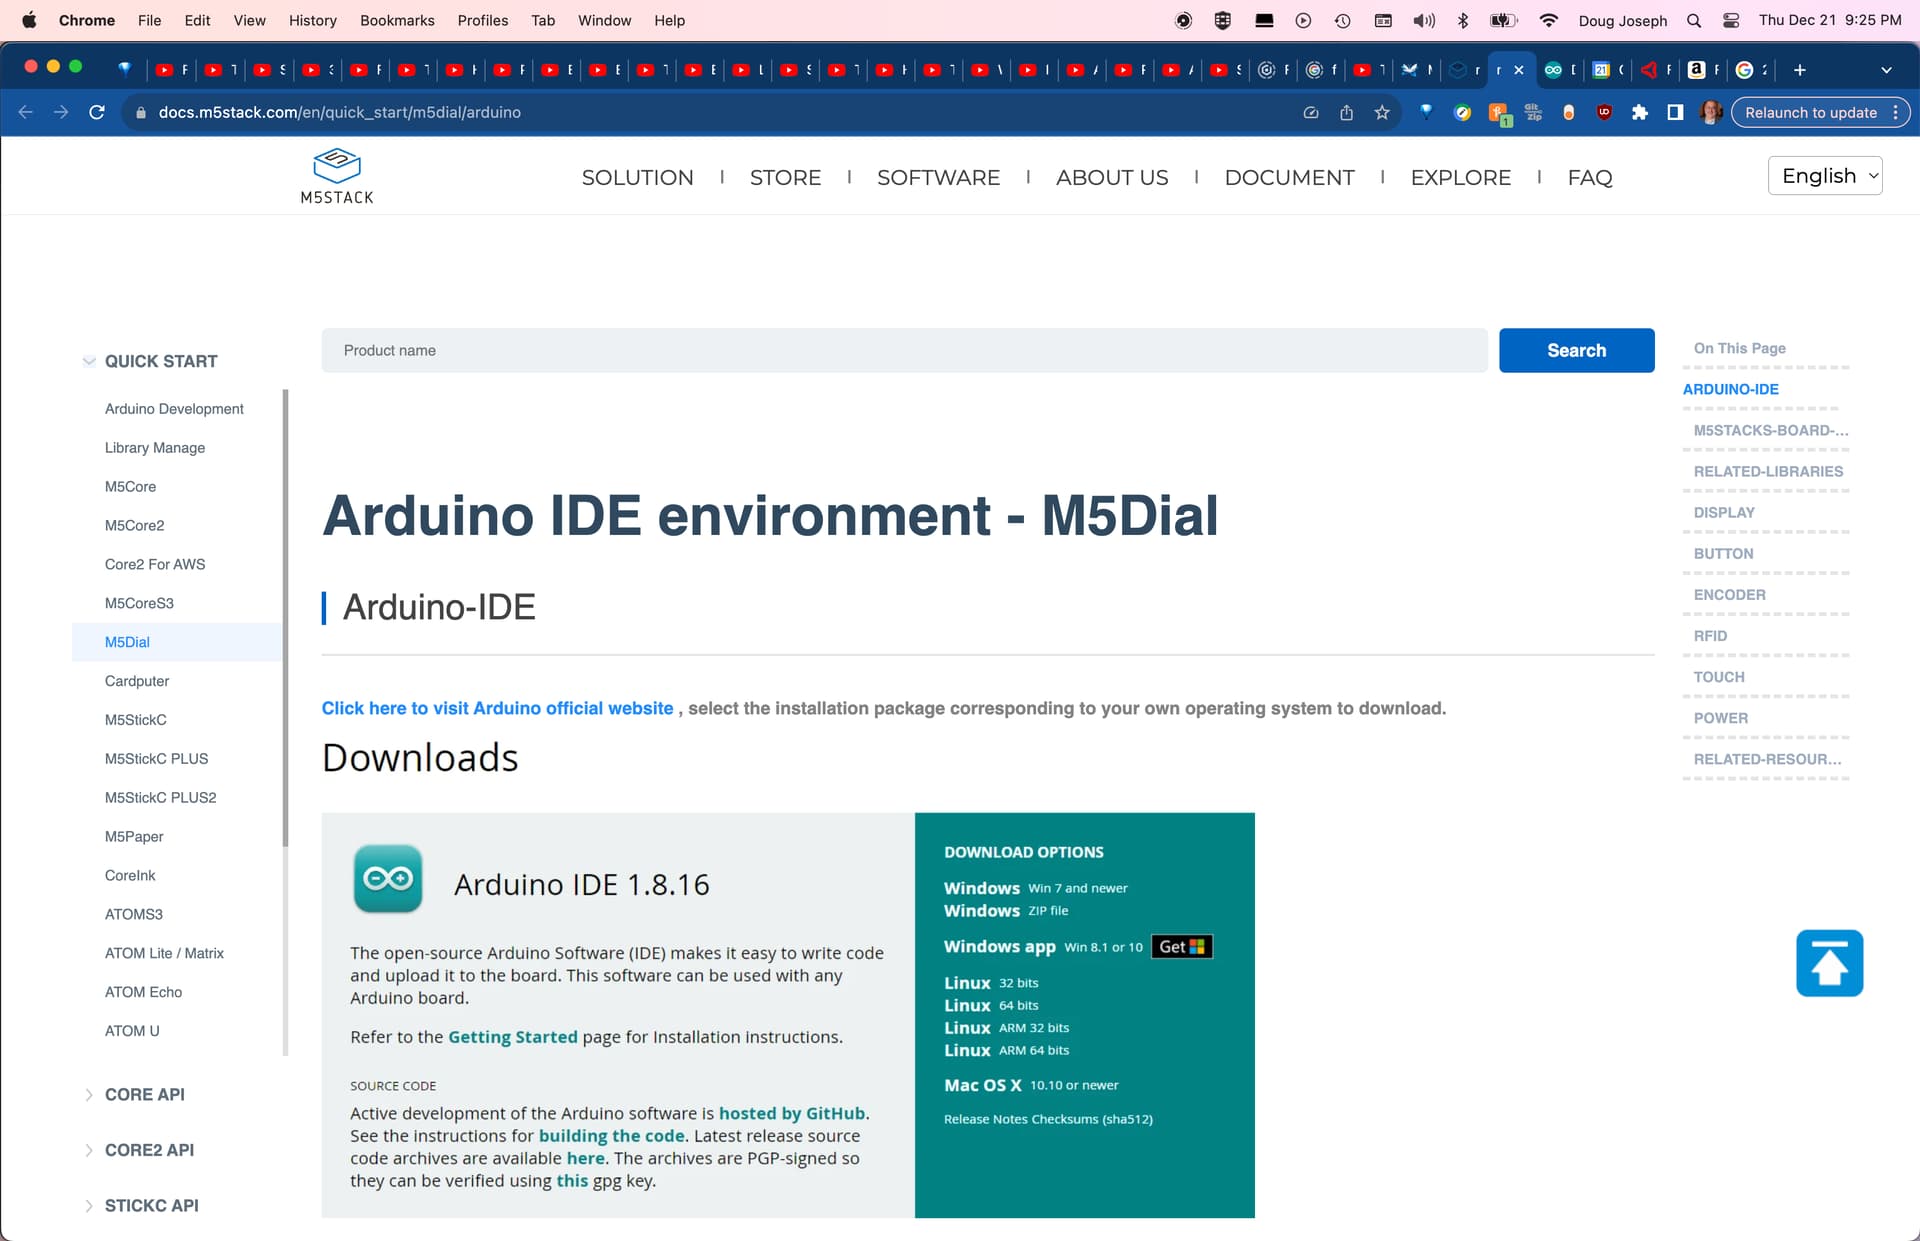
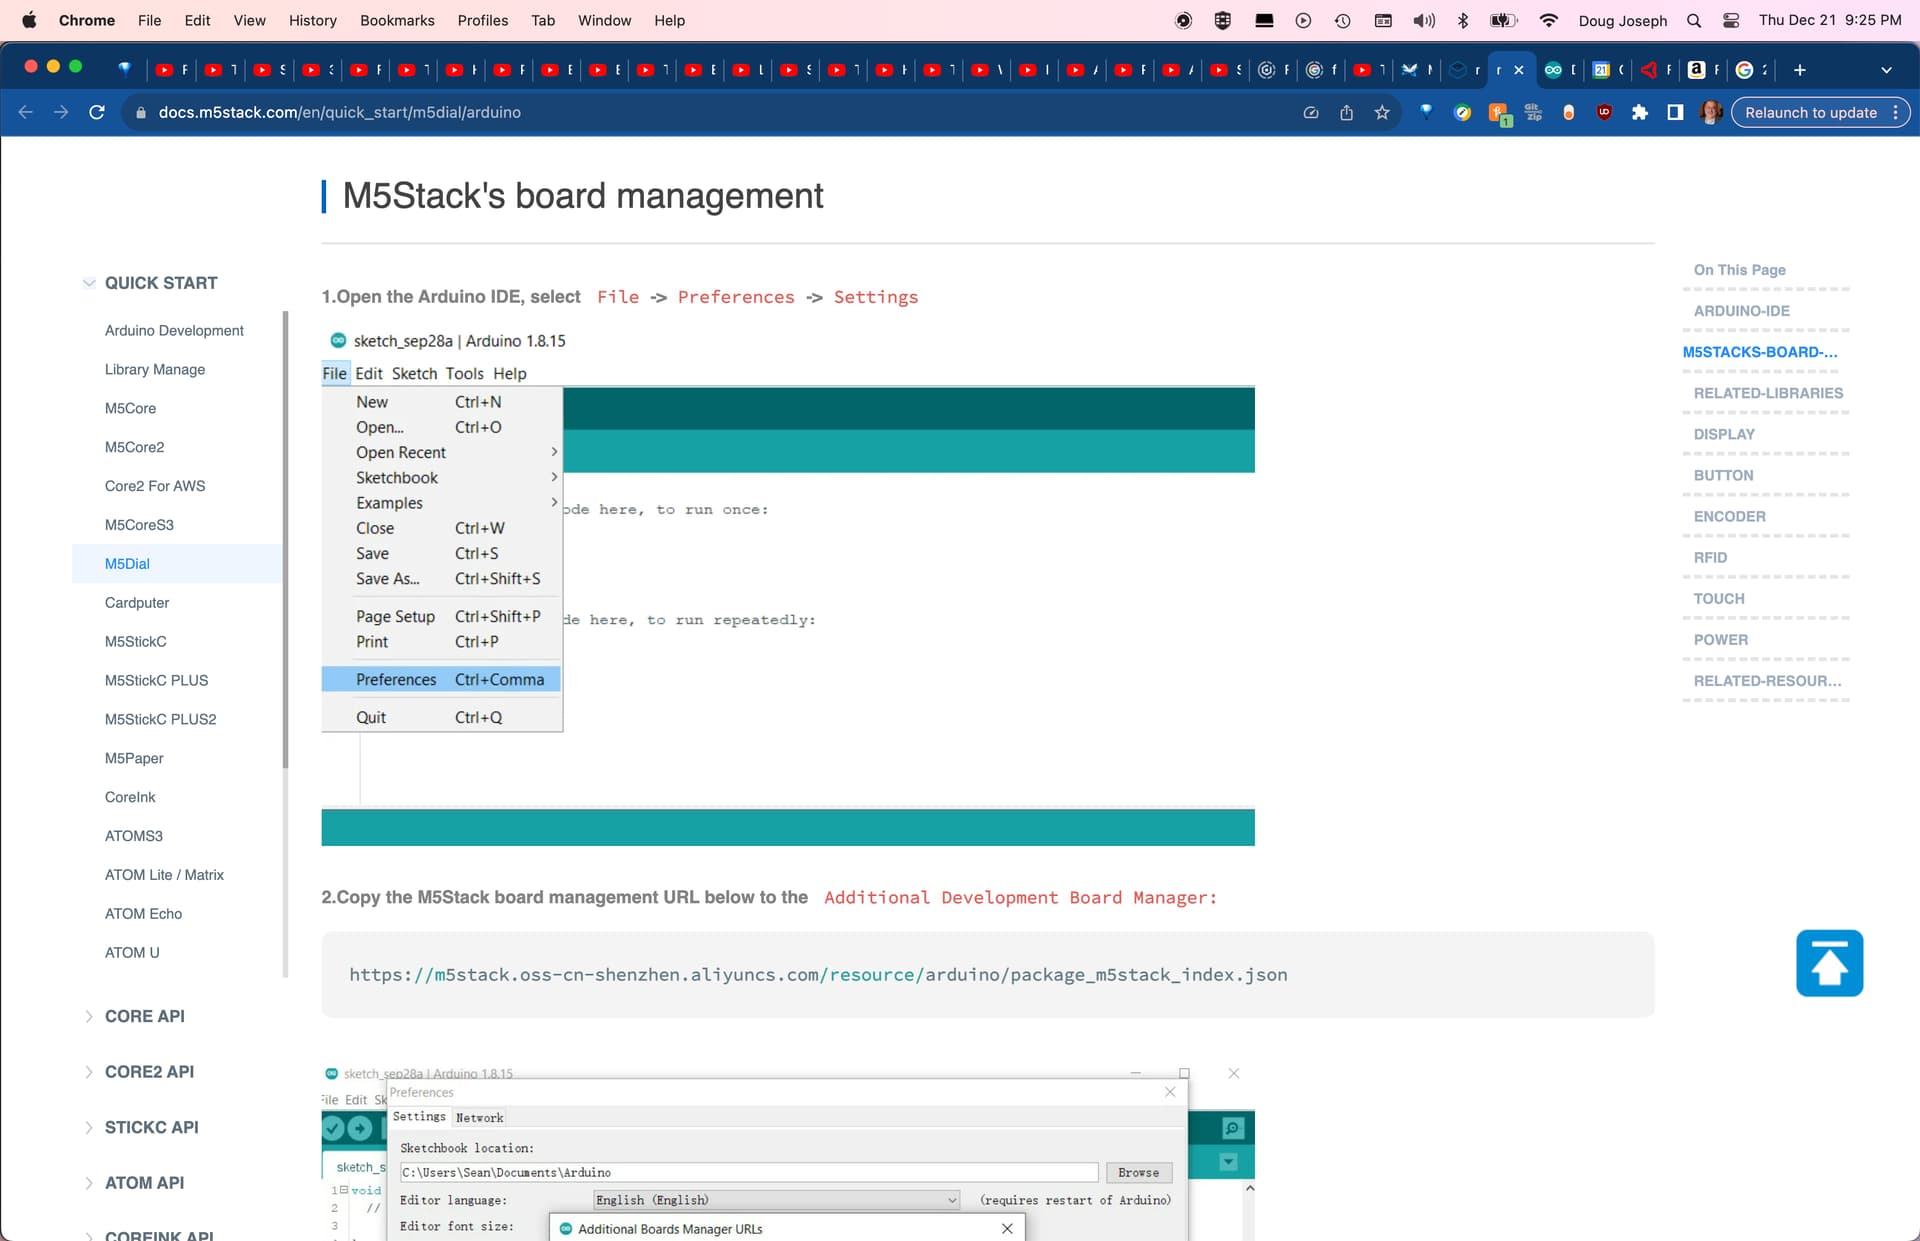
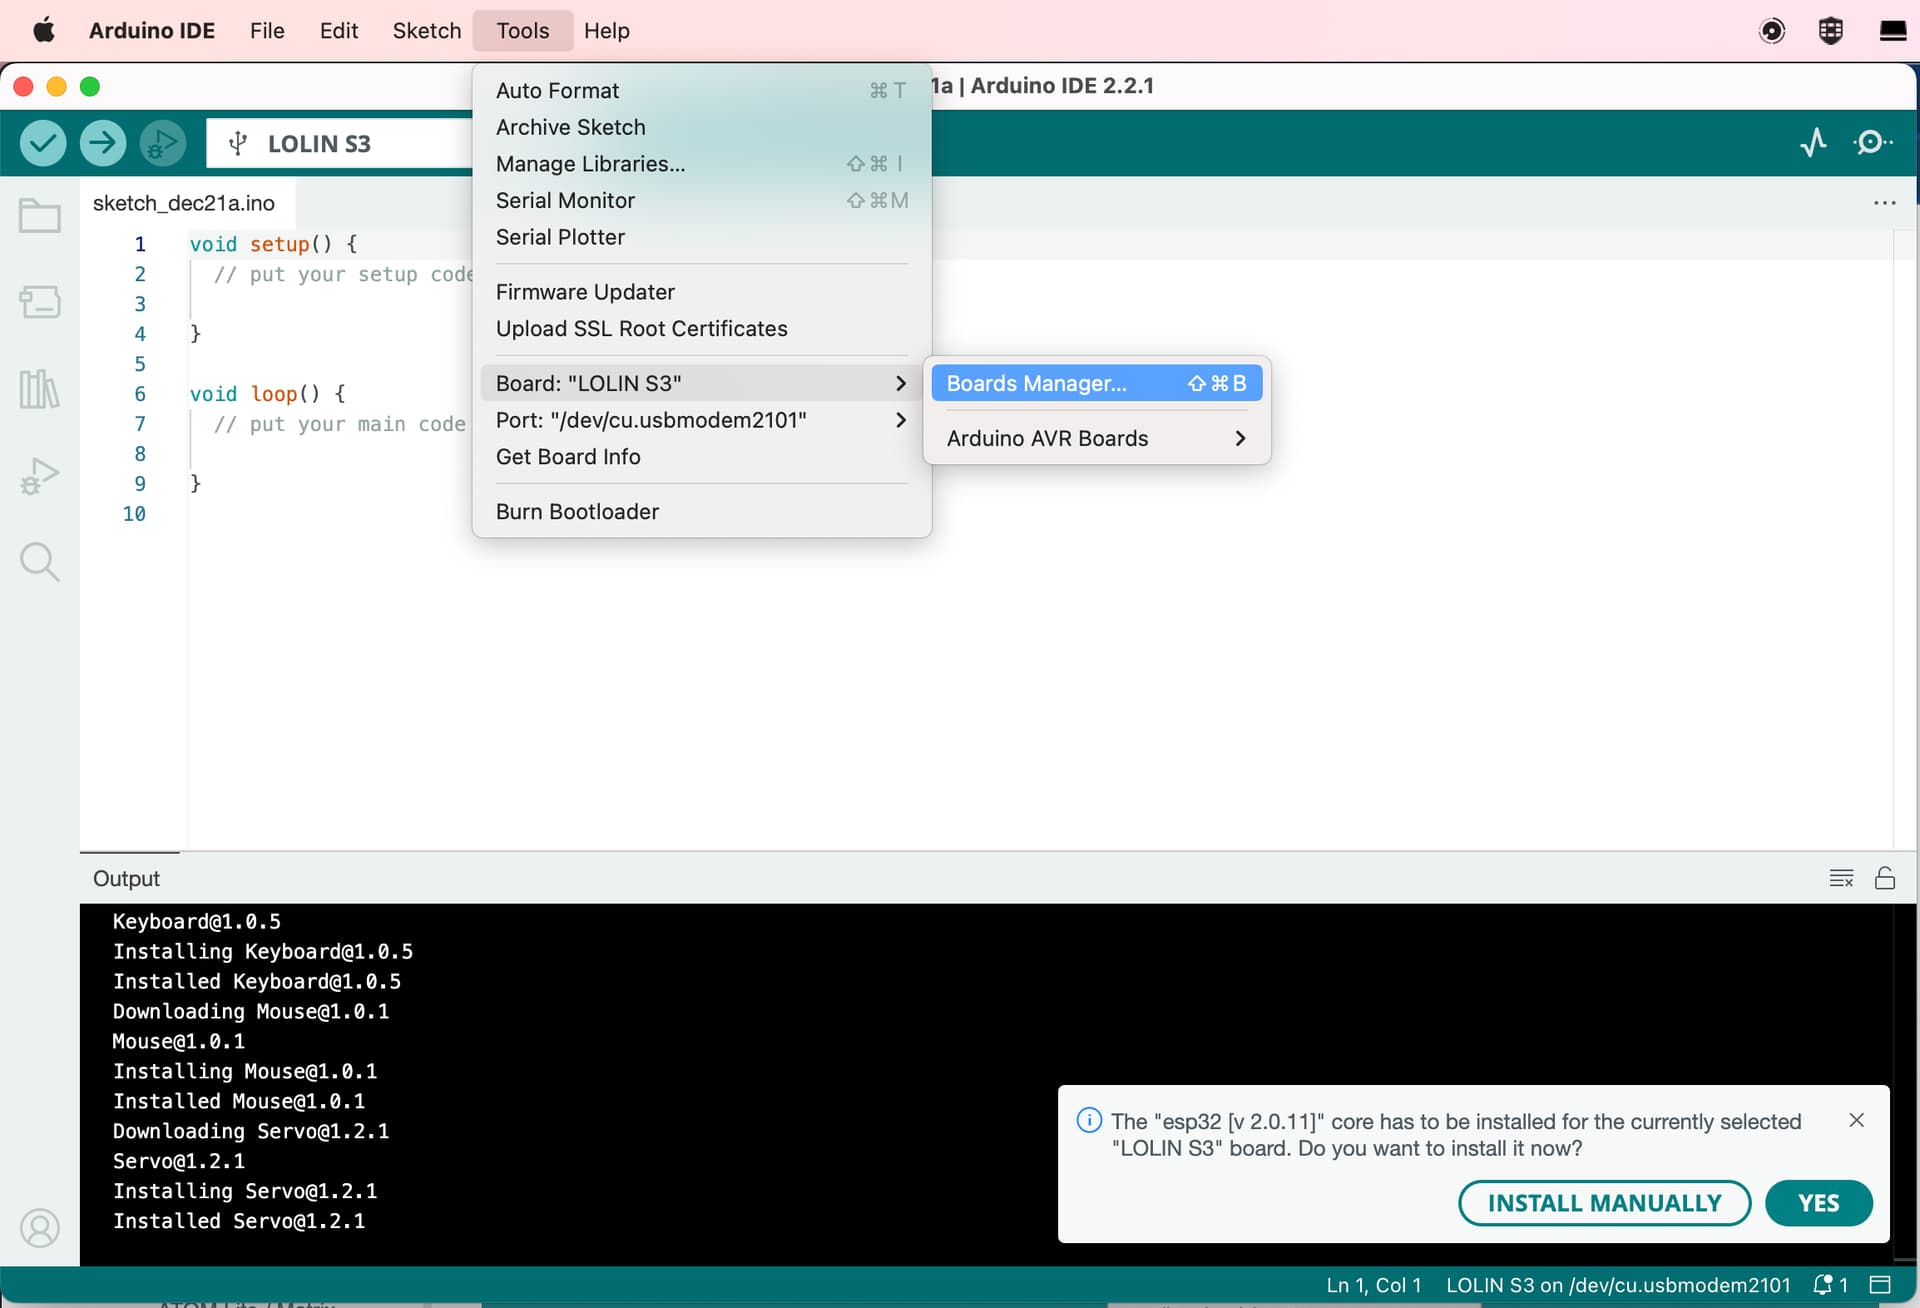
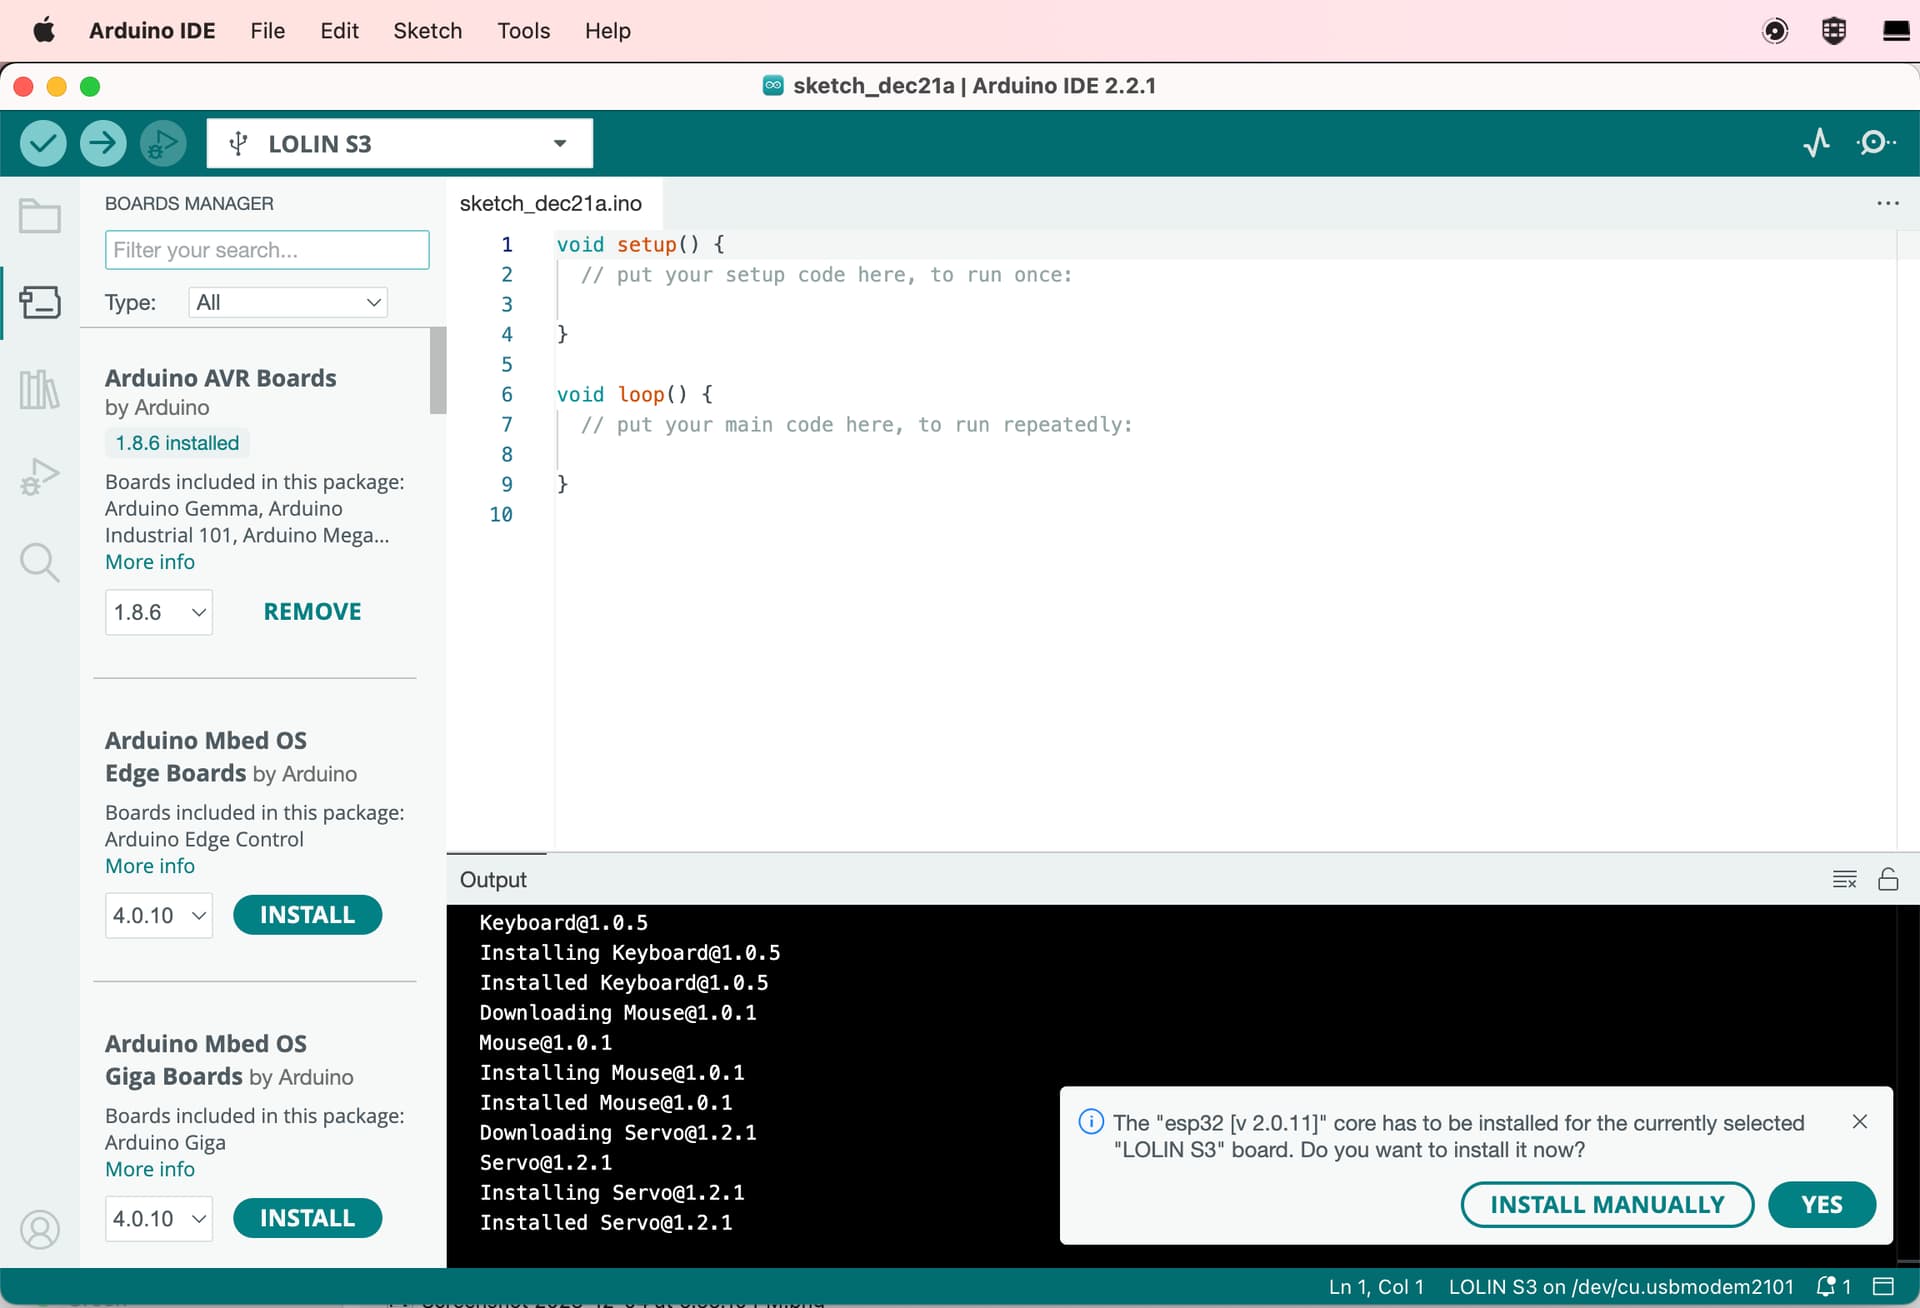
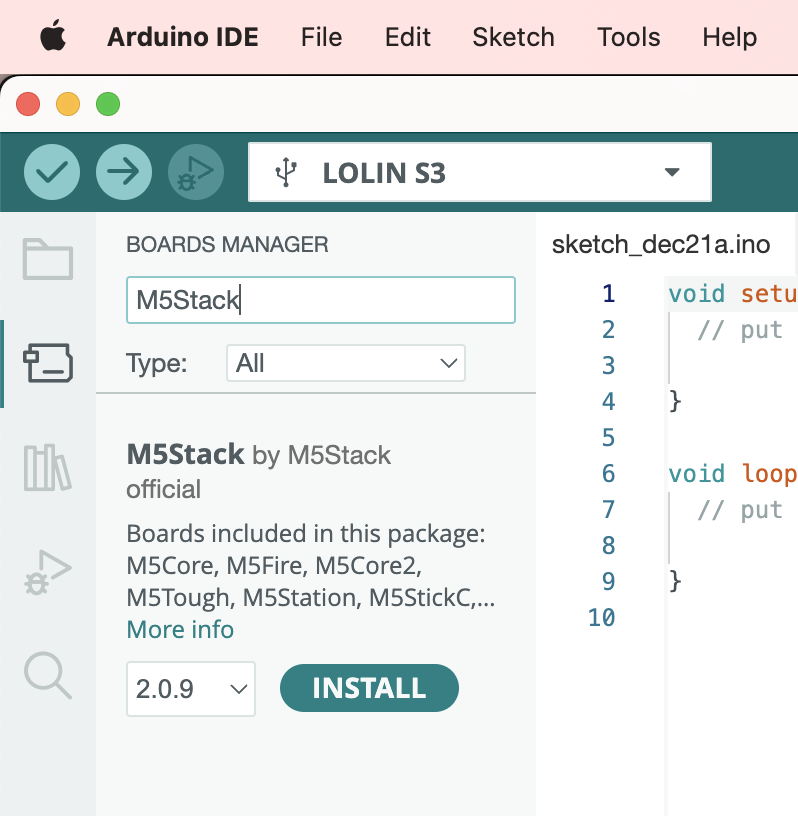
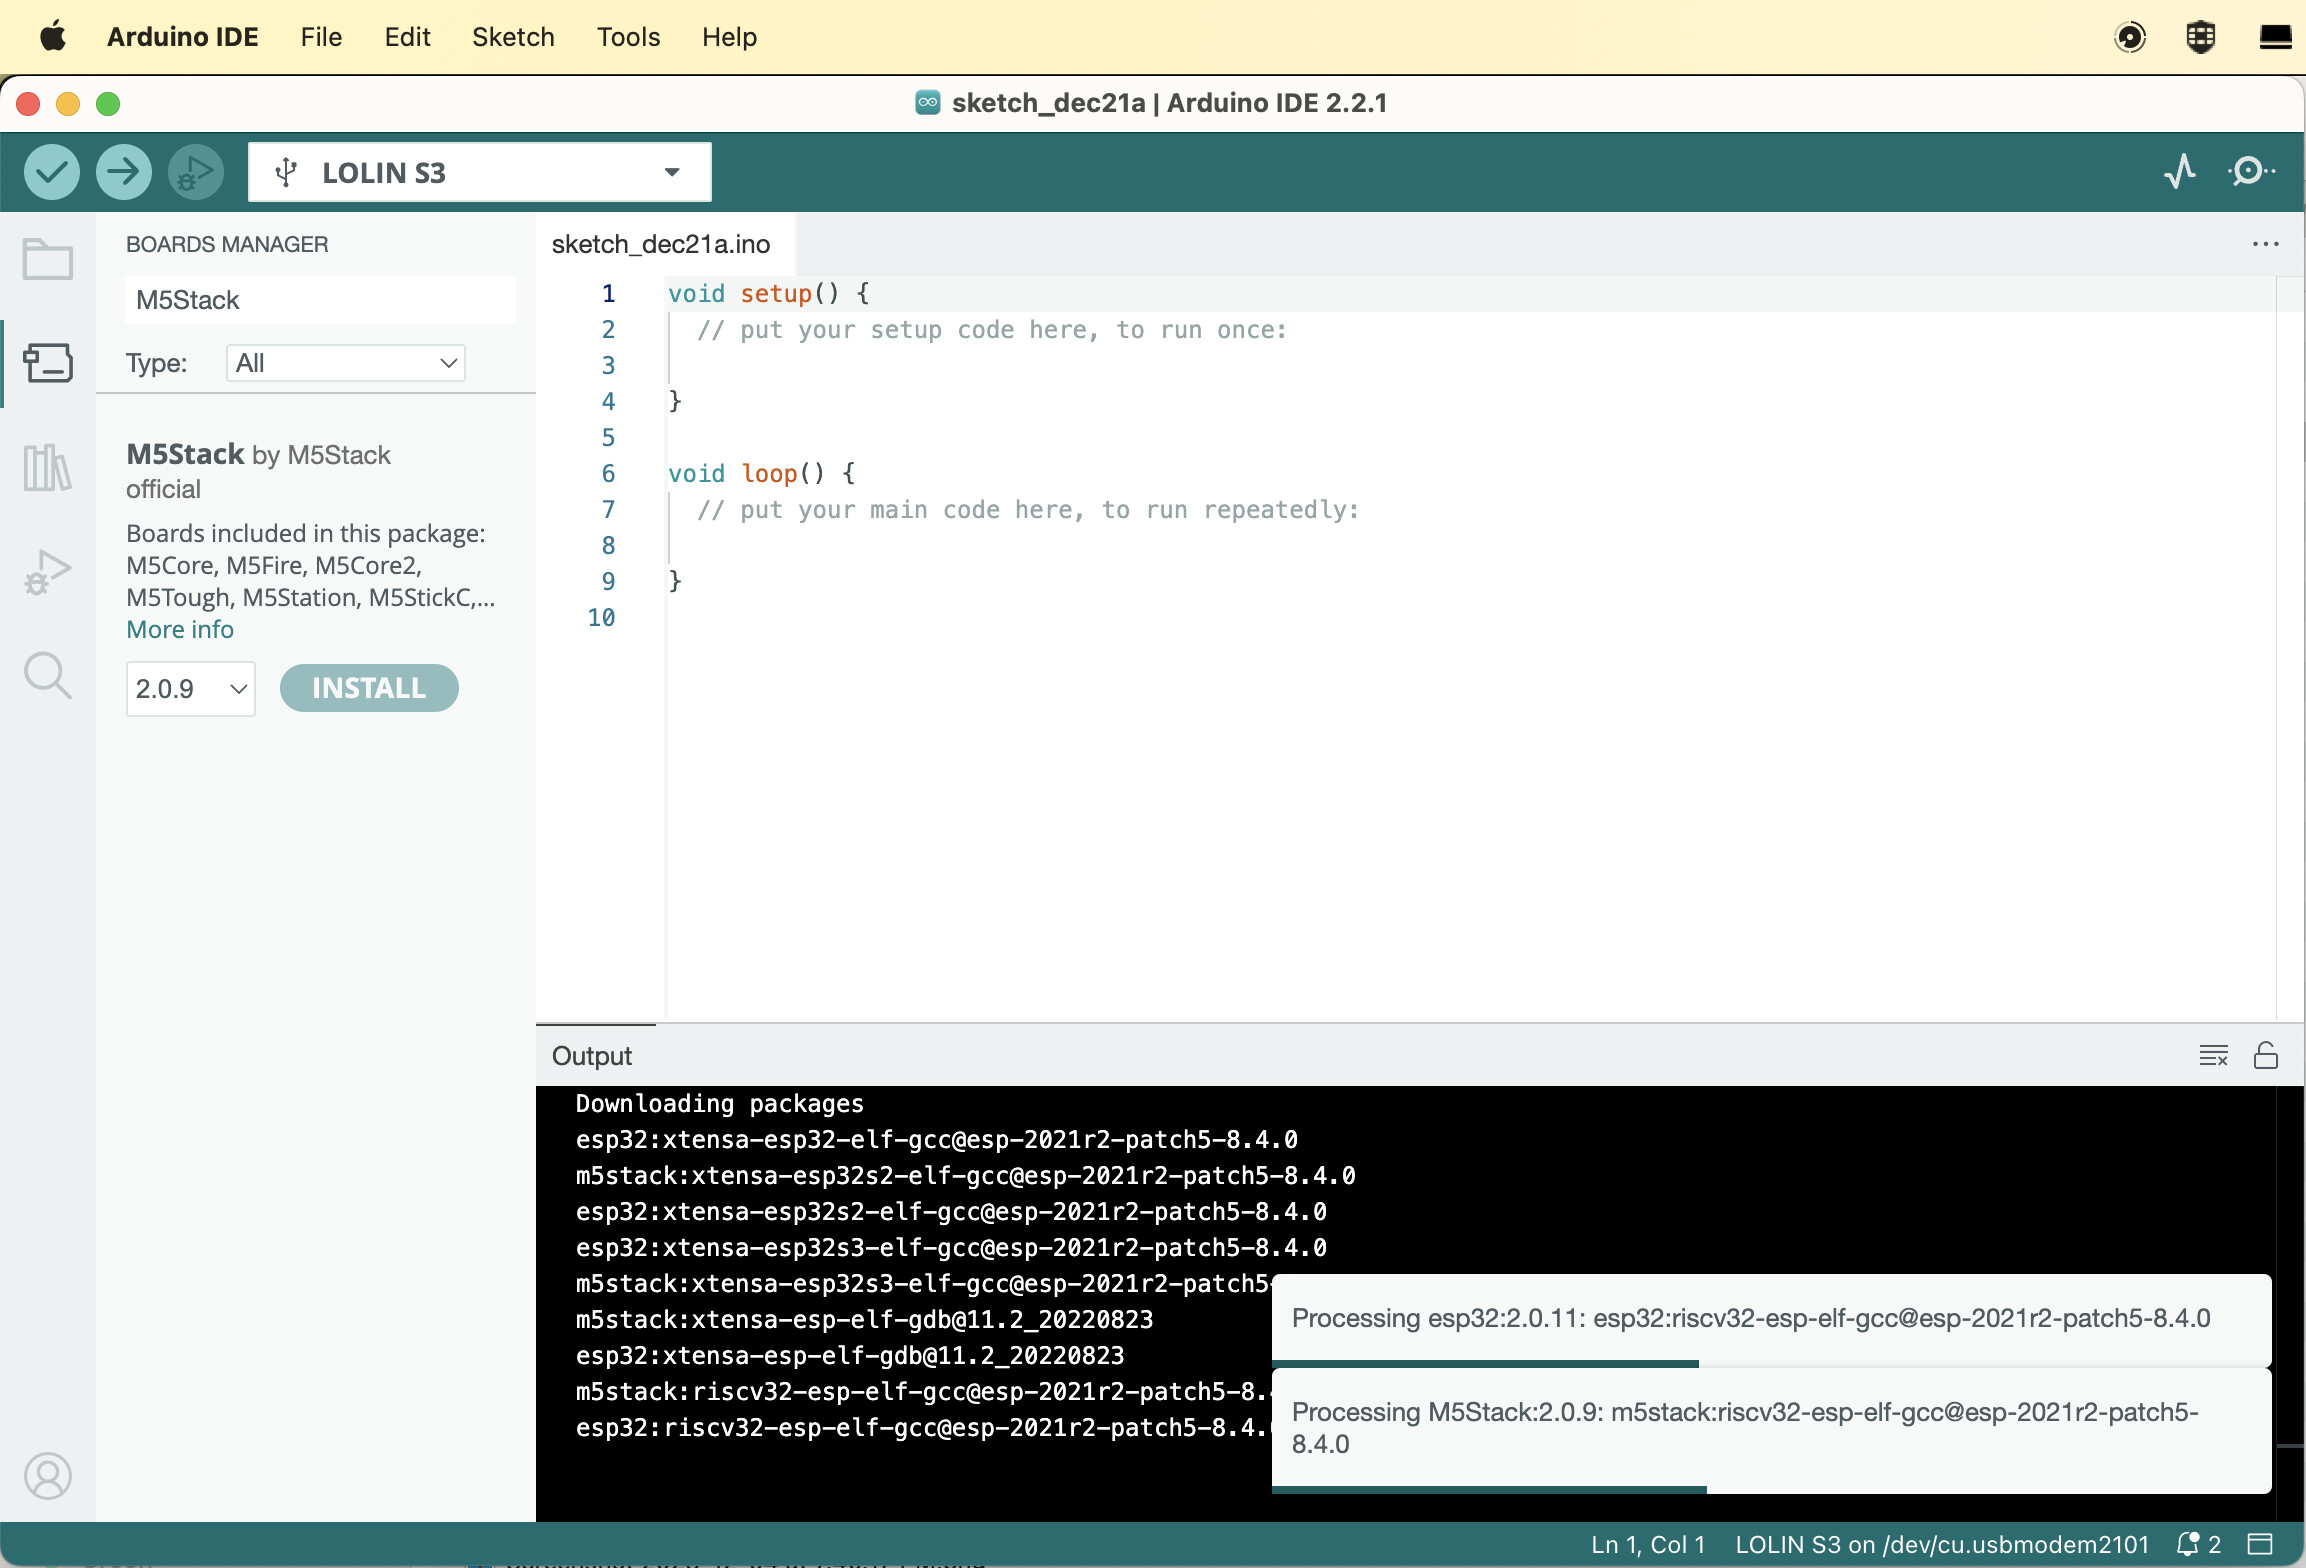
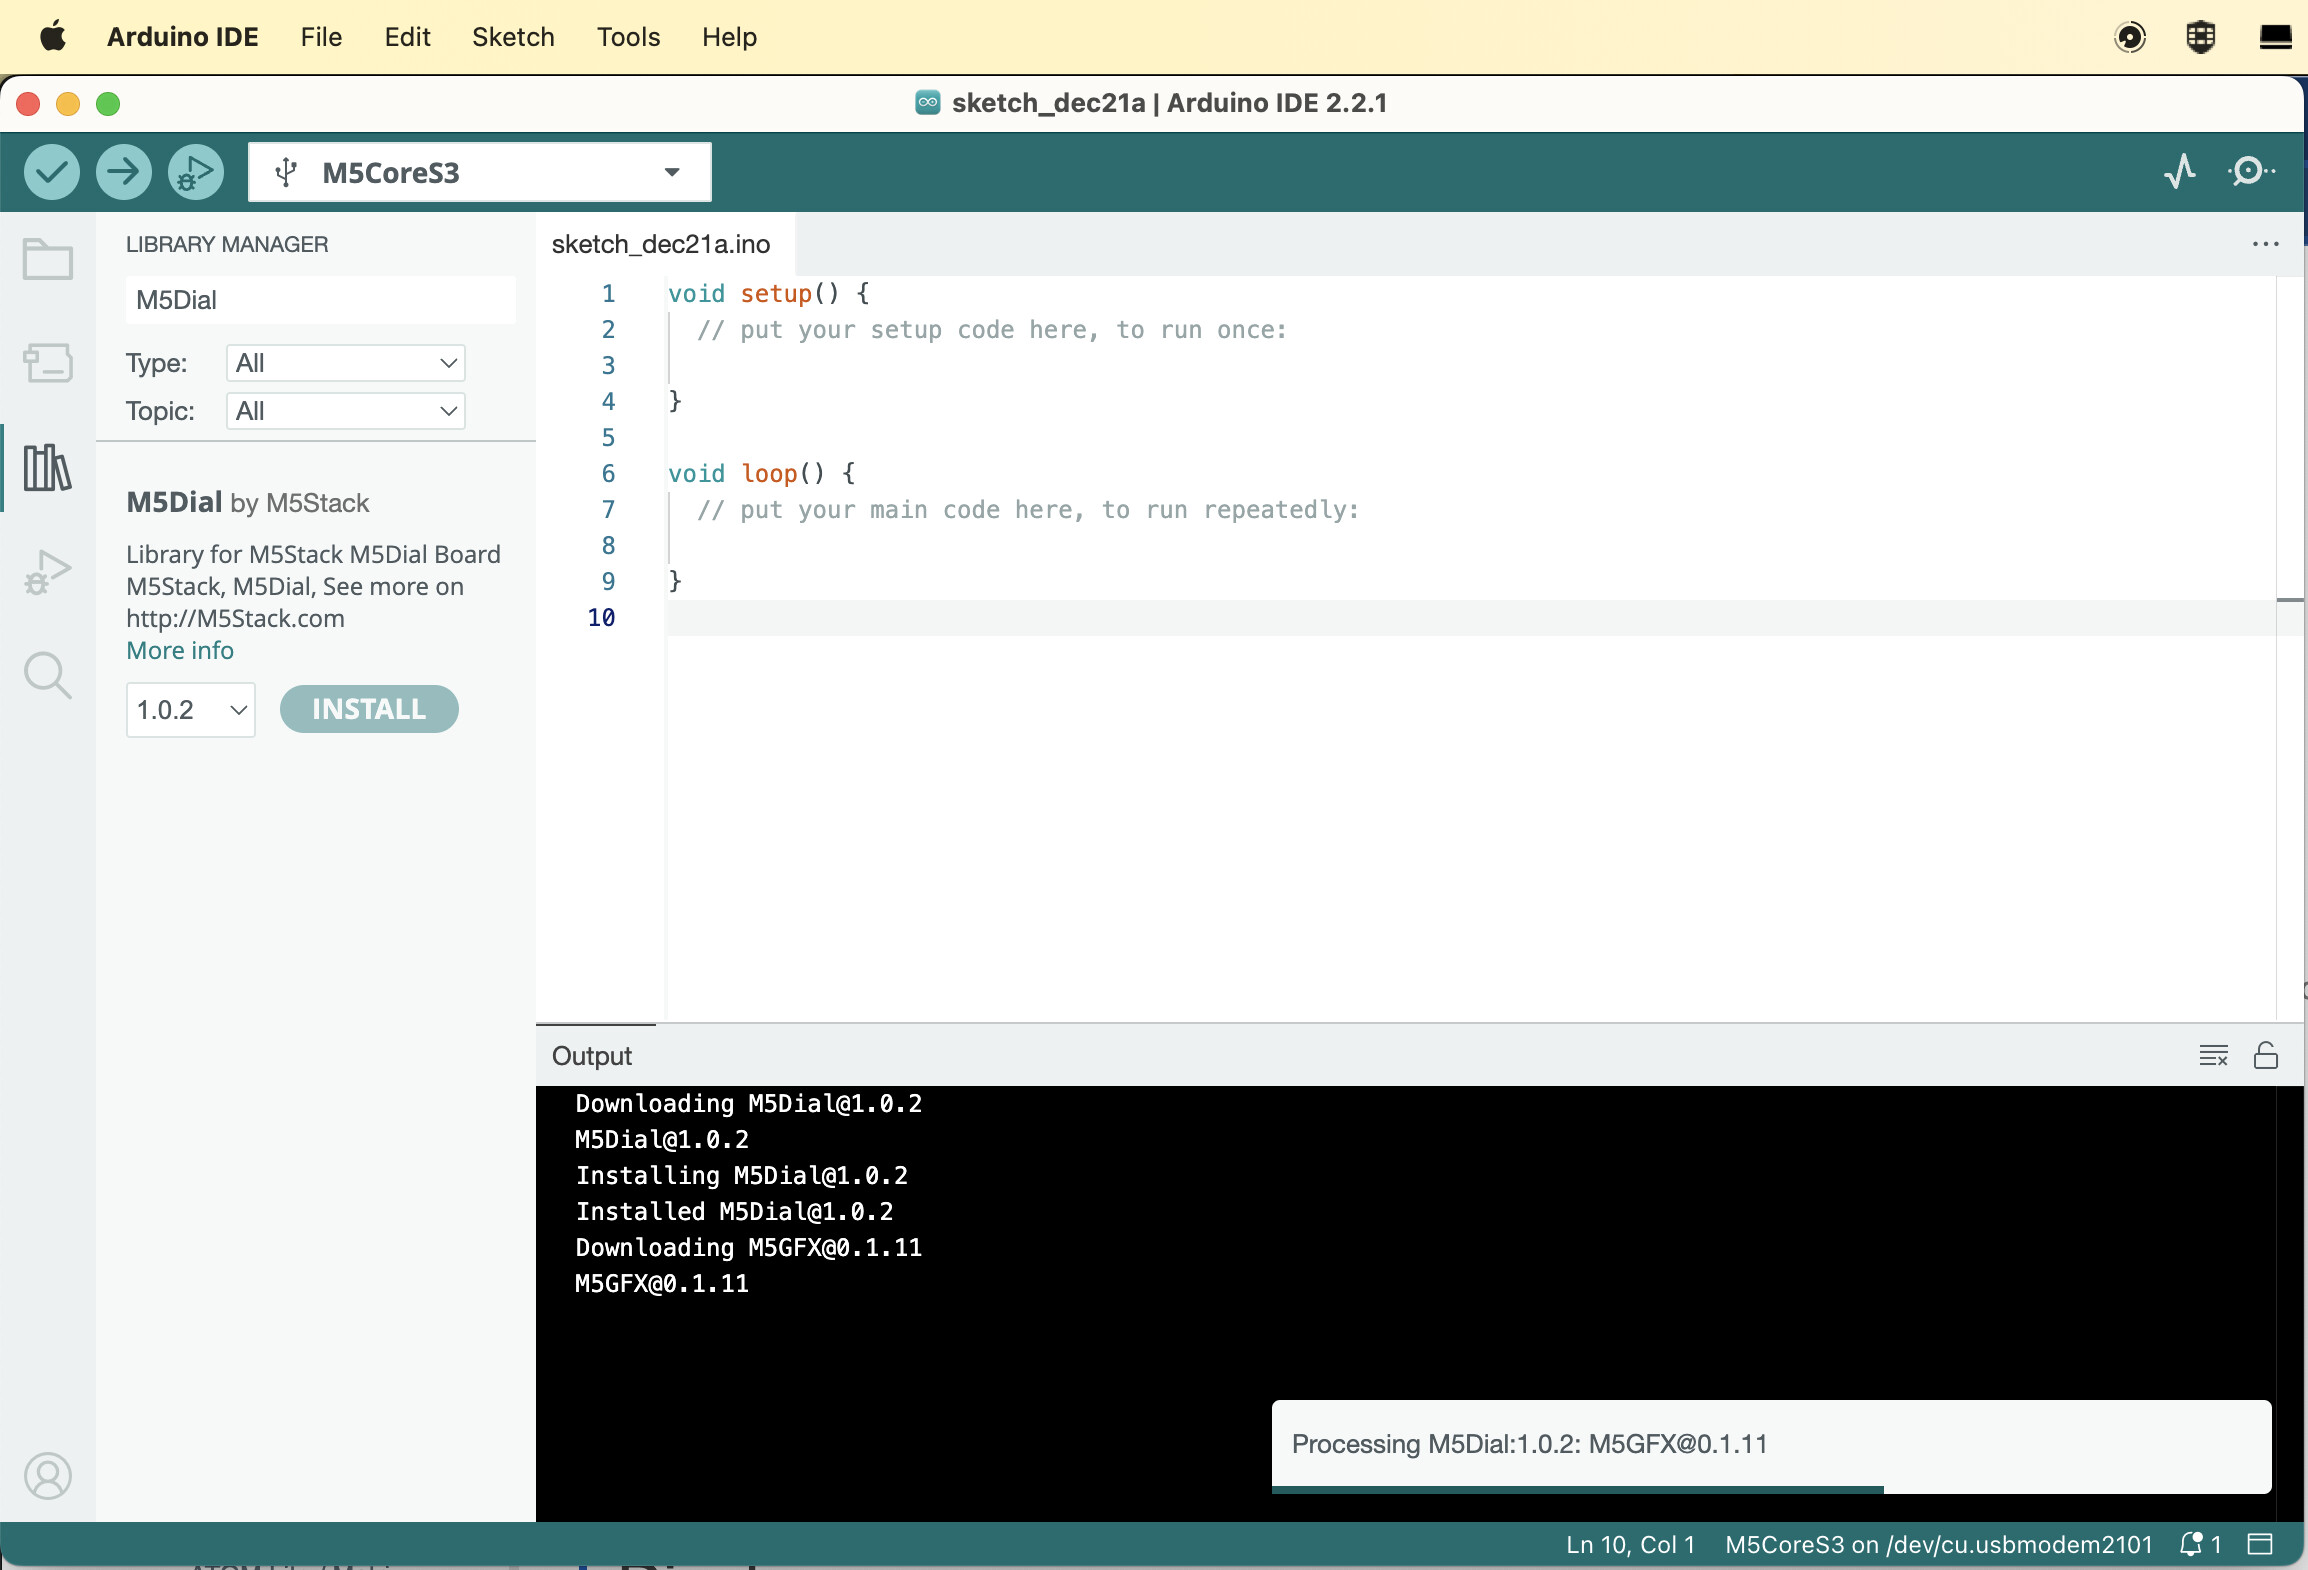
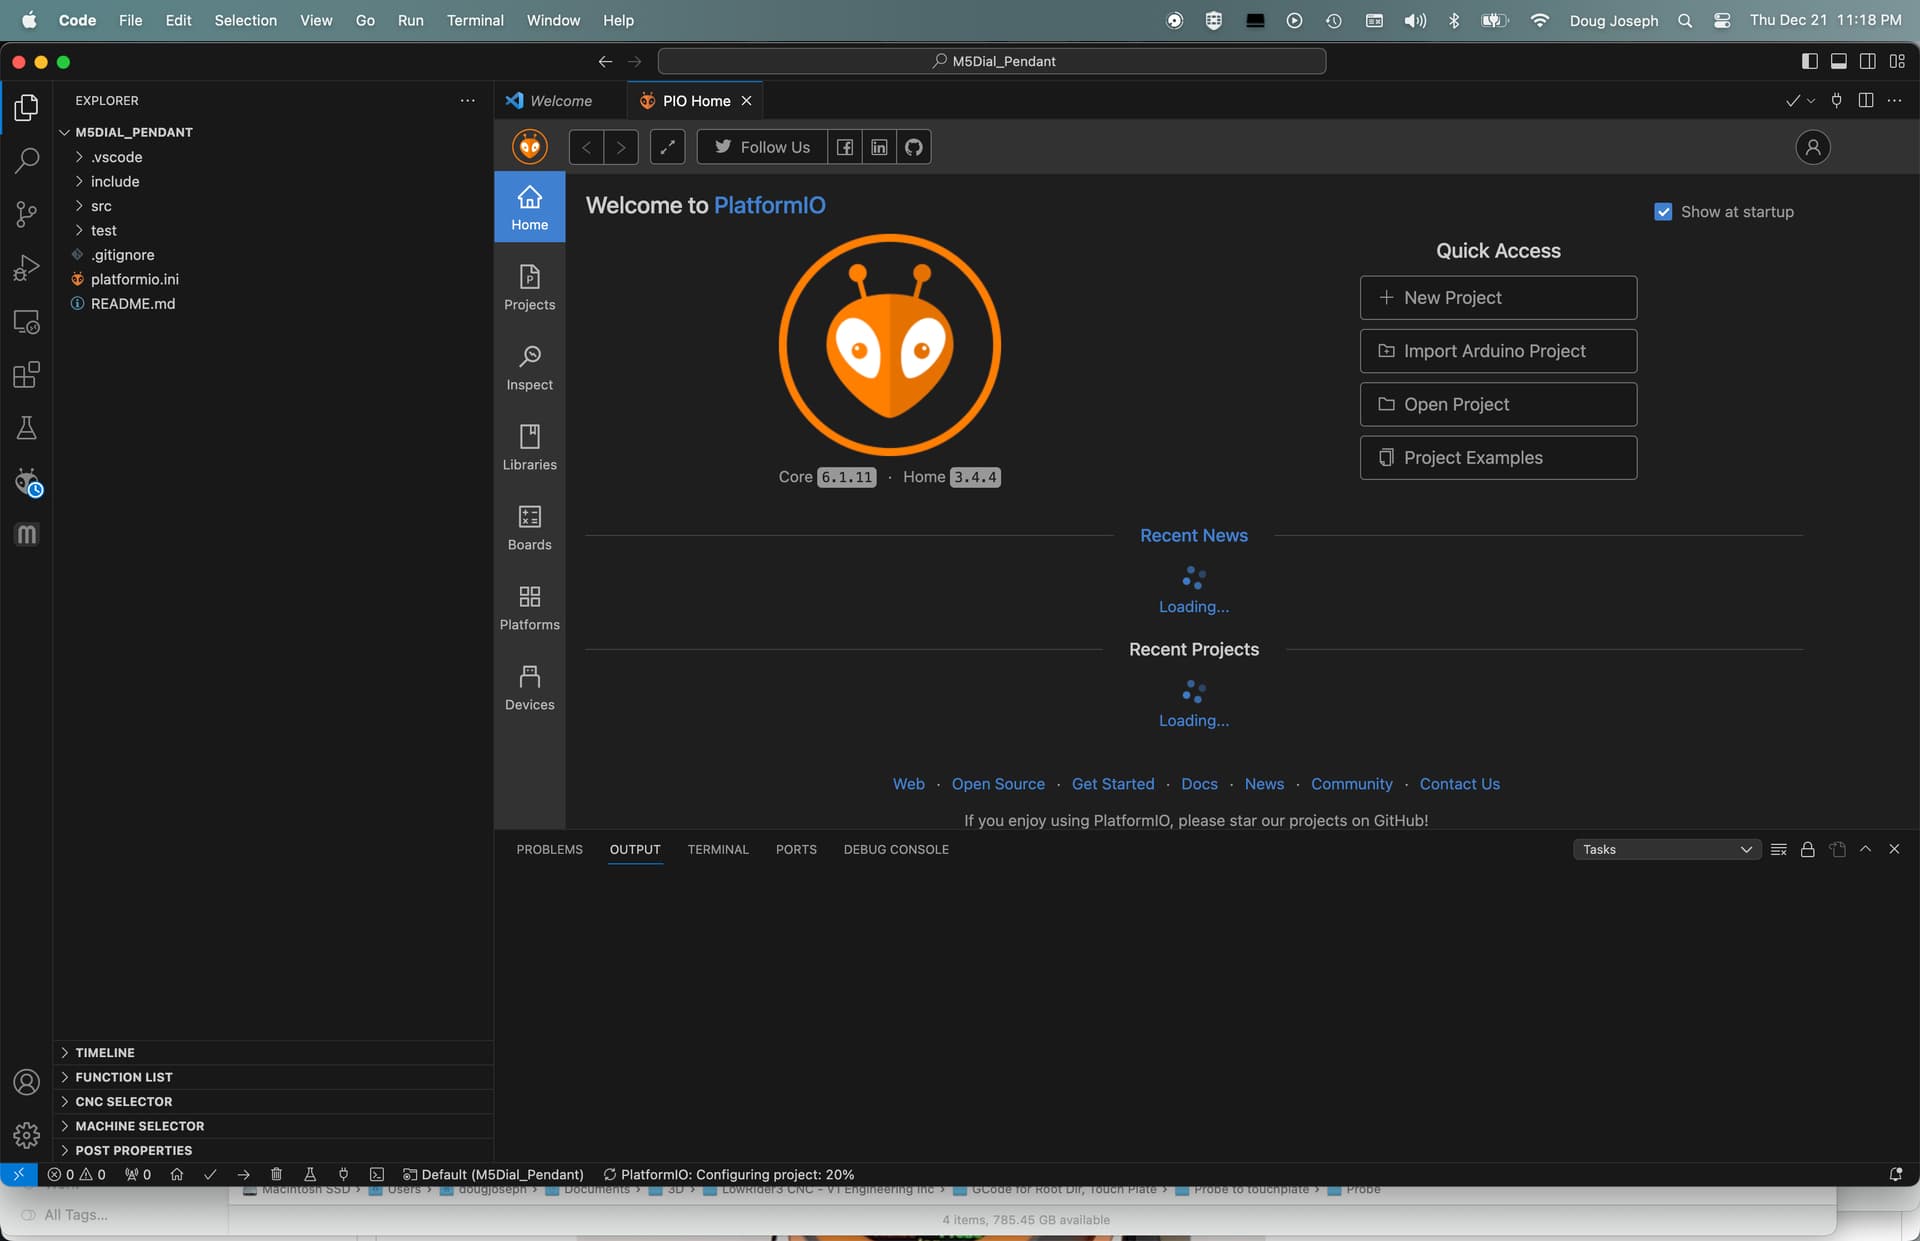
I’m currently getting the Arduino IDE setup for the M5 Stack Dial using the setup info on their docs page linked from the “Bart’s Fluid Dial” pendant wiki page: m5-docs
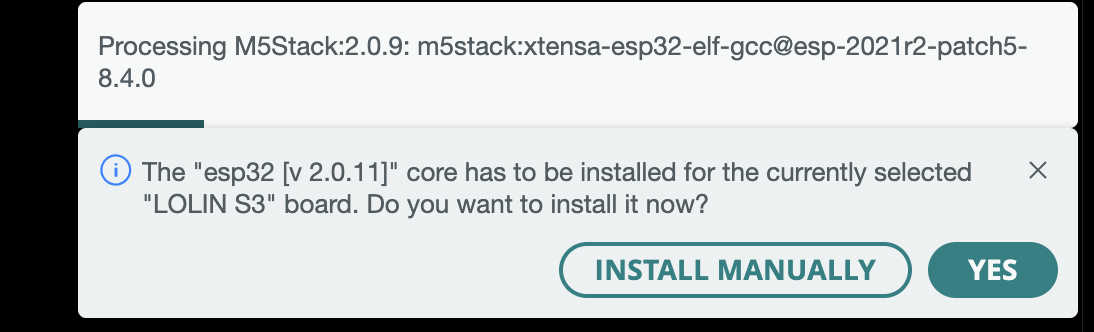
The instructions said to link to their board management profile, yet the IDE also prompted me to download one. I had a choice to choose “Install manually” and I probably should have chosen that, but I permitted the IDE to download what it was asking for. As far as I can tell, it downloaded a “generic” version of the exact same set up files that the “M5 Stack” profile management link caused to be downloaded.
Well, after downloading the Arduino IDE, I read further on the Pendant wiki and saw that Bart recommends using Visual Studio Code with platformIO. Since I am already familiar with that, I guess I will pivot to using that!
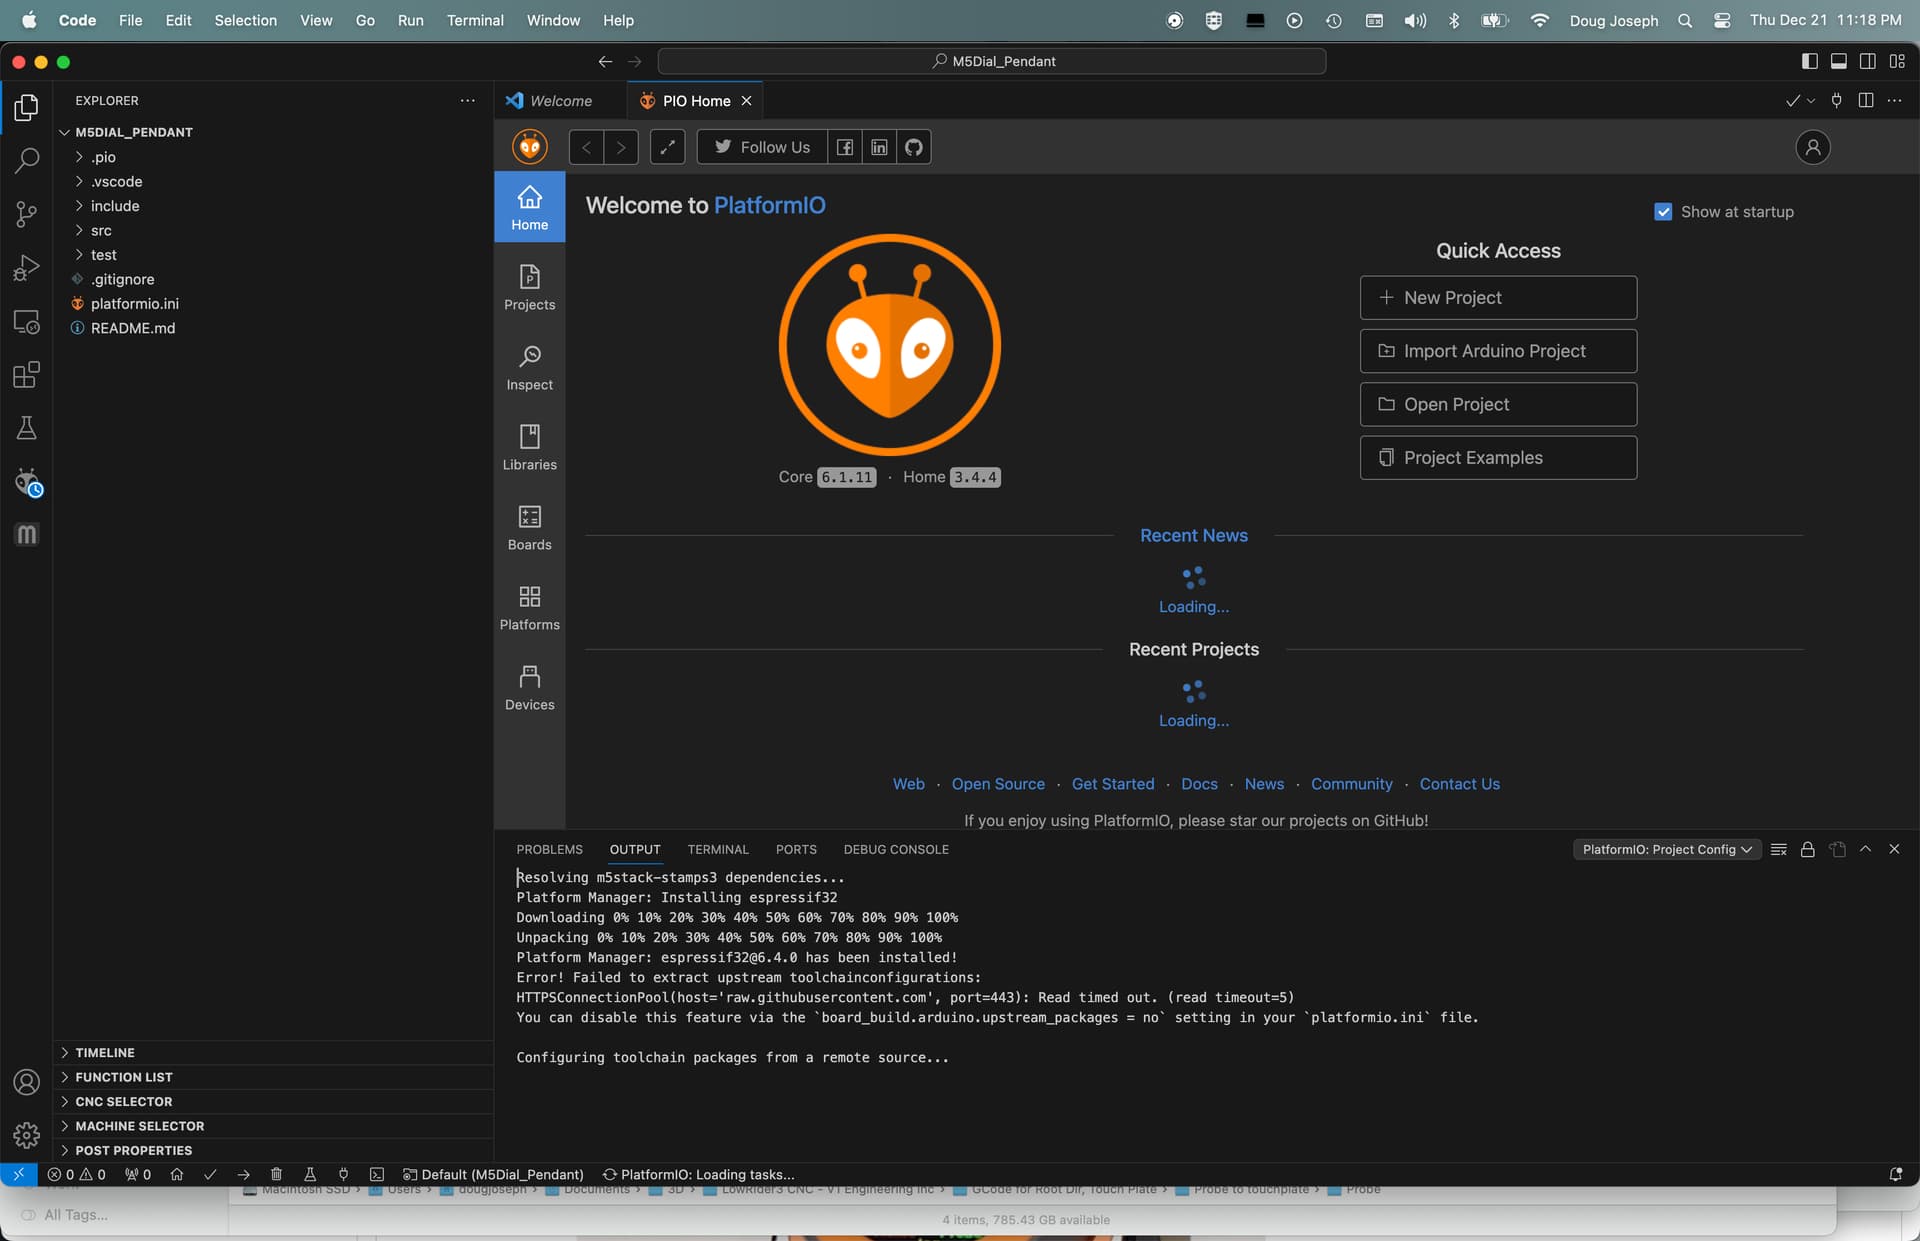
Even though Bart’s wiki for the pendant links to a Github subfolder just for the pendant, you’re ahead to go to the root of the Github project and download the whole repo, especially because there is a Lib folder above the pendant folder, and that Lib folder is needed. A copy of it has to be moved into the pendant folder. See more below.
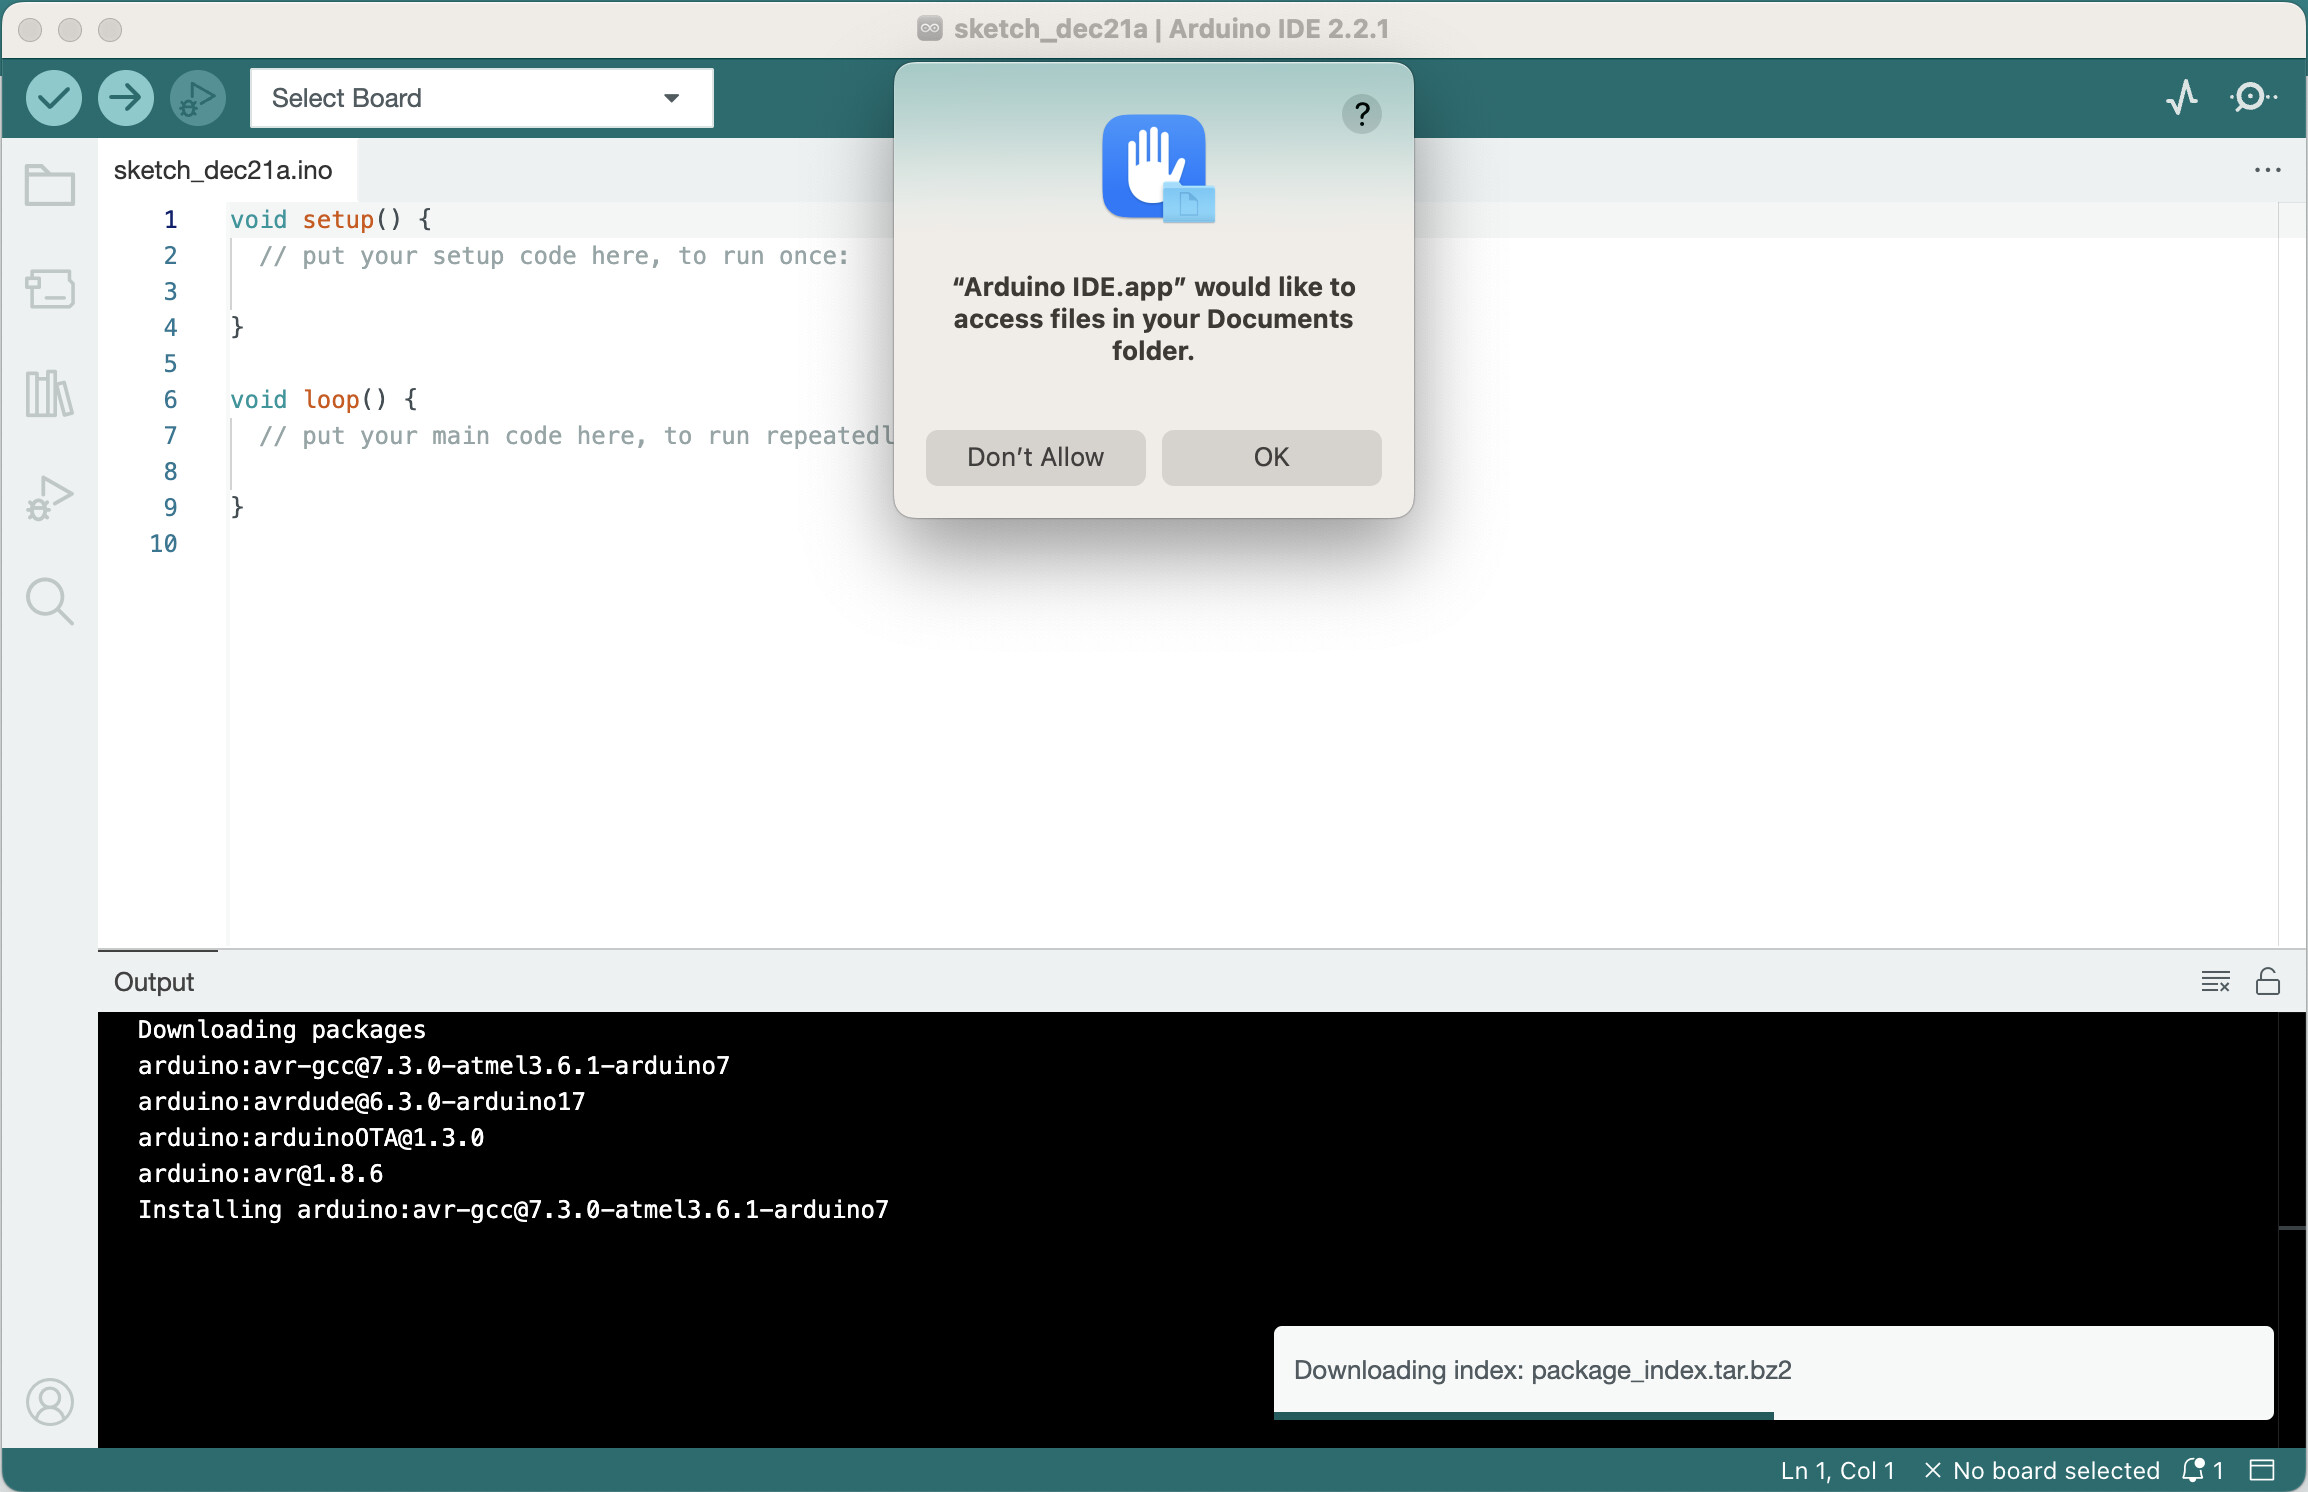
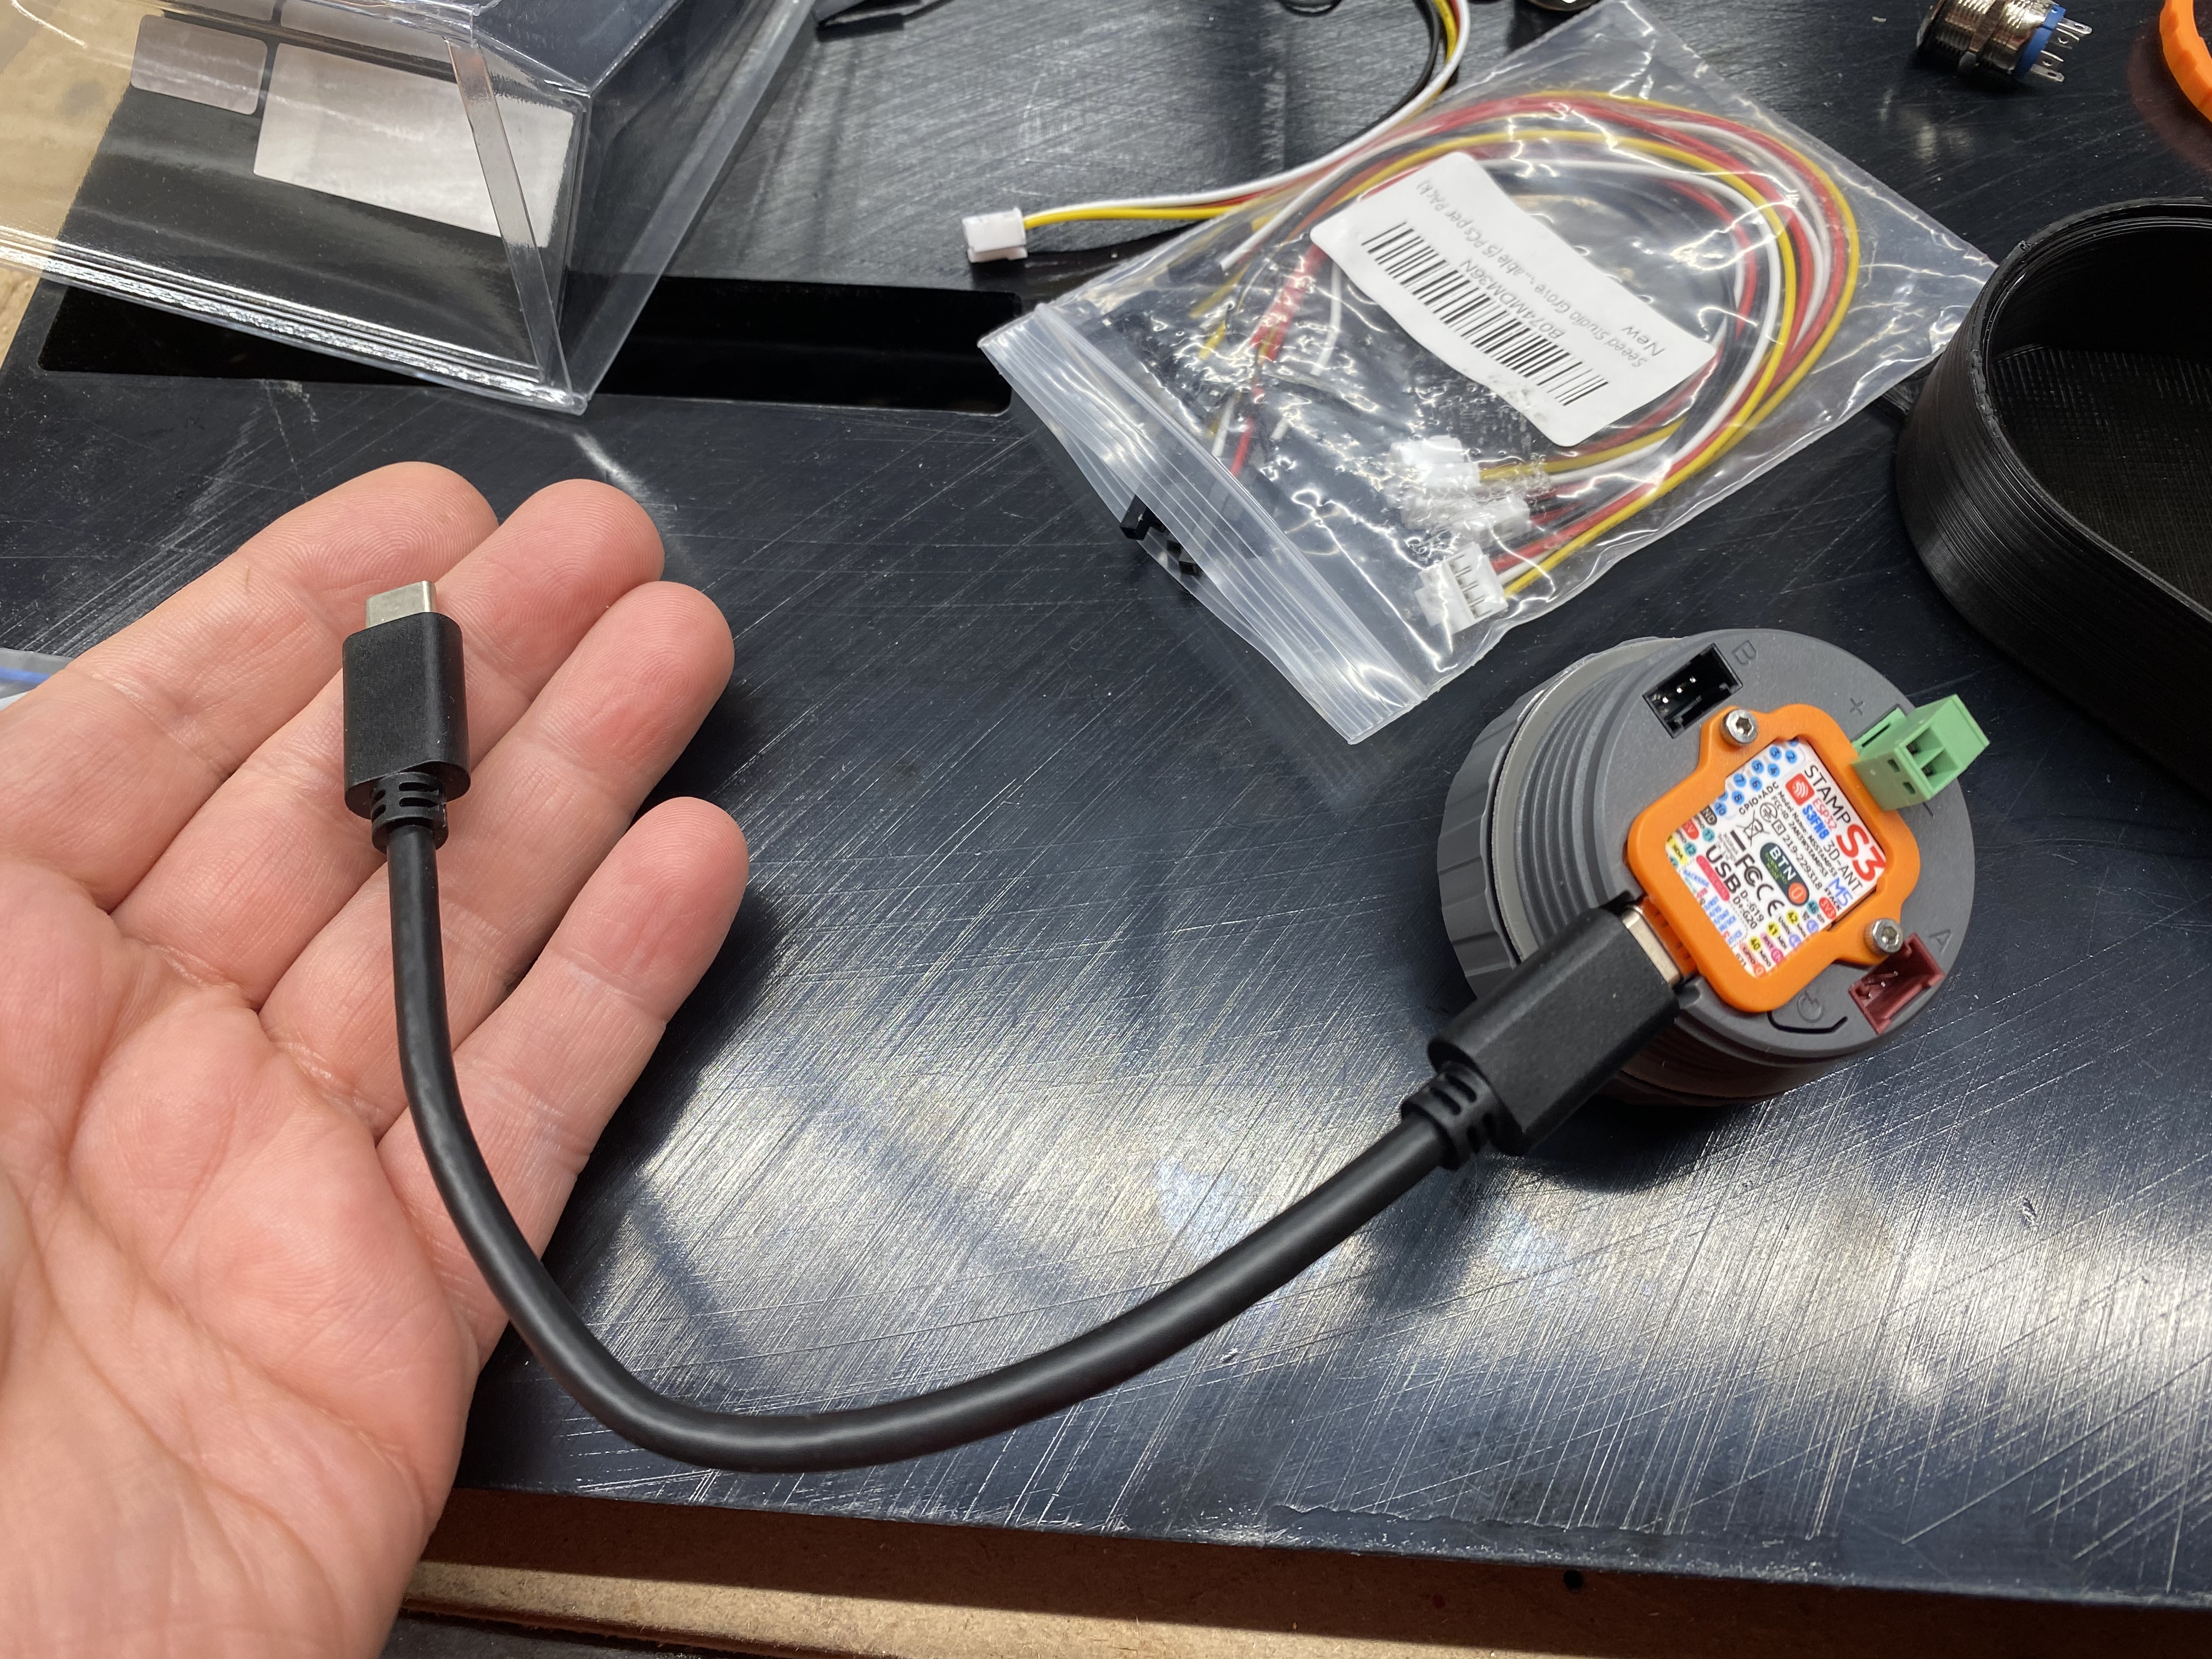
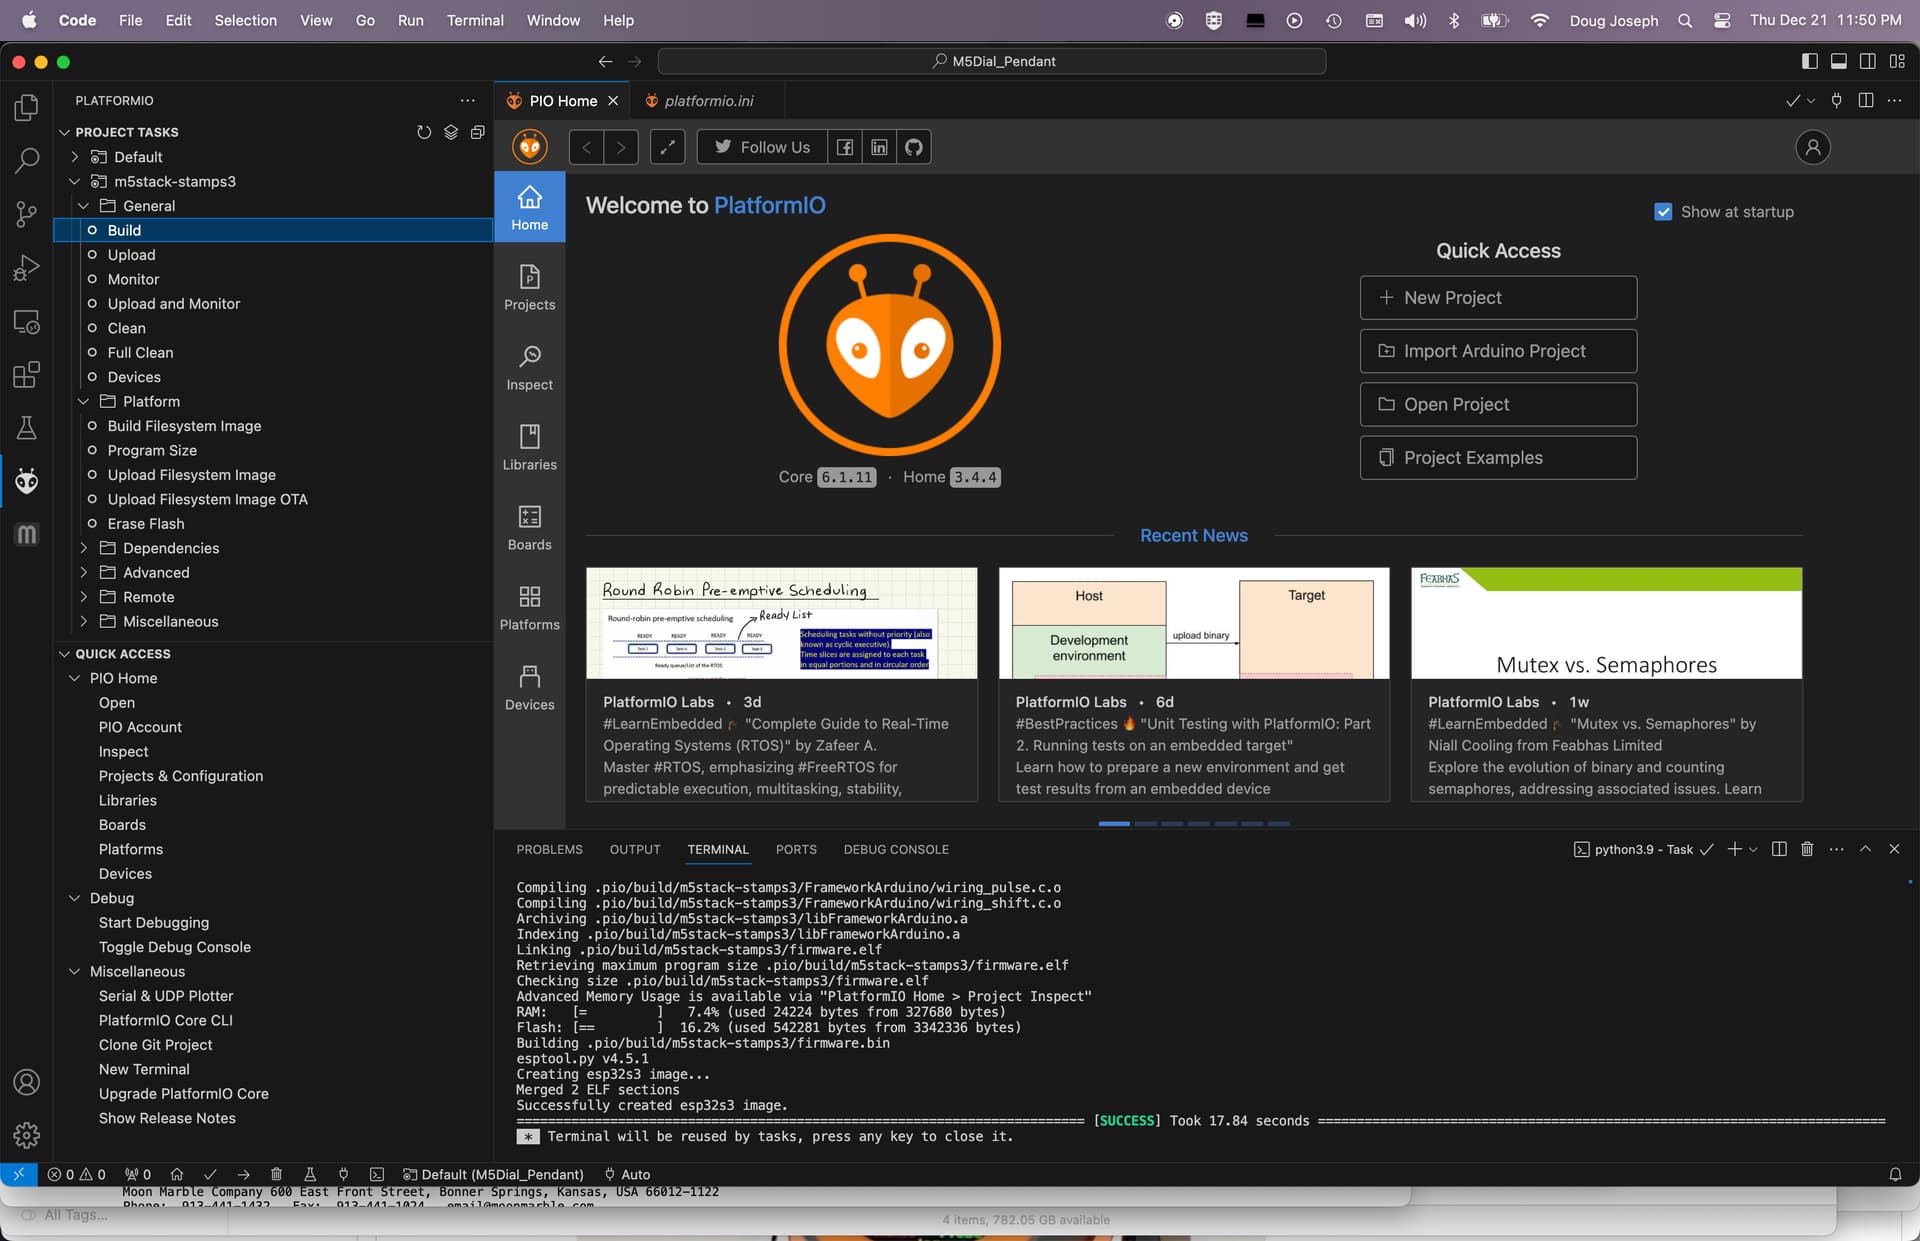
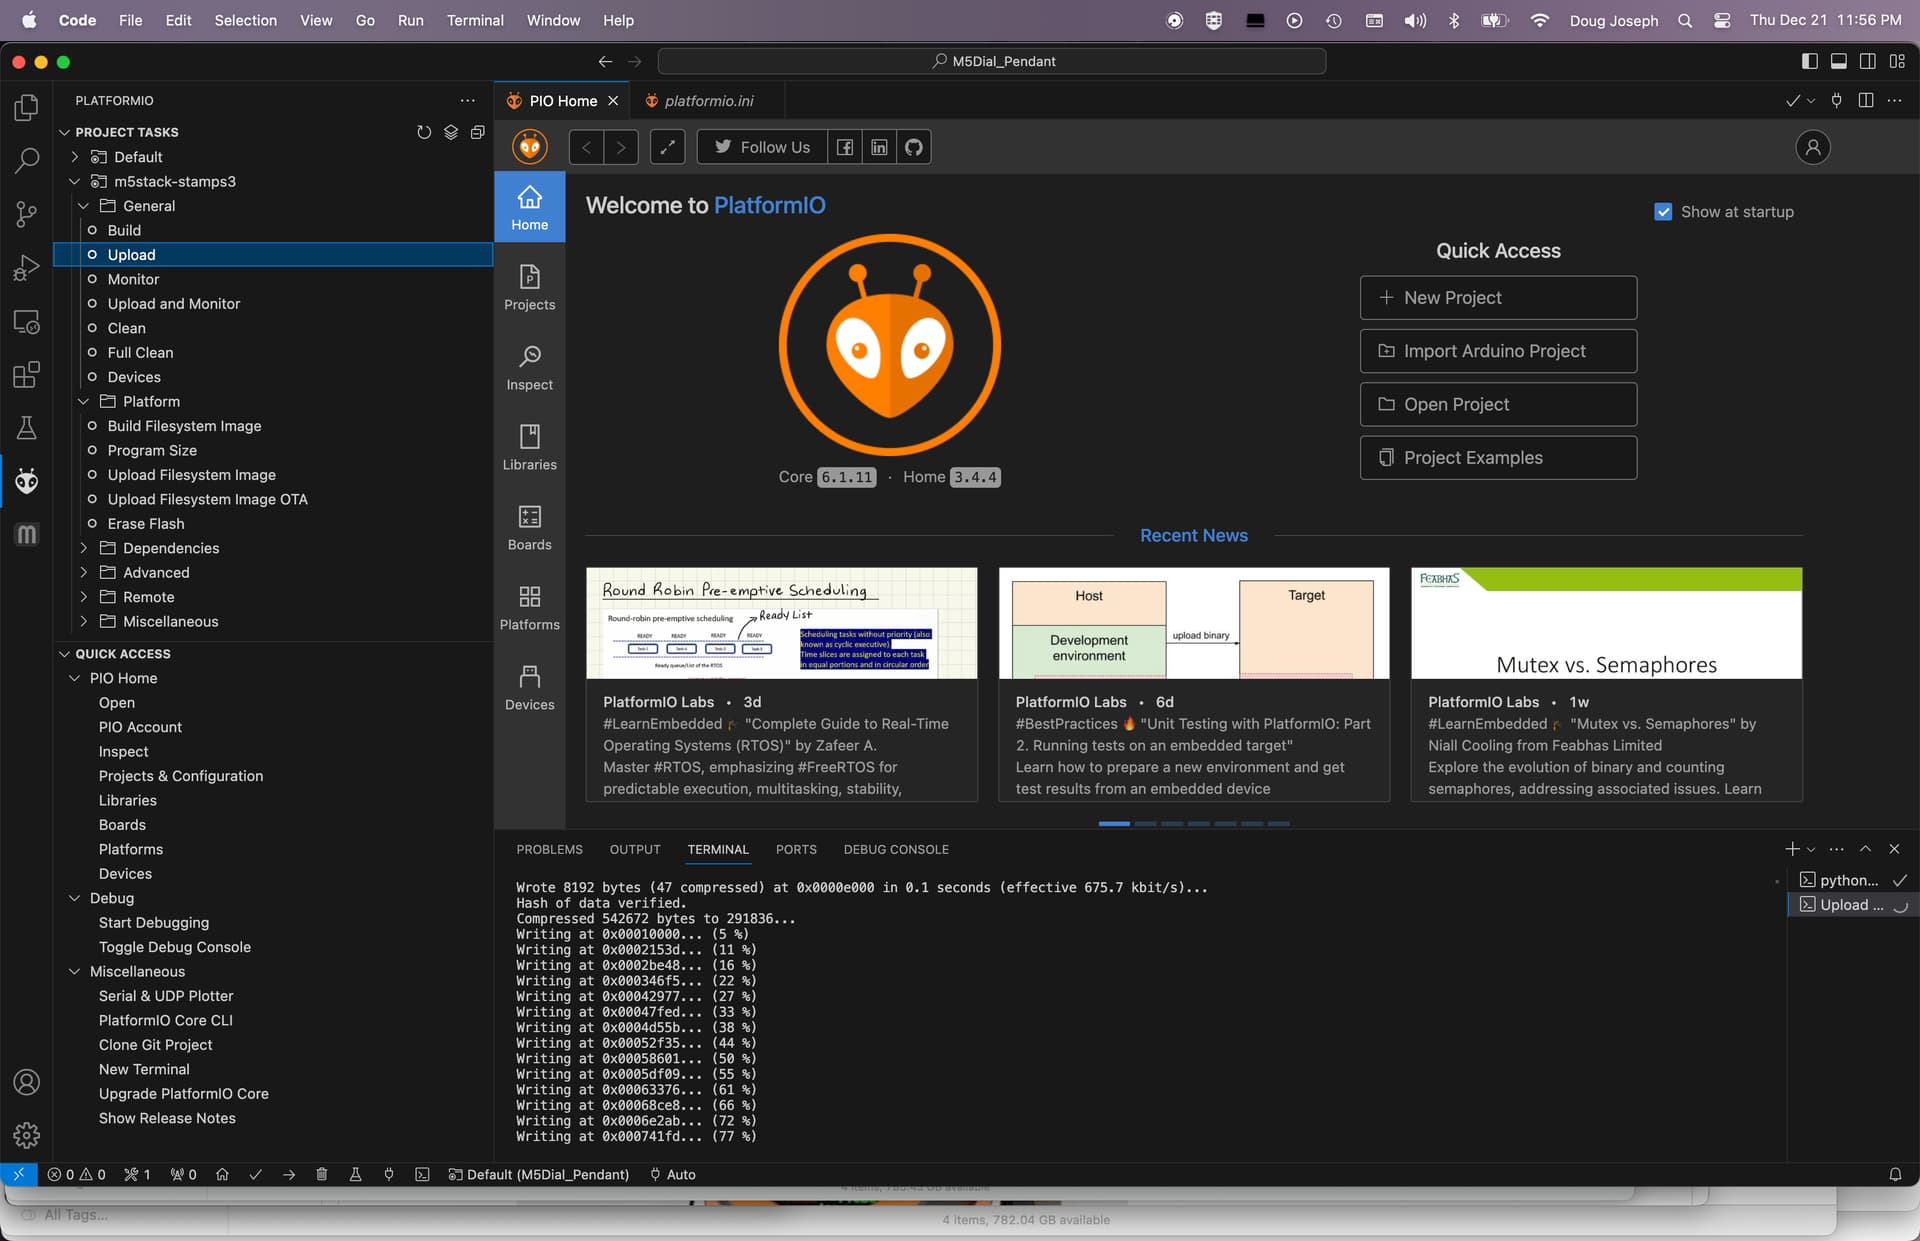
The first efforts to build in Visual Studio Code using PlatformIO failed because the lib containing GrblParser.h could not be found. I located it in the folder branch one step above the “M5Dial_Pendant” folder. I copied that folder (which was named “lib”) into the folder named “M5Dial_Pendant,” then restarted VSCOde, and retried the build. That time I got a “success” on the build. The build was done by clicking on the PlatformIO icon on the left, and then clicking on “Build” in the Project Tasks list, under “m5stack-stamps3” > “General” …
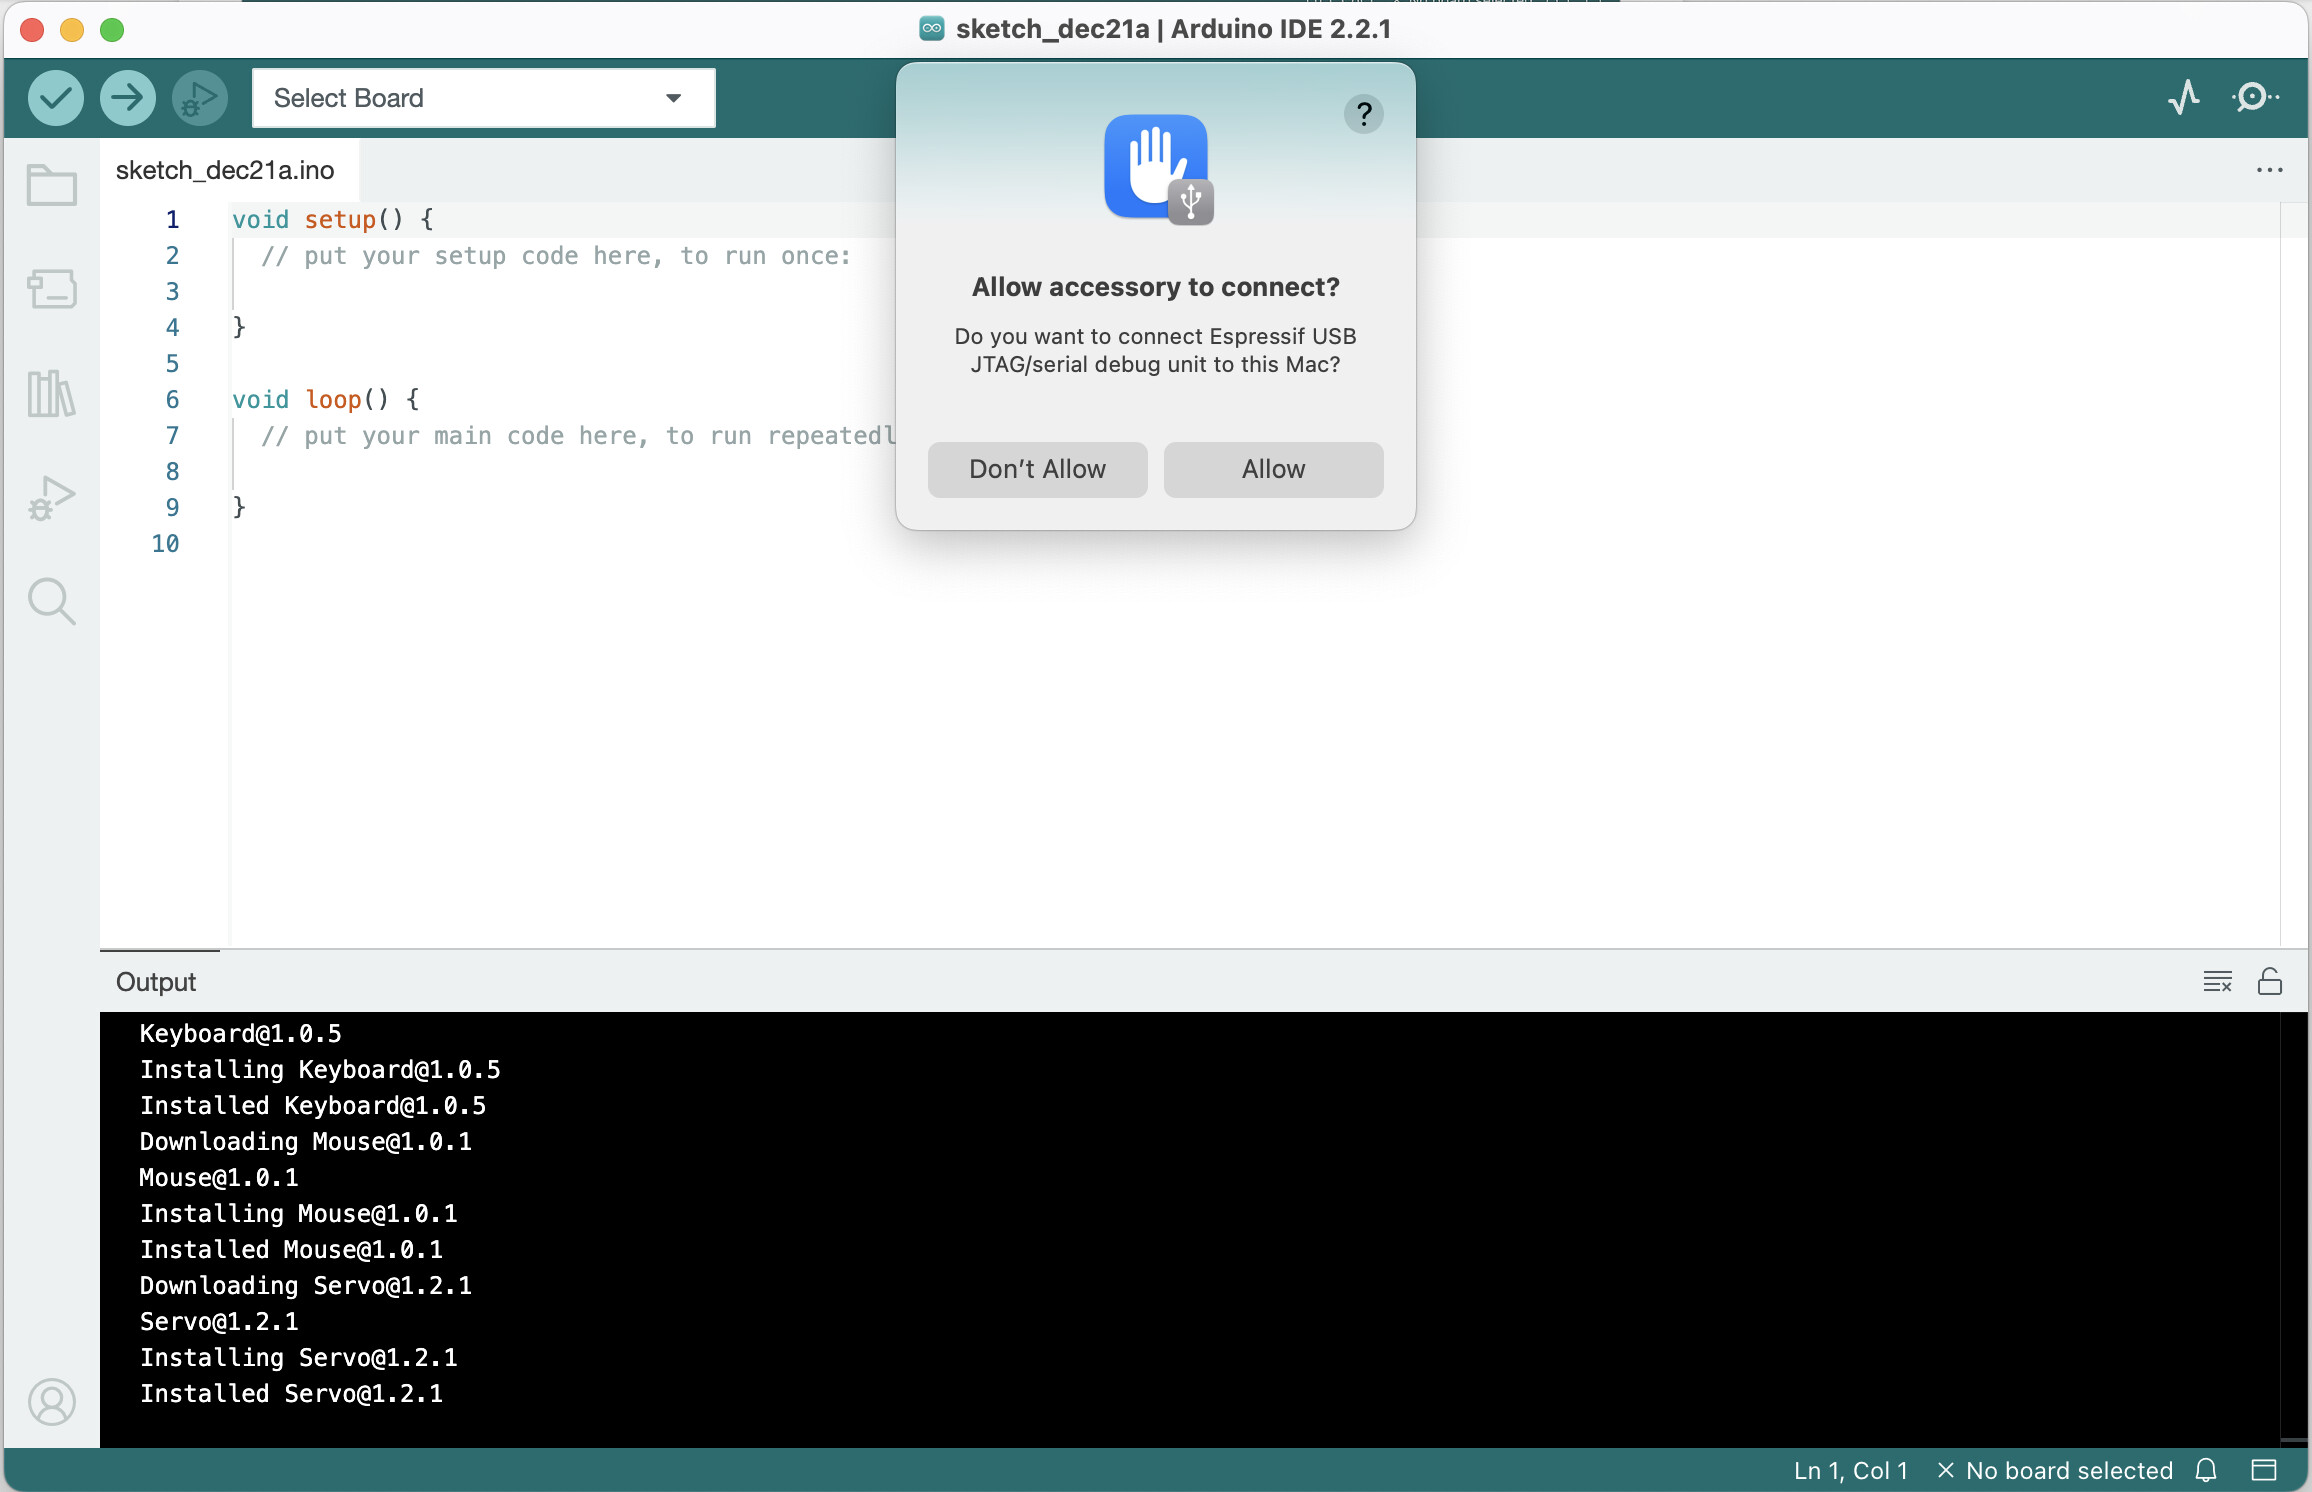
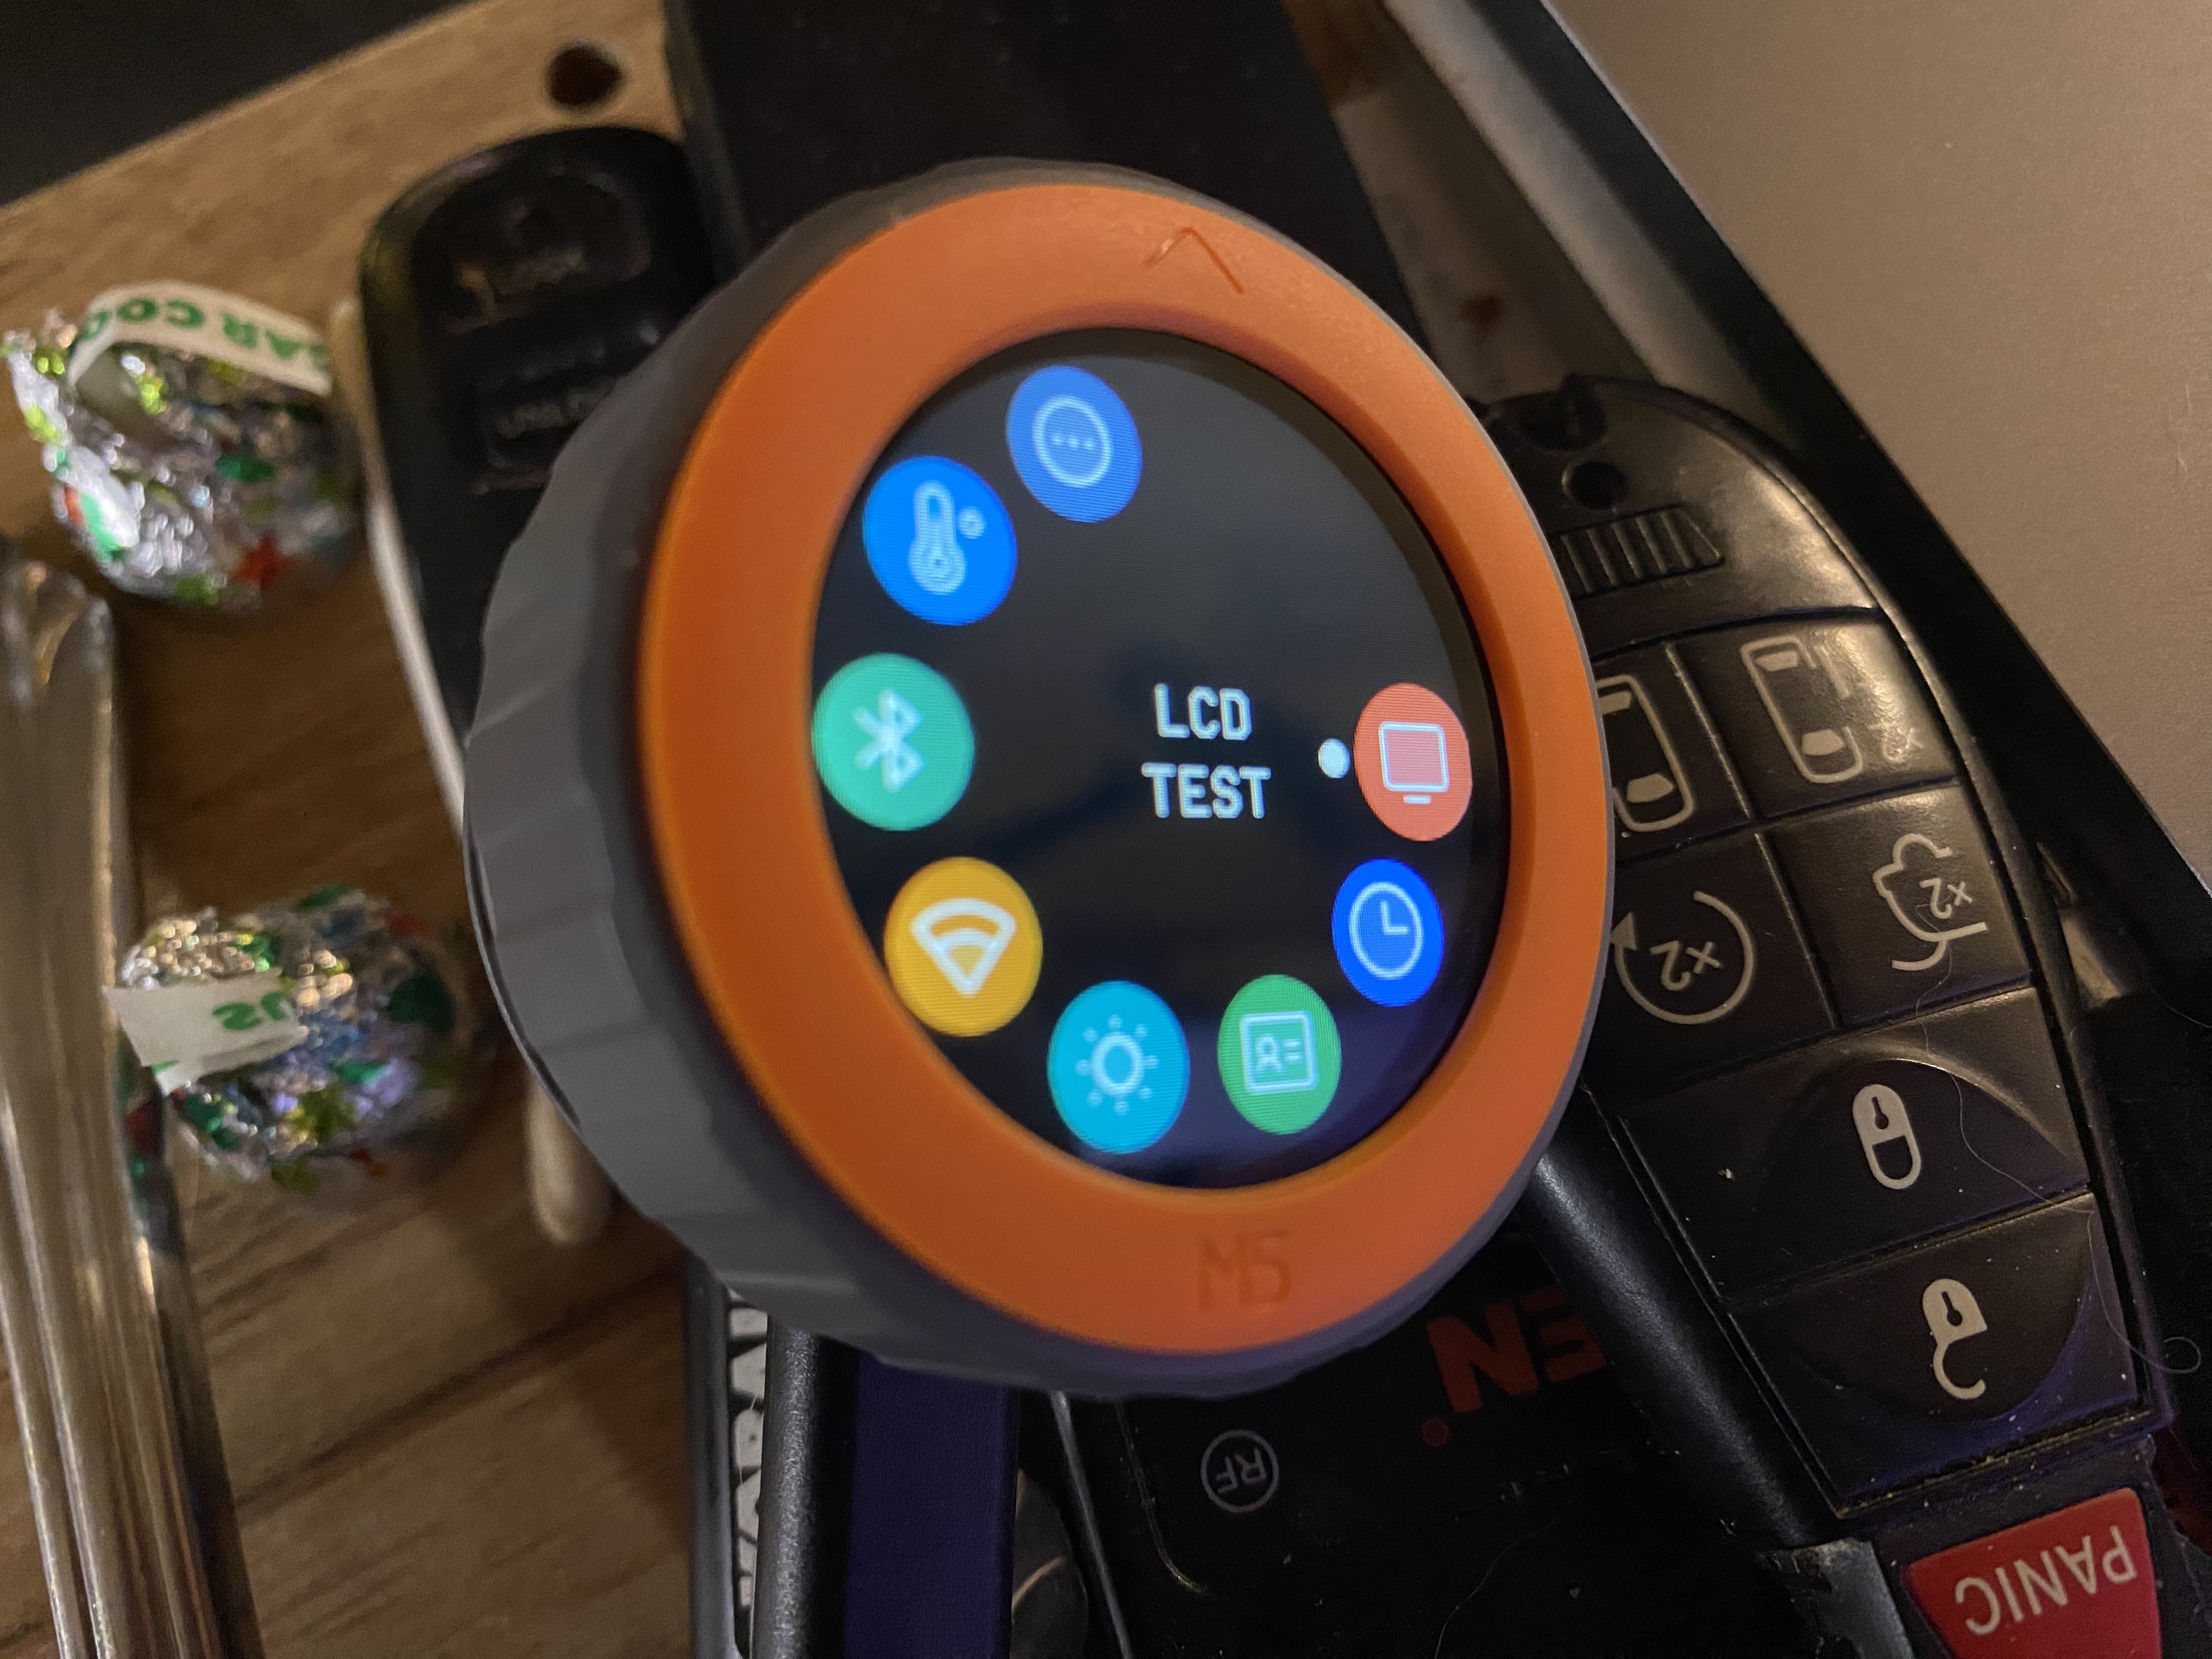
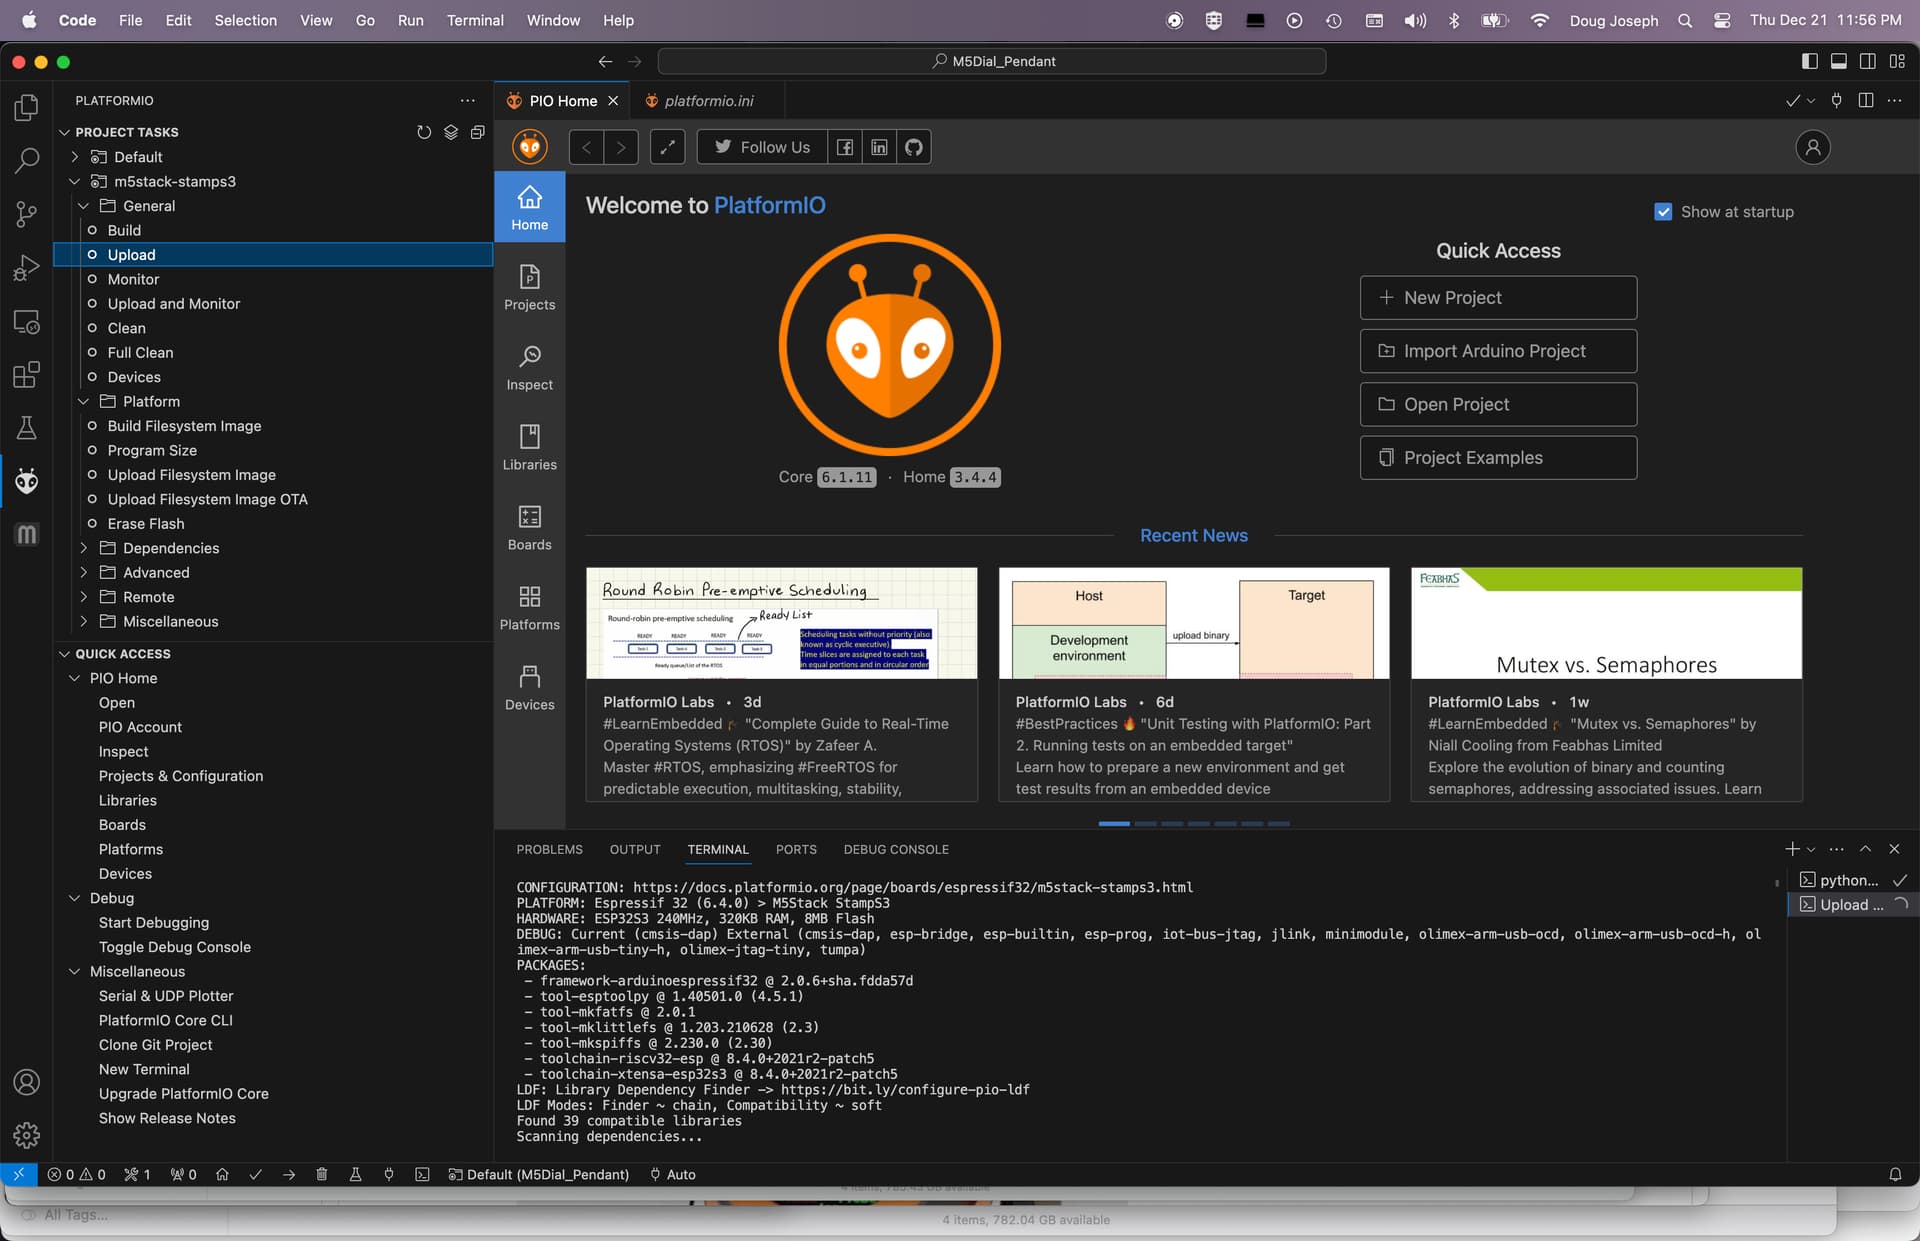
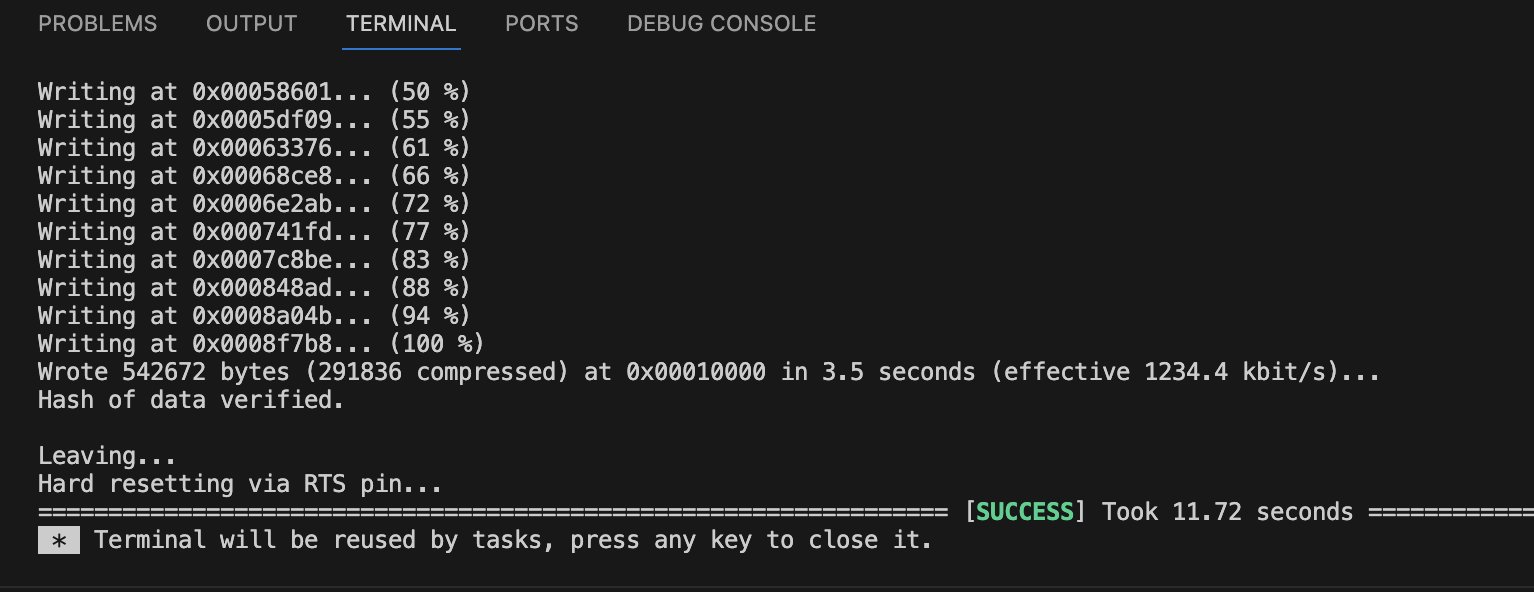
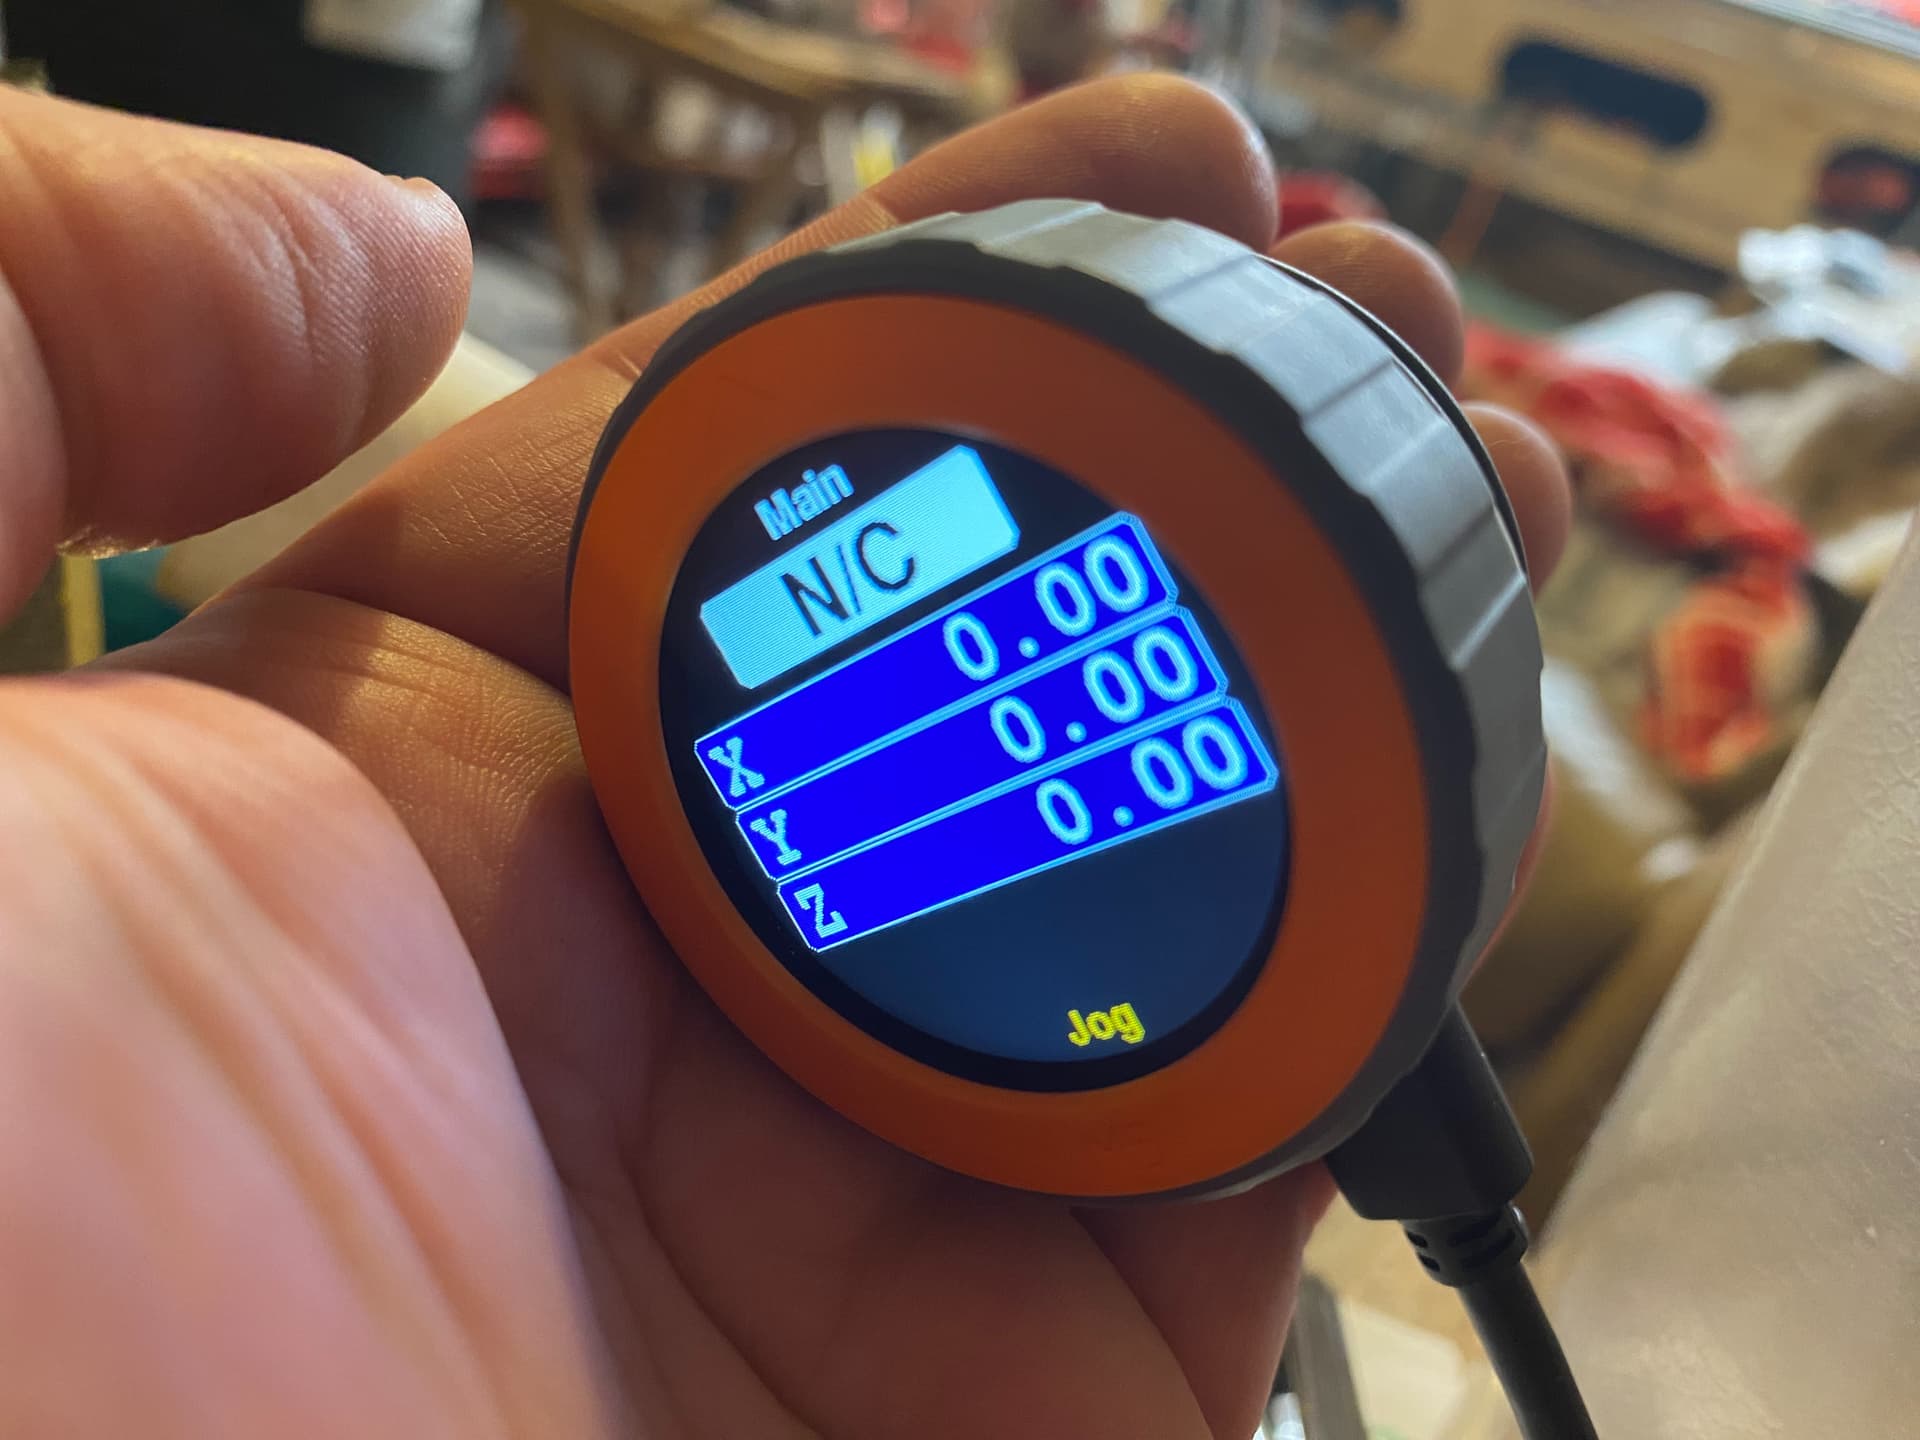
After the successful build, I then clicked on the “Upload” task listed immediately below “Build” — and (remember, my M5 Stack Dial was already previously connected to the MacBook Pro via USB, and it was still connected the whole time) — and I got not only a successful upload, but the screen of the M5 Dial immediately started looking like the Fluid Dial is supposed to look!
This little task I first forgot to do, and then when I remembered, I had trouble locating the file to be edited. Here’s the task:
Developer Info
Library Patch
There is a bug in the M5Dial Encoder library . The patch is pretty simple. It could be automated with some platformio scripting, but I can’t be bothered to do a cross-platform version of the patch script so you will have to apply it manually. After an initial compilation to install the libraries, edit .pio/build/m5stack-stamps3/M5Dial/src/utility/Encoder.h . Find this line:
Whoa this thing sure looks amazing. I just read the specs in the Wiki and it sounds like an awesome addition to have. Your build documentation looks pretty thorough as well. Everything seems very well done I hope you will get it running with no trouble and have great joy using it.
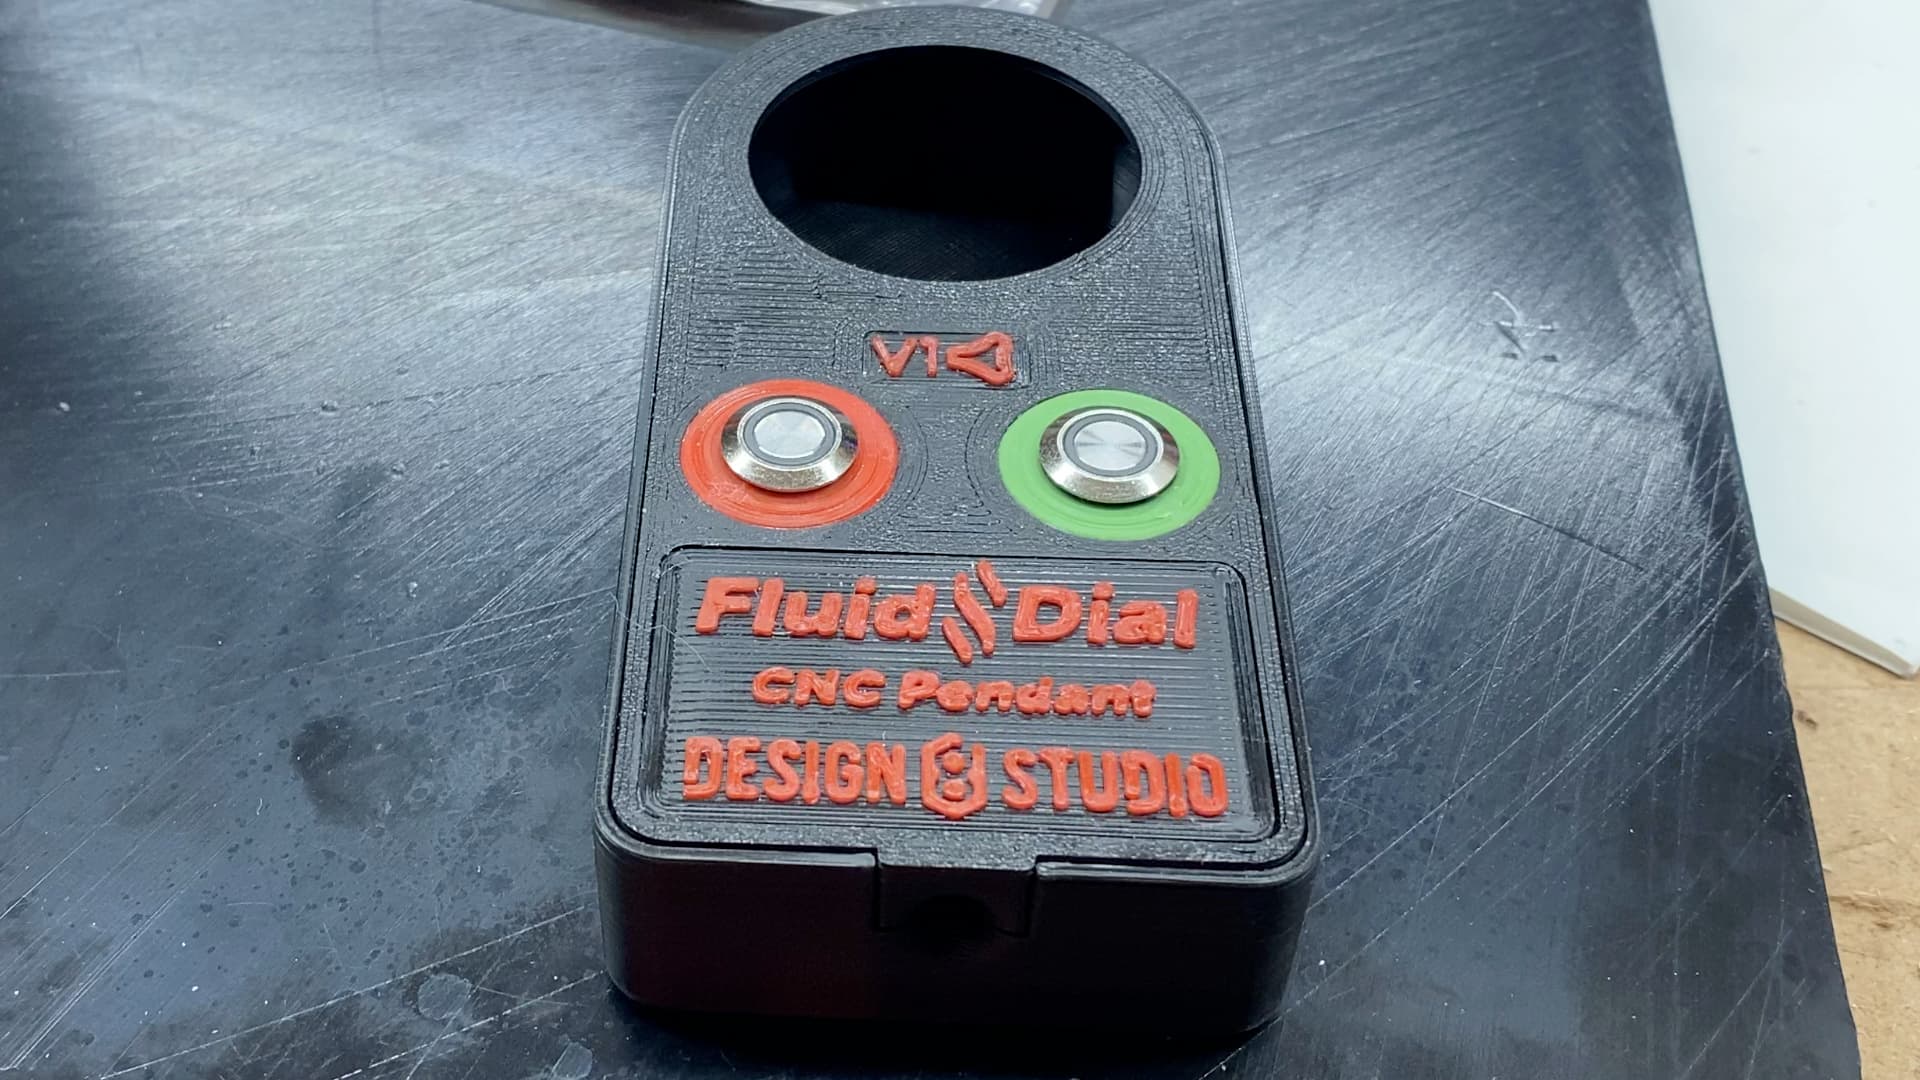
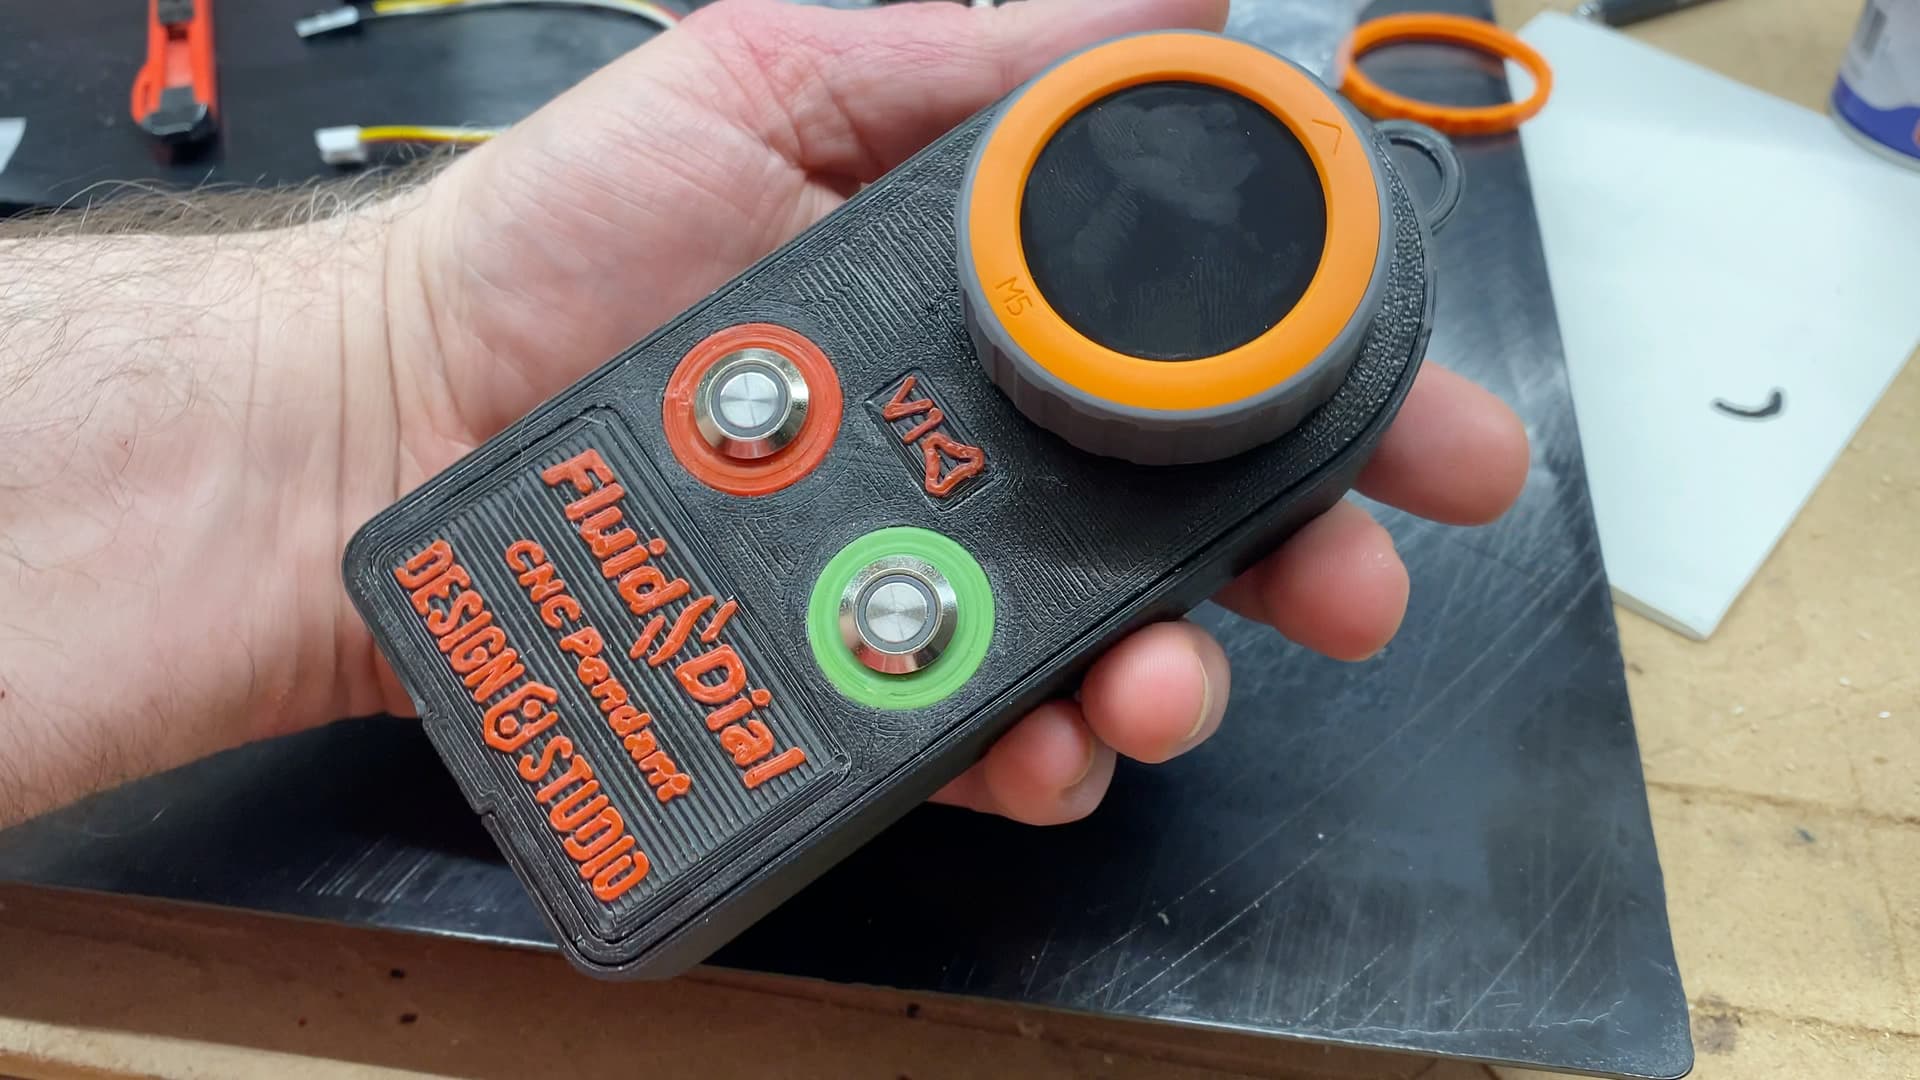
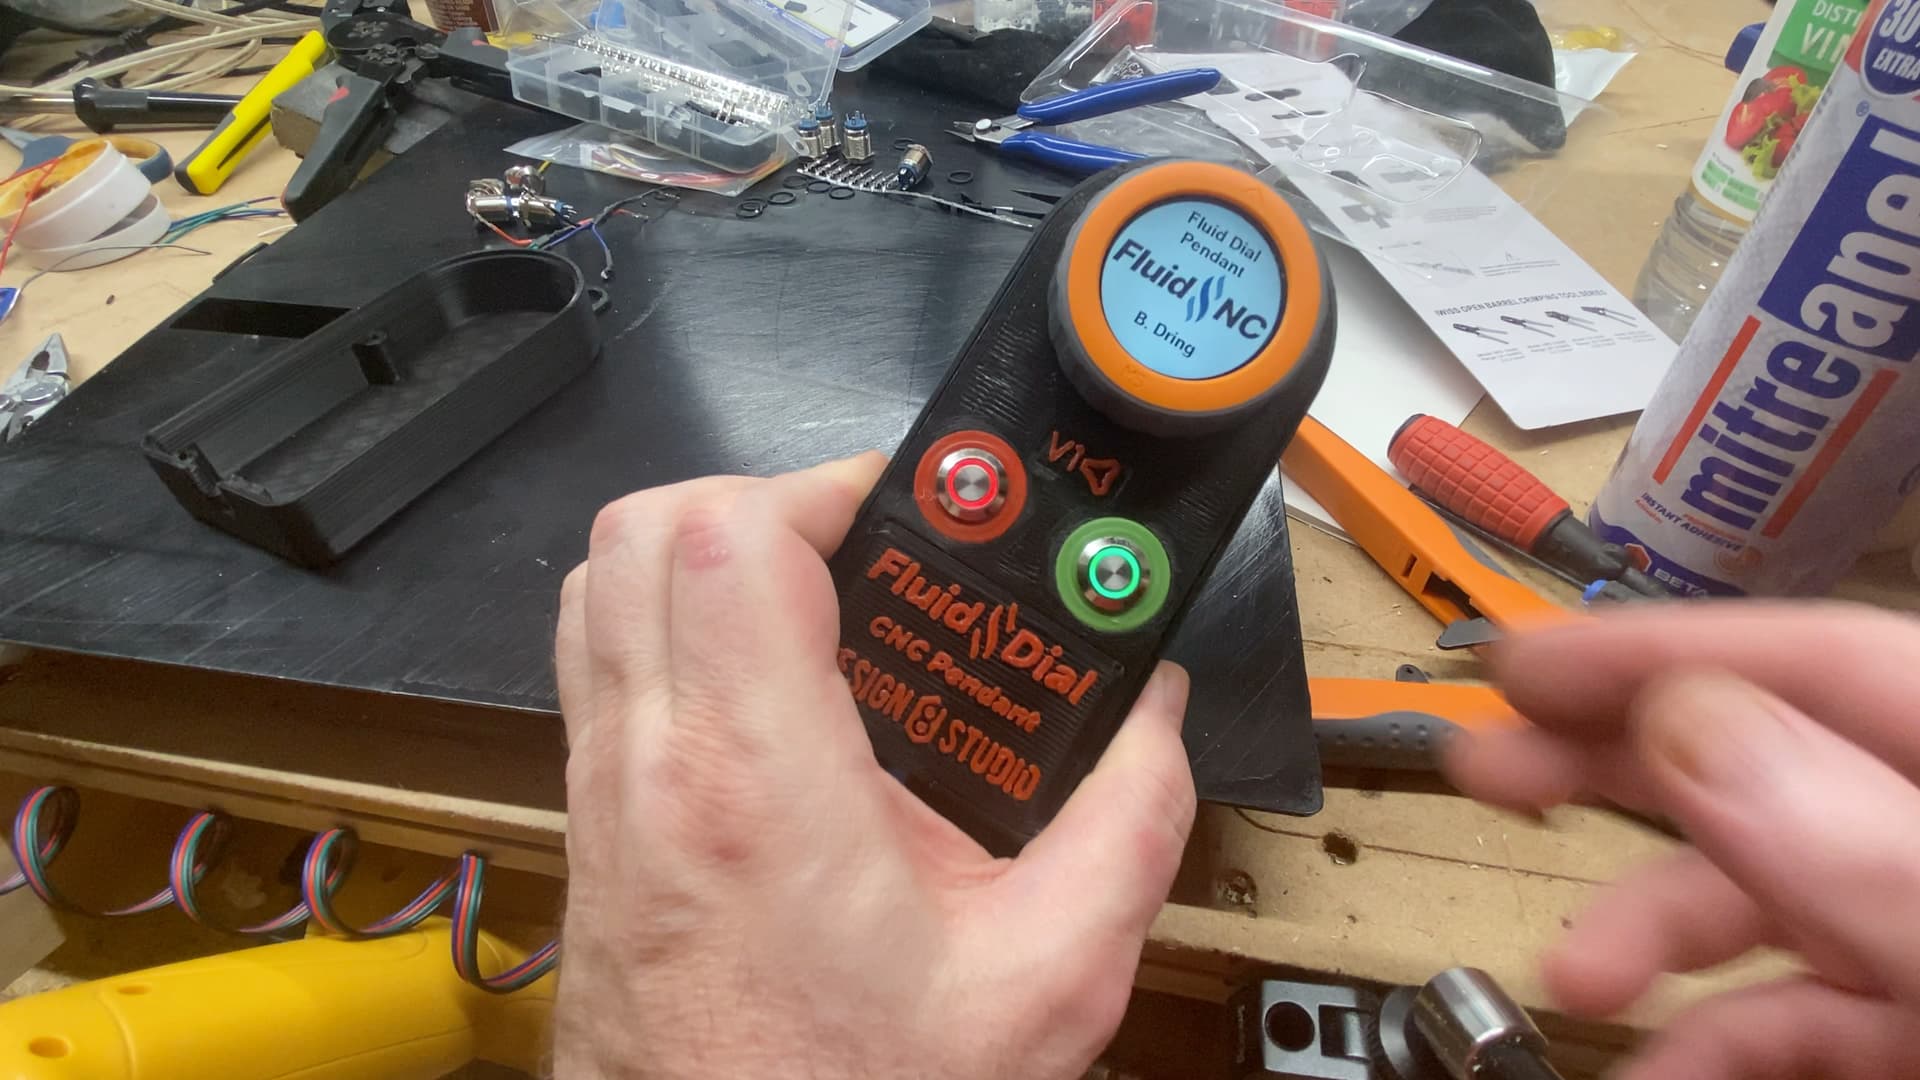
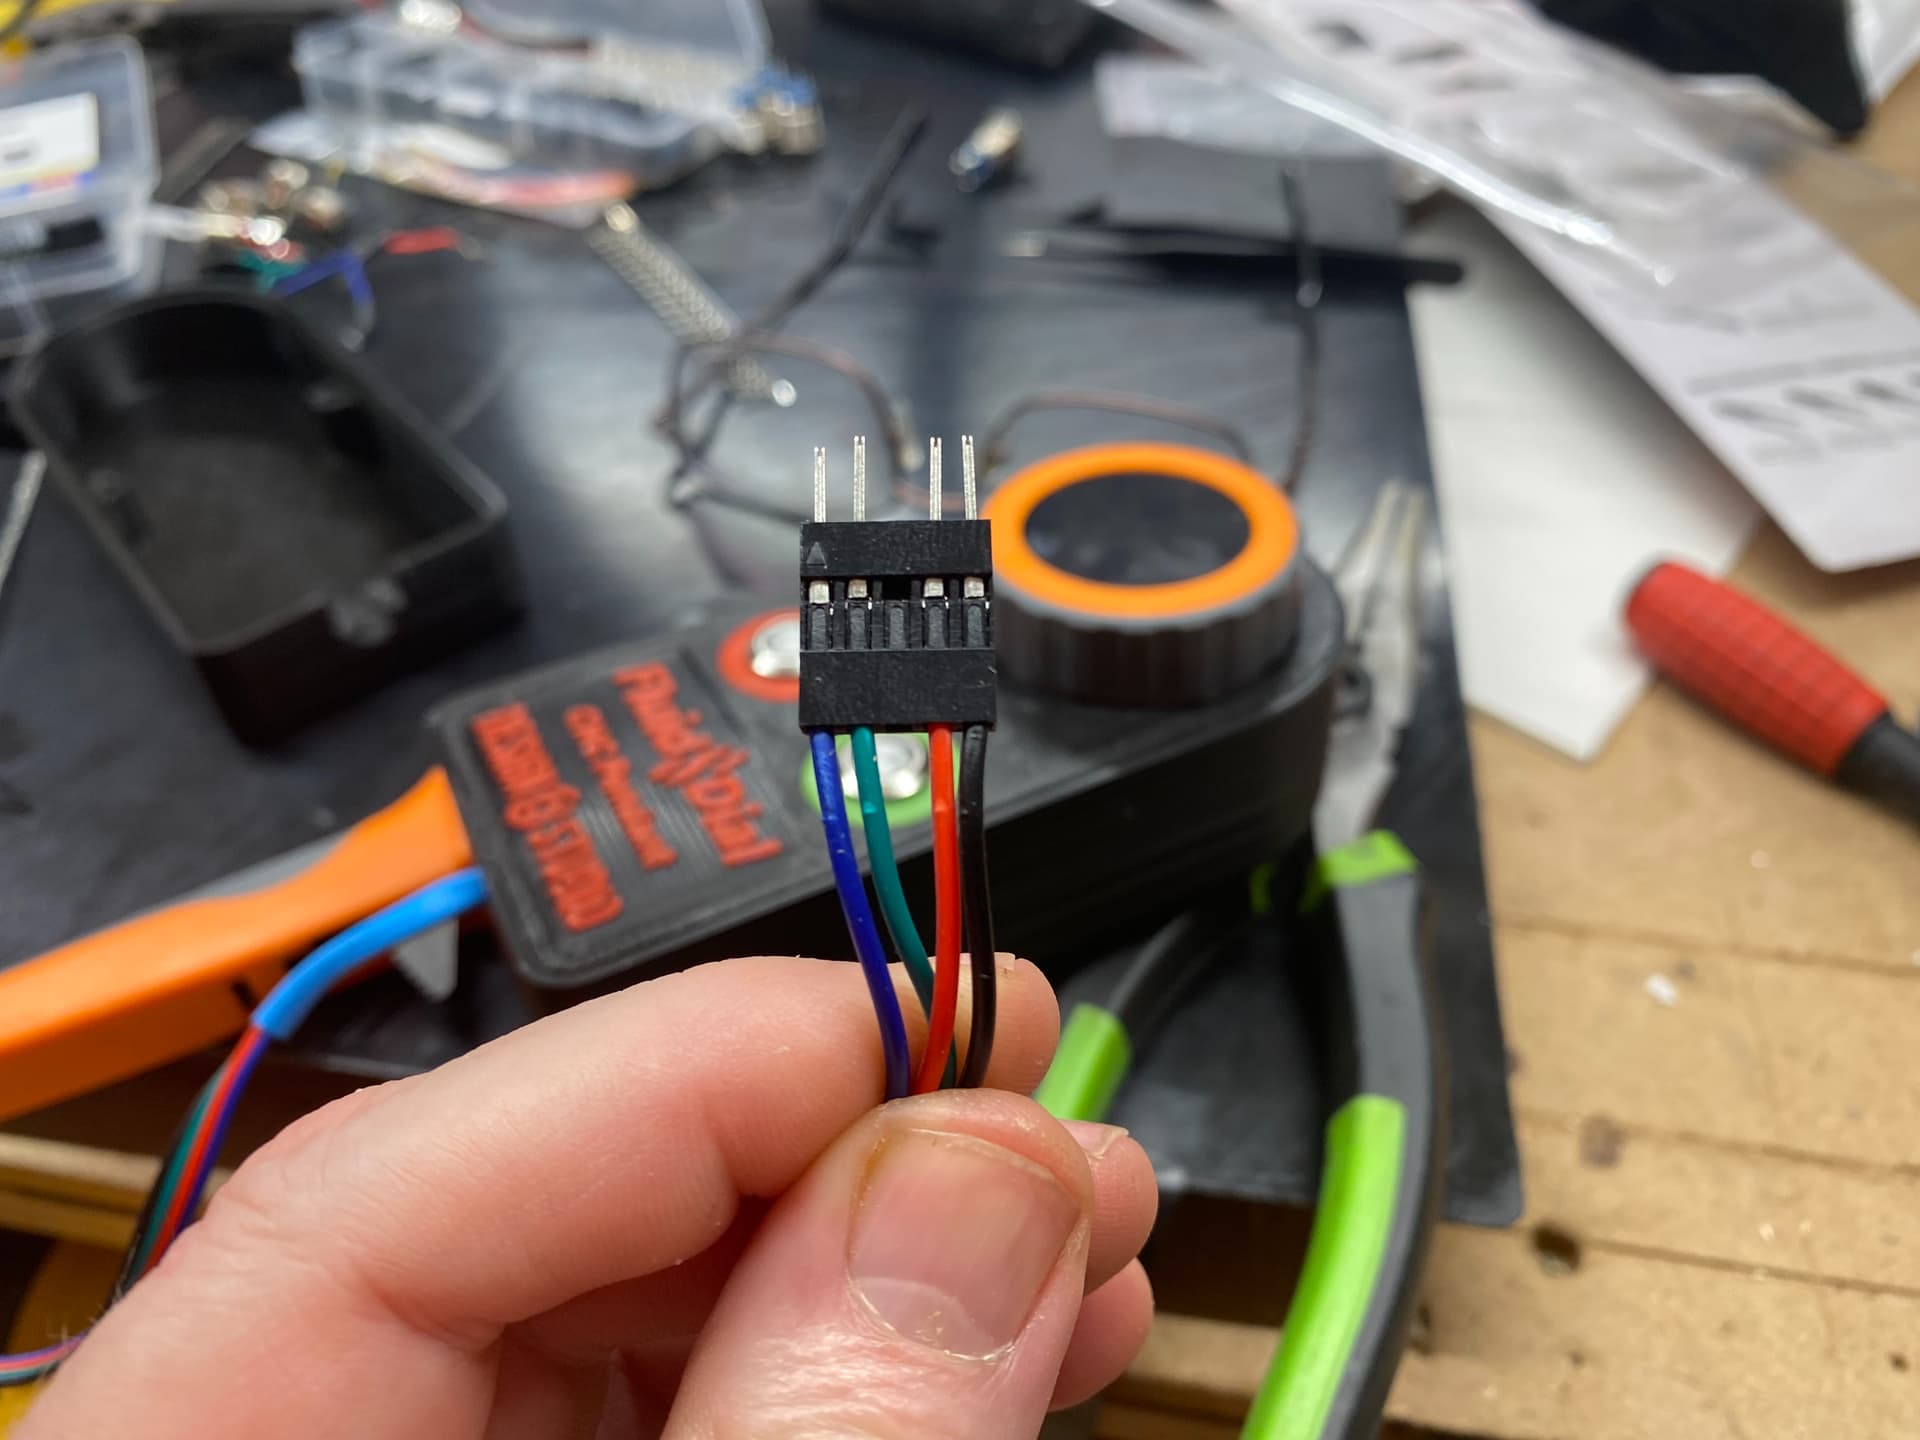
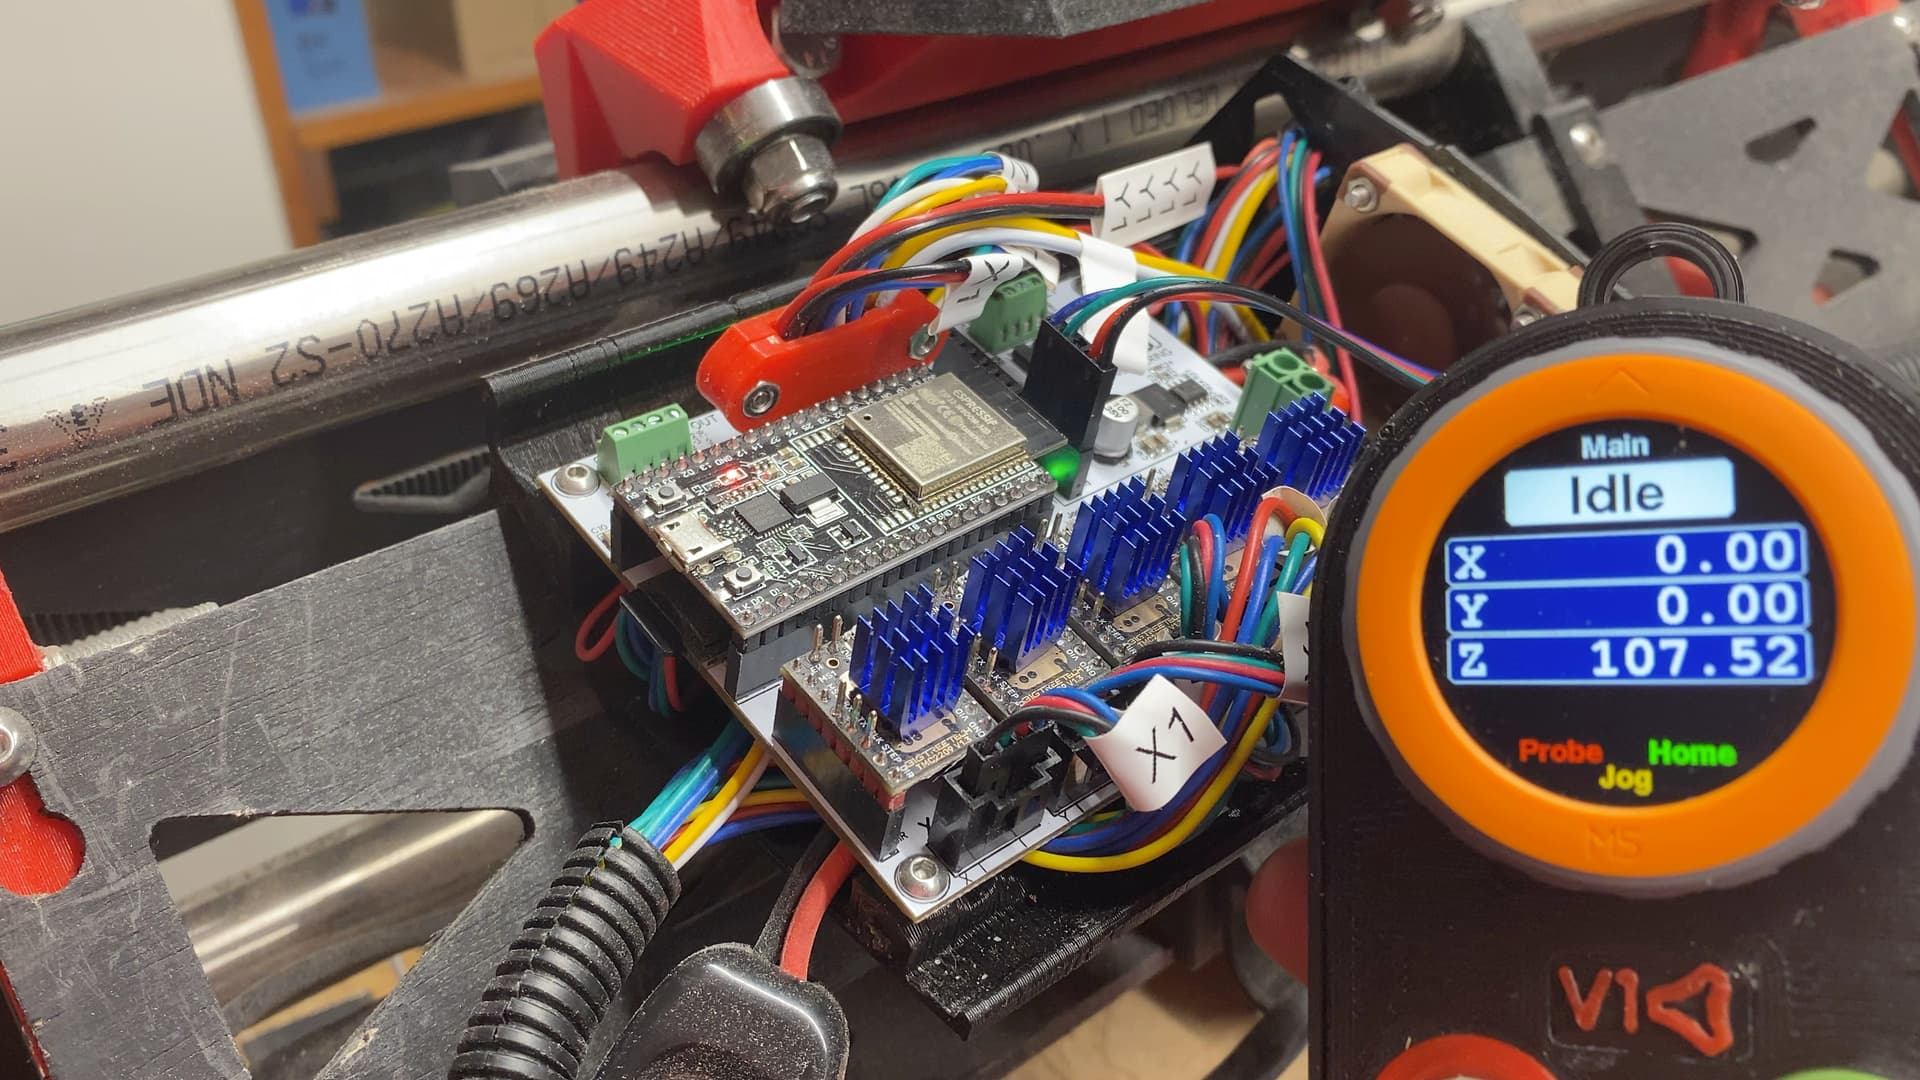
I did have to redo the wiring in the pendant. I found I had misaligned one button such that I connected the DC power wires for its LED to its momentary switch terminals instead (and vice versa). I also had no power to the dial, for some reason, probably because there was a very tight fit between the dial and the bottom of the base, which caused pressure against the wiring connector I was using. This led me to remix the base to add depth, and re-print it, while I was redoing the wiring. Now I have success.
SUCCESS! Update and key info on connecting the new pendant to the Jackpot driving the LowRider
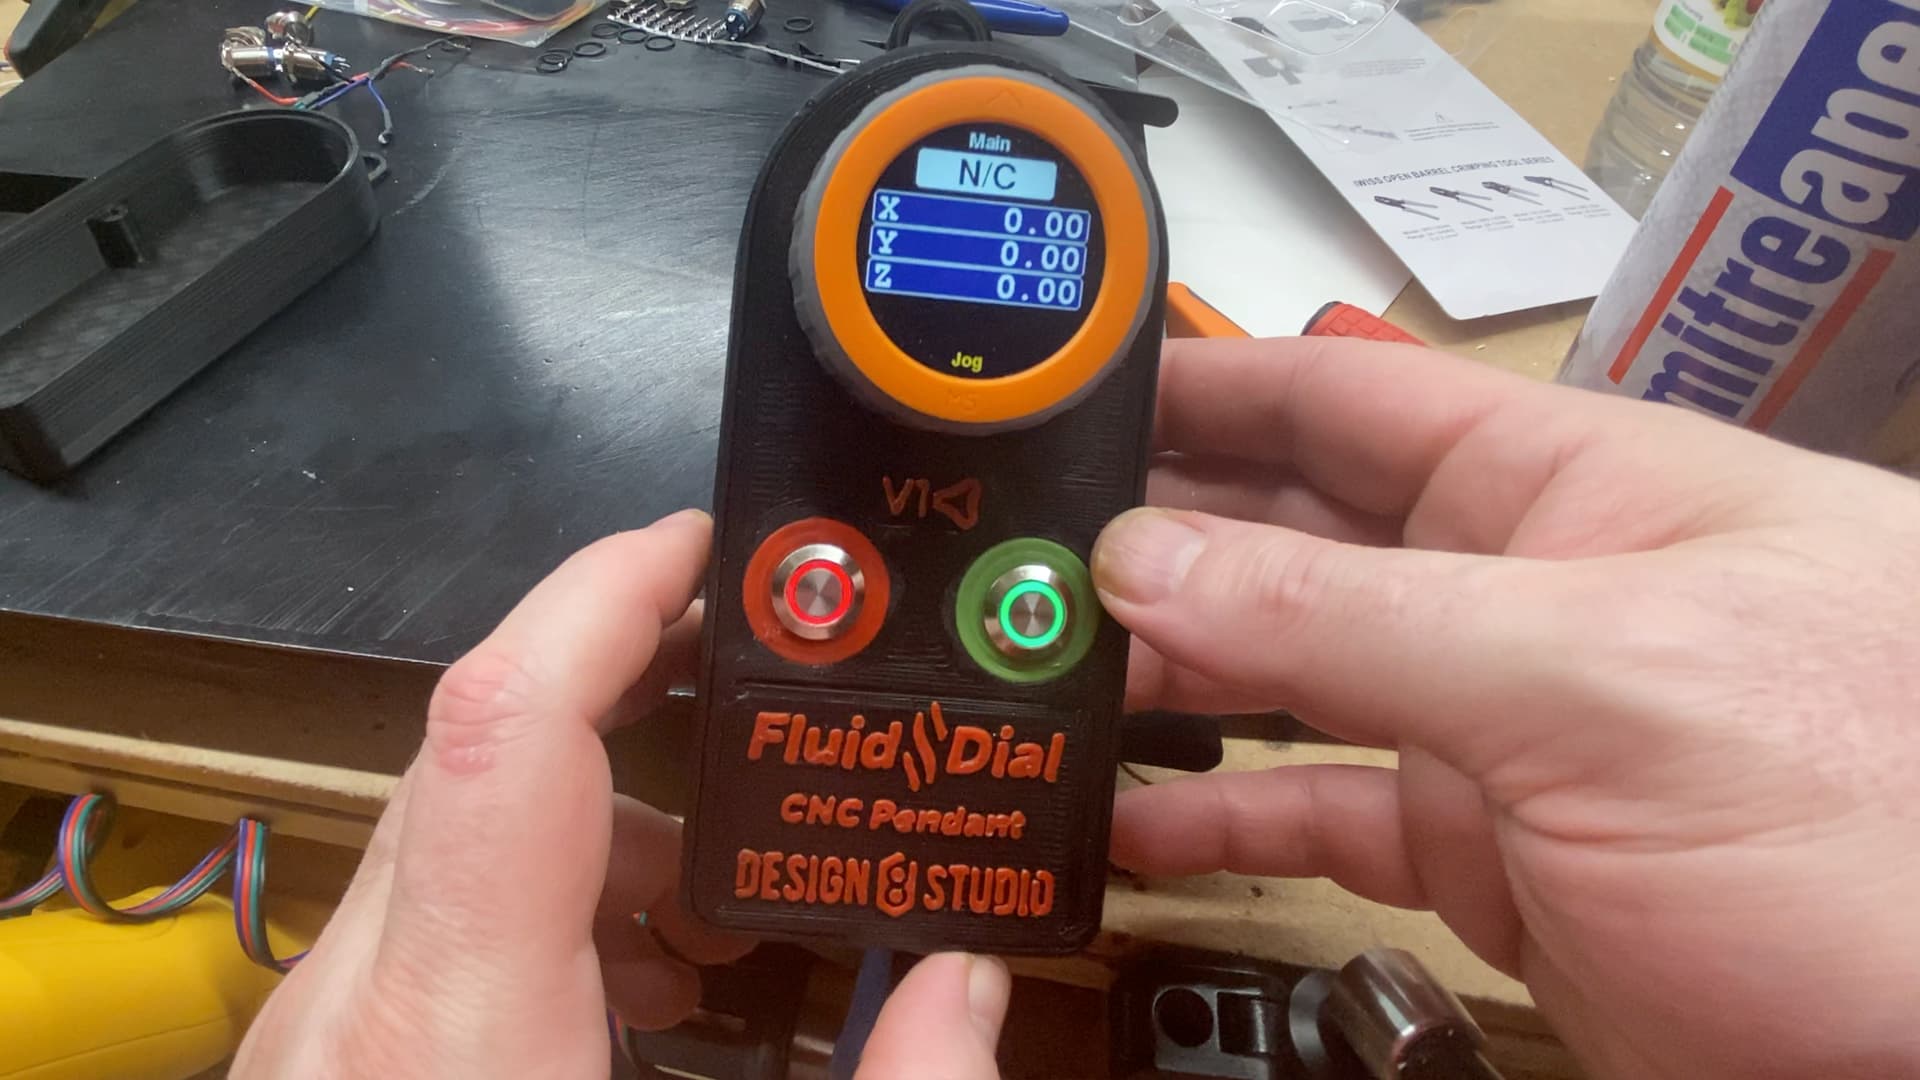
I now have the new pendant working with my LowRider, connected to the Jackpot board, and moving my LowRider around with it! Very cool.
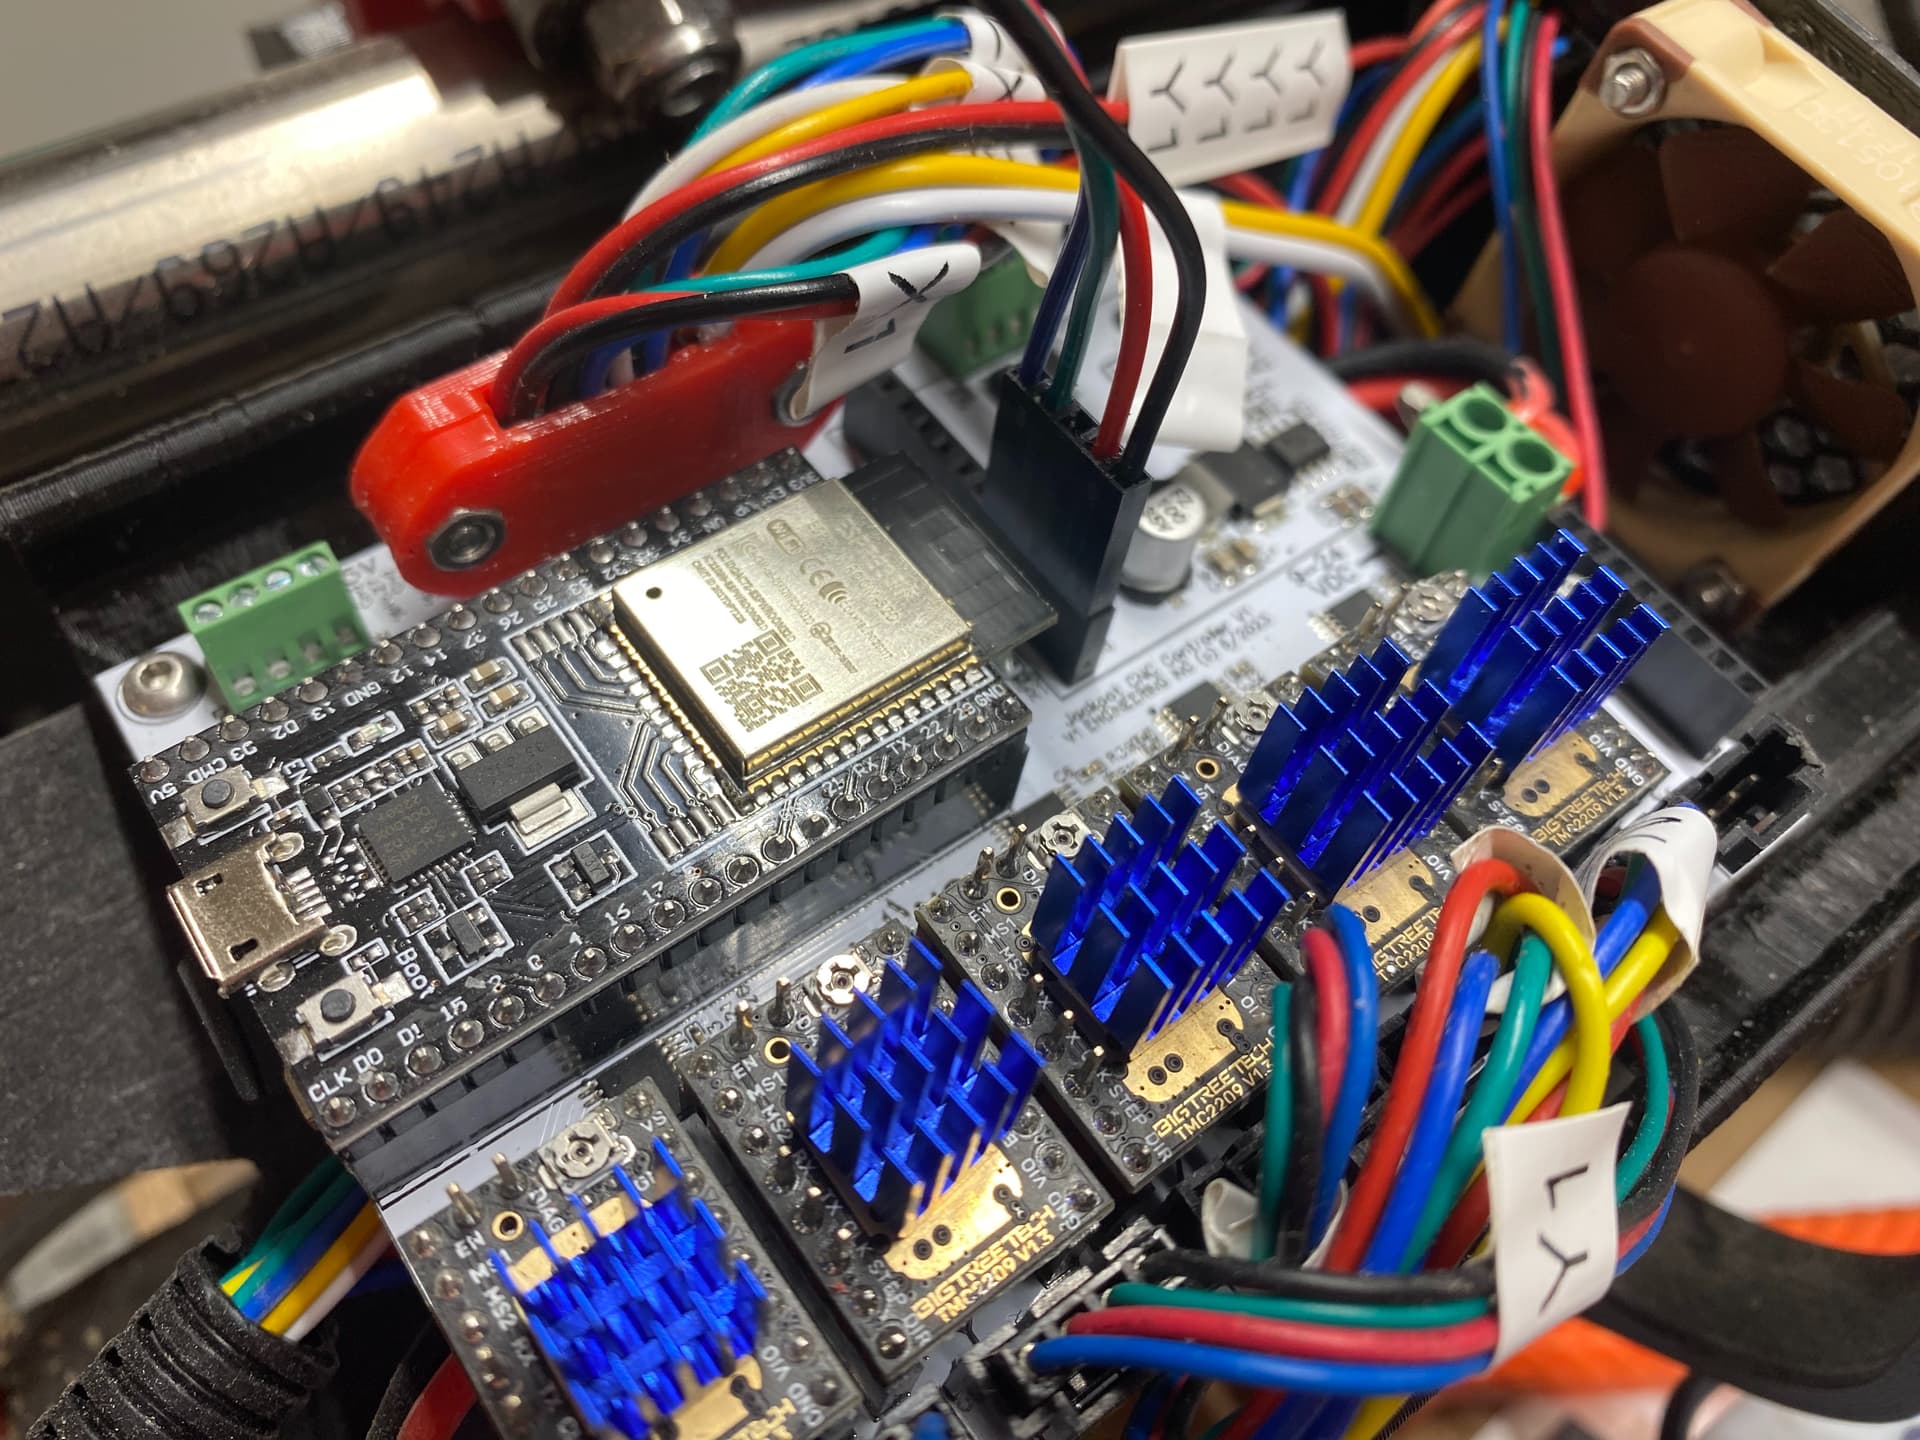
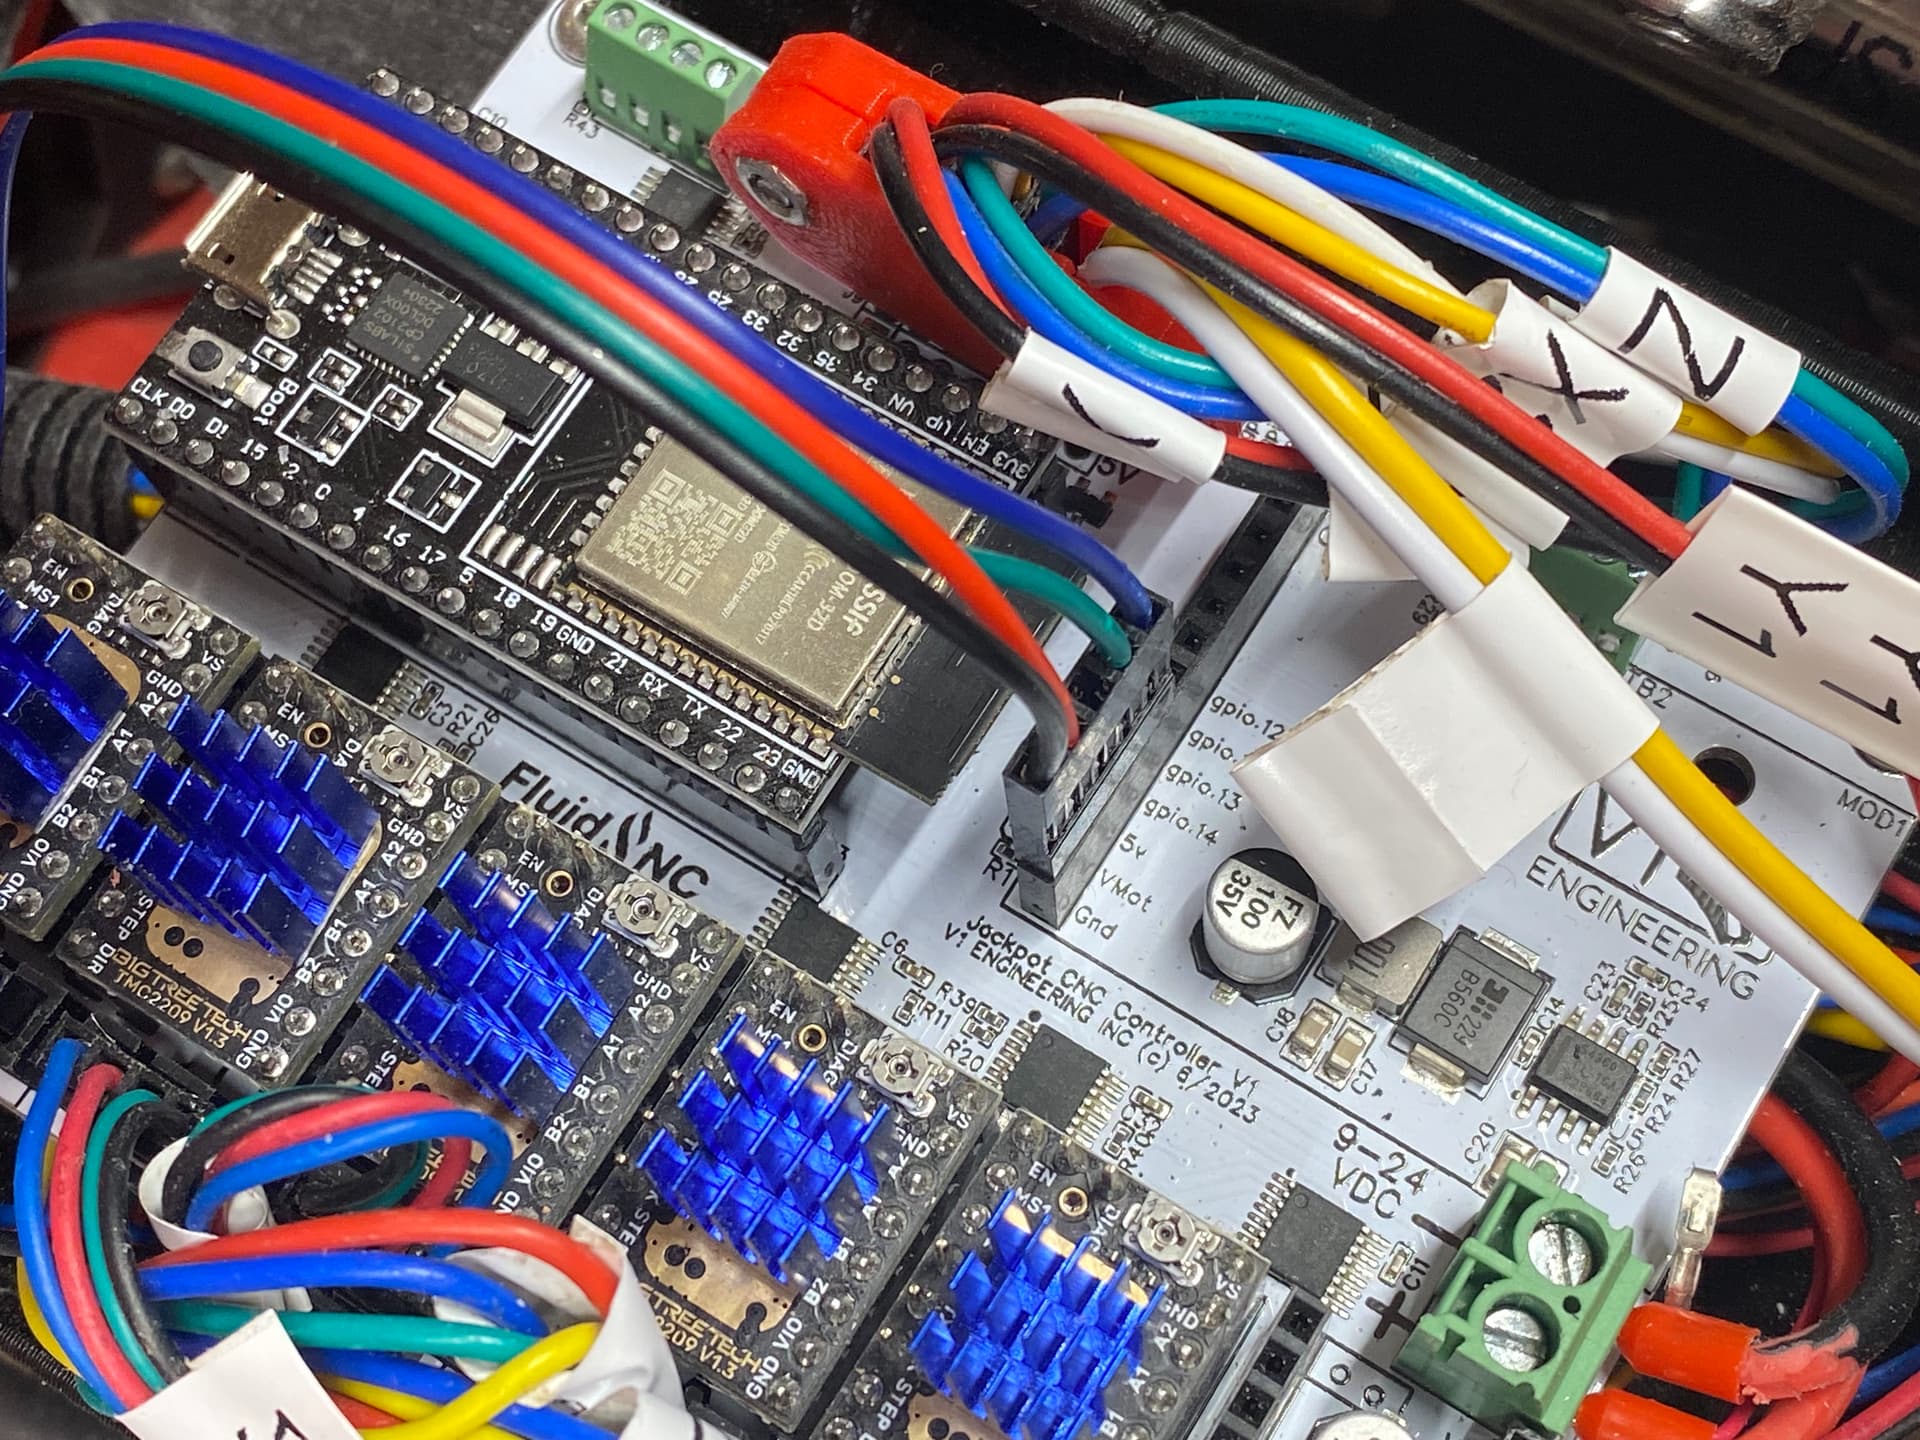
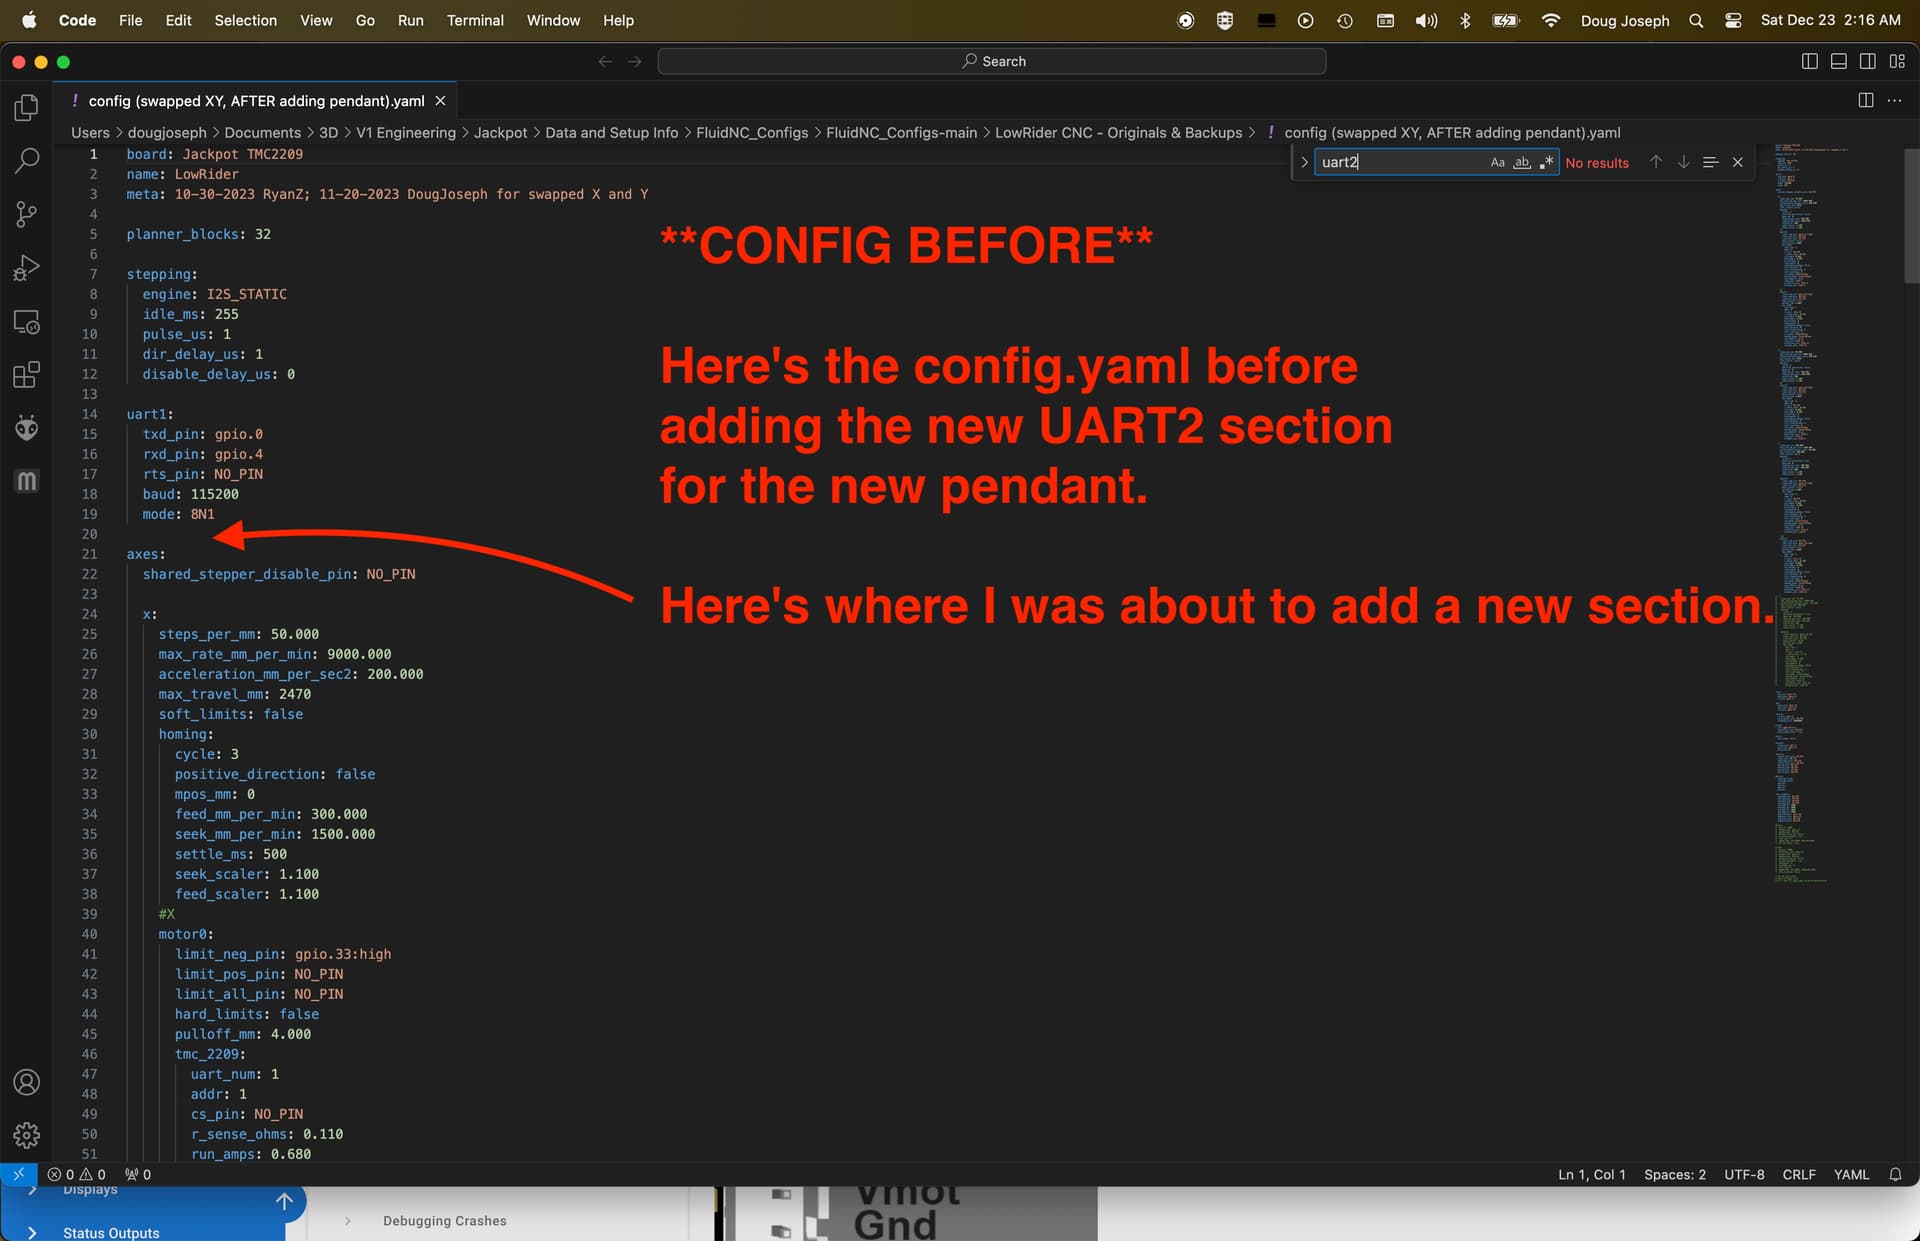
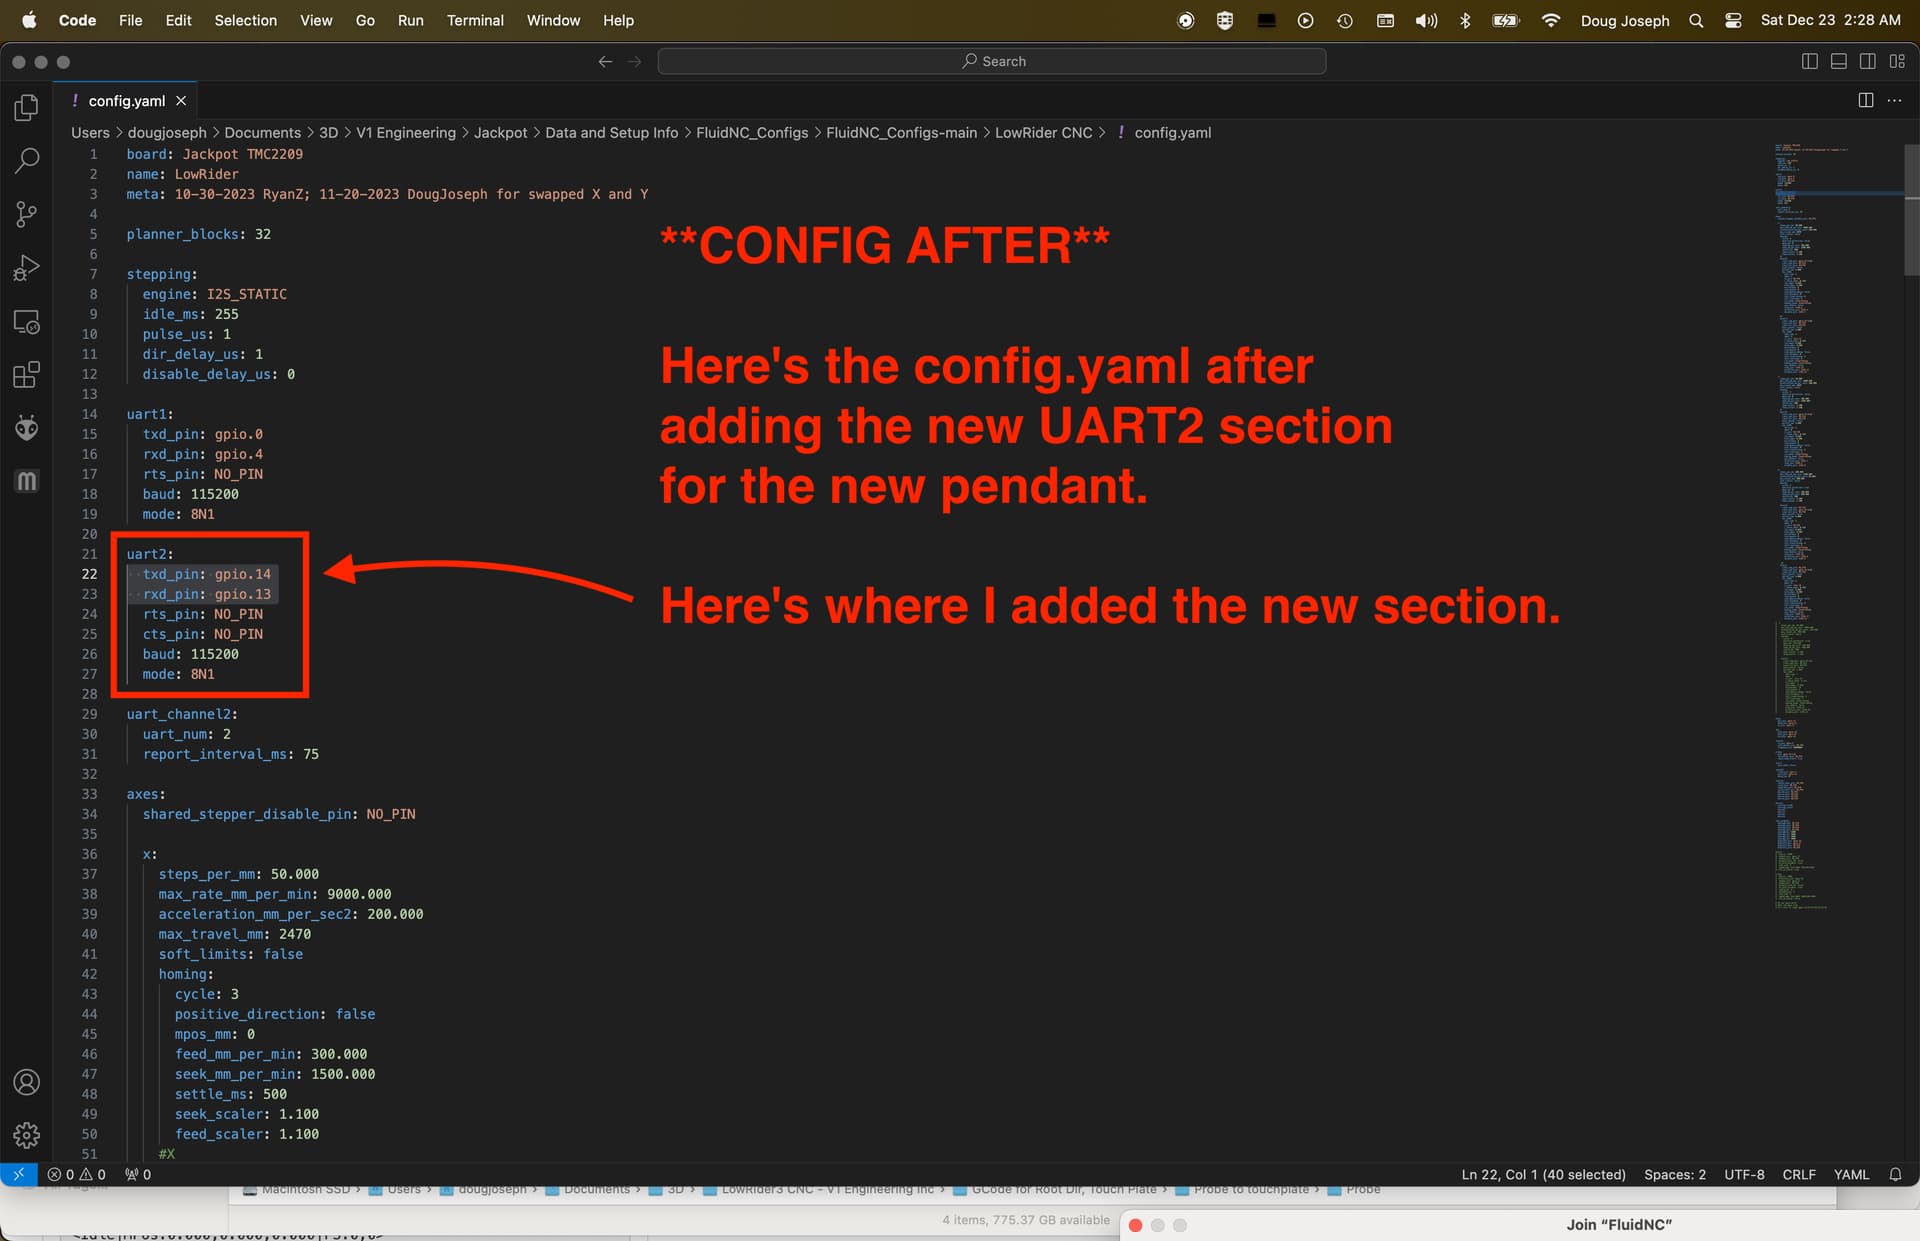
Connecting to the board involves both a very simple physical wiring connection, and one simple software change, by adding a short section to your config.yaml file.
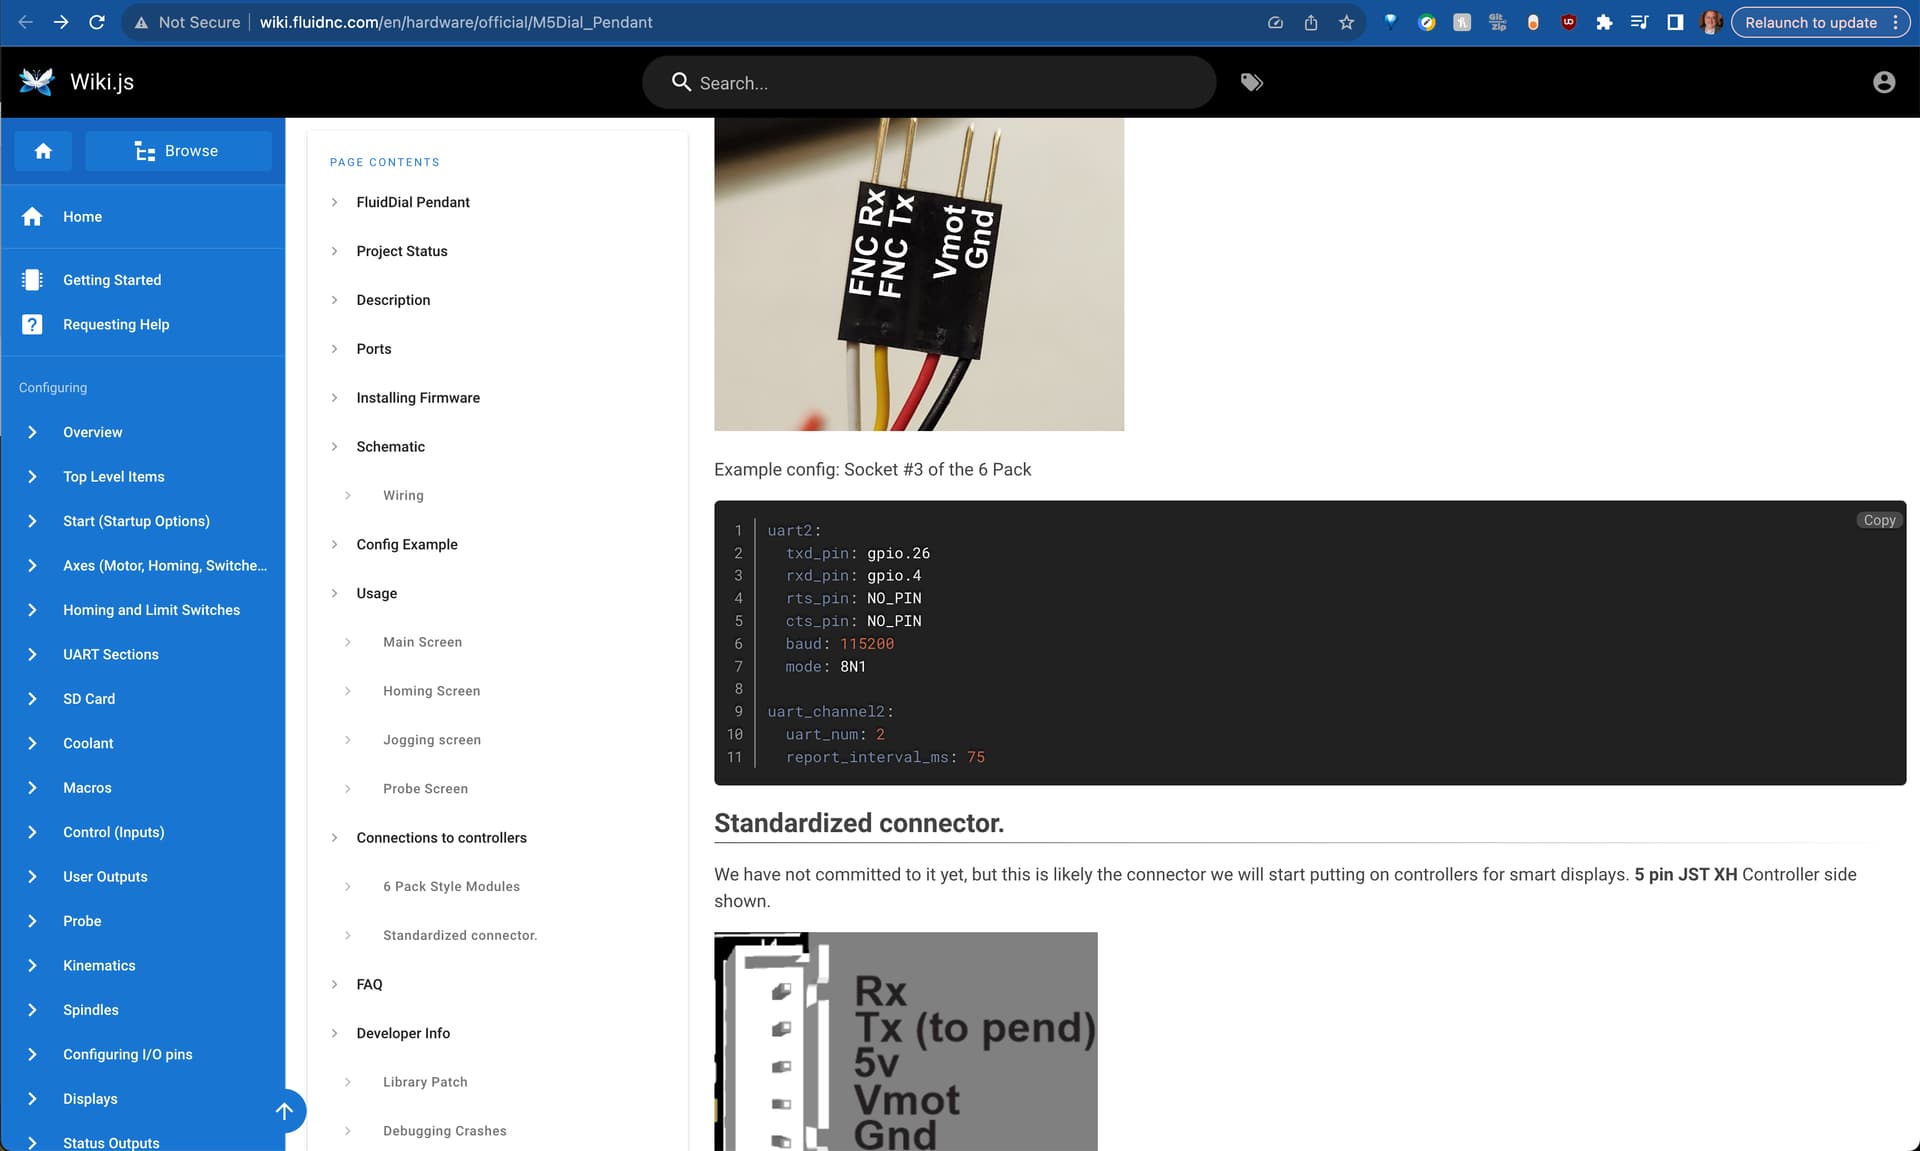
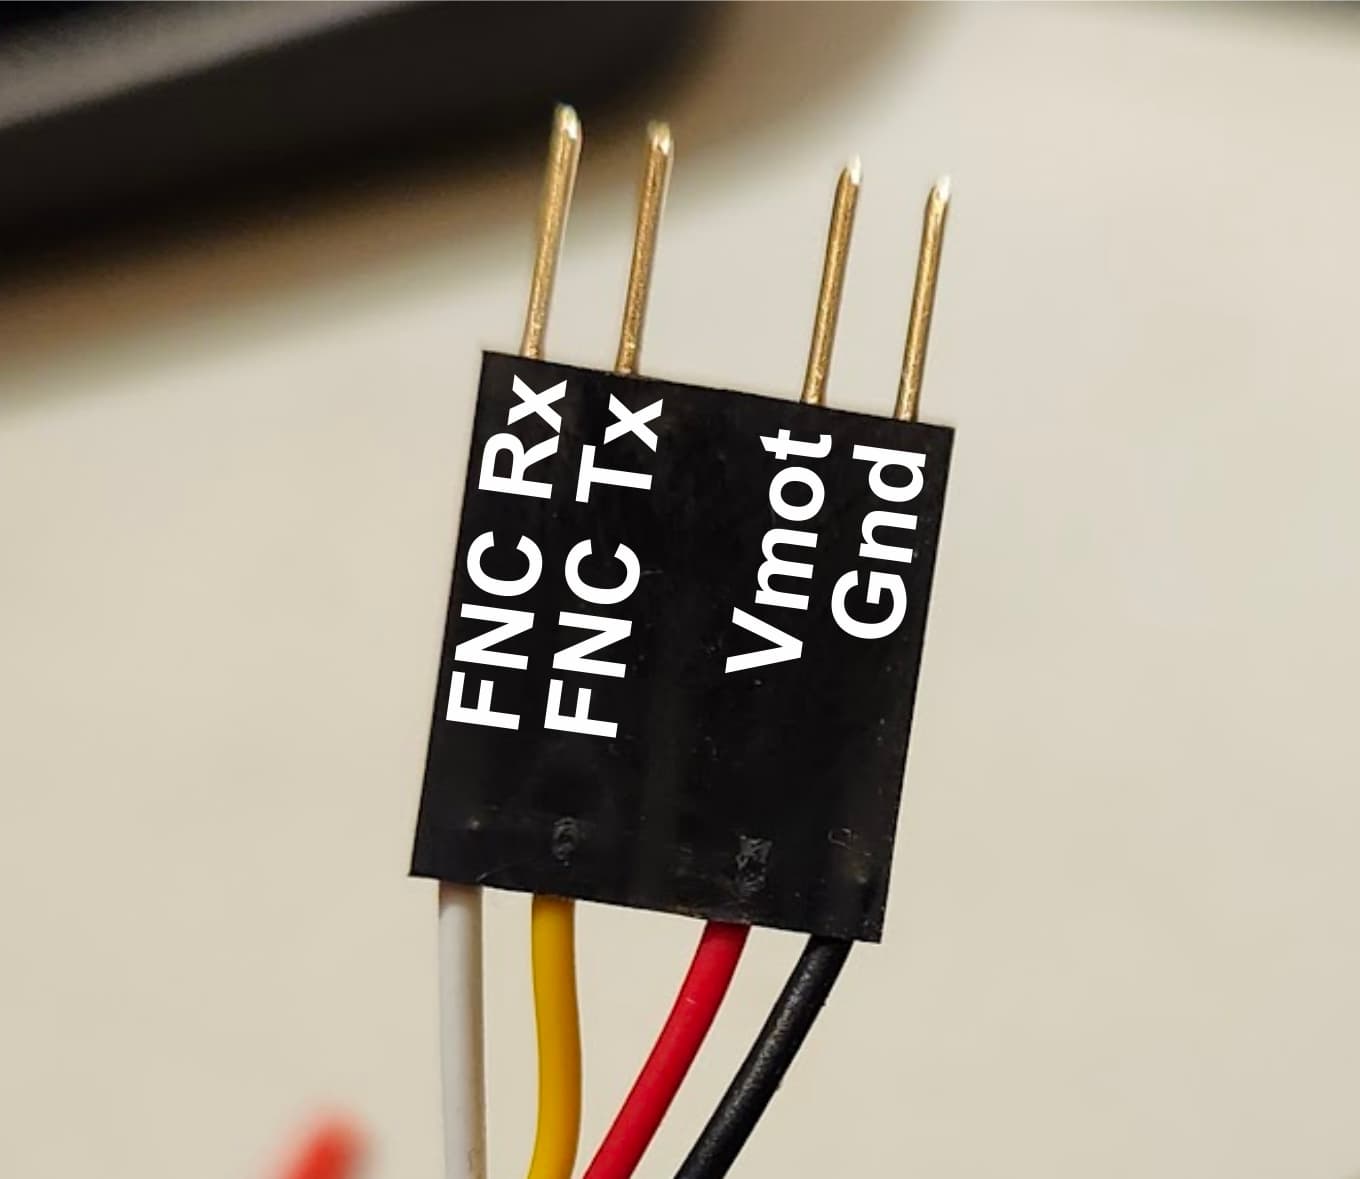
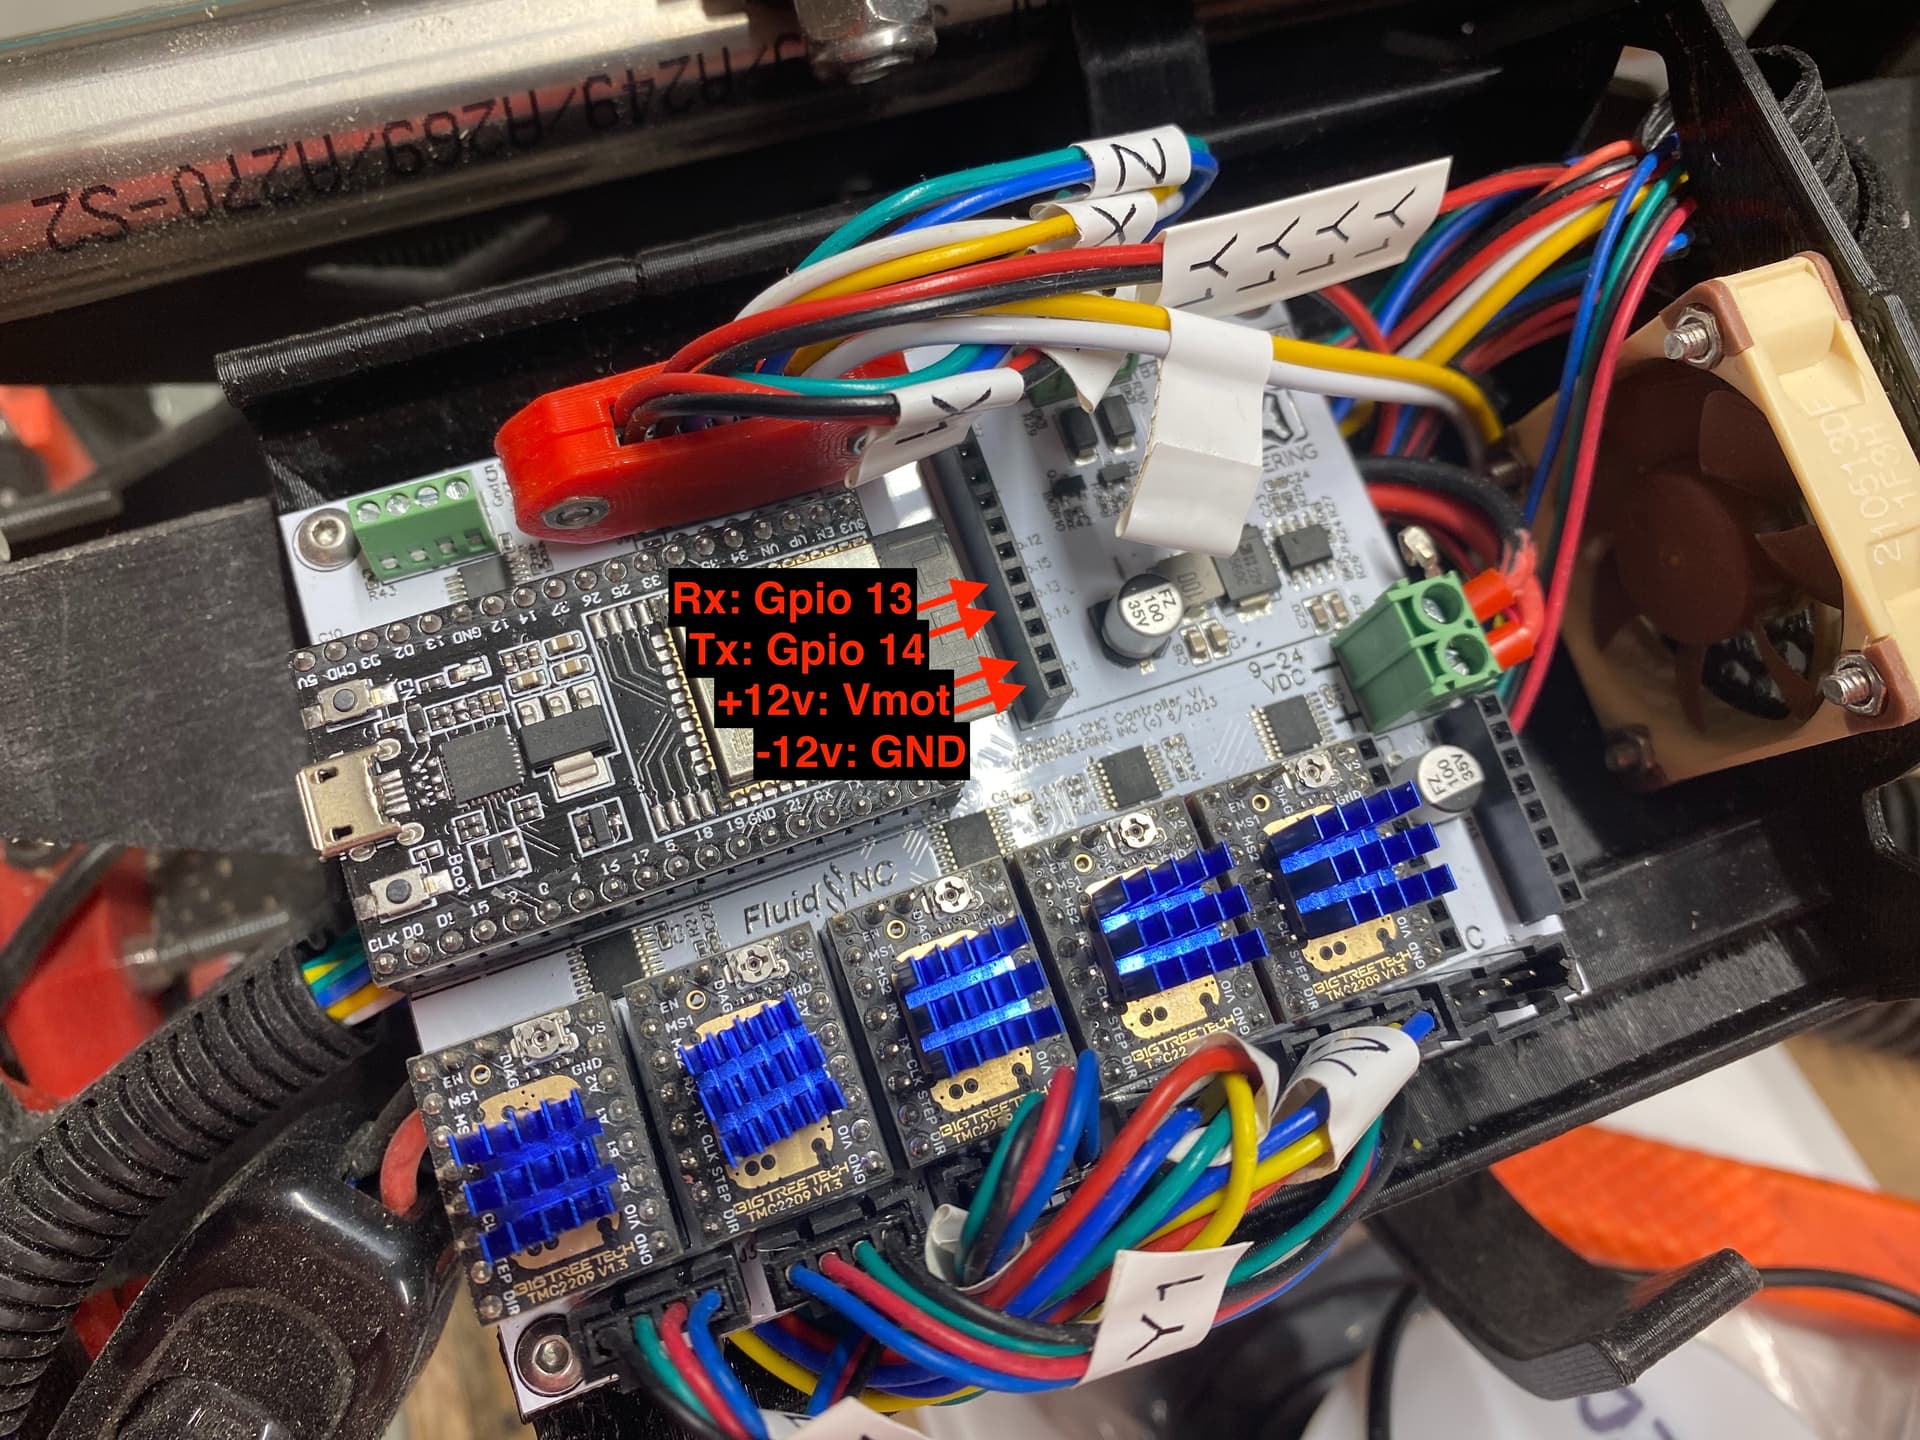
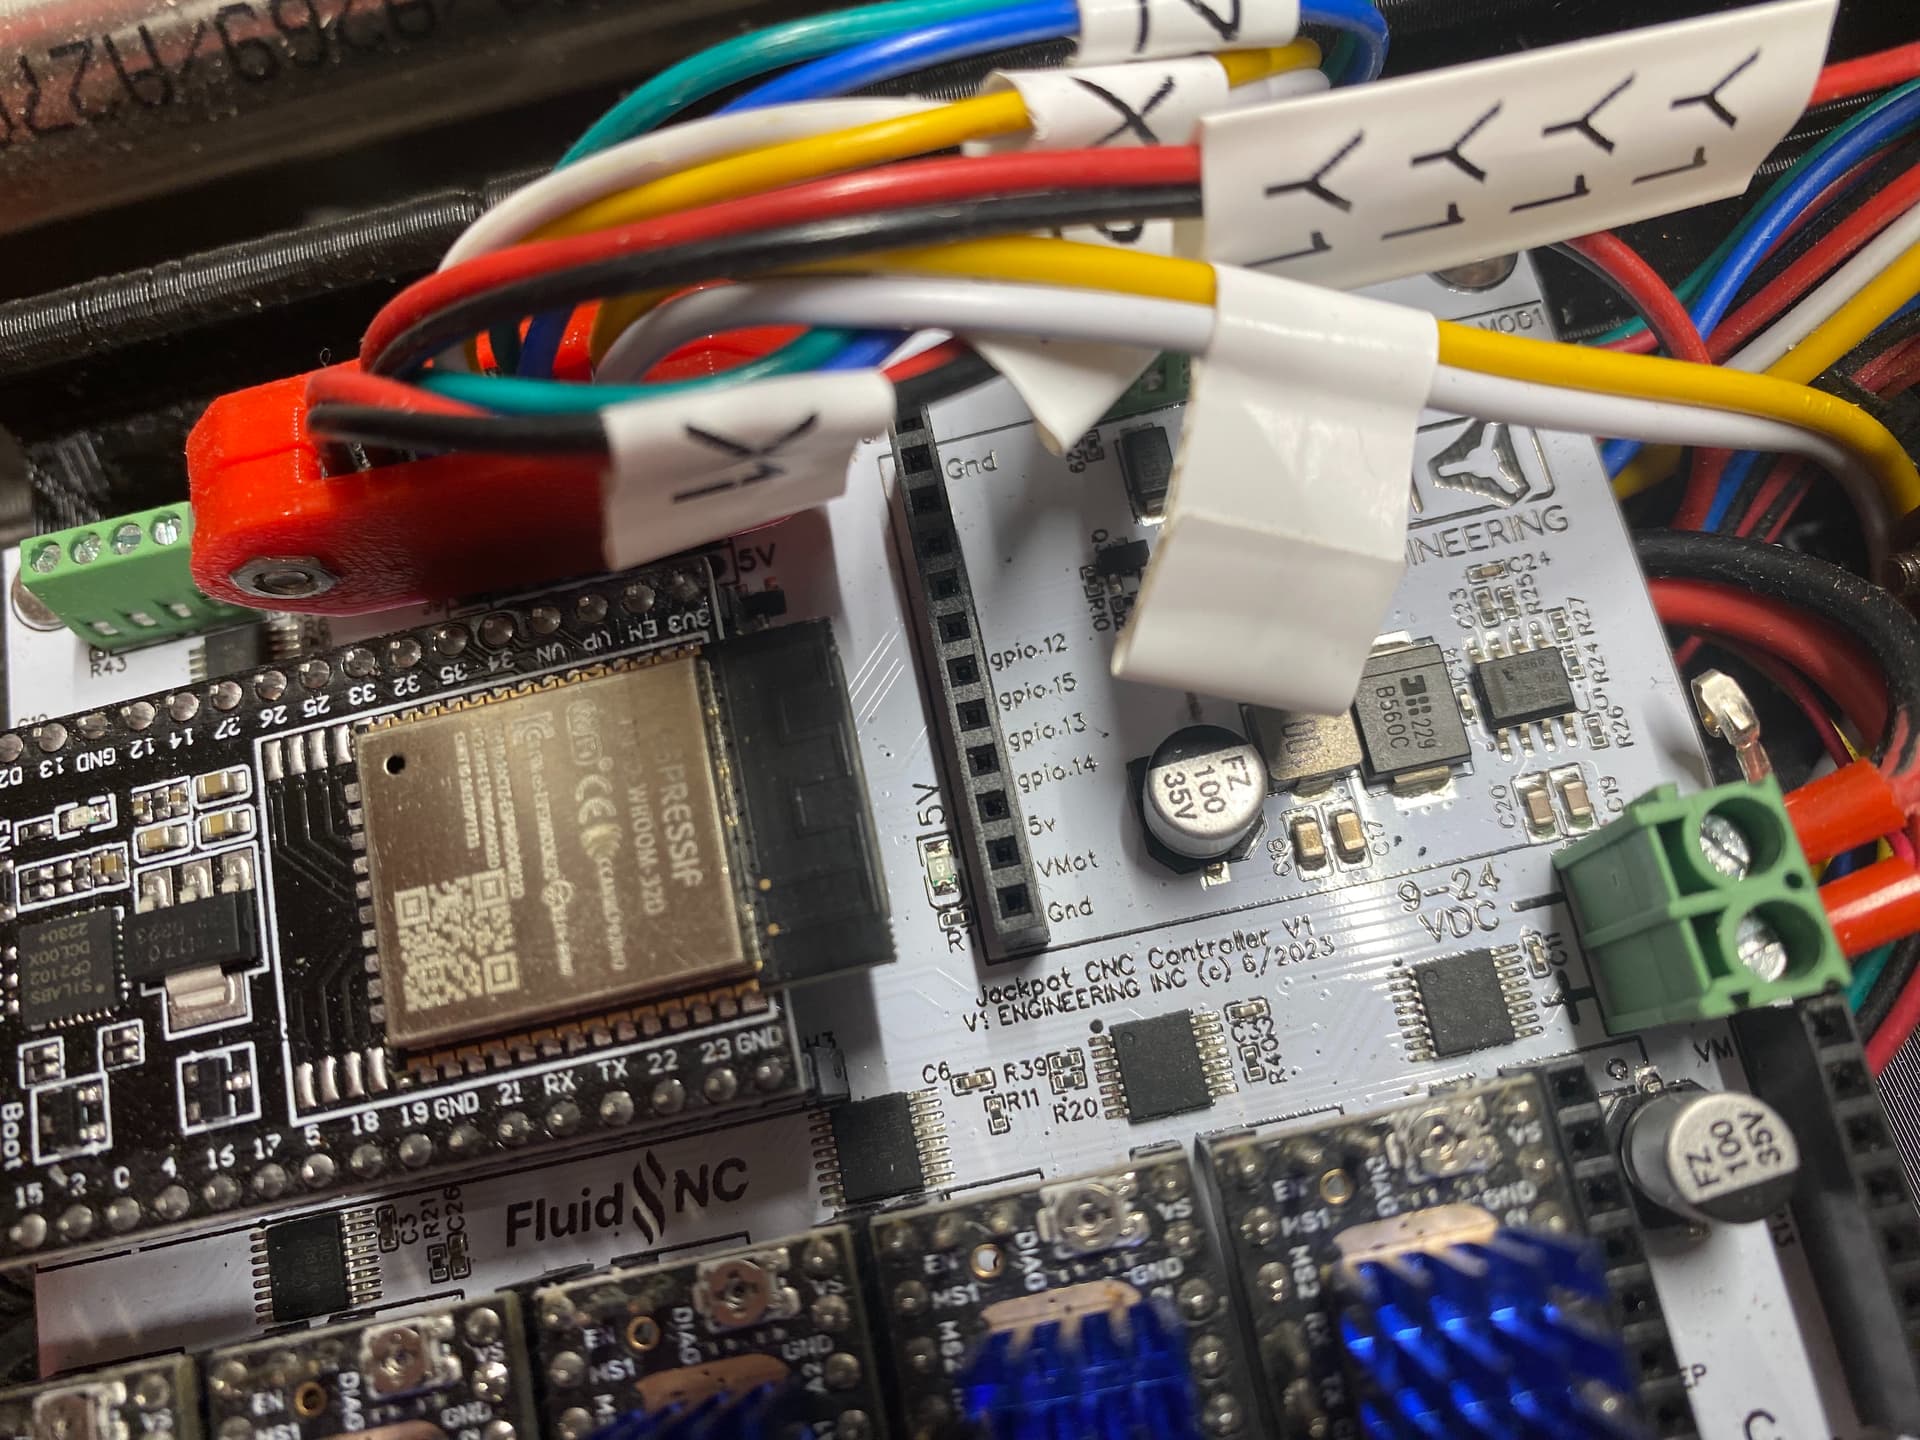
In the docs by Bart Dring, there is a section called “Connections to controllers” and it illustrates both the wiring and the config edit:
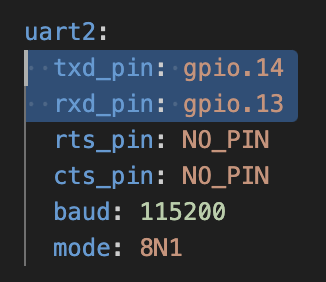
Now, while that’s the same place Bart Dring is suggesting it be plugged in, the GPIO numbers on the Jackpot are different. This means the software changes (to the config.yaml file) need to edited from how how Bart Dring lists them in the docs. Specifically, the docs show Tx (transmit or send) happening on Gpio 26, but on the Jackpot the Tx would be happening on Gpio 14, and the docs show Rx (receive) happening on Gpio 4, but on the Jackpot the Rx would be happening on Gpio 13.
Suggested config code from Bart (for 6-Pack boards):
Before making this config change and uploading to the Jackpot, the new pendant was getting power, and just saying “N/C” (not connected) at the top instead of “IDLE.” After making the config change, uploading, and rebooting the Jackpot, the new pendant starts with saying “IDLE,” and works exactly as intended.
Seems they are still working a few things out on that knob.
As of 3.7.12 I think you are missing a setting to minimize UART chitchat. Auto reporting maybe? It seems it is not in the wiki yet so maybe they are still working on it.
So one issue with the dial knob, that the manually edited bug fix was supposed to correct, is still present, even though I did my best to apply the code of the bug fix. That means that when trying to jog continuously with the knob, the motion will suddenly stutter backwards briefly, even though I didn’t turn the knob in the other direction. Meanwhile, continuous jogging via the momentary switches works great.
Any idea where I could get the latest version? I downloaded what was available on Github from the repo that he linked to in the wiki.
There’s still a lot of active development going on.
I’m not sure which repo is the one linked in the wiki, but the discussion today seems to sound like they are consolidating changes from multiple repos.
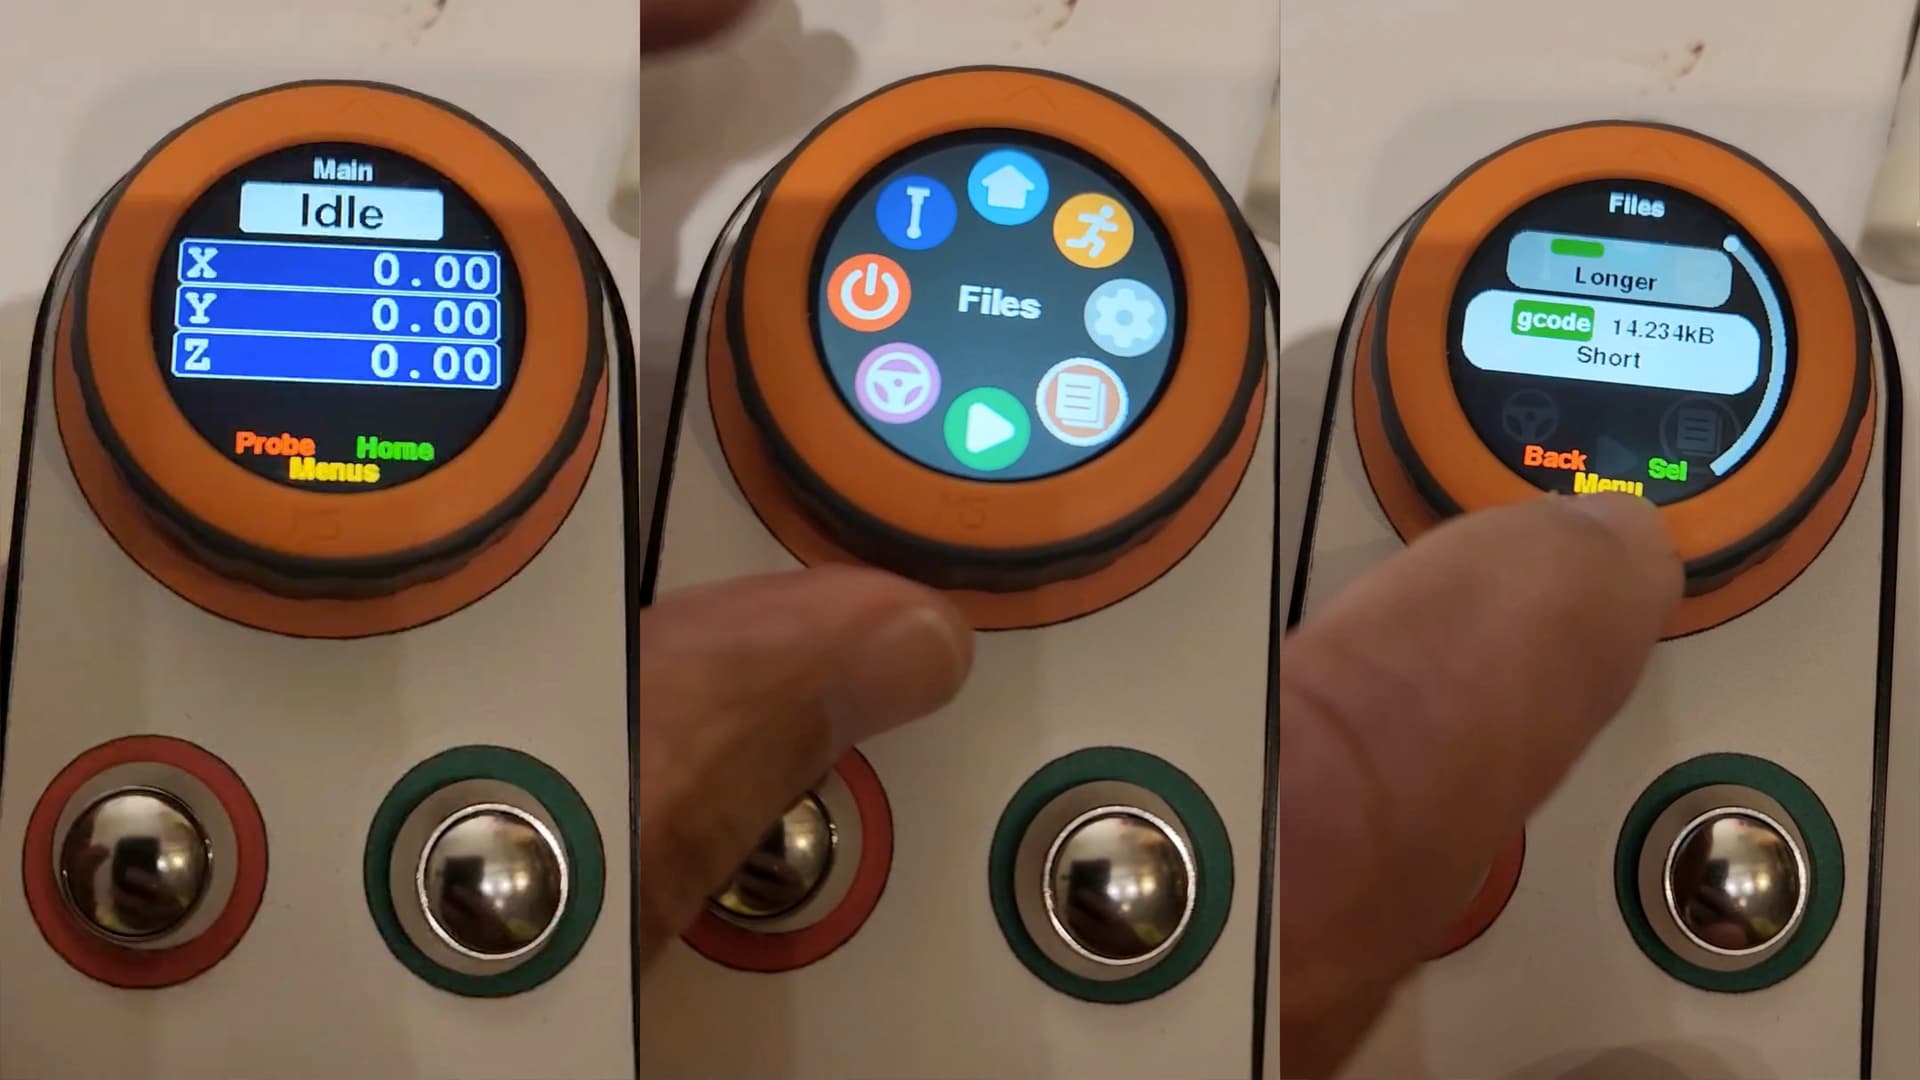
There is ample evidence in the developer dialogue on the Discord server that Bart and team are working to implement CGode file access and job starts via the pendant!
These are screen shots from a video posted by Bart.
I know you read the wiki, but for others seeing this that haven’t, don’t expect a full featured product at this point. Anyone early adopting will need to be a bit patient, but it looks like there are 3 developers actively working on this as a primary focus.
The thing I like, even though I do like this dial, is that it opens the door for more complete implementations of TFT displays, etc. if someone prefers, since all the messaging and stuff they are adding will work for other things.
Might see some other full featured displays pop up over time.
However, seeing it in action, I like the way this one looks, and will likely look into it over the next month or two once it settles a bit.