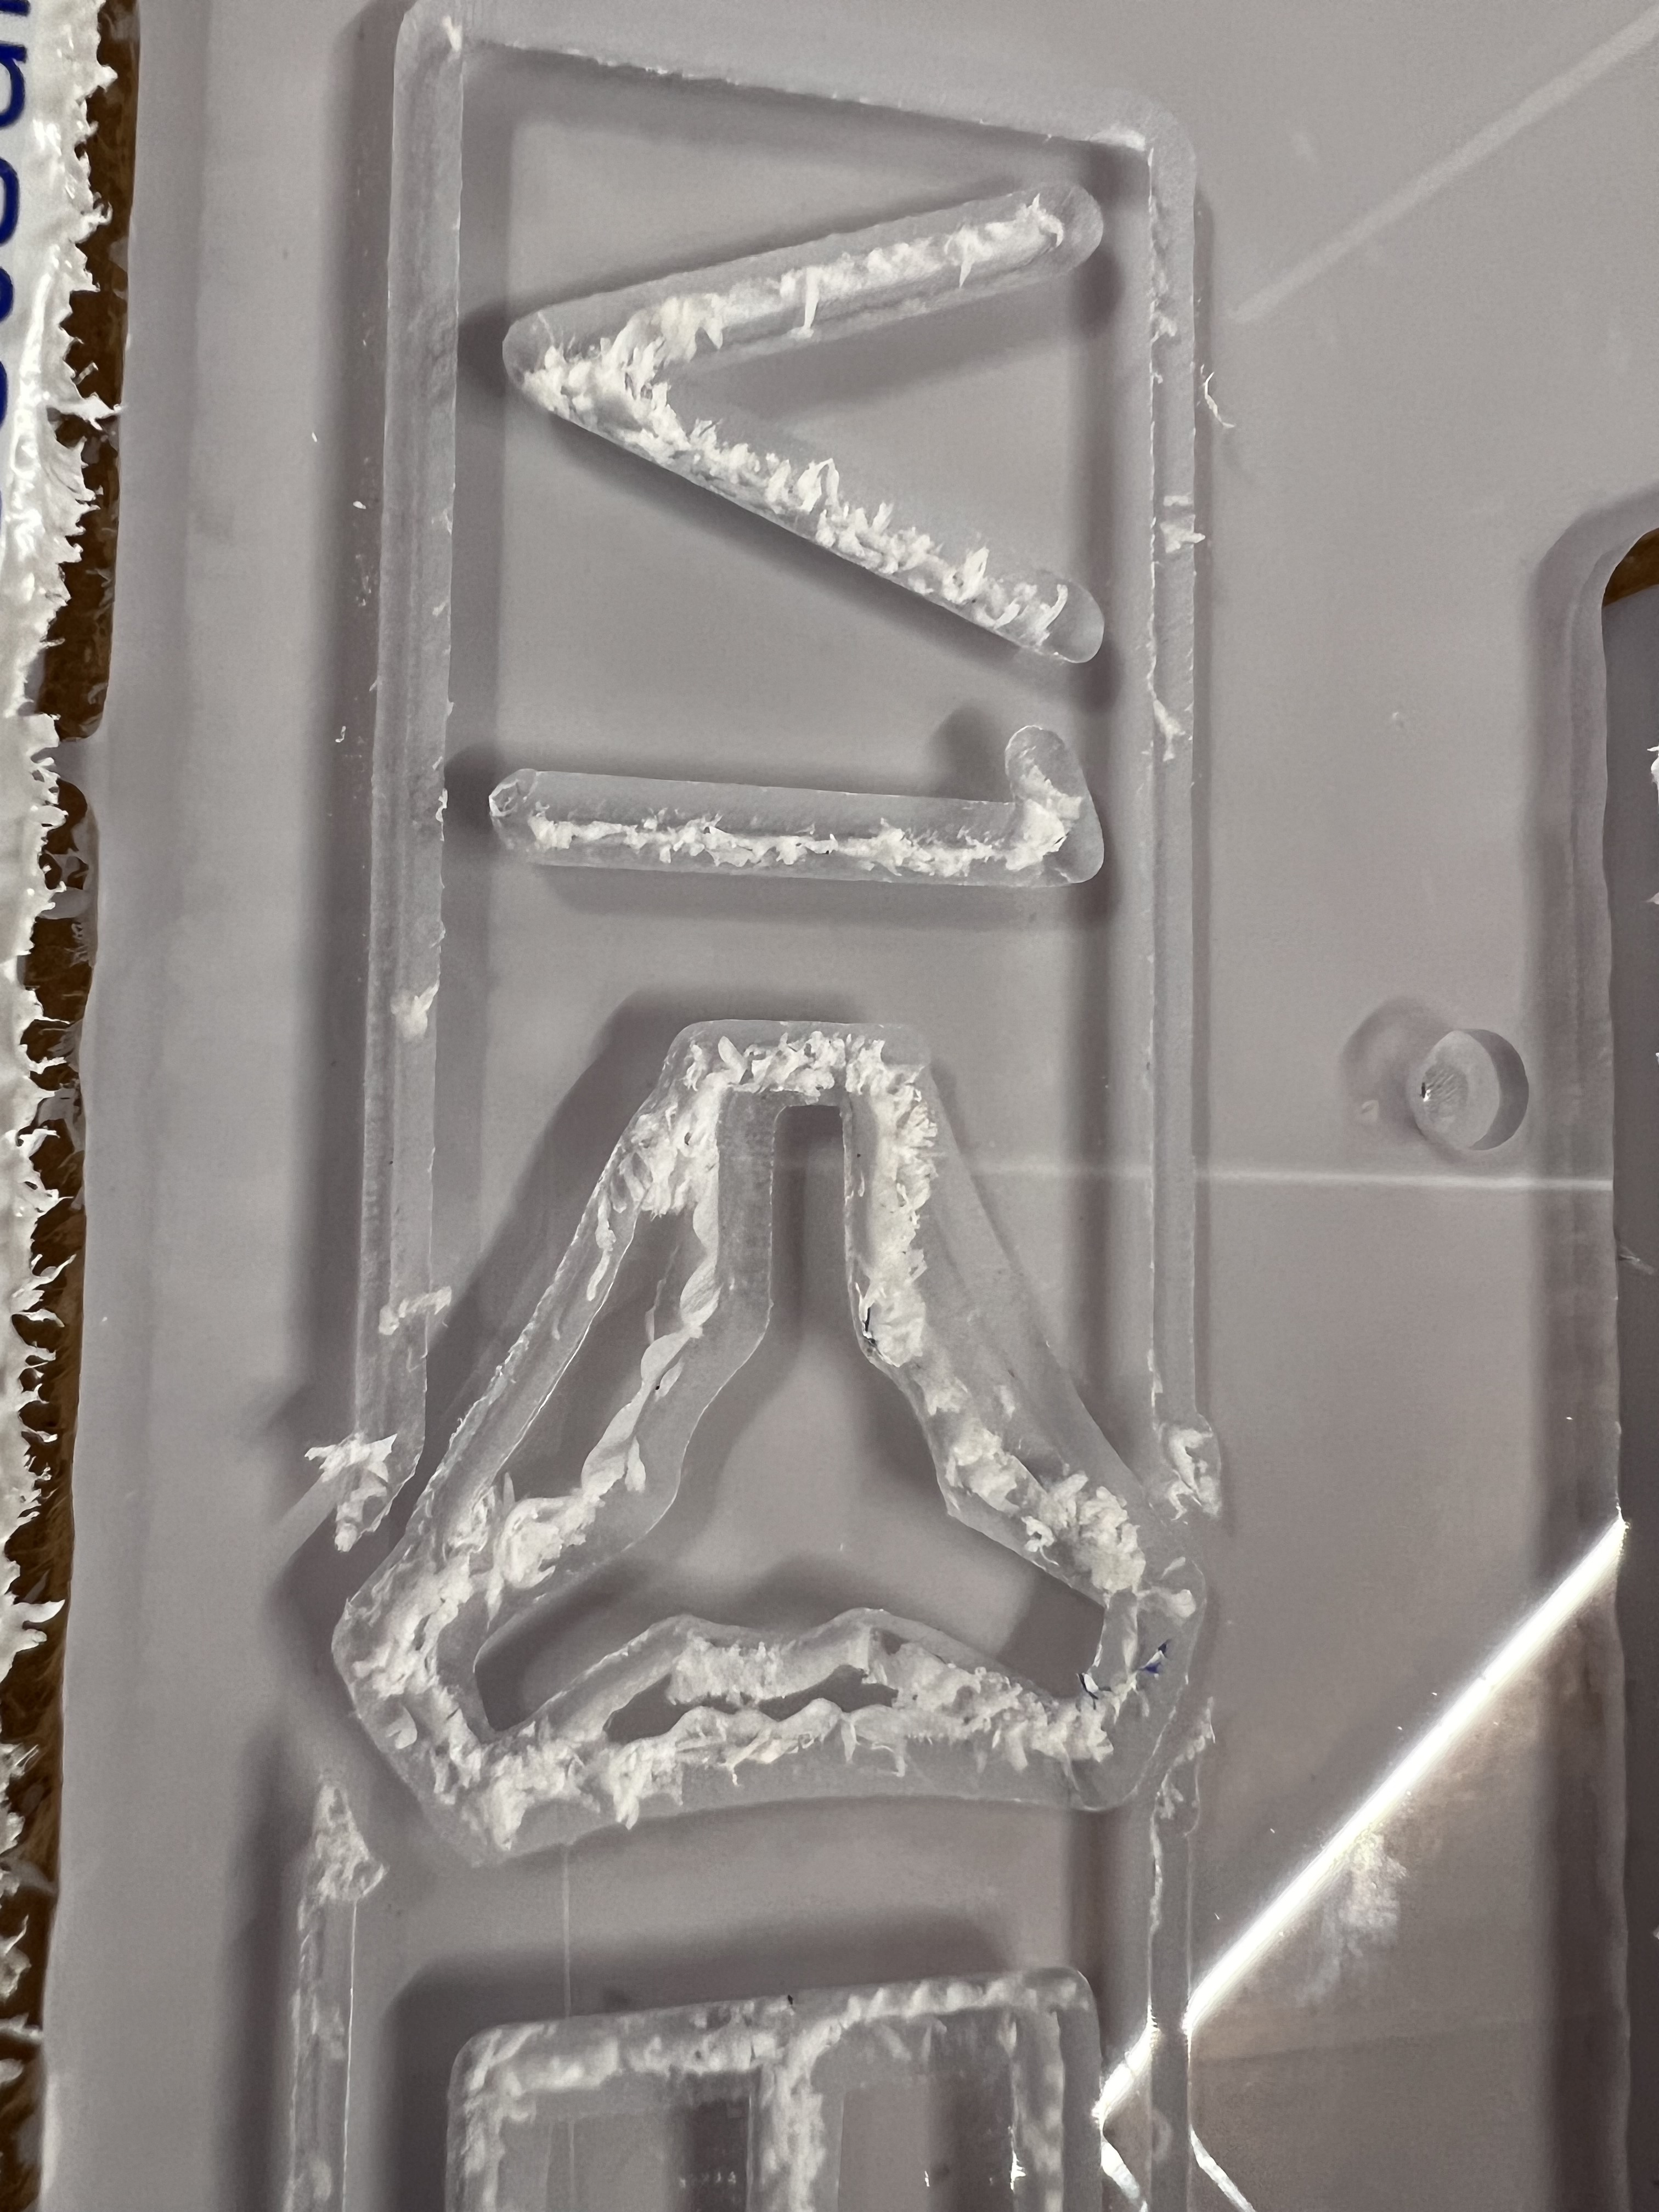
Ok I know asking this is like beating a dead horse but I’m going to beat it anyways. I cant touch the price of HDPE in my area so i decided to go with 1/4" acrylic for the side panels on my MP3DP V4 (Serial # 000009 ) For the screw holes and cutting the part out I’m going to use this bit Usually i would run this at 4mm doc and around 15mm/s thinking about going for 2mm doc and 20 mm/s. Is that still too much DOC?
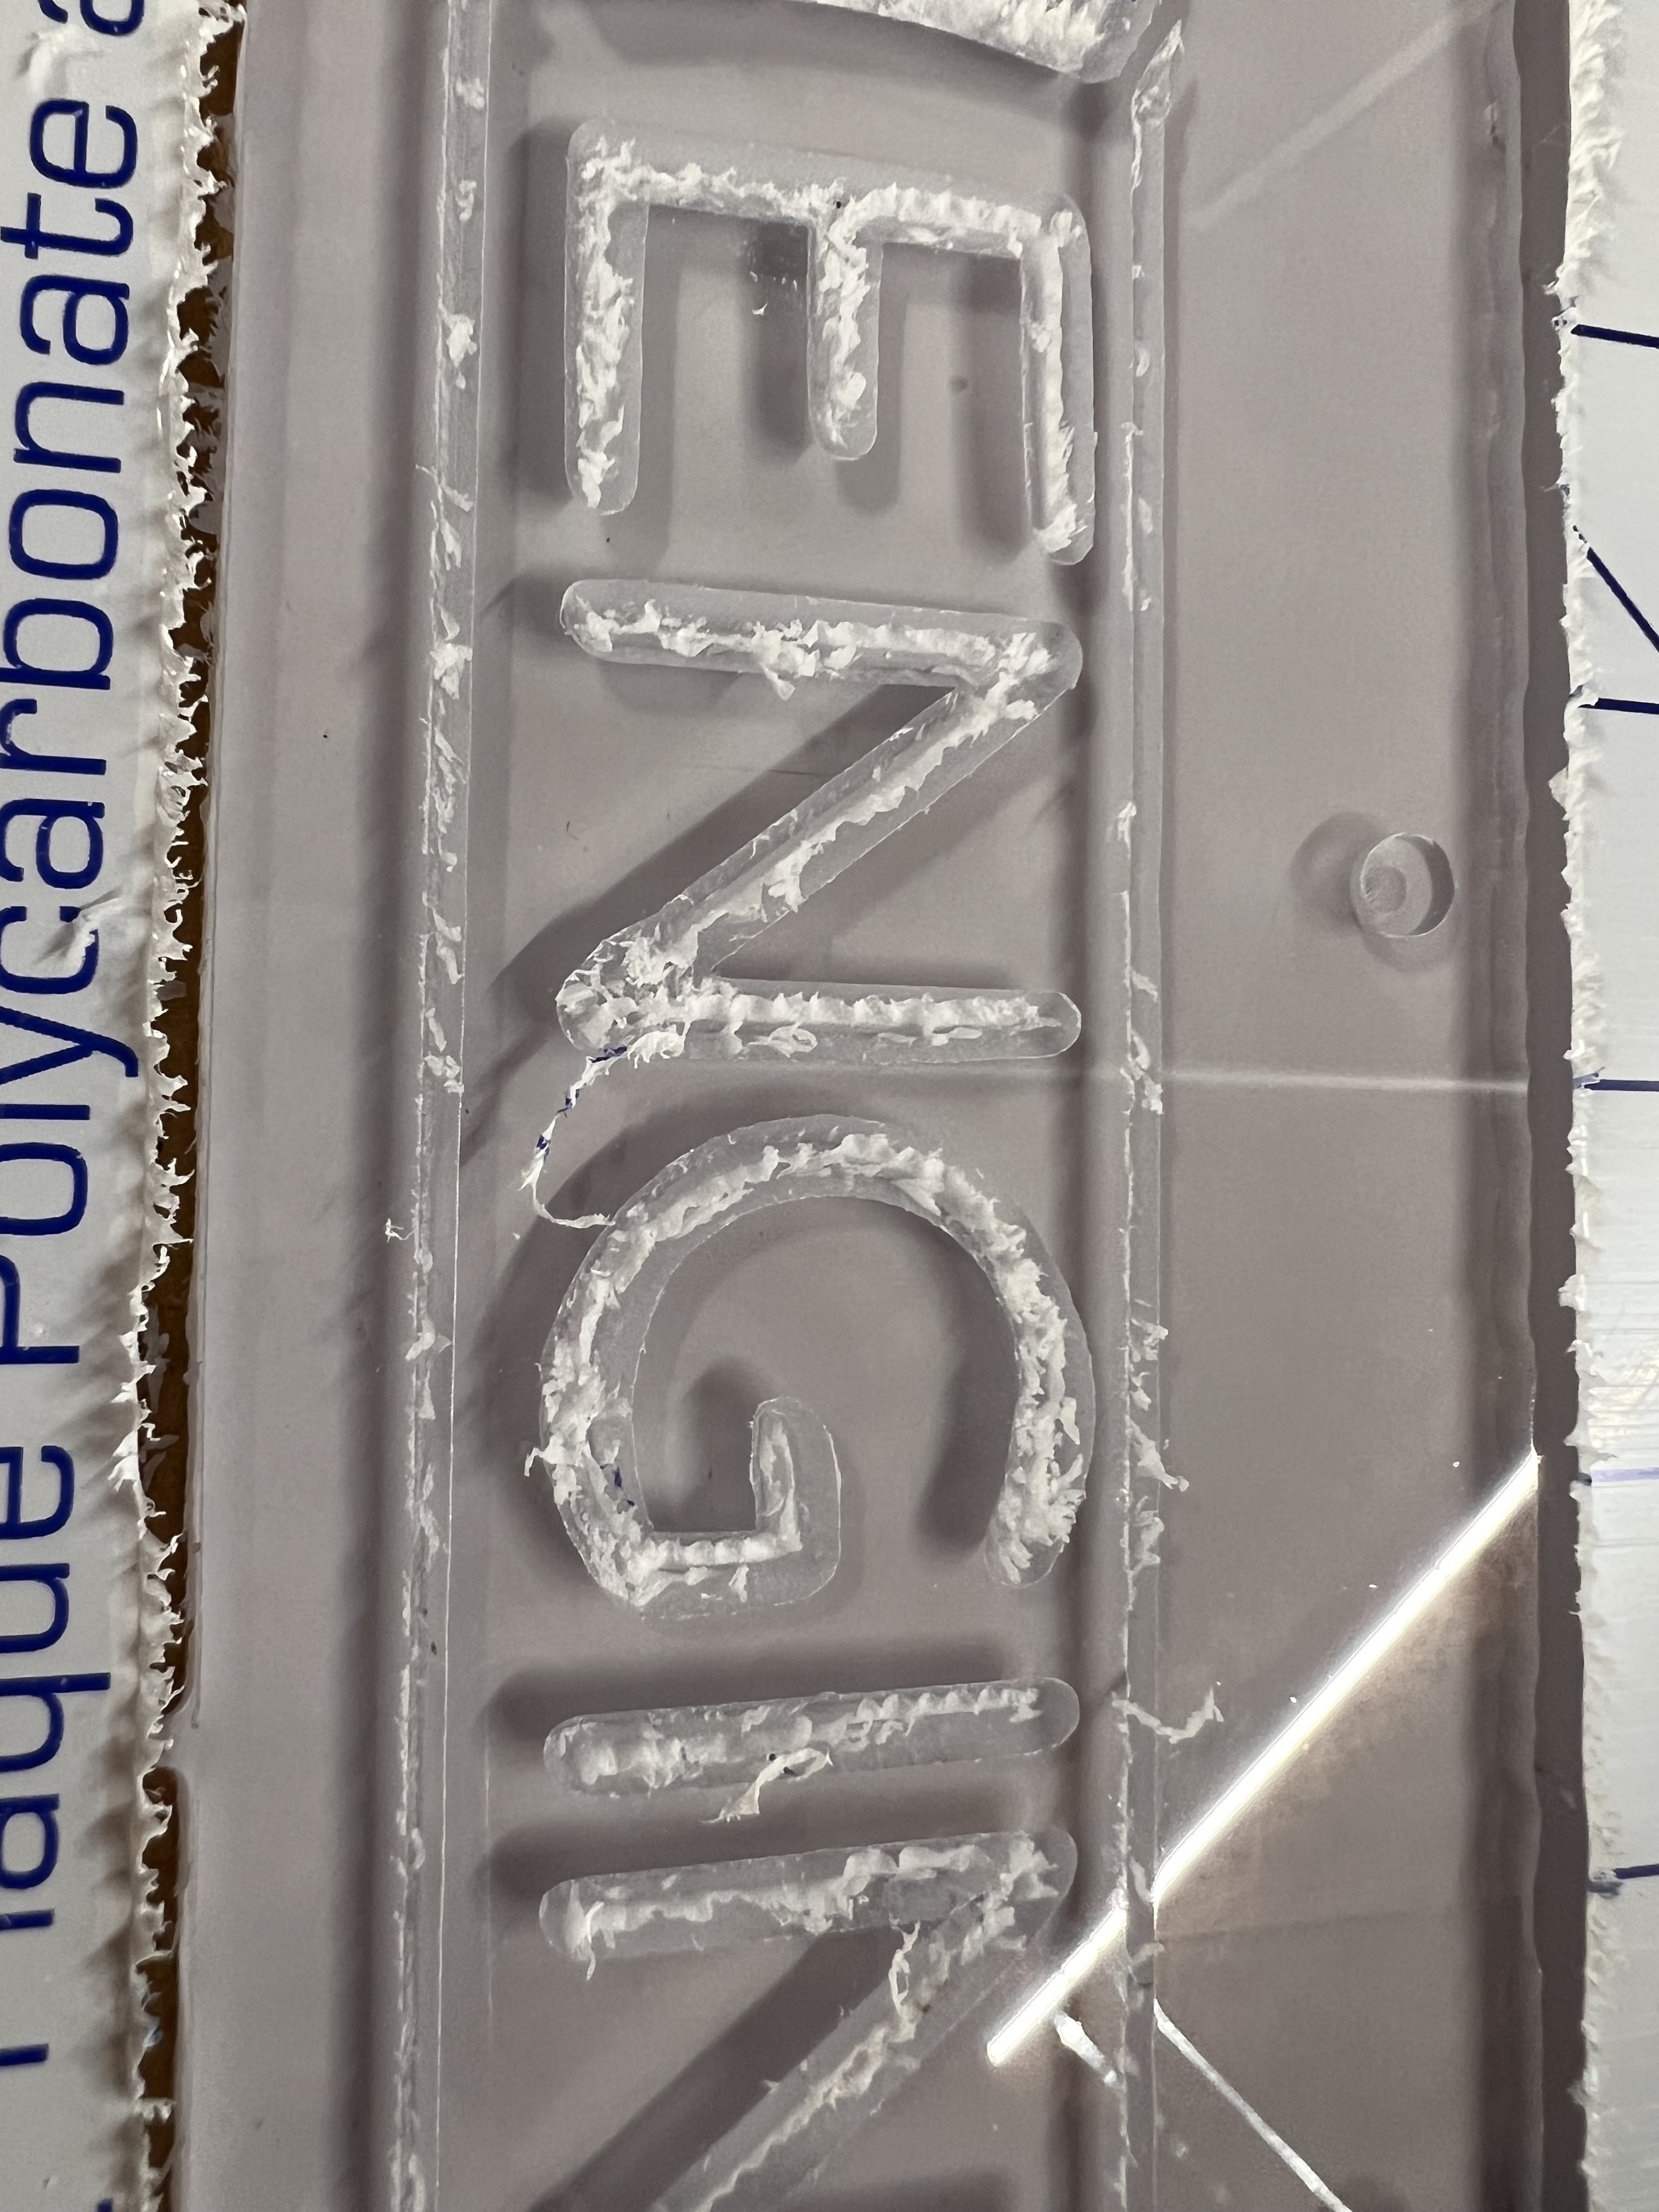
Also for the logo on the front panel I’m going to carve it with a 60° V Bit if that will work. I have never used a V bit on acrylic before. If it will work any suggestions on feeds/speeds/DOC? Usually for a V bit i just let it go automatic and let it eat. But this isn’t wood so I’m not sure what to do here. I can always do the logo with a 1/16" endmill. I just think it will look a lot better with the V bit…if it will work. I have it set to 3mm depth limit.
For the screw holes i was going to countersink them 3.18mm. I’m assuming 3.18mm left will be plenty to hold the panels. I can do away with the countersink if that would be better as well.
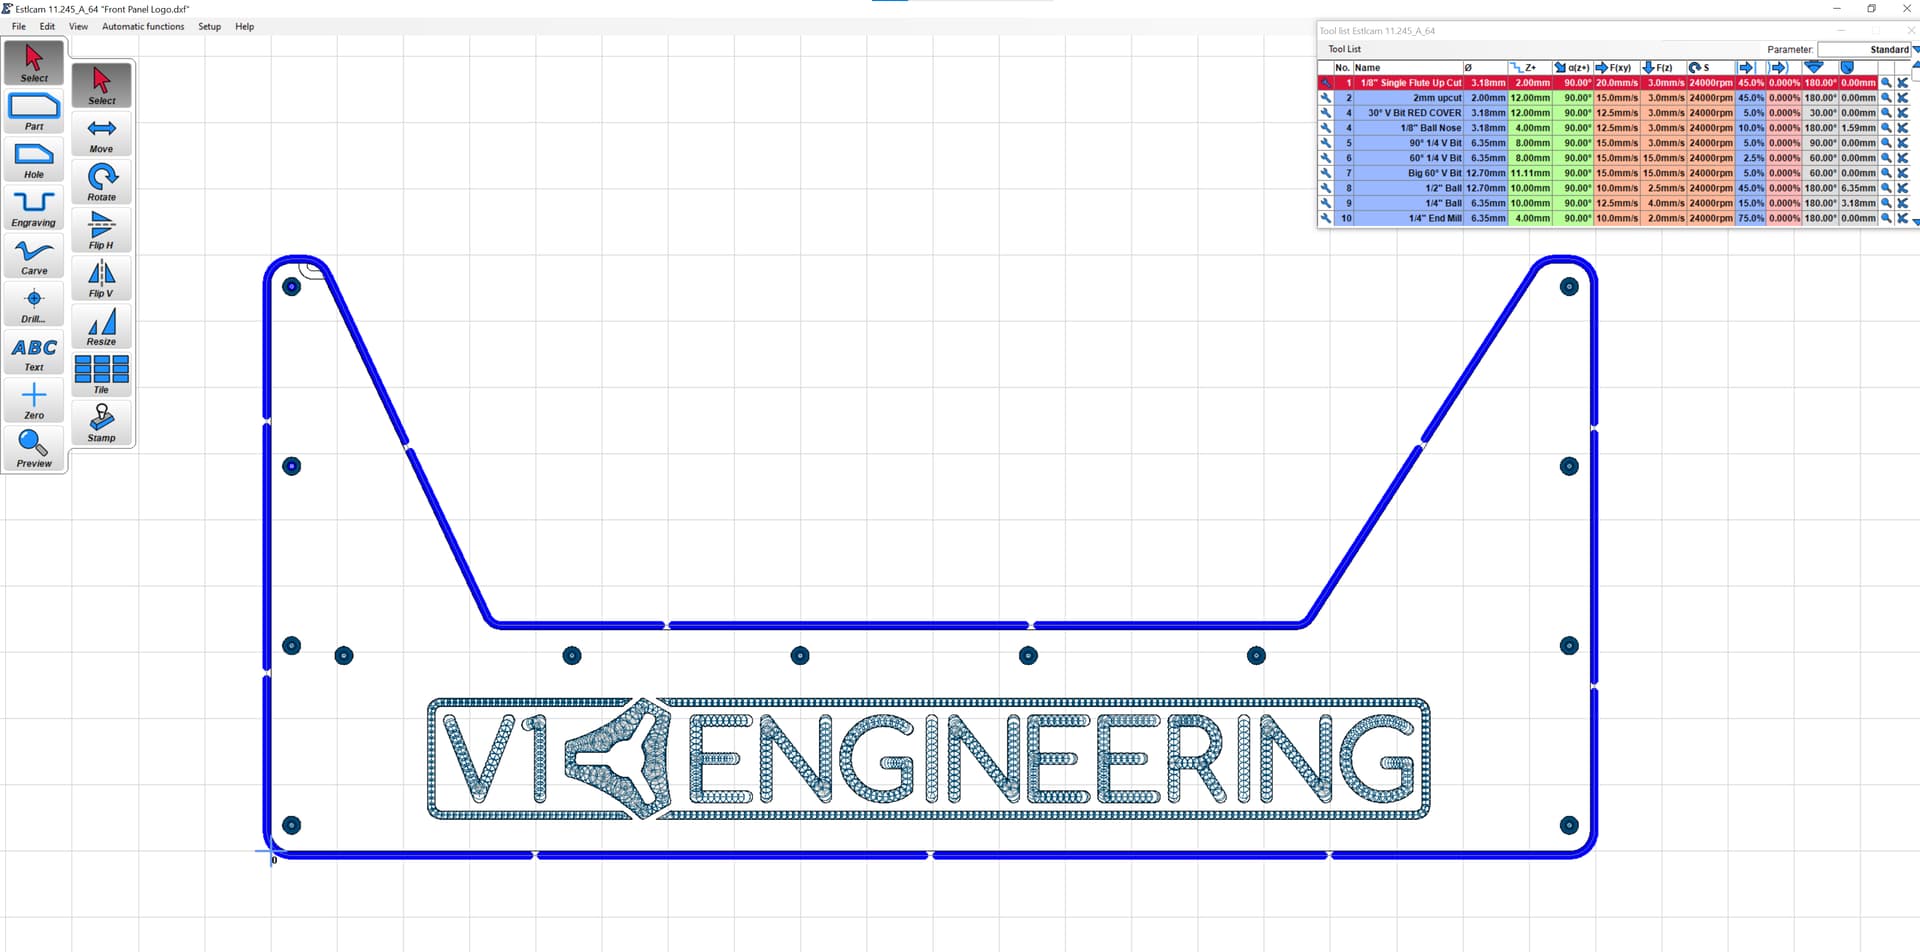
Here is a screen shot of the front panel in estlcam along with my current bit settings.
That sounds like a great starting point…but just do some test cuts. You want to make sure those chips get out of the way.
I think the safest way is clear it out with an endmill and then let the Vbit do the edges. Super safe and still gets you sharp corners. I have no experience with a vbit in acrylic, so I can;t help with speeds there.
That doesn’t seem right. What is the length of your screws? This is kind of a finicky part. You want as much as possible in the tnut, but not bottom out or they will mess things up.
The channel for my Alu Extrusion bottoms out ~6mm, for 1/4" panels (that don’t compress like soft Ply), I’d consider M3 x 12mm with 1/4" panel instead of recessing the holes. Although recessed bolts/holes do look nice.
Only used 1/8" and 1/16" polycarbonate panels for my double panel build. IIRC price jumps up significantly for thicker stock. Curious to see how your 1/4" turns out, I still haven’t made a front door/panel to help fully enclose.
Went with Polycarbonate instead of acrylic after Brent mentioned microcracks forming if exposed to IPA when cleaning the bed. Hoping Polycarbonate is more resilient?
Backup of the 250mm panels used for my build are at v1engineering-mods/mp3dp-v4/mods/panels at main · aaronse/v1engineering-mods · GitHub. However, I would probably build differently if I was to start over… Saw bunch of great builds at RMRRF with panels that quick release compressing clips, with some gasket/foam tapes stuck to the frames. Easy access to front and back would be nice, even if the side panels were fixed.
depending on the exact specifications of your 2020 aluminum profile, you get 6.0 - 6.1mm of depth from the outer surface to the screw bottoming out in the channel.
Assuming that you are using 10mm screws, that means that you want at least 4mm thickness of panels for the screw to go through.
If you are using 8mm screws, then you could go to the 3.18mm thickness, and be fine with the amount going into the T nut. 8mm screws require a minimum of 2mm thickness, so that gives you a bit of wiggle room.
I made my side panels from 5.5mm material, and use 10mm screws to attach them. I do really like how solid the panels make the frame.
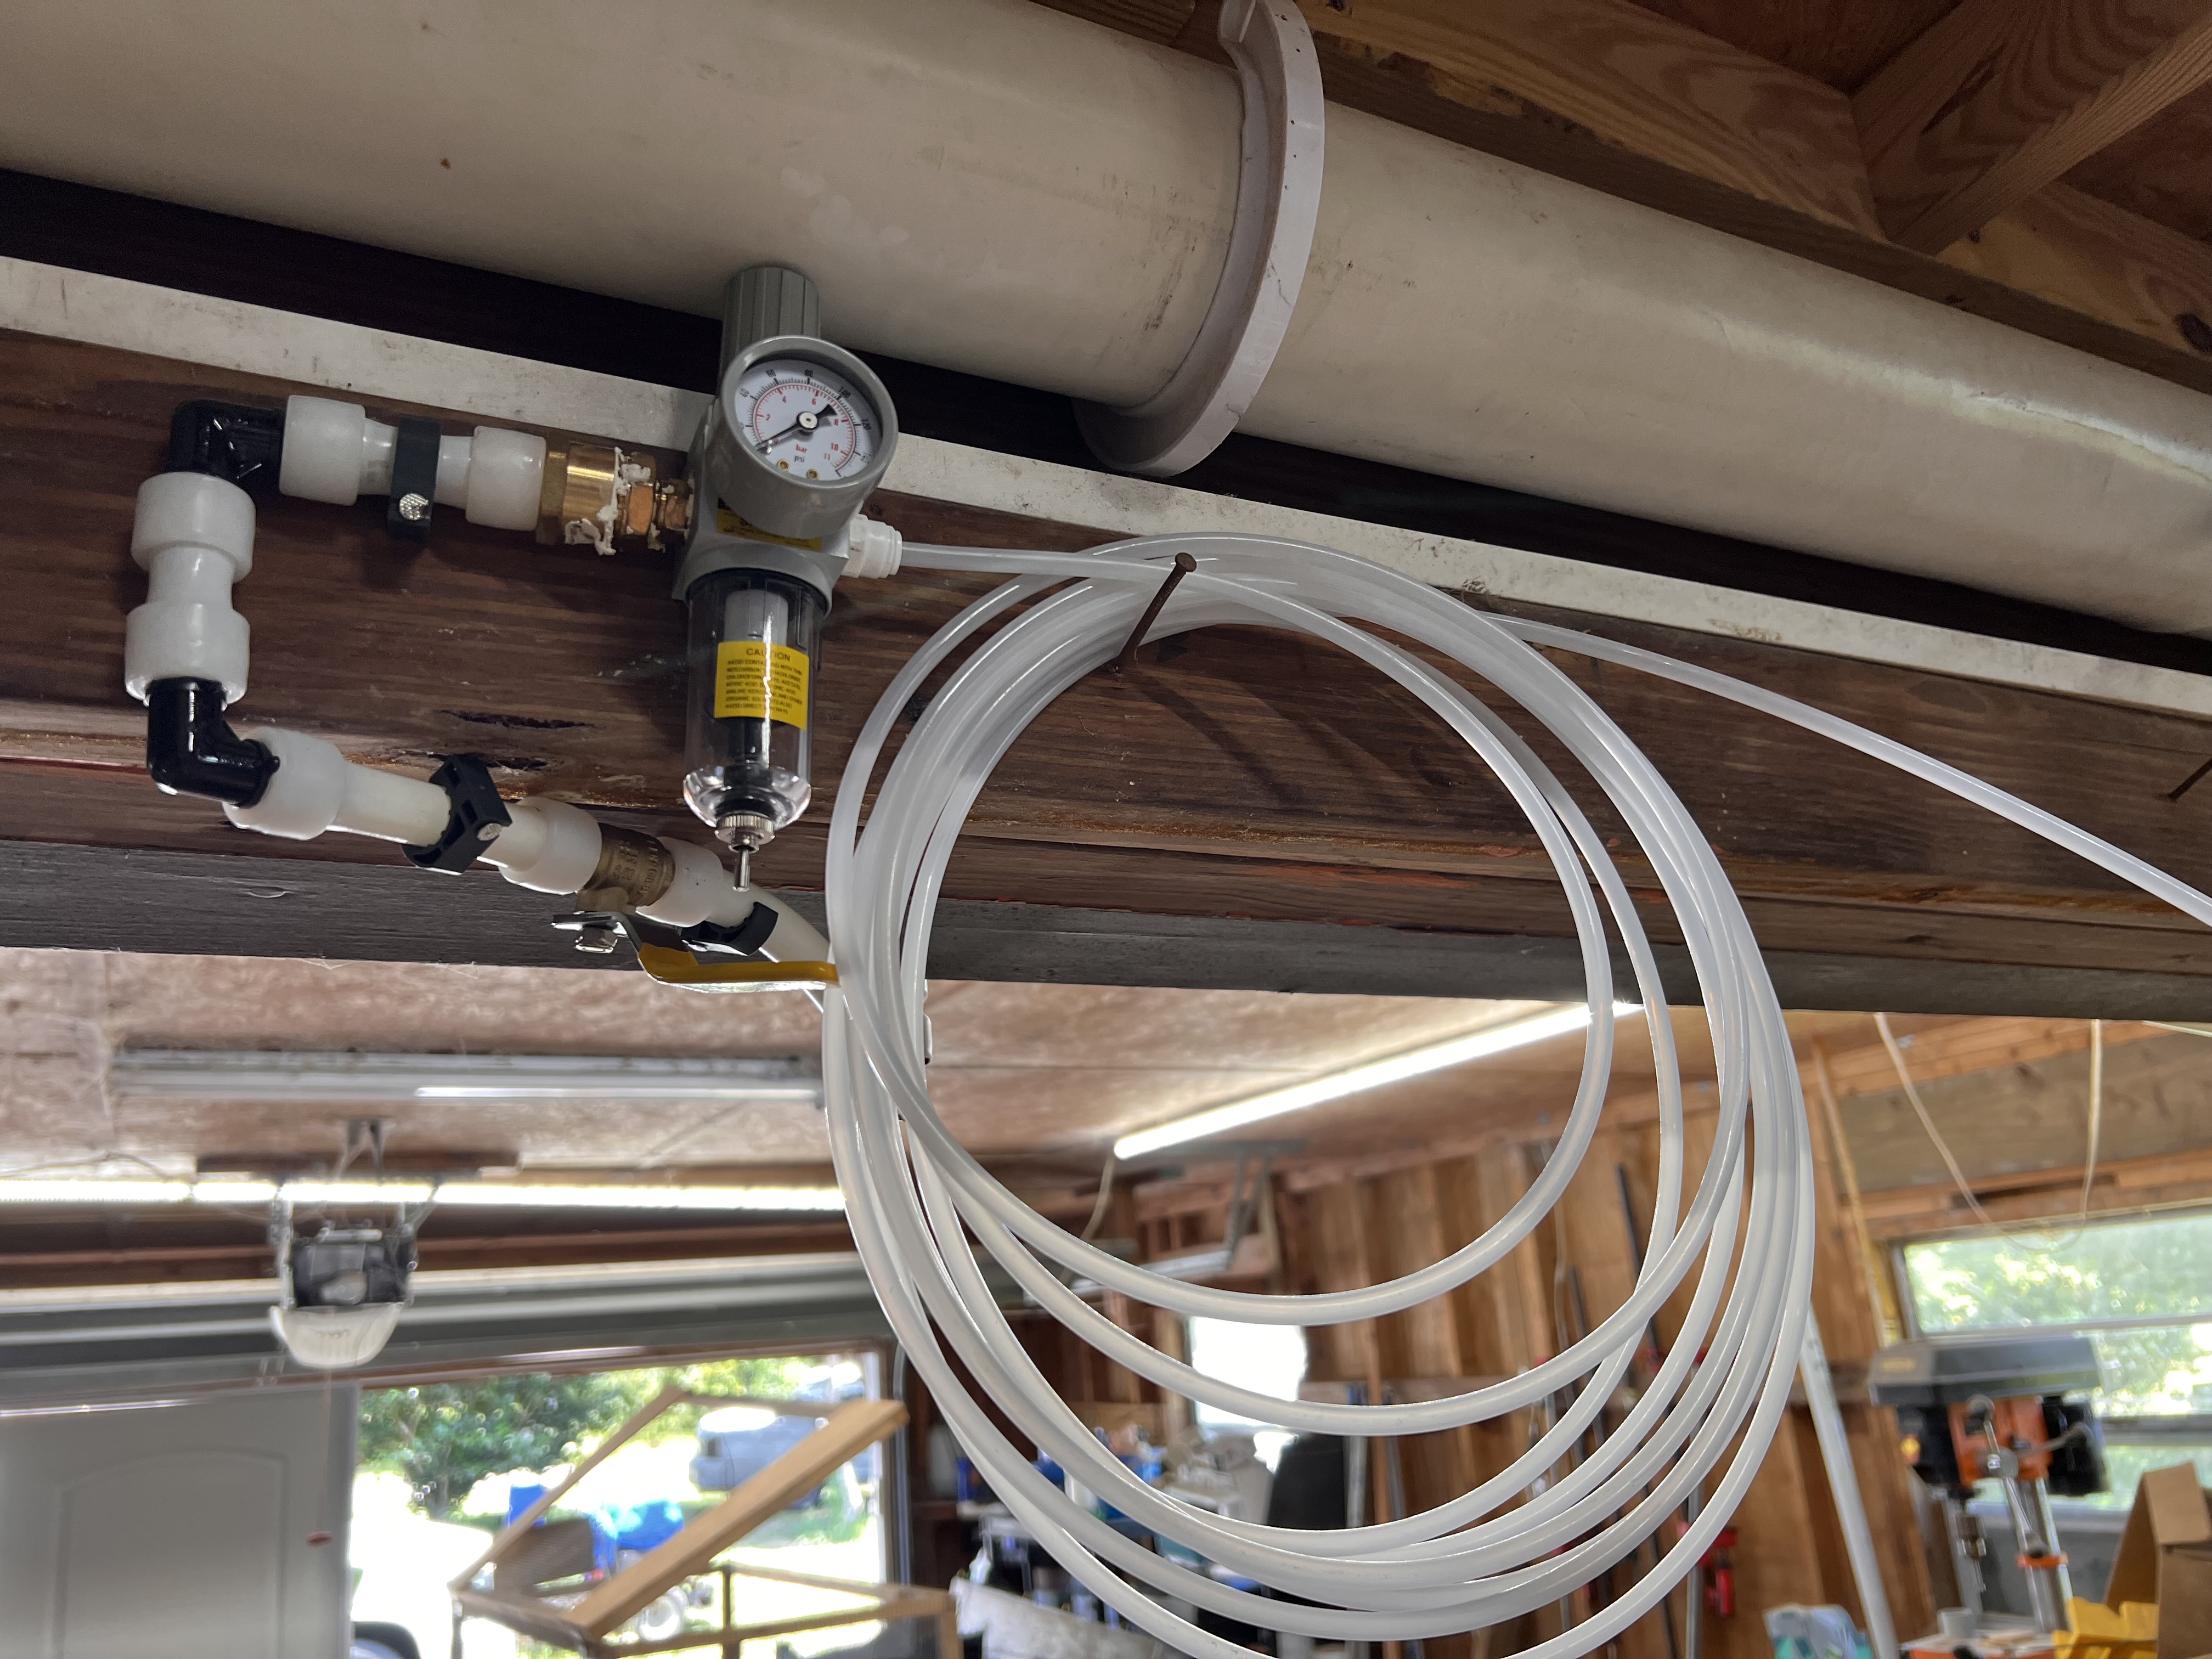
Forgot to add that I have the air blower now too. Still have to get it set up on the LR3 but that can be done before the cuts.
I have it set up to use the endmill as a “carve pocket tool” but I’m not sure how to do the entire thing with the endmill and then go back and have it just carve the edges. Ill have to play around in estlcam some and see what I can figure out.
If i remember right I’m using M3x10 though your 3d printed corner brackets now. I just assumed I would have to cut it and measure to see what length screw I would need then order lol. But it does make much more sense to figure that out now and cut the pocket to the correct depth
Thinking of it this way I could just recess them 2mm and get away with the M3x10 I already have correct?
I’m not doing a full enclosure. Just doing the same thing @vicious1 did on his minus the high dollar HDPE lol.
Hummm… I never knew that. Well I guess we will find out. Hell I’m just assuming its acrylic. never know for sure with scamazon LOL
Sounds like from what you and @azab2c both said… I should be able to do a 2mm countersink and be good to go with the M3x10 I have on hand. I think the counter sink will look good and with the shallower depth that will leave more meat behind them as well. Thanks!!!
For my build, I started out by making cheaper Ply panels, but quickly learnt my LR3 was not square enough for the panels to be usable. After spending a few hours squaring the LR3 and eventually getting some successful Ply cuts, I reflected on the time already invested, gazed longingly at the HDPE topics, and managed to rationalize cost of using Polycarbonate instead.
Agree with Dan, the panels help everything feel solid, and square now. Despite M3 bolts being easier to strip and over torque than M5, I followed Ryan’s advice to use M3 bolts so still have small amount of play/adjustment to square up when snugging up the bolts.
2mm recess in 1/4" ( >6mm non compressing material) with M3x10 sounds good to me. Am using M3x8mm for my 1/8" panels.
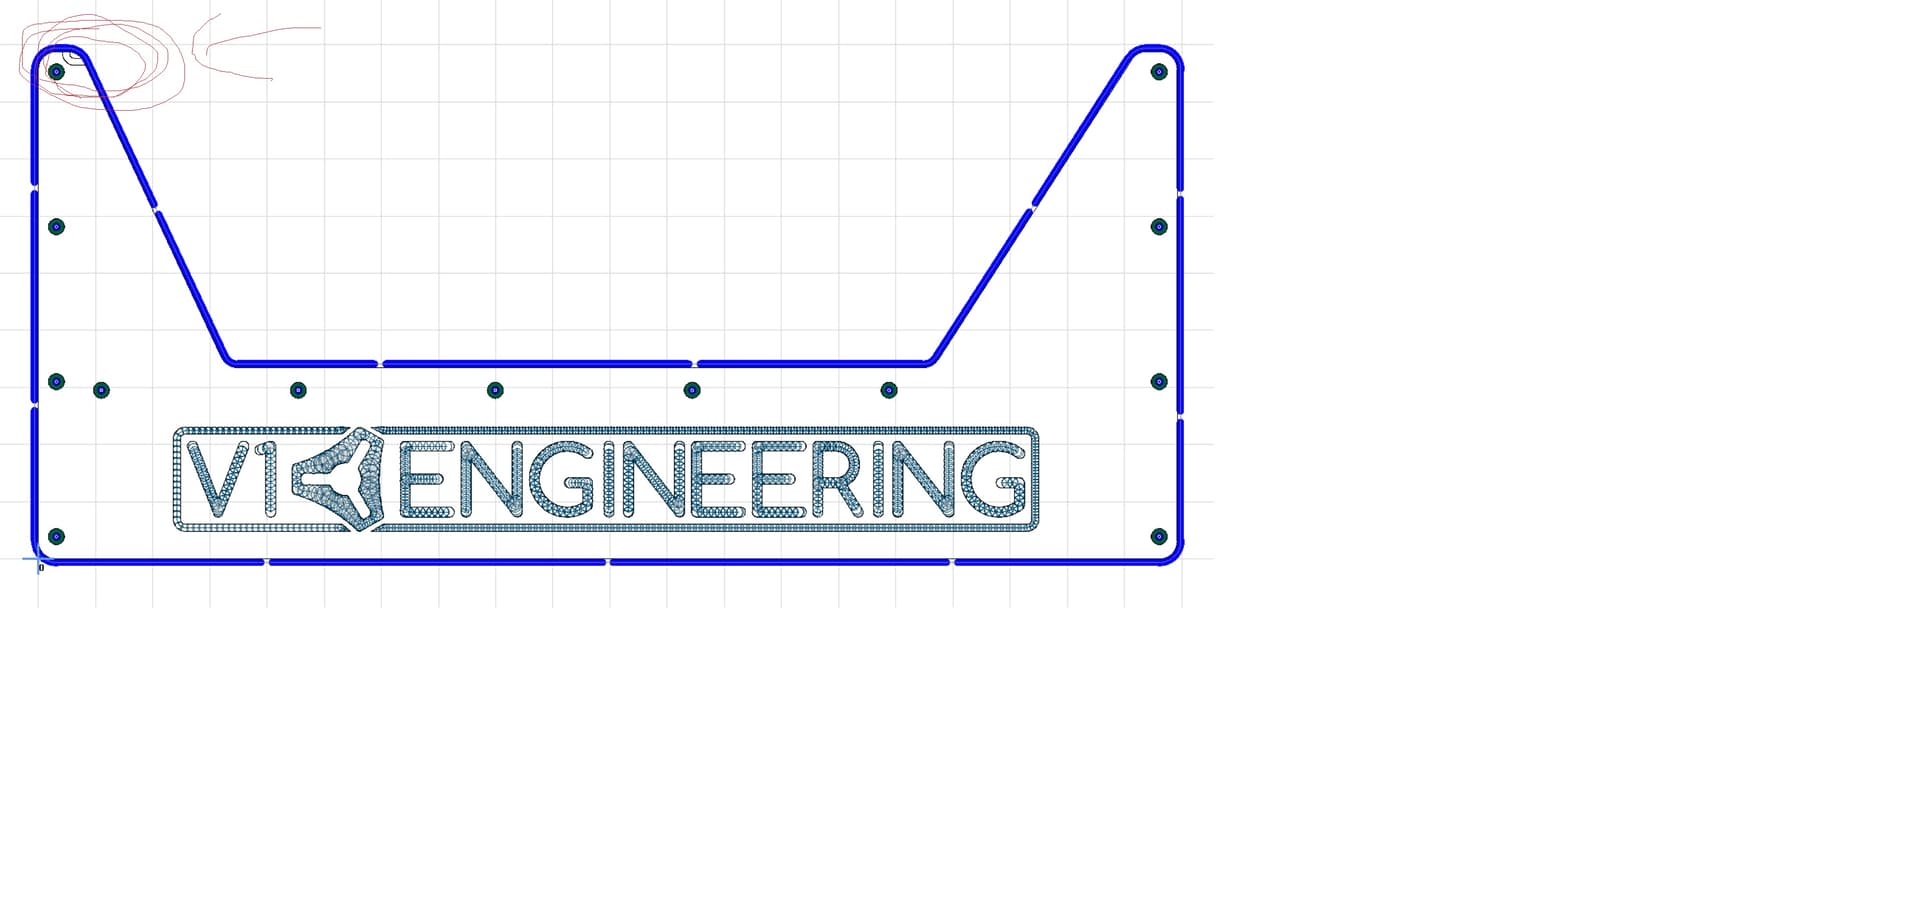
So I just ran the preview on Estlcam the way i had it set up and it does look like its going to pocket out a good bit of it with the endmill before switching to the V bit so im hopful that it will work out well. I guess there is only one way to find out LOL. Ill do my best to remember and take some video and post it when I actually do the cut. I sure hope it turns out well!!!
Awesome! I do plan to run some test before I cut the first panel with some cheap scrap I have laying around to check everything is still good and square. I was less than 1mm out over the full 49" x 98" cutting area when I built the LR3. I have not checked it since then so defiantly will before hand. Also need to get the air blower set up and ready before I cut as well. I’m guessing ill only want to use air and not any kind of coolant with this??? I know its suggested to use IPA for aluminum but i cant remember if anyone has made suggestions for acrylic.
Didn’t use any coolant, but then I haven’t done many acrylic/polycarbonate cuts. Only had a Shop Vac hooked up and pulling air into the stock LR3 Vac mount. Deep slow trochoidal cuts worked for me. Some topics that helped me…
Guessing thicker 1/4" stock won’t flex and pull up as much with upcut bit?
I’m hoping it wont lol. I believe I’m going to use the painters tape & CA glue method to hold it down. That has worked well for me in the past on stuff I don’t want to run a screw hole though.
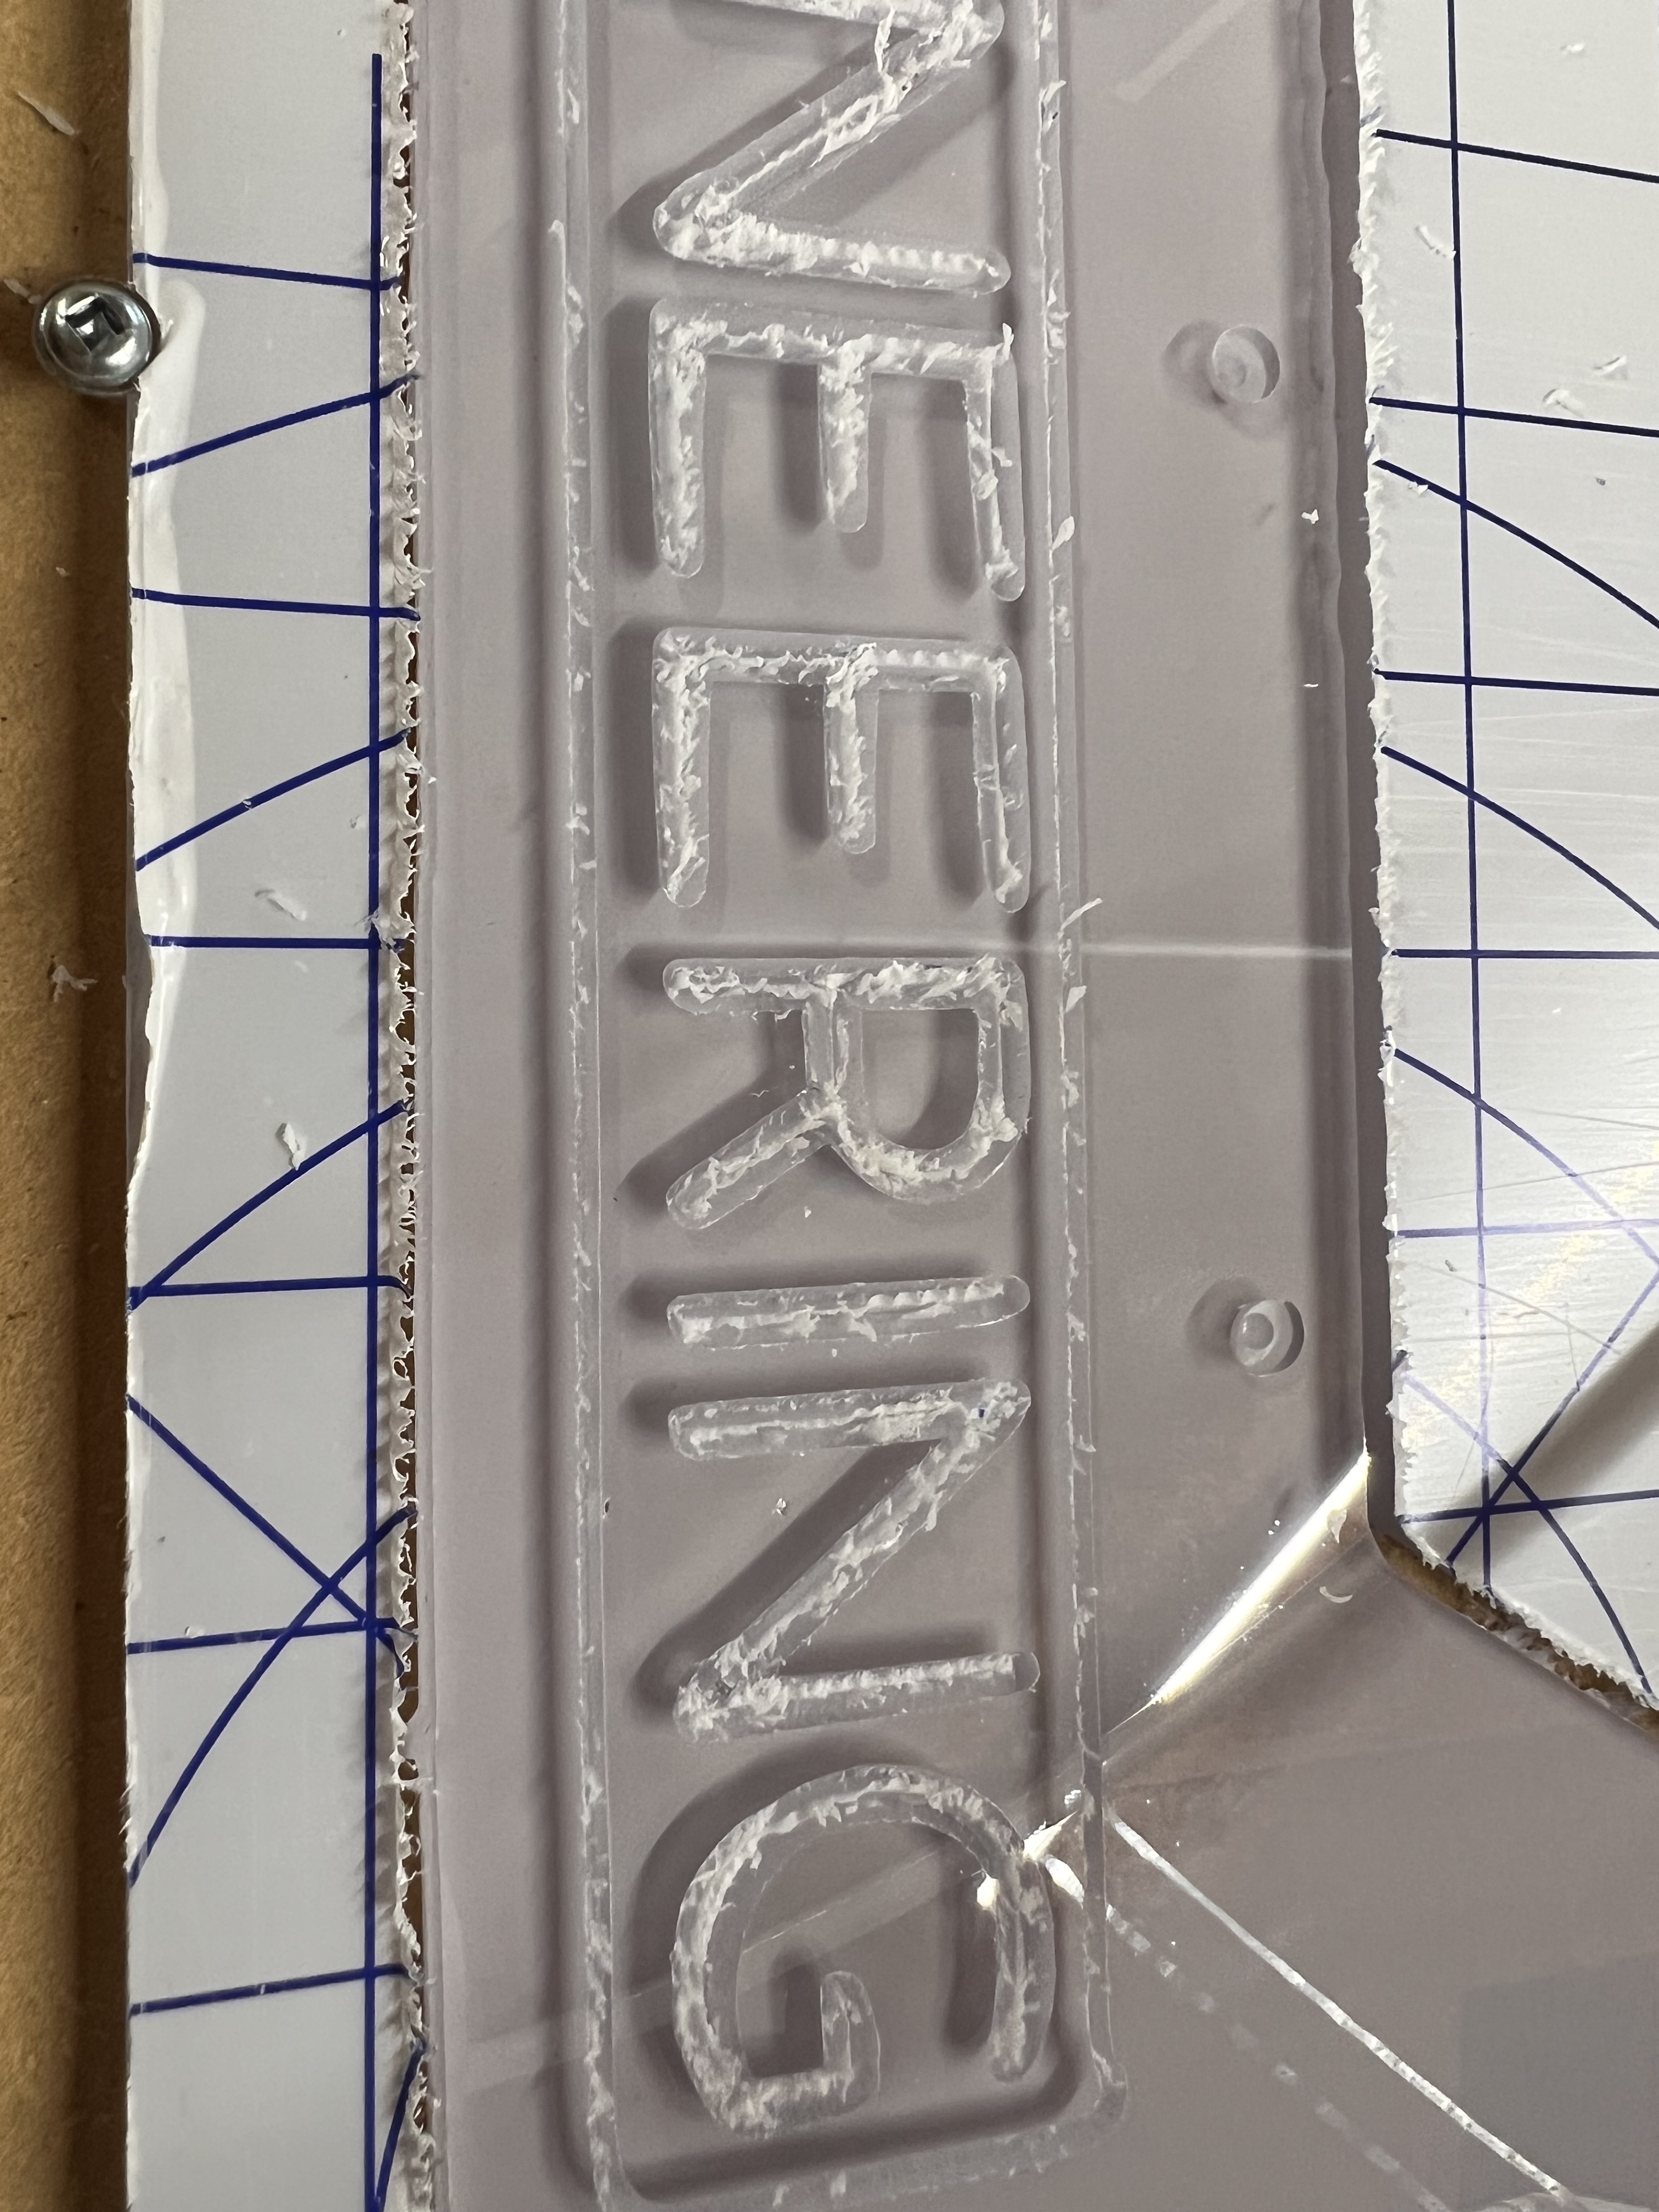
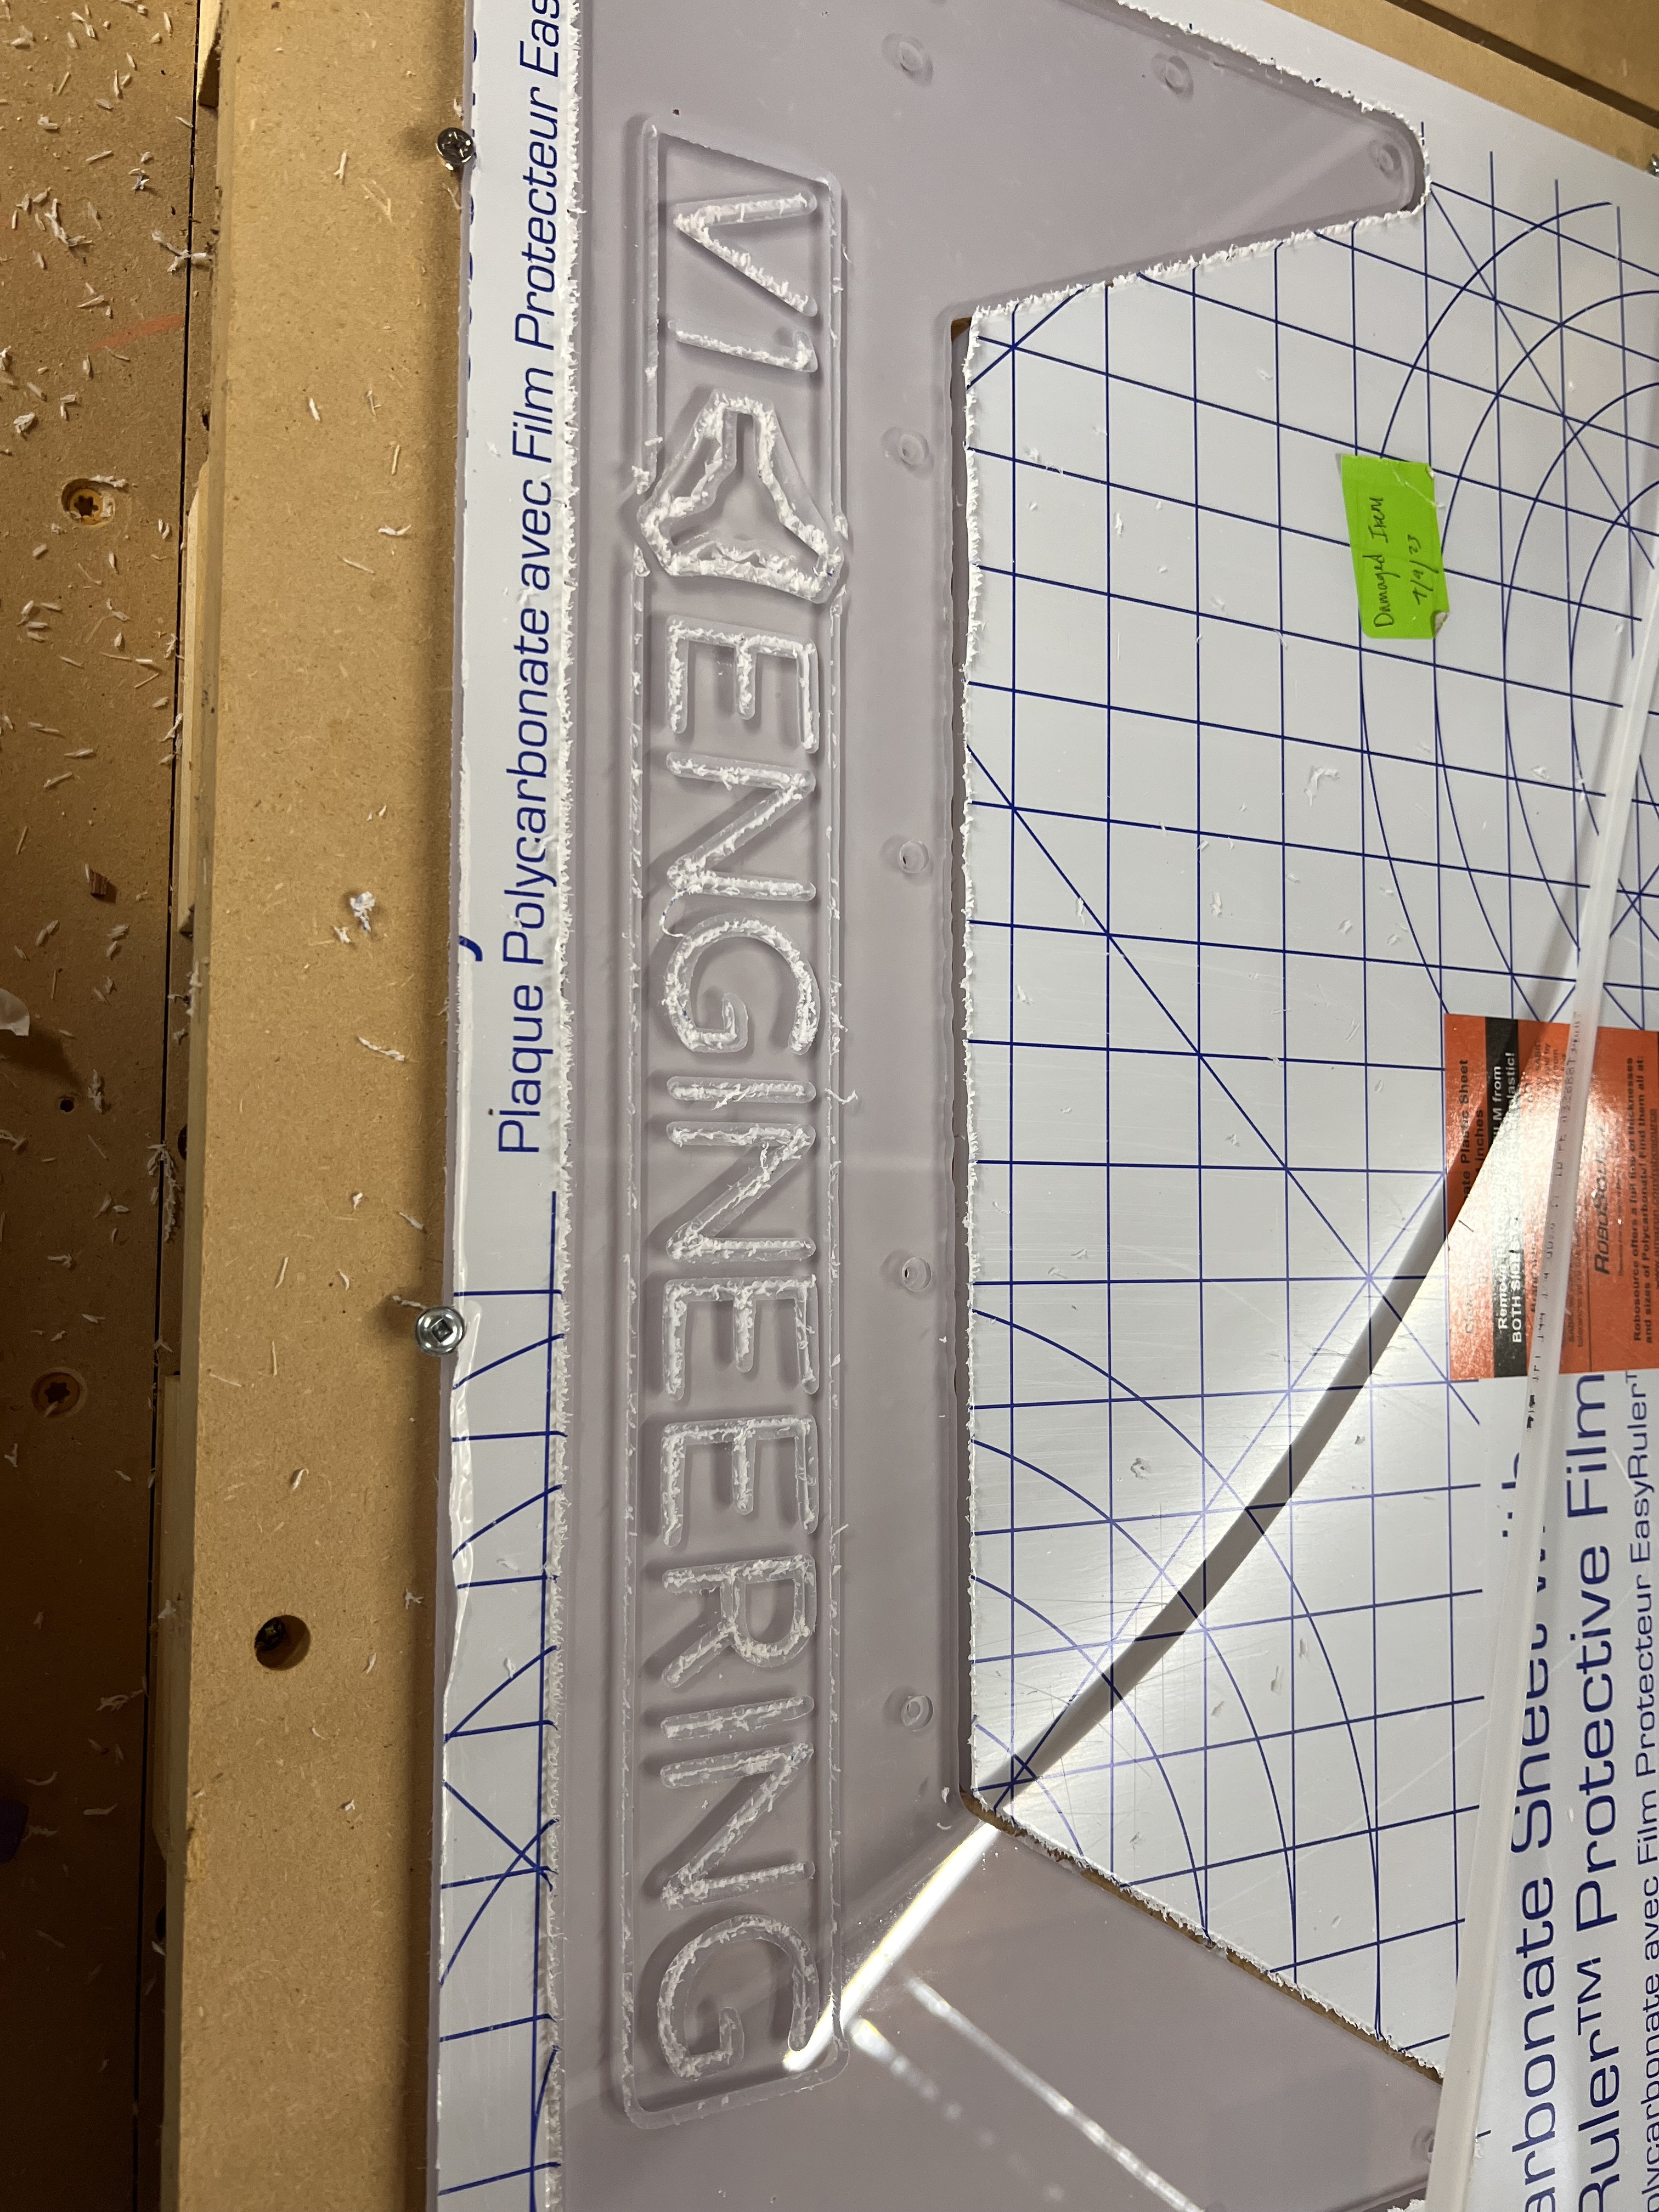
Edit just reread what you posted. I’m hoping that the thicker material will hold better. I’m planning to do a test cut with the serial number tag once I figure out how to fix the logo. I want to be able to see if it comes out right or not
Well I was going to try to cut my test piece today but found out I messed up. Did everything to set up my air blower only to get right to the end and realize that its set up for 3/8 tubing and I ran 1/4. Oh well ill see if Ace has some 3/8 tomorrow and try to run it then…if i have time. Got 5 racks of Ribs and a Boston butt to cook tomorrow for daughters graduation party.
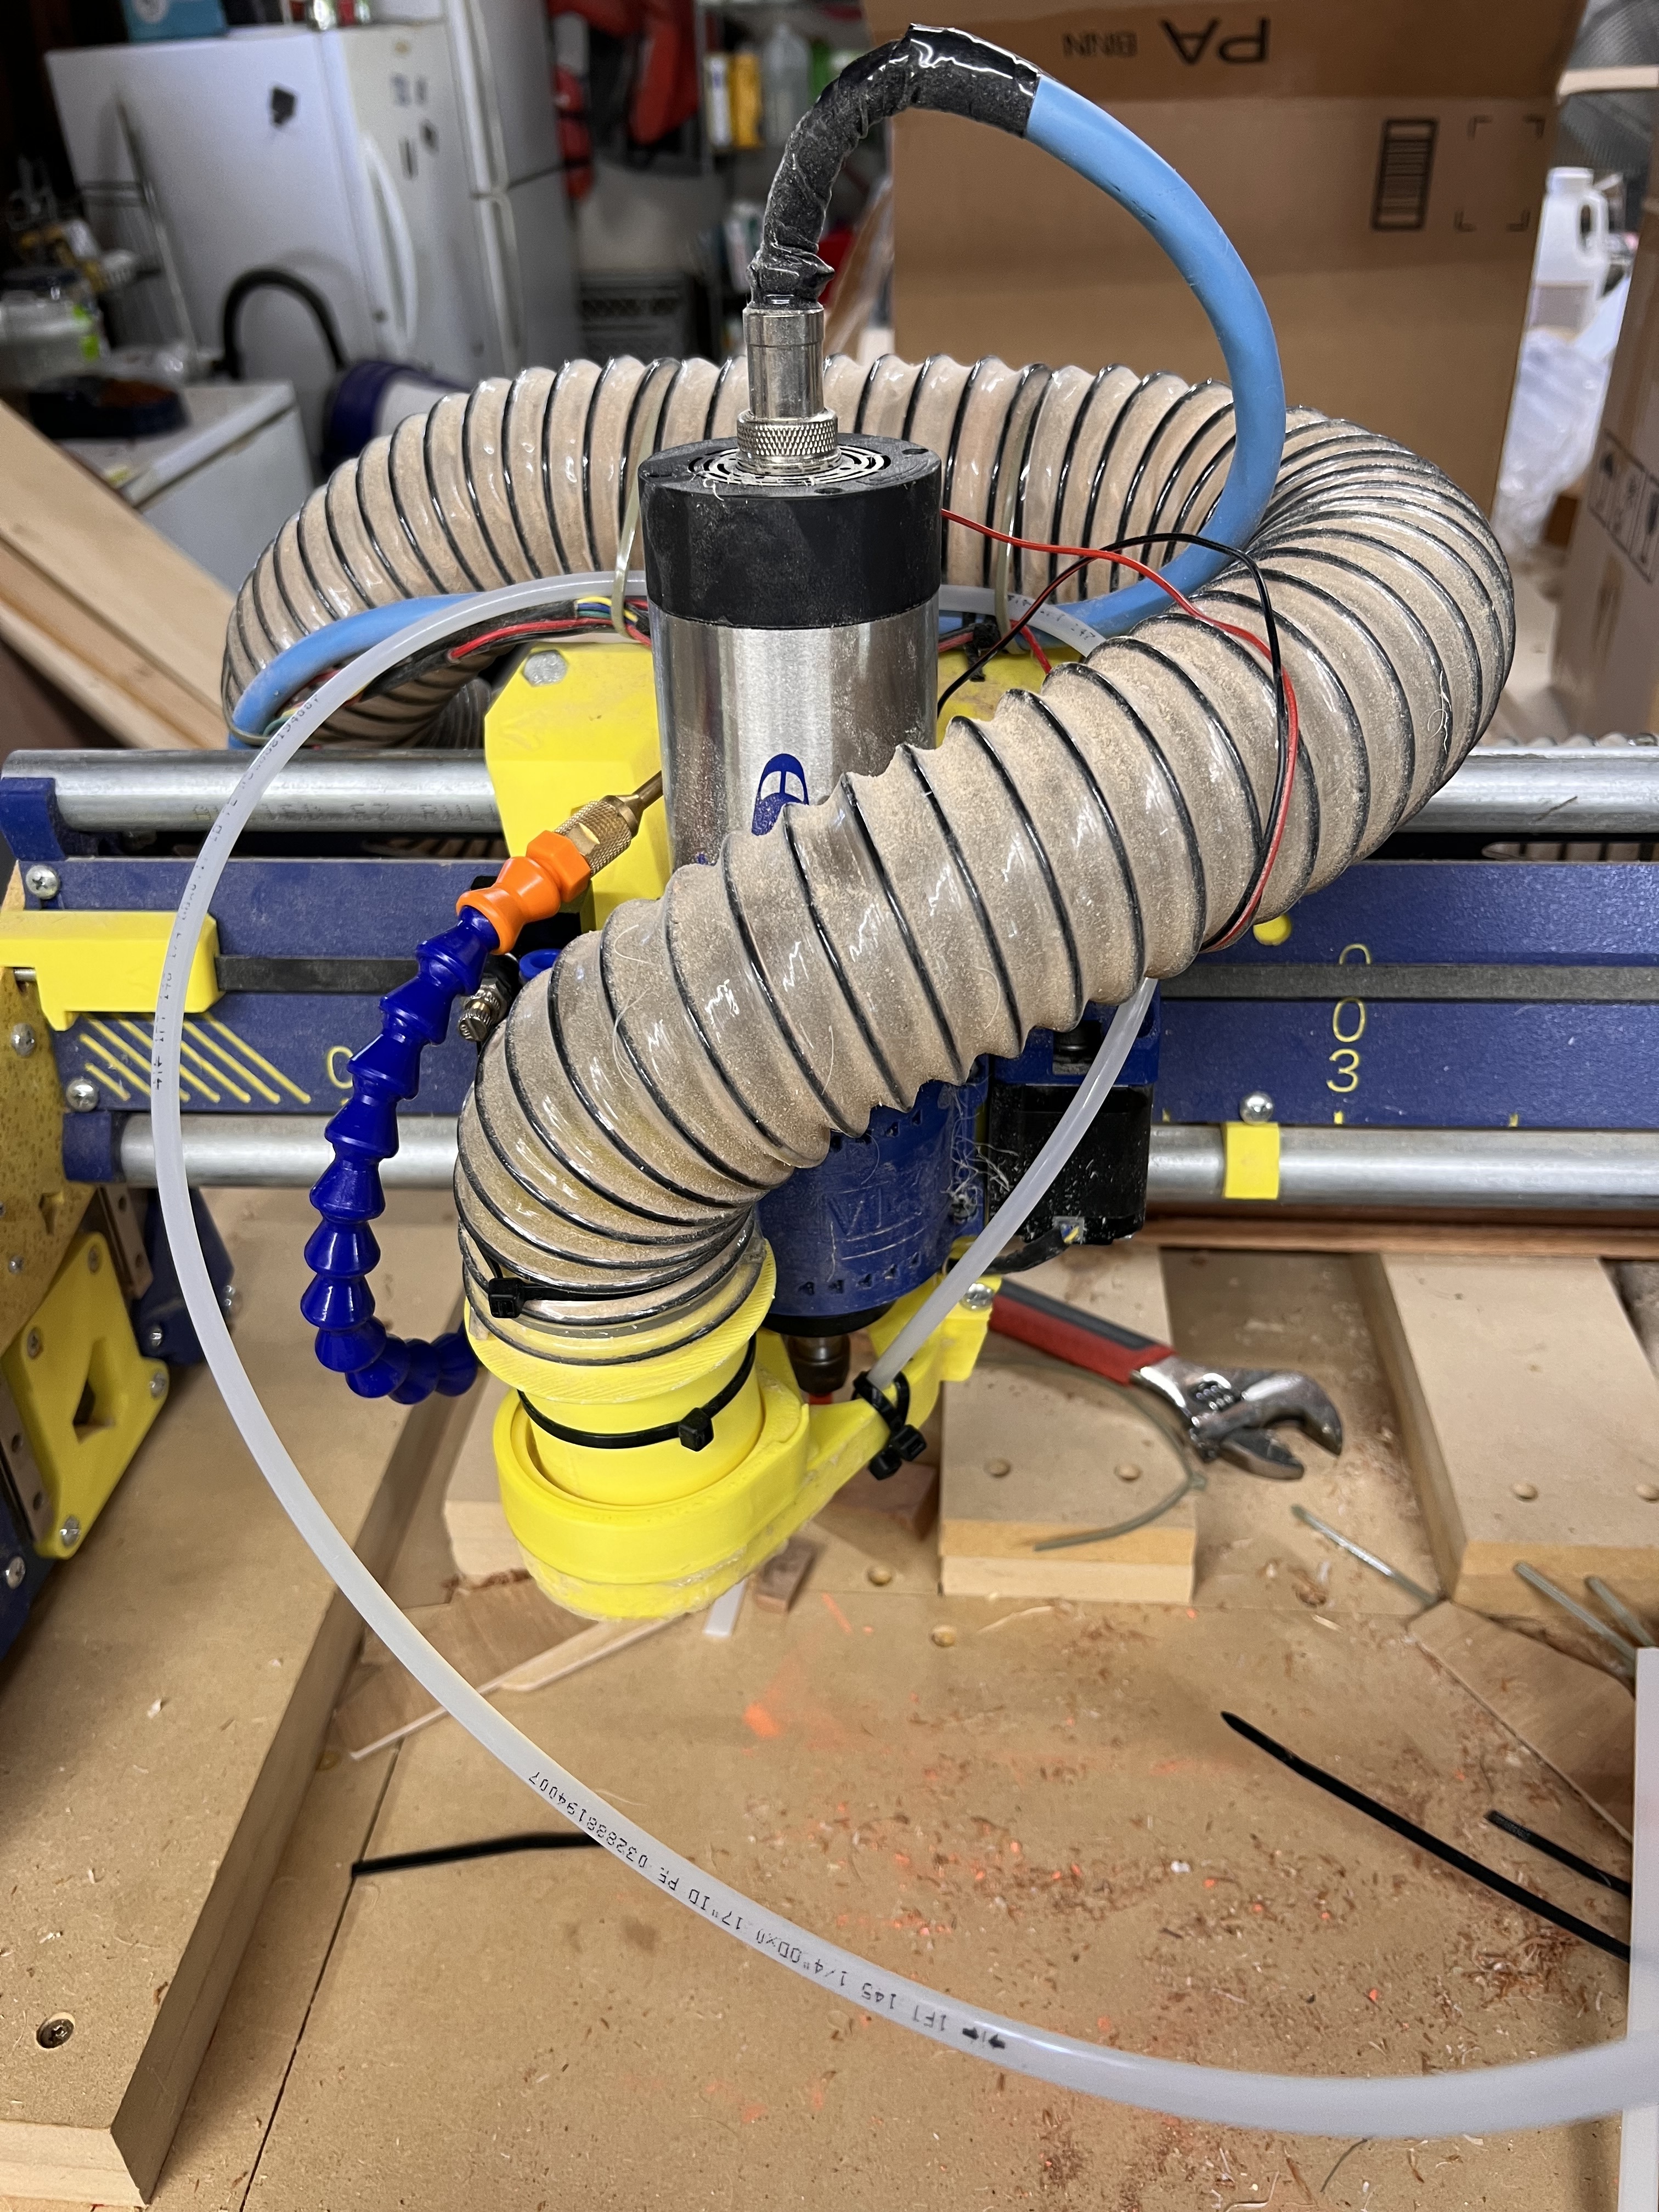
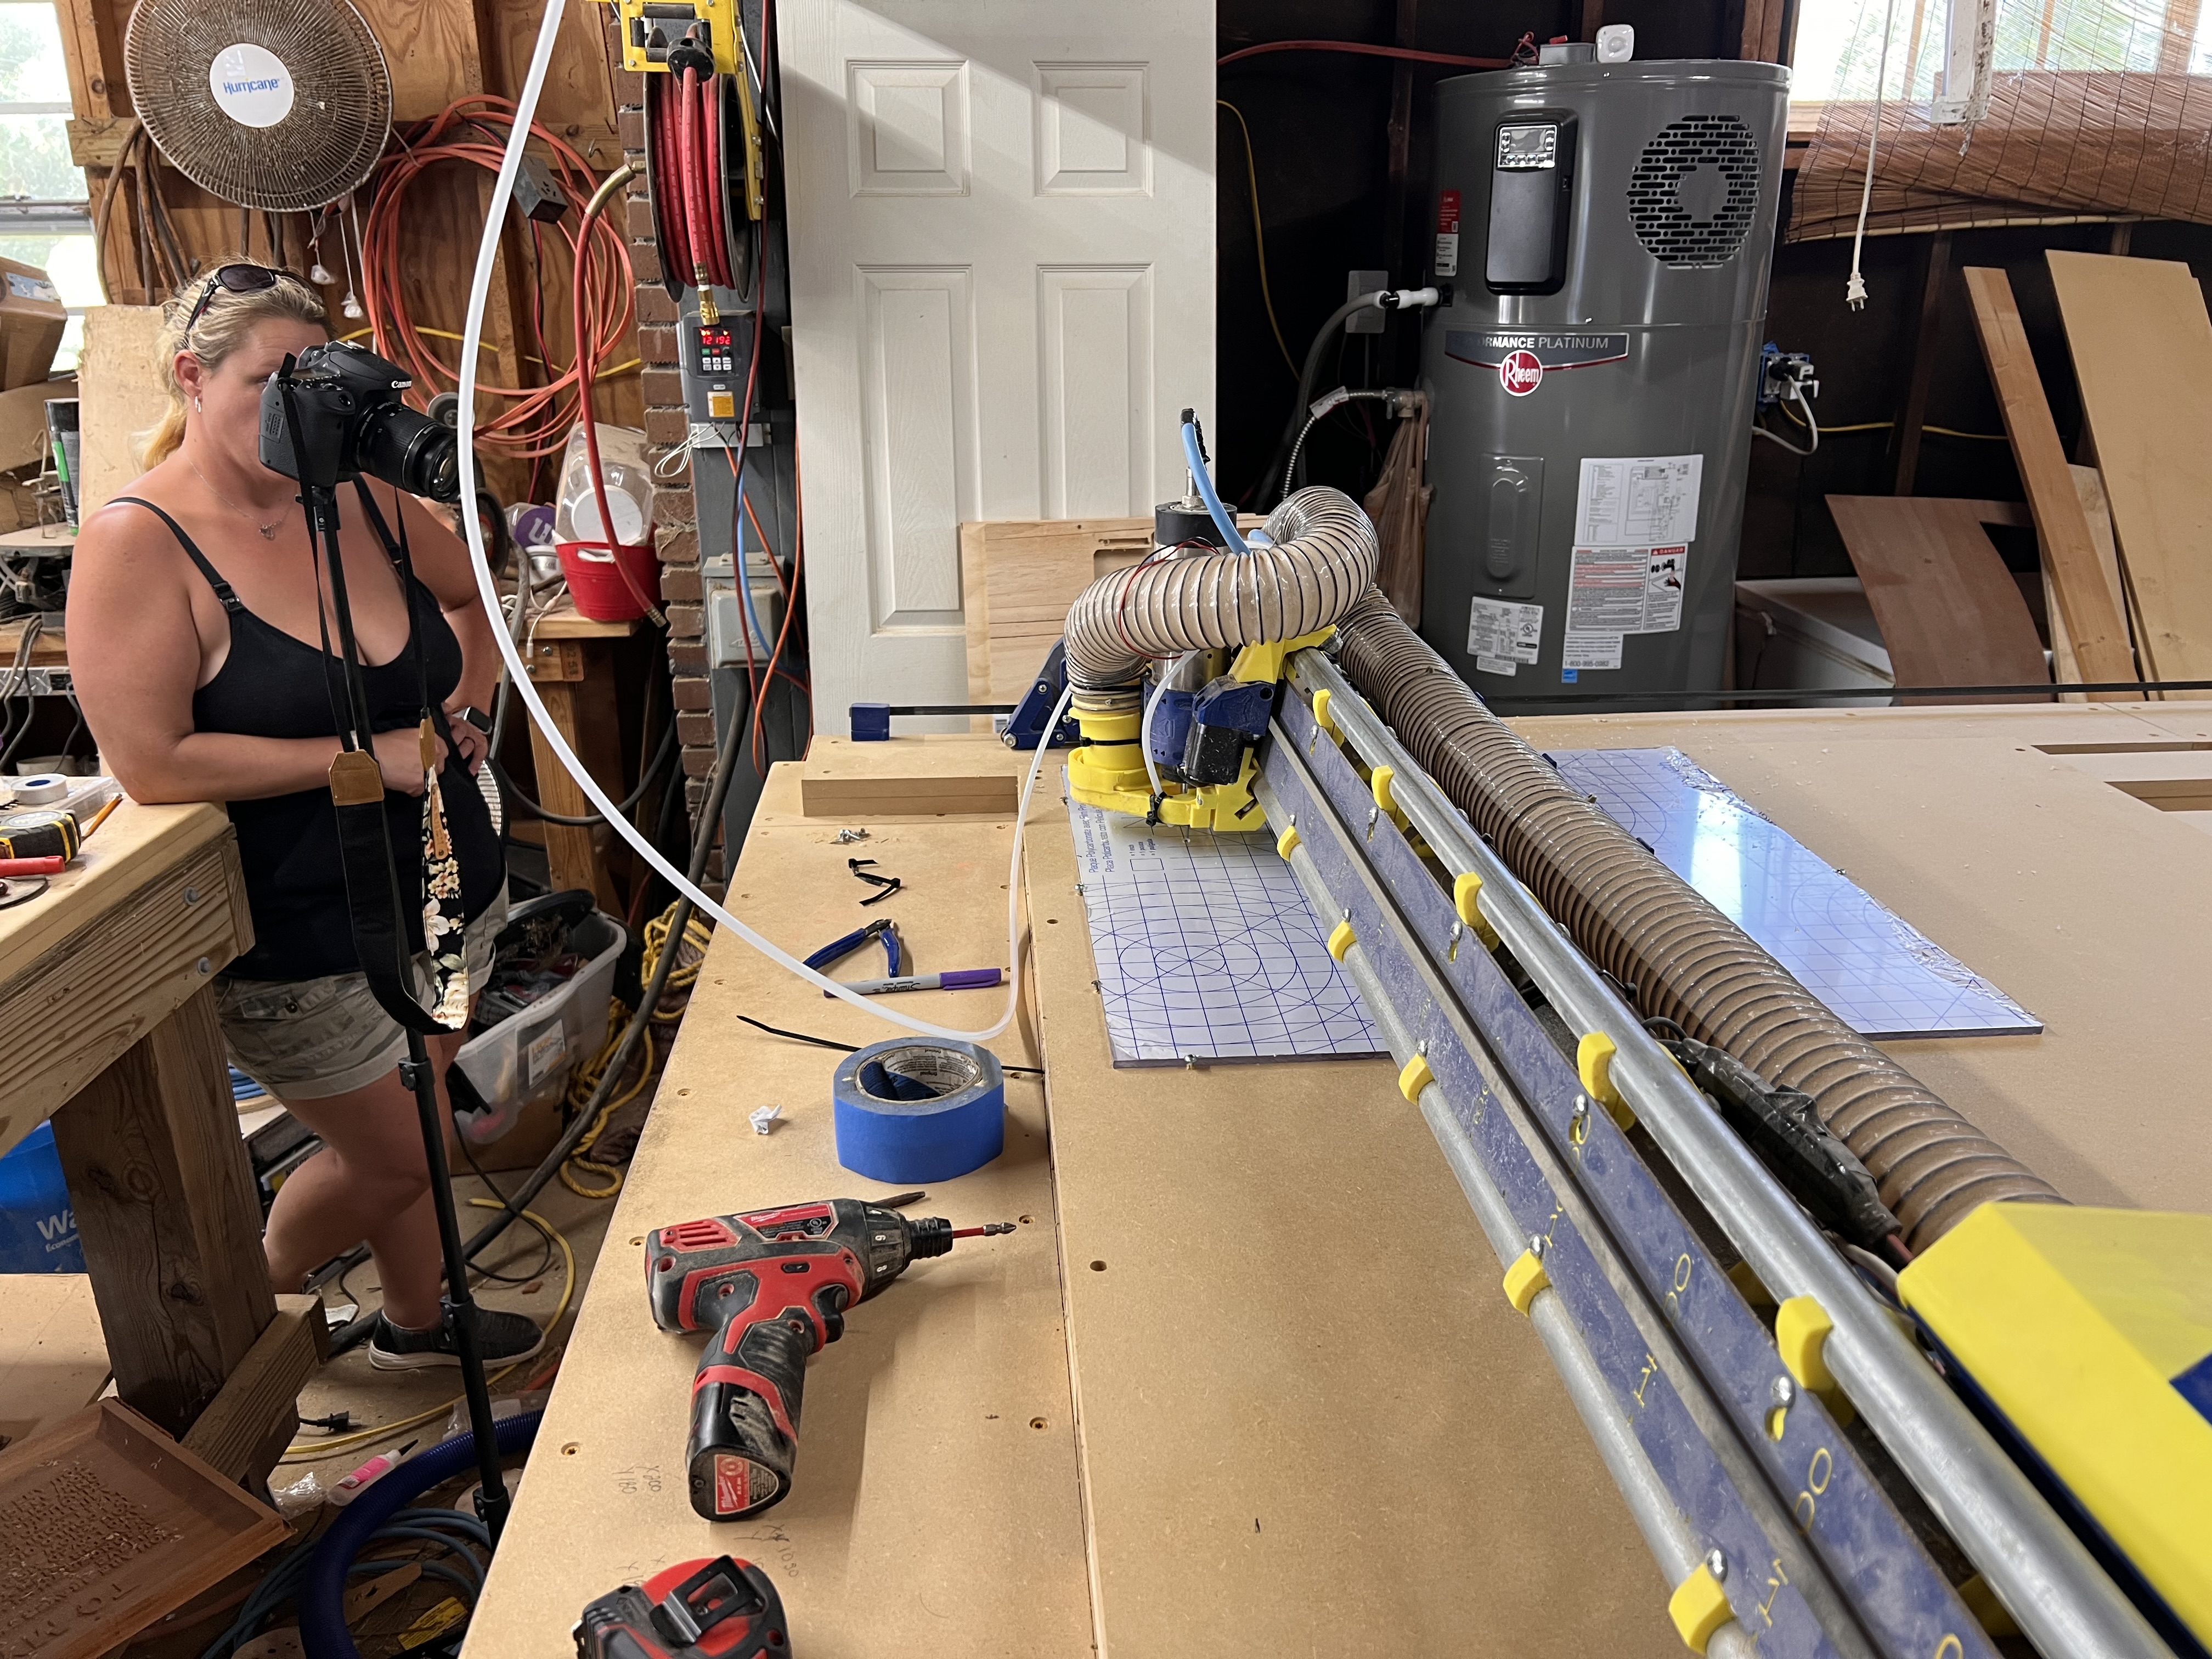
Turns out it wasn’t 3/8 tubing either. its 8mm. Should be here today. Planning to try and do some test to check/confirm square and then once the tubing gets here I’m going to give it a shot. I did get the blower mounted at least…
I think I’m about ready to pull the trigger. Going to set up real quick and test square then I’ll be ready
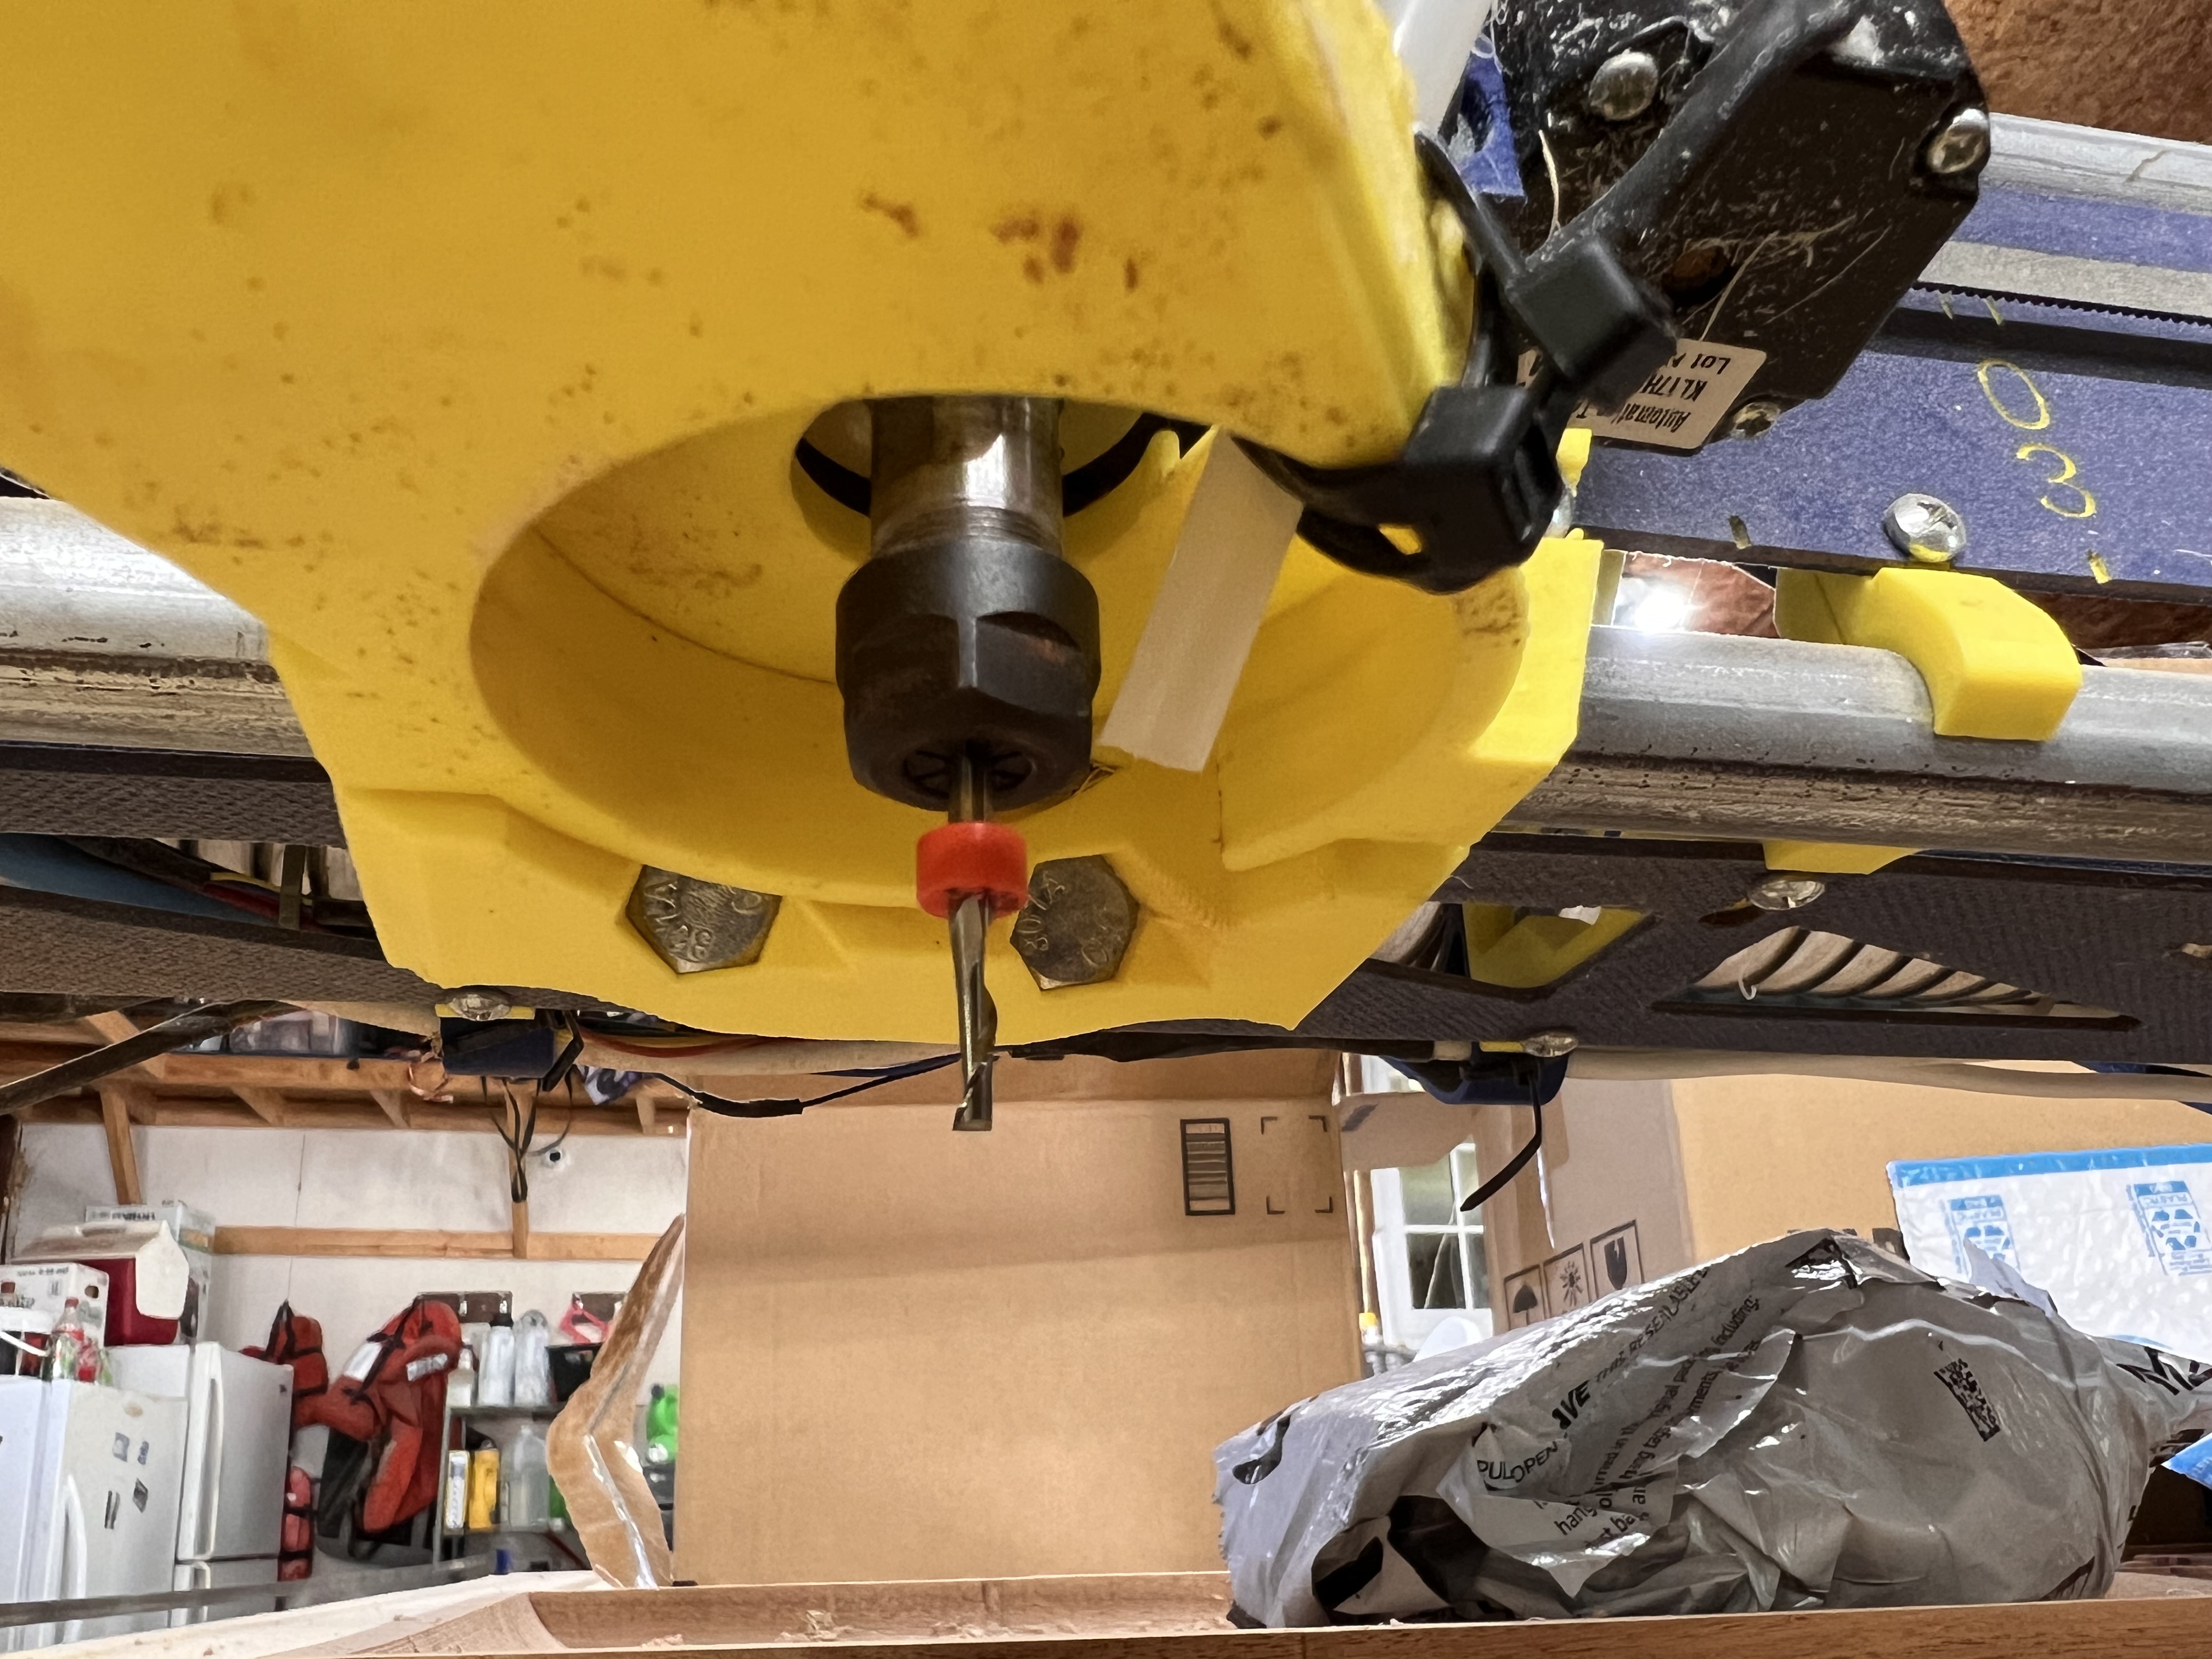
How’s this for a temporary air blower since I apparently can’t read when I’m ordering from Amazon lol (4th try at correct tubing will be here tomorrow. Now I have to find what the hell I did with the small tubing that came with it so I can use ipa when I go to cut aluminum soon)
This was supposed to be a time lapse video. First time we have ever used this camera for video so we ended up with a technical difficulty and it was a normal speed video. I started to not even post it because i absolutely hate the sound of my own voice and had i know it wasn’t time lapse I wouldn’t have said a word. But here it is anyways lol. Long and boring but hopefully it can help us all learn some things.