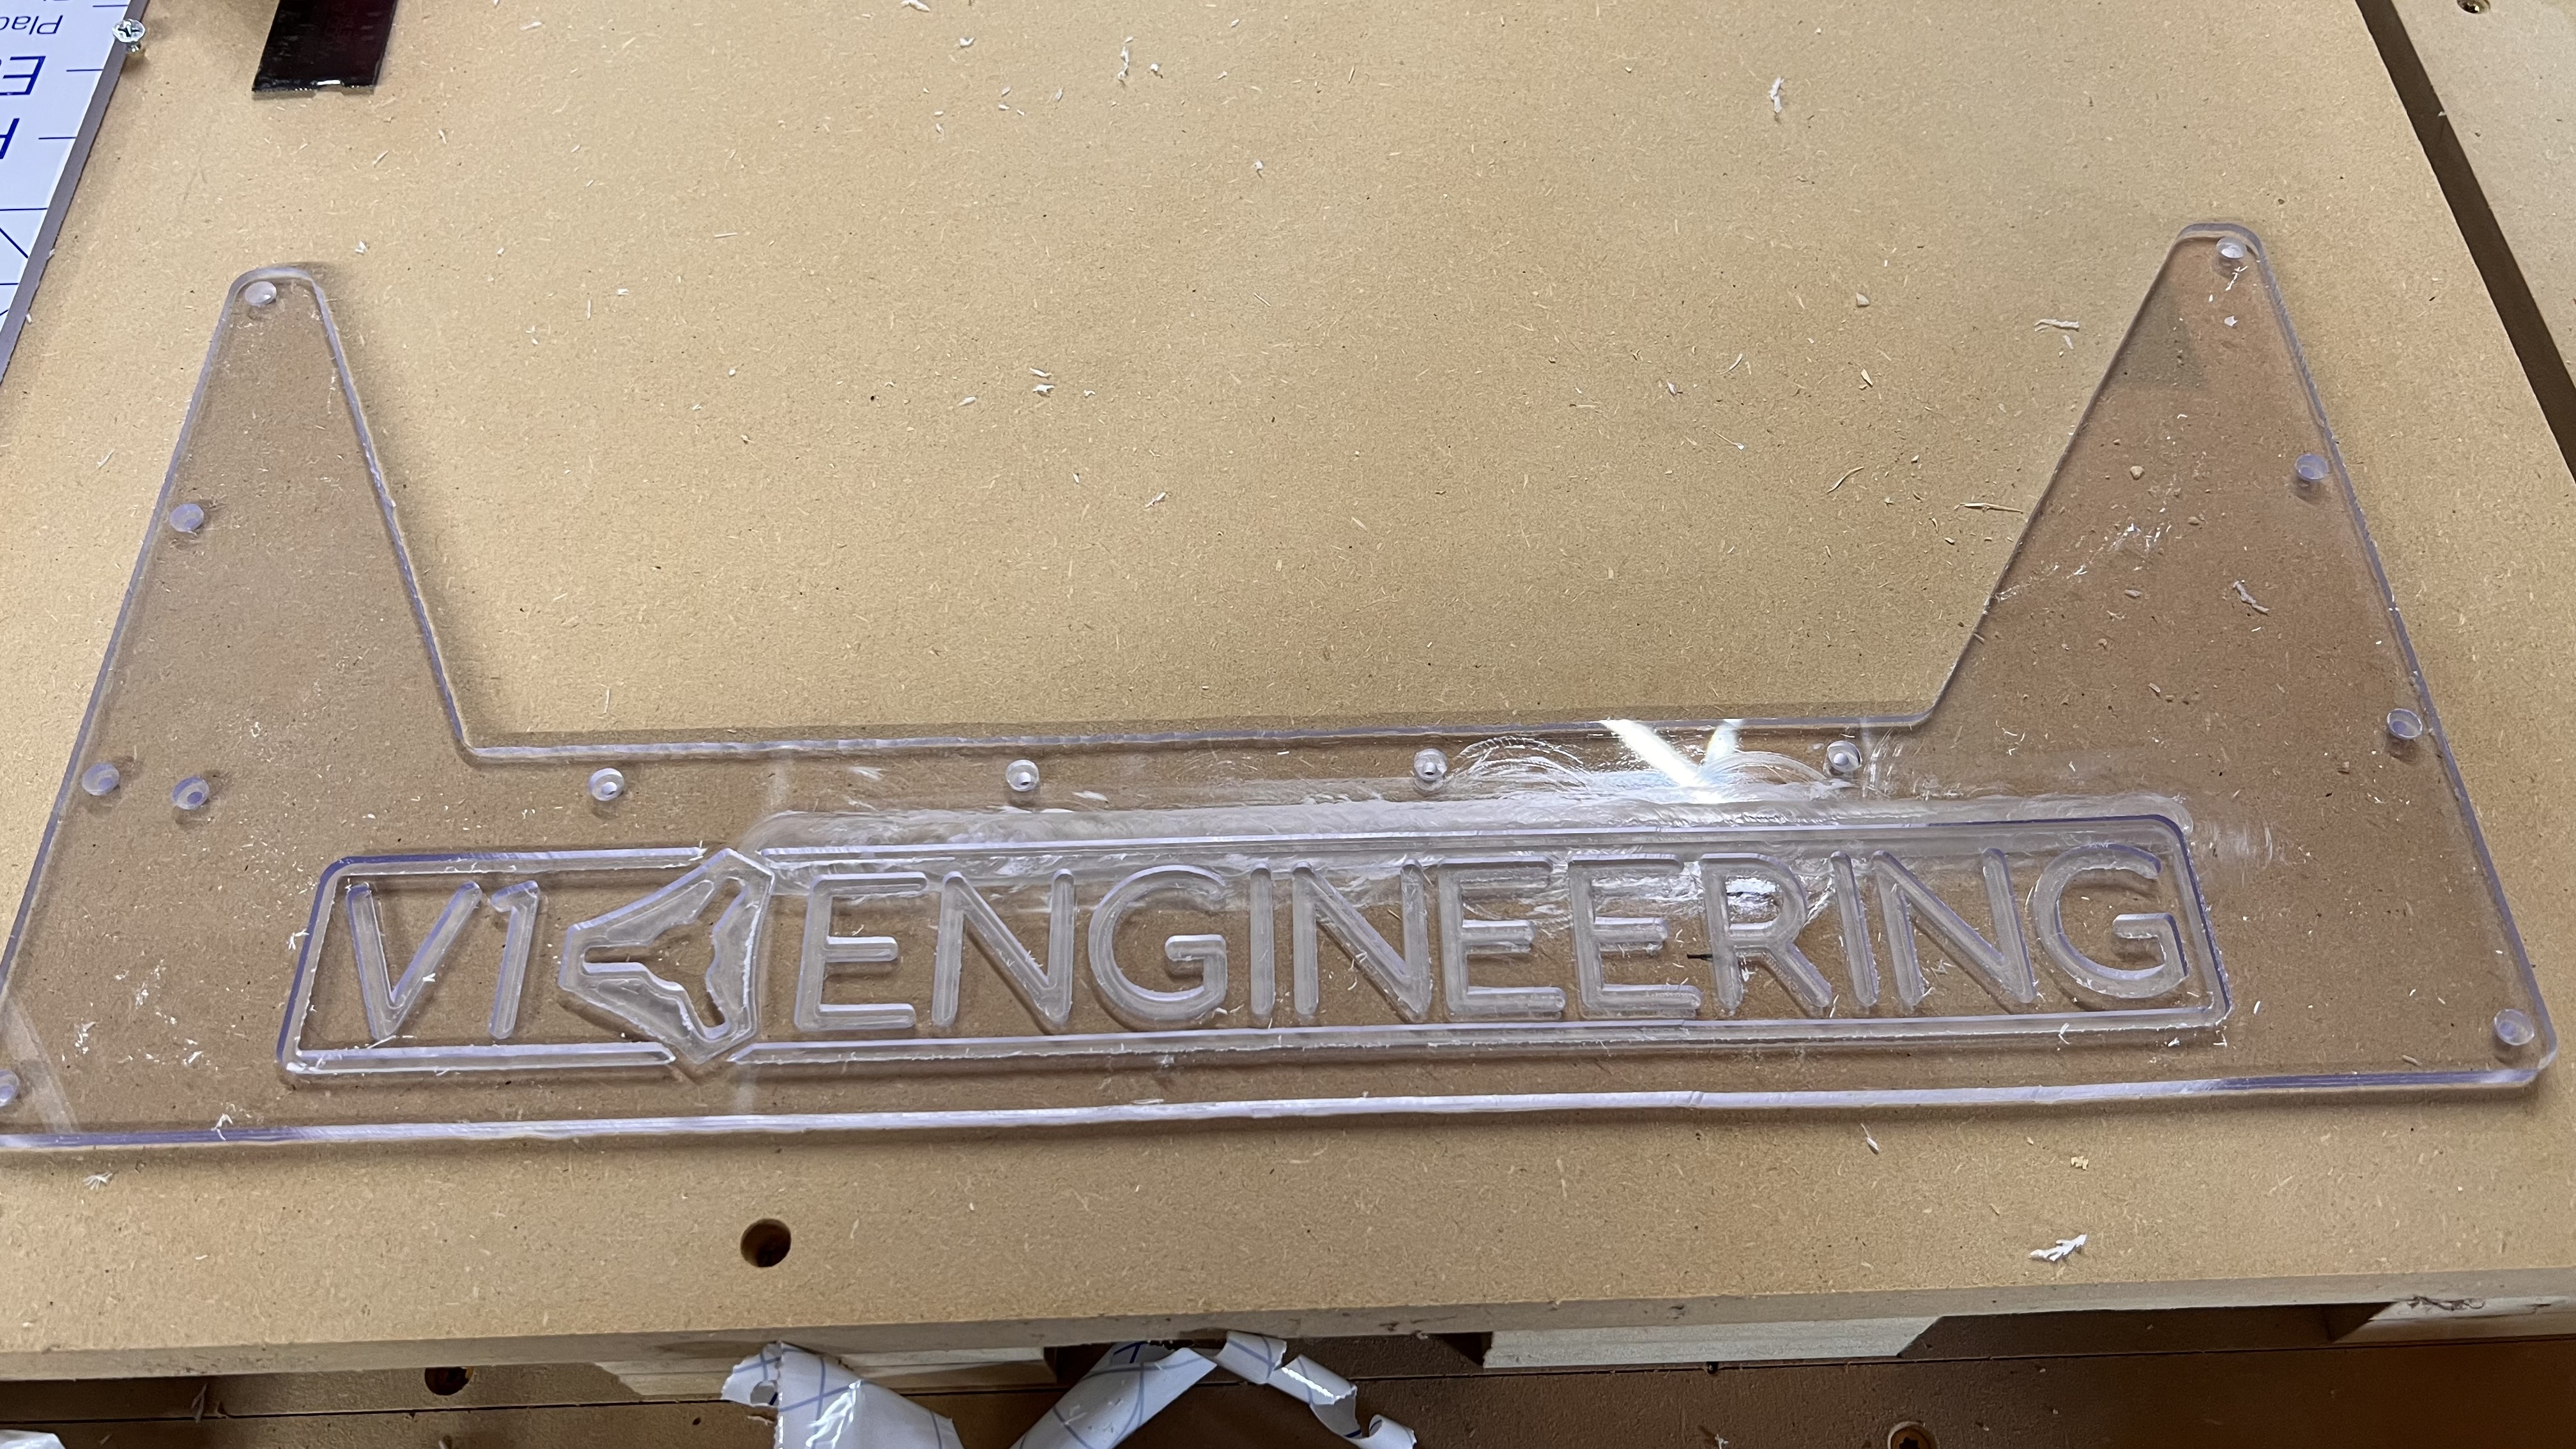
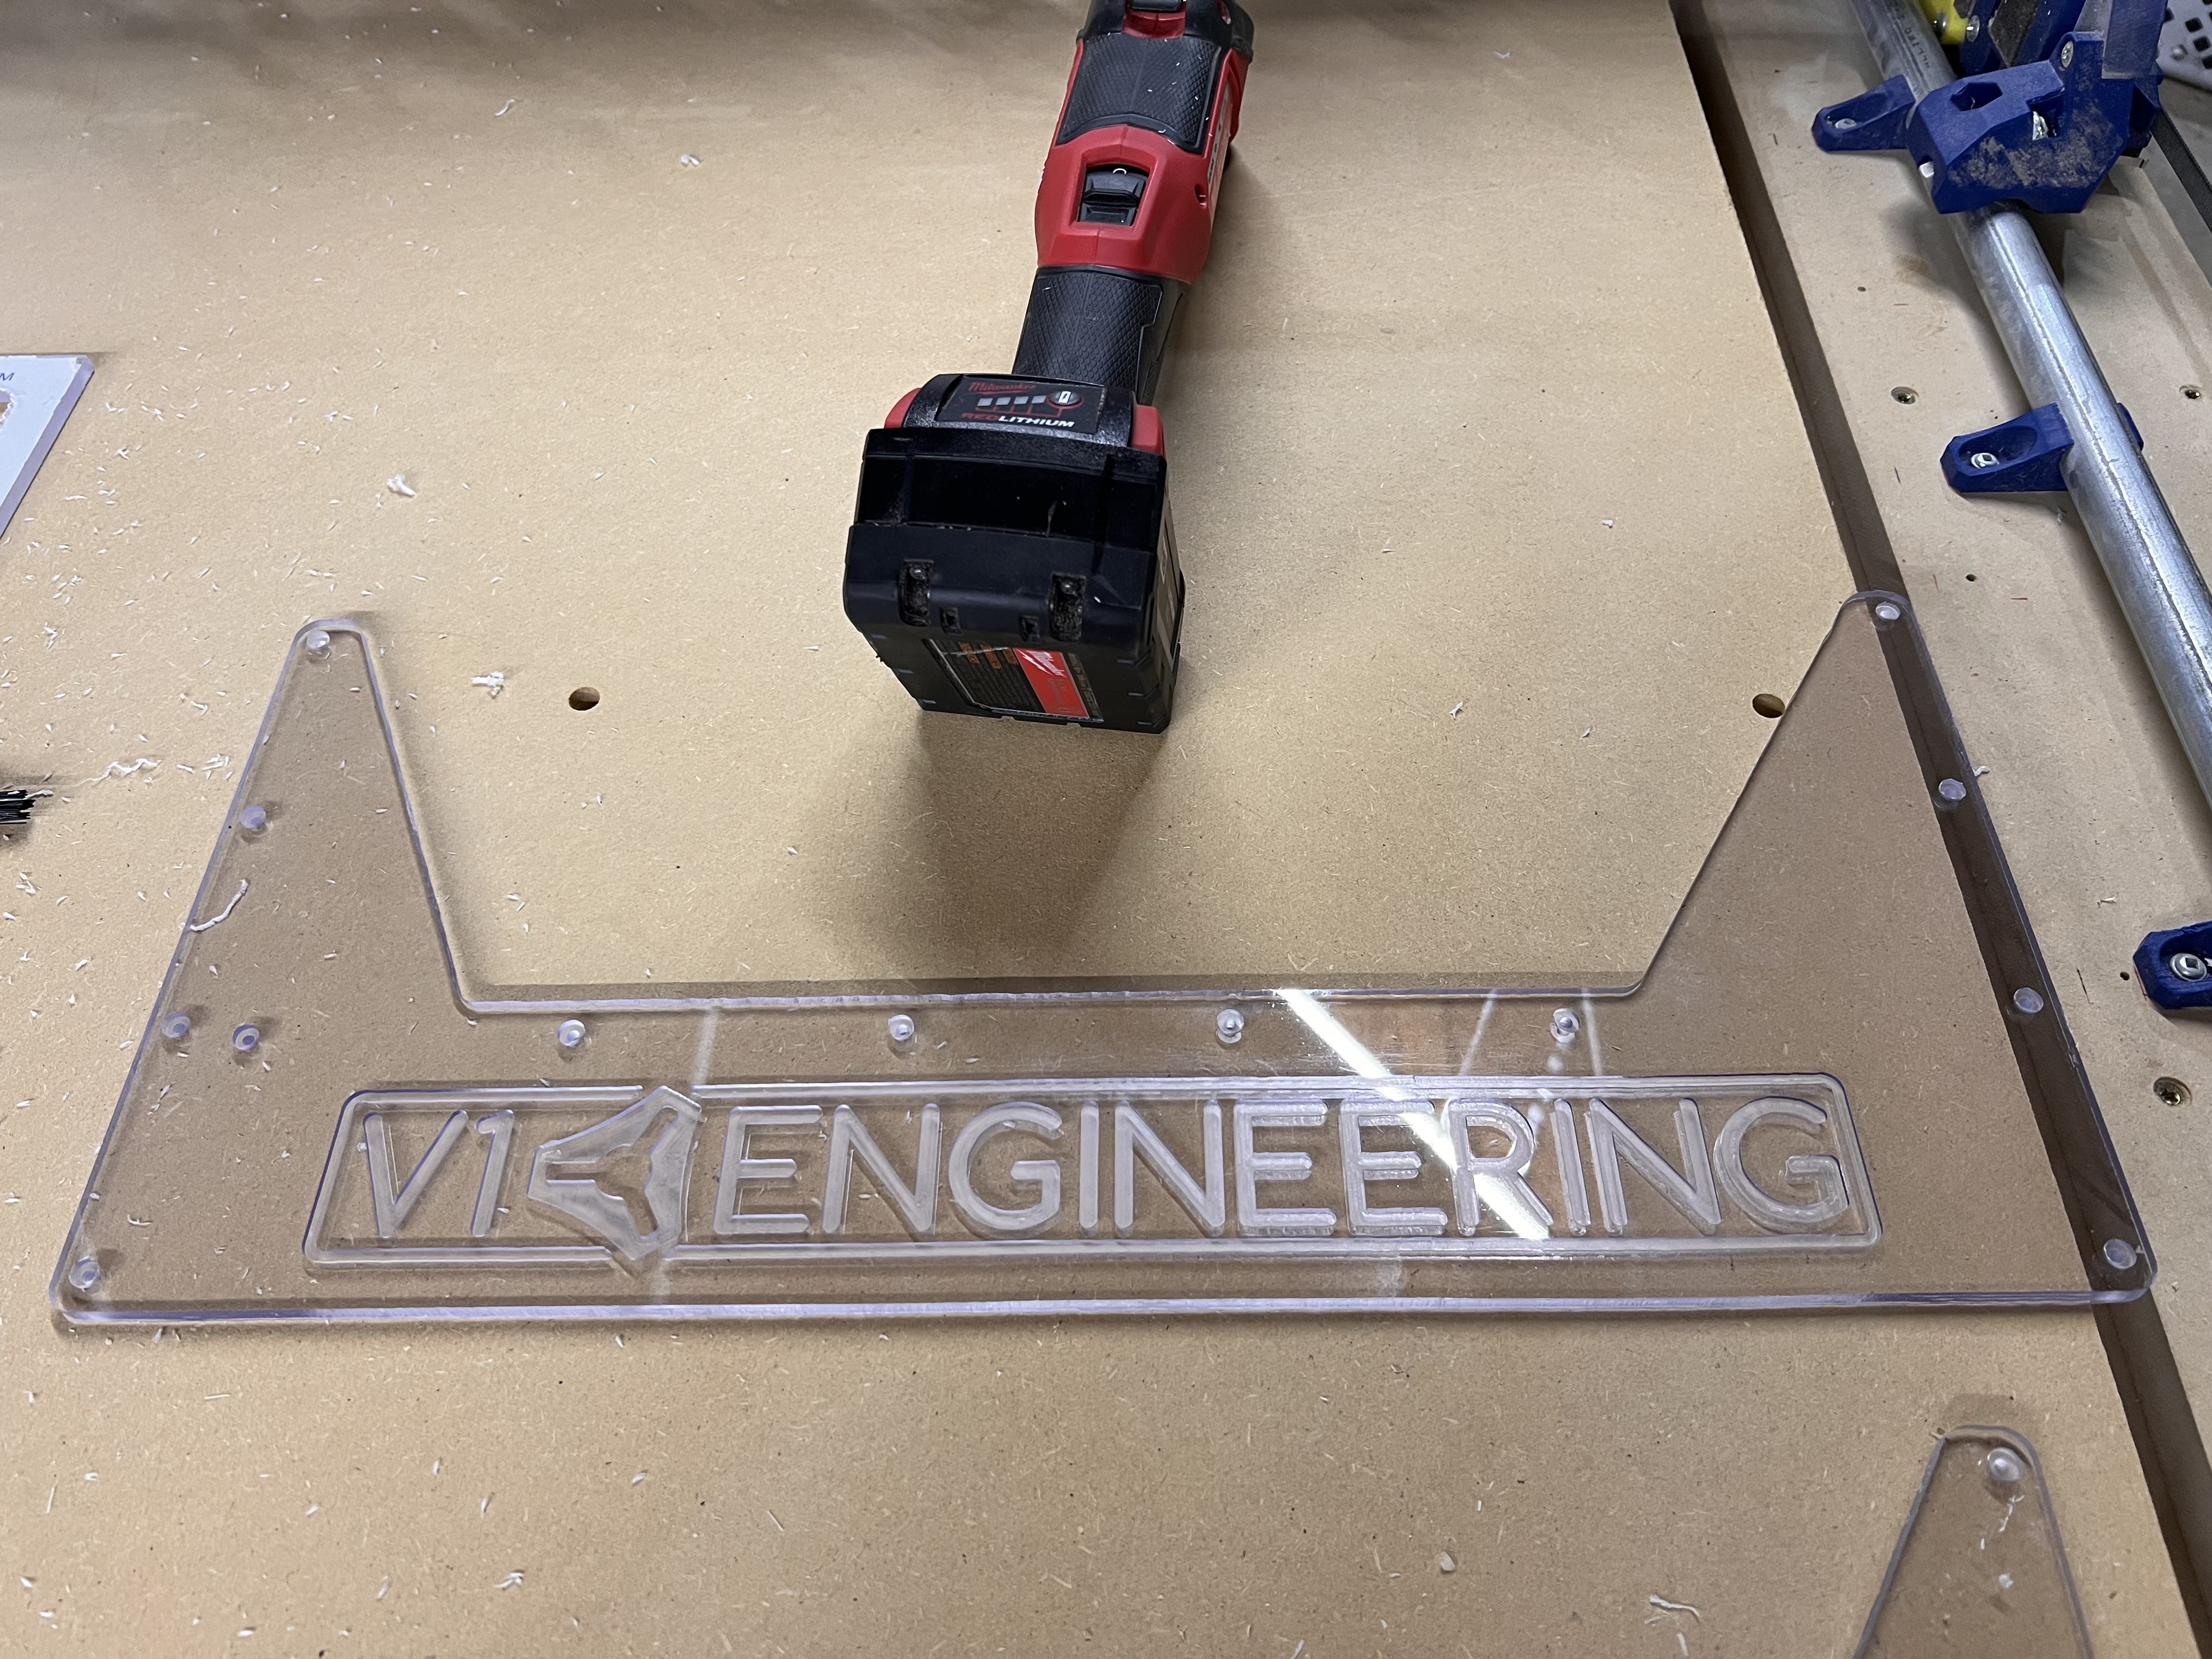
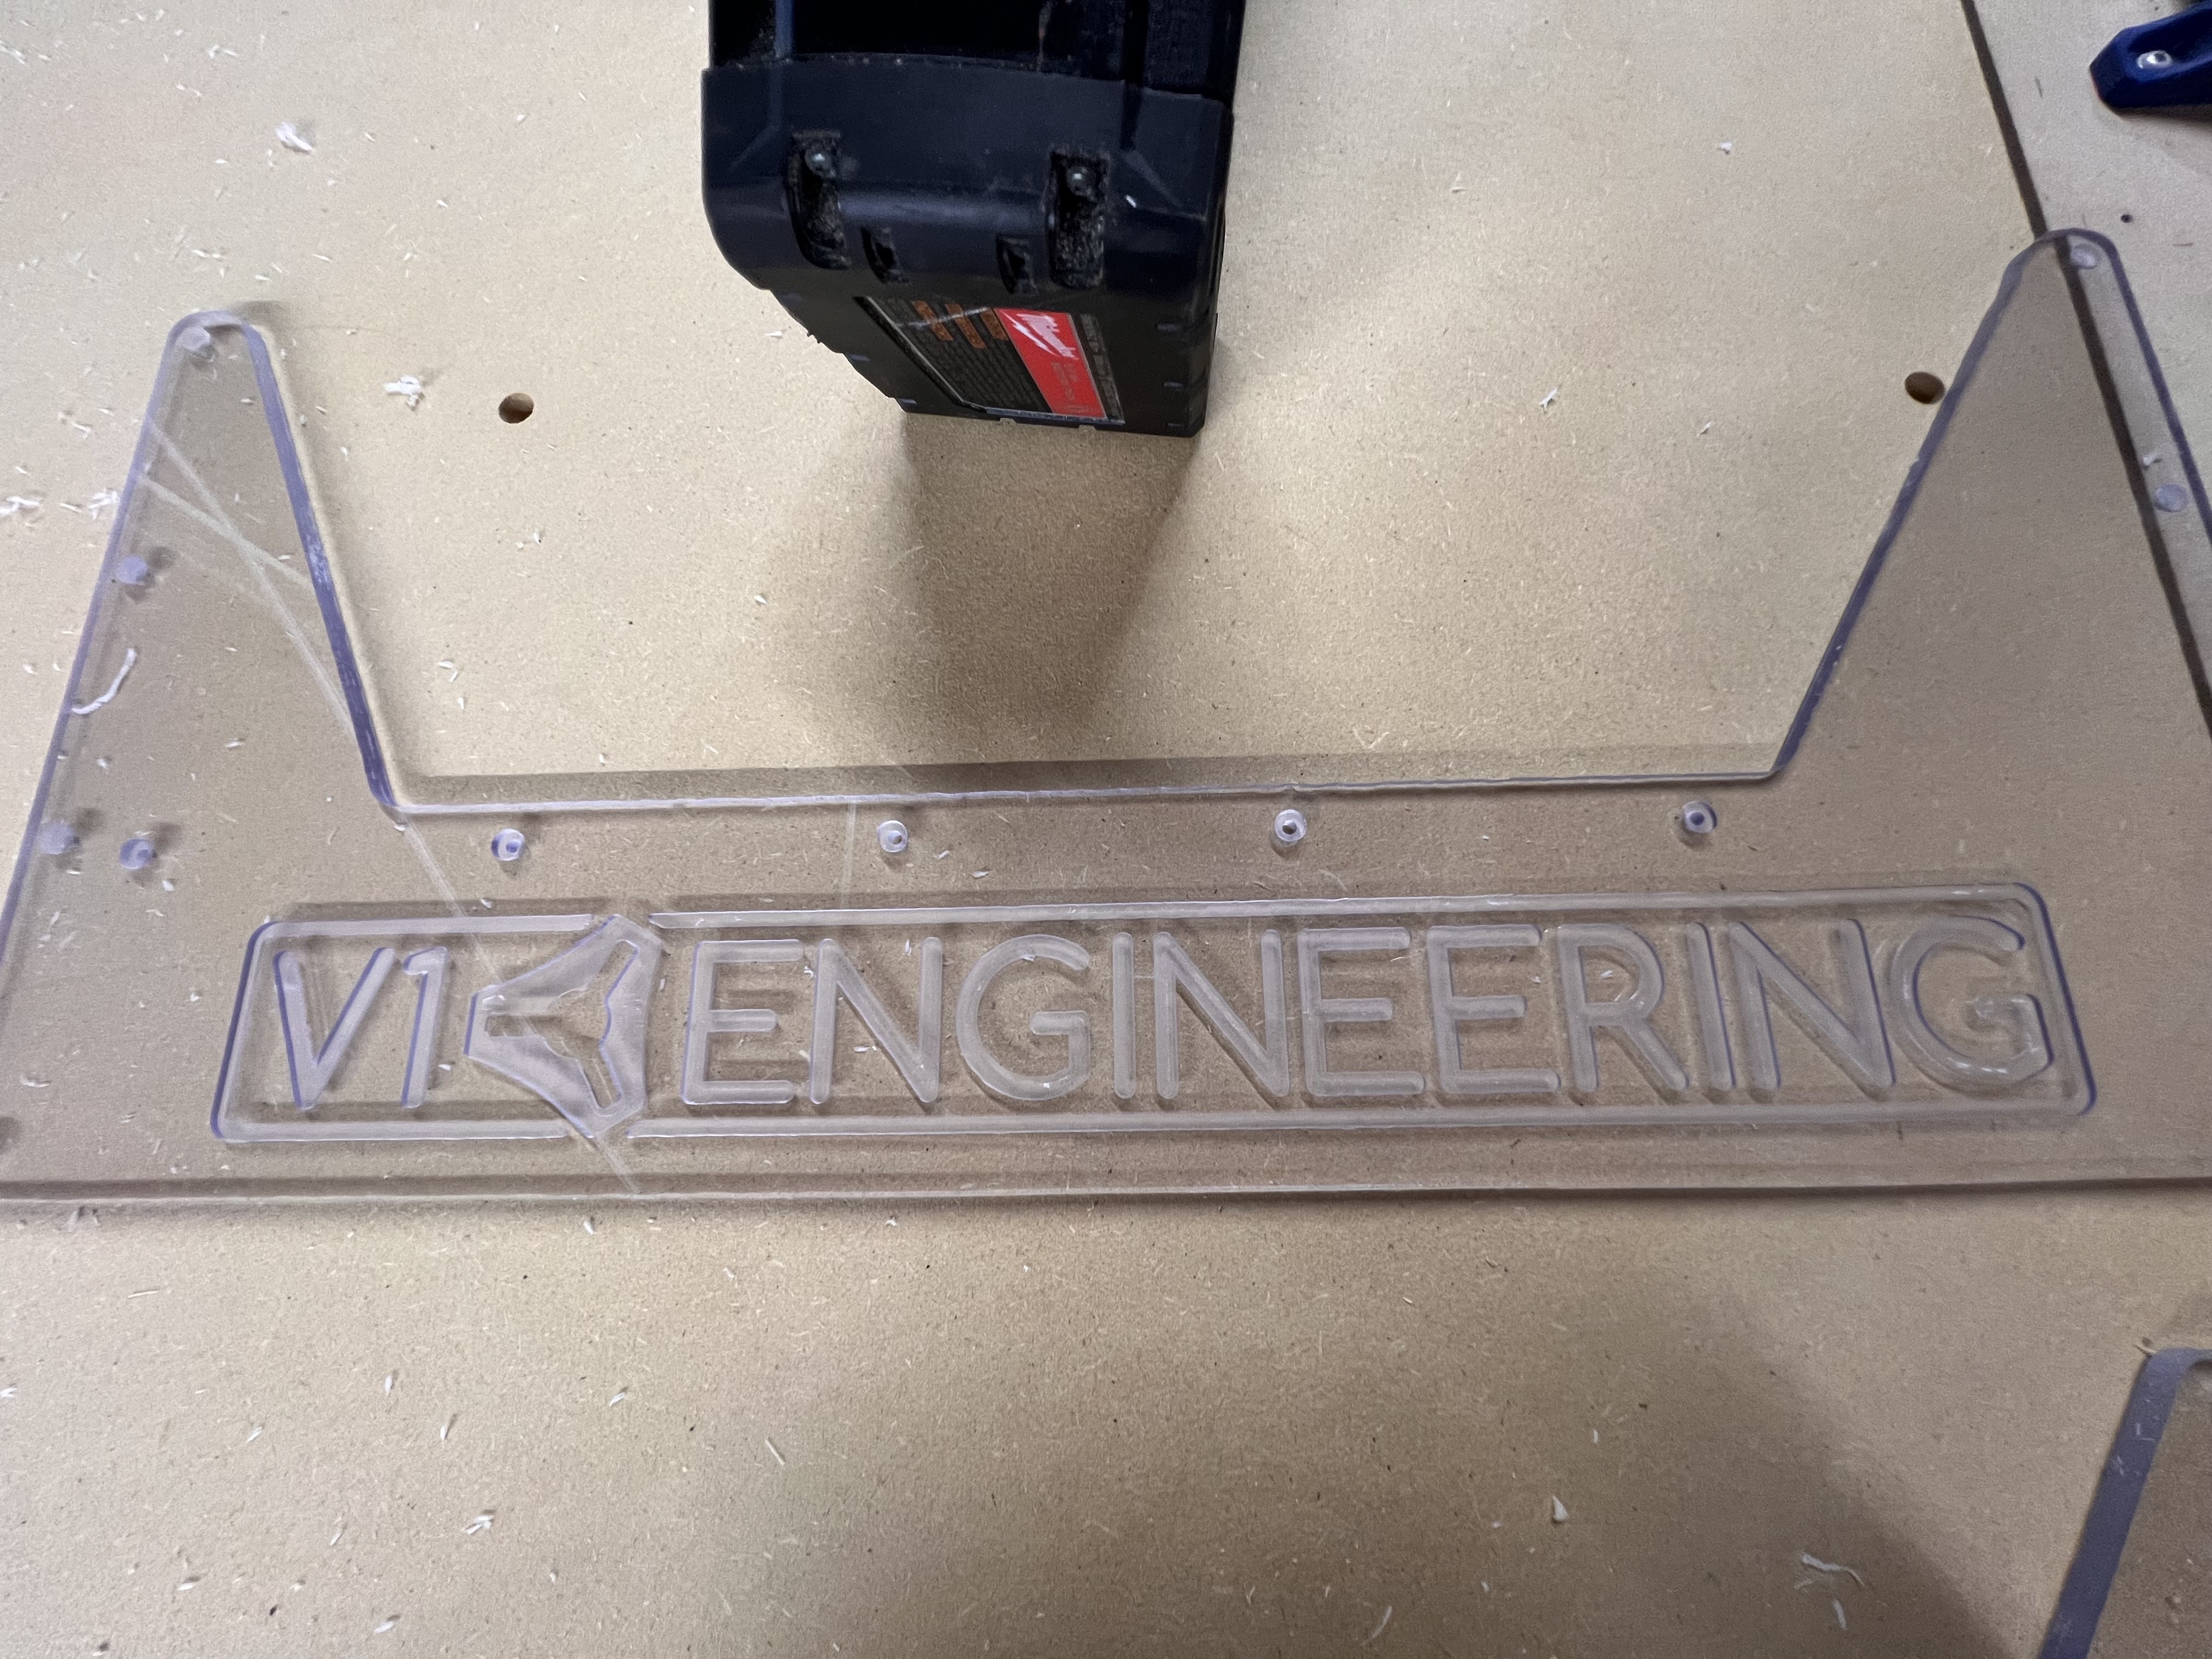
Got the letters and logo cleaned up. But the bit picked up a huge mess of plastic and before I could get it to pause so I clean it up it had scratched it all to hell. I don’t think this would have been an issue had I not already pulled the plastic on it. I have enough from this sheet to cut another one and that’s why I started with this one.
On acrylic, I would remove as much as possible with a sharp edge, like a chisel. A small sanding block for the exposed corners to give a very slight chamfer to them, then clean up the rest with a butane torch.
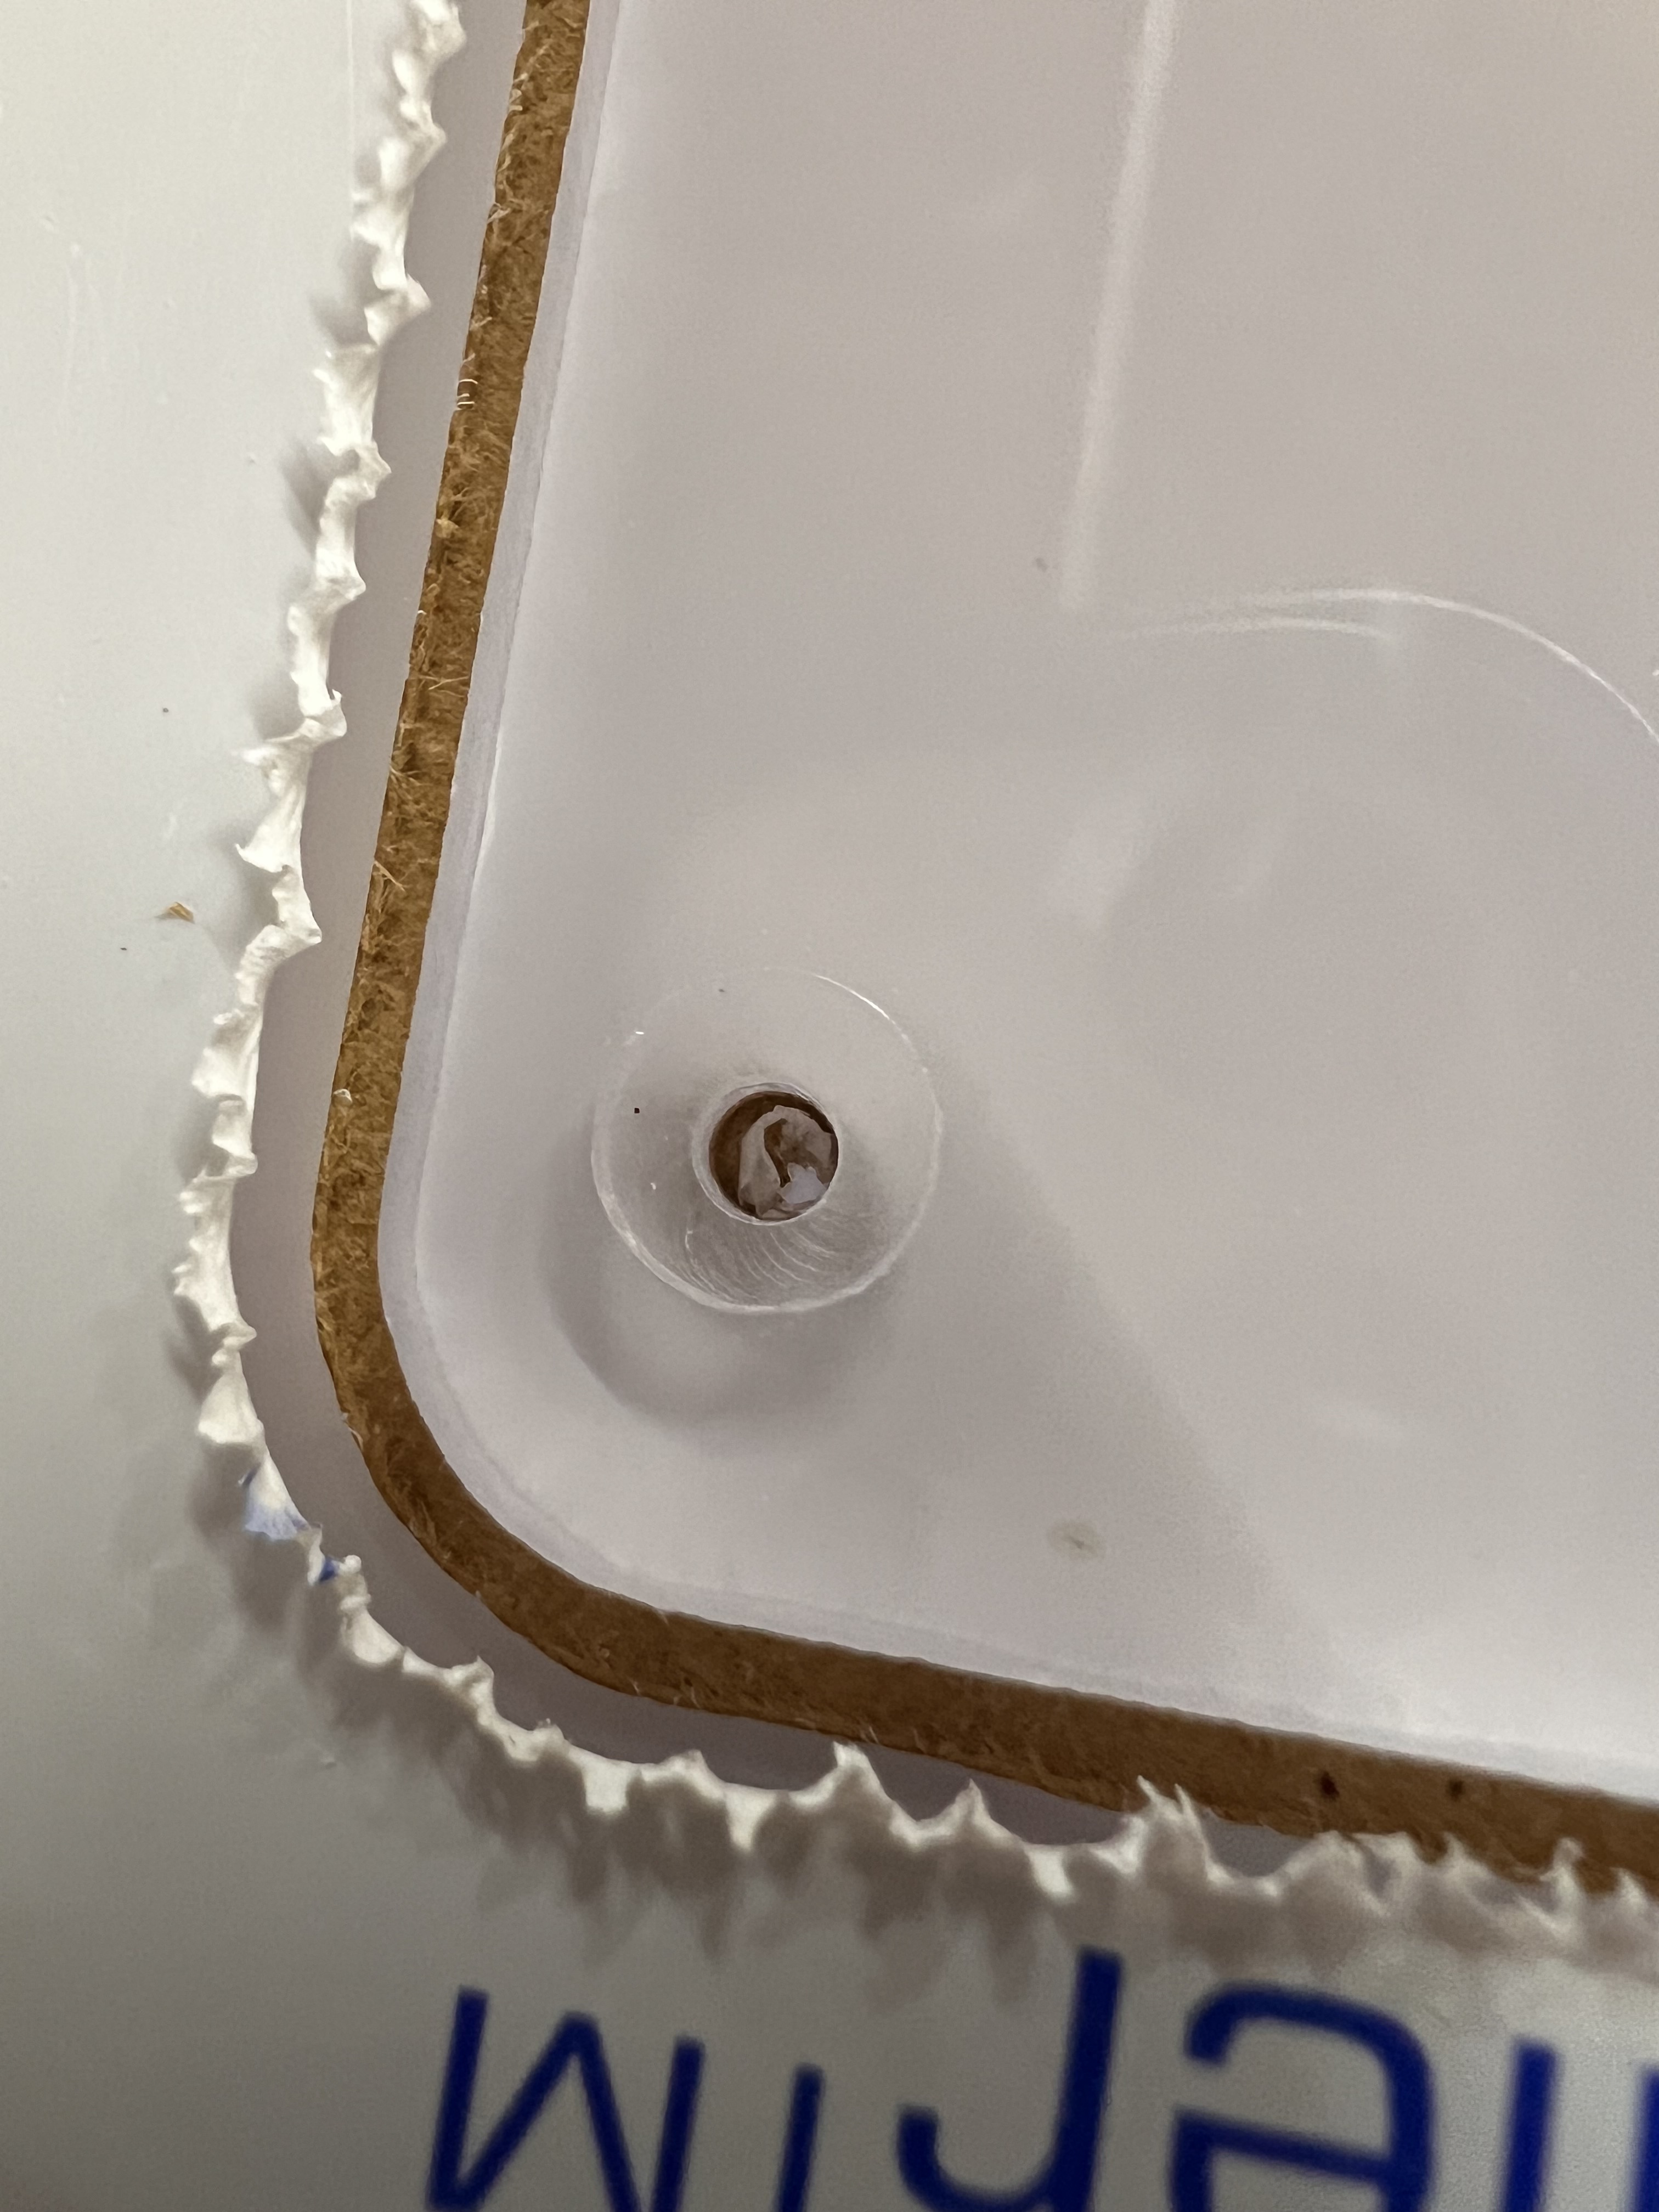
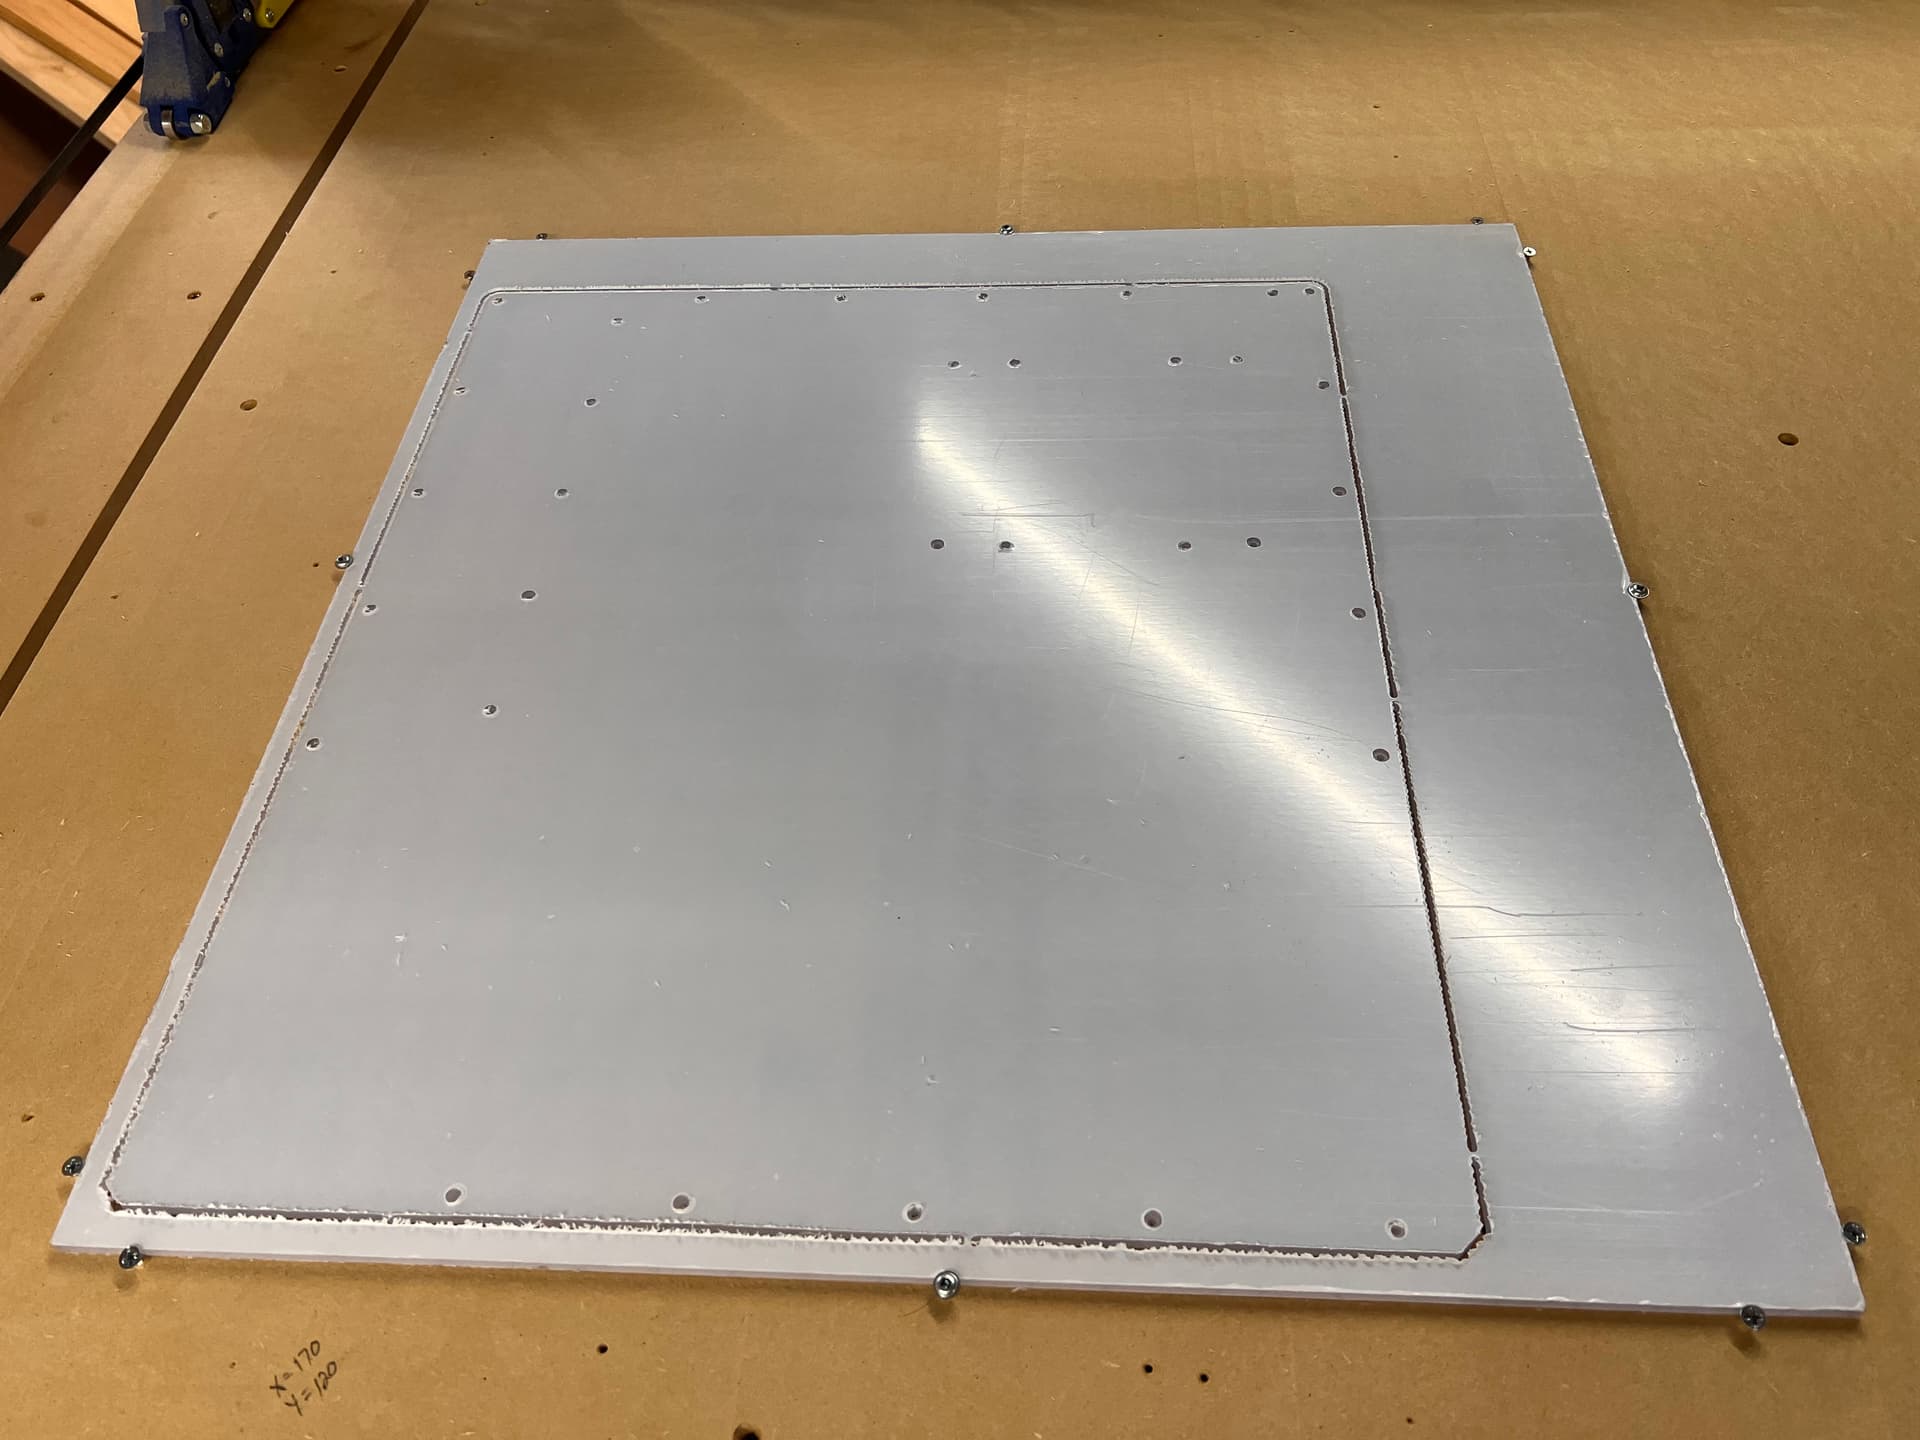
Question: why are the holes for the horizontal cross bar not symmetrical? There is one near the left edge but no corresponding one for the right side, and the ones in the center appear to be offset as well.
The 2 edges coming down from the top aren’t semantical either. That’s how it came in the cad from Ryan. I didn’t even notice the missing hole on the right.
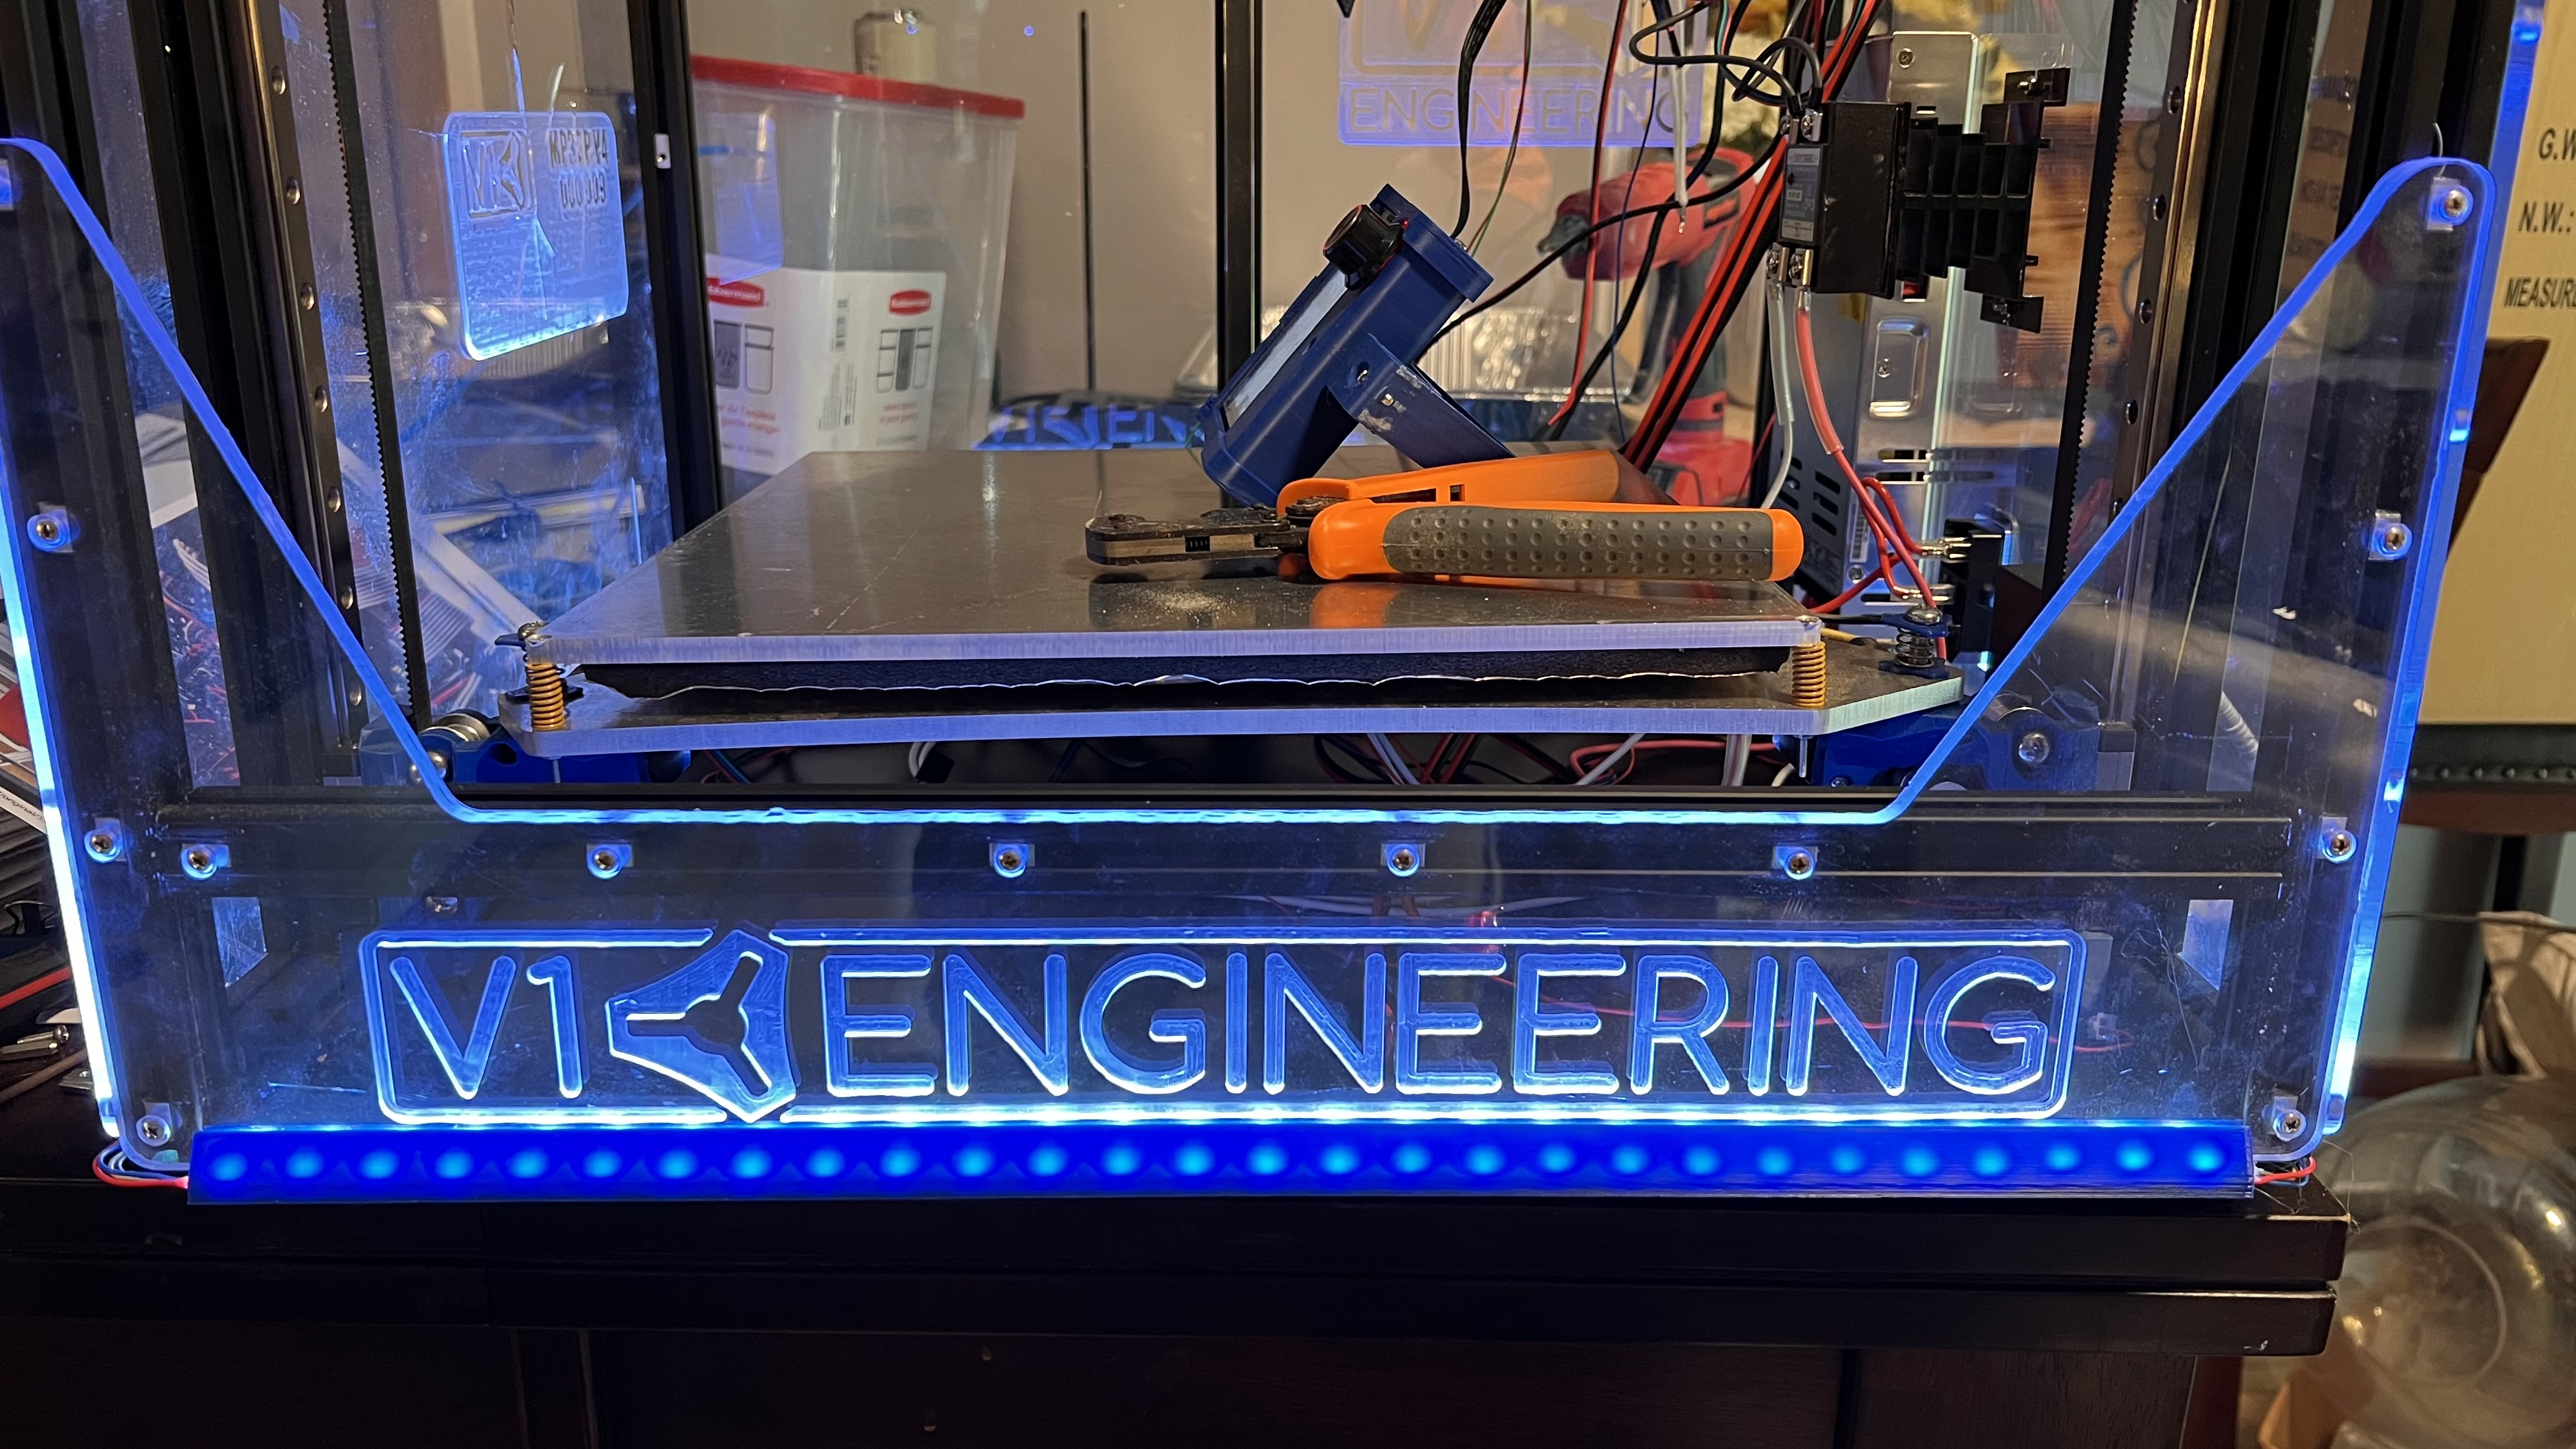
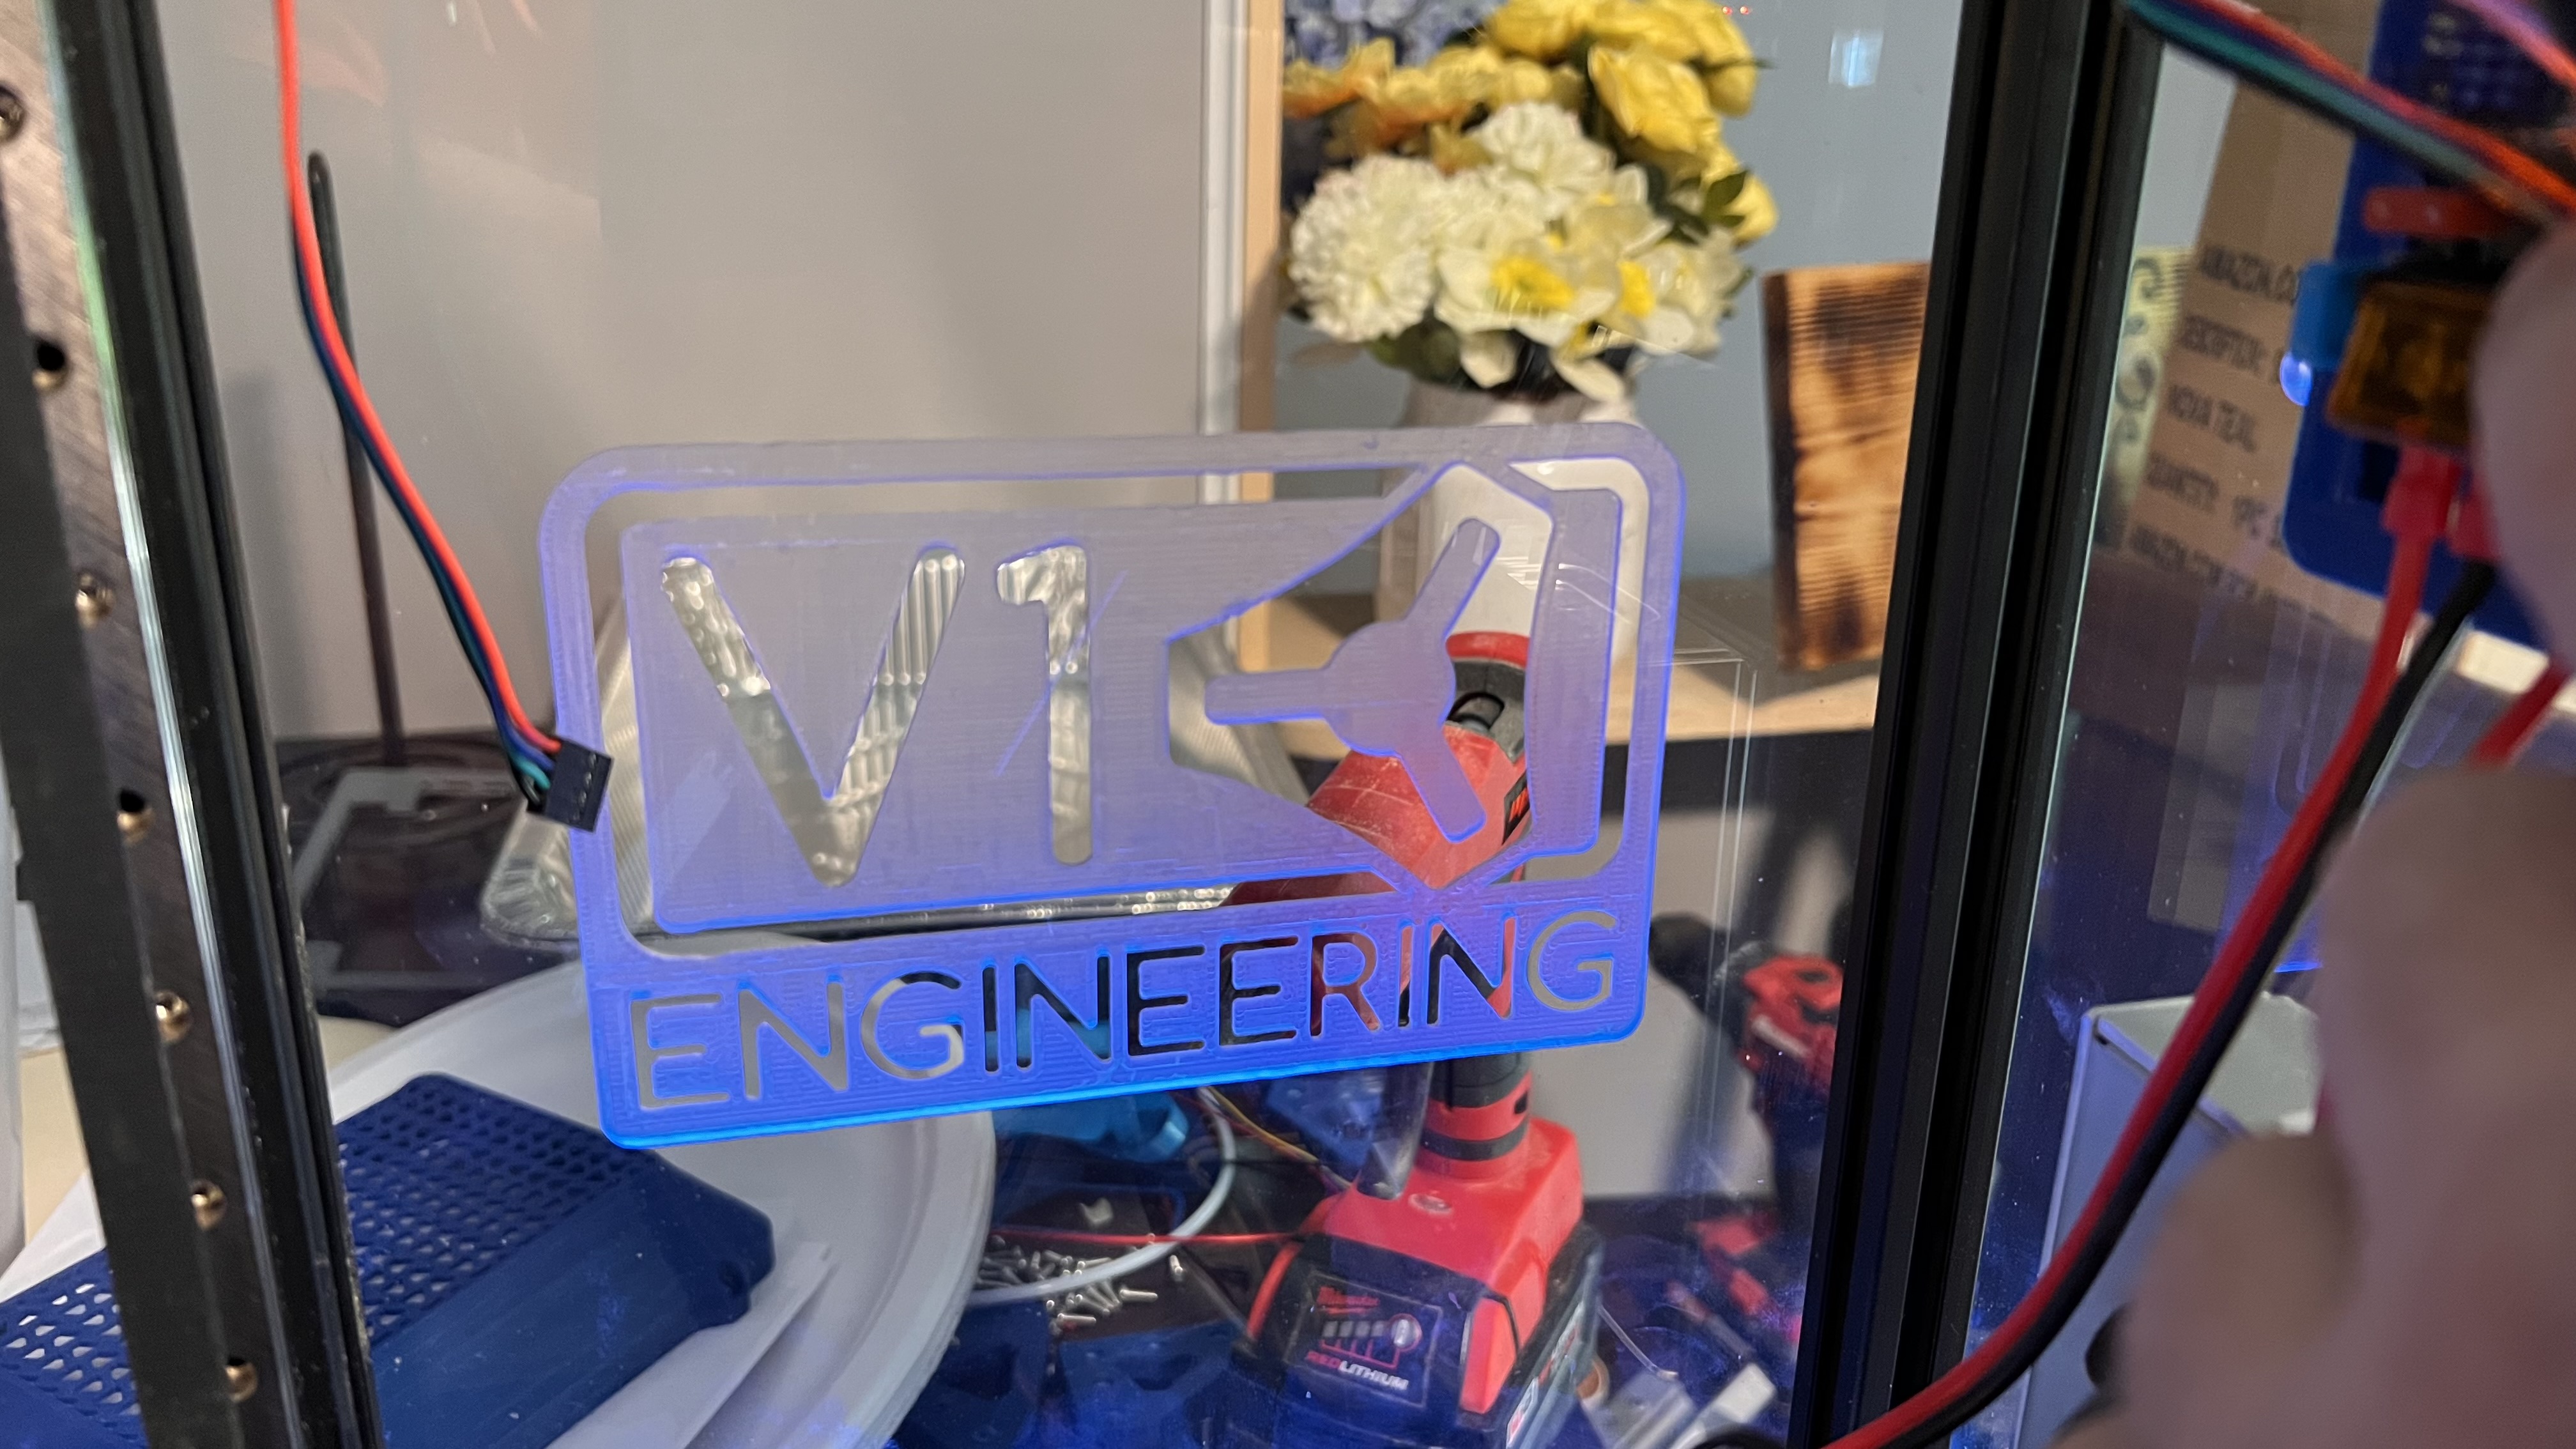
@Jonathjon curious how your engraved MP3DP panels are looking when edge lit? Can’t find your MP3DP, did see your pimped out LR3…
Looks great!
Asking because am trying to figure out silly over the top lighting for my MP3DP and wondering how well engraved acrylic lights up. Currently just blindly engraving 3mm Polycarbonate just 0.8mm, no idea what’s best, have done any experimenting/testing…
I wish I could tell you but I haven’t turned them on yet. Got to the point of putting the belts back on the core yesterday and had to just walk away. So extremely frustrating lol. But hopefully ill get the courage to get back to it soon. I have the firmware edits done and ready to go. Just have to run a few more wires and it will be ready to go. Might forget the belts for now and get that wiring finished up just to see.
Thanks for quick response @Jonathjon, will keep an eye out for your lit MP3DP panels.
Currently figuring out front door hinges (probably 270 degrees for max access), which will depend on if, and how, I pimp out the front door with LEDs.
Vaguely recall seeing printer at RMRRF that had an etched/engraved panel with a design that was lit up, even though the panel had no LEDs around the edges… The edges were just regular cut sides. I forget how they pulled that off, anyone have ideas?
Currently wondering whether Polycarbonate with foil/alu inlay/insert at 45 degrees could direct light from 5mm LED strips recessed in 2020 channel into the panel interior and light up engraved pattern. Probably silly idea, but will try out, already learnt that Polycarbonate dramatically shatters when I chopsaw at 45 deg. Need to figure out how to mill precise 45 degree slit/pockets… Or not, just do wide vcarve over where the 2020 channel will be, then spray metal paint the carve, tape off area before carve and spray. Then back fill carve with printed part/silicone/epoxy/something inlay, make it look like a color accented frame, that is deceptively/discretely directing light to the etched pattern?
SAME! Any my patients is running thin here lately. And this is my first ever 3d printer build as well. I know I can get it as I have in the past. Just takes me getting to it at the right time LOL
Just watched your video. First off I need to get me a pair of plyers like that lol. Second I’ve always done it with the extruder mounted. I catch hell trying to get the top center screw for it with the core mounted. But I’m going to give it a try. Ill put some glue or something on the screw driver to get the screw in if need be lol.
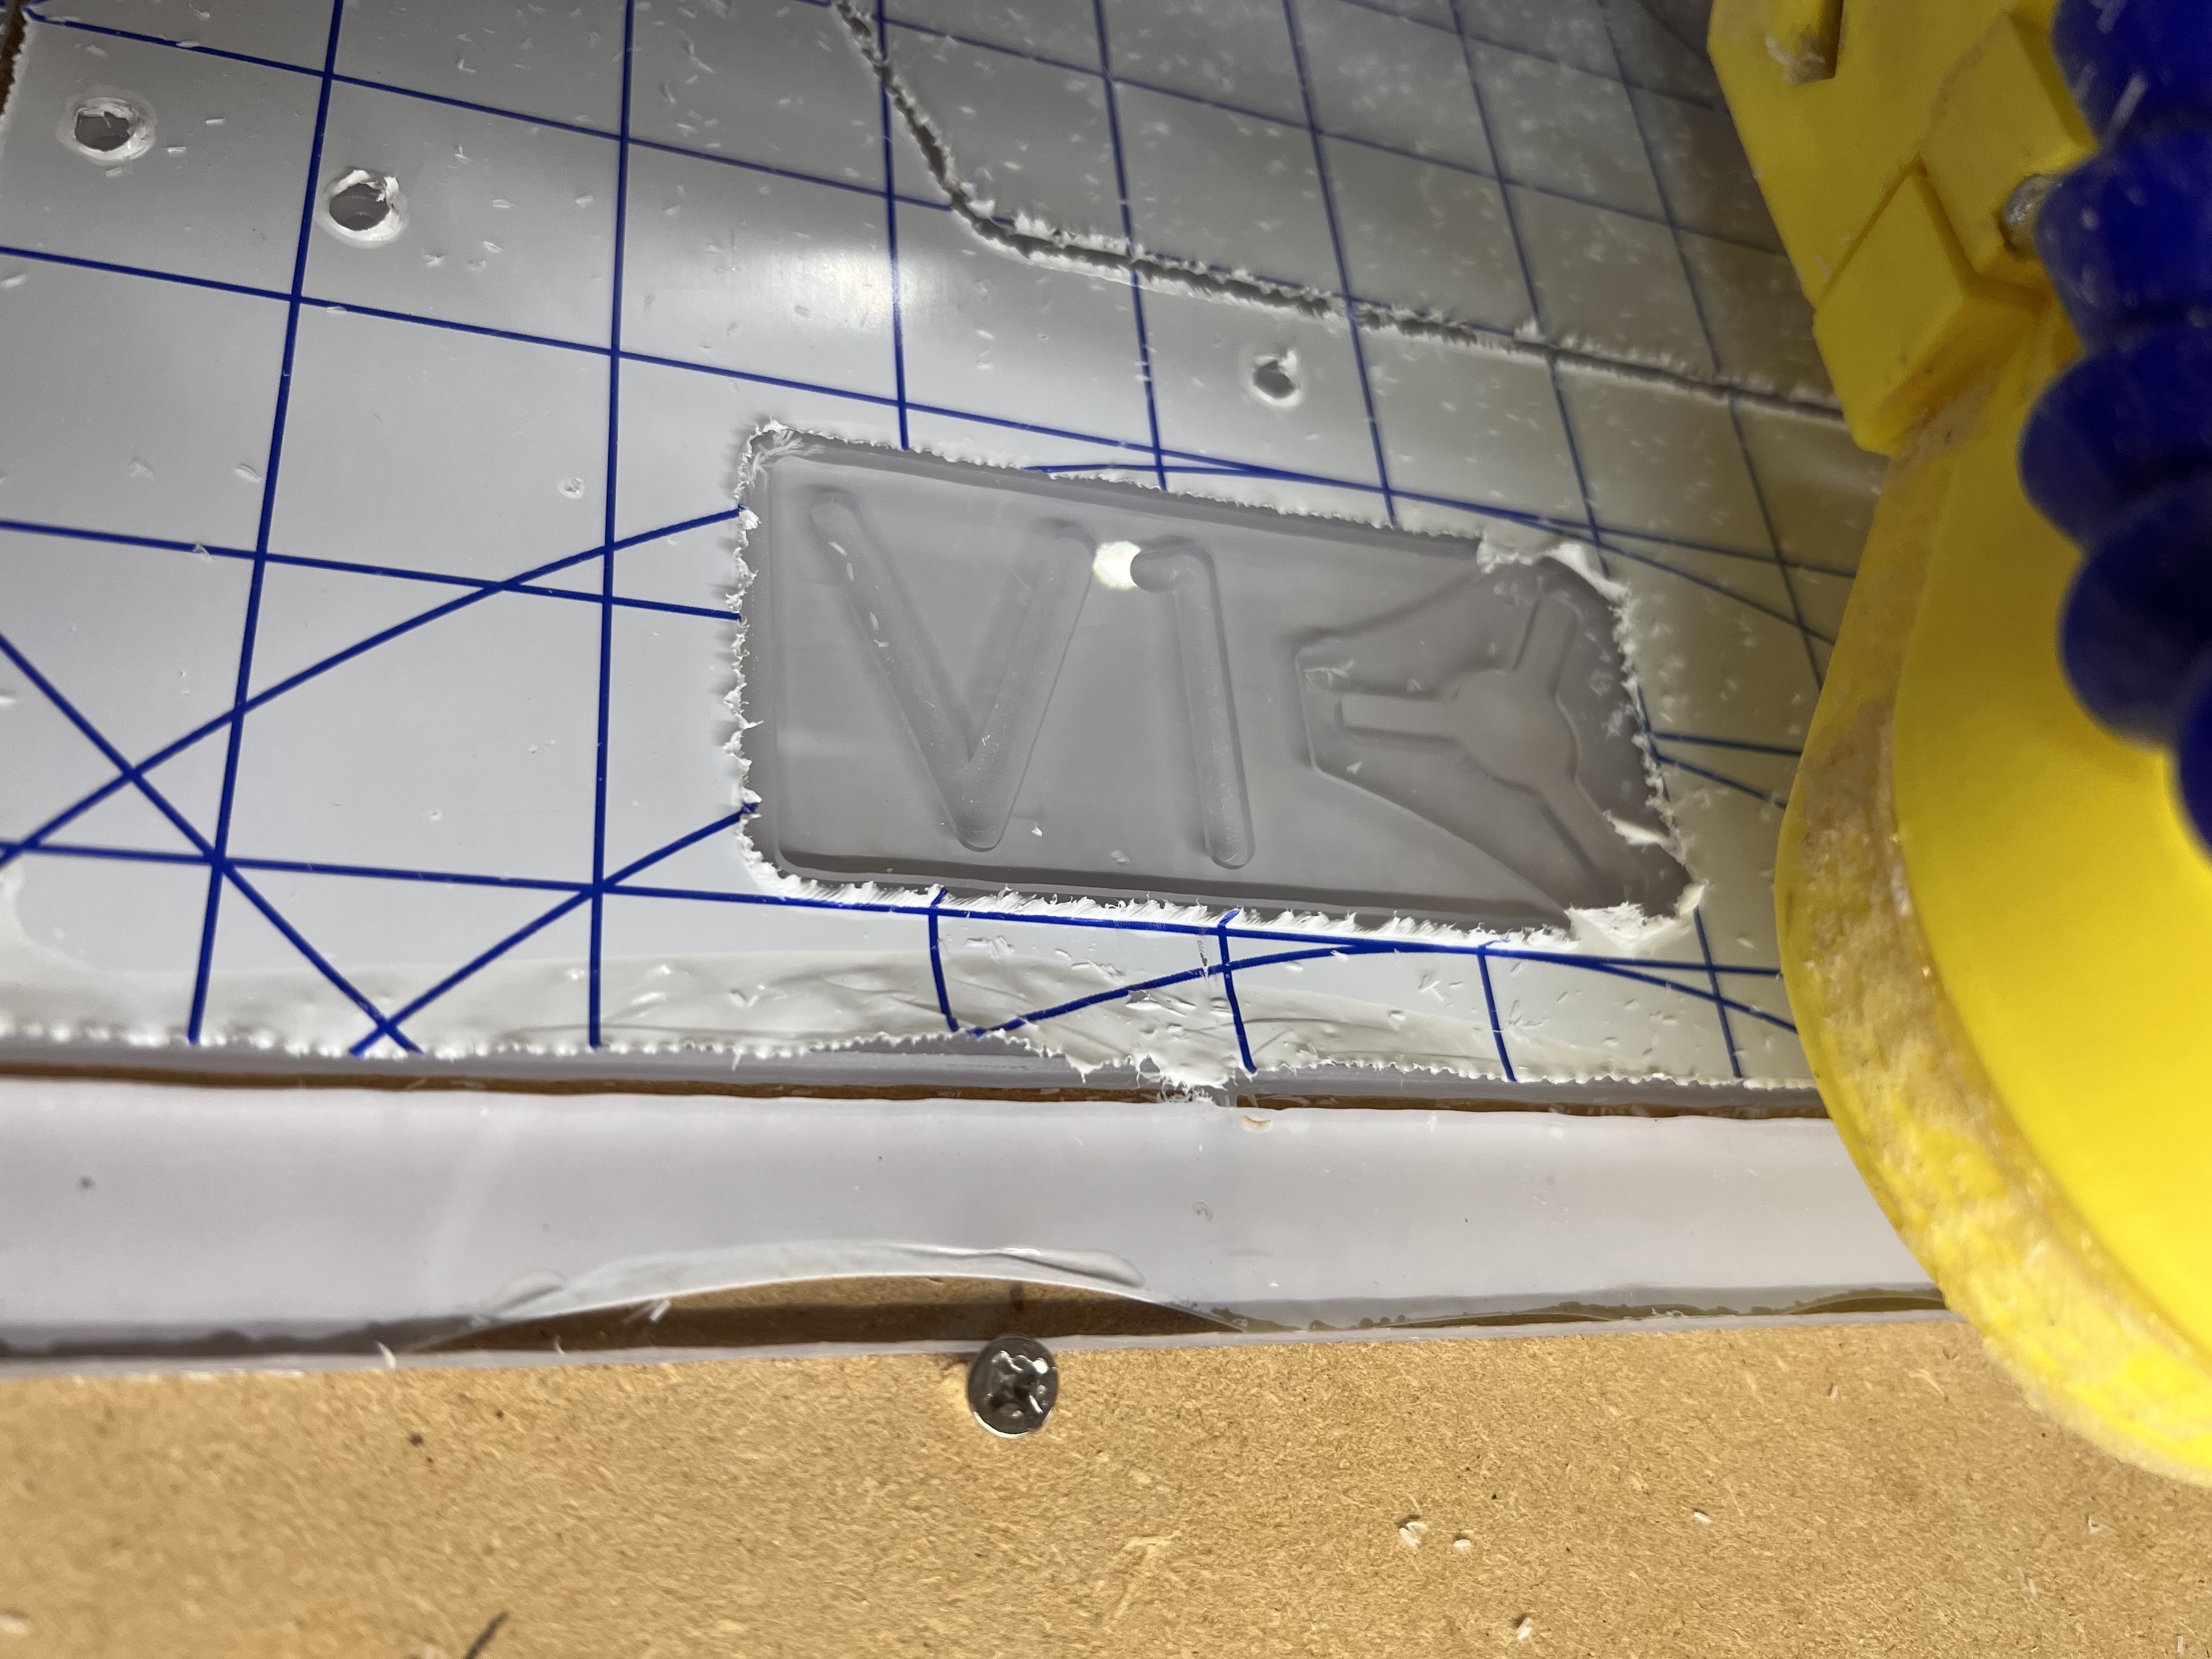
Glad you approve! Going to have to redo the side panel with my serial number. Some how all the panels but that one I ordered polycarbonate and on that one I got acrylic. And it didn’t like being milled with a V bit no matter what I did. And its true what the internet says. IPA will crack it LOL
Speaking of that. Anyone have a good link for V bits with a flat tip? I see Ryan talk about them a lot but I cant seem to find any when I search. I’m probably just not calling it the right thing. I did find a 90° but nothing in the 60° or 30° range
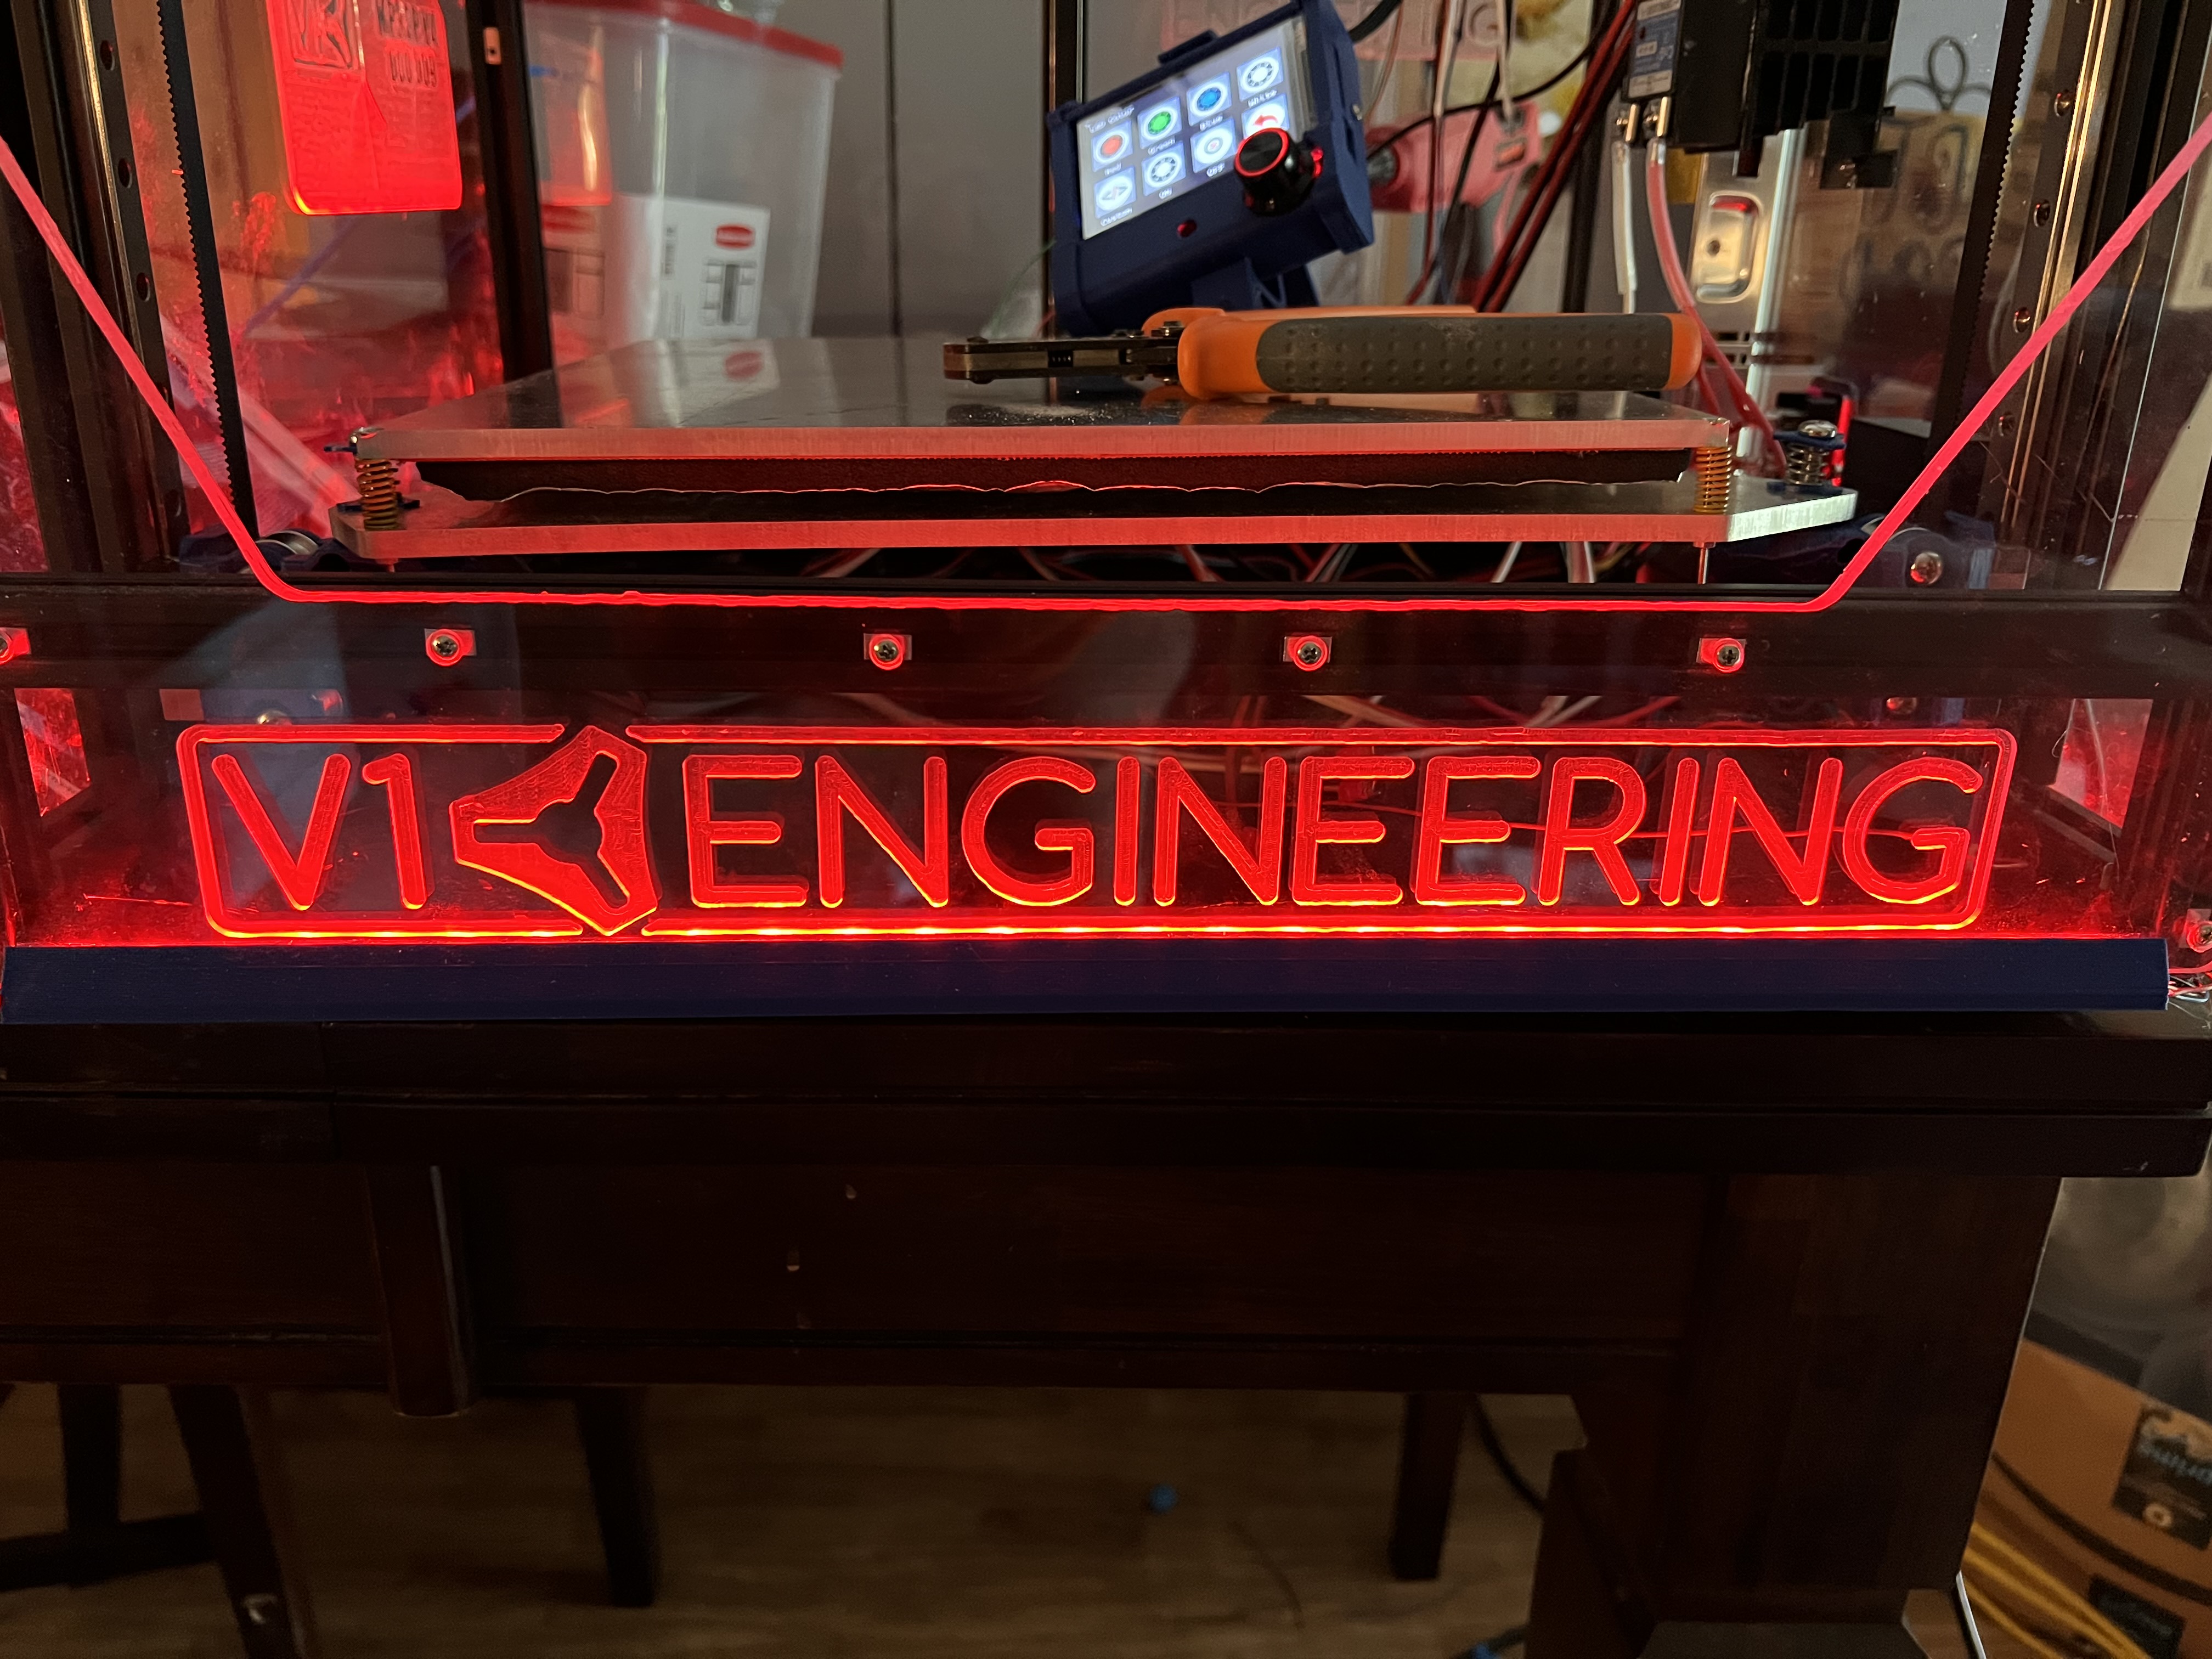
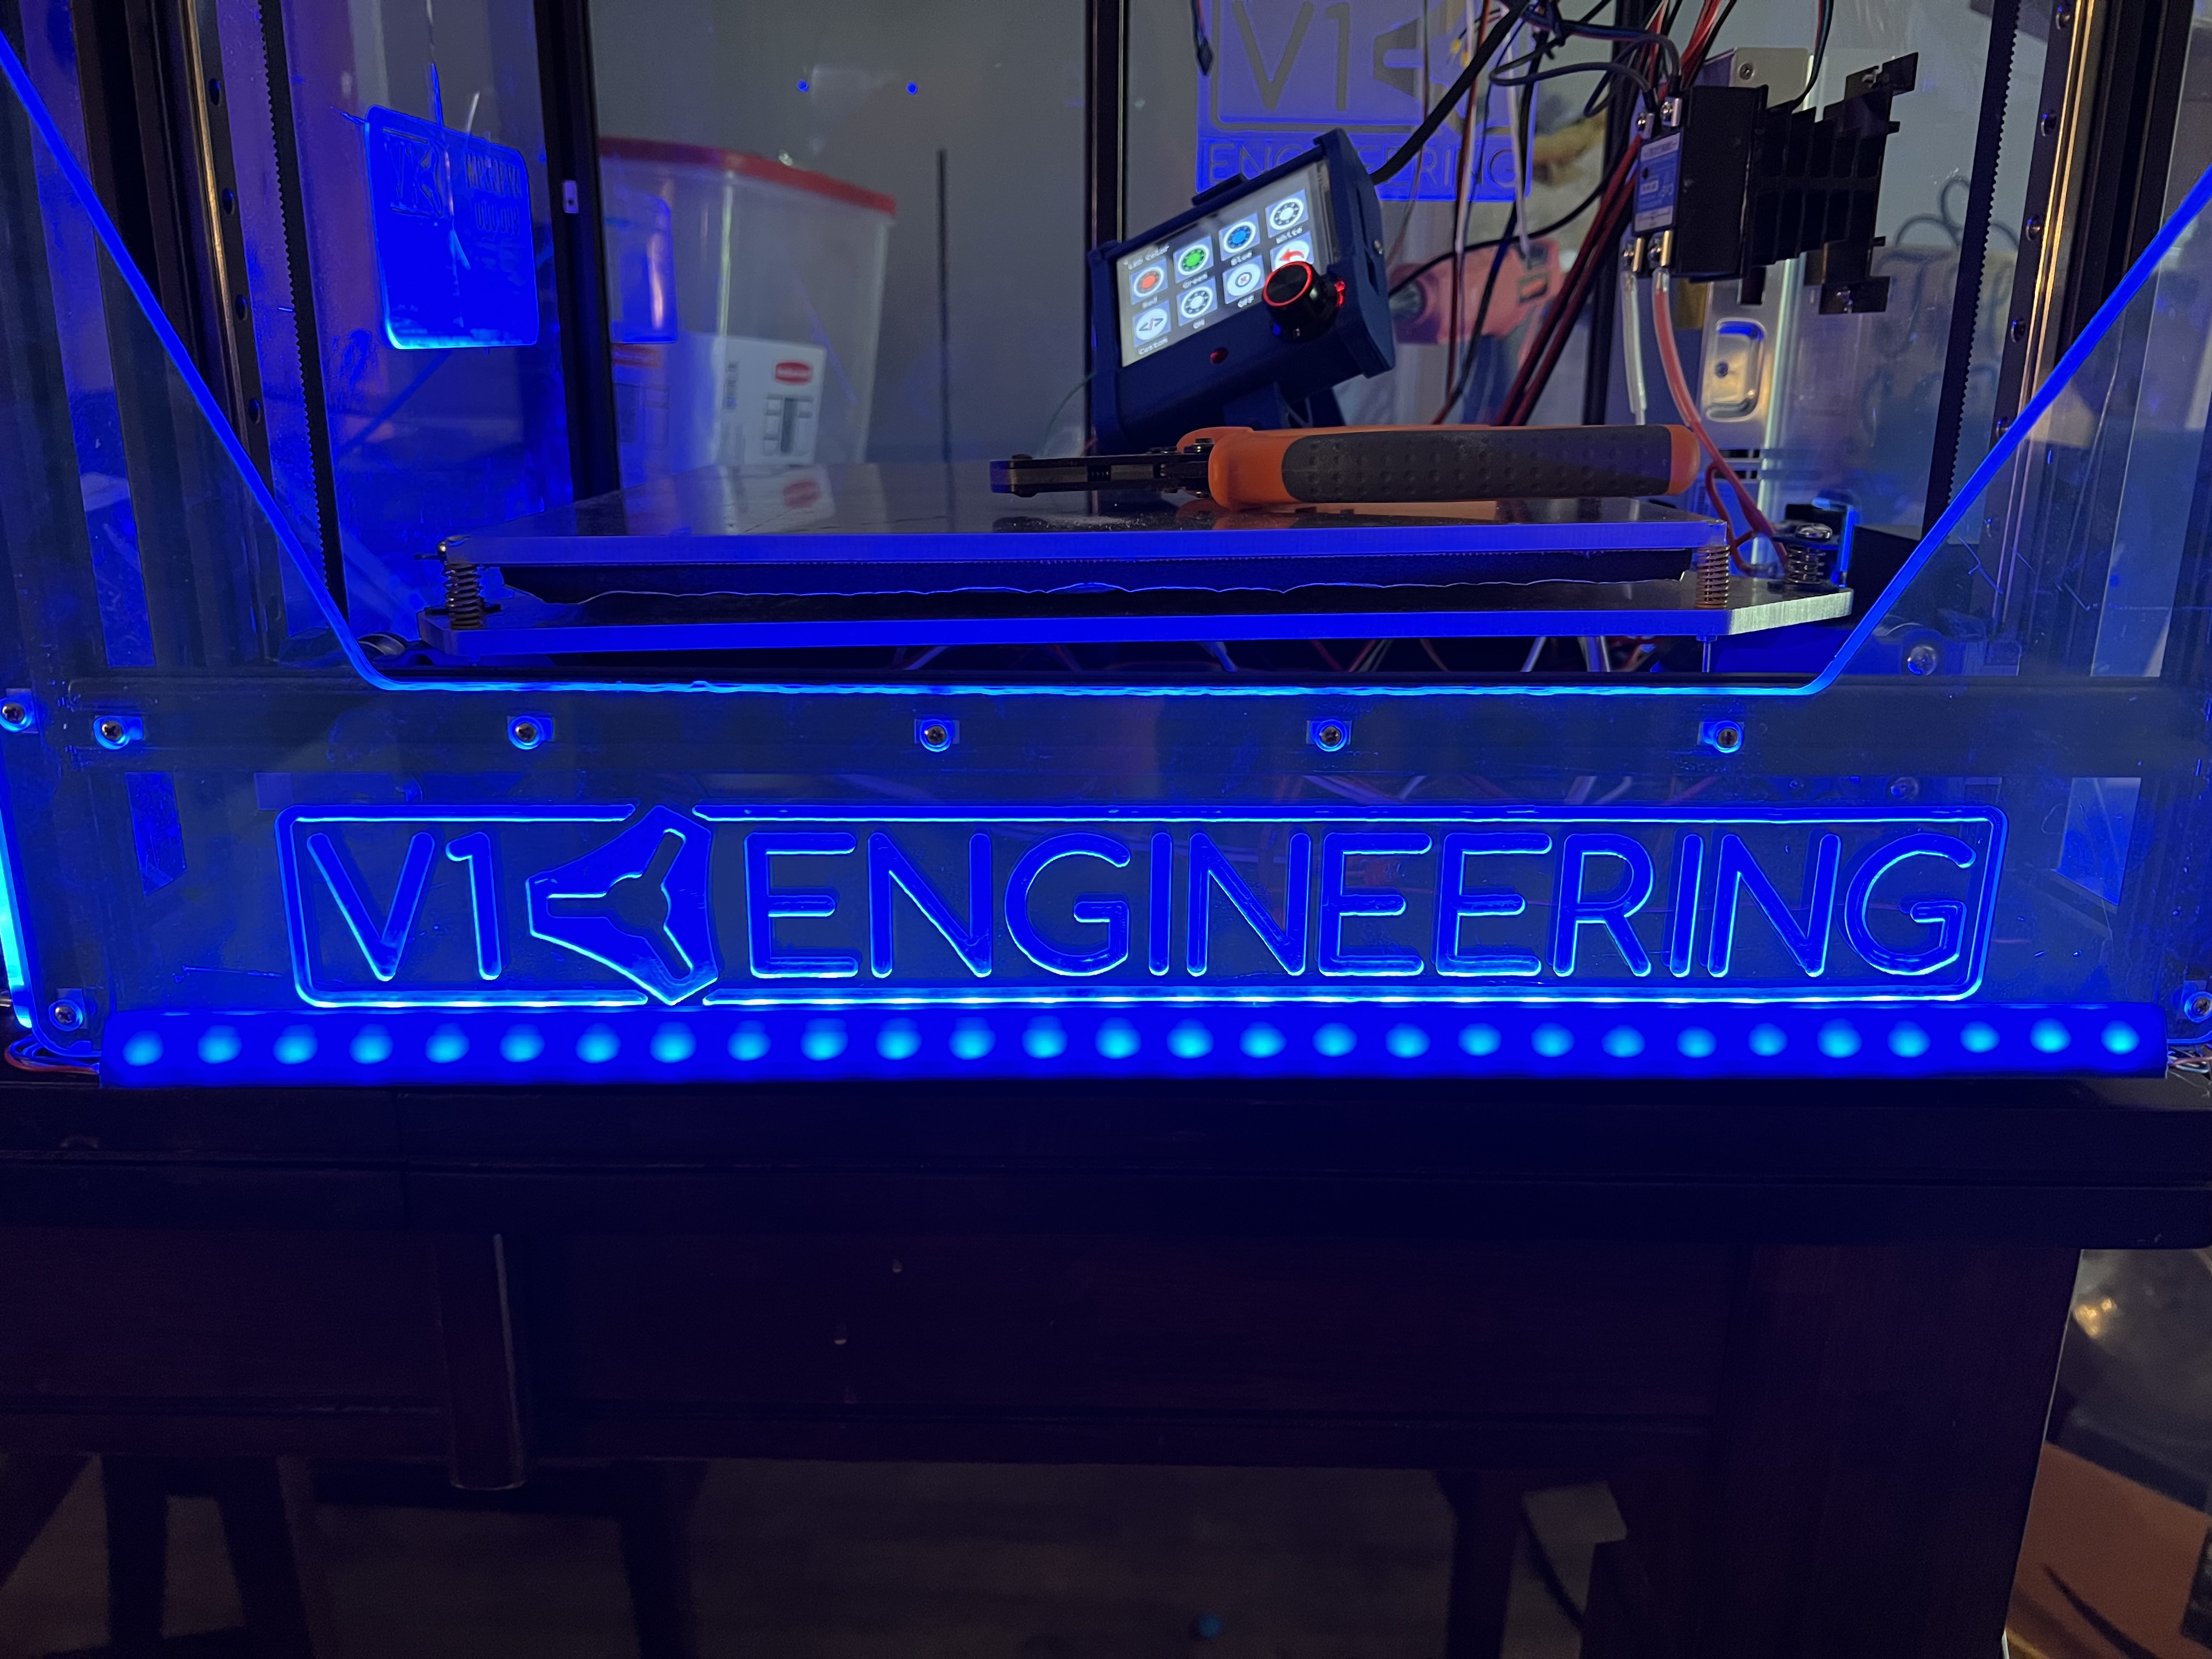
Thanks! Im going to have to add a top strip at least on the back panel. But thats for another day LOL. Now i need to find some time to finish the “light bars” for the top and really have this thing bright lol
Noticed interesting grill fins on the led chamber light deflector inside the Vorons at Open Sauce. I should’ve taken a pic, but the fins help block direct light towards anyone viewing from the front. Nice touch. Chris Riley pointed these out too … https://youtu.be/WQI_IRSpU0U?t=90