If your machine is basically functional and moves consistently/repeatably the same amount (even if wrong) when commanded to do so, you can calibrate it using a very simple procedure. It doesn’t matter the drive setup, the firmware, or even the source/magnitude of any inaccuracy (as long as it’s repeatable)… you only need an accurate ruler, the command console, and access/ability to adjust the steps/mm settings in your firmware.
As soon as I can move an axis under power, I like to rubber band a wooden skewer to my tool mount, lay a ruler on the work surface in line with the axis, and lower the skewer point to a point as close as possible (without touching) above a major division on the ruler. Then enter a gcode command from the console to move a safe amount (start small… say 50mm, 100mm, etc) and observe where the skewer tip moves relative to the ruler’s scale. For example, if you commanded 100mm and actually only moved 98mm and your current steps/mm setting is 80… that setting needs to be increased to add enough steps to make up the 2mm it fell short. Use the following to determine the new steps/mm setting…
(Commanded movement / actual movement) * current steps/mm setting
so, plugging in the values… (100/98) * 80 = 1.02040816327 * 80 = 81.63
Adjust the steps/mm setting to 81.63 and rerun the test… you should see very close to 100mm actual movement for a 100mm commanded move. You can do this as many times as you need to… and greater accuracy will be gained with as large a movement as your axis will allow.
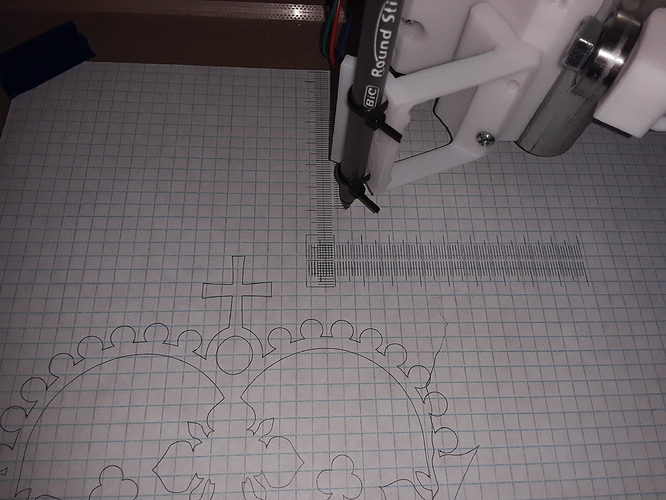
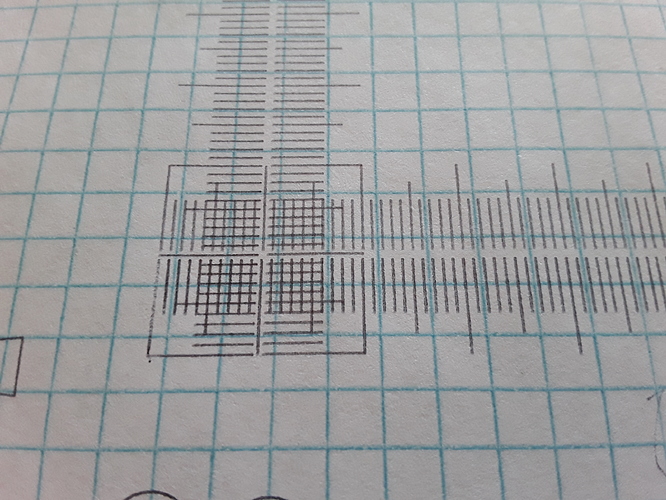
I often print/engrave rulers with my machines… and the same procedure can be used to check/verify the machine’s calibration. I recommend using Jamie’s test pattern generator to print rulers for each axis…
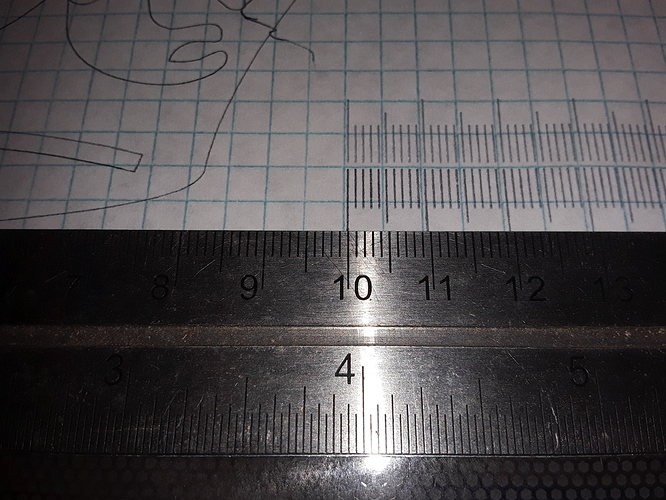
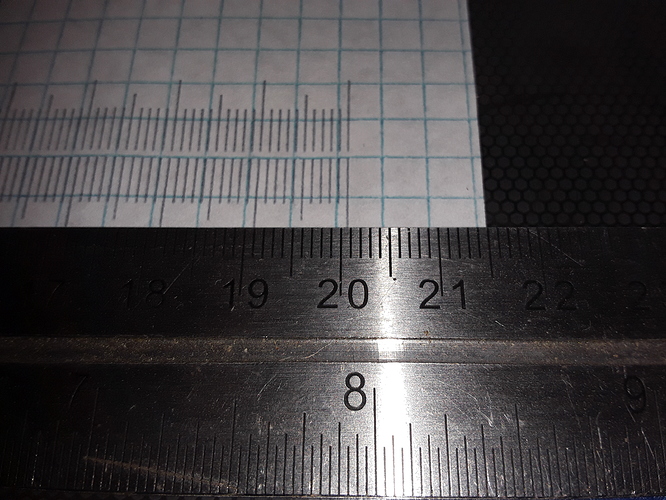
In the first and second photos, the X ruler was initially ~0.75mm long (over 100mm) and the steps/mm value adjusted by 0.9926 – (100/100.75) – to bring it to near “dead on”, when compared to an commercial metal ruler.
While the “round” steps/mm numbers that’s often recommended for known designs, using known commercial components, is often “good enough” for most purposes… it won’t necessarily guarantee accurate rulers. And to truly “calibrate” a particular machine (which may be unfamiliar to you and/or use non-standard or printed drive system parts… i.e. R&P MPCNC) will require going through a procedure similar to the above, to bring it into proper adjustment. The great thing IMO is that you don’t have to know anything about tooth counts, belt pitch, micro-stepping, driver type, or even the source(s) of inaccuracy (as long as it’s repeatable)… this method will enable your to adjust your machine to produce accurate parts/results.


