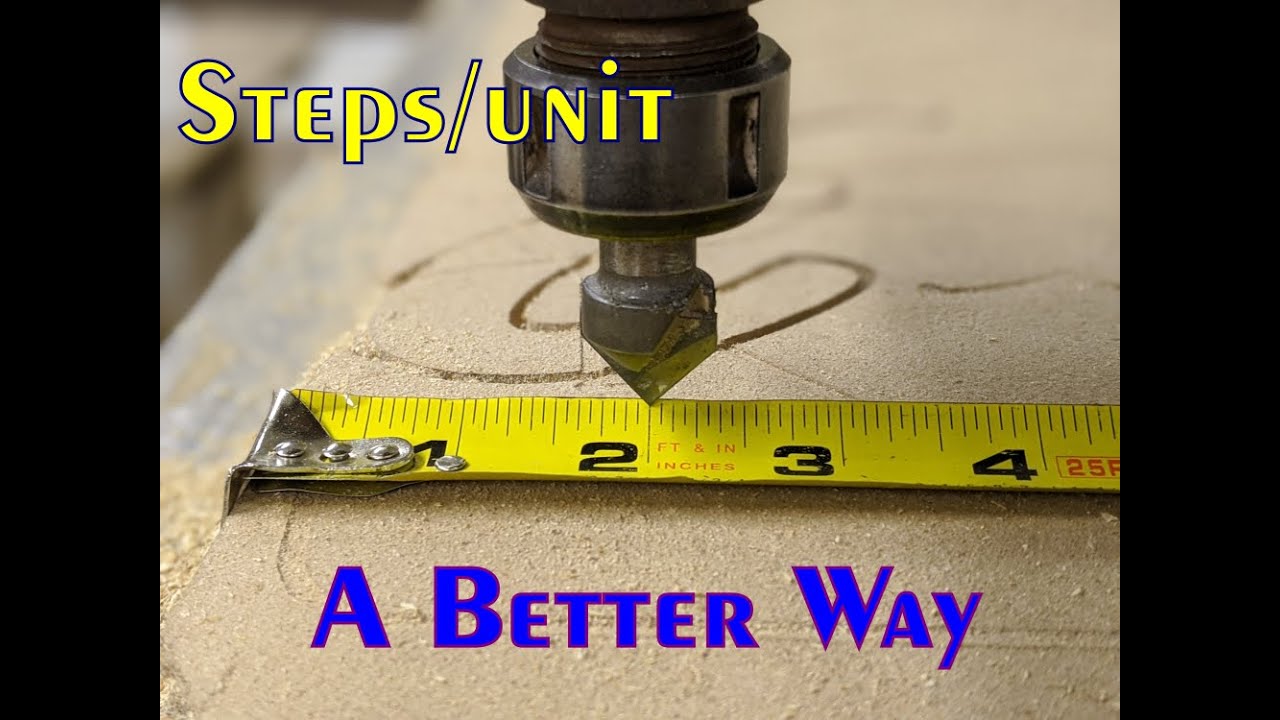
I’ve posted the procedure I use to calibrate my machines several times (here and here)… and verified the procedure with accurately engraved rulers after calibration.
Finally, I finally found another fellow doing the same procedure…
The “meat” of the procedure is between the 3:00 and 5:30 minute marks. No need to know anything about the drive system, micro-steps, numbers of teeth, belt pitch, bit diameter (just need something with a point), or anything else… just lay out a good tape measure or metal meter/yard stick and command as big a move as your axis allows. Measure how far it actually moves. Then multiply the current steps/mm setting by the ratio of commanded to measured… to get the new steps/mm setting. And don’t worry if the number you come up with is not “round”… it’s okay if it’s not. I must also disagree a bit with those who maintain that “round numbers” are good enough… try printing a few rulers and see the difference a fraction of a step makes. ![]()
![]()
![]()
Interestingly, he goes on to say he got started with MPCNC… and graduated to the wimpy little machine he’s using now ![]()
