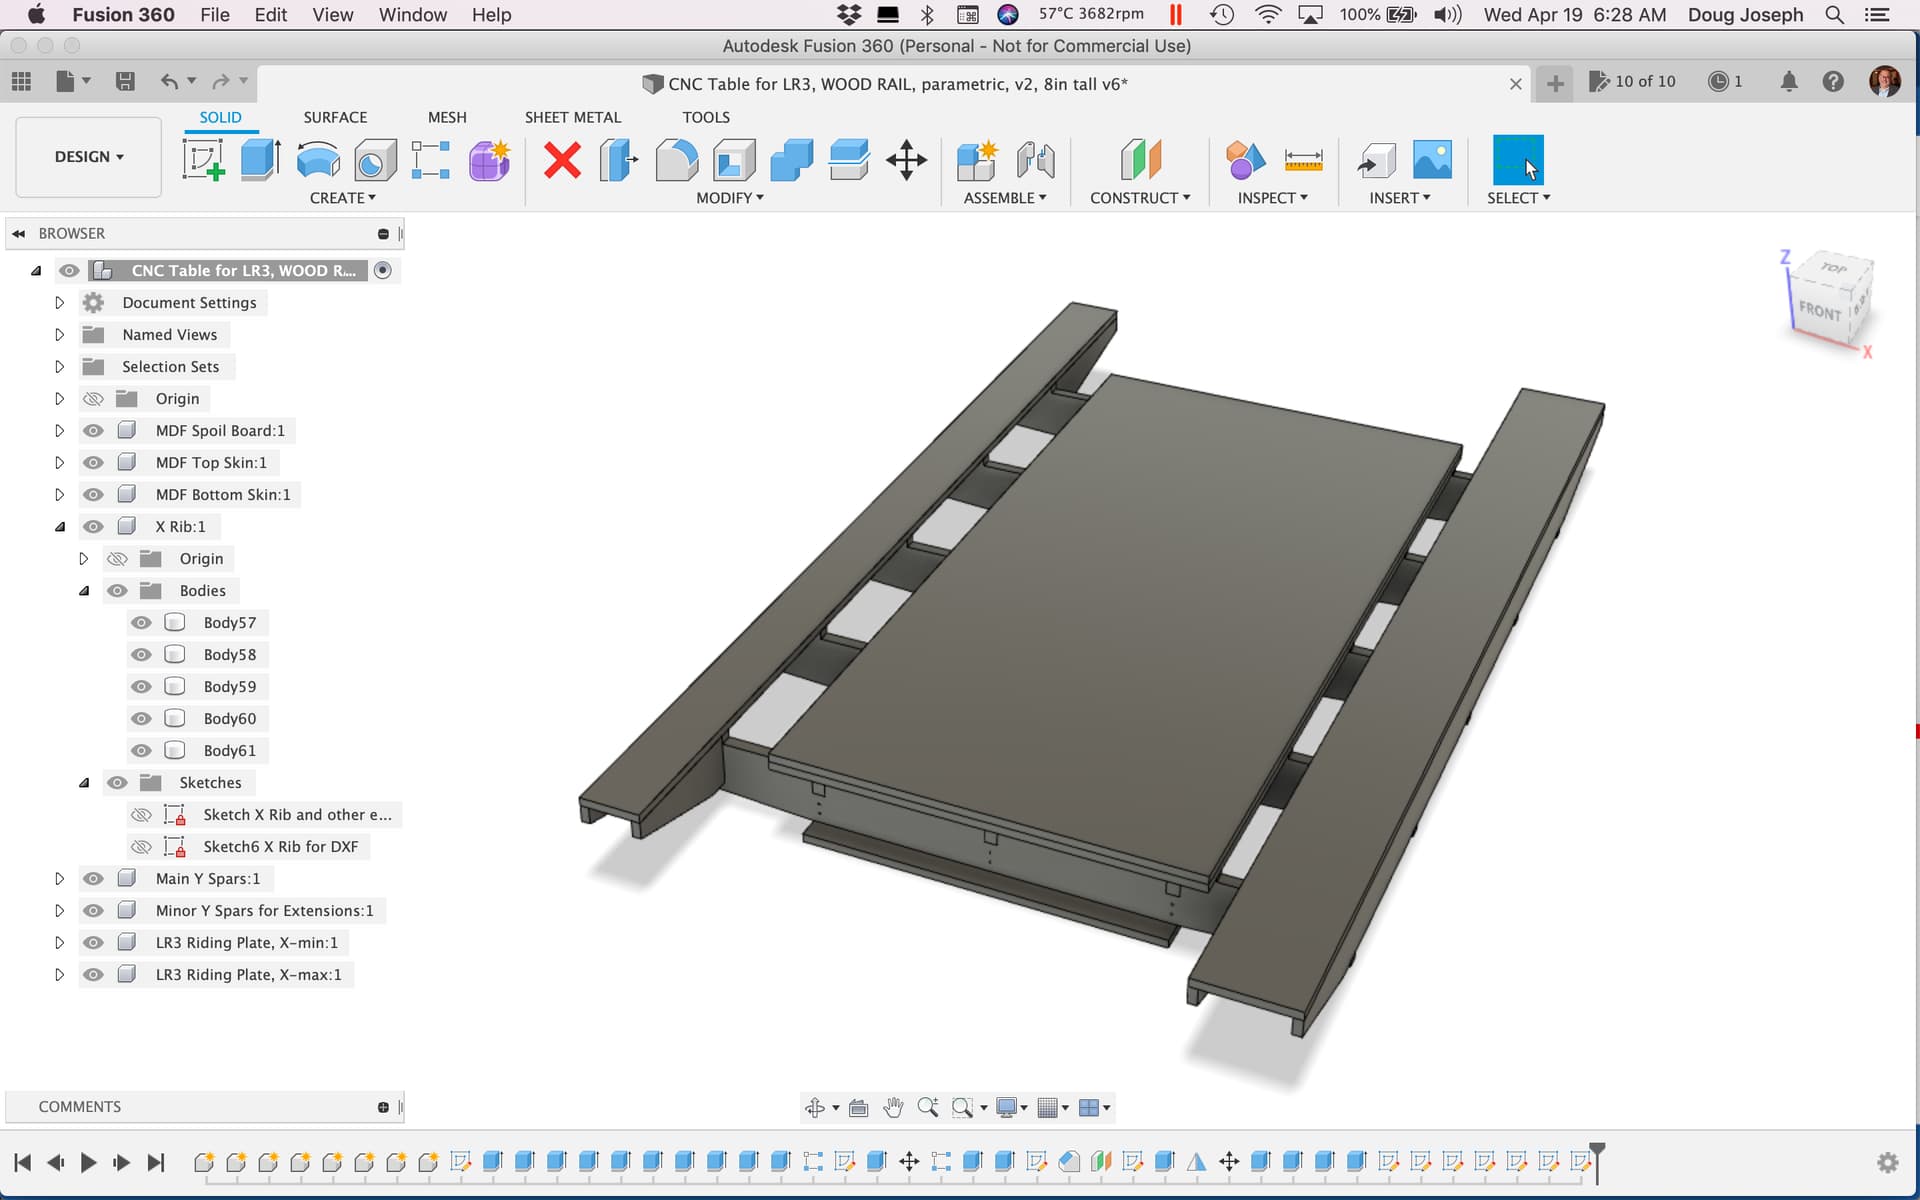
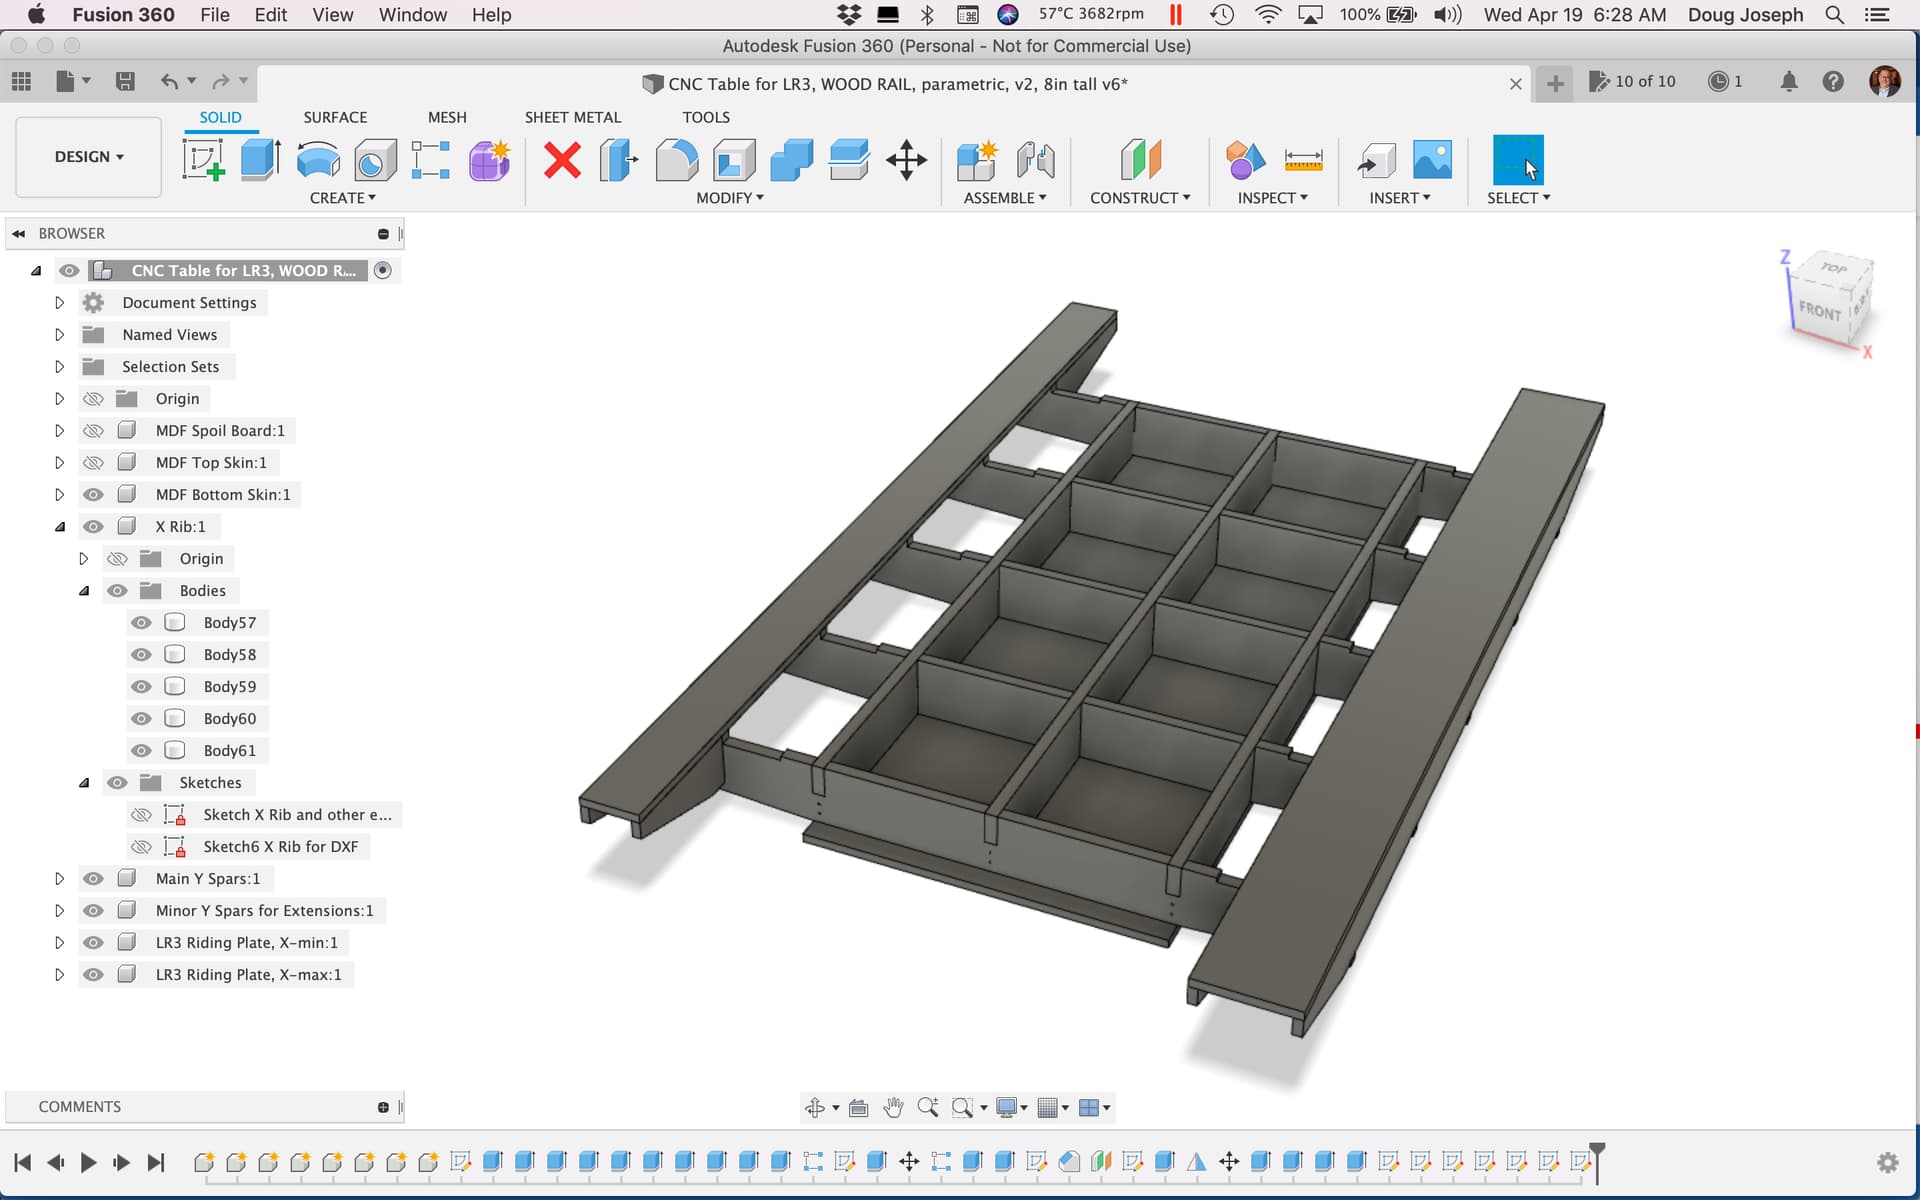
Now that I have a newer “v2” version of the table that has its parameters interacting with one another a little bit better, I whipped out two more versions of the table, one at 24" x 48" and one at 48" x 24".
These are Fusion 360 archive files. Since I don’t have the paid version of F360, I cannot do the “live share” option. You can open these in Fusion 360, tweak as desired, and right click on the sketches that have “for DXF” in the name to export your DXFs for laying out and cutting.
Compared to my original table work here, these “version 2” tables have some parameter tweaks intended to make the tables more robust for scaling as needed and to make it easier to edit the number of X ribs and number of Y spars just by editing the parameters with those names.
Got the “part 2” video edited & posted. Watch both part 1 (short) and part 2 (full length) to get the scoop on this awesome enhancement of my LowRider v3 CNC capabilities:
For LowRider v3 CNC, full sheet capable table, Part 1, prep & cross lap test
For LowRider v3 CNC, full sheet capable table, Part 2, CNC cut & assembly!
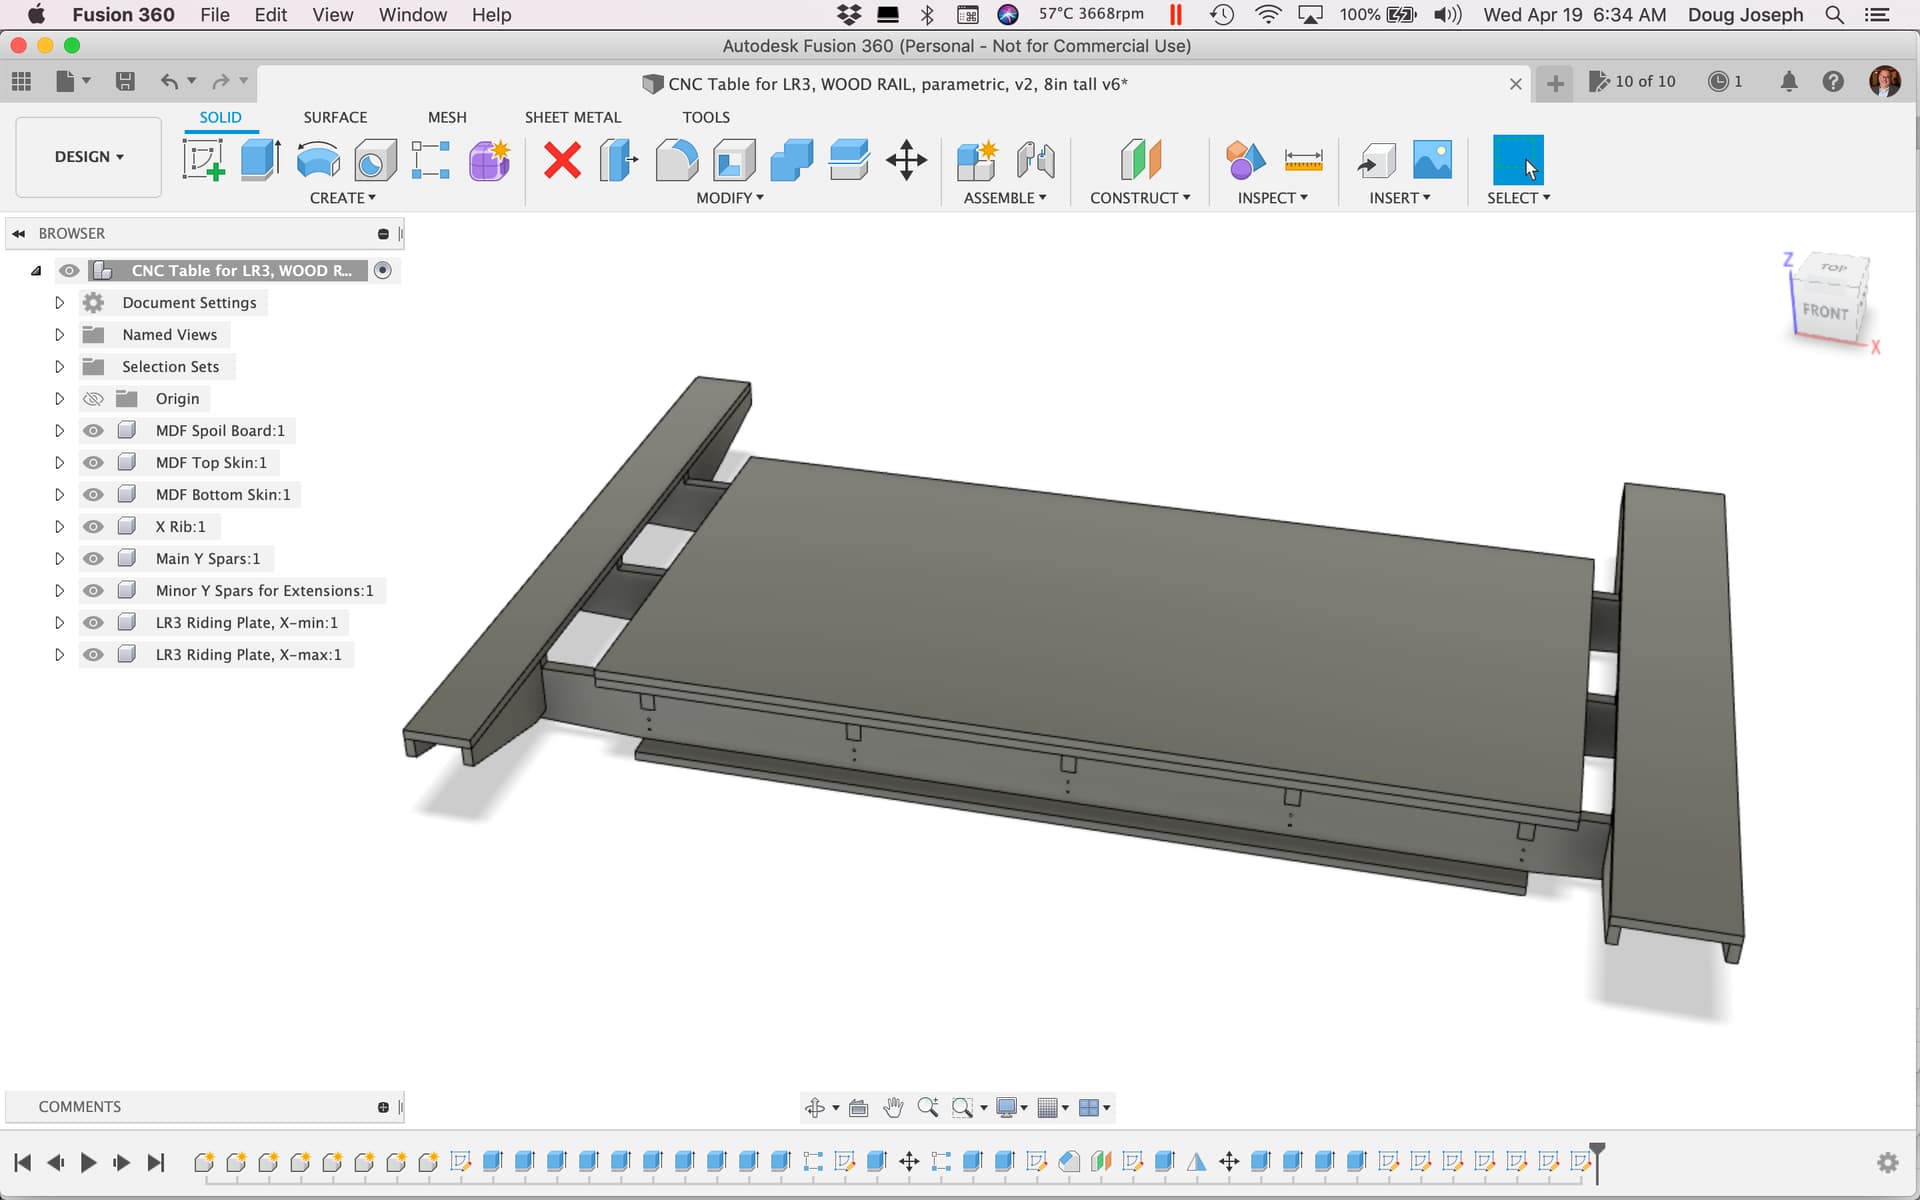
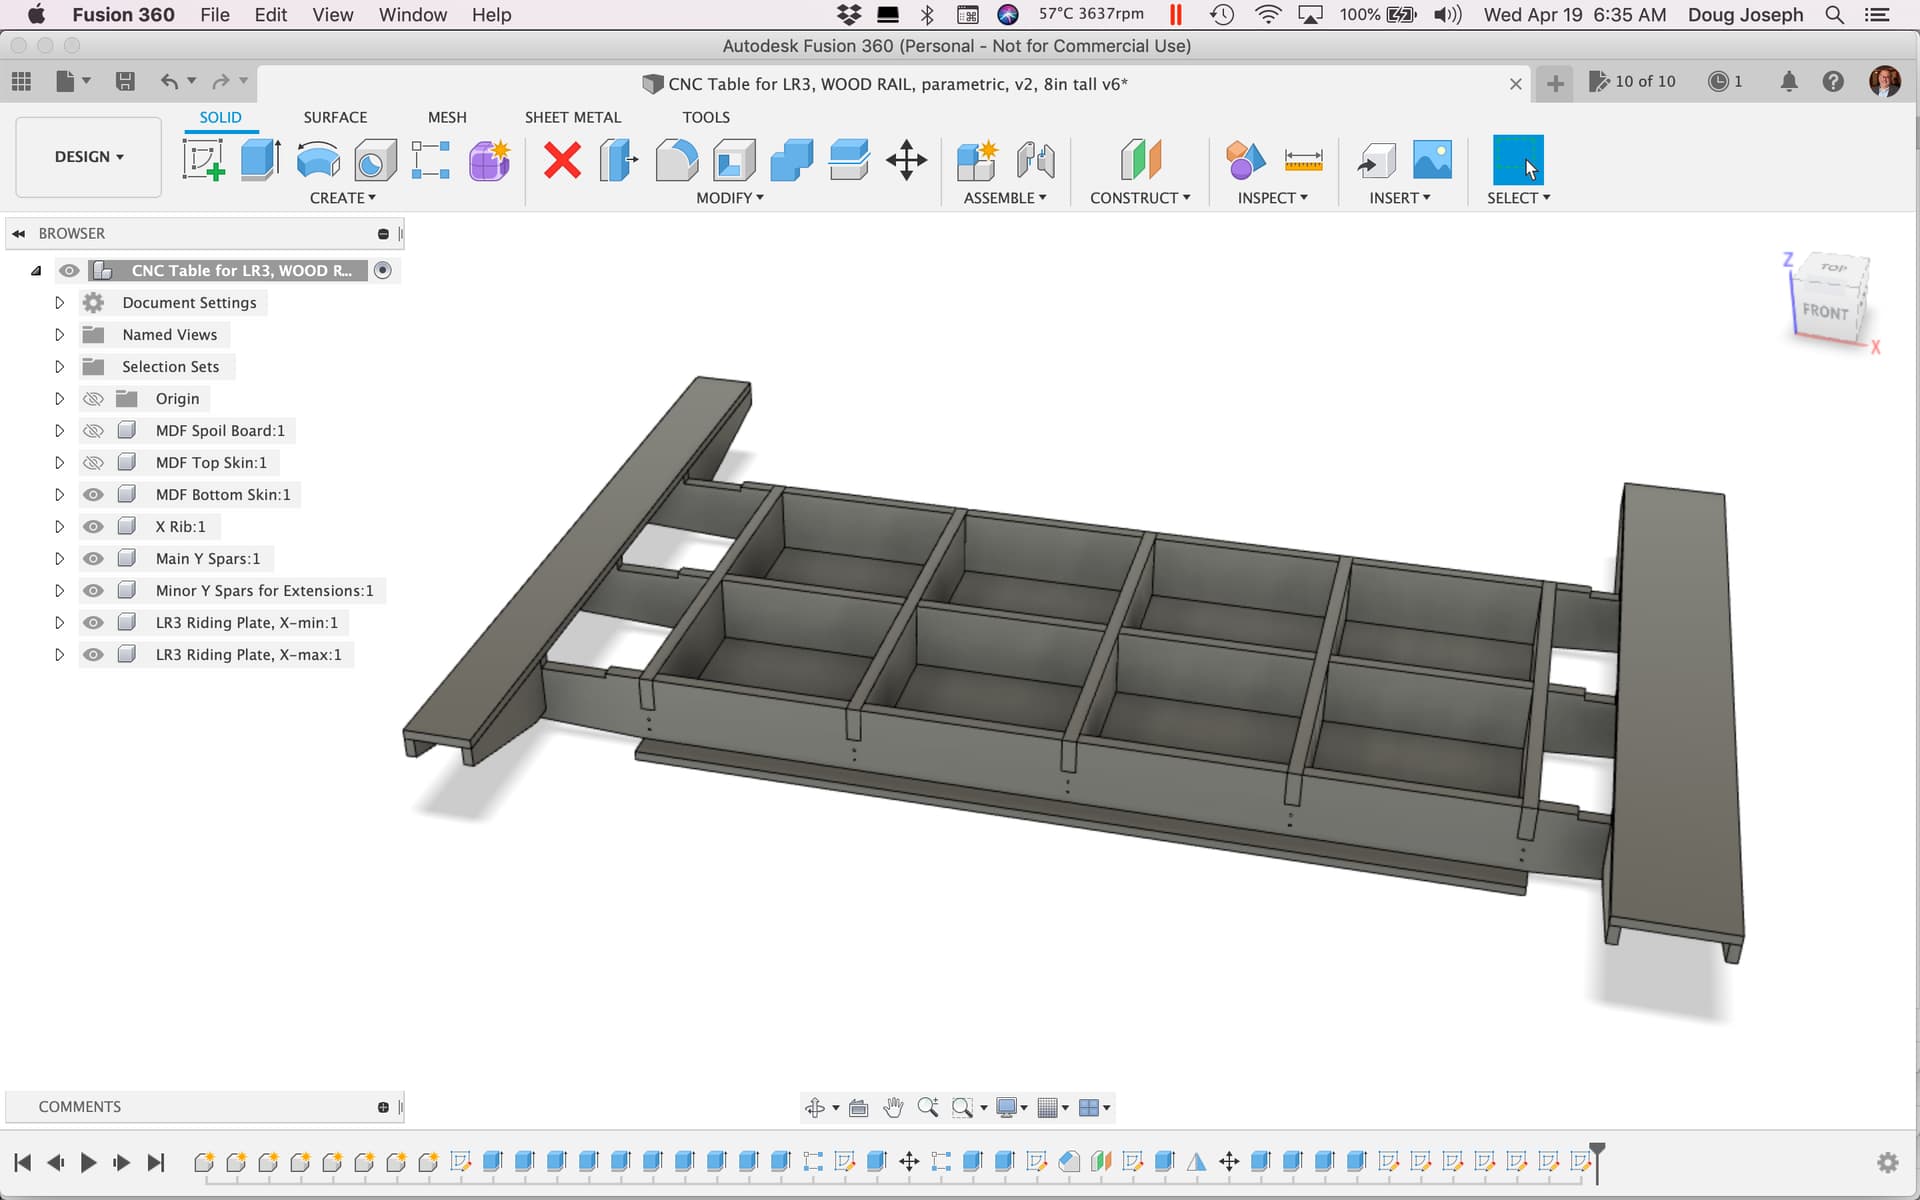
You would only need a “bootstrap” cutting surface (or build) that was a few inches longer than 48" in at least one direction. The “extra length” past the cut-able area is seen in the drawings, and can be measured inside Fusion 360 using the “i” hot key. That same amount of “extra length” is what is needed in your bootstrap cutting area. It’s some “overhead” needed by a LowRider as the machine extends beyond the router bit and needs support.
UPDATE: The original post (link below) has newer versions and should be referenced/used instead of this thread. This thread is to be closed. Thank you!
It is my understanding (and thats what I’m checking when I ask this) that torion boxes get their strength from the width of the ribs not the thickness. They use this in areospace to achieve greater strength with less material. Turning back to our needs, I would assume (and we all know what happens then) that if I used 1/4 top and bottom and 1/4" ribs that were say 3" wide, my overall strength would be similar to using a 3" sheet of the same material.
Also part of my enderstanding is the glue joints between the ribs and the top/bottom are a good portion or what allows the strength of the ribs to be transmitted to the top/bottom making it act as desired.
These are all questions for my understanding not questioning your design.
Please don’t consider me an expert on either what material to use or dimensions. If I were not making one to go on top of an already normal height table, I’d have had more liberty to make a taller box. When recommending to others, I have recommended a taller box.
Also, similarly, if I had it to do over again, I’d have probably used thinner skin material and used glue (and probably could have gone with thinner material for ribs and spars).
The beauty of a parametric driven source file is that someone else can make those changes (provided the file builds right after making them).
I’m not calling anyone smart… or dumb for that matter. LOL
Every design has practical limitations and constraints. I was simply asking what your reasoning was. Maybe you tried one before with 1/2 and you found that you needed so many more ribs that it was cheaper overall to use the 3/4. Maybe you decided to buy 3/4 because then any left over can be used for all your other 3/4 projects. Heck I can sit here all day and come up with valid reasons to use 3/4. Even as simple as I wanted the workout of lifting the much heavier material. I’m just trying to learn more about the topics in here that interest me. Even the guy who designed the wheel would have been amazed by what the tire did for his invention. We grow together.
Bottom line here is I appreciate the work that goes into something like what you have done, and extra appreciate your willingness to just offer all that work up for free to the community.
It’s been a while, but I think my logic went something like… I want the ribs sticking out that hold the metal struts to be strong and resist racking, plus… since I needed to stay shorter on the torsion box part of the table, because its height was going to be too much if I wasn’t careful (because it was going on top an existing table), then maybe I should go ahead and strengthen the ribs and spars by going with more thickness, since they were shorter in height.
As of Sept. 23, 2023, the following was announced : The original post (link below) has newer versions and should be referenced/used instead of this thread. This thread is to be closed. Thank you!
…And today, Jan. 6, 2024, updated download links have been added at the link below, with improved “combined cut files” (DXF, SVG, and PDF) for the links. Again, the post linked below is now a wiki and thus can be kept up to date with the latest files.
My amateur guess is that 3/4" is so much easier to bond to (with glue, screws, or staples) than 1/4". It would be better to have fewer ribs from thicker materials than more ribs at 1/4".
I made my first torsion box with 3/32" hardboard skins, top and bottom. The skin was attached with wood glue and staples. The ribs structure was 24" on center, 3/4" plywood, and 3" wide. That was very strong and flat. On top of that, I attached 3/4" plywood for my spoil board (because it is what I had). The box was rigid and flat on its own. The top surface was just to give me plenty of room for bit burying and work holding (wood screws are still how I attach work pieces most of the time).
Please take note! The asymmetry of the LR3 and LR4 are not exactly the same. The table at the top of this thread was designed for the LR3. To get a sense of the actual asymmetry of the LR4, consider this post by Ryan of V1 Engineering, showing an affordable and doable way to get a full size table for an LR4: ~ $200 Full sized Lowrider table, Non-CNC Build
If you take his newer asymmetry in that newer table design, I think you will be happier.
My LR4 is still riding on a table that was designed for LR3, and thus its cuttable area is not centered perfectly, and thus not as usable as I’d like.