Yeah this was my thinking, start basic, and improve as time/funds permit.
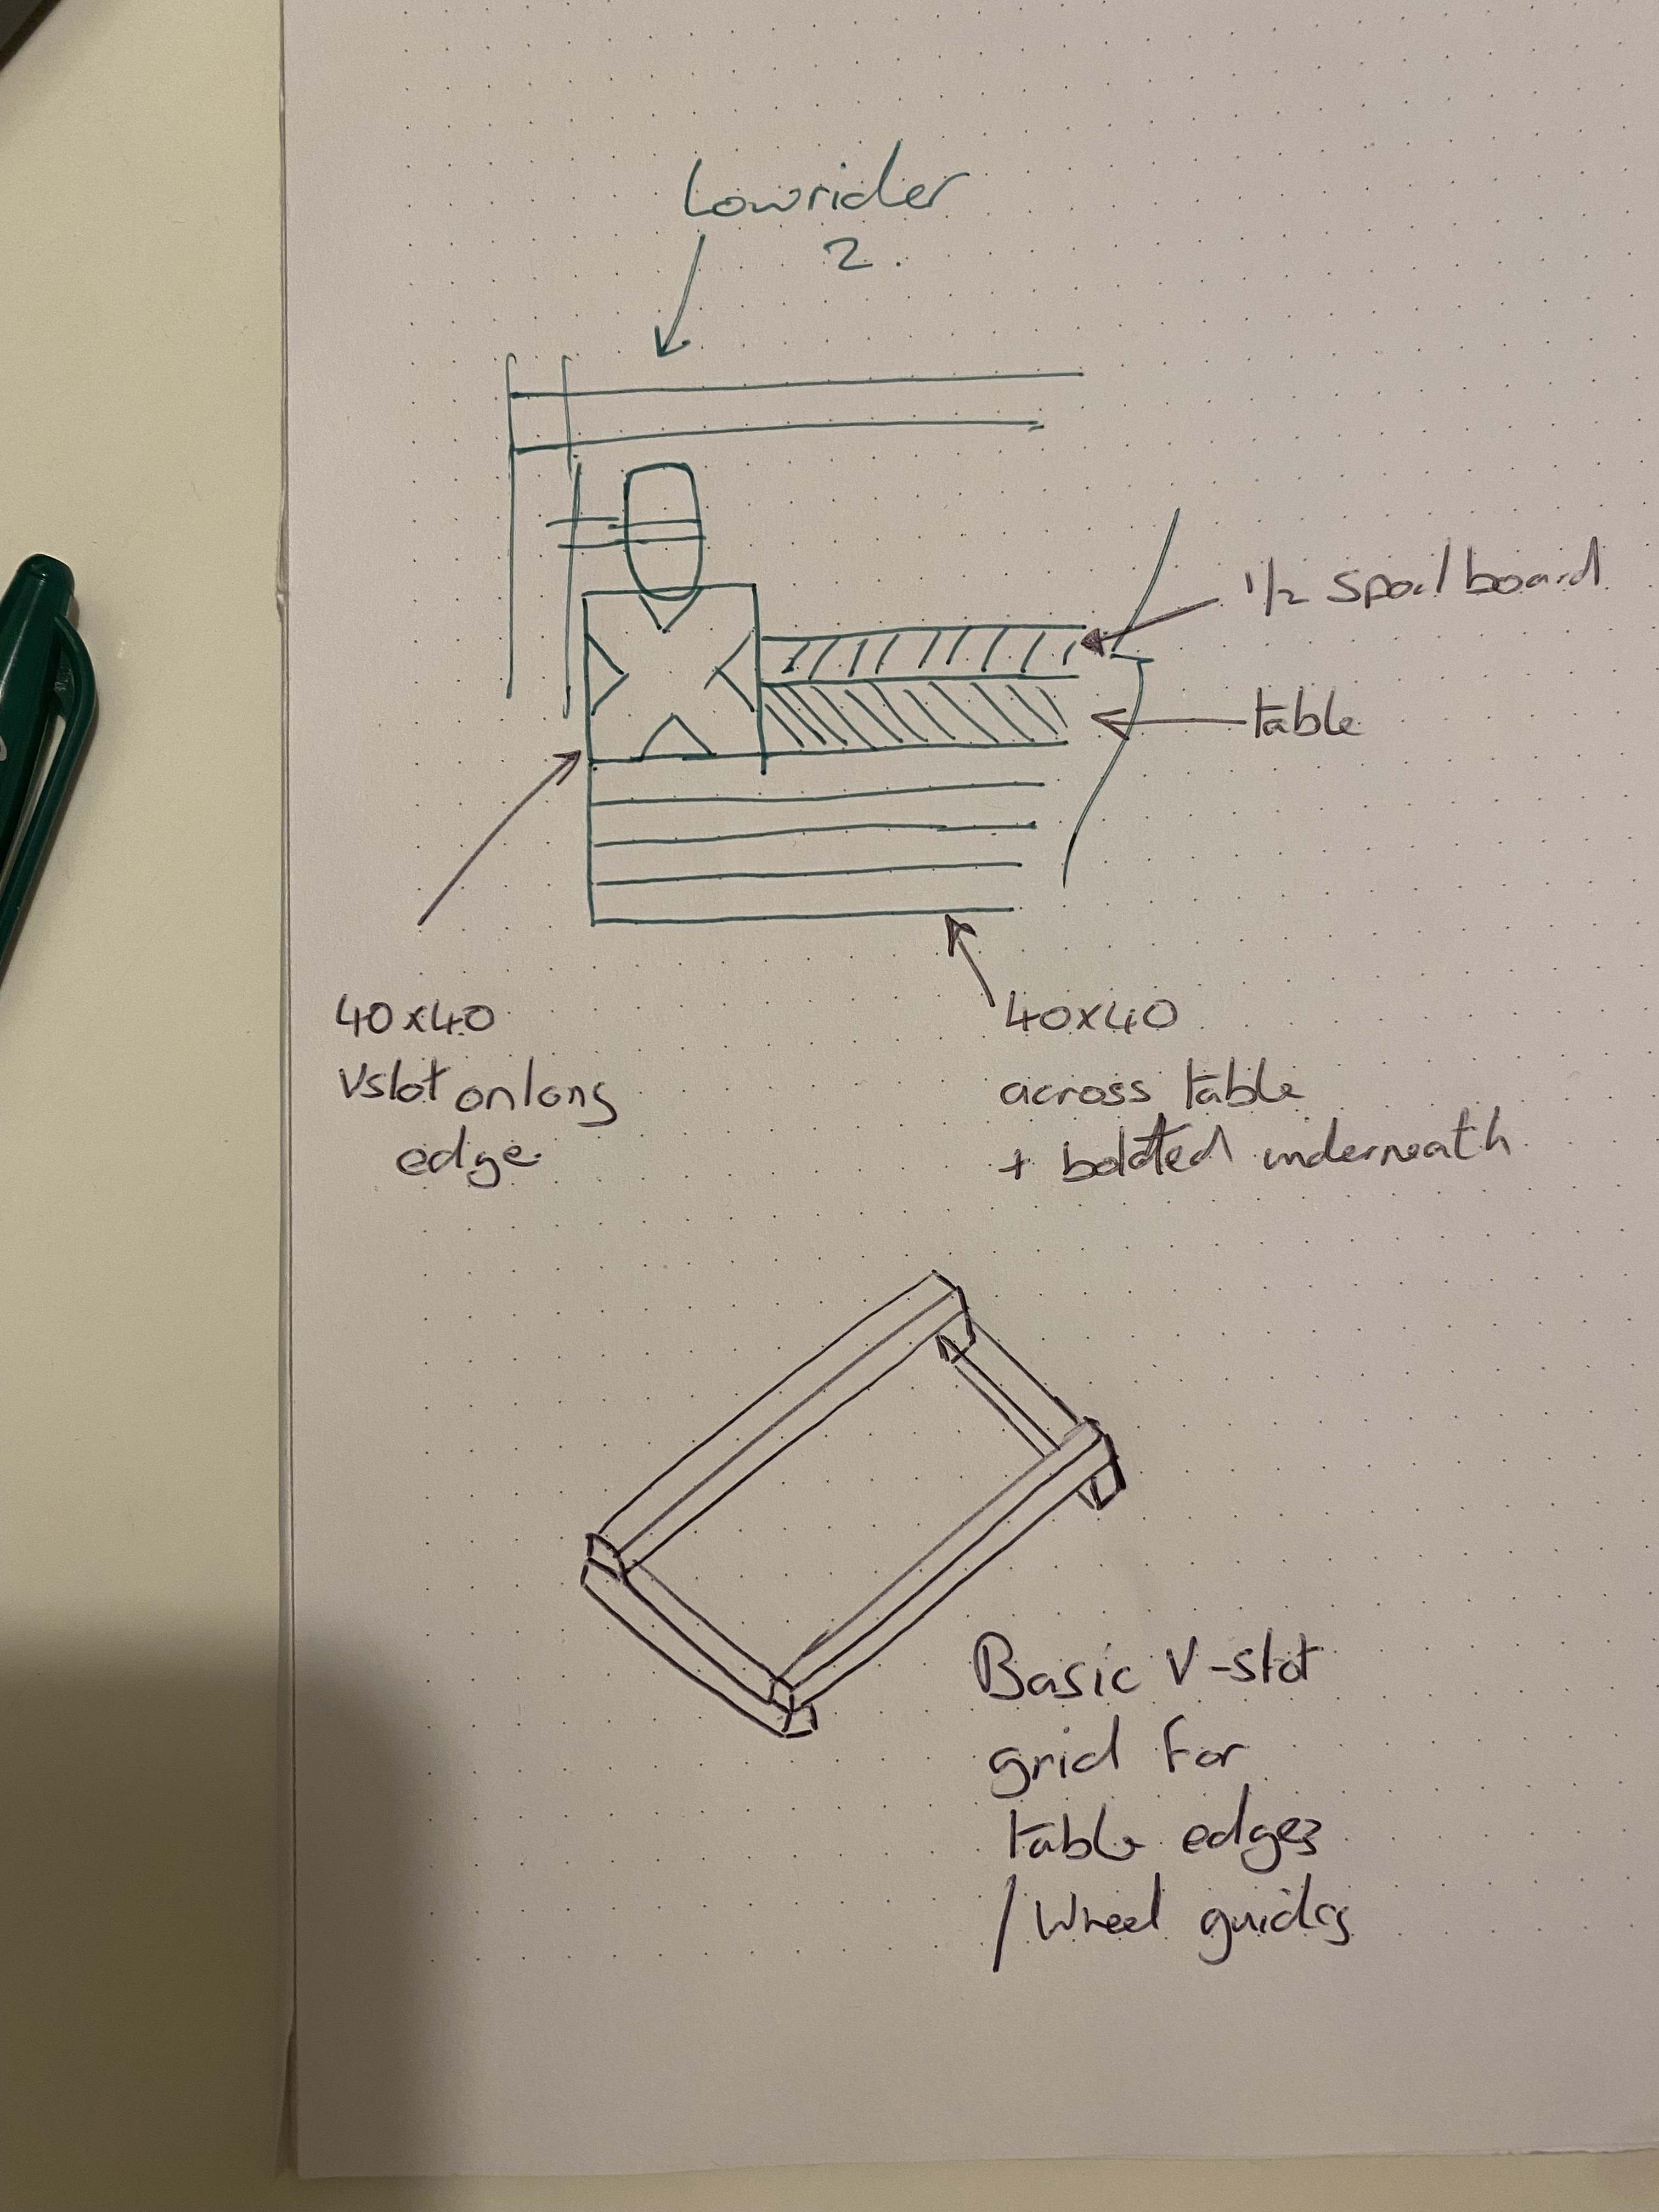
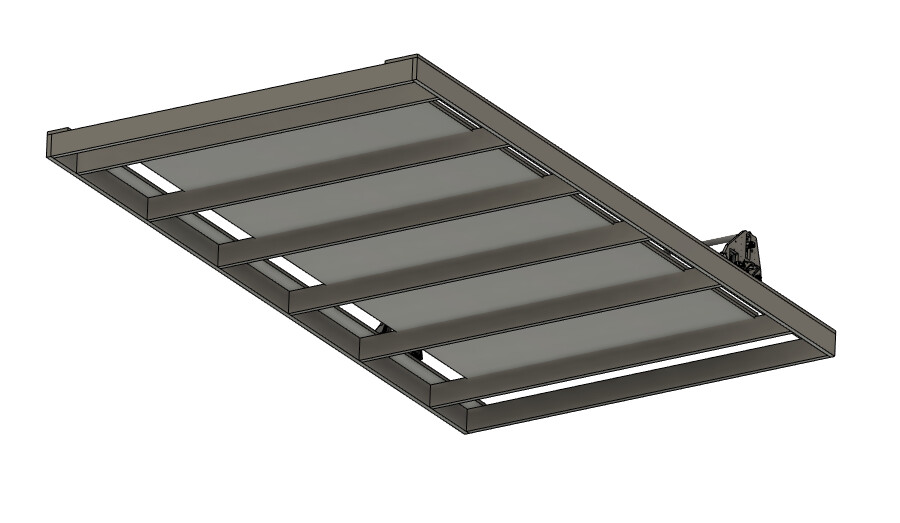
As I see it, Using the extrusion down the sides gives a good vslot for the wheels, and if cross pieces were bolted to the under side of the table, it would allow the side railed to be shimmed for a perfectly flat running surface, regardless of table warp etc.
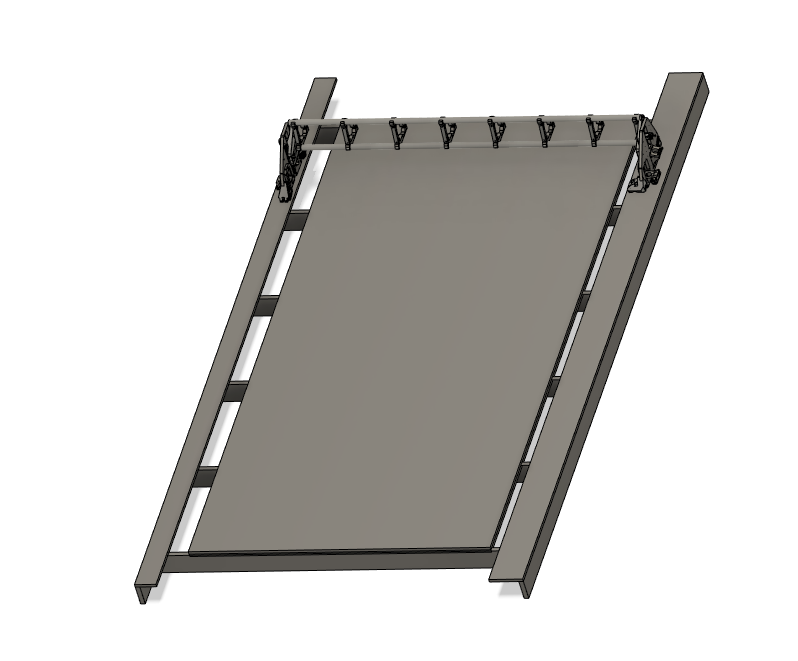
I see the space between rss on the topside giving a good place to put a removable spoil board on the top side, added benefit is it makes up the depth of the extrusion, so I don’t lose too much Z travel. Additionally, the side vslot gives a good mount for the belt mounts, not unlike the uni strut designs?
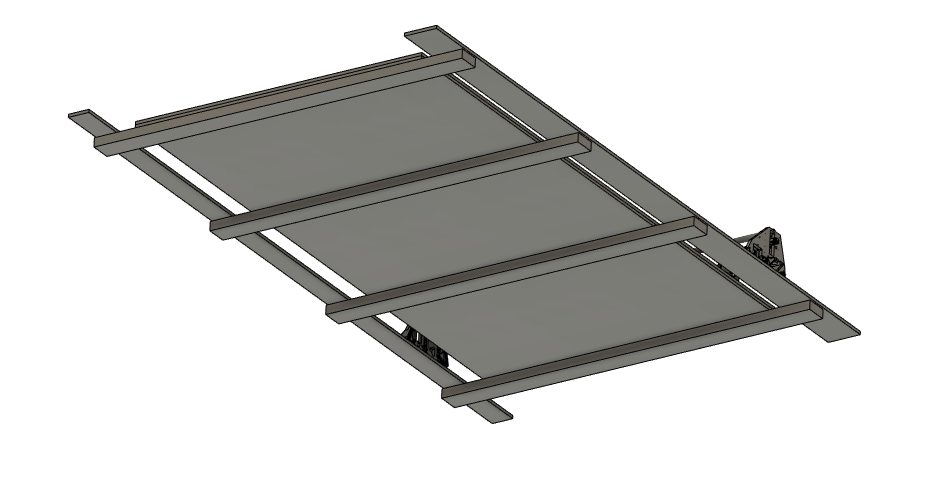
(Apologies for such a janky drawing of a LR2, but I think you get the idea!)
I should point out that im a long time lurker on the forum, with no practical cnc experience as yet, so I may be looking at this altogether too simply. That said have followed all the lowrider developments since lockdown with serious interest, and a massive amount of admiration for what you are doing Ryan, your vision, products and designs are providing so many people with the ability to realise their own designs (and mine, even if only in theory at the moment!). It’s a hell of a thing you’re doing here, fair play to you, and thank you!
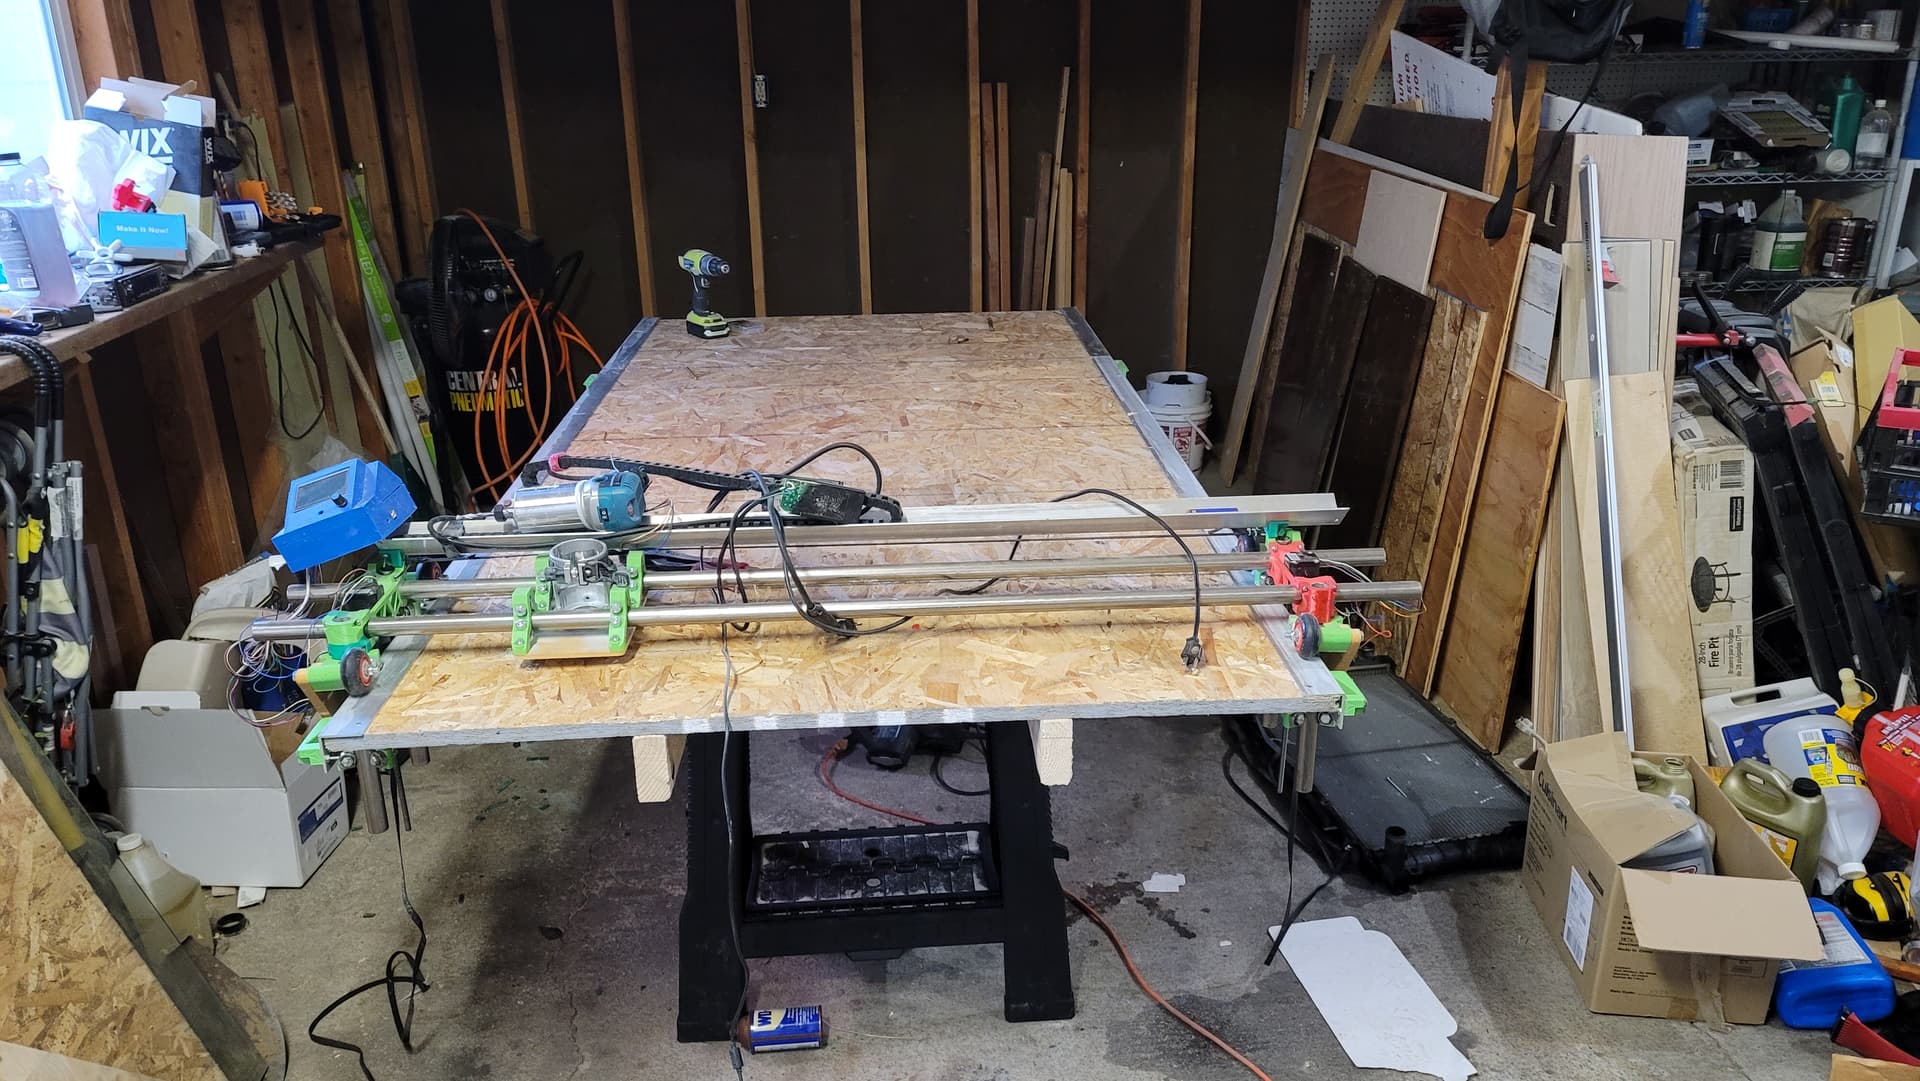
I have been super lazy. I screwed it to a free craigslist dining room table. After the table broke (those 100 year old casters just got destroyed after pulling it out my garage last year amd one of the legs got stuck and it collapsedwith me pulling on it)I rebuilt my table for $70, I used some $40 saw horses with the 2x4 holder, some aluminum 2" 90°, and the fancy $5 2x4s with a sheet of 3/4 osb( I have been using the same top for 2 yeats now).
I knotched the 2x4s so the 90 would slide in and then counter sunk some 3 inch screws through the 90 for some support on the wood as well as locking the 90 in place.
But I also don’t do alot of cutting that require 100% precision. So if its a little shallow on the front or back corners no biggie
This comment I just made over here, seems relevant to add here too:
For material hold down method, I use screws, straight the material and into and through the spoil board.
I used to have two layers, bottom layer of OSB, and top layer (spoil board) of MDF. The screws would go into the OSB and bite and hold really good.
I currently have two layers of MDF, and it does not hold screws as well, easier to strip out. I kinda wish I had put a first layer of OSB, and then MDF on top.
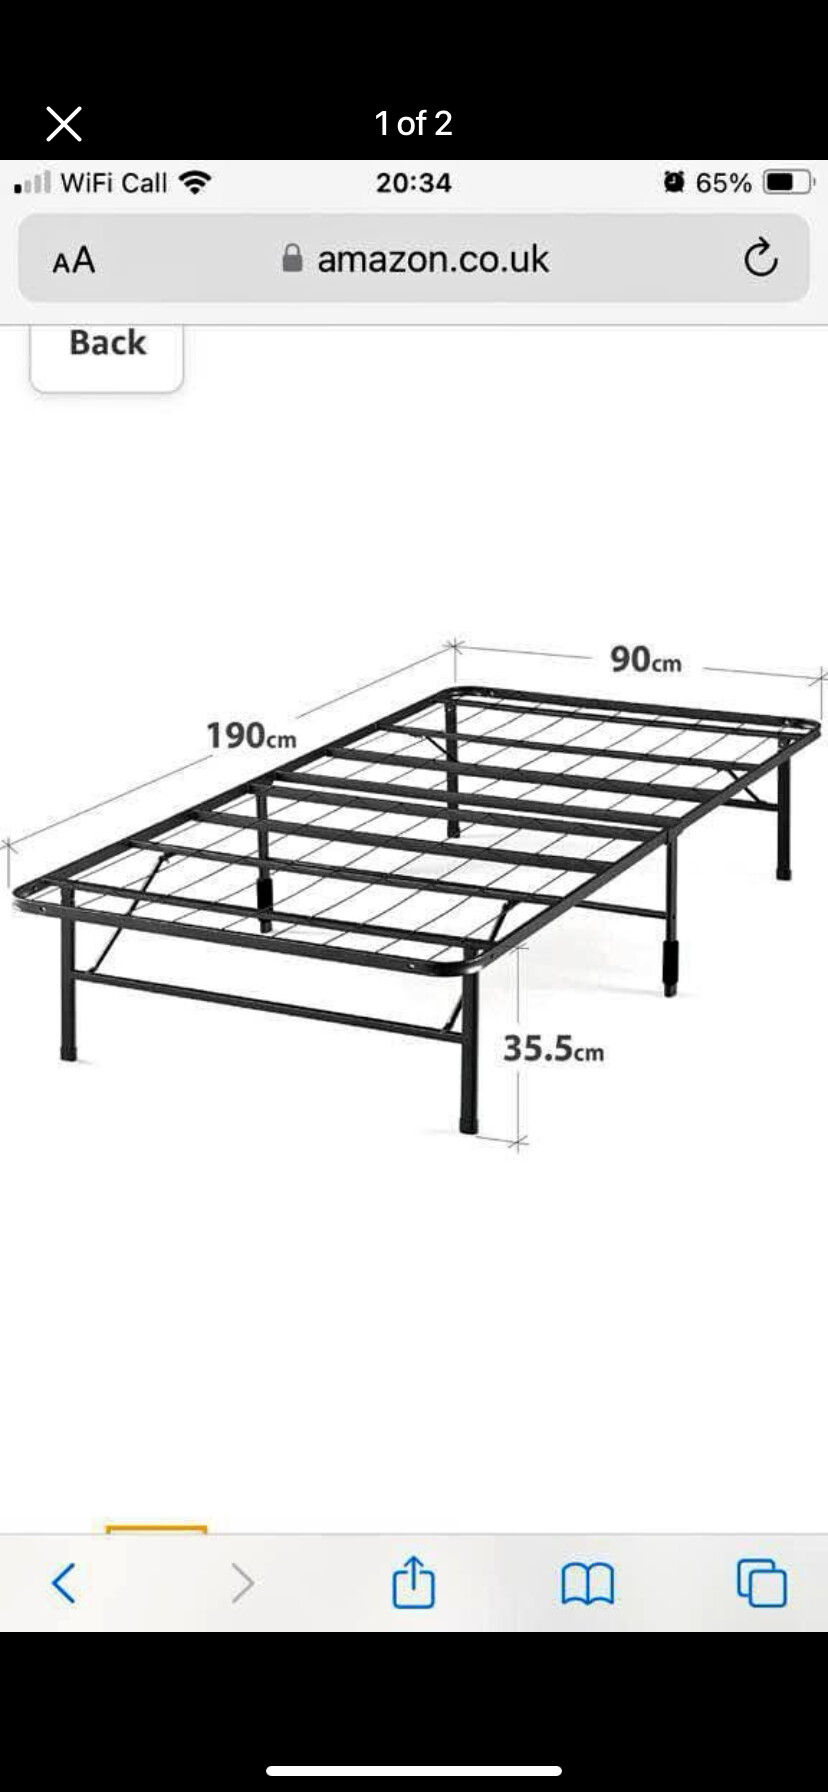
Getting to the point where I’m looking for “ready made” tables in everyday objects. Still think the trestle table is a good starting point but this would get closer to full sheet quicker, much like a table tennis table would.
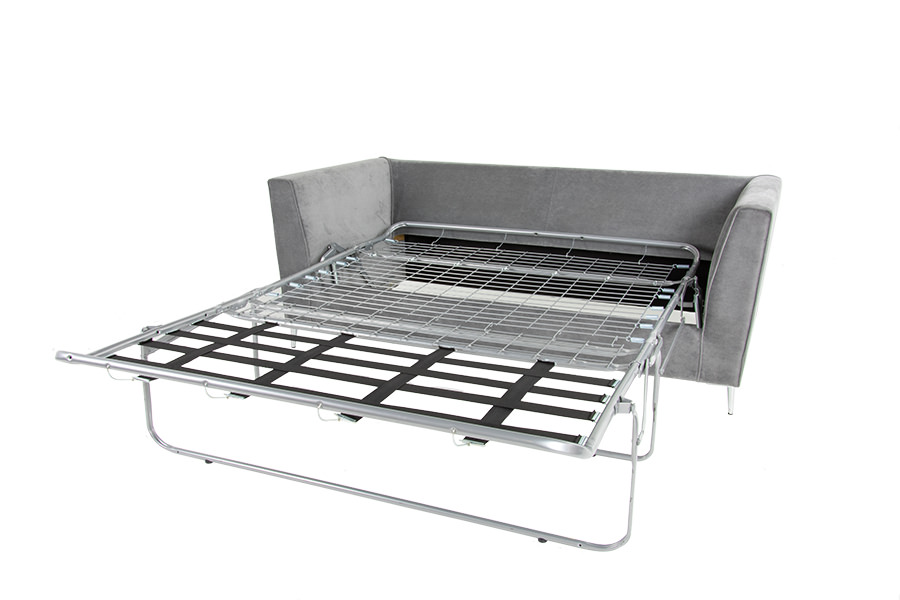
edit: ORRR…. For the uber space conscious, folding sofa bed frame?
Isn’t that part of the joy of doing what you are doing? (Unless you are one of those odd bods who actually wants to make stuff with his machine, in which case no further thought is required - it just works!)
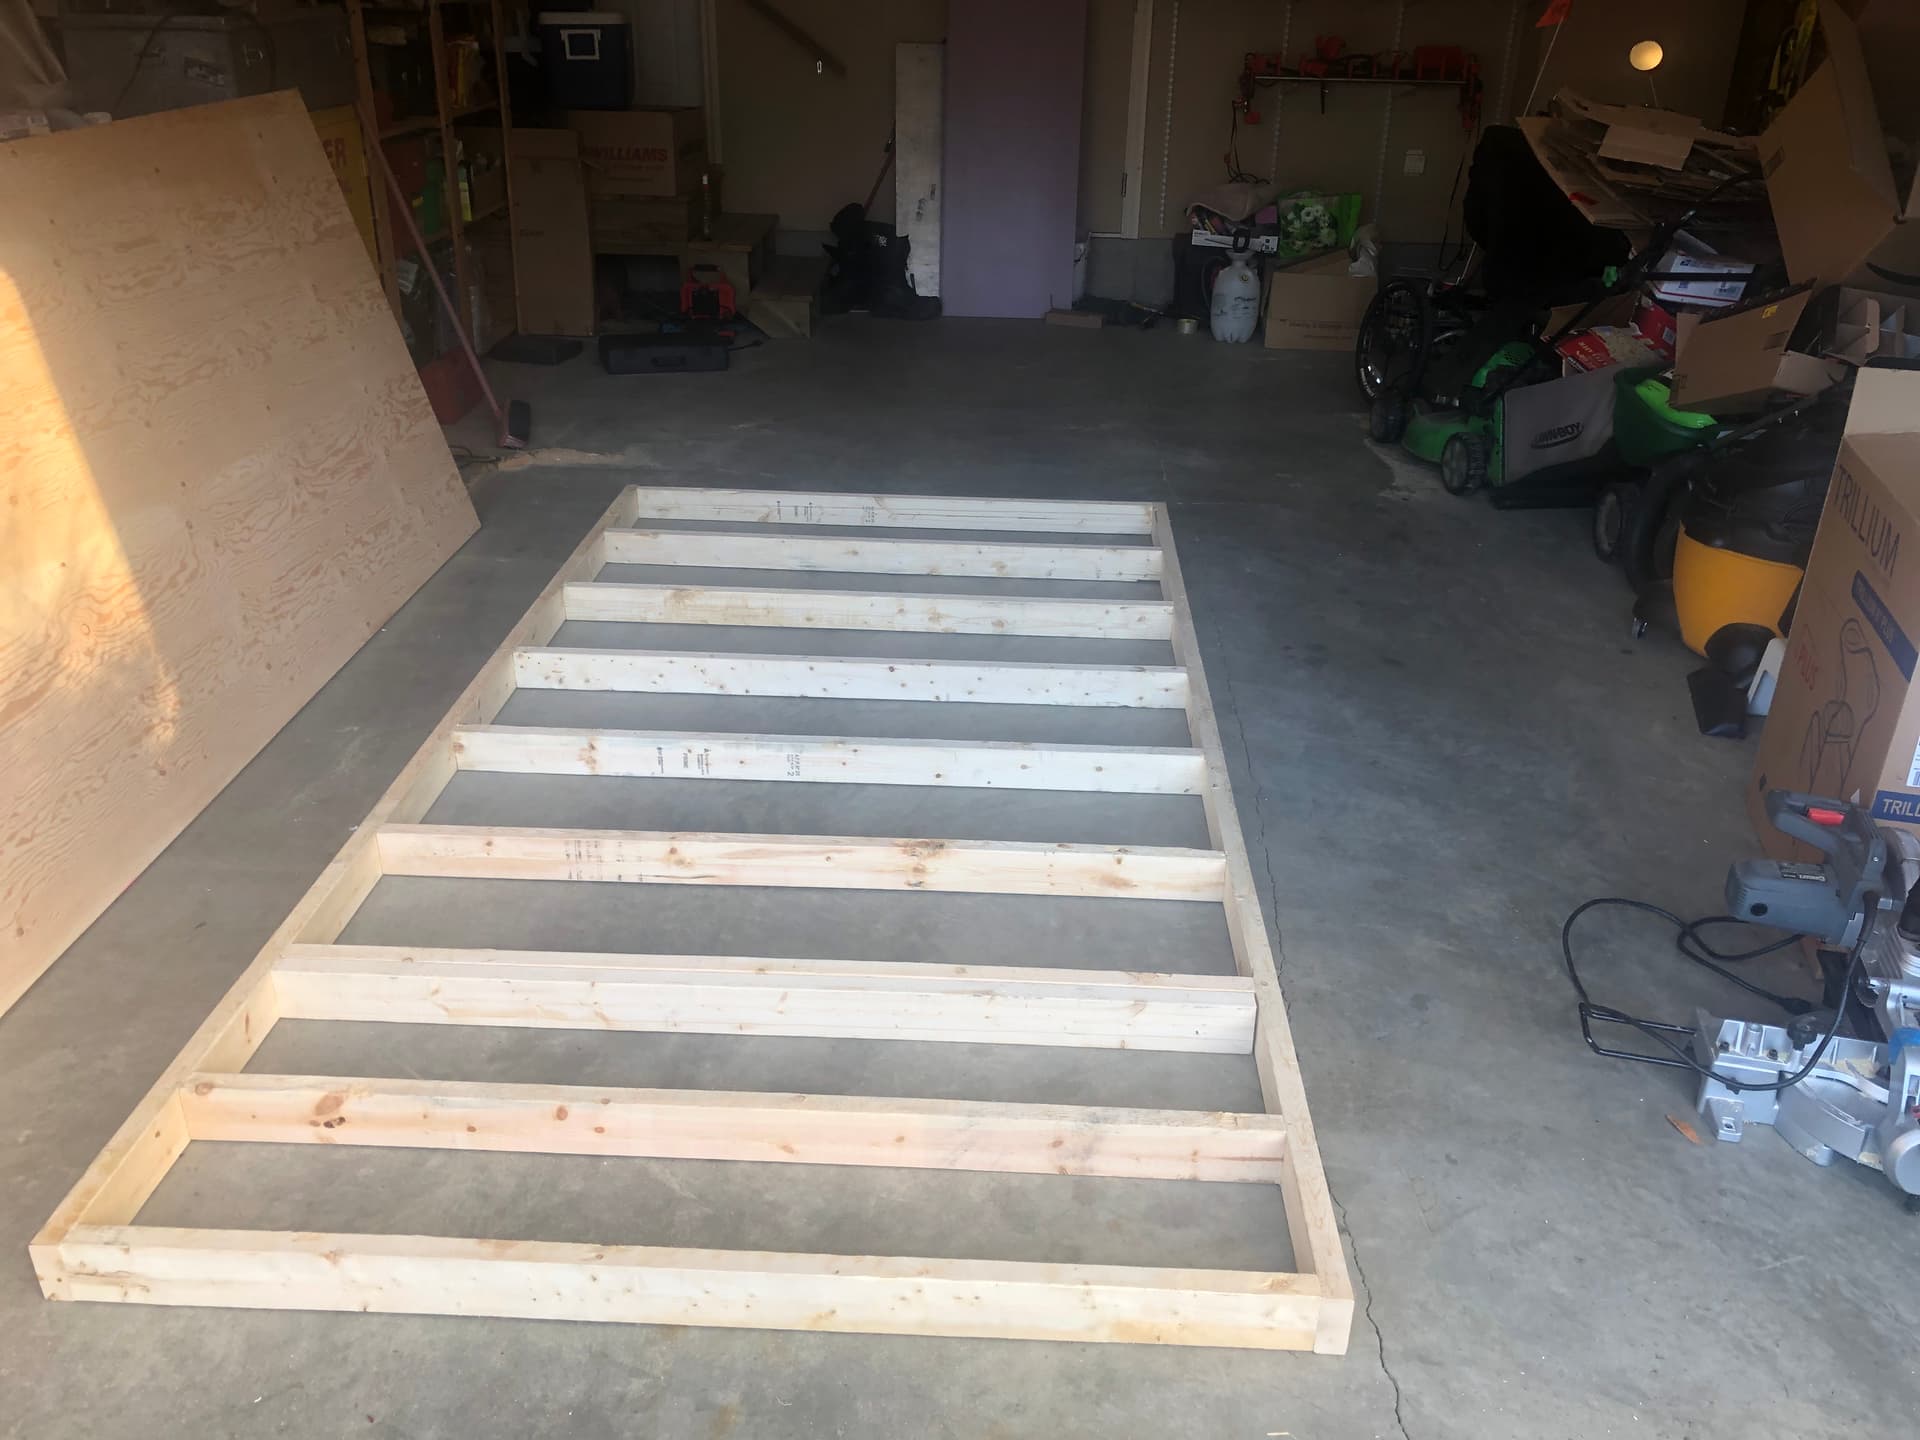
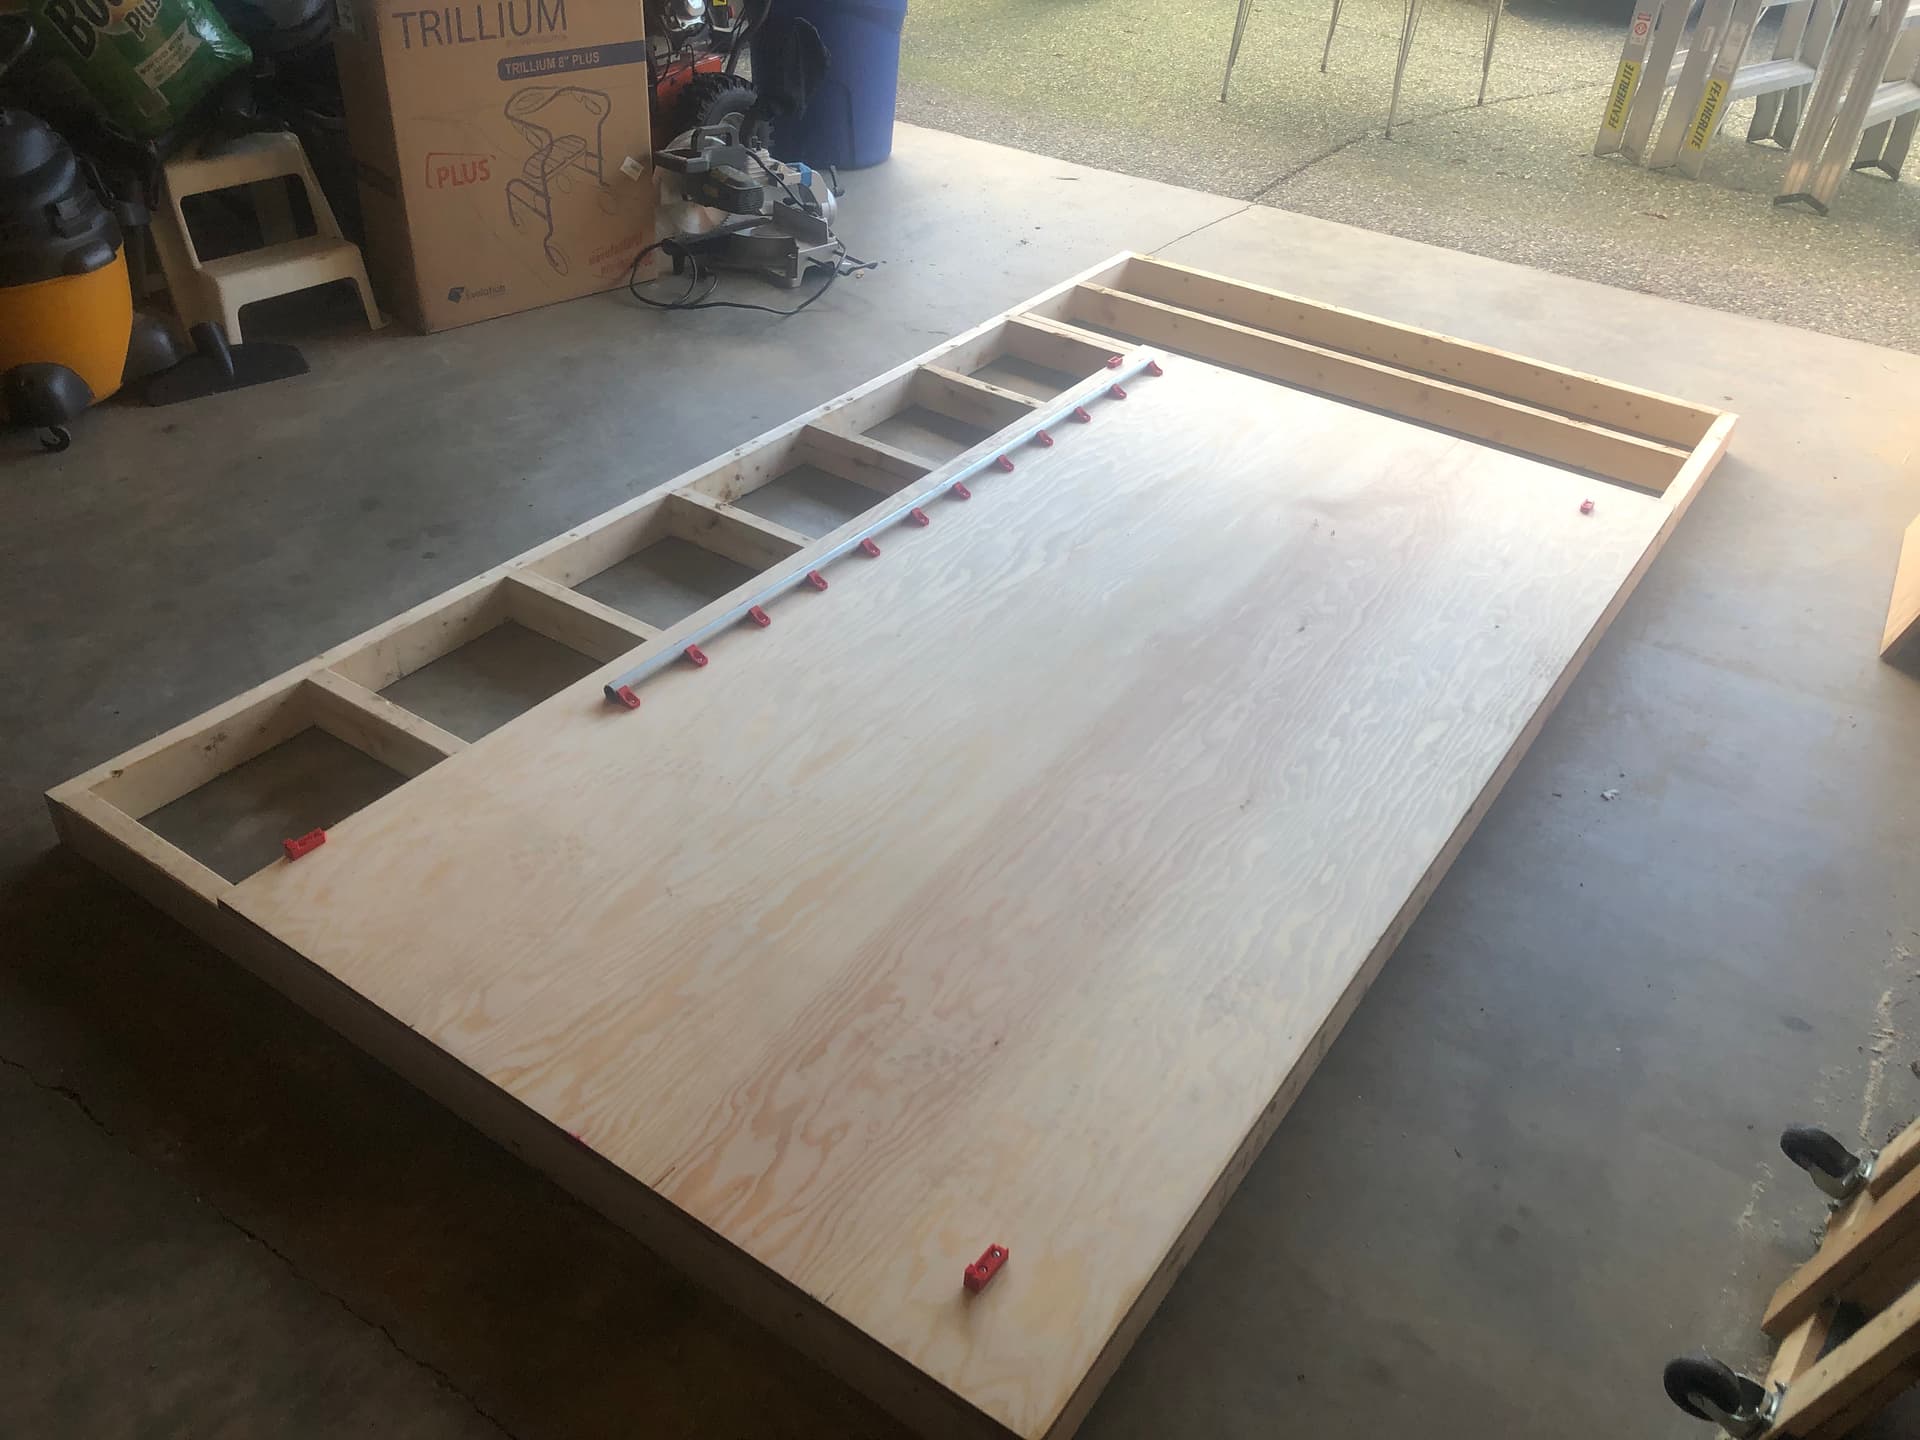
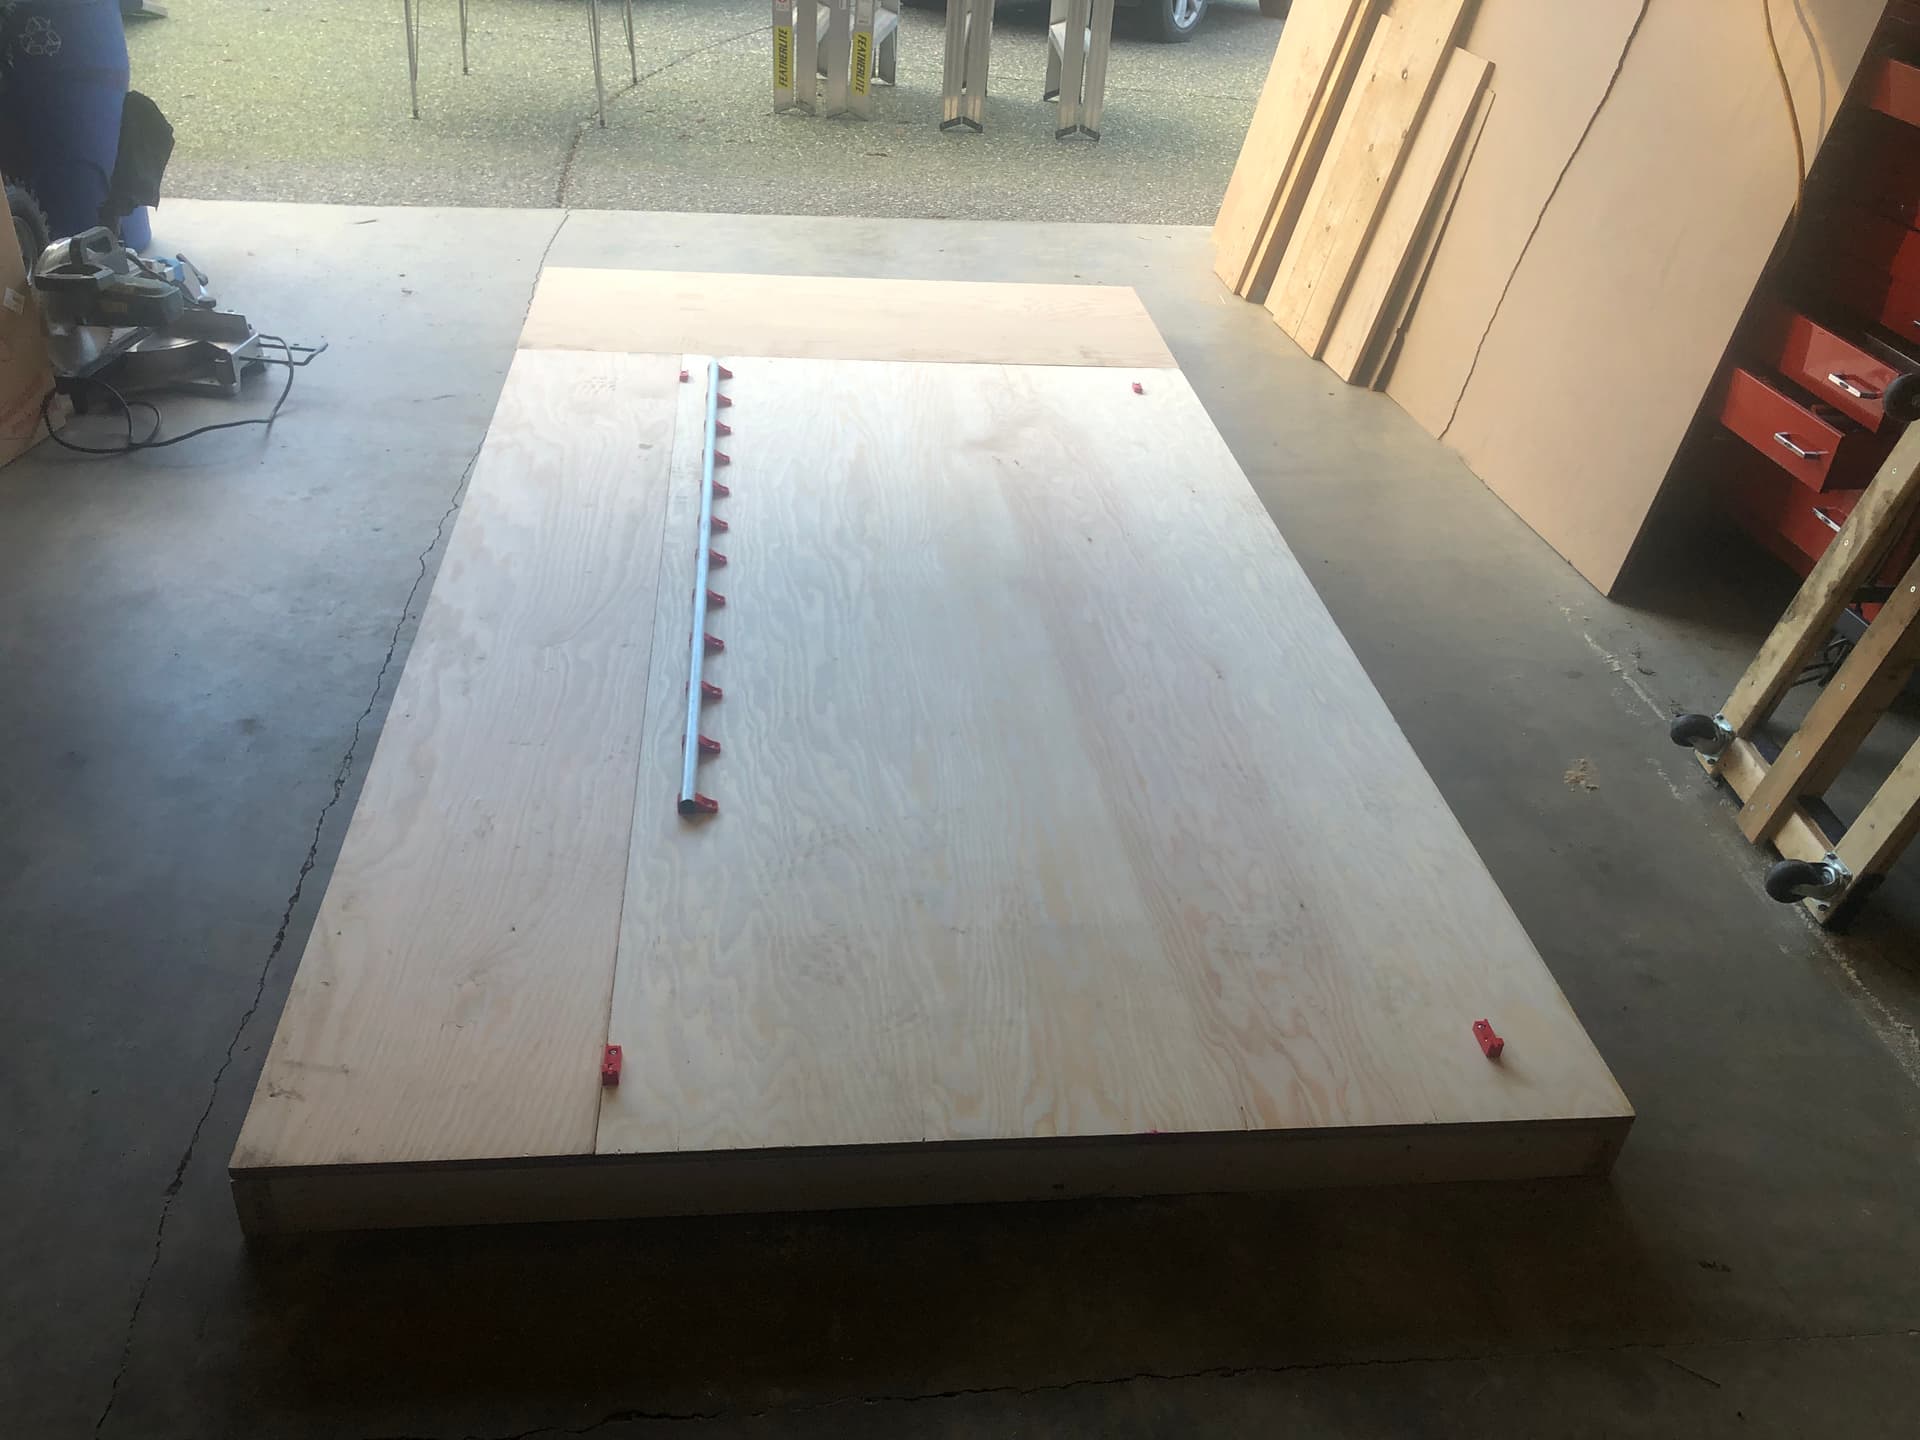
Can support a 51" x 103" cutting area, although a more traditional 48" x 96" or 49" x 97" build would also fit nicely, with a few inches of elbow room to spare. 2 sheets of 3/4" ply, 7 sticks of 10’ 2x4s, and a couple of small bags of decking screws. Under $200 CDN, probably <$100 US
First post on the forum and happy to be here! Just built (almost done) my LW3, made it with a 53" workable cutting area in X but think I’m going to trim it down to something a little more “standard” and make it a 49" X.
Found this thread interesting as I’m currently trying to figure out what I want to do for a table. I really like the idea of getting something cheaply thrown together so that I can use the LW3 to cut out it’s own torsion box (Doug I have yours in mind). But the more I think about the material I’ll be using and the price, I find myself trying to decide what is worth doing for the table right away.
I’m super cheap, I’m sure we all have aspects of that as diy’ers, but even a temporary table I drew up is going to cost $100 or so to make.
So two questions for you all, do you think this would be enough for a permanent build? This is a lot of 1x4 on the underside.
Or do you think this is enough to get me through learning my way into cutting out a torsion box pretty soon after? this is just 2x4’s laying flat and will just sit on my concrete floor for now.
We are talking $100 in material vs stuff i already have/will reuse for the torsion box build. End goal is to use the LW3 to cut out my cabinet designs and build a nice CNC table with cabinet space underneath.
Thoughts? Better way? I’m not new to woodworking or 3D printers (I’ve designed and built multiple 3D printers from scratch, have a desktop cnc router, laser engraver, and have a fairly stocked hobbiest woodworking shop just so you’re aware of where I’m starting).
Appreciate your recommendations and looking forward to contributing to the group once I’m up and running!
Either option should work but my 2 cents would be to go with option 1 which is similar to what I did. It’s sturdy enough to use for a long time and gives you time to sort out what you really need. I also have full intentions of building a torsion box table at some point. I’m still very new to this but I think it will take some time until I know what I would want in a fancy table. I don’t think you can figure it out without using it for awhile.
Some questions I’m still trying to answer:
Does this size meet my needs?
Should I make it fold up out of the way?
Do I need more space around the edges?
What do I want to do for work holding?
How tall should it be? I may end up using it as an outfeed table for my table saw.
What other features might I want? I’d like to have some vertical work holding. Do I need it?
Do I want/need a drop table?
I was going crazy trying to answer these questions at the beginning. My approach is to keep it simple, use it awhile first, and then get fancy.
Thanks for the input! I’m sorta leaning that way, I’m just hoping that my plan for the first box is sturdy enough for long term use and enjoyment. A warped bed in 3D printing can cause a lot of frustrations and I’m certain a warped build surface on the CNC will be much exaggerated and far less enjoyable to learn on. I’m not sure if buying common 1x material from the box store is going to cut it… Can’t trust any of the lumber I get there lol
My initial thoughts were making something that folds up, but I think I like What Doug did with hiding his belts. Would be nice to use the cnc table as an assembly table when not actively in use as a cnc.
Good luck with finding your answers, I think I’ll be asking myself a lot of the same questions as well!
I actually think this is far more forgiving than 3D printing. You mostly just end up cutting a bit into the spoil board to compensate. You can also surface the spoil board.
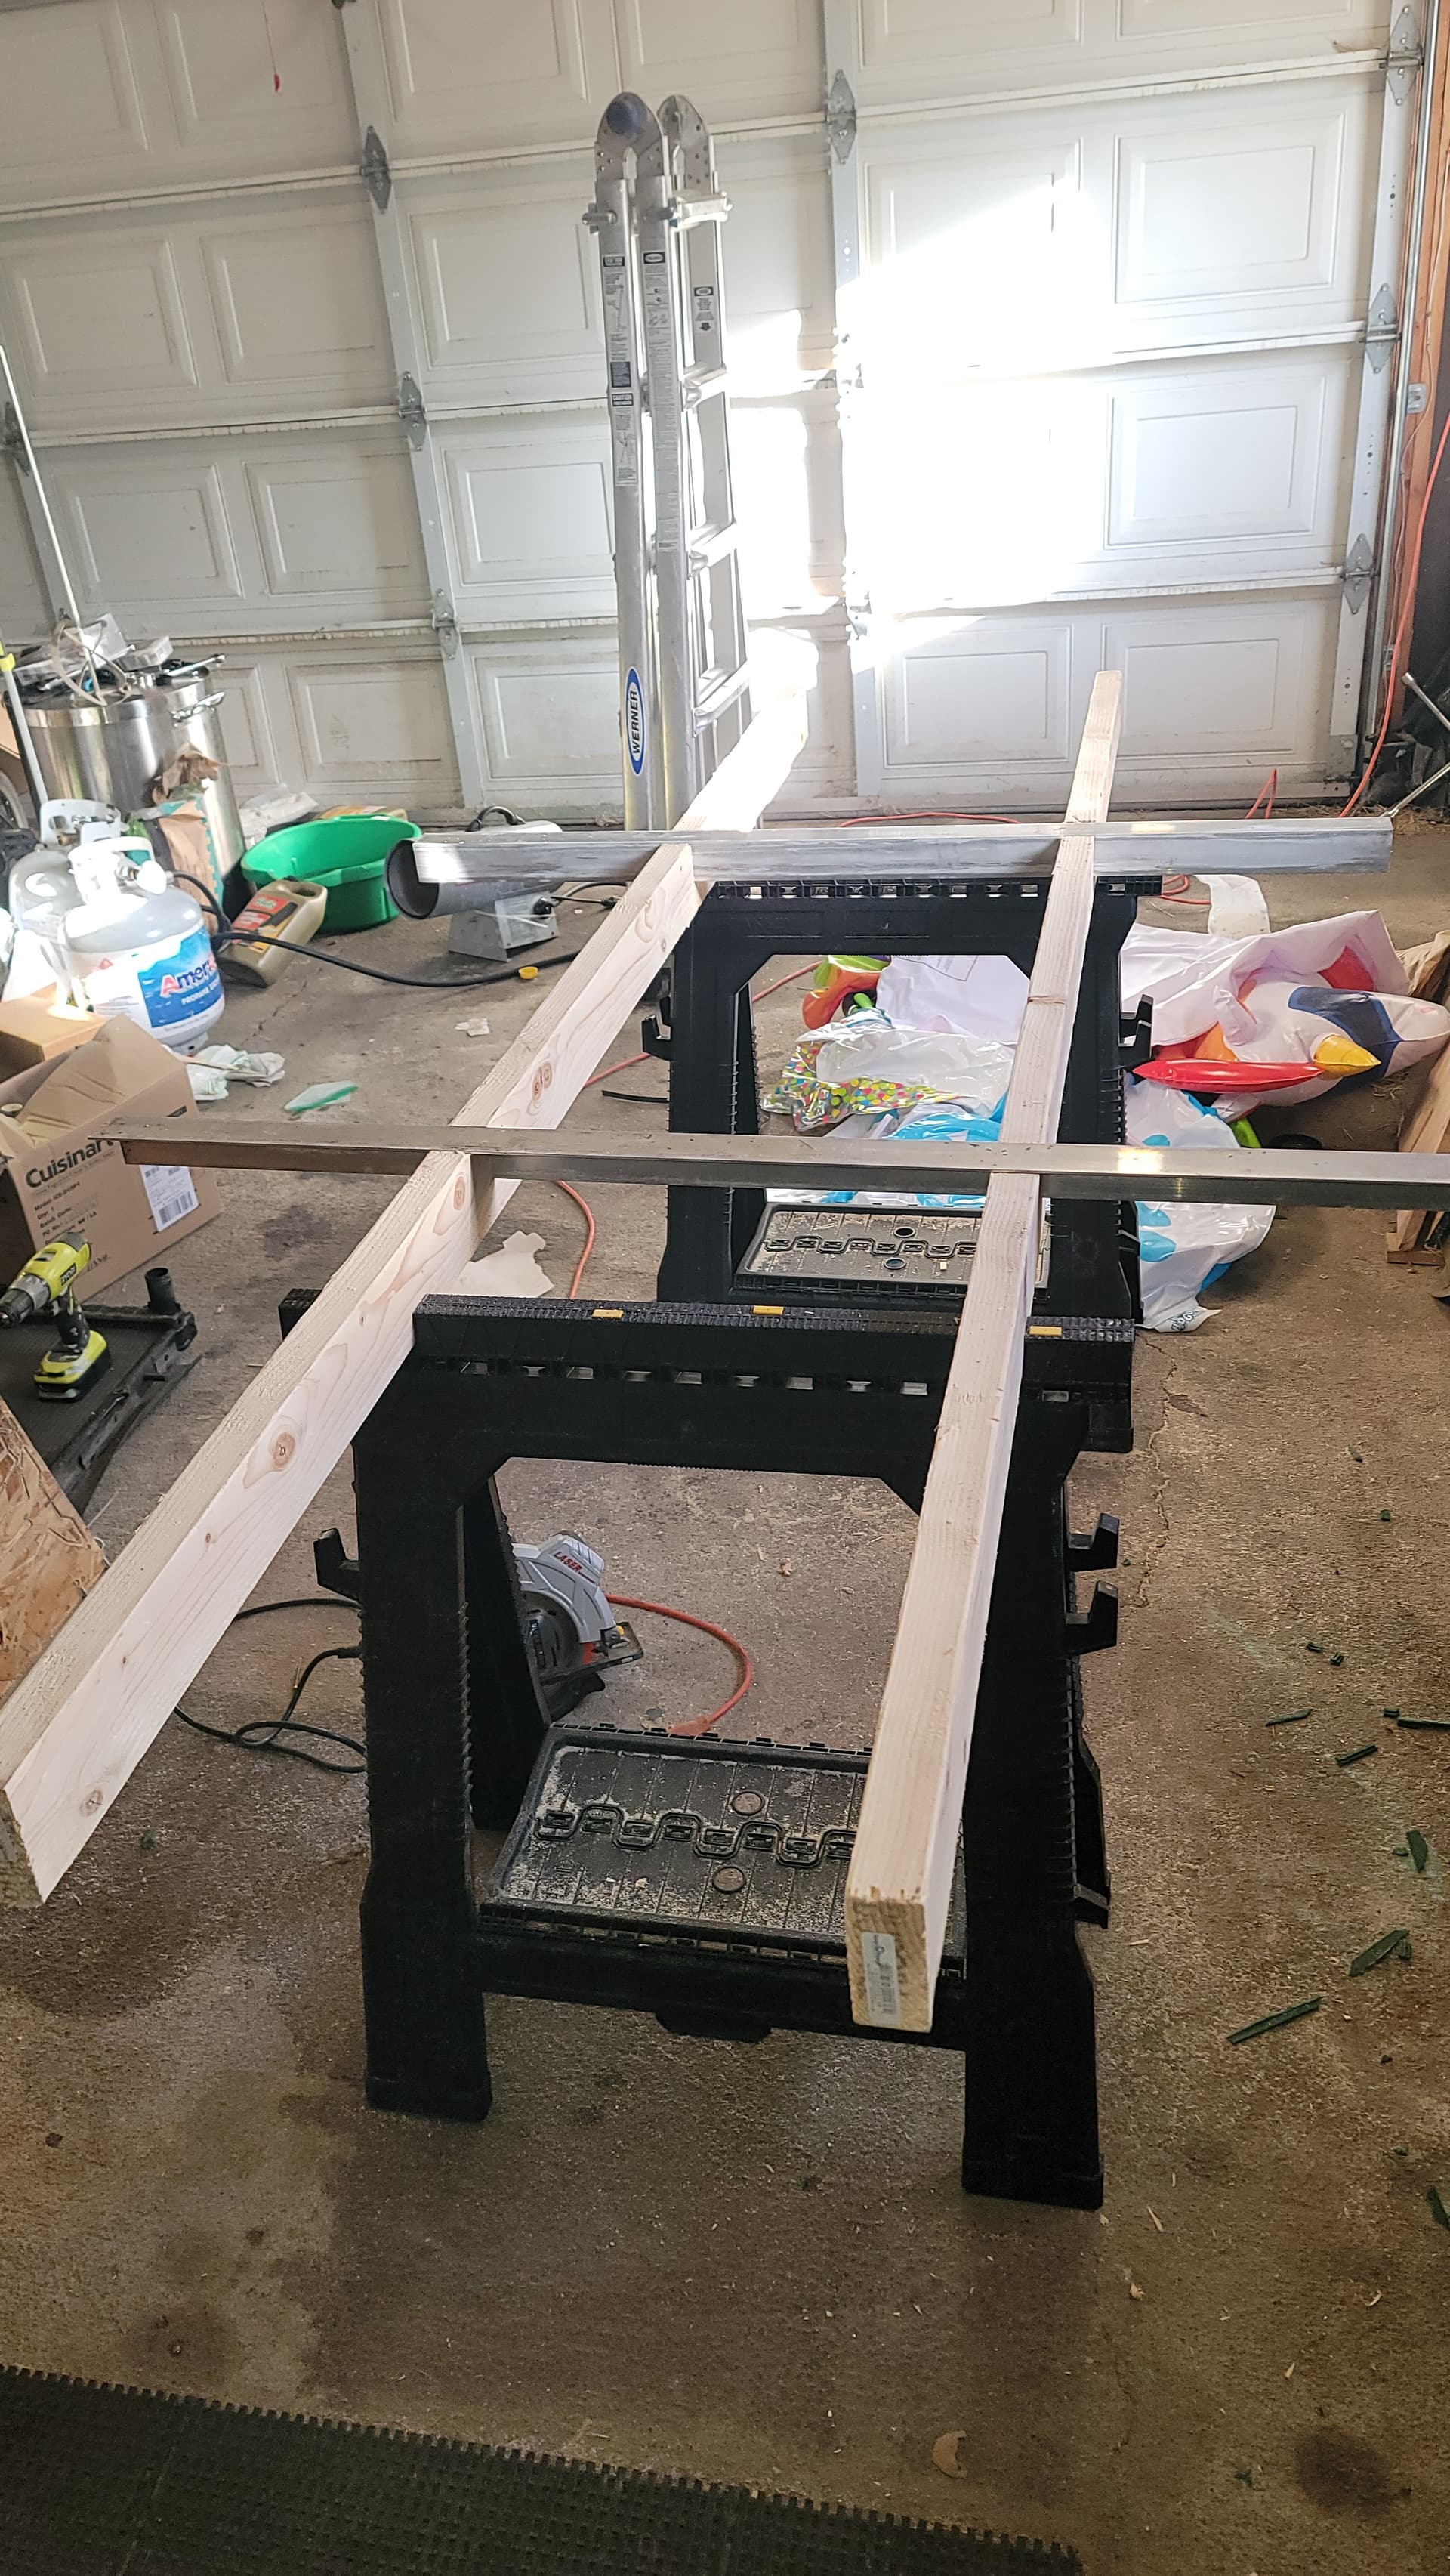
Yea, this is why I bought 2x8s and ripped them down but that was probably more work than necessary.
$100 IS super cheap! And the plywood surface will be re-used for the final build, so all you are really paying for is the 2x4 (or 1x4) for the frame.
The more (and closer together) the cross pieces, the flatter and sturdier it will be. Also if you don’t attach sheathing of some sort to the long edges, you might find that it bends and twists every time that you lift and move it (which may be fairly frequently if you need to use the garage space for something silly like parking a car)
@jeyeager Good to know! And yup I plan on surfacing as well if it looks like it’s needed.
@Bartman it is, but it wasn’t if I felt like I needed to replace it soon after with a nice cut torsion box. But these comments are making me feel like it’s going to be a while until I feel like one is needed so that’s nice!
When you say sheathing on the end pieces, you’re referring to the one’s at the far Y extremes of the table? Outside of the cutting area? I was actually thinking of pulling them out of the design altogether and adding a nub underneath. Think that would be making things worse? If i leave them in I suppose I’d sheath them maybe make that area a place to hold tooling and such.
I mean tying the boards aligned in the x direction with the boards aligned in the y direction. Best done by using the plywood (sheathing) for the whole frame - see the pictures in my post above.
Absolutely necessary? Probably not. Stronger and more stable? I think so
Ah I see what you’re saying. Hmm, was hoping to keep it as light as I can for the time being, an extra 2 sheets of sheathing certainly won’t help with weight haha. BUT that’s an easy add I can do if I find what you’re saying to happen! Long run, I think may be fastening this entire thing down to a rolling “island of cabinets” that I plan on building in the future. I really appreciate your call out though, something I’m going to keep an eye on.
I only used one full sheet and about 3/4 of a second sheet. You could go with 1/2” rather than 3/4” to reduce the weight a bit. You could also substitute MDF instead of plywood, but screws don’t hold as well in MDF (IMO).
Ah okay that makes sense. Honestly, 2 sheets of 15/32 sheathing is going to weigh less and cost less than a single sheet of 3/4 MDF so that might be the move then. I think I still want MDF spoilboard though but 3/4 is probably overkill, 1/2 should do the trick for spoil board!
If you’re going to put MDF spoil board on top of the plywood sheathing, you could probably use 3/8 or even 1/4 plywood over the whole top of the frame, but you wouldn’t want to put screws into the thinner plywood.