Well now that the Christmas madness has subsided a bit, it’s time to get back to the LR3 build again.
I did manage to make a bit of progress over the last few weeks…
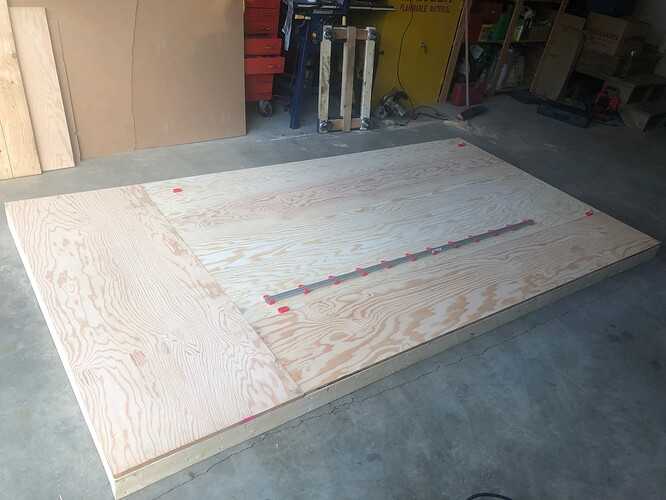
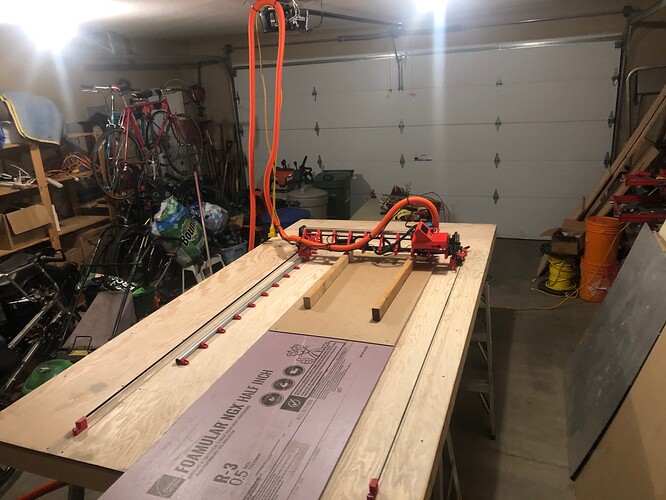
First of all, I upgraded the flat-ish table from a single sheet of plywood to a 63" x 120" framed table top (see post 68 in Table Ideas for those just getting started - #68 by Bartman)
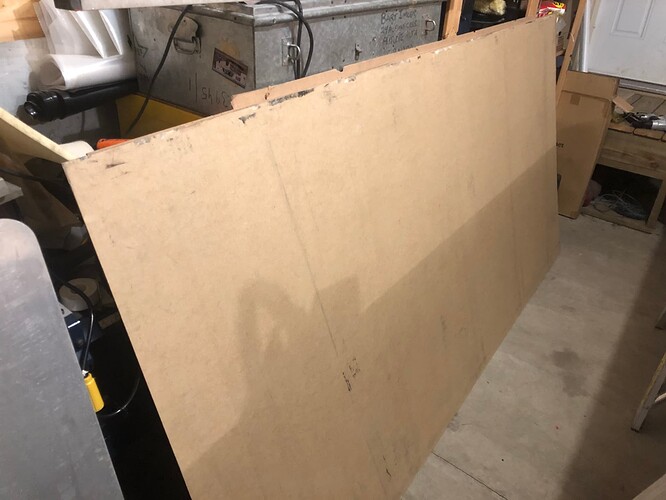
When I was at the lumber store picking out the 10’ 2x4s for the table build, I noticed a bunch of full sheets of 3/16" and 1/4" hardboard sitting at the bottom of a pile of used cardboard. I asked the yard attendant about them, and he told me that they were scrap, and I could take them for free if I wanted. SCORE! One was a bit nicked on a couple of edges, but they are perfect for test cuts, possibly for cutting out struts (I was planning on using aluminum, but hey, free!), and possibly even for use as the lower skin on a future torsion table.
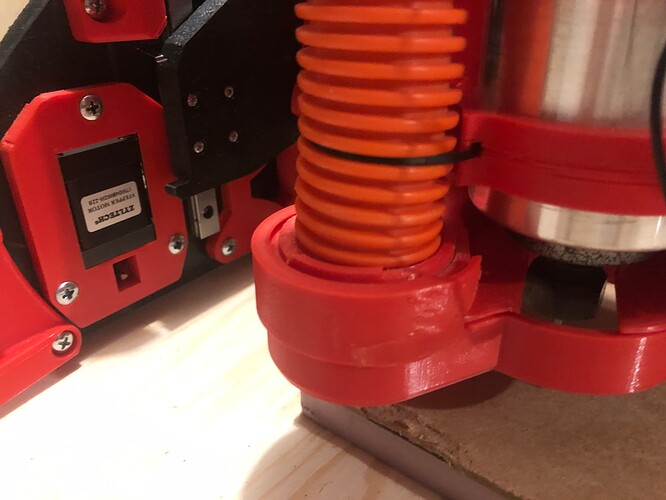
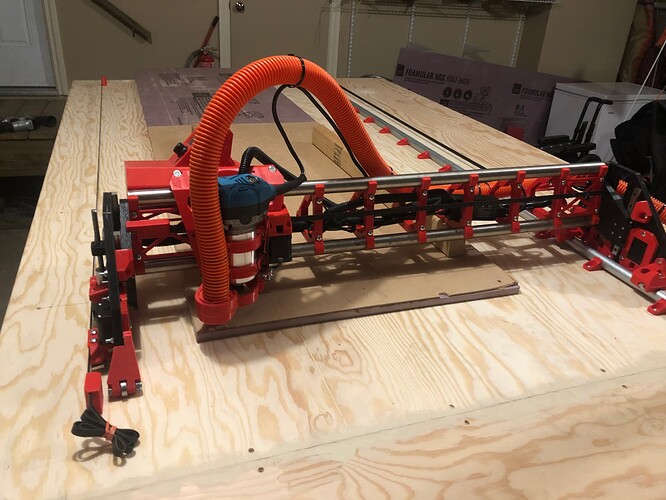
Next up was to sort out the dust collection. I have a built-in vacuum system in my house, and the canister is located in my garage/workshop, with an auxiliary inlet and a 50’ hose already available. The only thing missing was how to connect it to the LR3, as the hose was several mm smaller than the stock V1E dust shoe. I looked around the forums and didn’t find exactly what I was looking for (or maybe I did, but just didn’t recognize it at the time), so I delved into Fusion 360 and figured out how to design and print my own. Confused about Vacuum Hose Sizes
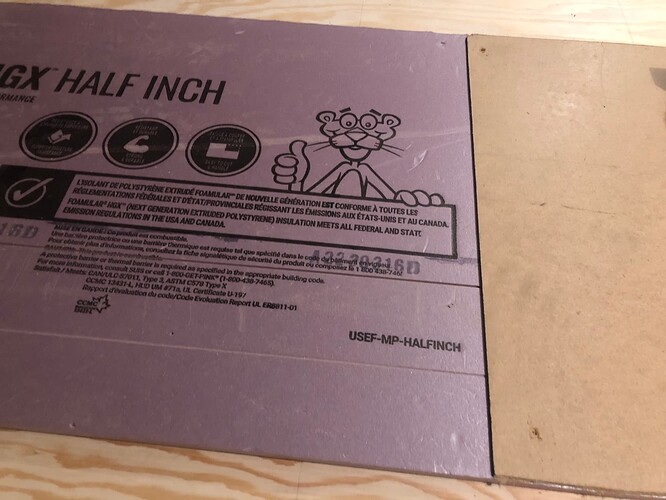
When I was building the table. I needed to make some straight cuts in the plywood, and trying to manhandle it through my cheap-ass table saw by myself seemed pretty sketchy, so I bought a couple of 24"x96" pieces of 1/2" styrofoam to lay on the garage floor, and used a circular saw with a straight edge clamped as a guide. It worked great, so I thought that I could re-purpose the foam sheets as a temporary (ish) spoil board, at least until I get the full sheet version of the LR3 built. I used 1" decking screws through the hardboard and the foam to secure the work stock to the table.
So that is the table and LR3 pretty much all set up to make the first cuts.
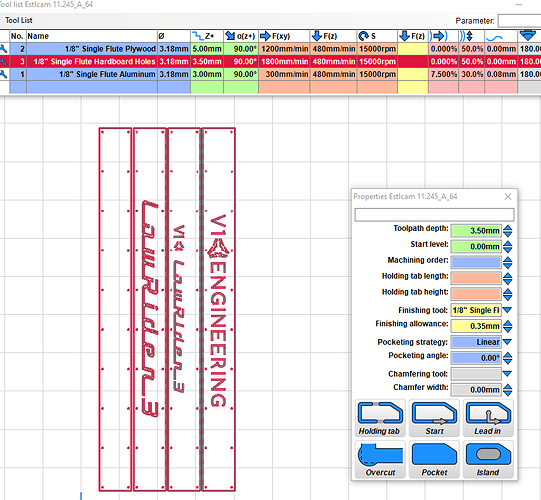
I figured that the struts should be the first thing made on the machine, so I spent some time sorting out nesting and arranging the different strut versions into a single file that I could put into EstlCAM and create the toolpaths.
I tried using DeepNest to arrange all of the DXF files onto a single sheet, but it turns out that the text all had very tiny gaps that EstlCAM didn’t worry about, but that DeepNest did. So I ended up just importing the files into EstlCAM individually, and used the Move tools to line them up. (I later found a Fusion 360 Add On called Fill Gaps that will correct all of the errors so that DeepNest can use the files).
I’ve made an air cut with the resulting gcode file, and tweaked it a bit to increase the travel speeds and to reduce the Z Clearance between moves, which shaved the time down by about 35%.
Hopefully tomorrow I can post pictures of the cut out hardboard struts. Then everything needs to be packed away so that I can get the car into the garage for a much needed brake job.
