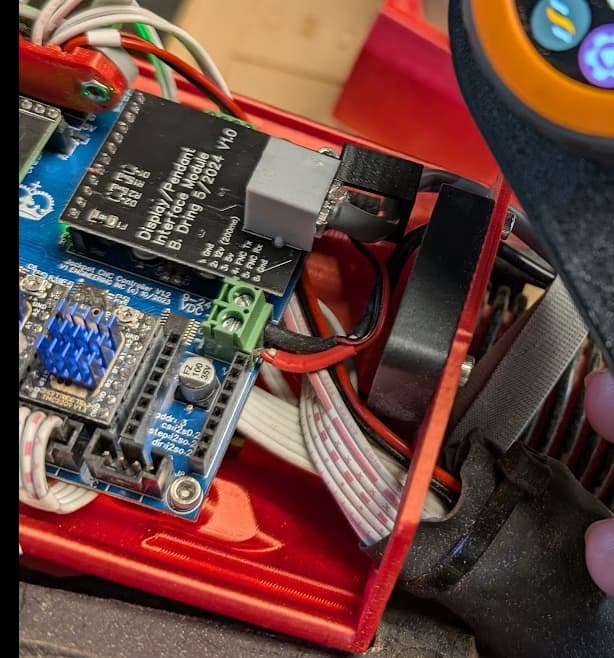
The way Bart’s starter kit works is that one PCB goes inside the pendant, and the other PCB attaches onto the expansion port on the Jackpot board. That places the RJ jack in a specific place — positioned in the air above the Jackpot. It winds up being pointed in a direction that is different than the Jackpot board’s USB port and SD card slot. The USB and SD card slots are more important to have accessible from the outside of the enclosure box.
What most of us do (I think) is just run our control cable into the Jackpot enclosure/outer case, and then, once inside the case, we route it over into the RJ Jack. The RJ Jack itself is not positioned at the edge of an enclosure.
I have a plain printed standoff to support the PCB, and I have a modified version of printed standoff that has a protrusion with a hole in it large enough to pass the RJ Jack through it, loop it around, and then plug it in, which (maybe?) provides some possible sense of security, that tugging on it won’t stress the cord against where it is plugged in. All of this is illustrated in the Printables listing I think. See above where @MakerJim linked it. Another possibility is just run a zip tie through that hole and tighten it down.
@MakerJim is correct that I still need to verify whether or not the starter kit PCB is OK for clearance in Ryan’s provided Jackpot enclosure for the LR4, but I am decently confident it will be OK. I have not had a chance to confirm that yet. I will try to do that later tonight when I get home from church / restaurant fellowship.
I am using it in Ryan’s case and there is room. Its a little tight but not at all unworkable. There is also a screw hole underneath the jackpot standoff screw location so you can run a screw down through the expansion board, through Doug’s standoff, through the Jackpot and secure it all down. I just ziptied my cable in the ziptie locations in the new jackpot box and it was working very well for me.
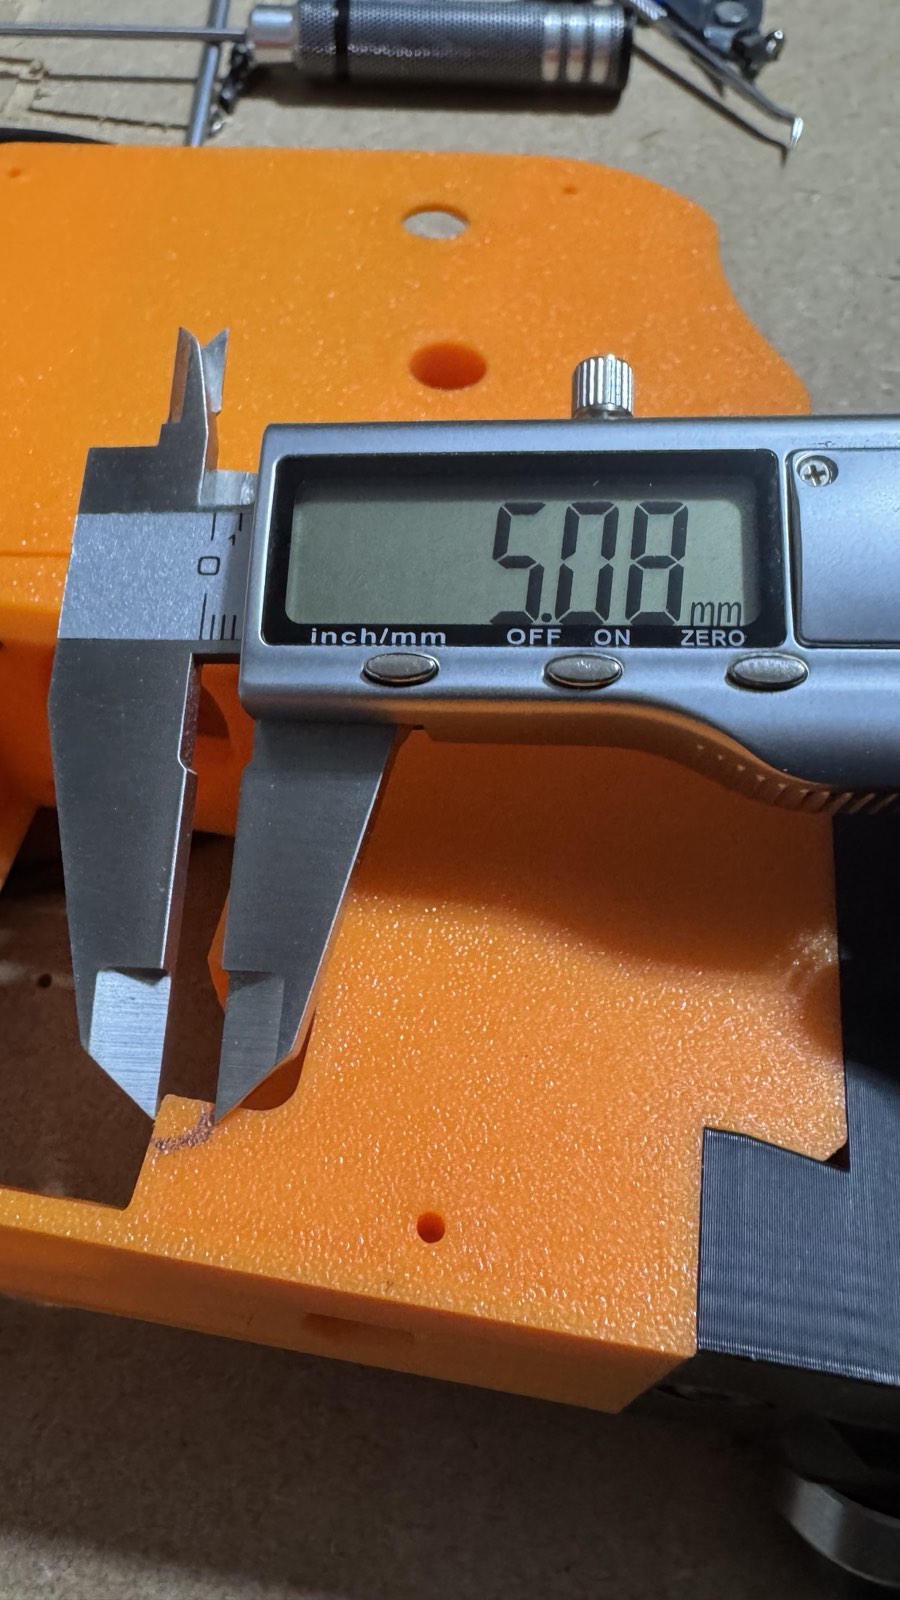
Yes he does! That was also why I mentioned to you about making the hole in your stand off a little larger. I had to drill mine out to get the screw to pass through
This option has been added. Now the stand-off options include new for M3 machine screw, and the earlier option for tapered self-tapping screw is still provided also.
I always use the Bambu stock settings. 0.2mm Layer, 3 Walls, Infill as in the documentation and i used the cross hatch infill. All parts came out super nice and everything fits together perfect.
Excellent, thanks. I’m definitely following documentation for infill etc. Not sure if I’m right or not, but I feel smaller layers could be stronger. I don’t mind if it takes a bit longer to print.
All this fluidnc pendant is new to me. Is there a forum post that describes what exactly it does in terms of the lowrider? Or is the fluidnc wiki the best place to find info?
I know Bart recently took a vacation. The tindie store usually gets repopulated every few weeks.
As noted above, these are not a V1 product- so the FluidNC discord would be the place to ask.
The FluidDial pendant is an optional feature that allows running your machine without needing to use the Web UI.
Doug Joseph has the longest thread and has a number of remixed parts to use the pendant.
The (lenghty) tread about that is linked below.
We actually have provisions for a lot of spare anything. There is one spare input on the jackpot as is and the expansion port can easily add 4 more, maybe even more. If you want to use endstops while cutting you can enable them but I really do not think it is remotely necessary.
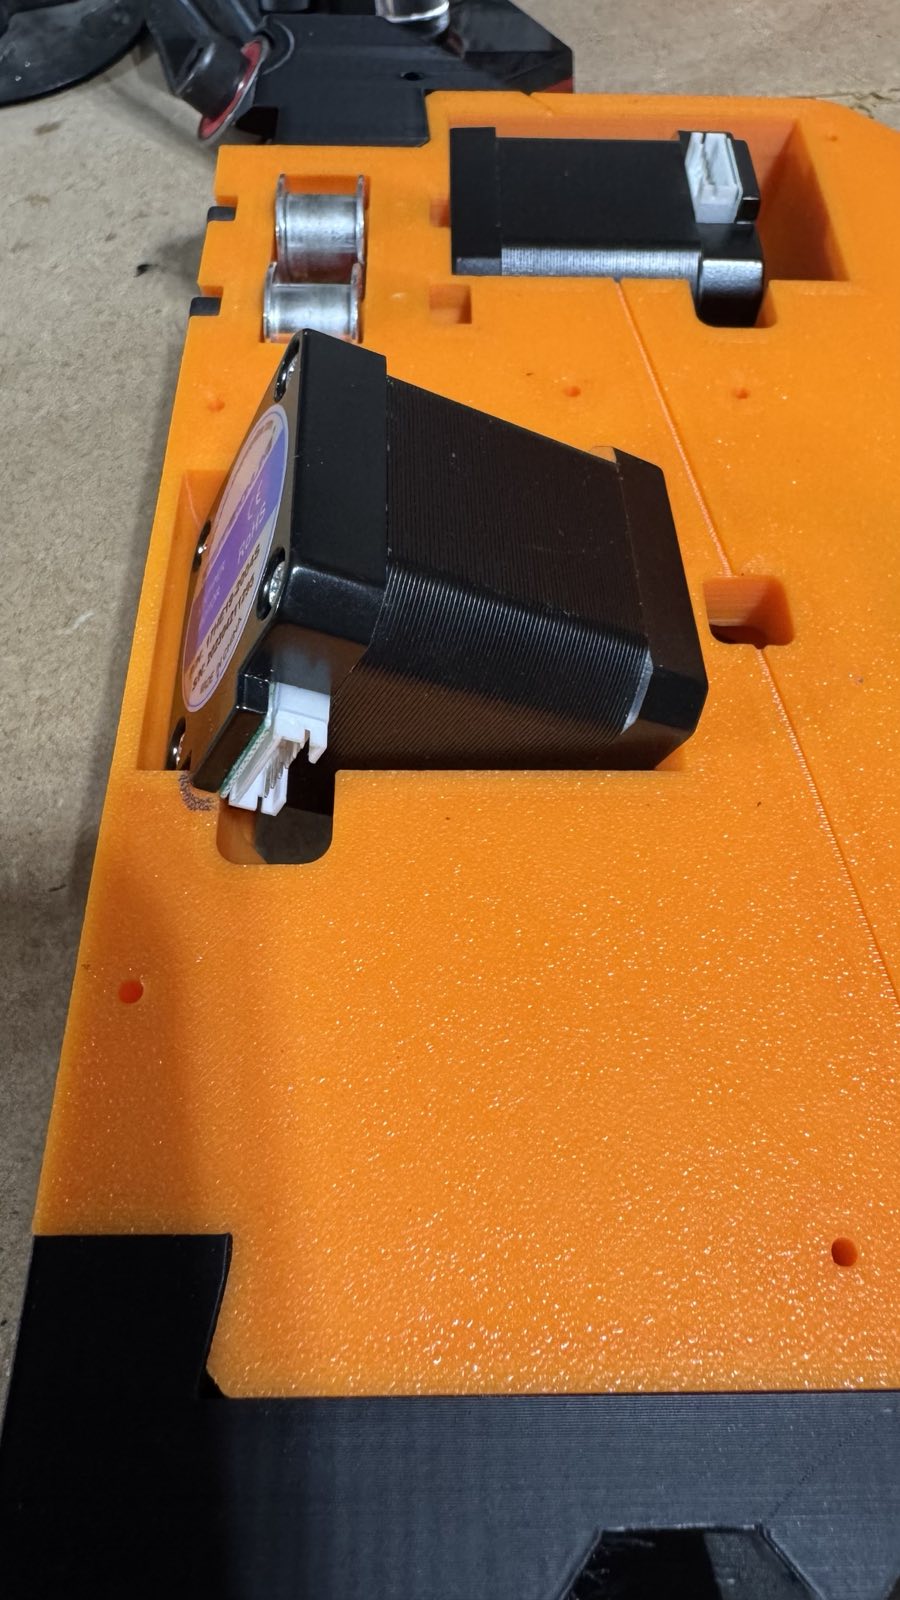
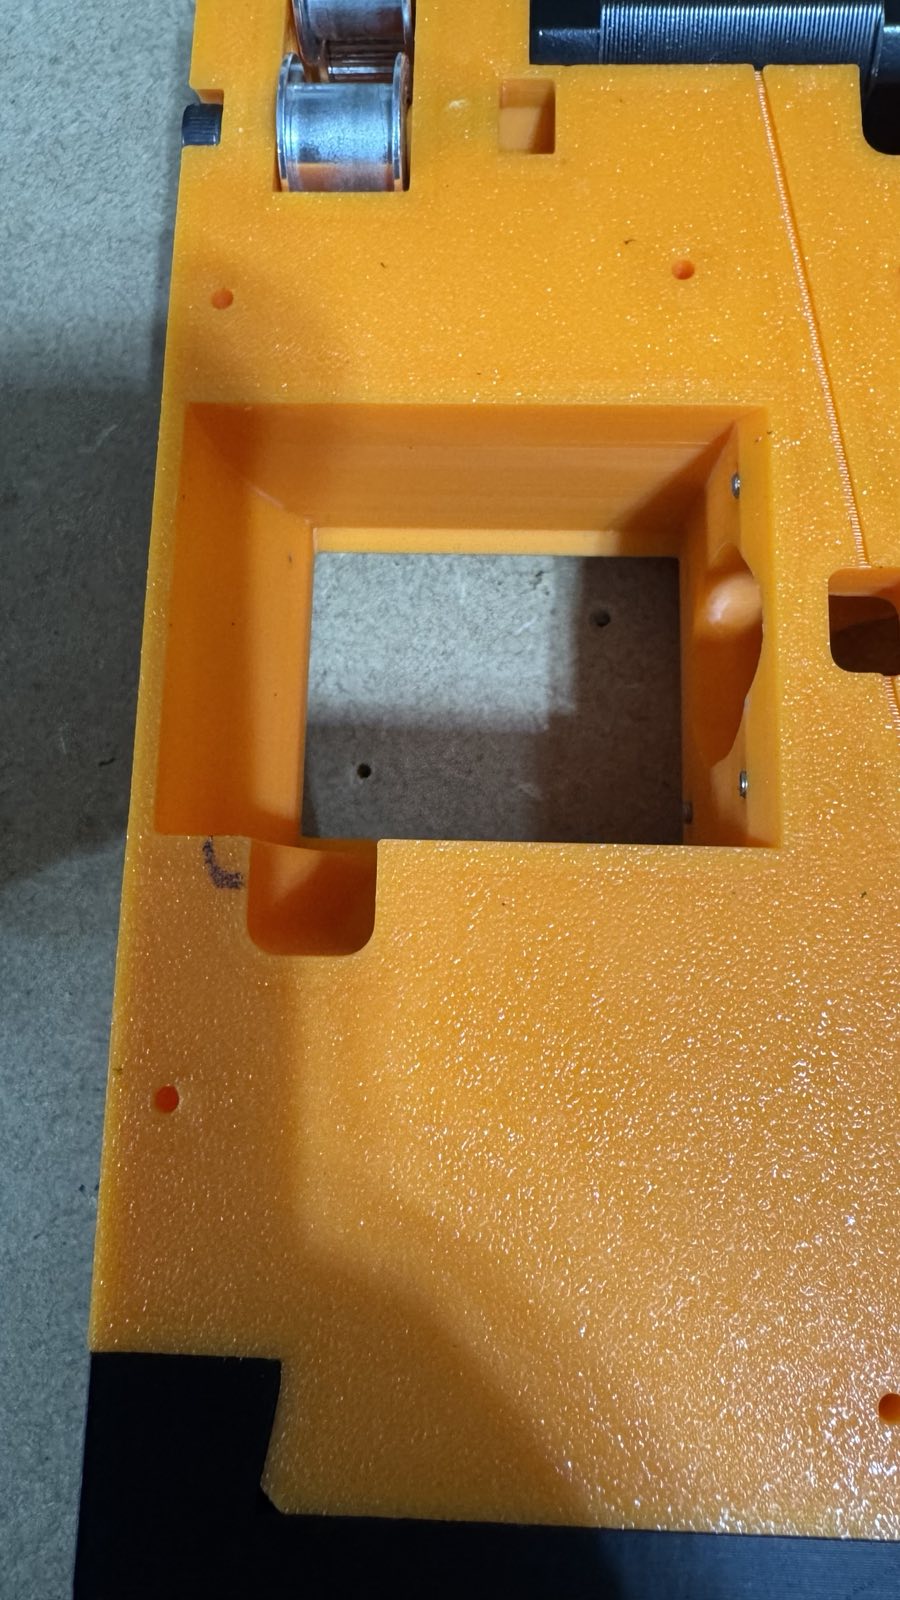
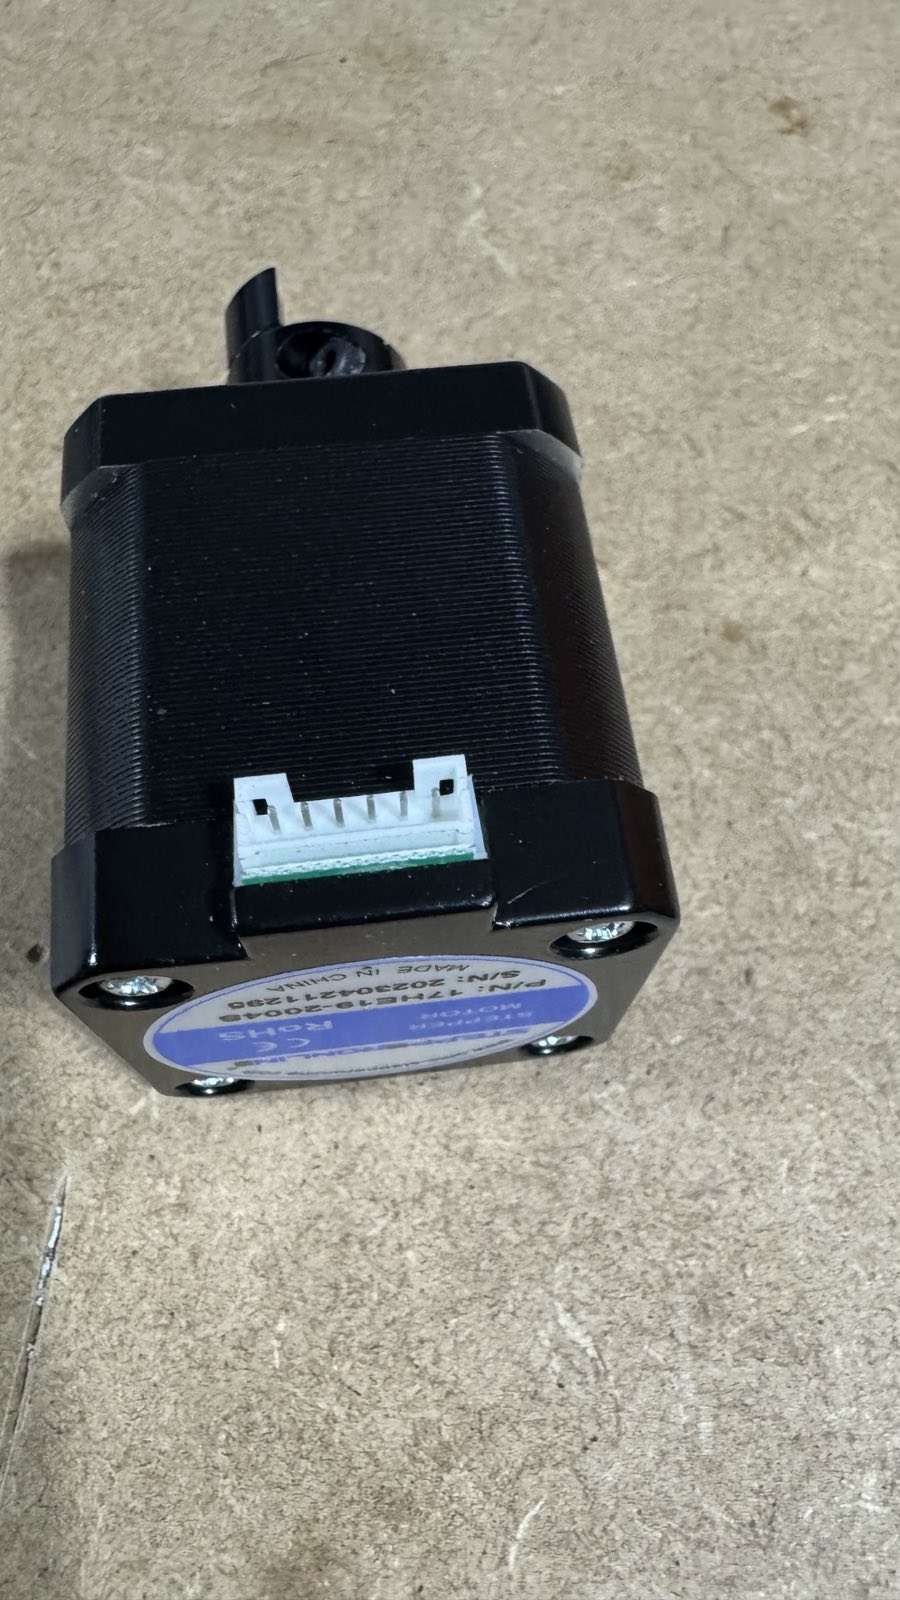
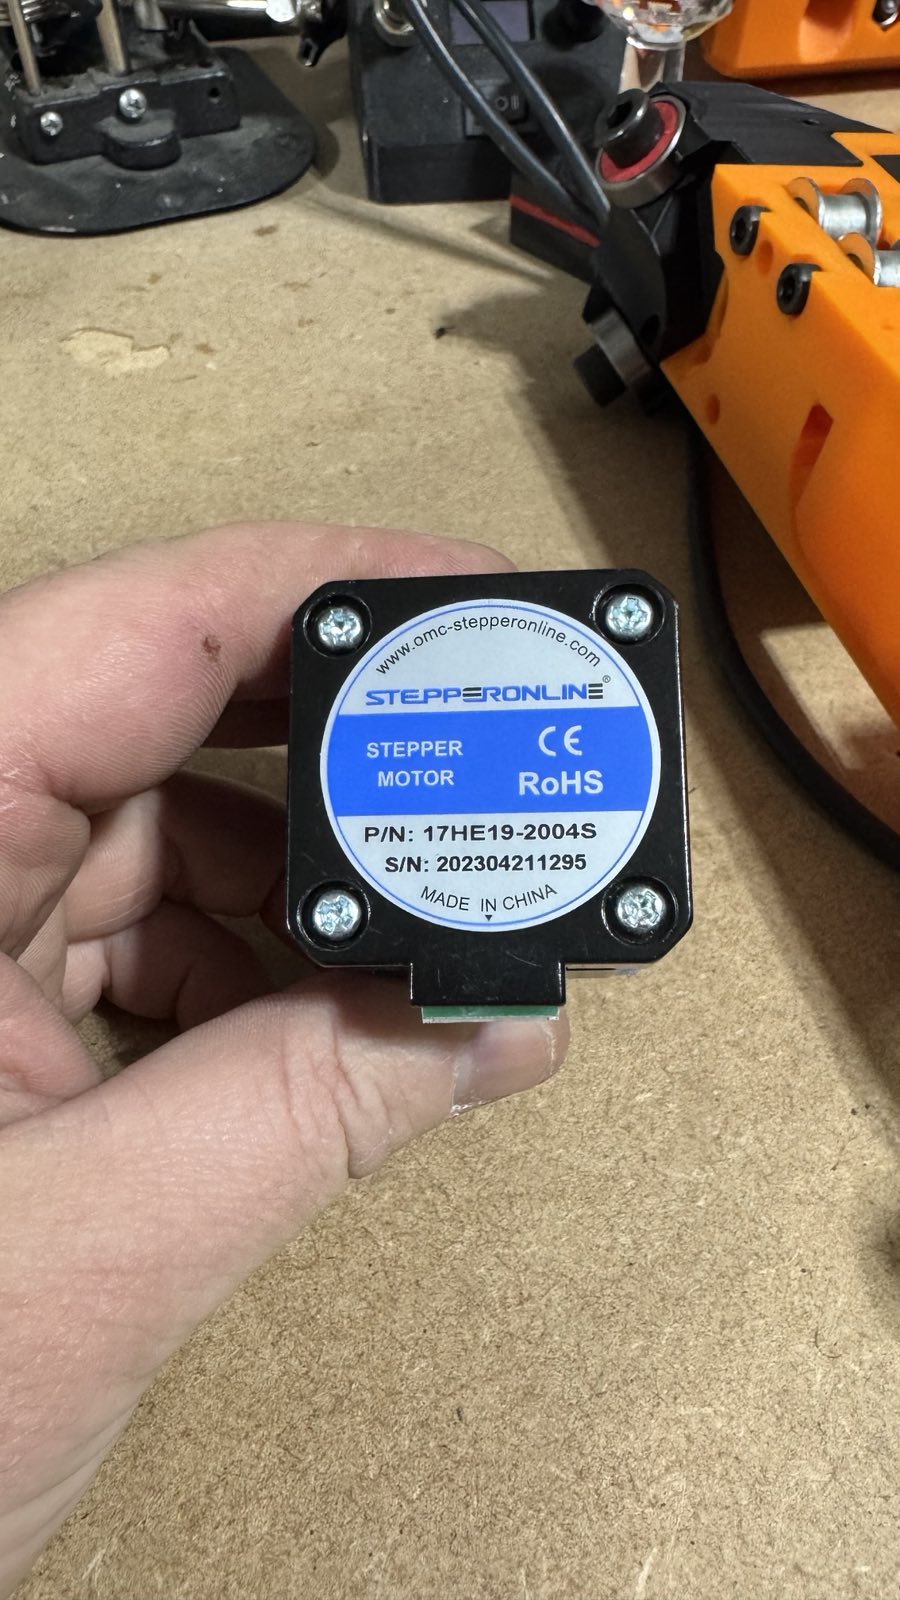
I started working on LR4 today and ran into a slight issue with the motors. Some of them are not fully compatible, as you can see in the attached photo. The motors I’m using are from STEPPERONLINE, model 17HE19-2004S, and they come with connectors. I purposely avoided using motors with pre-attached wires (young perfectionist here! ) because I prefer to make the wiring myself with precise dimensions, avoiding the need for extensions.
For the Z-axis motor, I managed to resolve the issue by rotating the motor 90 degrees so the connector is facing outward. However, for the Y-axis, I can’t do the same due to the Y-axis belt being in the way. I plan to modify the space with a Dremel to make room for the connector.
I wanted to give you a heads-up, as others might encounter the same challenge in the future. I’m sure you’ll be able to find a good solution.