I am fine, a deer jumped out in front of me on the highway. It really didnt look terrible but it damaged enough to total the car.
Lucky. I hit a stag onece late at night, antler pierced the windshield and totalled the car. Scared the crap out of me.

Hope you’re fine, though, seriously
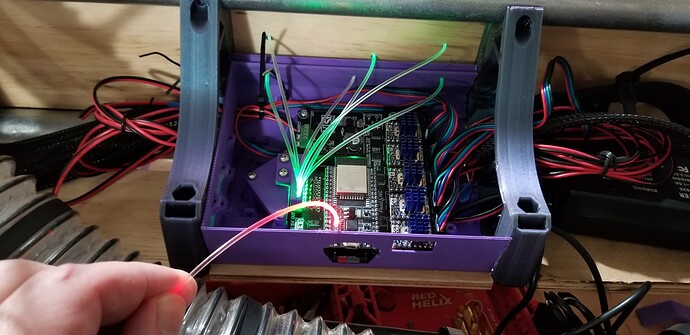
Question for everyone, I don’t see on the pictures where the control box will go, how did the beta testers handle the control board?
Most of the beta users had their wires dragging behind the LR as they were rapidly testing the machine lol
Several of us ended up putting controller mid beam, on 2’ Usable X, all the stepper wires reach, no need for soldering/crimping/connecting extensions.
Make sure your chosen controller enclosure will fit the gap between braces though…
My public LR4 build topic
Airbags going off is usually all it takes to total a car.
The control board is one of the last things to get installed. I will get mine up soon but I think I have a few days to get there. I think I should focus on instructions first?
Dang. Ordered the upgrade kit on Tuesday, Delivered to Virginia Today. If this falls through you could always step in as a replacement for Amazon Prime shipping. You beat them by a mile.
The V1 boxes and Jamie’s calc are set up to make sure it all fits. Other boxes should make sure they fit those specs or things could get very ugly quickly.
I’m not sure that there is anyone on this forum who cannot assemble the machine, but still, in my opinion, documentation should come first.
100% I was more looking for ideas to make my own, a box isn’t that hard for an interim until the real one is done! Documentation is way more important!
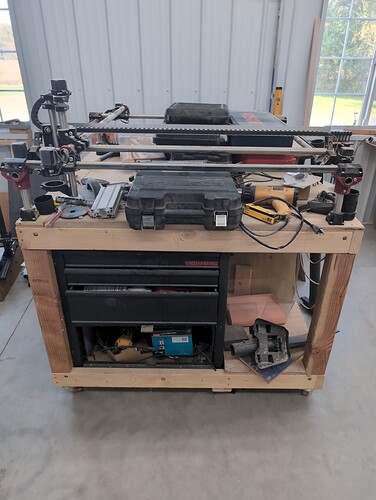
Well now I think I may have messed up. Instead of upgrading my 3 to a 4, I think I’m going to cannibalize my retired oversized MPCNC primo and use it’s table for a smaller LR3 and equip it with a laser and put the LR4 on my current LR3 table
Turns out it seems to help a lot more than I thought as well. Lots of little issues and irritations for order of operations in the beta
Core print begins!
Is anyone else seeing this in OrcaSlicer? I choose to ignore it (don’t see anything weird in the slices) but figured I’d ask.

That’s expected.
Ryan is a better parts designer than OrcaSlicer is prepared for.
There are ‘hints’ in the parts - features that force the slicer to do things correctly even though it freaks the software out a little bit.
Ideally you should go look at the bridge layers as-sliced to be sure that your bridging overhangs look right. The bridges should go across the embedded features like cable routing tunnels, not along them.
The original question from someone else was about box / enclosure / case for Jackpot on LR4, and Jim then said “mounts” instead, but I think Ryan’s answer was talking about the box.
I totalled my car on the way to work so did not makr it into the office.
Praying you and anyone else involved are OK!
The core on my MKS3+ with .6 nozzle, .3 layer height is estimated to take 21 hours and 29 minutes
I think I should focus on instructions first?
Speaking of instructions, I happened to notice that while the Jackpot documentation for LowRider refers to X1 X2, etc, the LR4 assembly docs refer to X0 X1, etc. This difference may not cause confusion, but then again, possibly could.


