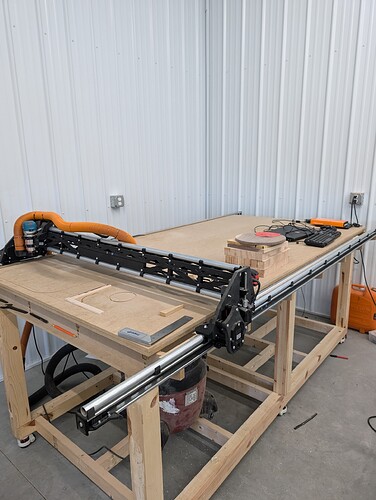
@DougJoseph please tell me the 4 will work on your parametric table with hidden belt mod. This is my current setup and ild like to be able to replace the 3 with a 4
I’ve had horrible experience with Overture filament ![]()
The thing was stringing like mad, and the printed part felt “chewy” (best description I can think of)
Okay the first 55 orders just shipped, most I have ever loaded into the truck at once. Previous record was 42 and that was a Sunday Monday load. This was since 5am.
You guys know I have not even upload the printed part yet right?!?! This is nuts.
Hmmm - that’s interesting. I made the decision a couple years ago to only buy from manufacturer’s that used cardboard spools (unless no acceptable alternatives exist for a specific filament.)
I settled on Overture as one of the brands I’ve had good luck with. Its interesting to hear others experiences haven’t been as good.
Who do you use. The three I tried were epic fails. Teh spool scame apart before it ran out and birds nested, cardboard all over my filament and extruder, and so damaged in shipping it kept getting caught.
Bambu’s refill system is flawless so far. Actually cost less, less waste, and zero issues so far.
I haven’t had any issues with Elegoo’s carboard or Overture’s But if I remember correctly you hang your filament from the center and mine rolls on the outer edge. So that might be a big difference. Maybe try a piece of PVC on your hanger to give it a larger area?
I have had a few of Elegoo’s where the outer edge was pretty beat up, but even those still rolled good. Last night I was looking around their site and found a file for a 3d printed ring. Printed 2 of them and they fit perfect and did well for the little printing on that spool today
There probably won‘t be any mods in the first few months that change the physique of the CNC that much. Doug is going to build a stock one as well, a lot of his requests, like X/Y max-homing have been implemented as well, so there is no need to change it at the moment.
And the shop page for the hardware kit wasn‘t even fully done this morning. ![]()
It’s over one year that I use mostly Overture filaments, PLA Pro, PLA Matte, TPU HS, and PETG and I’ve never had problems, even with the older Sovol SV01. No stringing, perfect layer adhesion and nice finish. My V4 Will be made out of Overture PLA Pro, and probably I will try PC for the compact V4 (or maybe a rebuild of my actual V3, have to decide).
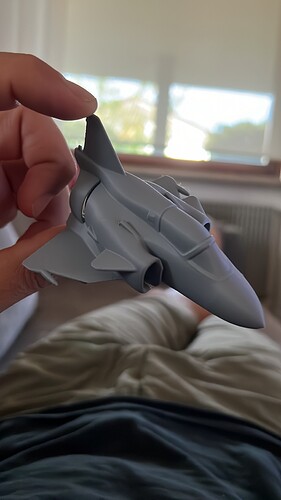
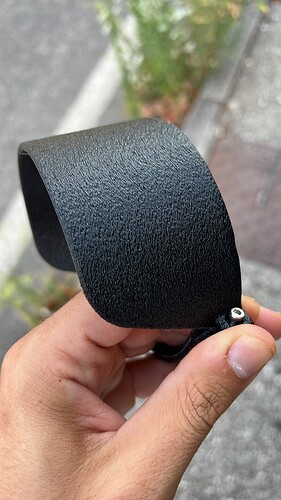
These are couple things made with Overture filaments:
The answer is good news, although a bit nuanced.
I will be using my same table that has been for LR3, now to be used for LR4.
I will also be using the metal struts.
For the time being, my belt will be above the strut like a “normal” LowRider.
In order to do this with my metal struts, which calls for a narrower footprint for the Y-rail clips, I do need to use a modified rail clip. I also need to come up with a way to attach the belt tensioner holders to the metal struts. That could be done by drilling into the strut, or by a printed part that interfaces between the strut and the tensioner part. For me it’s easier to use a printed part that attaches to the end of the metal strut and the tensioner part gets attached to that. I’m trying to 1) do as little as possible in the way of remixing to help establish the LR4. Seeking to avoid a lot modding. 2) be able to keep using my existing table.
Congrats pal! Maybe Mom needs to come back for awhile!!
Okay I published all I got so far on the instructions, LowRider CNC V4 - V1 Engineering Documentation
And the Calc should work right, if any of you beta guys wanna verify I would be stoked! So Maybe do not go making any cuts yet. until we get a couple confirmations. LowRider V4 Calculator - V1 Engineering Documentation
The various links to printables and thingiverse appear to be broken:
- https://docs.v1e.com/lowrider/BLANK
- https://www.printables.com…blank/
- https://www.thingiverse.com/......Blank
And everything after YZ plate assemblies appears to still be the v3.
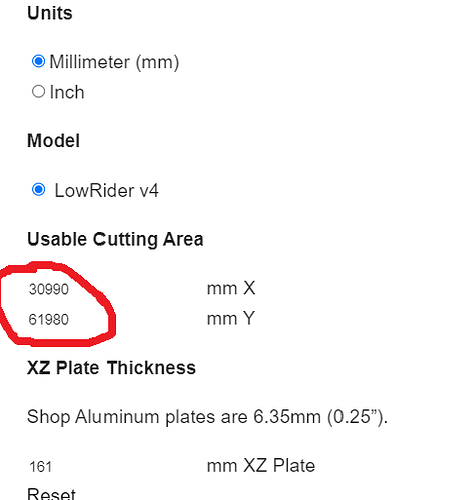
Not a big deal, but Calc loads with bad default values (Chrome):
But changing those to actual numbers does output X and Y values I expected. For example 26" Usable X and 49" Usable Y for my quarter sheet build outputs expected 828mm for X Pipe/Strut width, and 1495mm for Y Pipe.
Should say 2 struts:
Hey Ryan,
I know you’re totally slammed today; absolutely no urgency to respond. Maybe one of the beta testers has an answer too.
I remember at some point you responded in this thread or another that you got an idea, explored it, and that led to you going down the path of this V4.
I’ve been looking forward to read through the build guide (going to do that now!) but was curious if there was something specific, an idea that made you think “yes, I need to try this now” or if it was a bunch of small improvements you thought you could make that just became a critical mass.
PS. Loving this boxier design. Seems like this will be really straightforward to put together and super solid ![]()
Haven’t published it yet. Just working on that docs upload.
I am not sure why the defaults are loaded and the reset works, just the initial load is jacked.
// Set these up the first time.
$(window).on('load', function(){
  // Get back to mm
  $("input[value=mm]").prop('checked', true);
  $("input[value=inches]").prop('checked', false);

  to_mm();

  reset_work();
});
Pretty sure this used to trigger a reload on initial load, no idea why it isn;t now.
No, it doesn’t really work that way for me. The second I do a release I am thinking about changes for the next one. I doodle new ideas all the time. Sometimes I will play with an idea in CAD a few times, when something clicks I just can’t stop.
That’s good to know. To be clear, I wasn’t asking for modifications to the LR4; I was just hoping I could use the table I already have. I agree totally with your three points.
The new machine gives you slightly more work area for the same footprint, well actually a lot more with an added 20-25mm Z but X and Y are just a bit extra.
So your current table should work with the exception that the Zero point moved.
It worked good for me on initial load.
This will be a noob question, but can someone point me to a video or something that shows the use of a drop table?


