Drop table and overhang cuts would be nice. Best I can think of currently is to have the Y rails, on bench dog fastened rails. Or, build yet another LR3 table, a drop table version. The LR3 is portable after all. Want to start another build project before I’ve finished the current project…
That, plus some bracing, with an adjustable/removable top torsion.
Was wanting to figure out a way to enable LR to occasionally overhang the front to cut vertical/thicker stock.
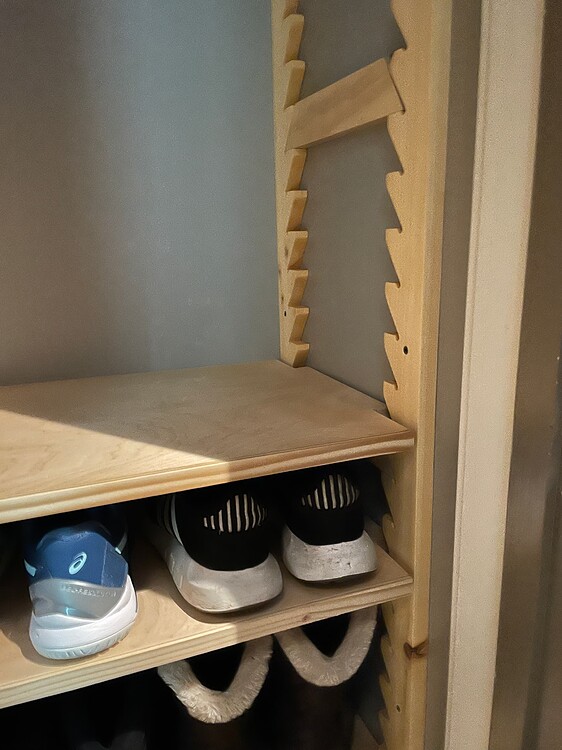
However… these dropped drop table mentions are sparking ideas about adding adjustable height shelf (using pins, peg holes, or something like Josh’s shoe rack, or something else?). LR3 would ride ply boxes that slot and lock onto what looks like upside down table legs at first glance.
Any additional adjustable height shelf ideas? Must involve ply/lumber/emt or something else cheap and easy to find at homedepot/lowes. e.g. doubled peg board? Trying to avoid expensive materials.
Also, am struggling to let go of the drop table idea. Many folks have made fold away CNC tables. Am curious how many convertible tables are out there? Table where either the middle section lowers (not just a removable sectionable), or, the main top torsion box flips out of the way to expose a drop table setup. Examples/ideas appreciated…
It doesn’t even need to be that complicated. You can just get two rails that are thicker for each side of the LR. Something nice and flat, like a stack of mdf strips.
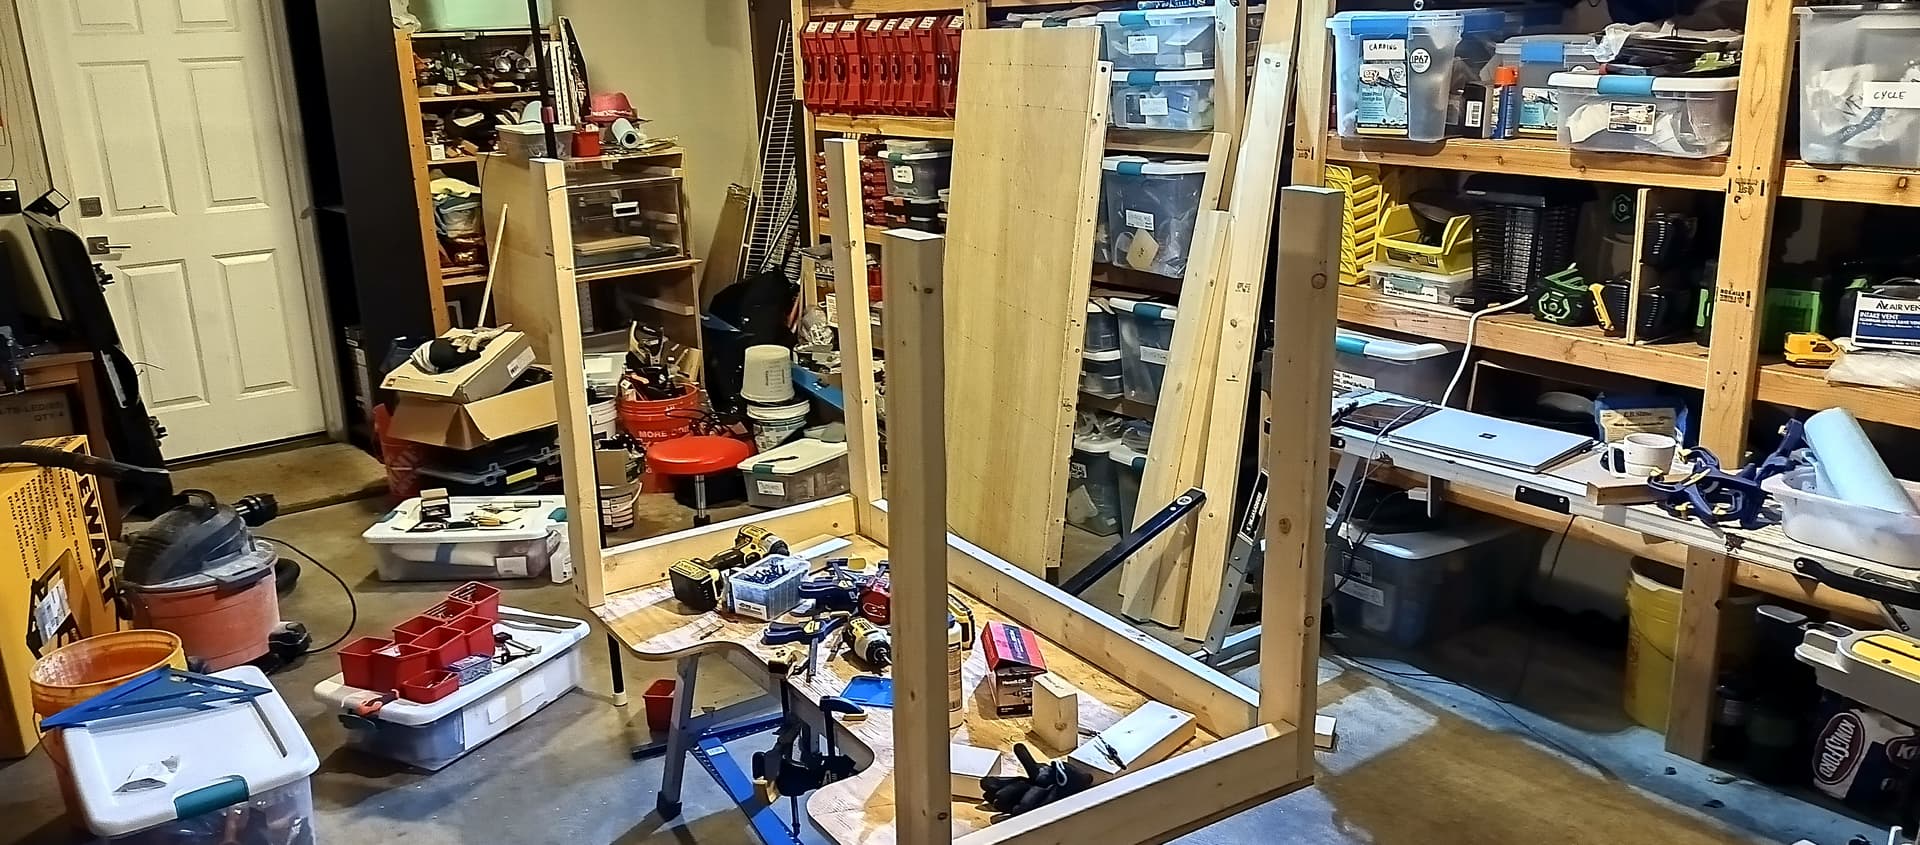
It’s pretty easy for a quick brainstorming session to add some fixturing capability to turn into a big mission with a very generalized goal of handling any project that may come in the future. Looking good so far! I appreciate the photos of a realistic workshop. That’s what it looks like when you tend to stay focused on making/finishing projects, vs how the shop looks while you’re at it.
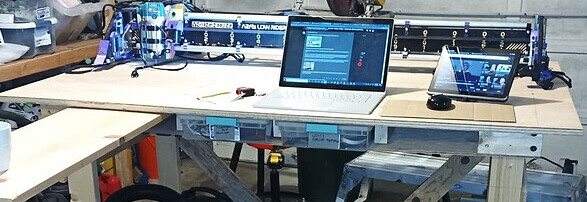
Since LR3 is so fast to remove and store, and because I’m long term lazy, or aspire to be. My plan was/is to also have LR3 mostly live, ready to work, on a smaller bench dimensioned for 2’x4’ sheets. A bench that can be used for assembling other projects. Unintended bonus is that it’s stand up desk height, same as bar height, so has some other uses too…
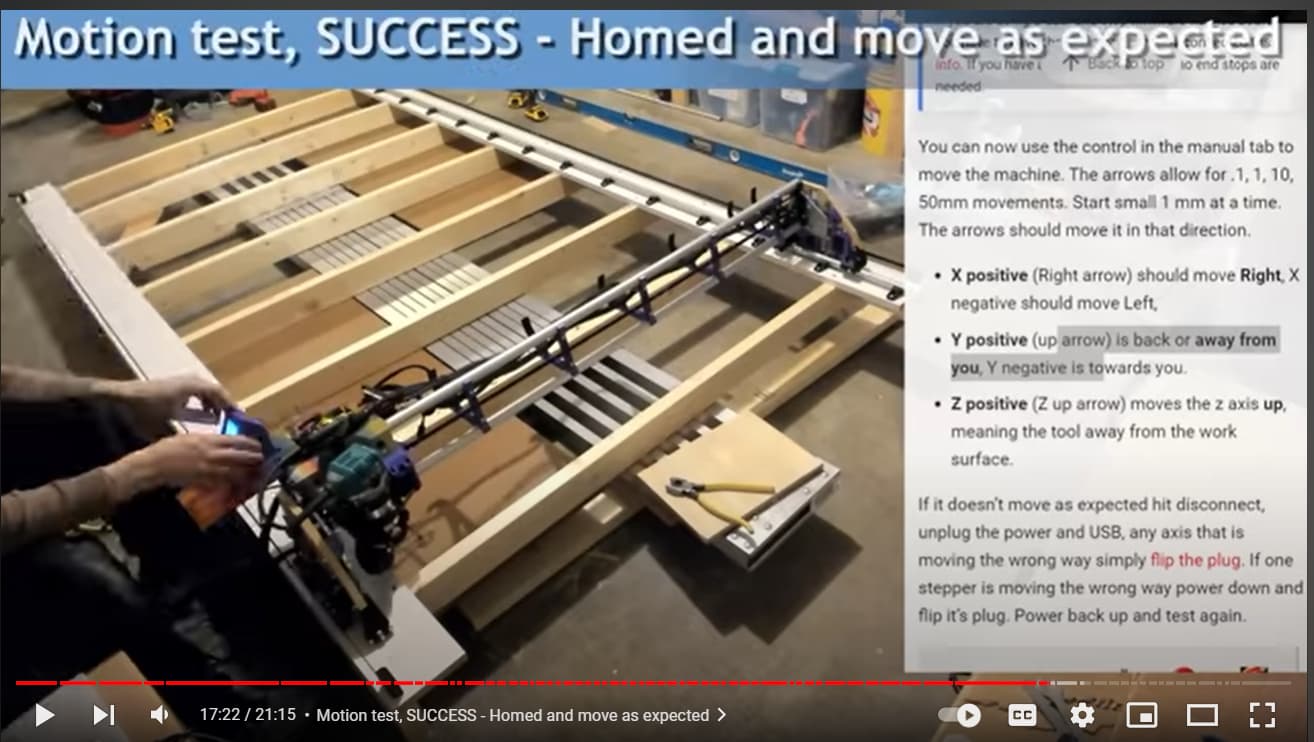
This setup is not common, but I liked the idea of trying out a setup that keeps the front clear and clean (no belts, wires, vac hose).
Based on the forum posts, looks like the CNC accuracy for this 2’x4’ area will not be as good as a narrower gantry you often see. No idea how much accuracy/speed I’m missing, I should participate in the accuracy/speed tests when up and running.
Need to address sag in front middle, and still want to make Y rail risers, or a drop table so I can engrave ~12"-20" tall stock. Some how?
Is there any notable sagging in the middle? My thinking is that if I build a 120cm cutting width on X that I theoretically could build a longer table later and start with one that is 180cm or sth like that.
/edit: I am pretty stupid because that is basically your last sentence… uff. -_-
How much of a cantilever over the end of the table do you need?
If it’s for making joinery in the ends of boards, only a few inches, right?
I have an idea that I don’t want to voice for fear of looking stupid, until I’ve tested it. Should work if you only need <6”
Whatever- here goes
My rail and belt are attached to 3/4” thick mdf rails that run beside the spoilboard. Right now, they are attached to the 1/2” top of my table with 1.25” deck screws.
What I’m thinking is that I replace the screws with threaded inserts in the 1/2” too, and use 1/4” 20 bolts to attach the rails instead. When I want to use drop, I unfasten the bolts, slide the two rails
Forward 6-8”, and then re-bolt. I’d then support the front of the rails (tbd) to ensure it doesn’t sag when the gantry is on it.
The only problem with that is recalibrating your Y axis for square each time you move a rail. I think it would be easier just to cut a slot somewhere in your table.
Hello @rnormore! My V1E kit (ordered ~june 22) came with SKR pro and 12V power supply, been using that, until now…
Was curious about 24V too and recently ordered one from V1E, together with a ESP01s. Not expecting big difference in performance, 12V seems to be plenty based on info from forum long timers, for example. Arrived earlier this week, so will switch over. No barrel jack on the 24V supply, so will use existing/drill-new hole into enclosure, use grommet and hotglue/silicone for strain relief and WAGO connectors.
Will share speed test results if I do any. Cheers!