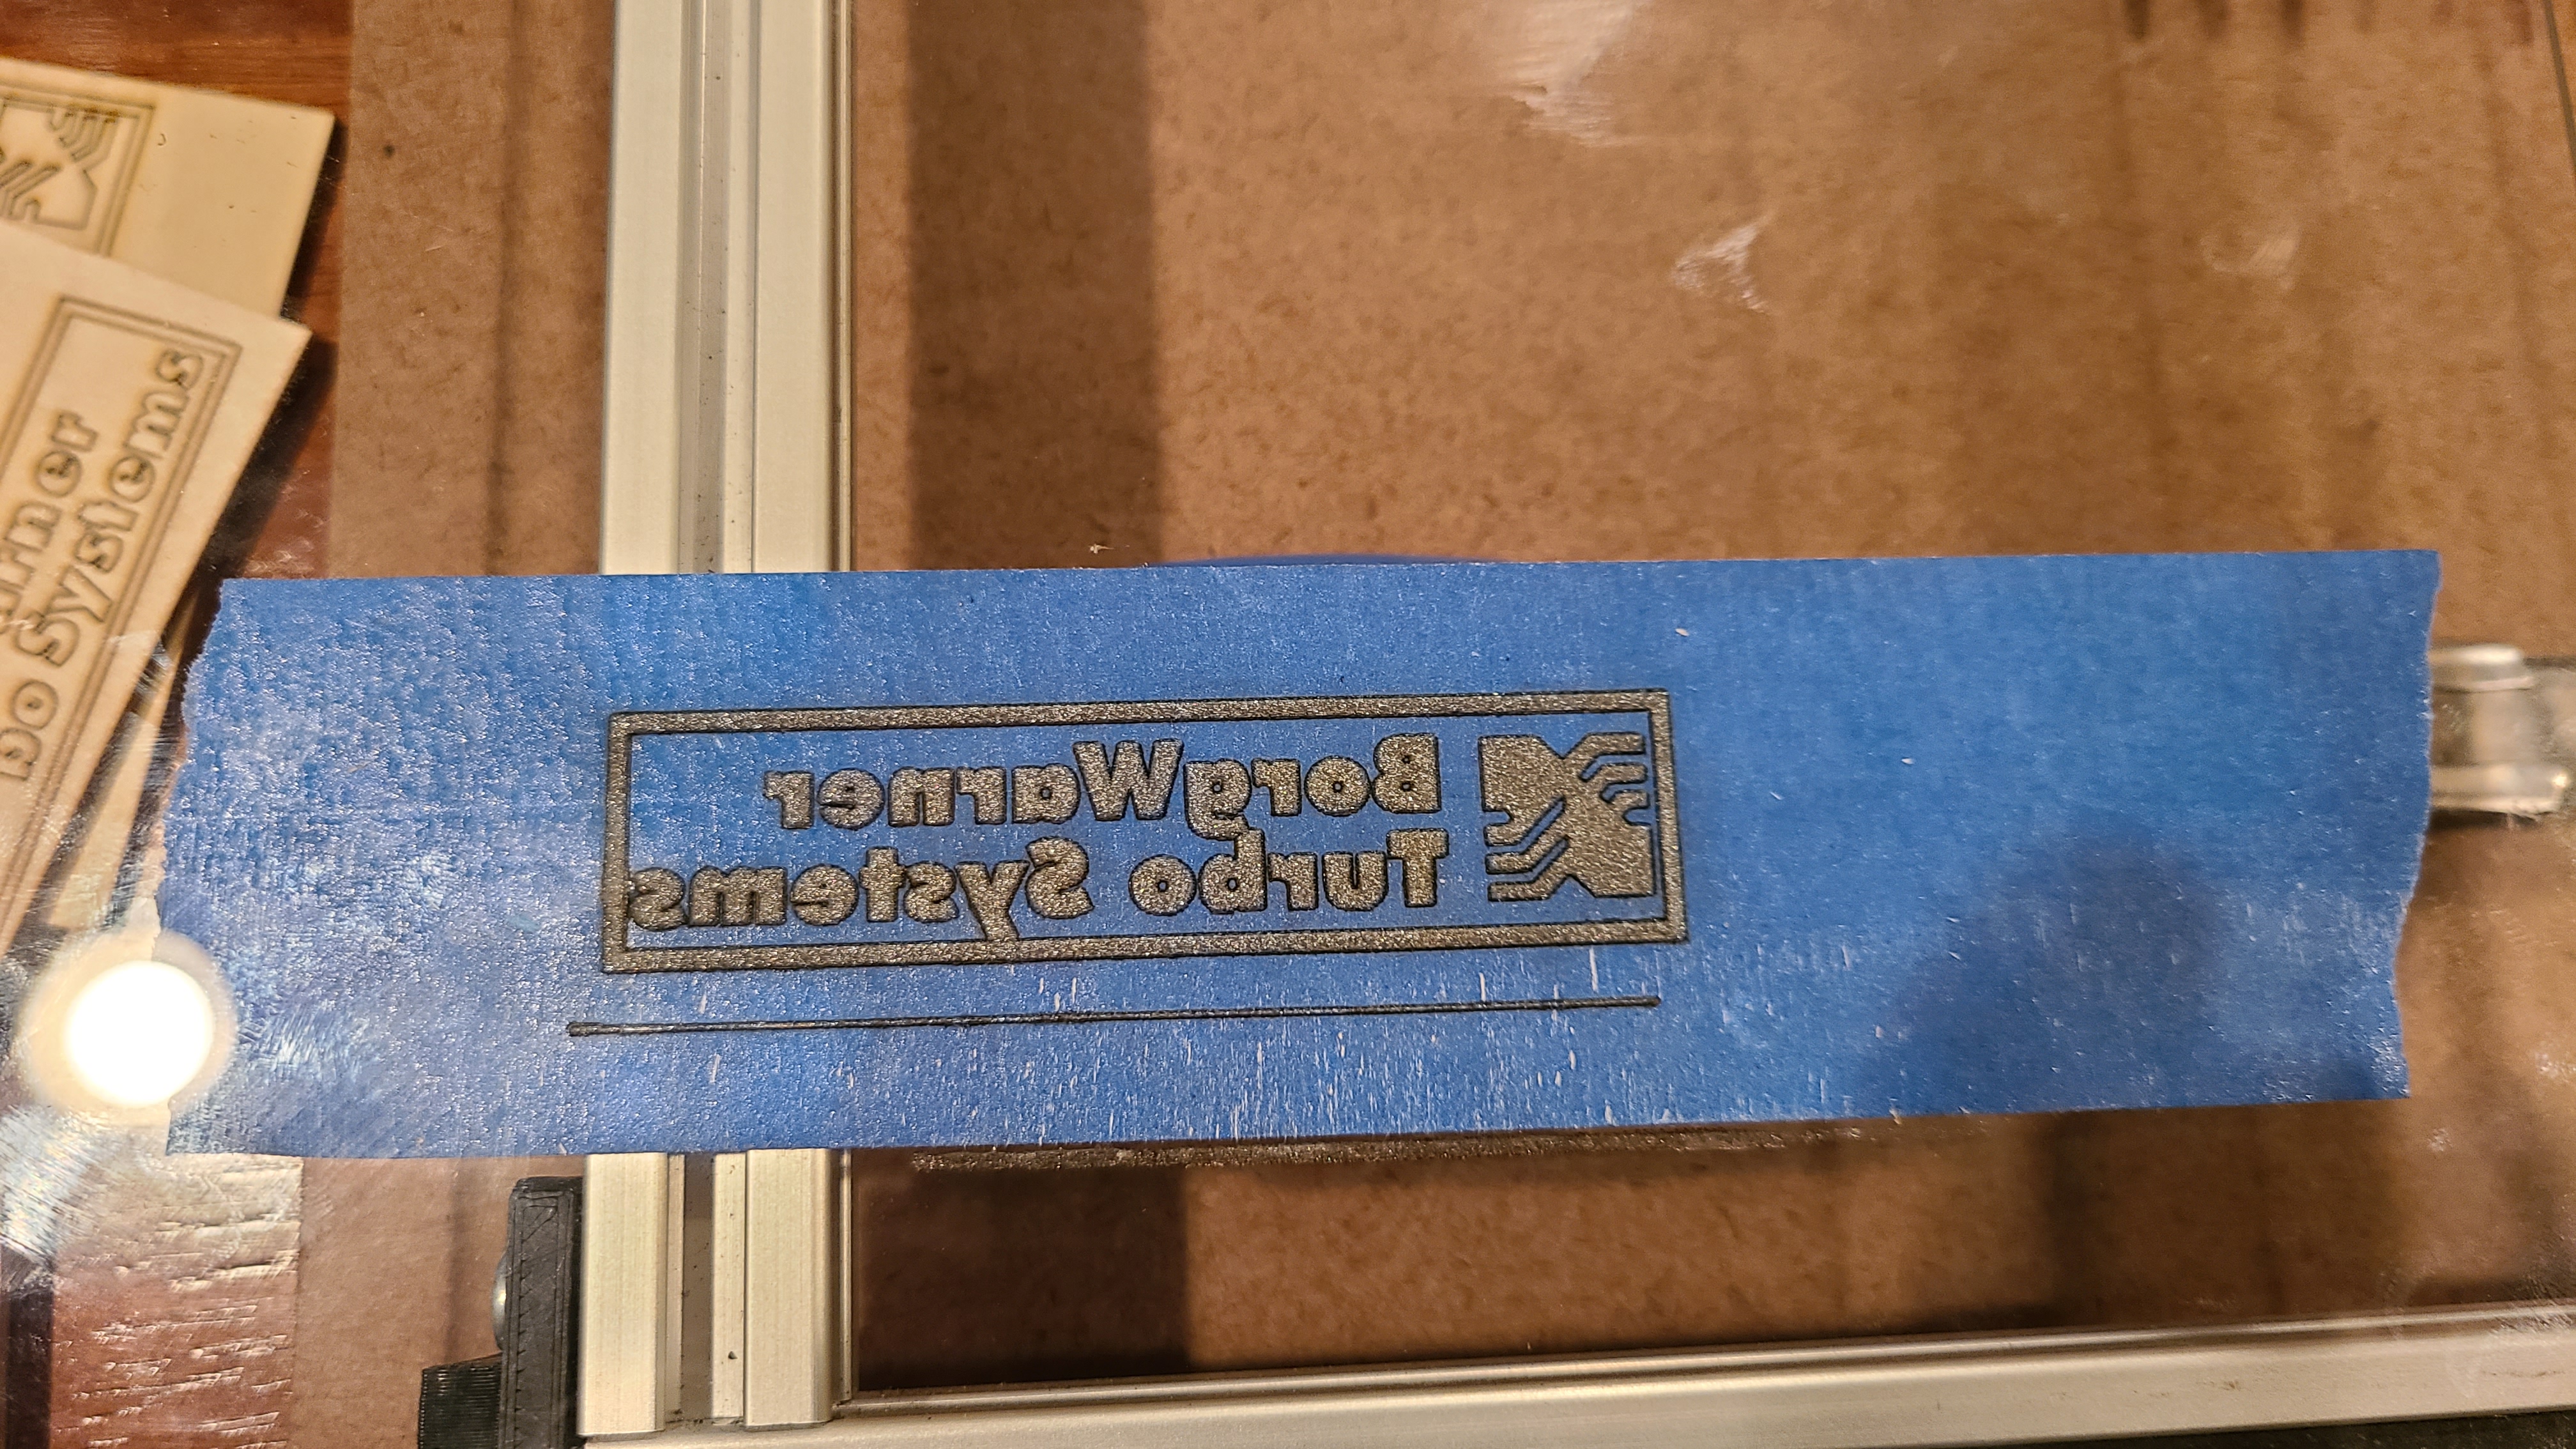
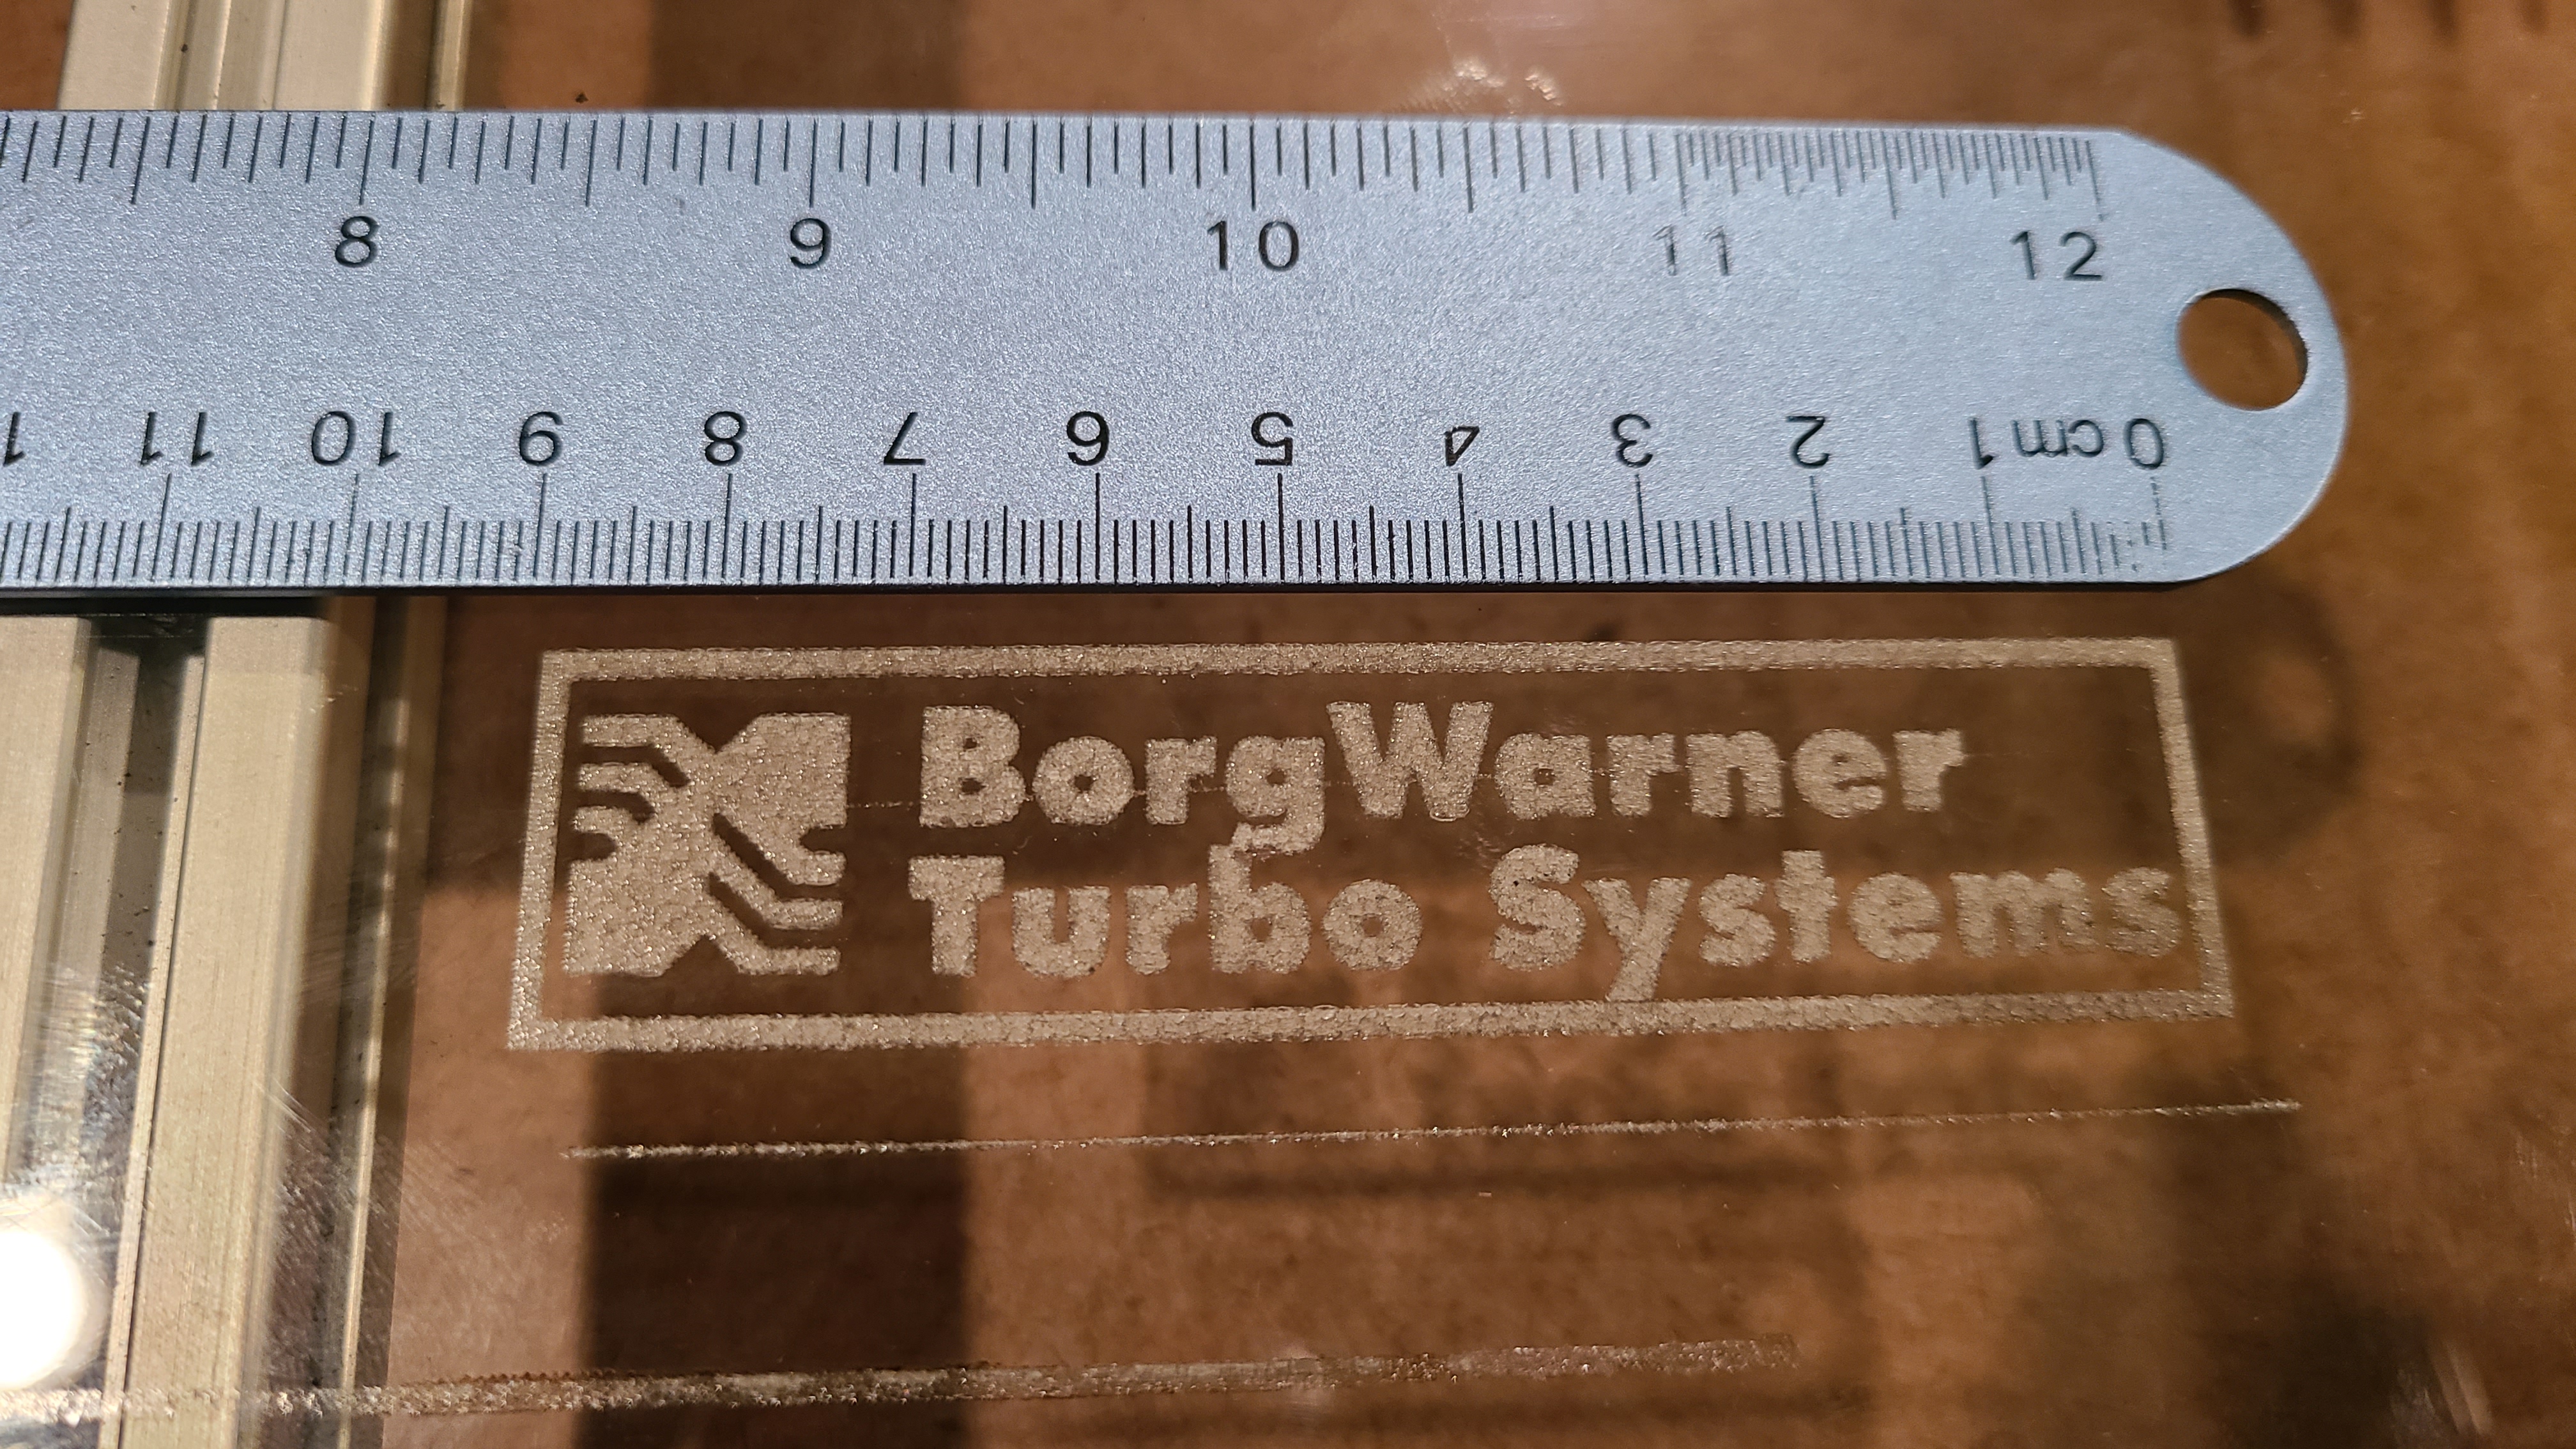
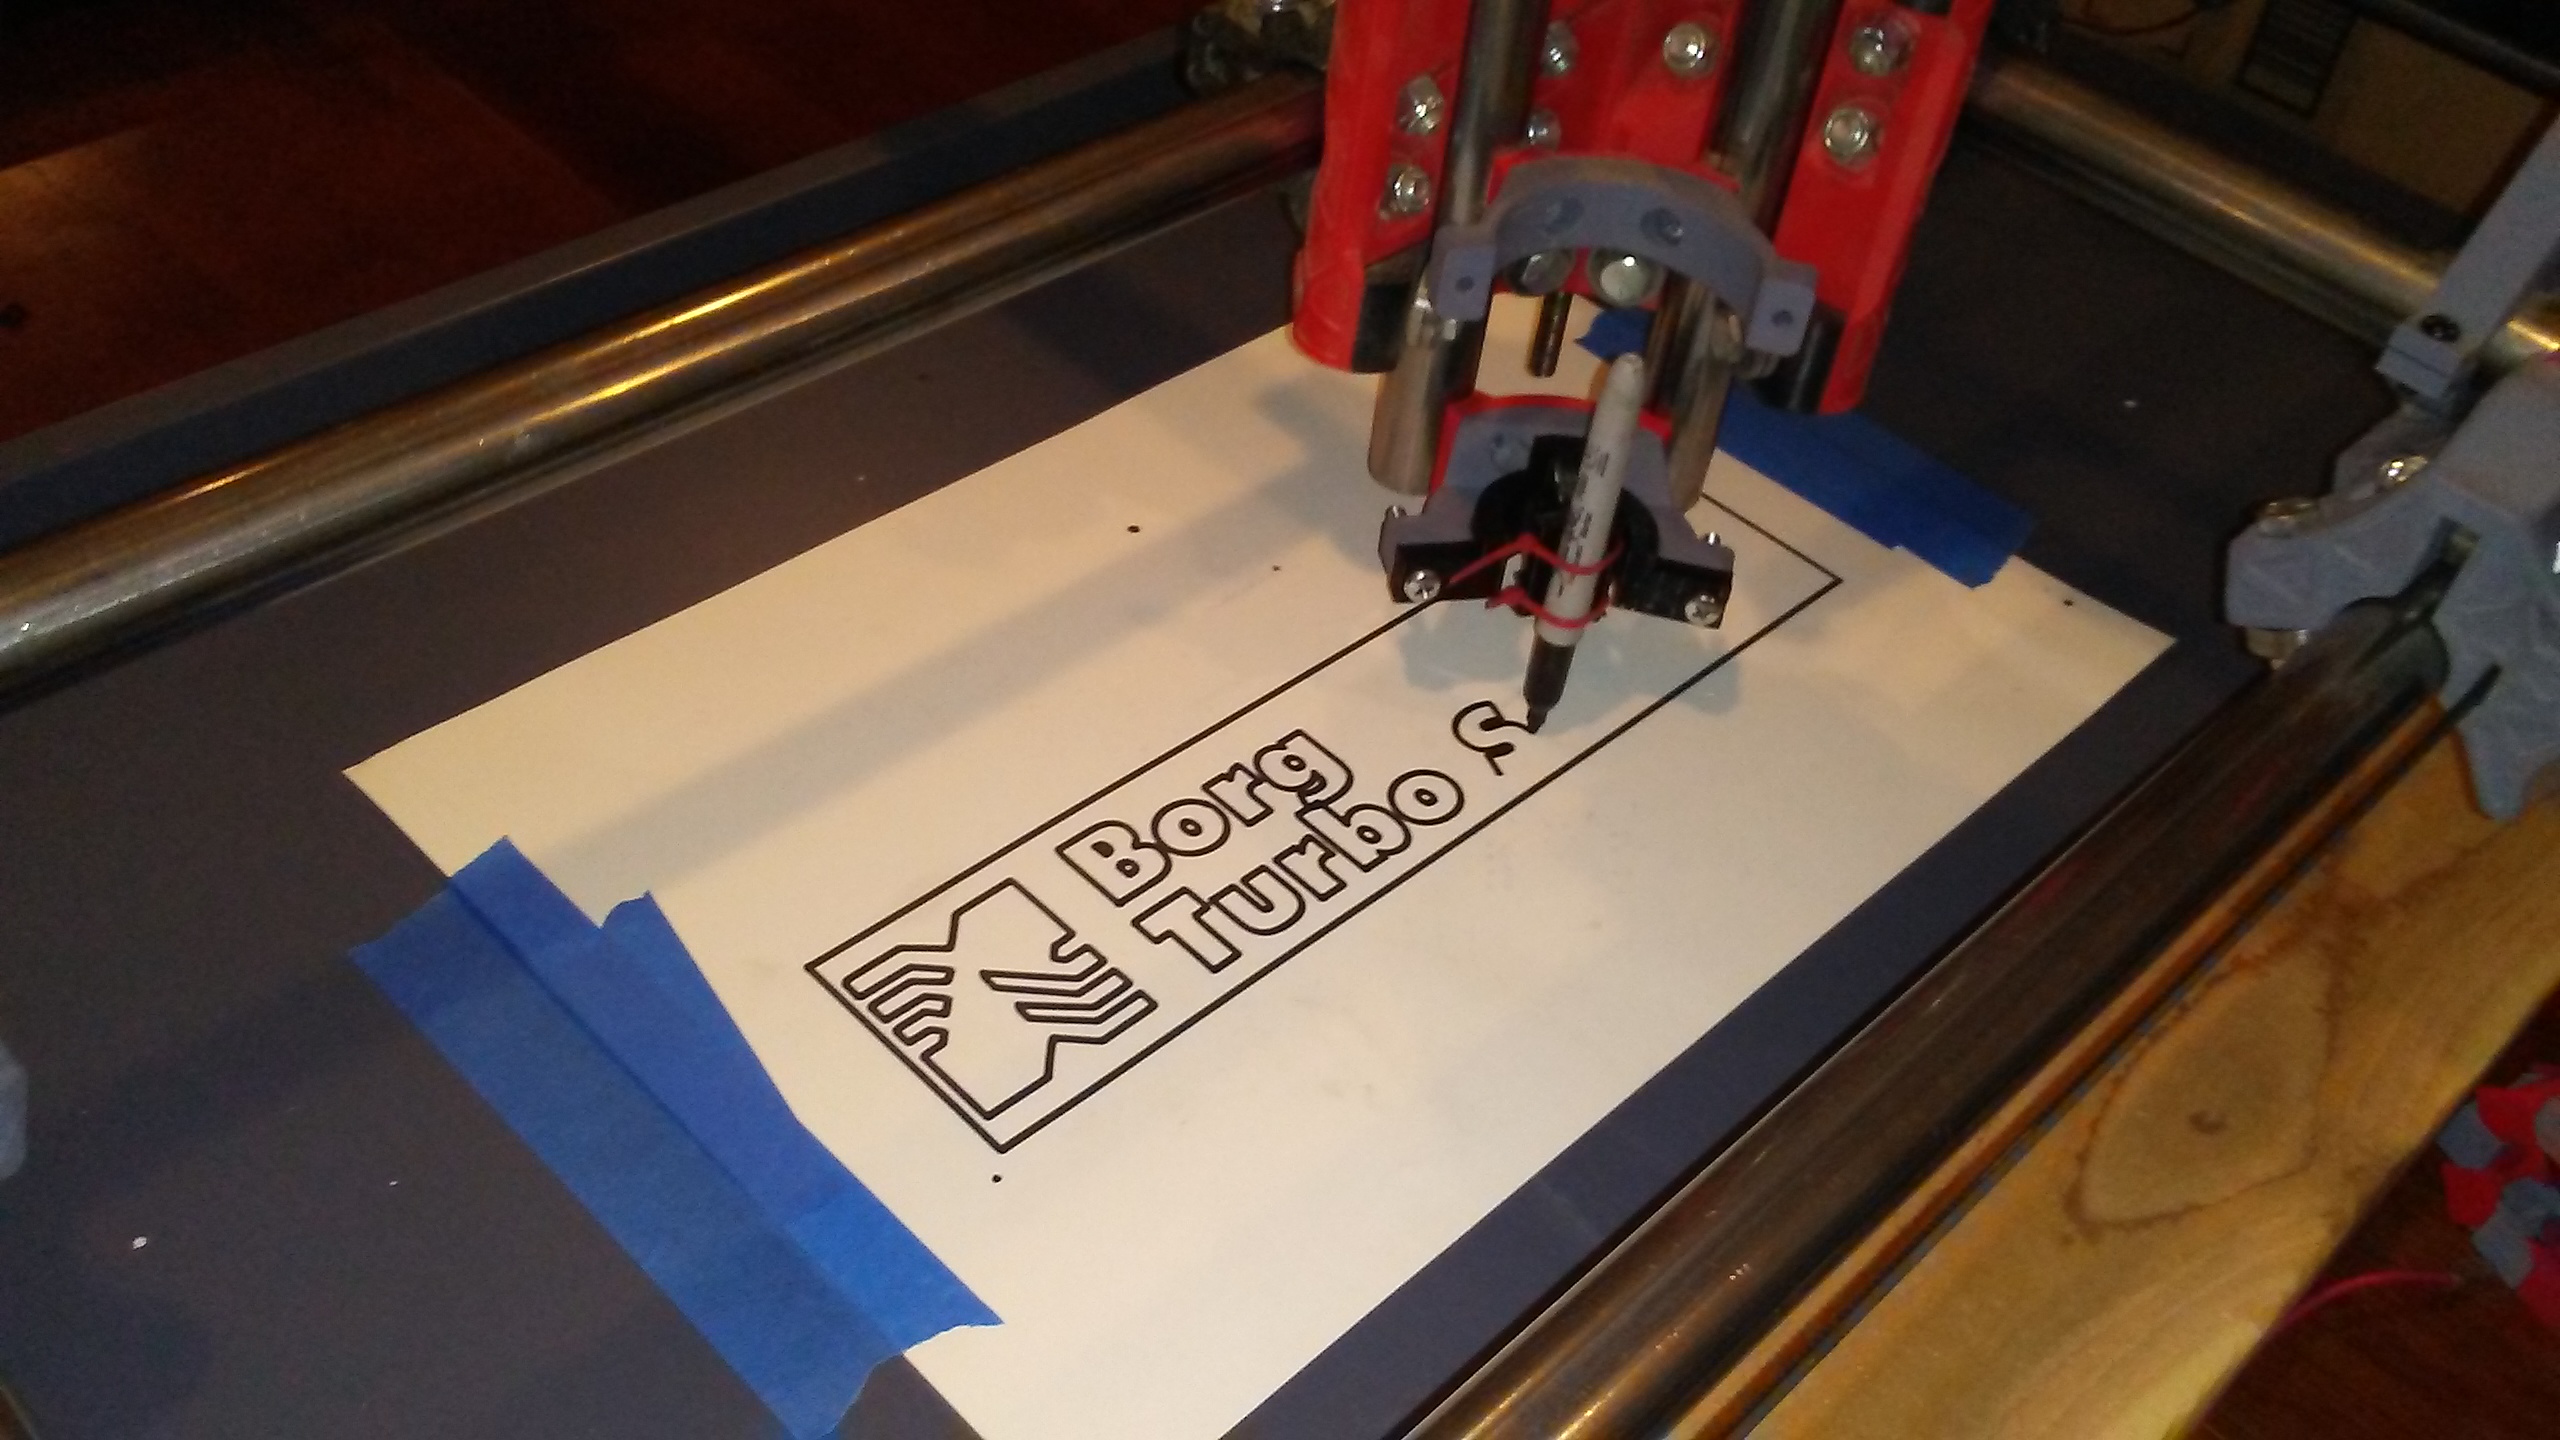
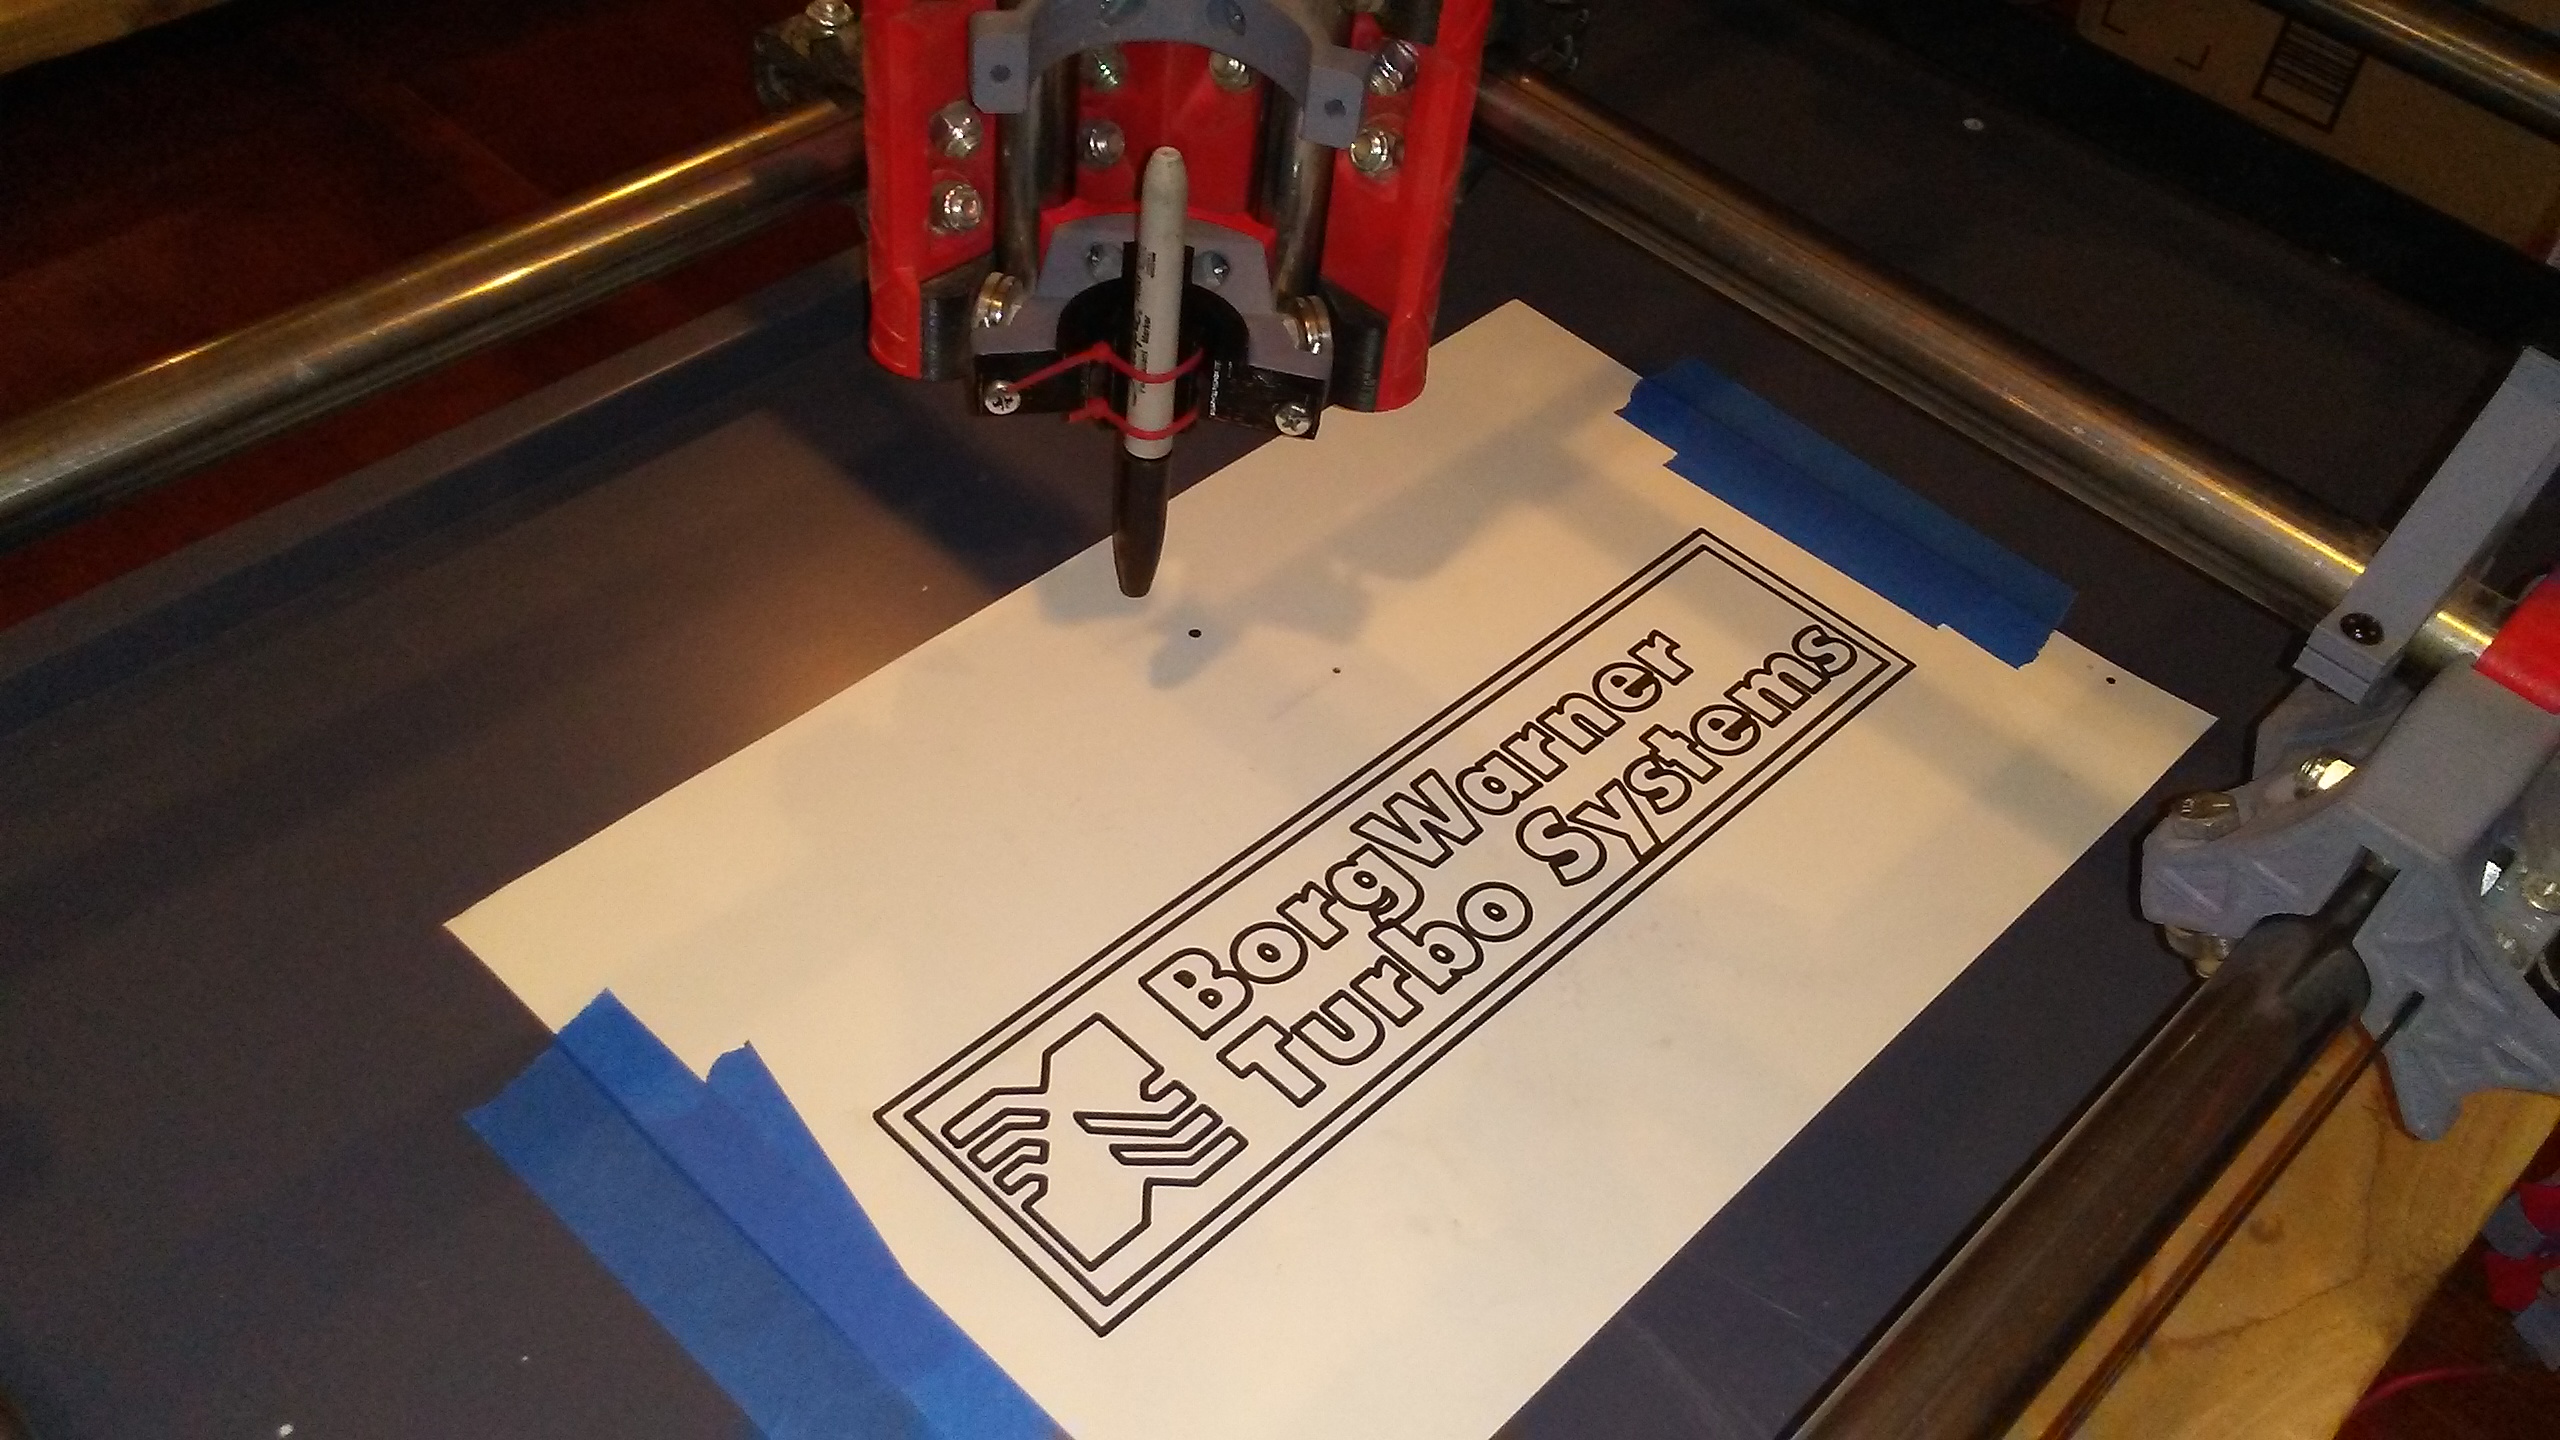
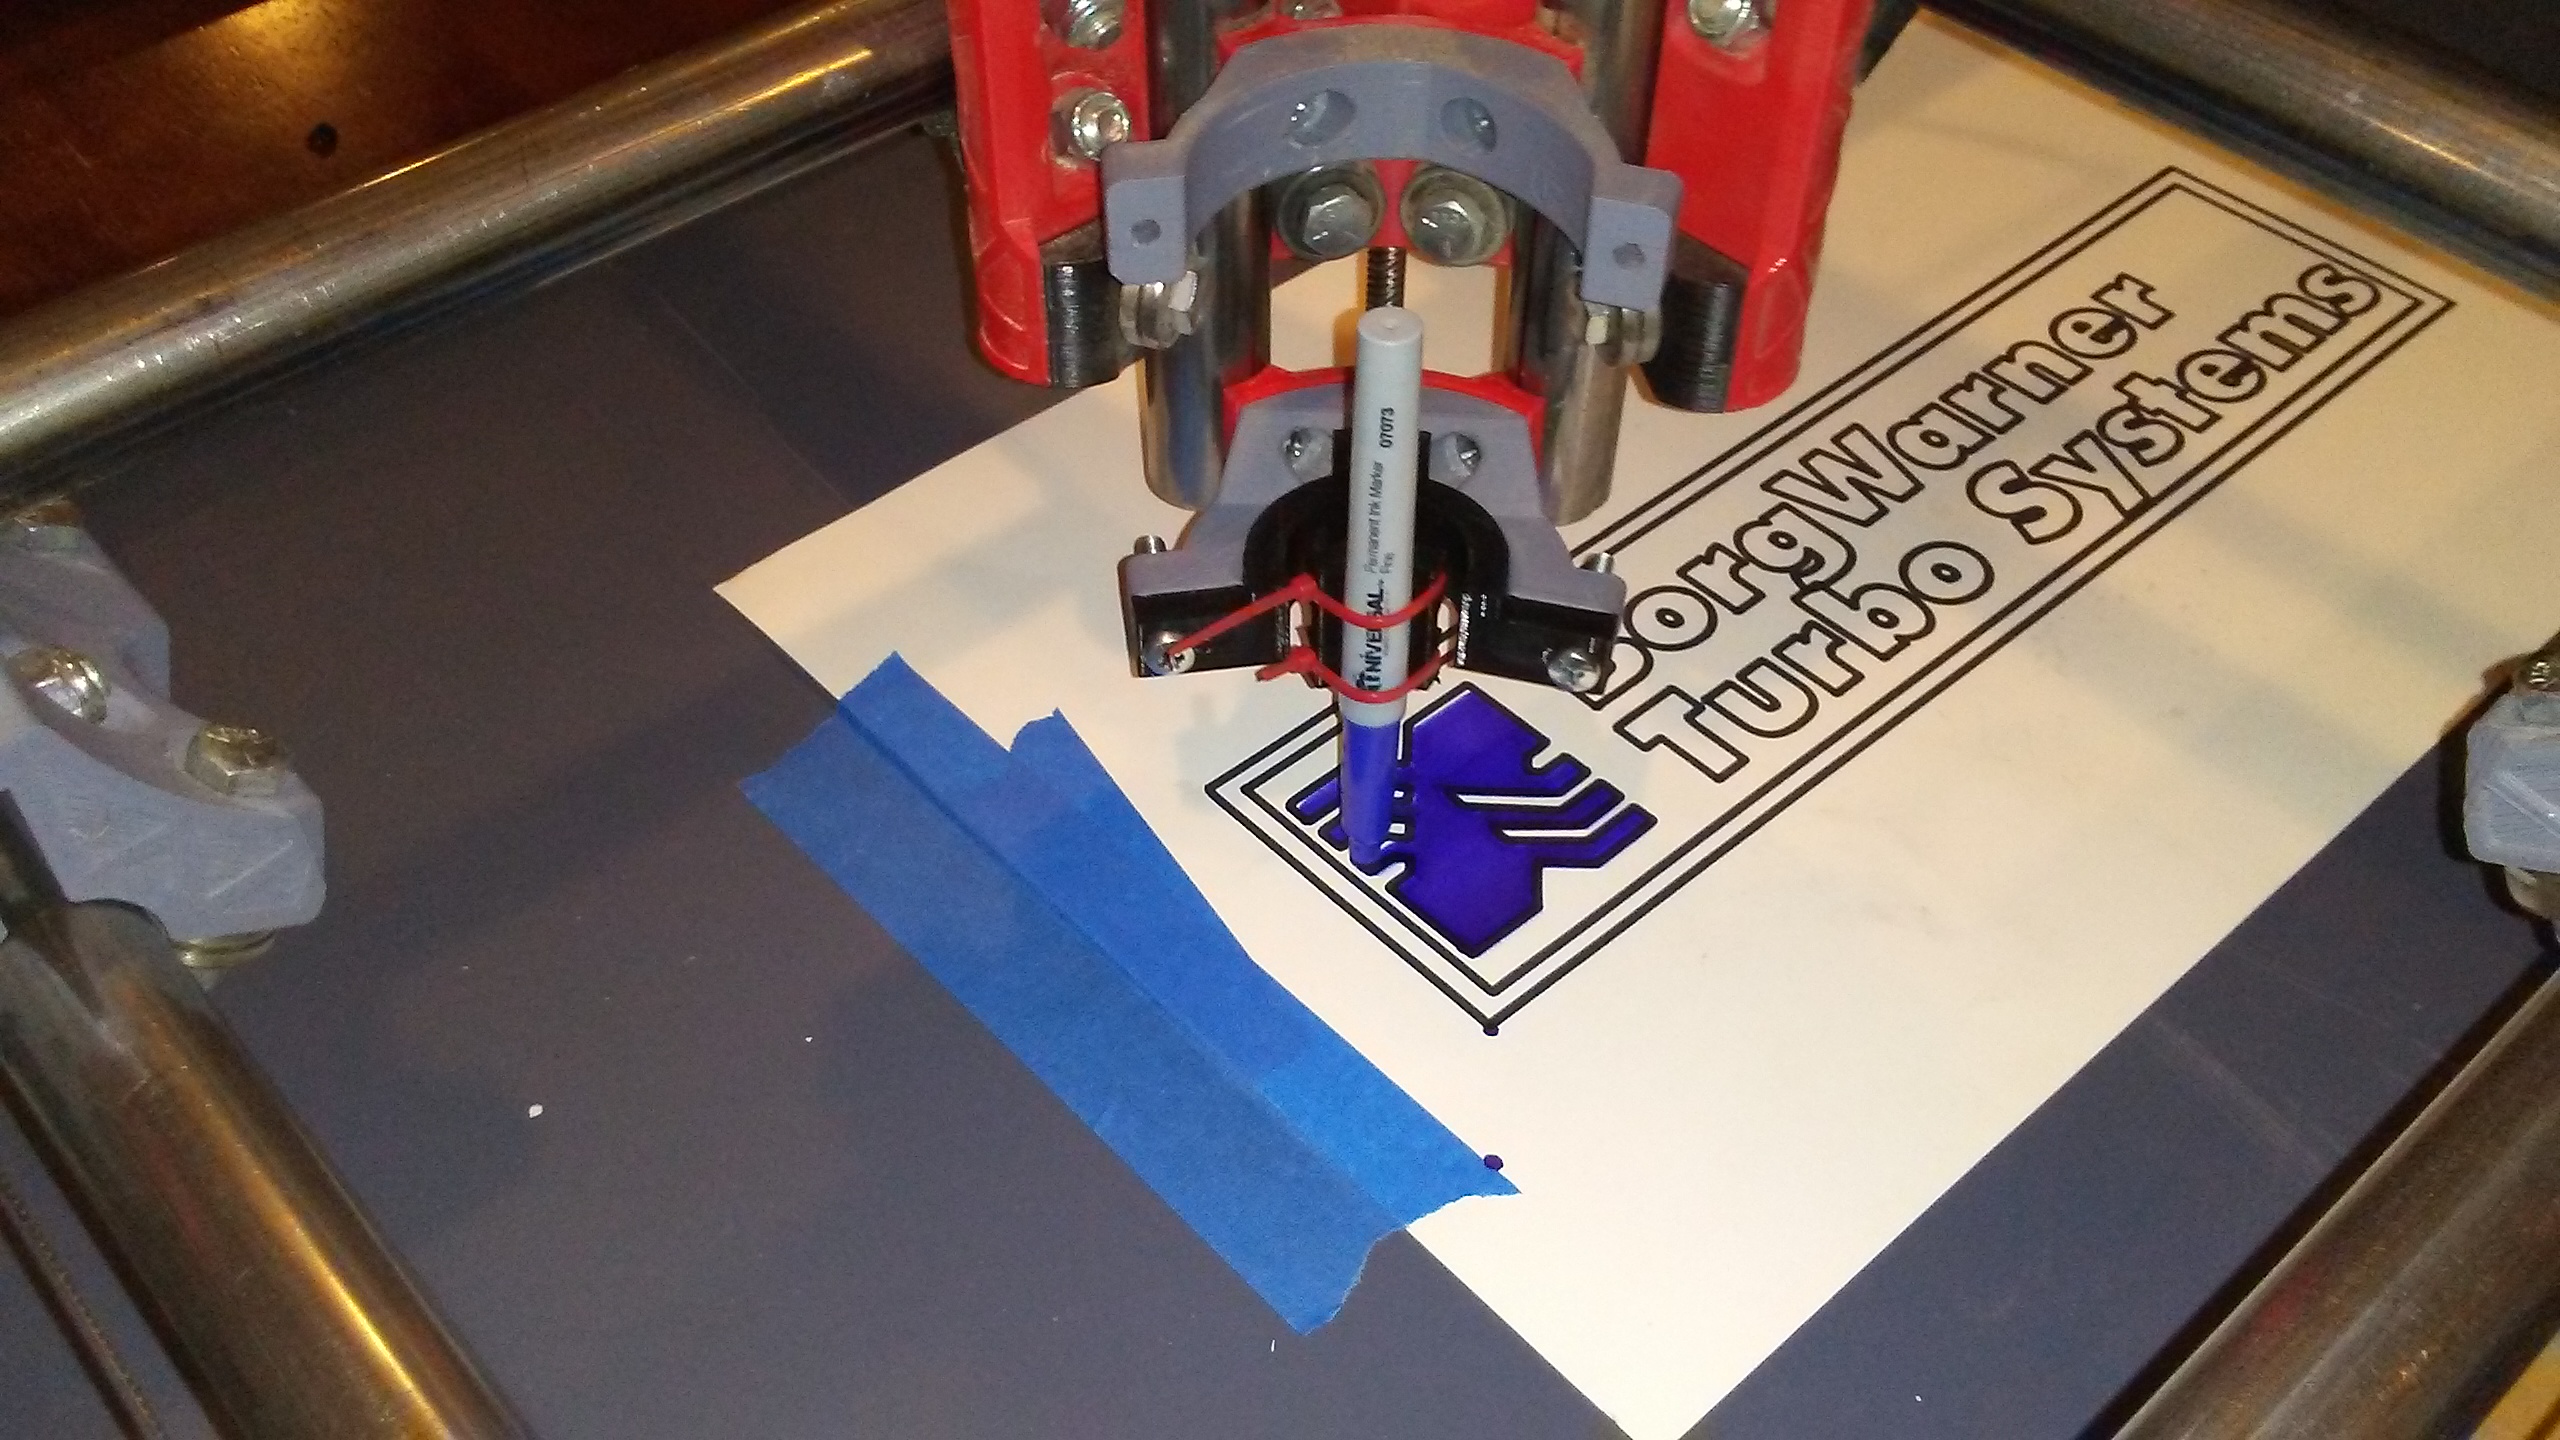
Here’s some more glass lasering. I mirrored the cut and put the tape on the bottom of the glass. I figured that way it’s burning the tape closest to the glass first, instead of burning thorough the tape. 200mm/min, 100% power, “Fill” in Lightburn selected for the paths.
“Top” as far as work orientation is concerned.
“Bottom”
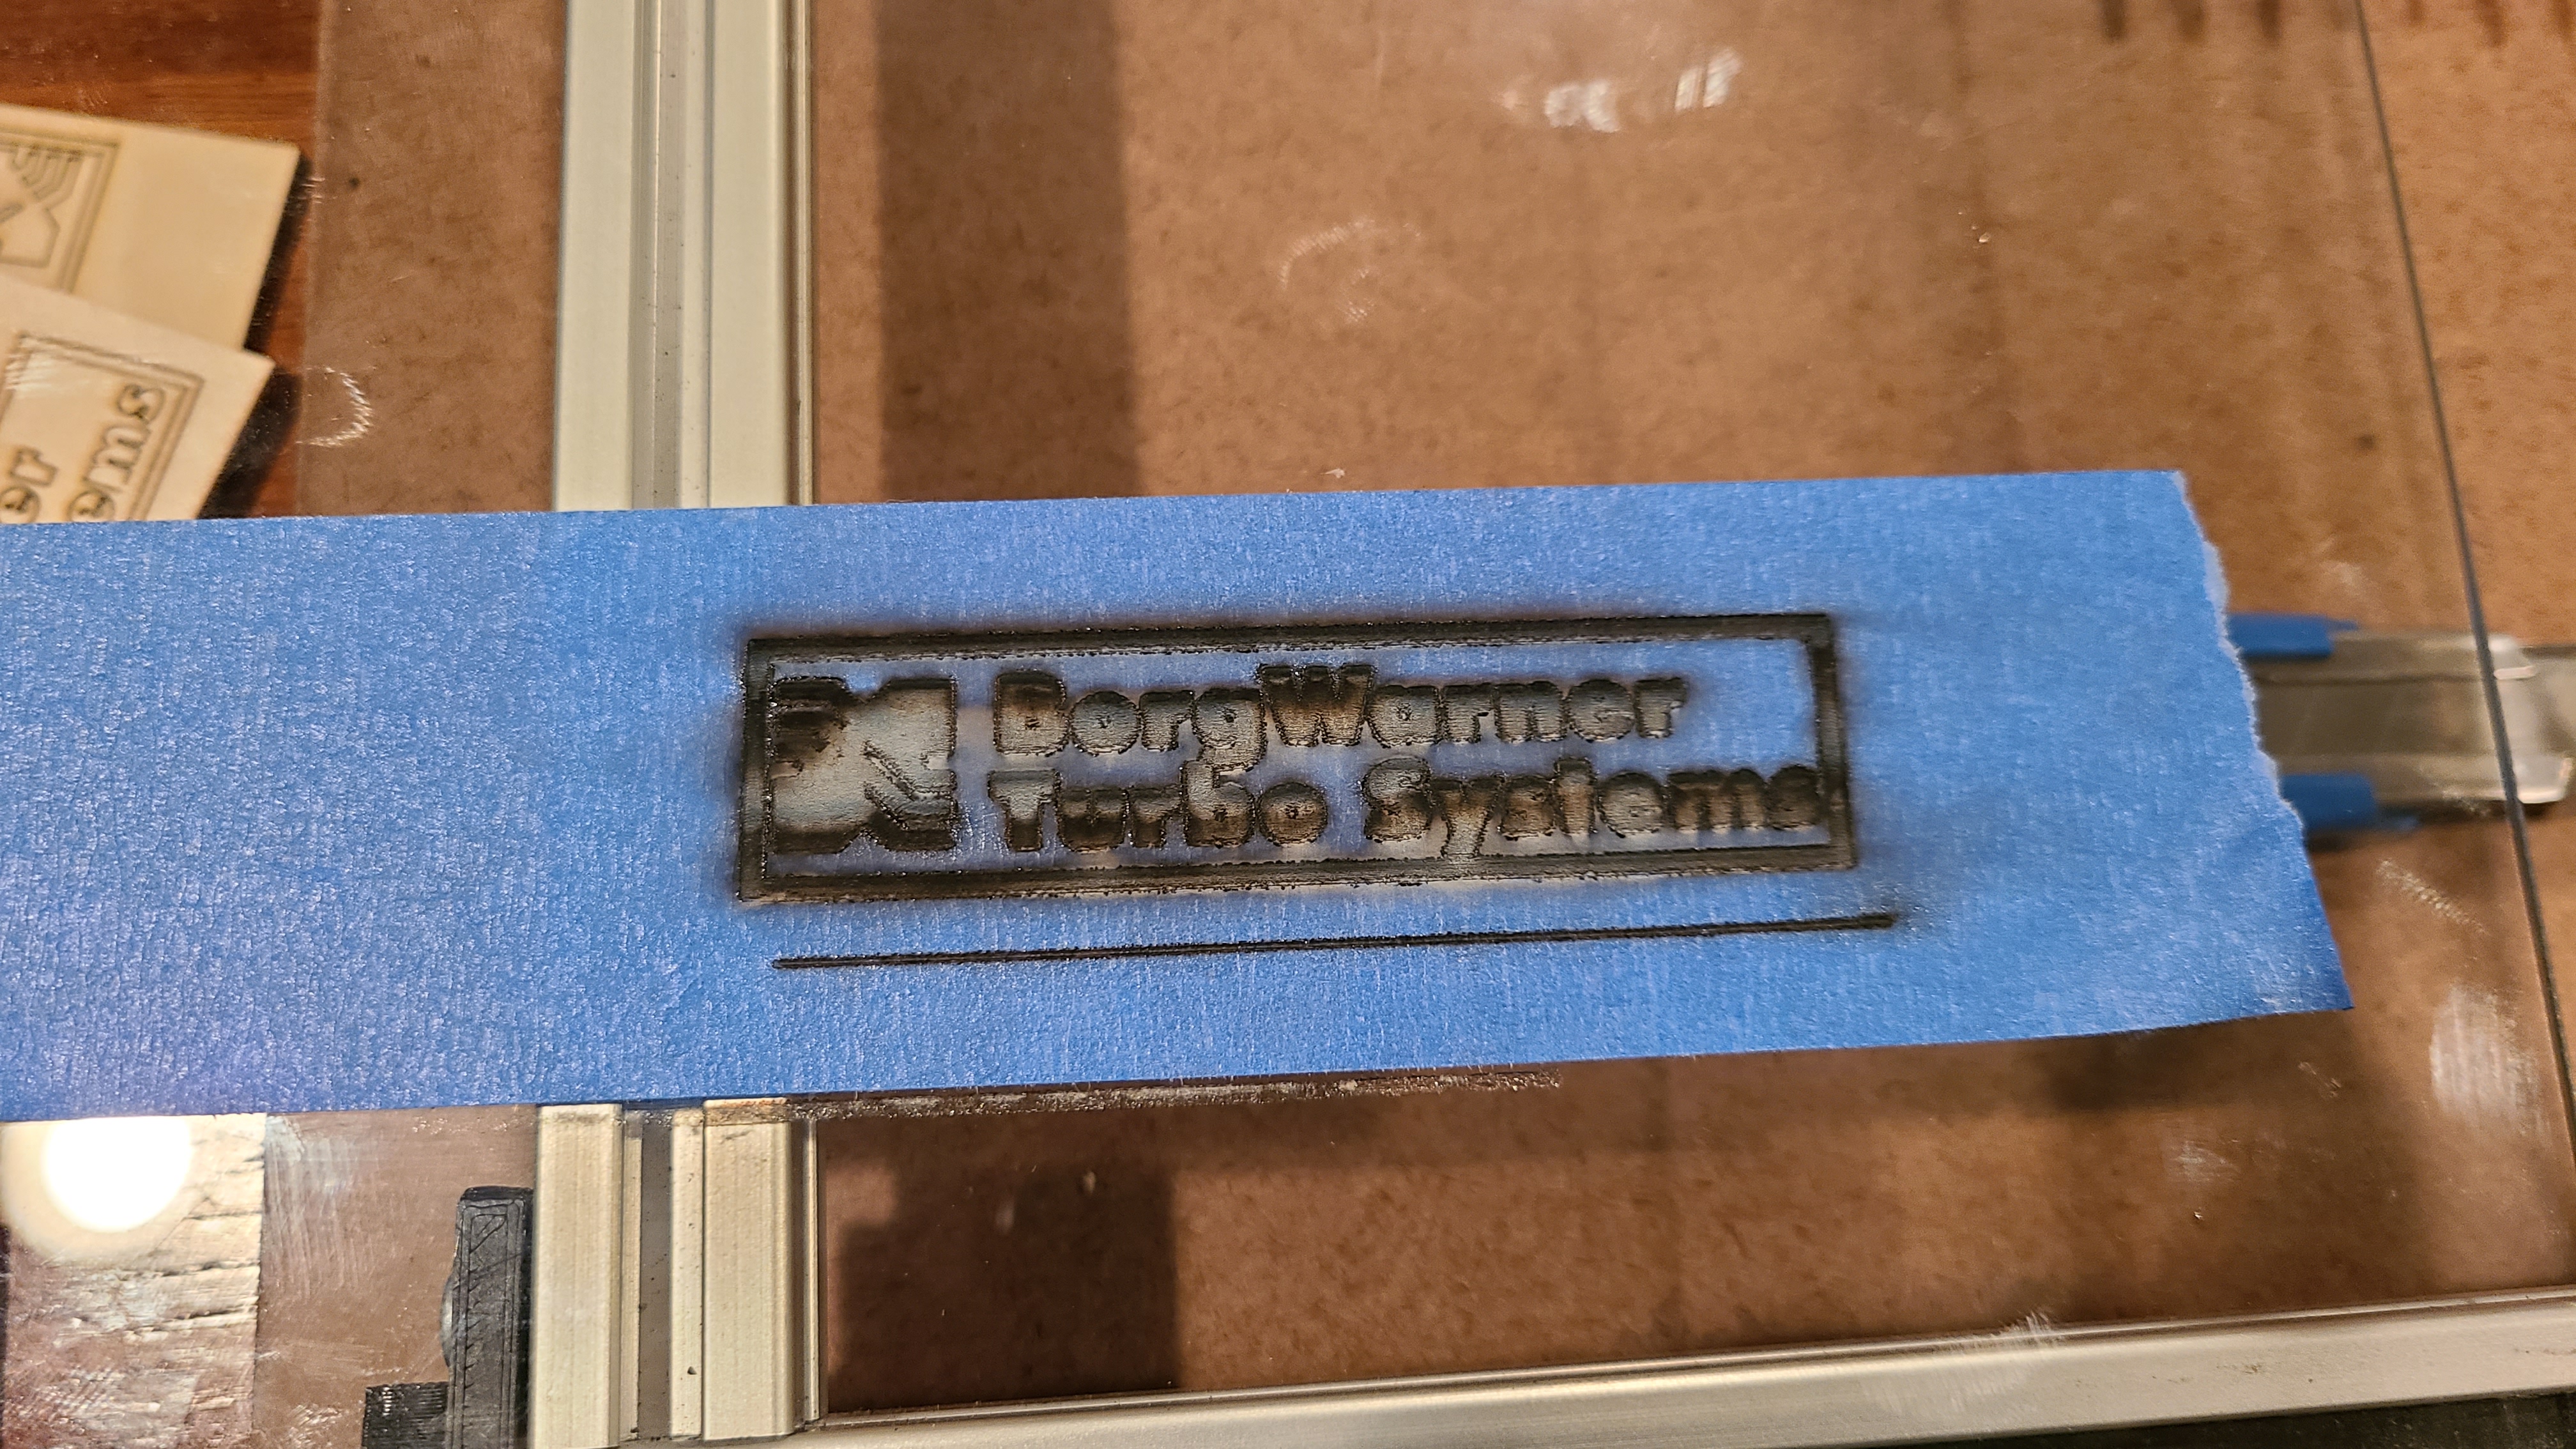
After cleaning…
Lightburn’s preview said this took 1 hour, 4 min. Apparently glass etching cream takes 5 minutes. 
All you’re using is blue tape? Did it work better burning through the tape or through the glass into the tape?
Yep, just the tape. Seems to work better through the glass rather than through the tape.
Now I really have to try this
So I tidied up the rig, changed my X gantry, and added some end-stops for homing, now I just keep searching my house for stuff to try lasering.
Here’s some slate tile.
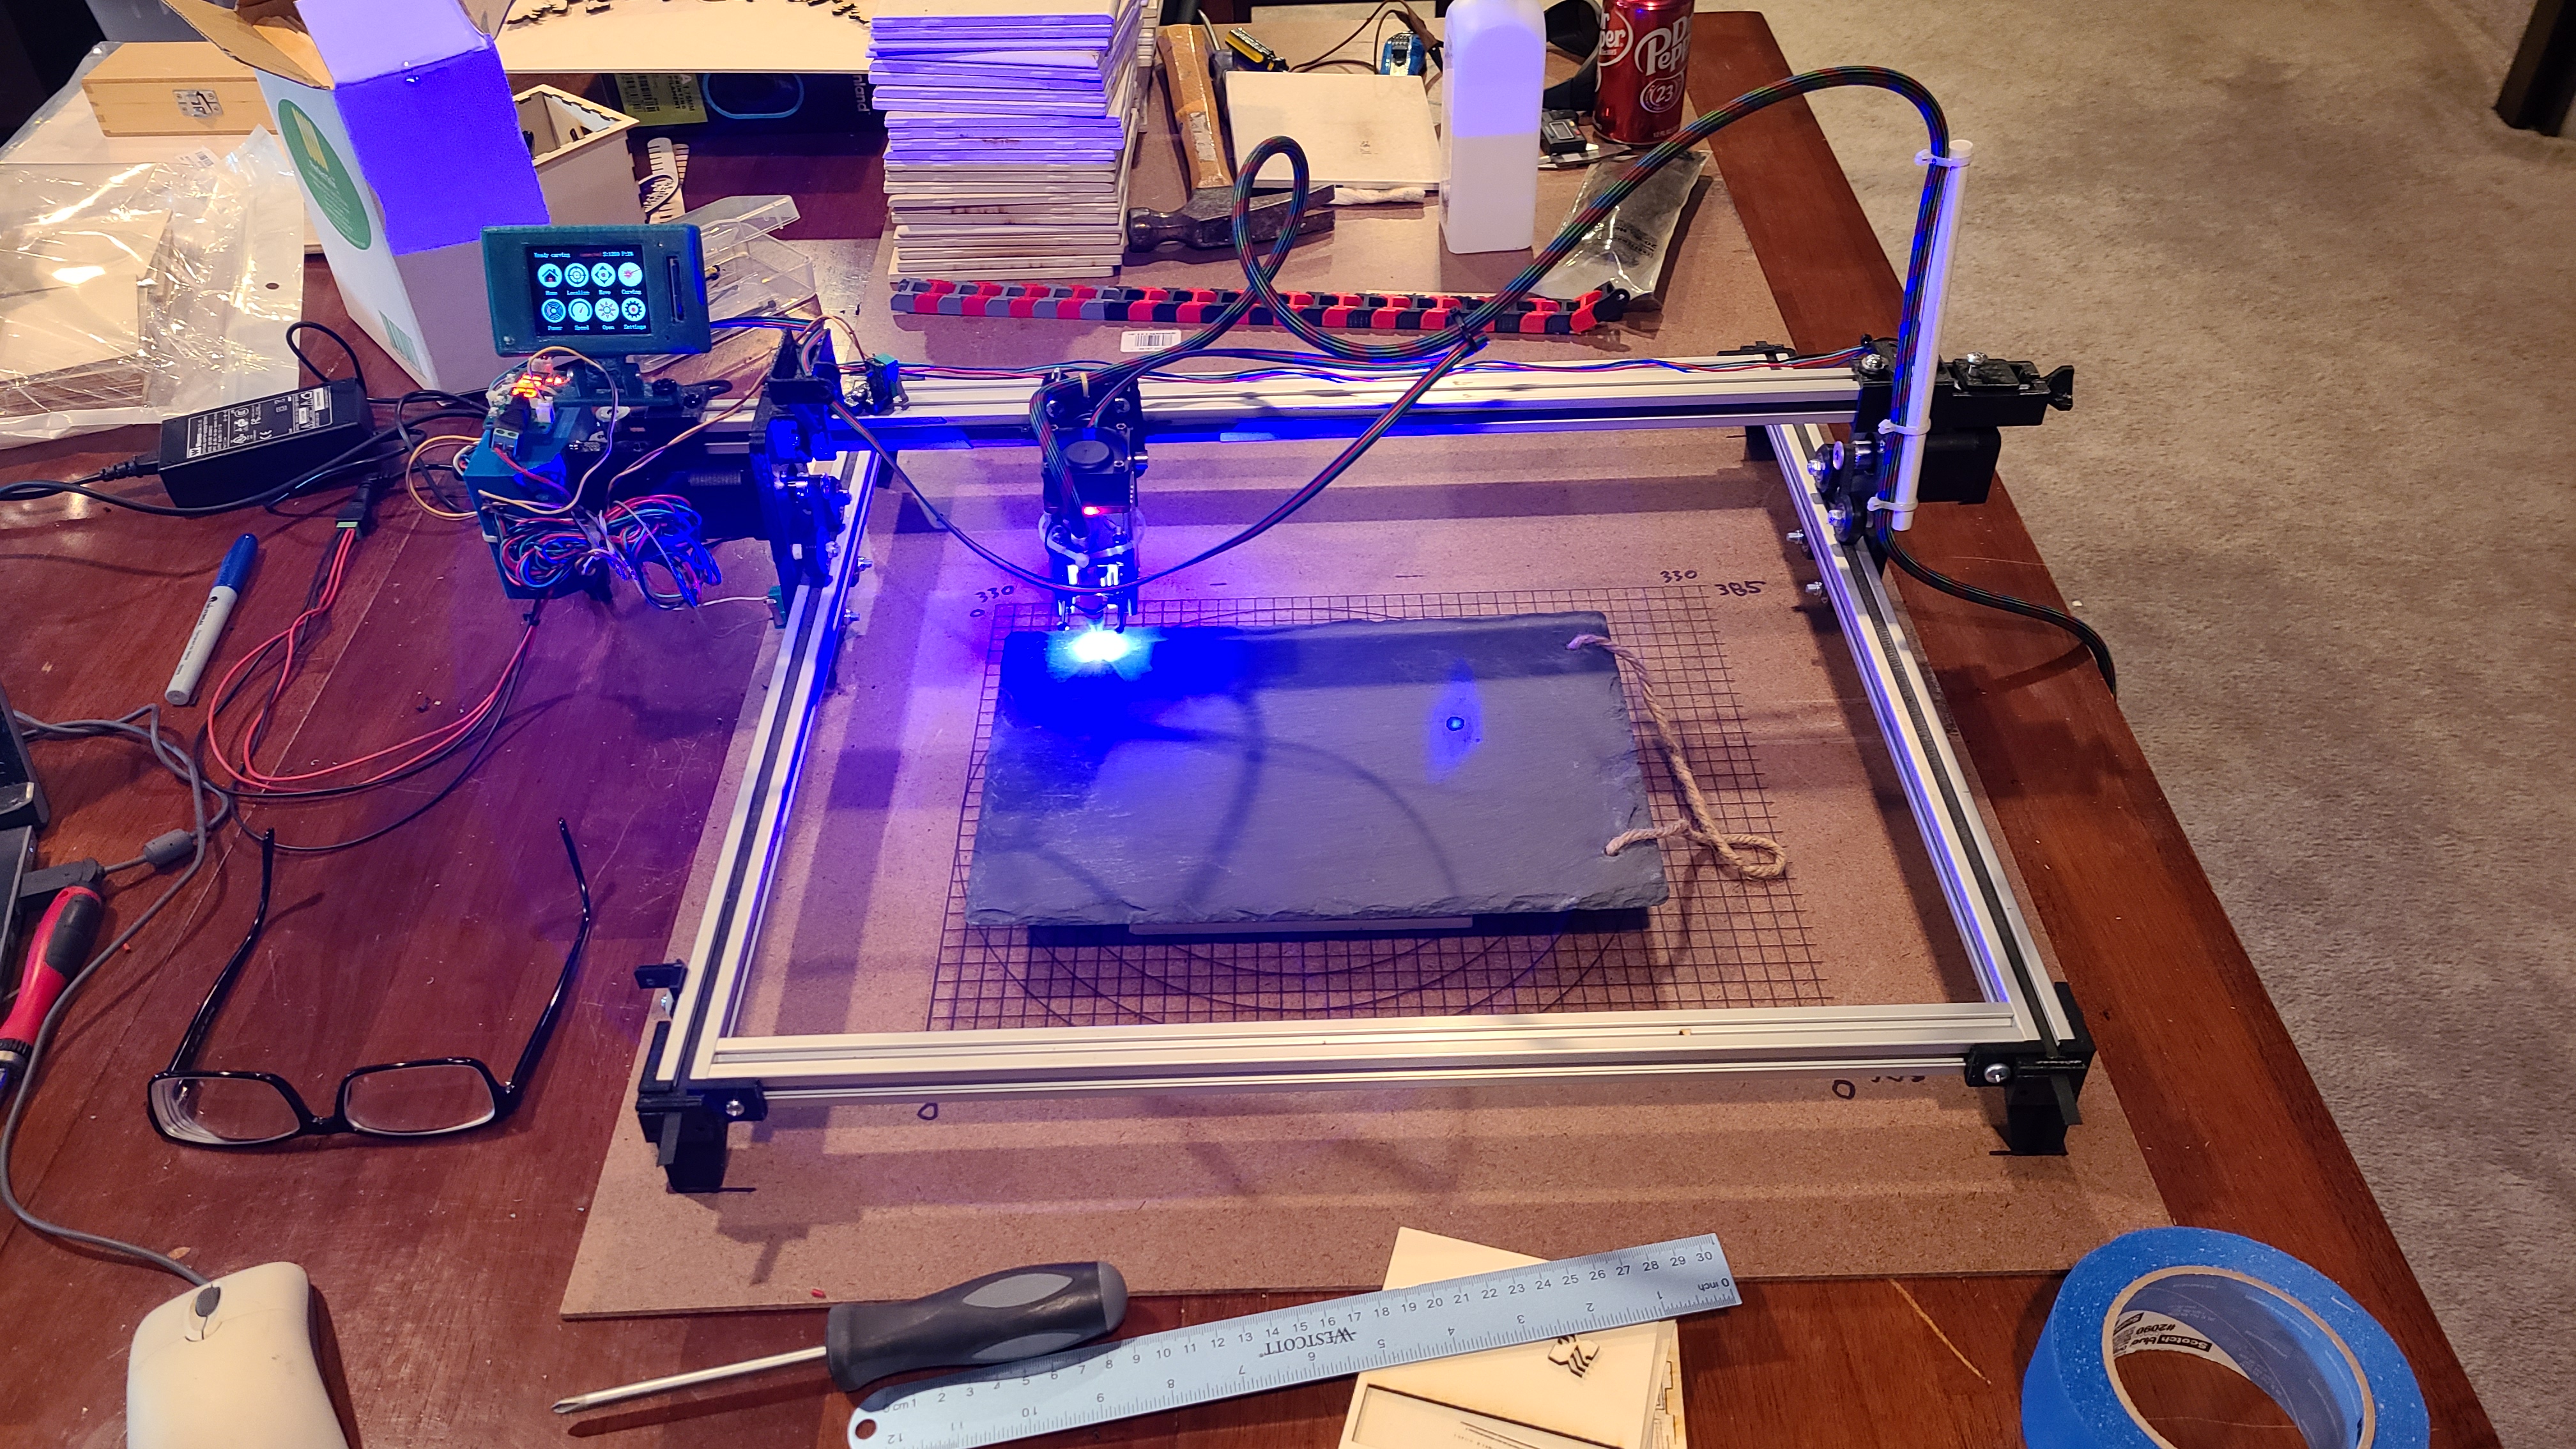
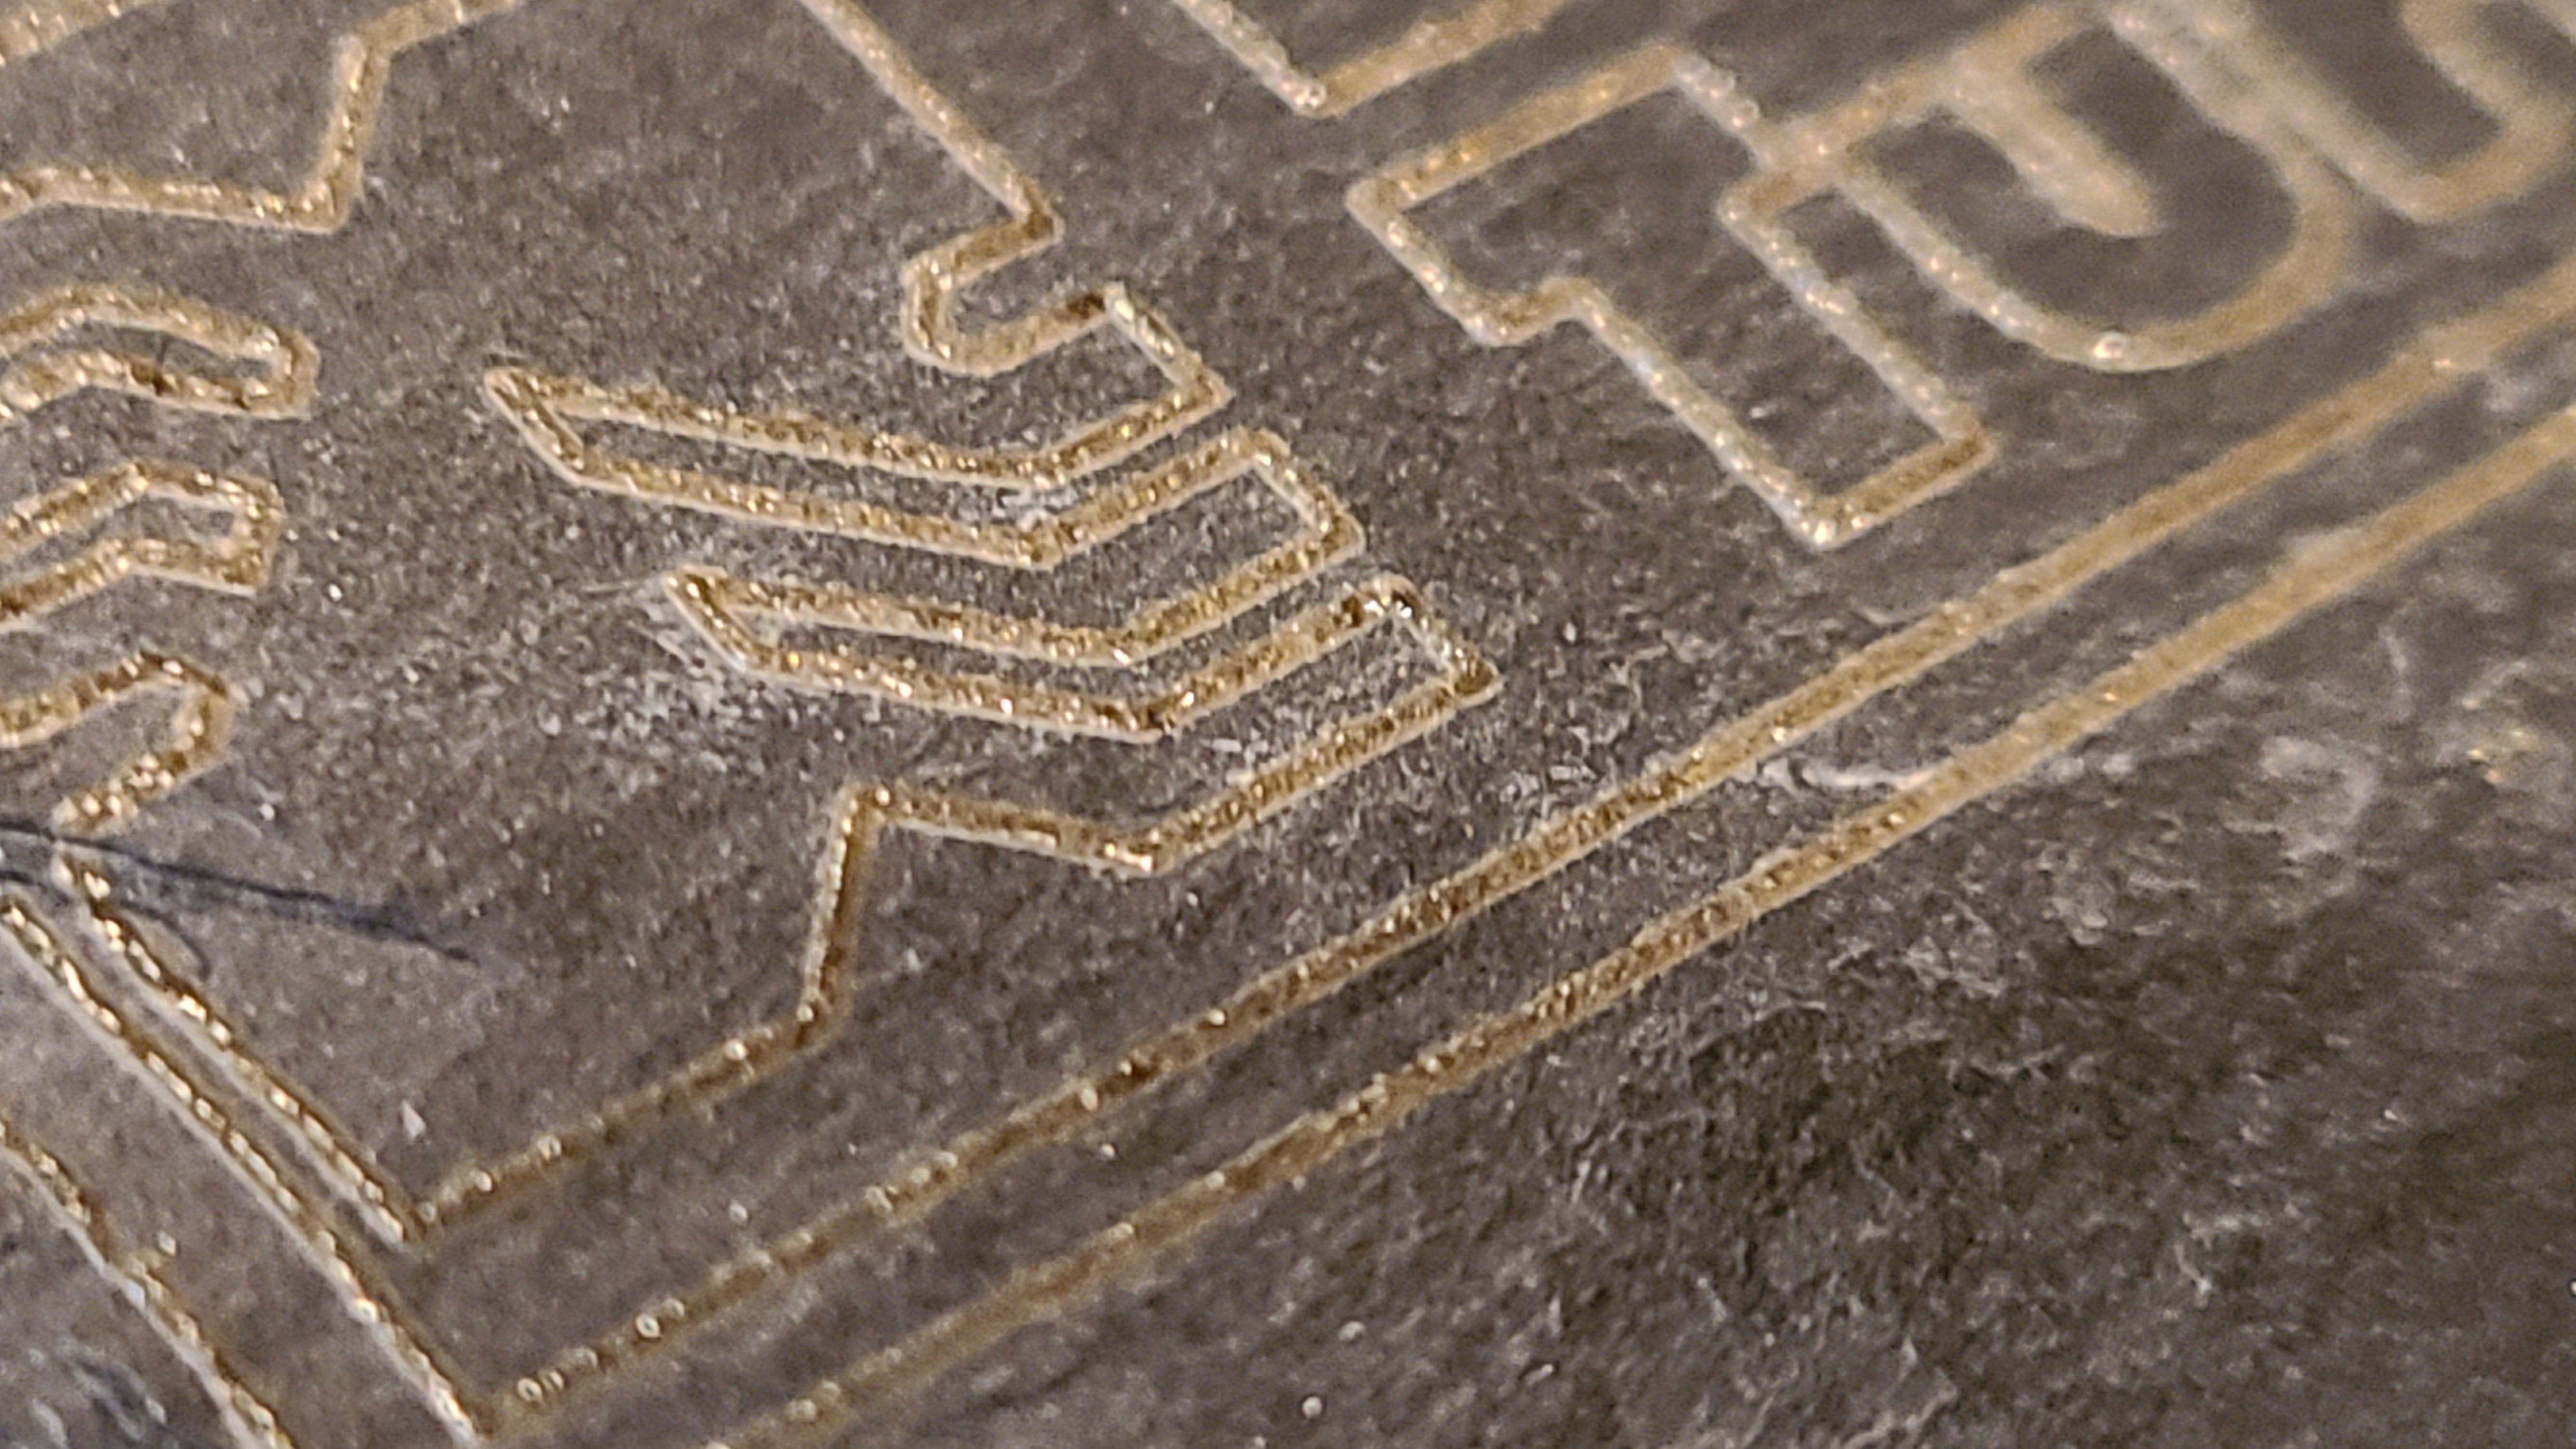
100mm/min, 100% power, 1 pass. Interestingly enough, the burn is raised on the slate.
Here’s a speeds test swatch. from 100mm/min to 2000mm/min. All at 100%, 1 pass.
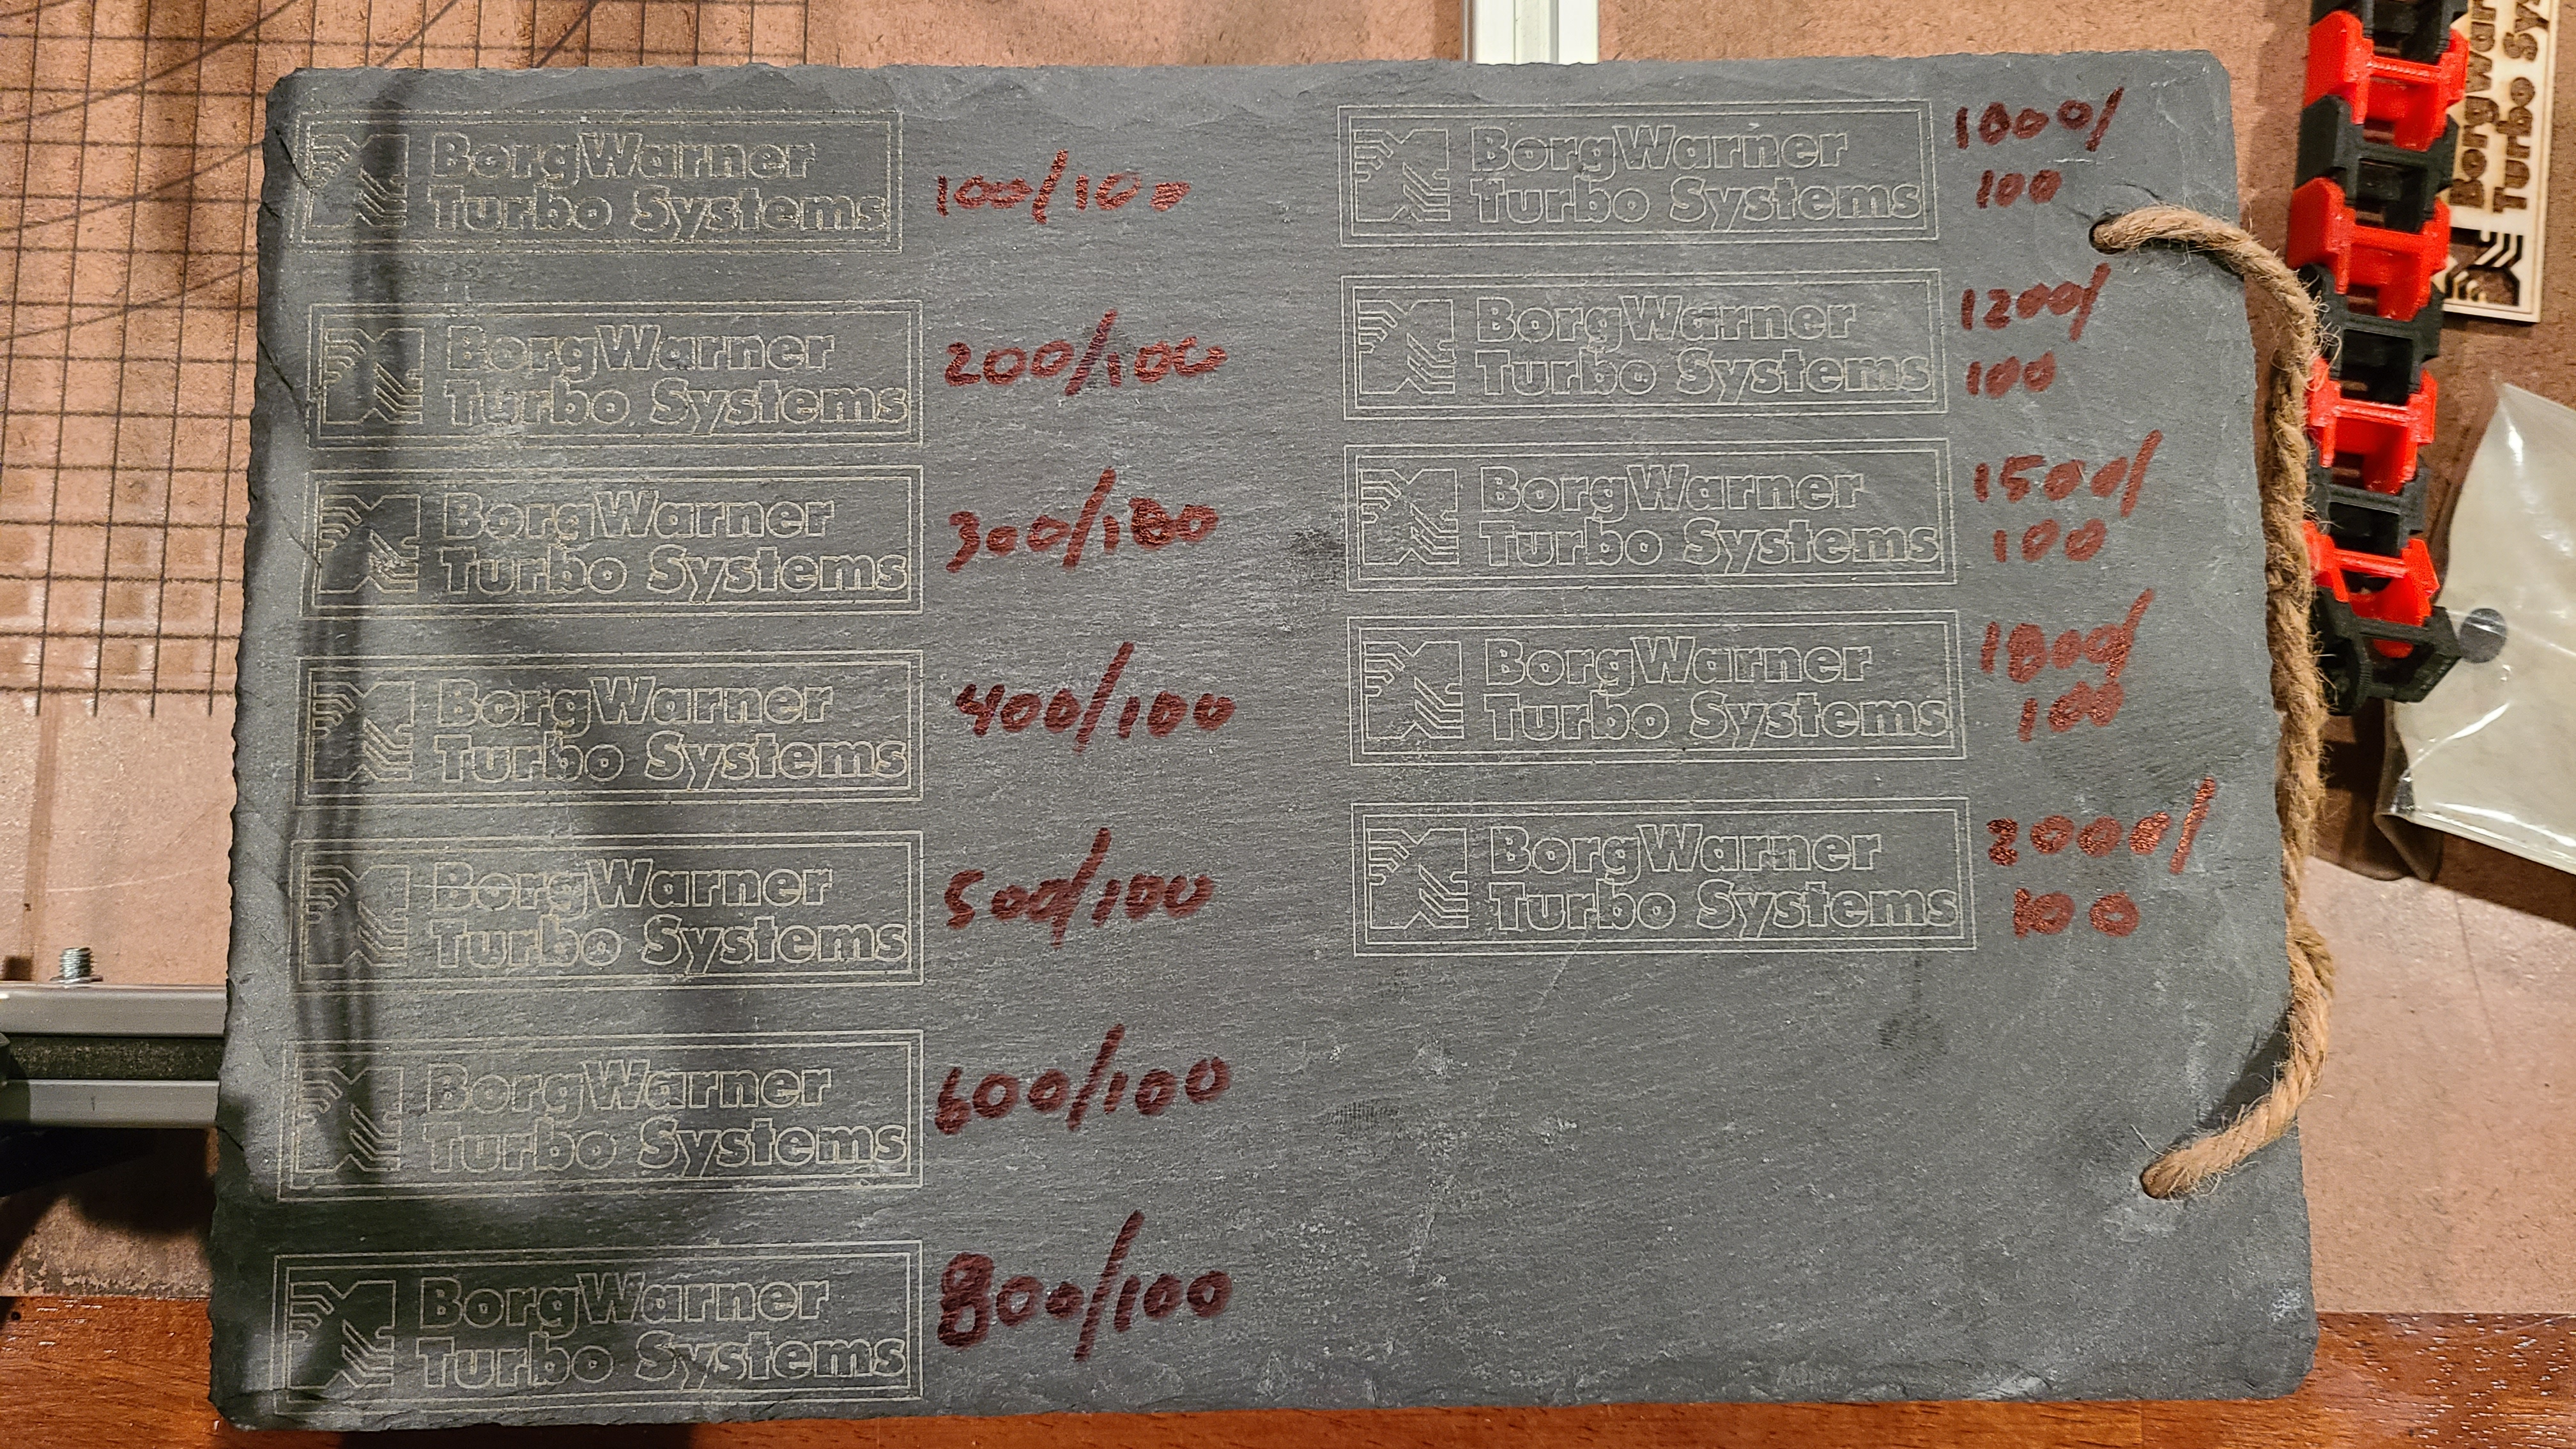
First one took about 12min., last took 53sec.

“Fill” 2000mm/min, 100%, 0.1mm line interval. Took 9:35.
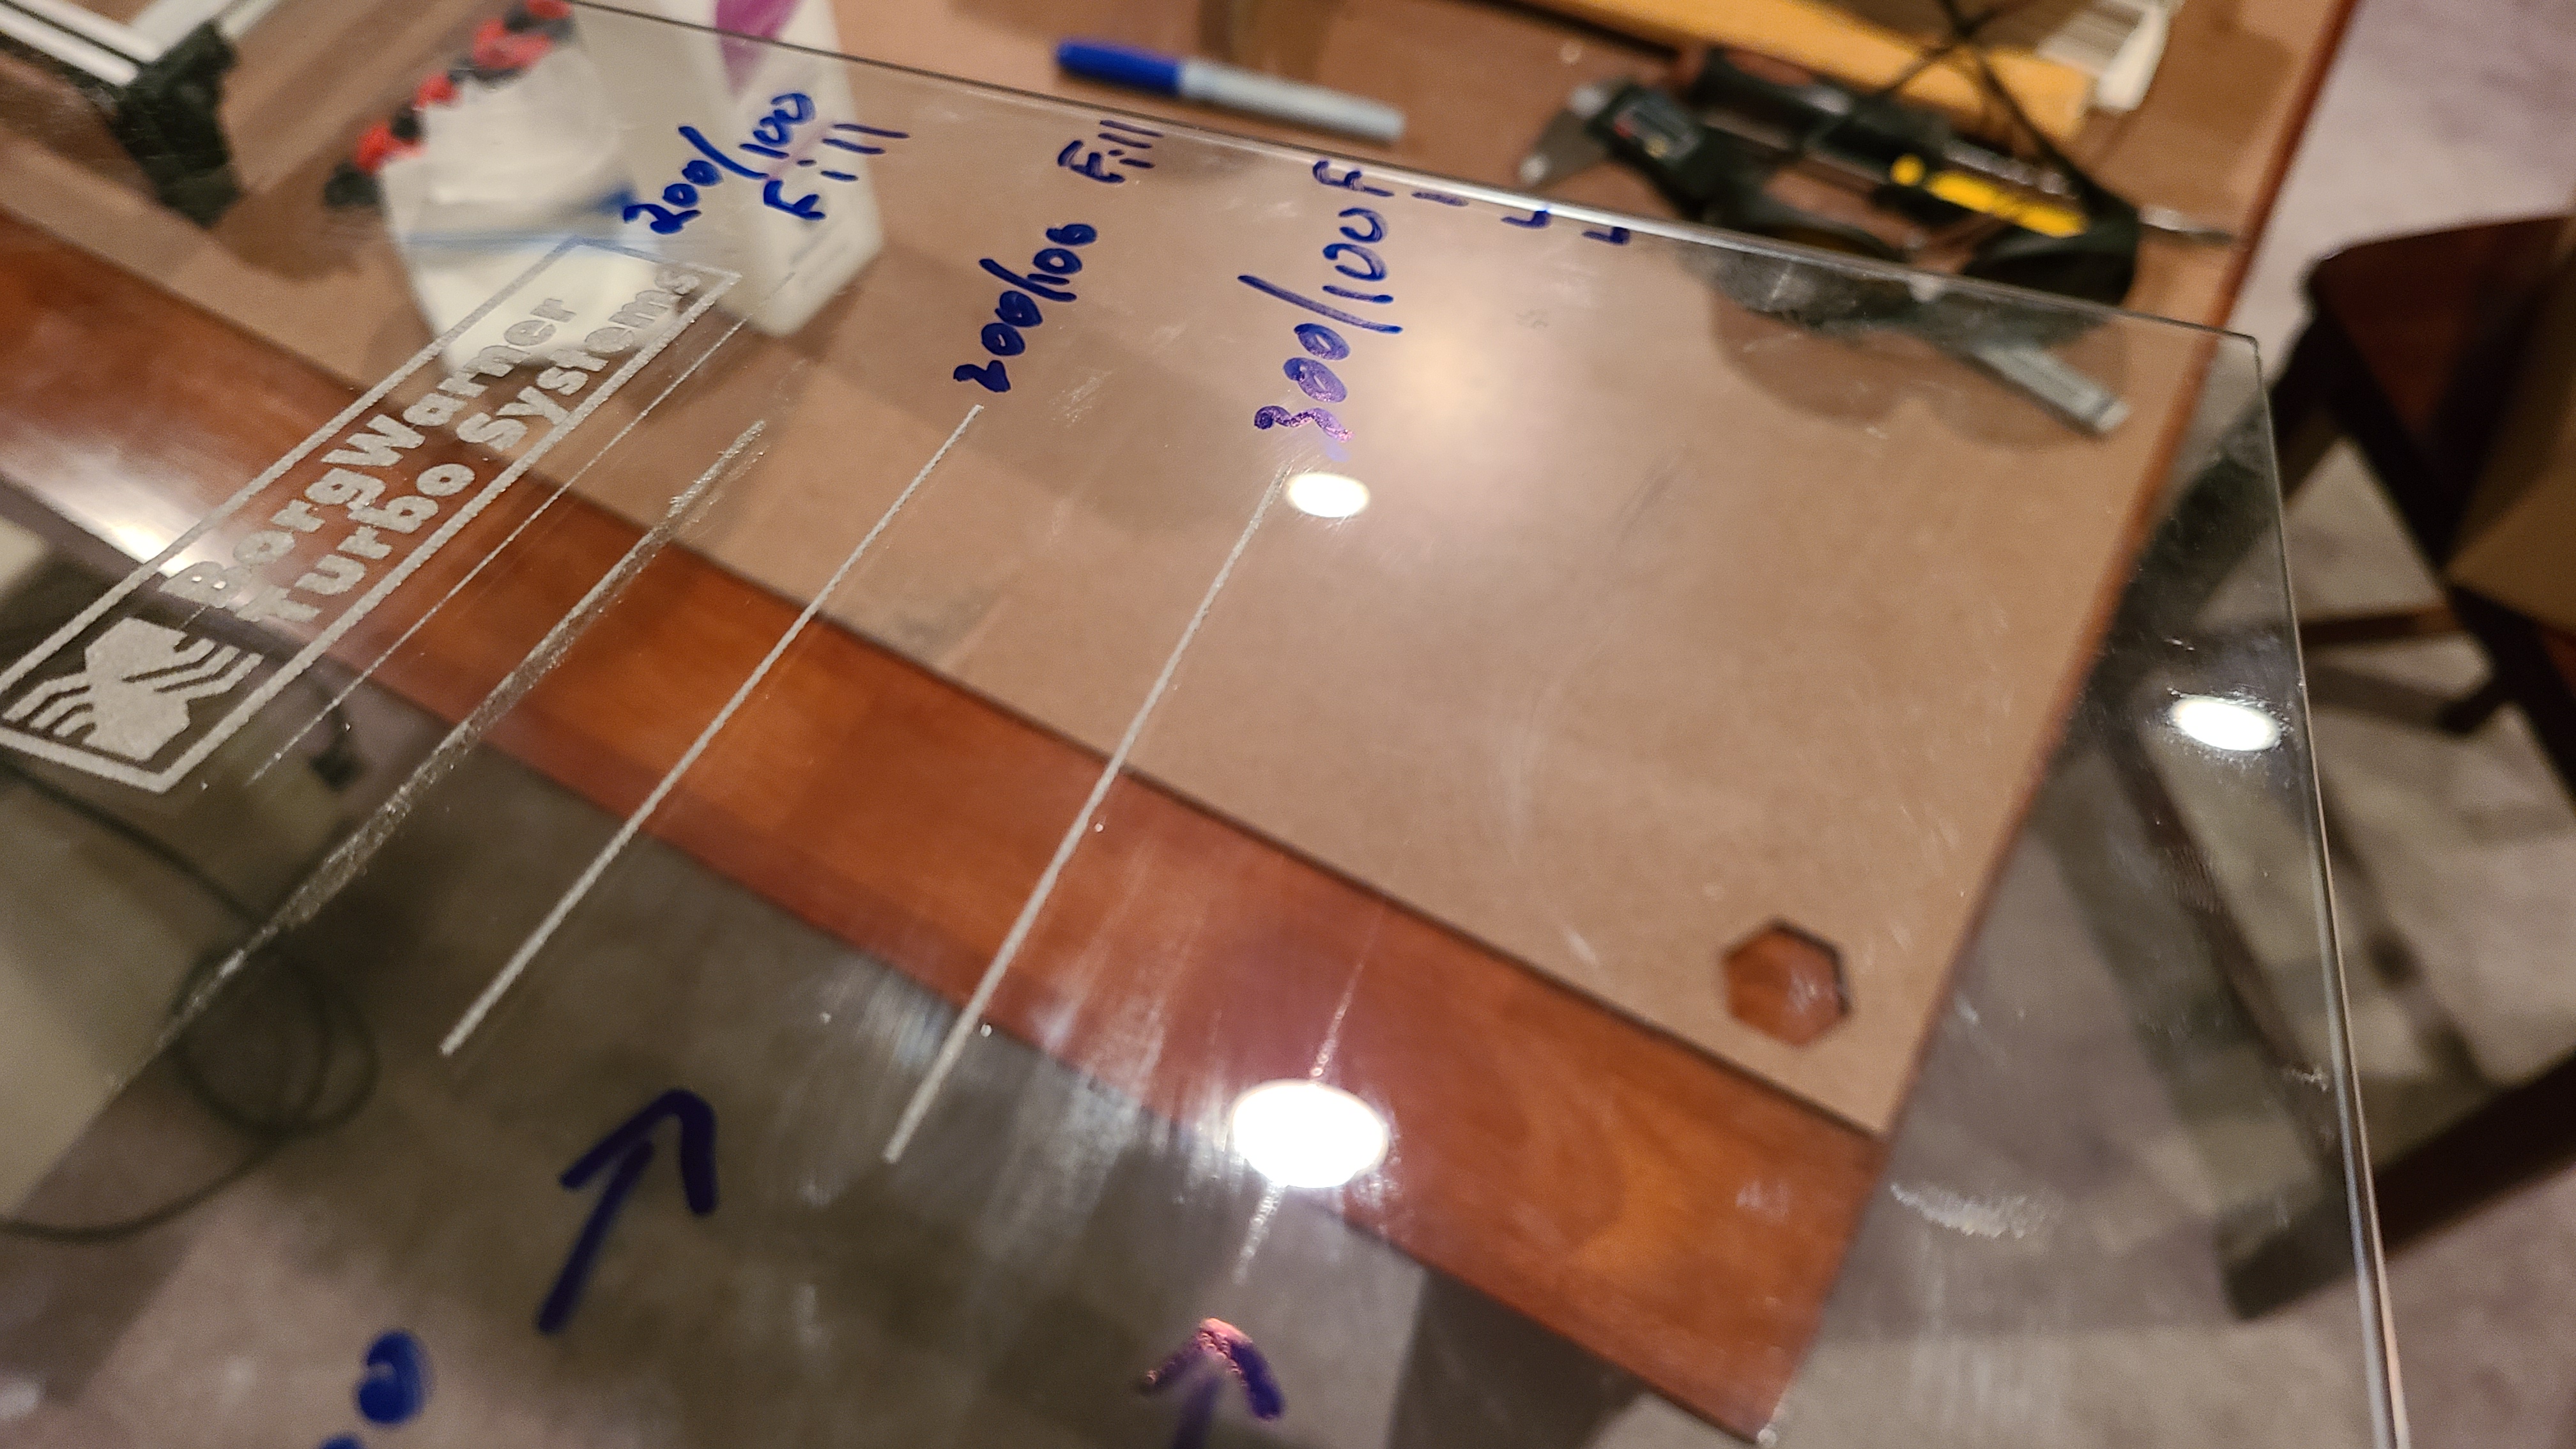
Back to the glass.

Tried some higher speeds with the glass process. Using the “Fill” cut path I get etching at 200mm/min and 300/min. Using “Line” cut path at 300mm/min I got a whole lot of nothing after removing the tape. I just let it start the logo and run a few passes at 0.1mm line interval for the Fill tests. I didn’t want to wait for the whole logo to finish just to see if it would mark the glass. The Line test I let it run the whole logo.
EDIT: Sorry, I guess I should read my own posts before running more tests…The etched logo was already at 200mm/min.
At 400mm/min(Fill) it is unnoticeable without angling the glass.
Love seeing the tests!!!
I just now realized why I’ve been having such a rough time with my aluminum extrusion gantry wheel fitments. I bought T-slot extrusion. I apparently needed V-groove extrusion. (face palm) Thought it was different names for the same thing. Slight difference in the channel depths and bevels. 
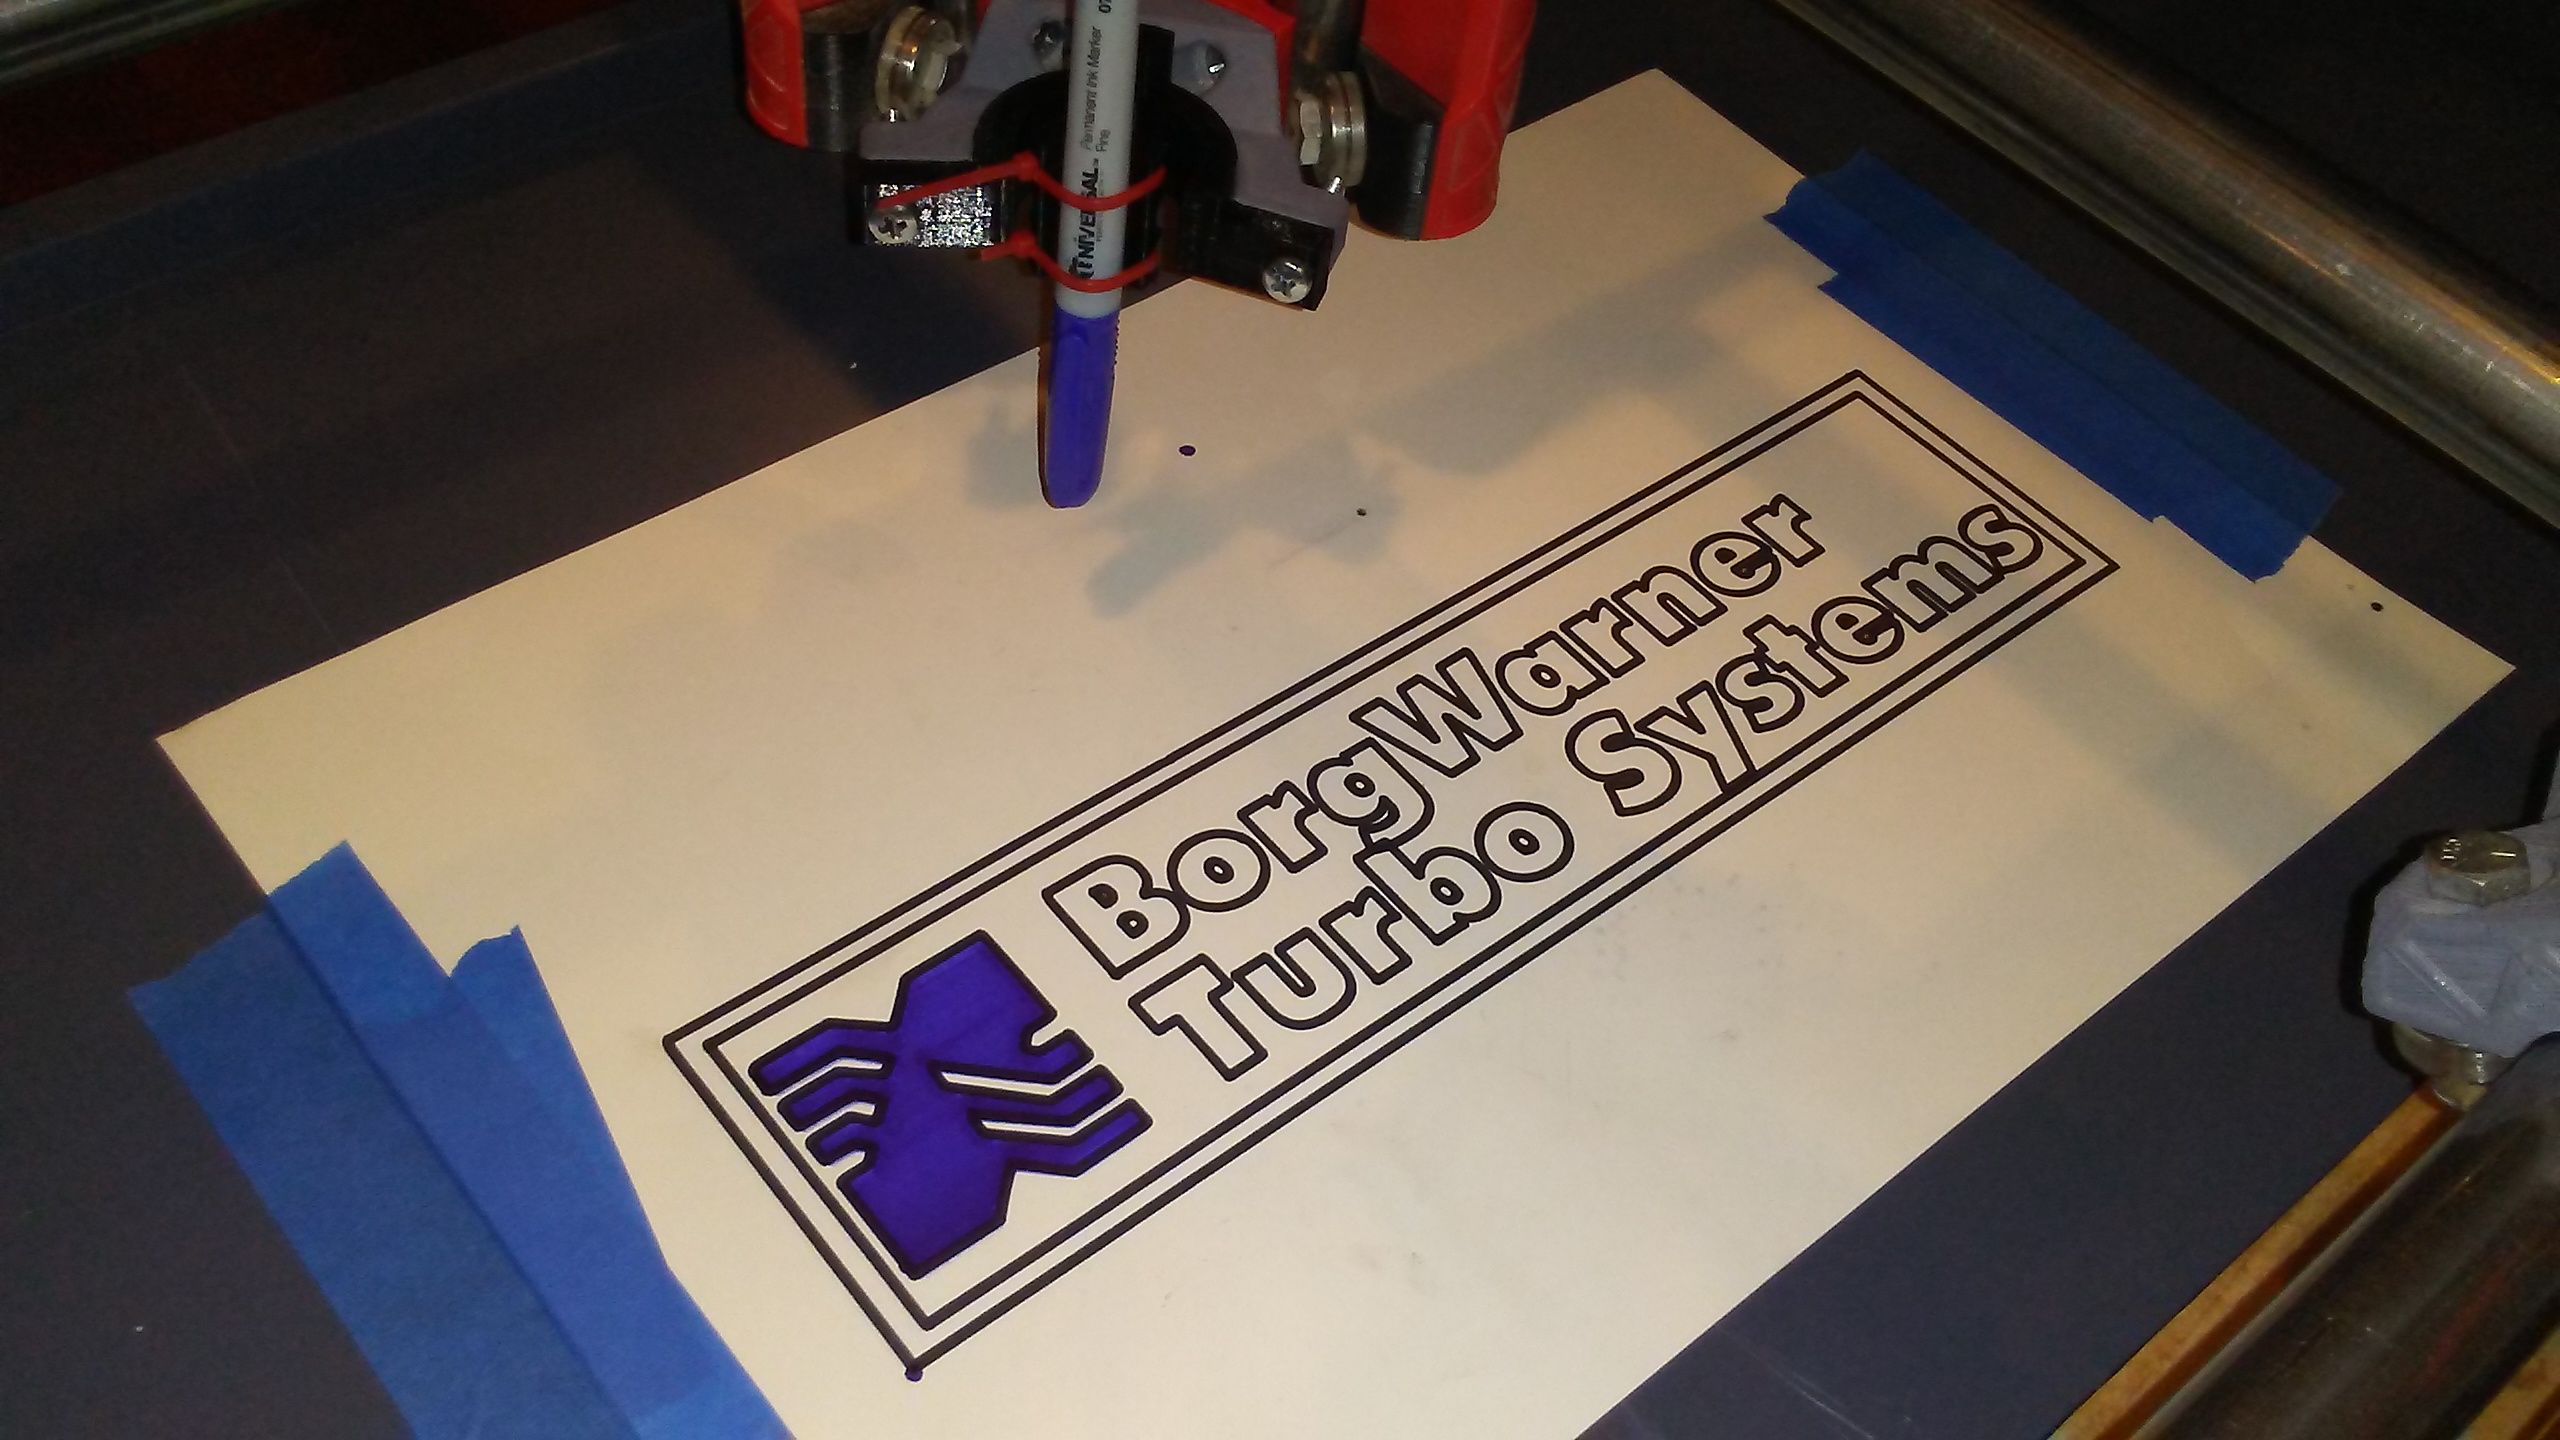
So I started to feel like the Primo was getting neglected, then I saw @Flyfisher604 made a sweet pen/knife mount that fits the DW660 mount. His thread HERE. Thanks for that! Decided to try some pen drawing with a tool change.
Glad the mount worked for you!
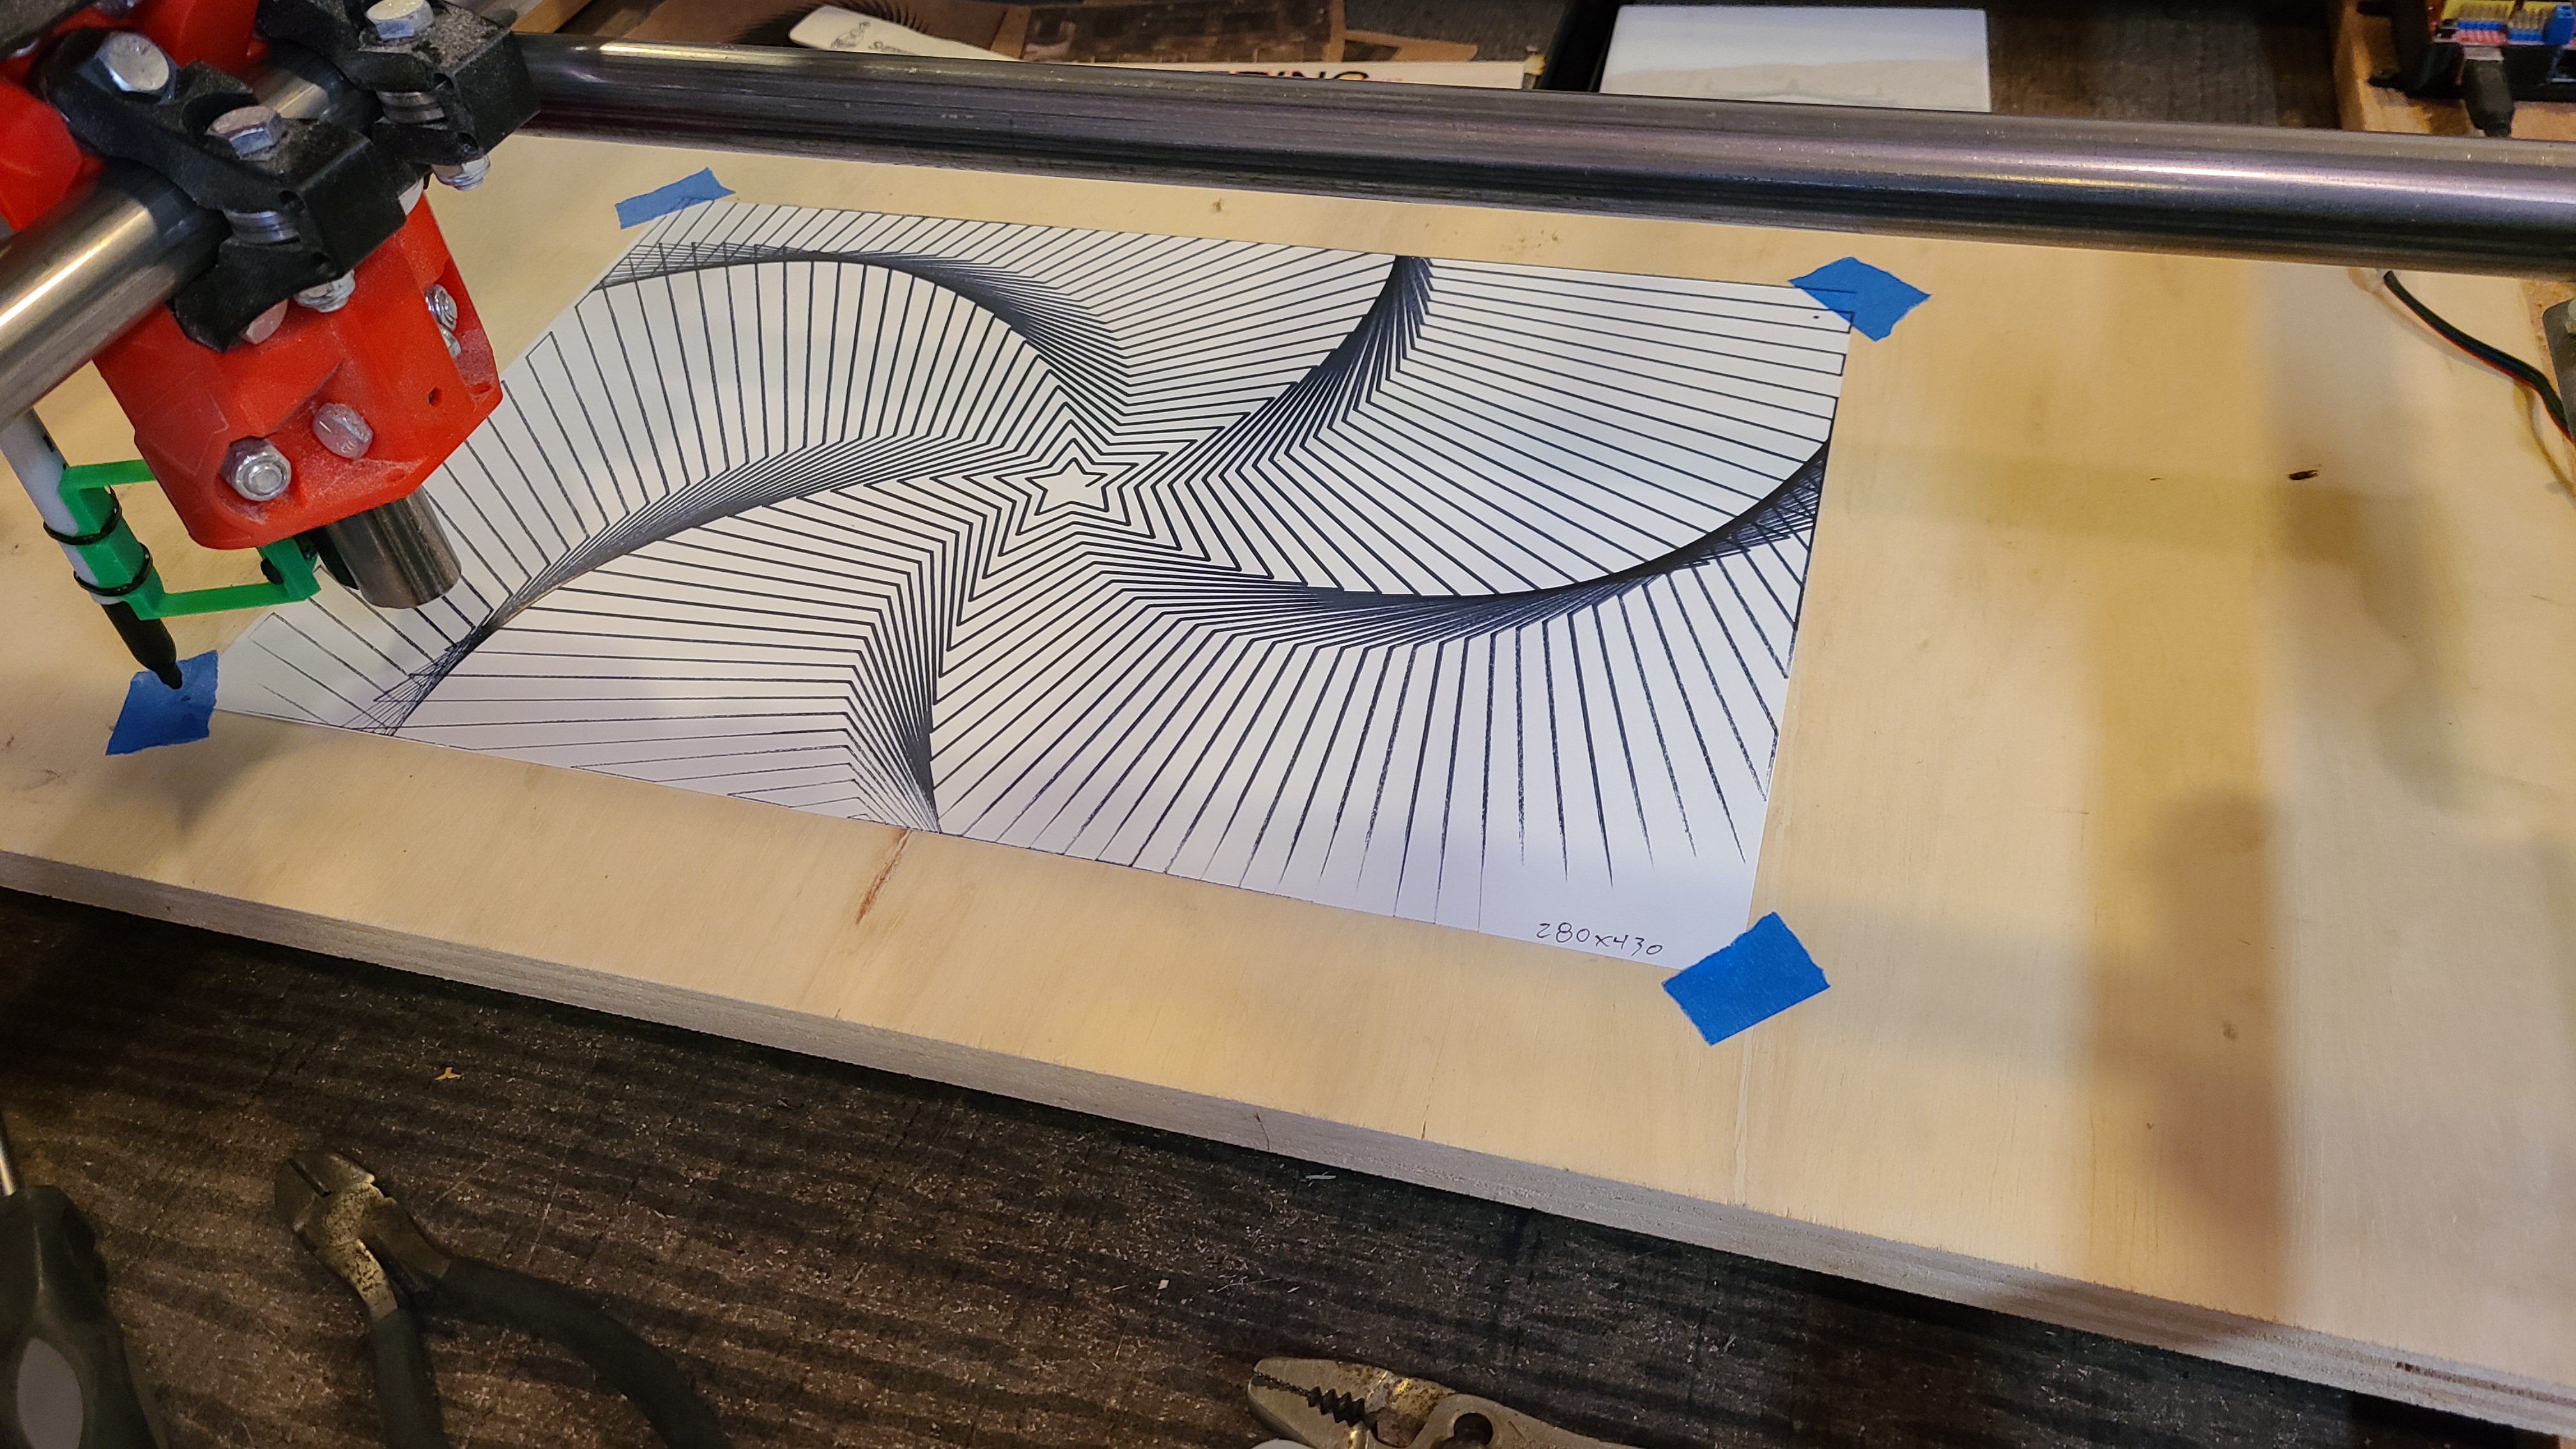
Time to experiment with some plotterfiles.com or sandify.org files!
I did one when I first brought it inside…
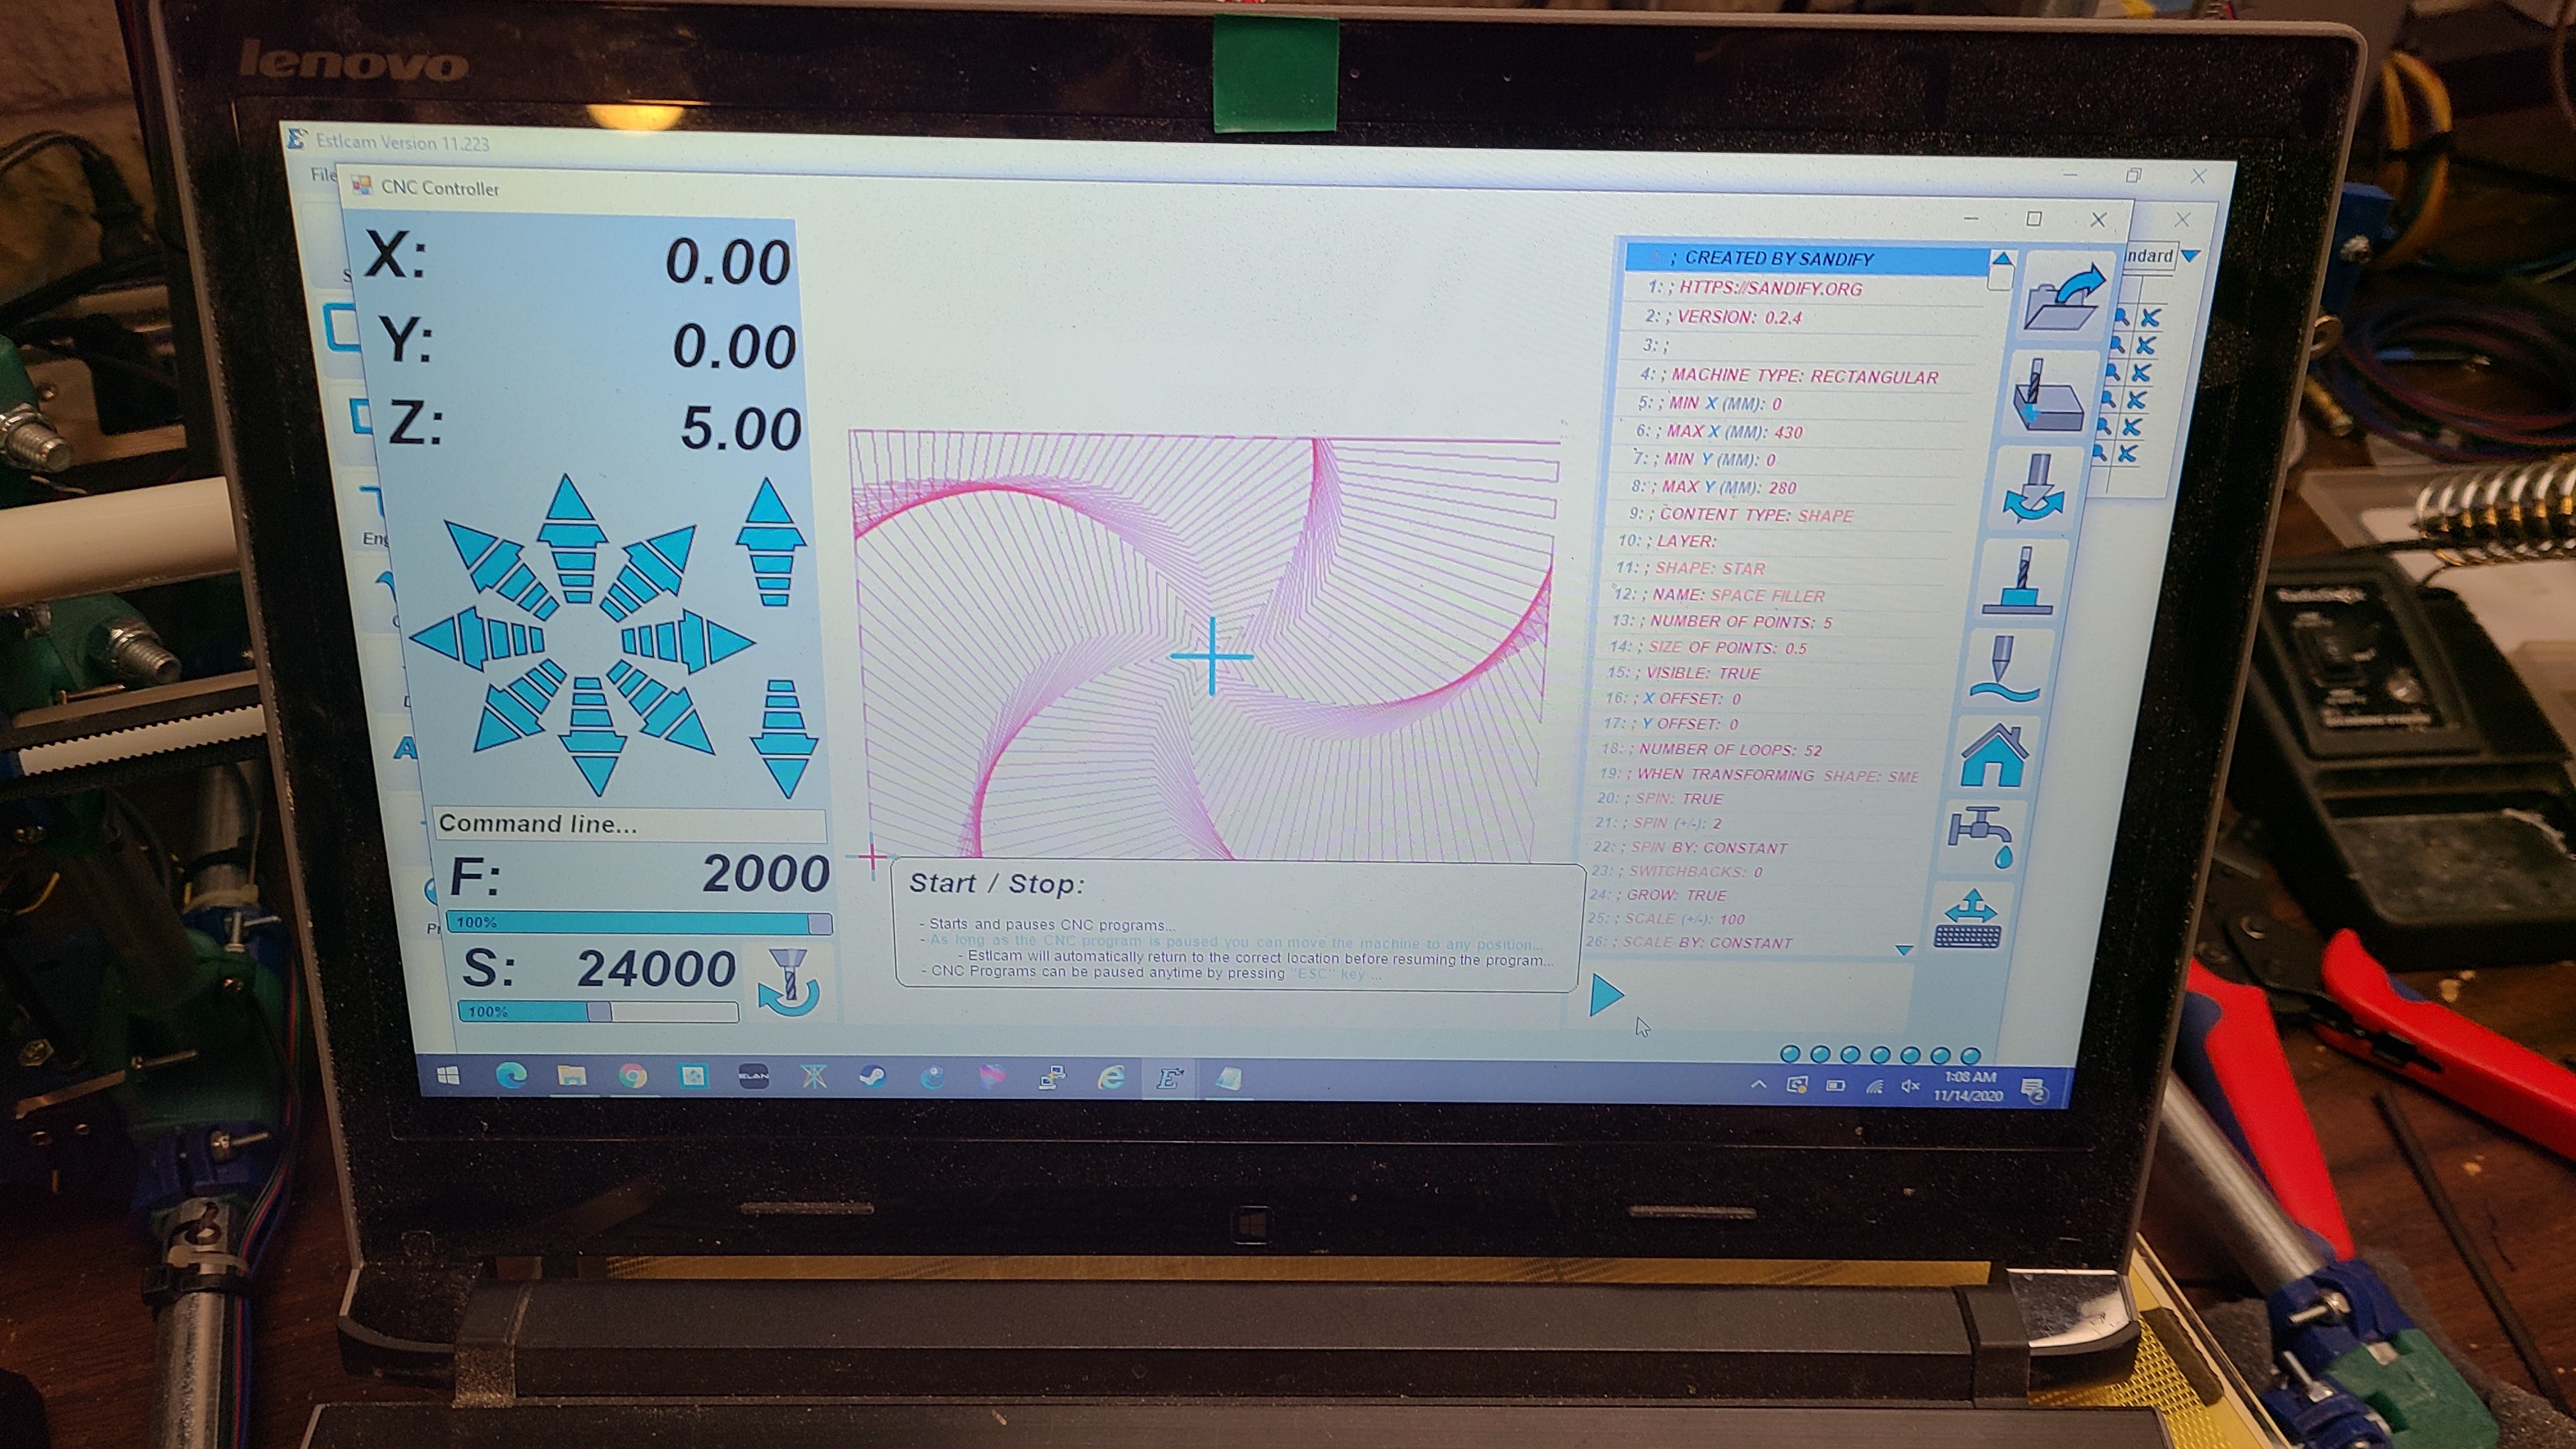
Opened and ran the gcode right in ESTLCam controller. Just added some start and end params to raise the Z before and after.

I was just checking out hackaday.com and came across this write-up of an online STL to SVG converter. https://hackaday.com/2020/12/13/a-3d-to-2d-converter-to-make-plots-from-stls/ So you can upload an STL, choose the view you want, and download the SVG to plot or cut. It even has a red/blue slider for making a 3d image. I’m sure there’s a technical name for that. https://plotter.vision/ I think this is my next job for the primo plotter.
It seems the past week HaD has had a bunch of CNC related stuff.
That is awesome.
OK, back to the laser.
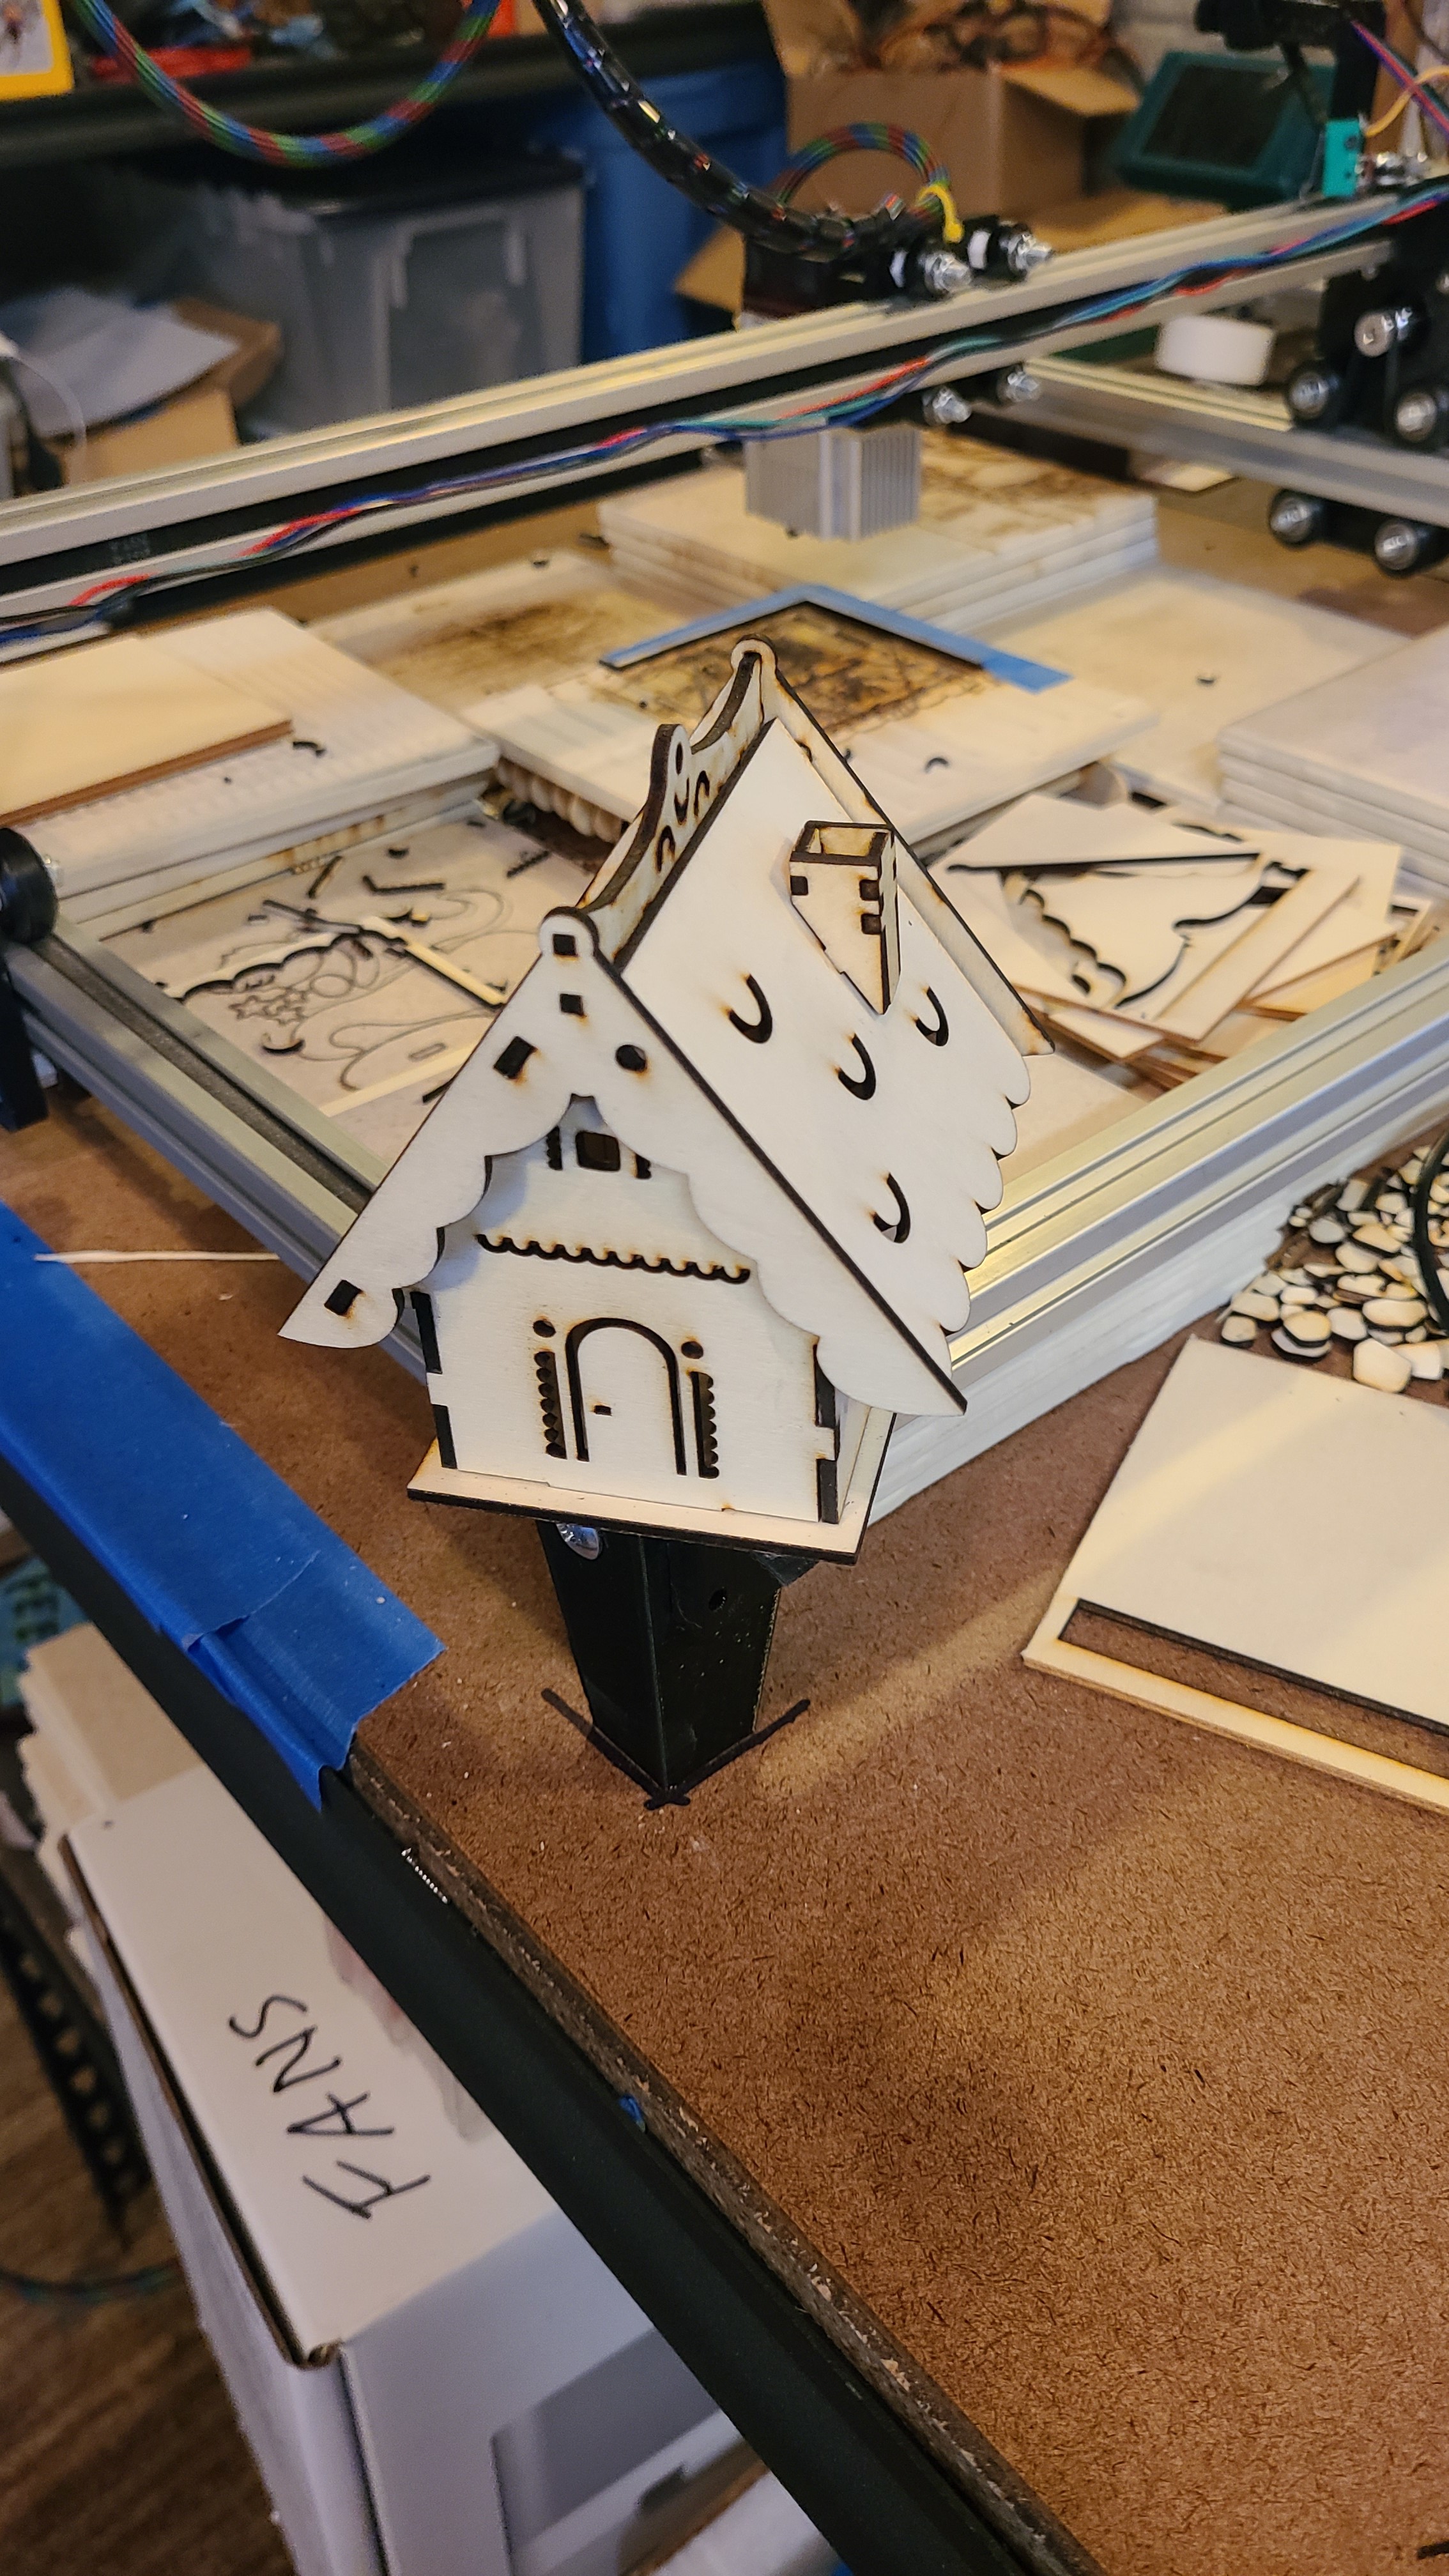
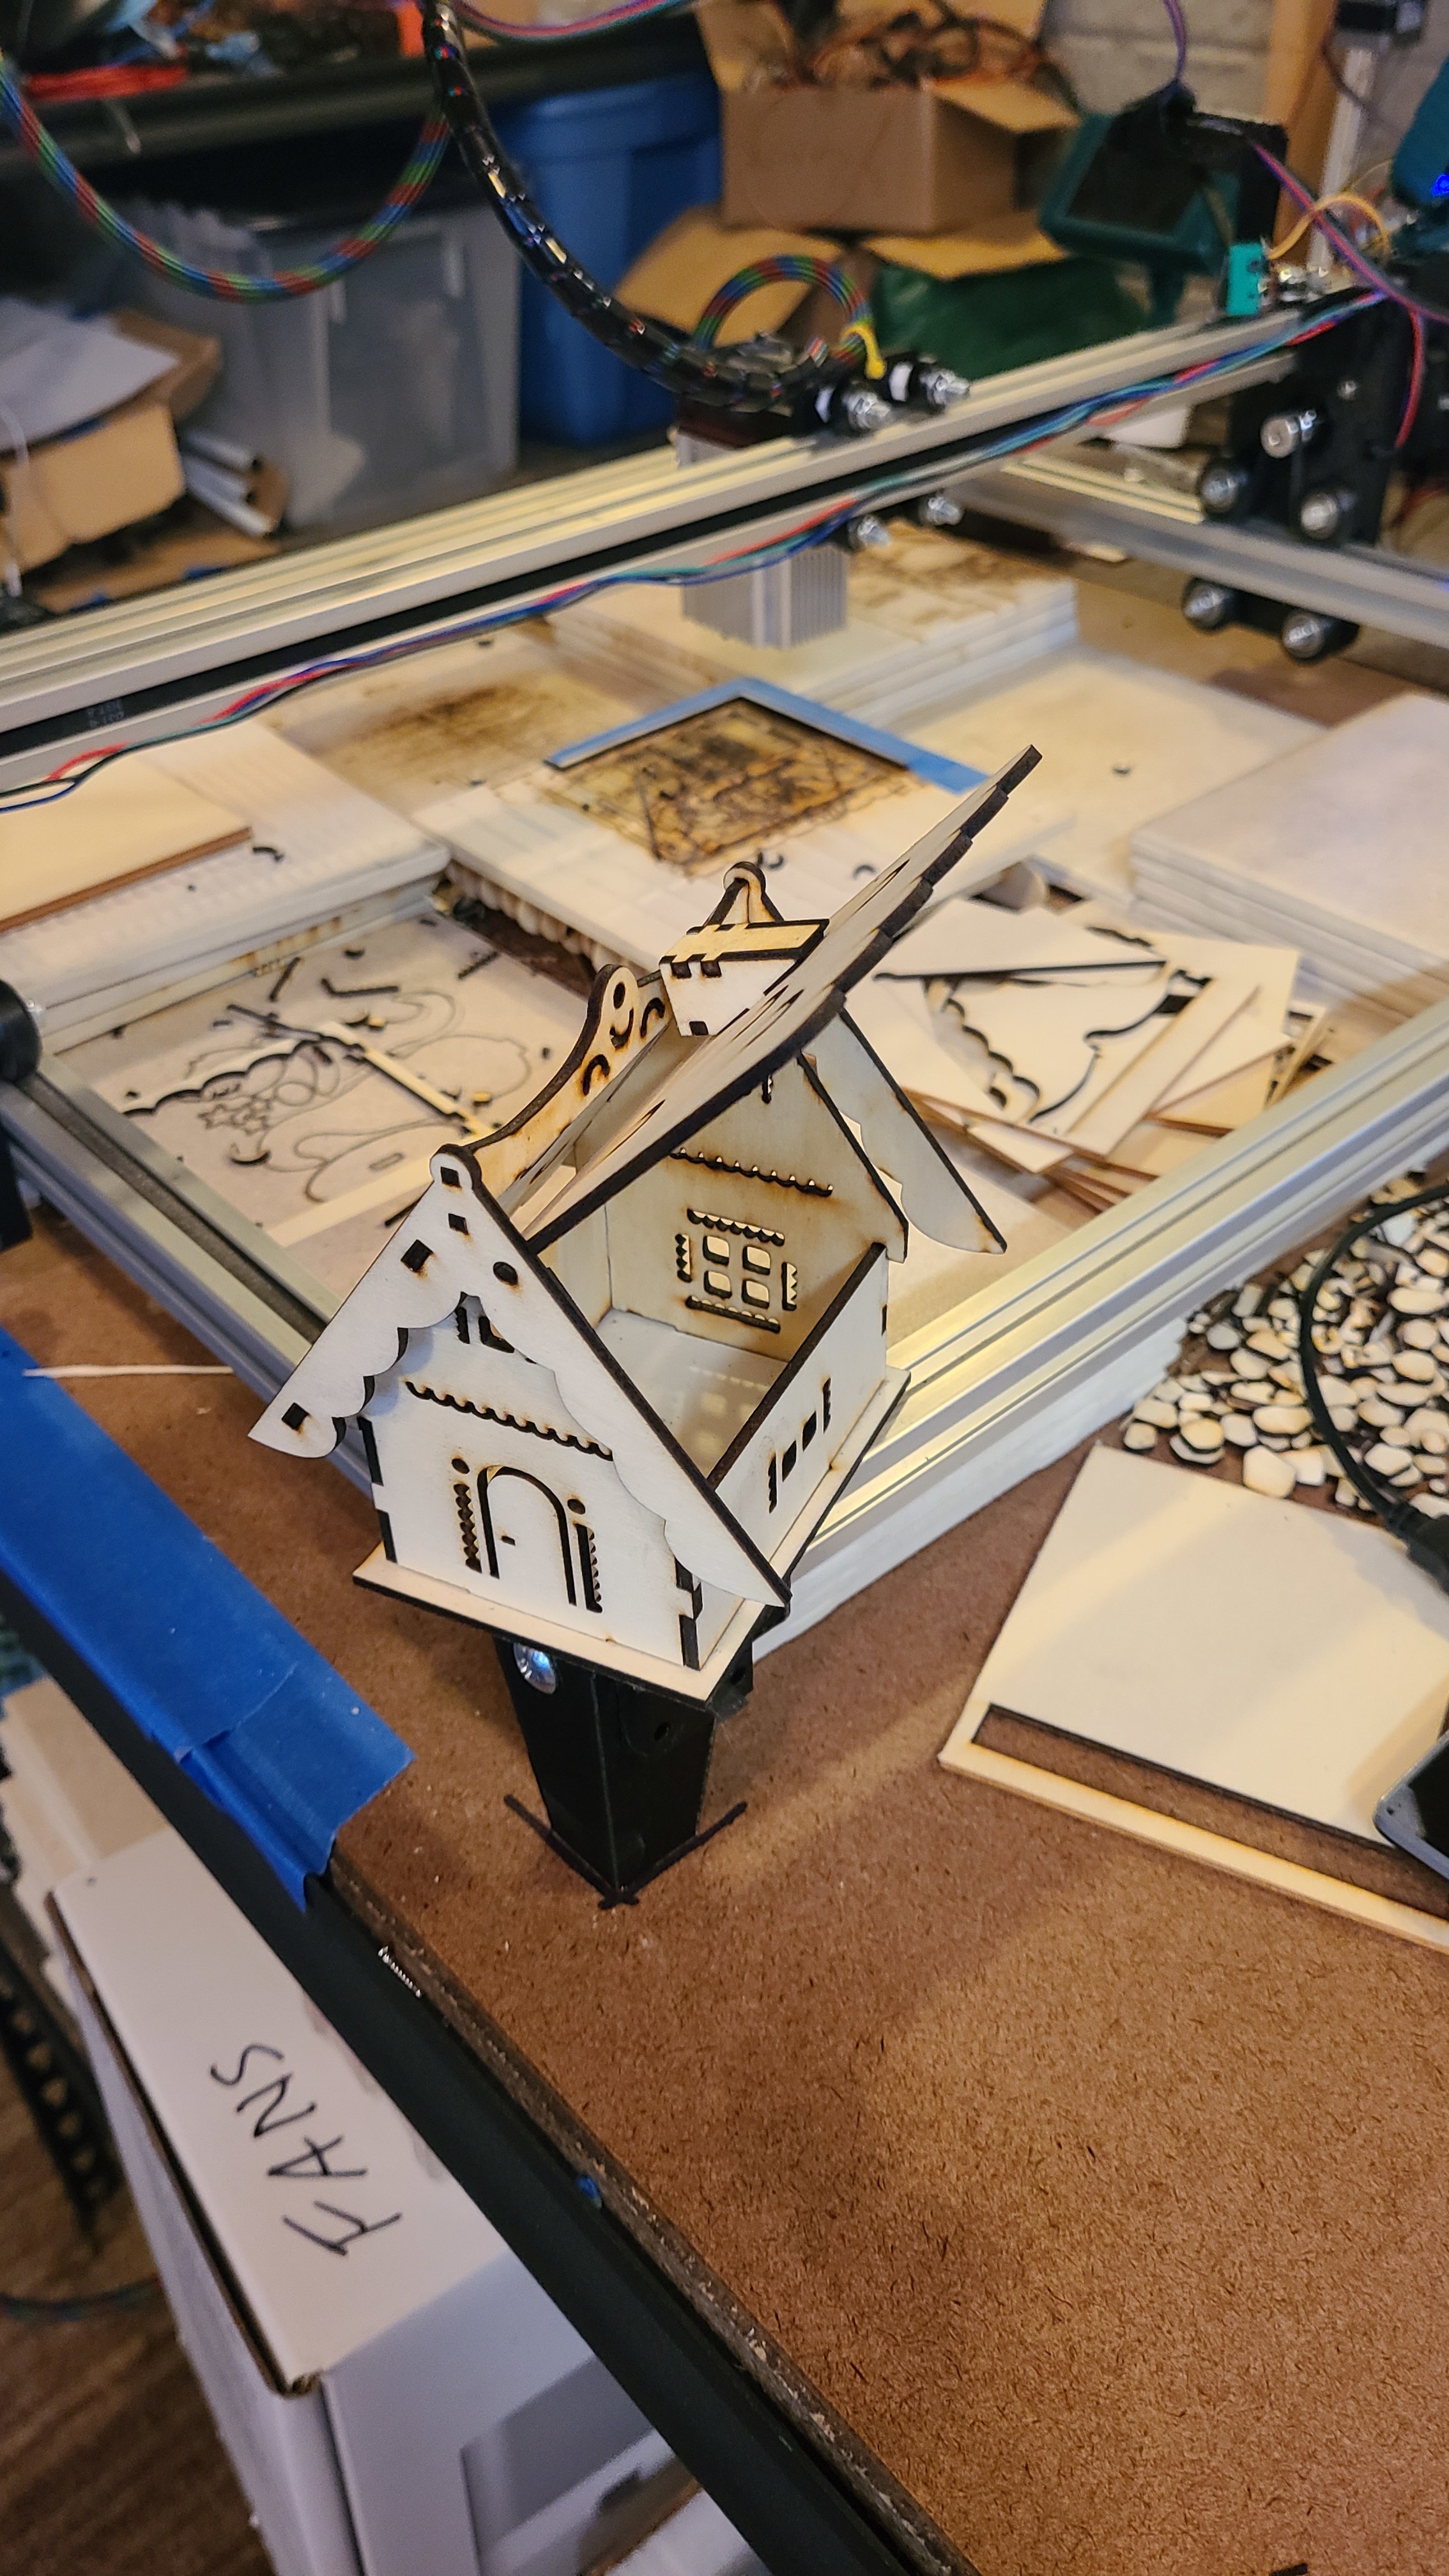
The original file was much larger. Scaled it down so the largest pieces would fit on my 10x10x2.5-ish mm wood tiles, and what do you know, all the tabs fit perfectly! Doesn’t even need glue!
200mm/s, 100% power, 3 pass, .15mm outside offset
Original file https://3axis.co/laser-cut-christmas-village-house-cdr-file/qommy85o/
Just to let you know that 200 mm/s, 100% power, 3 pass seems to work perfectly on my machine too.
You’re post has been a huge help for me and have gotten my machine to work the way I was hoping when I initially bought it. I really didn’t know what I was doing when I bought it, or I would have gotten the higher power laser from the get go.
I’m glad what I’ve been doing can help others. I’m just having fun learning more too! Thanks for the support!