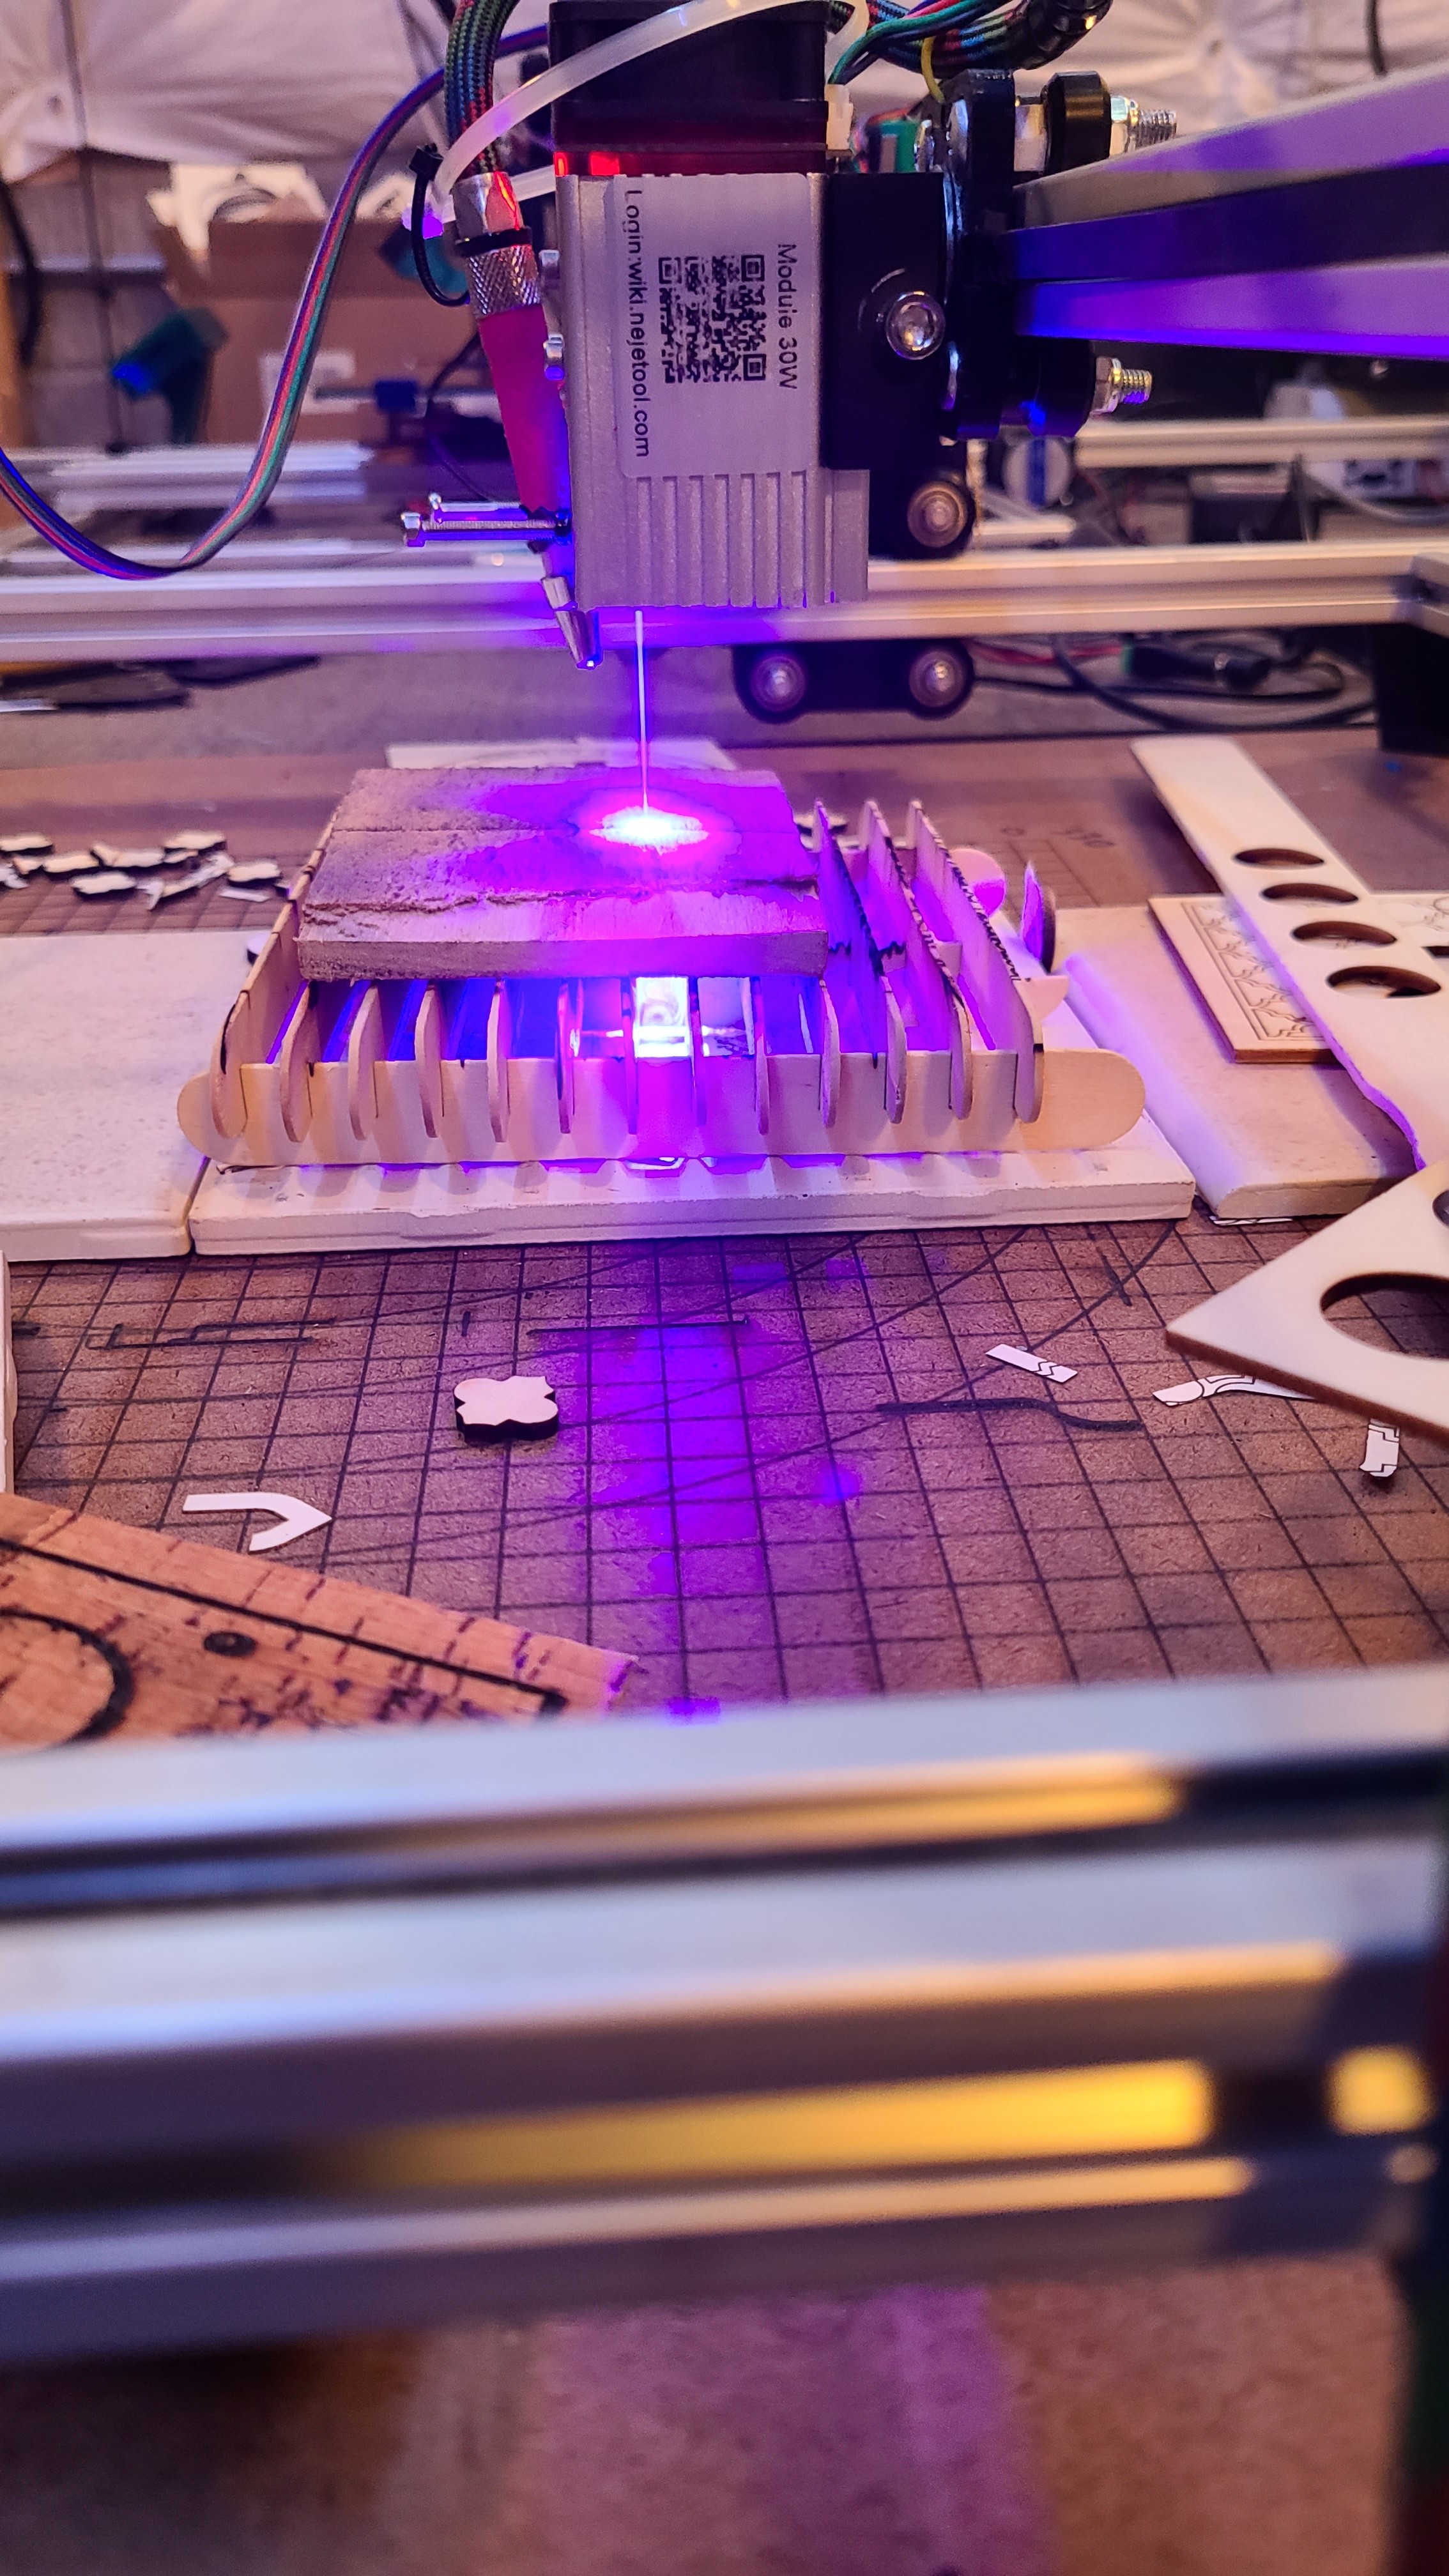
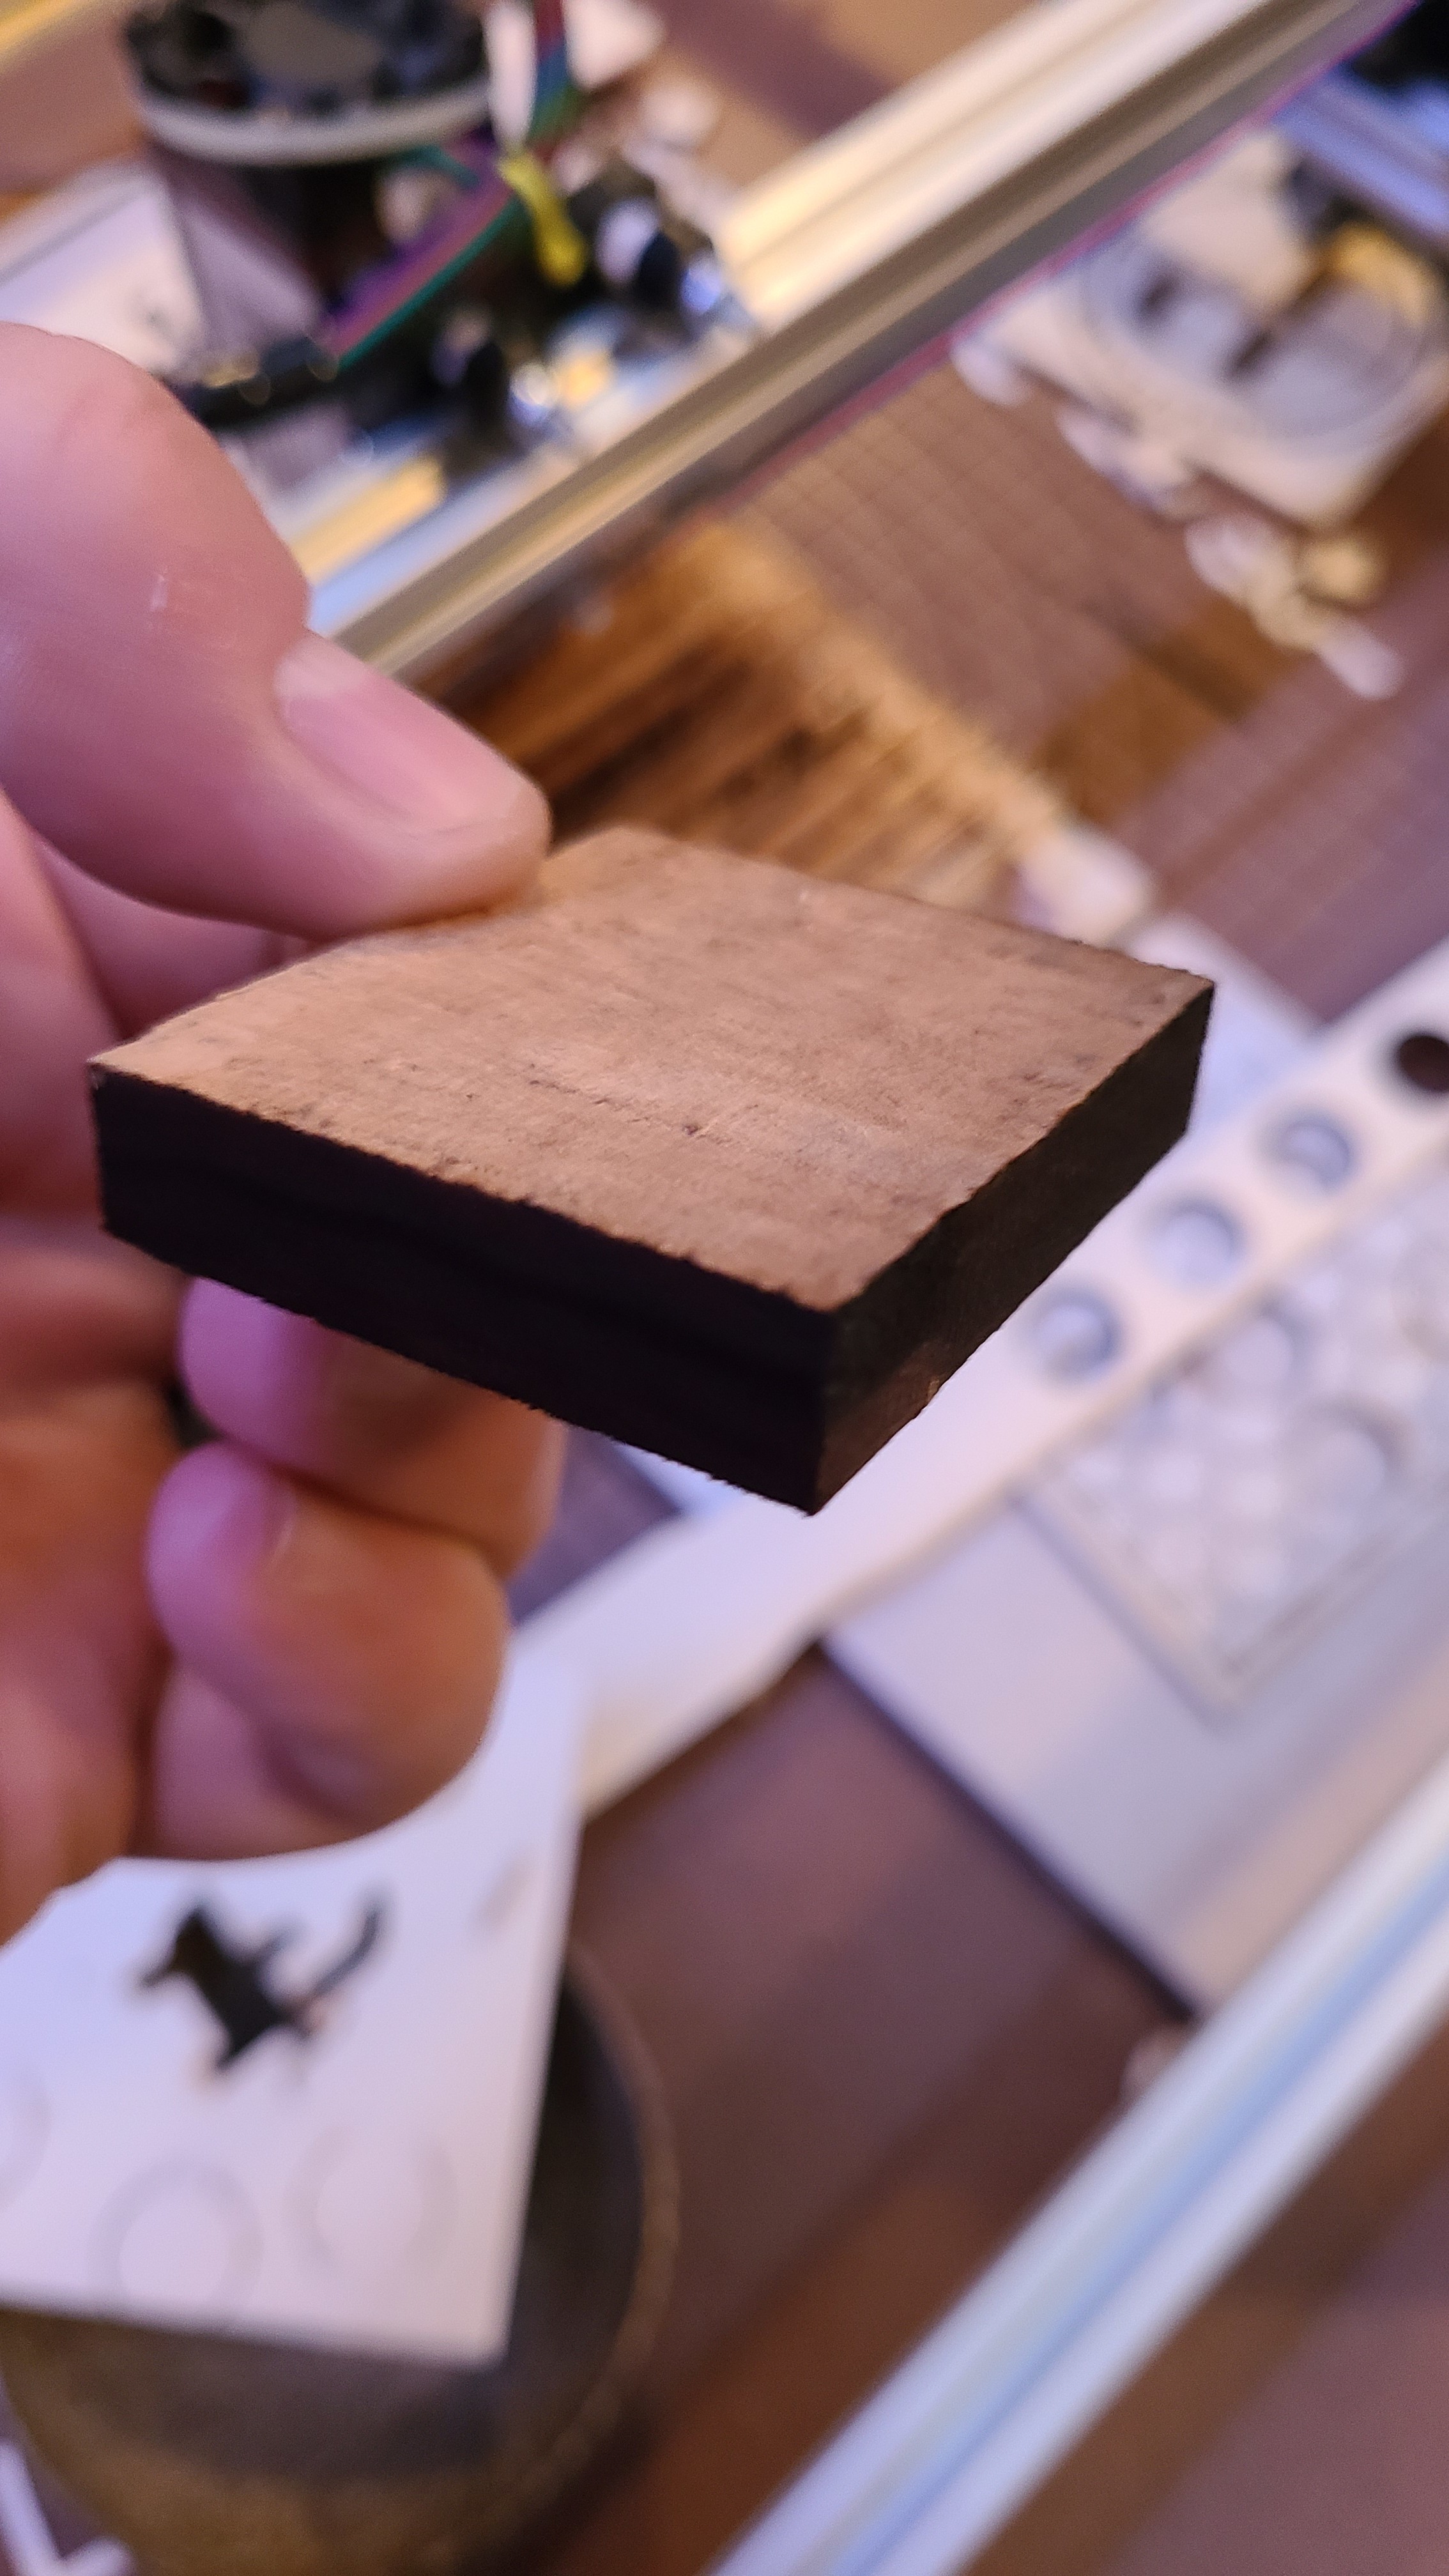
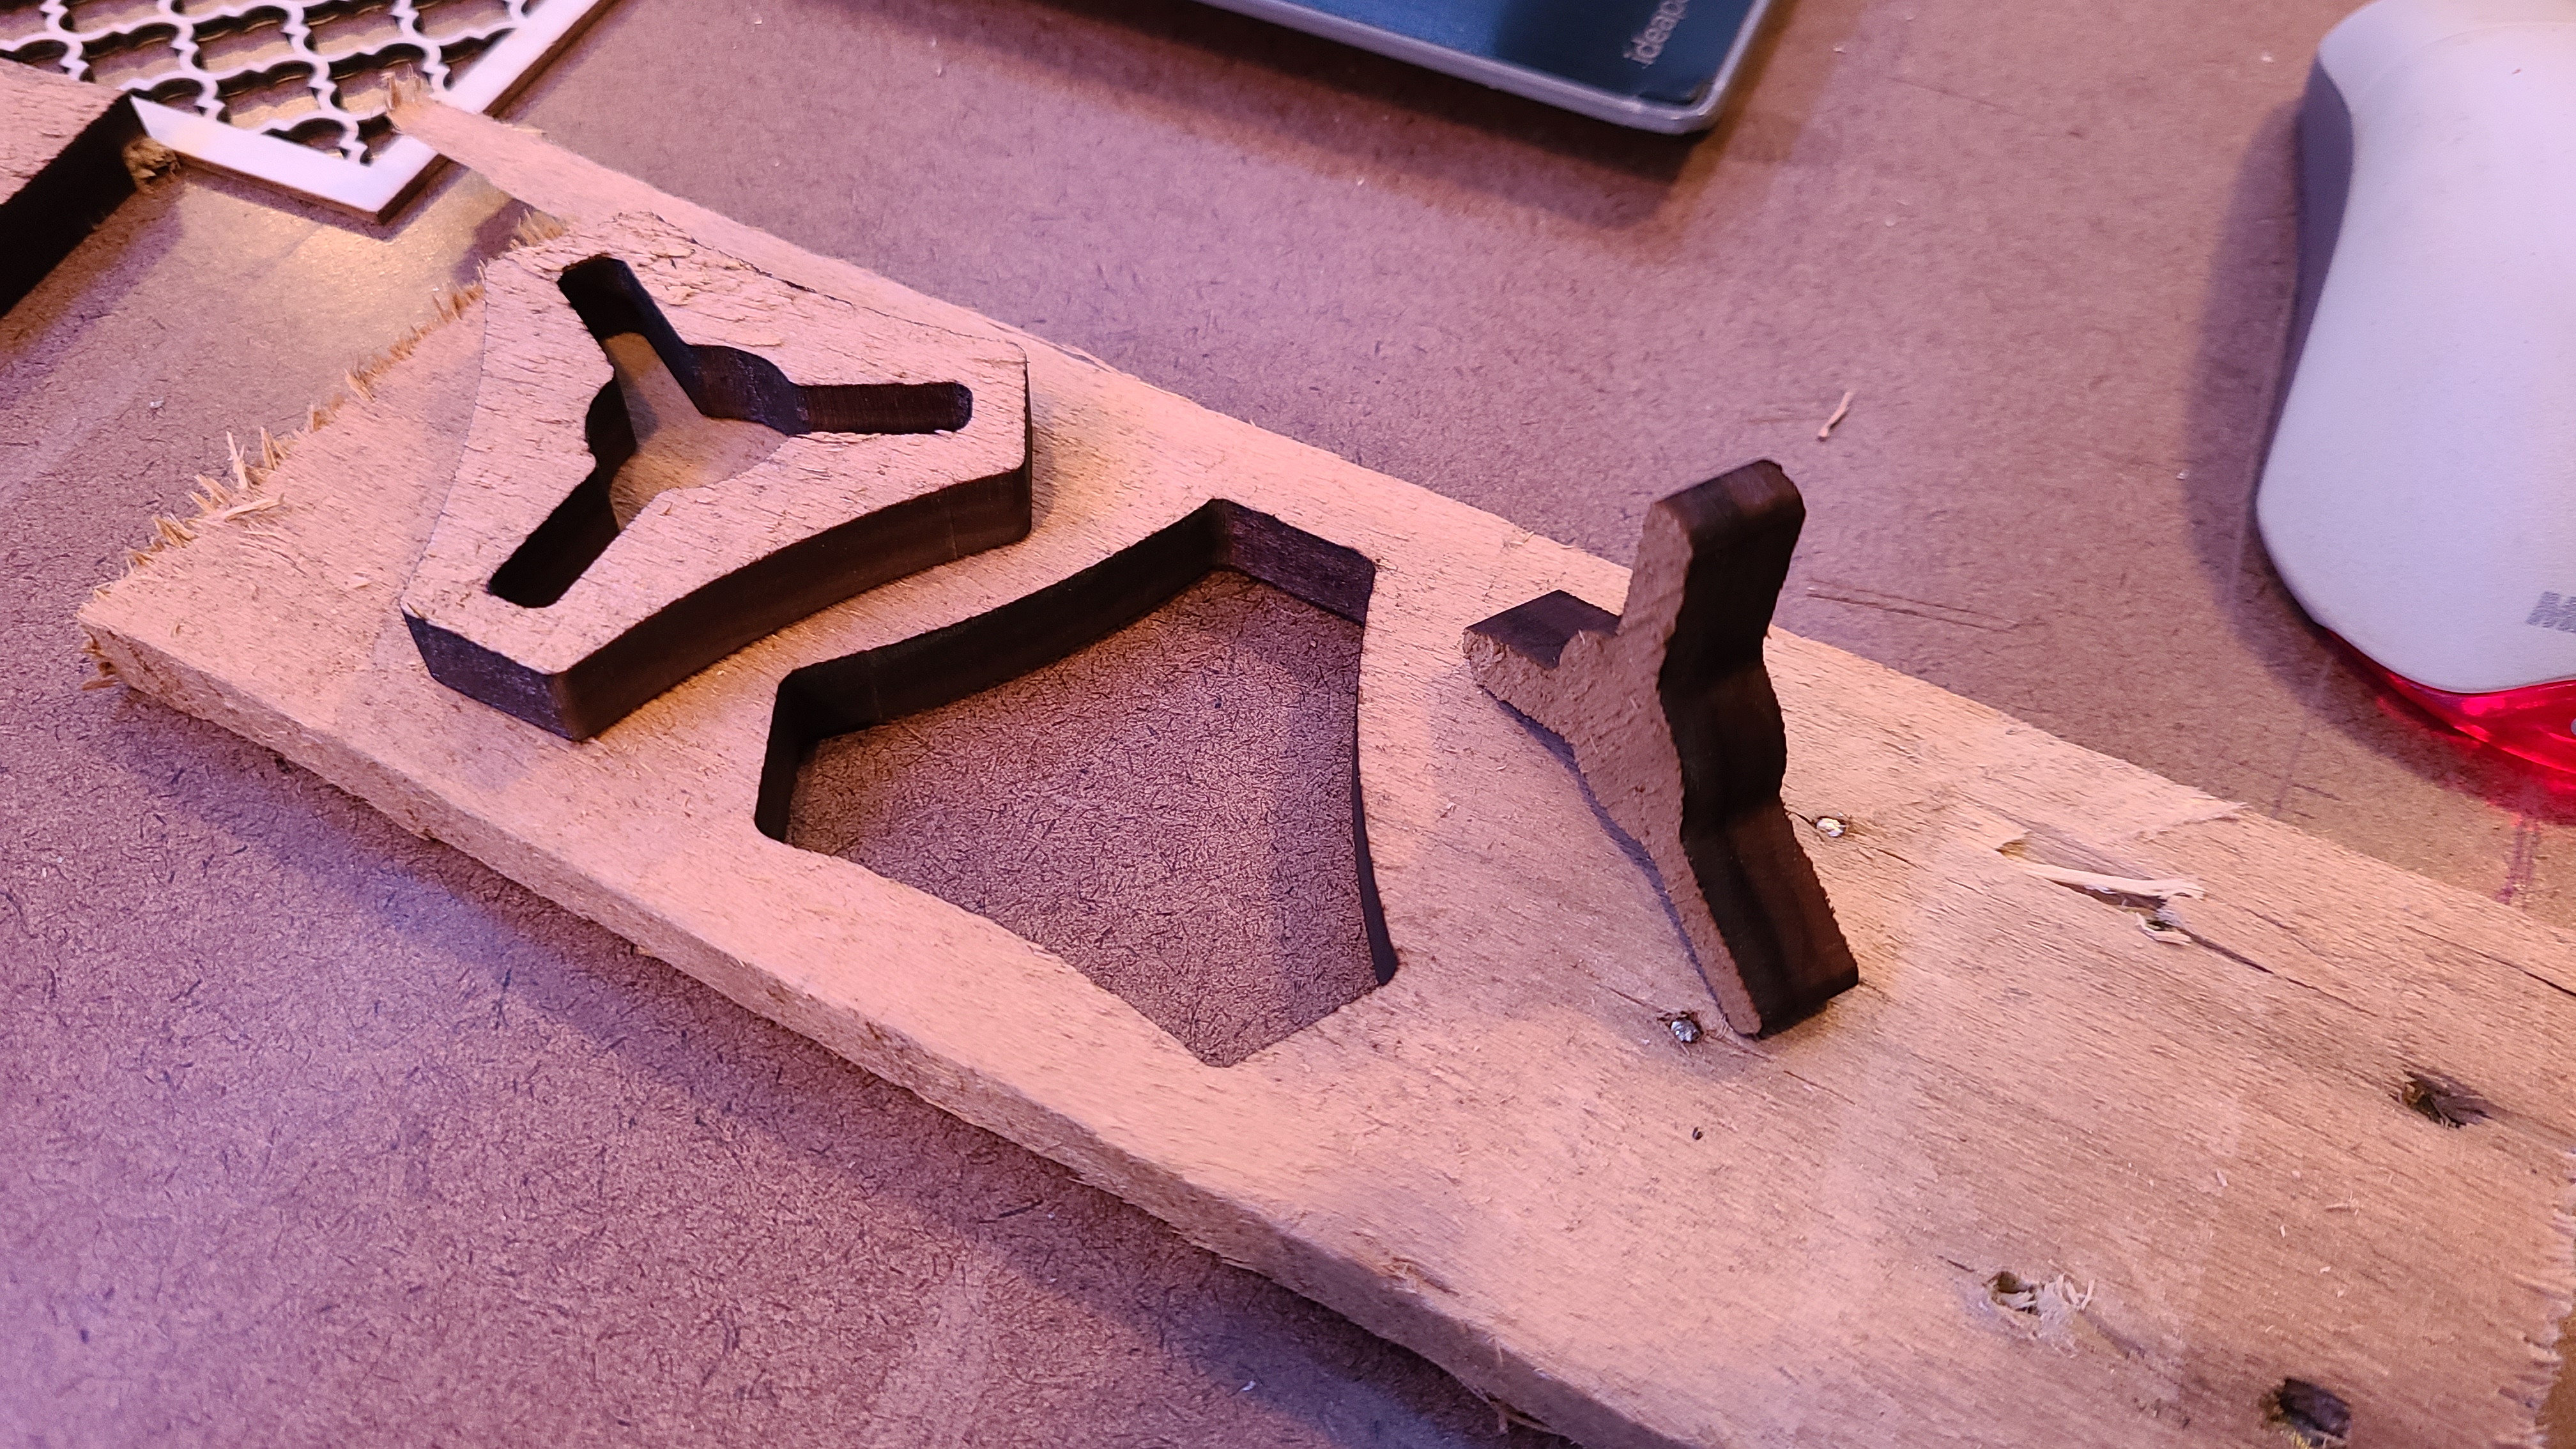
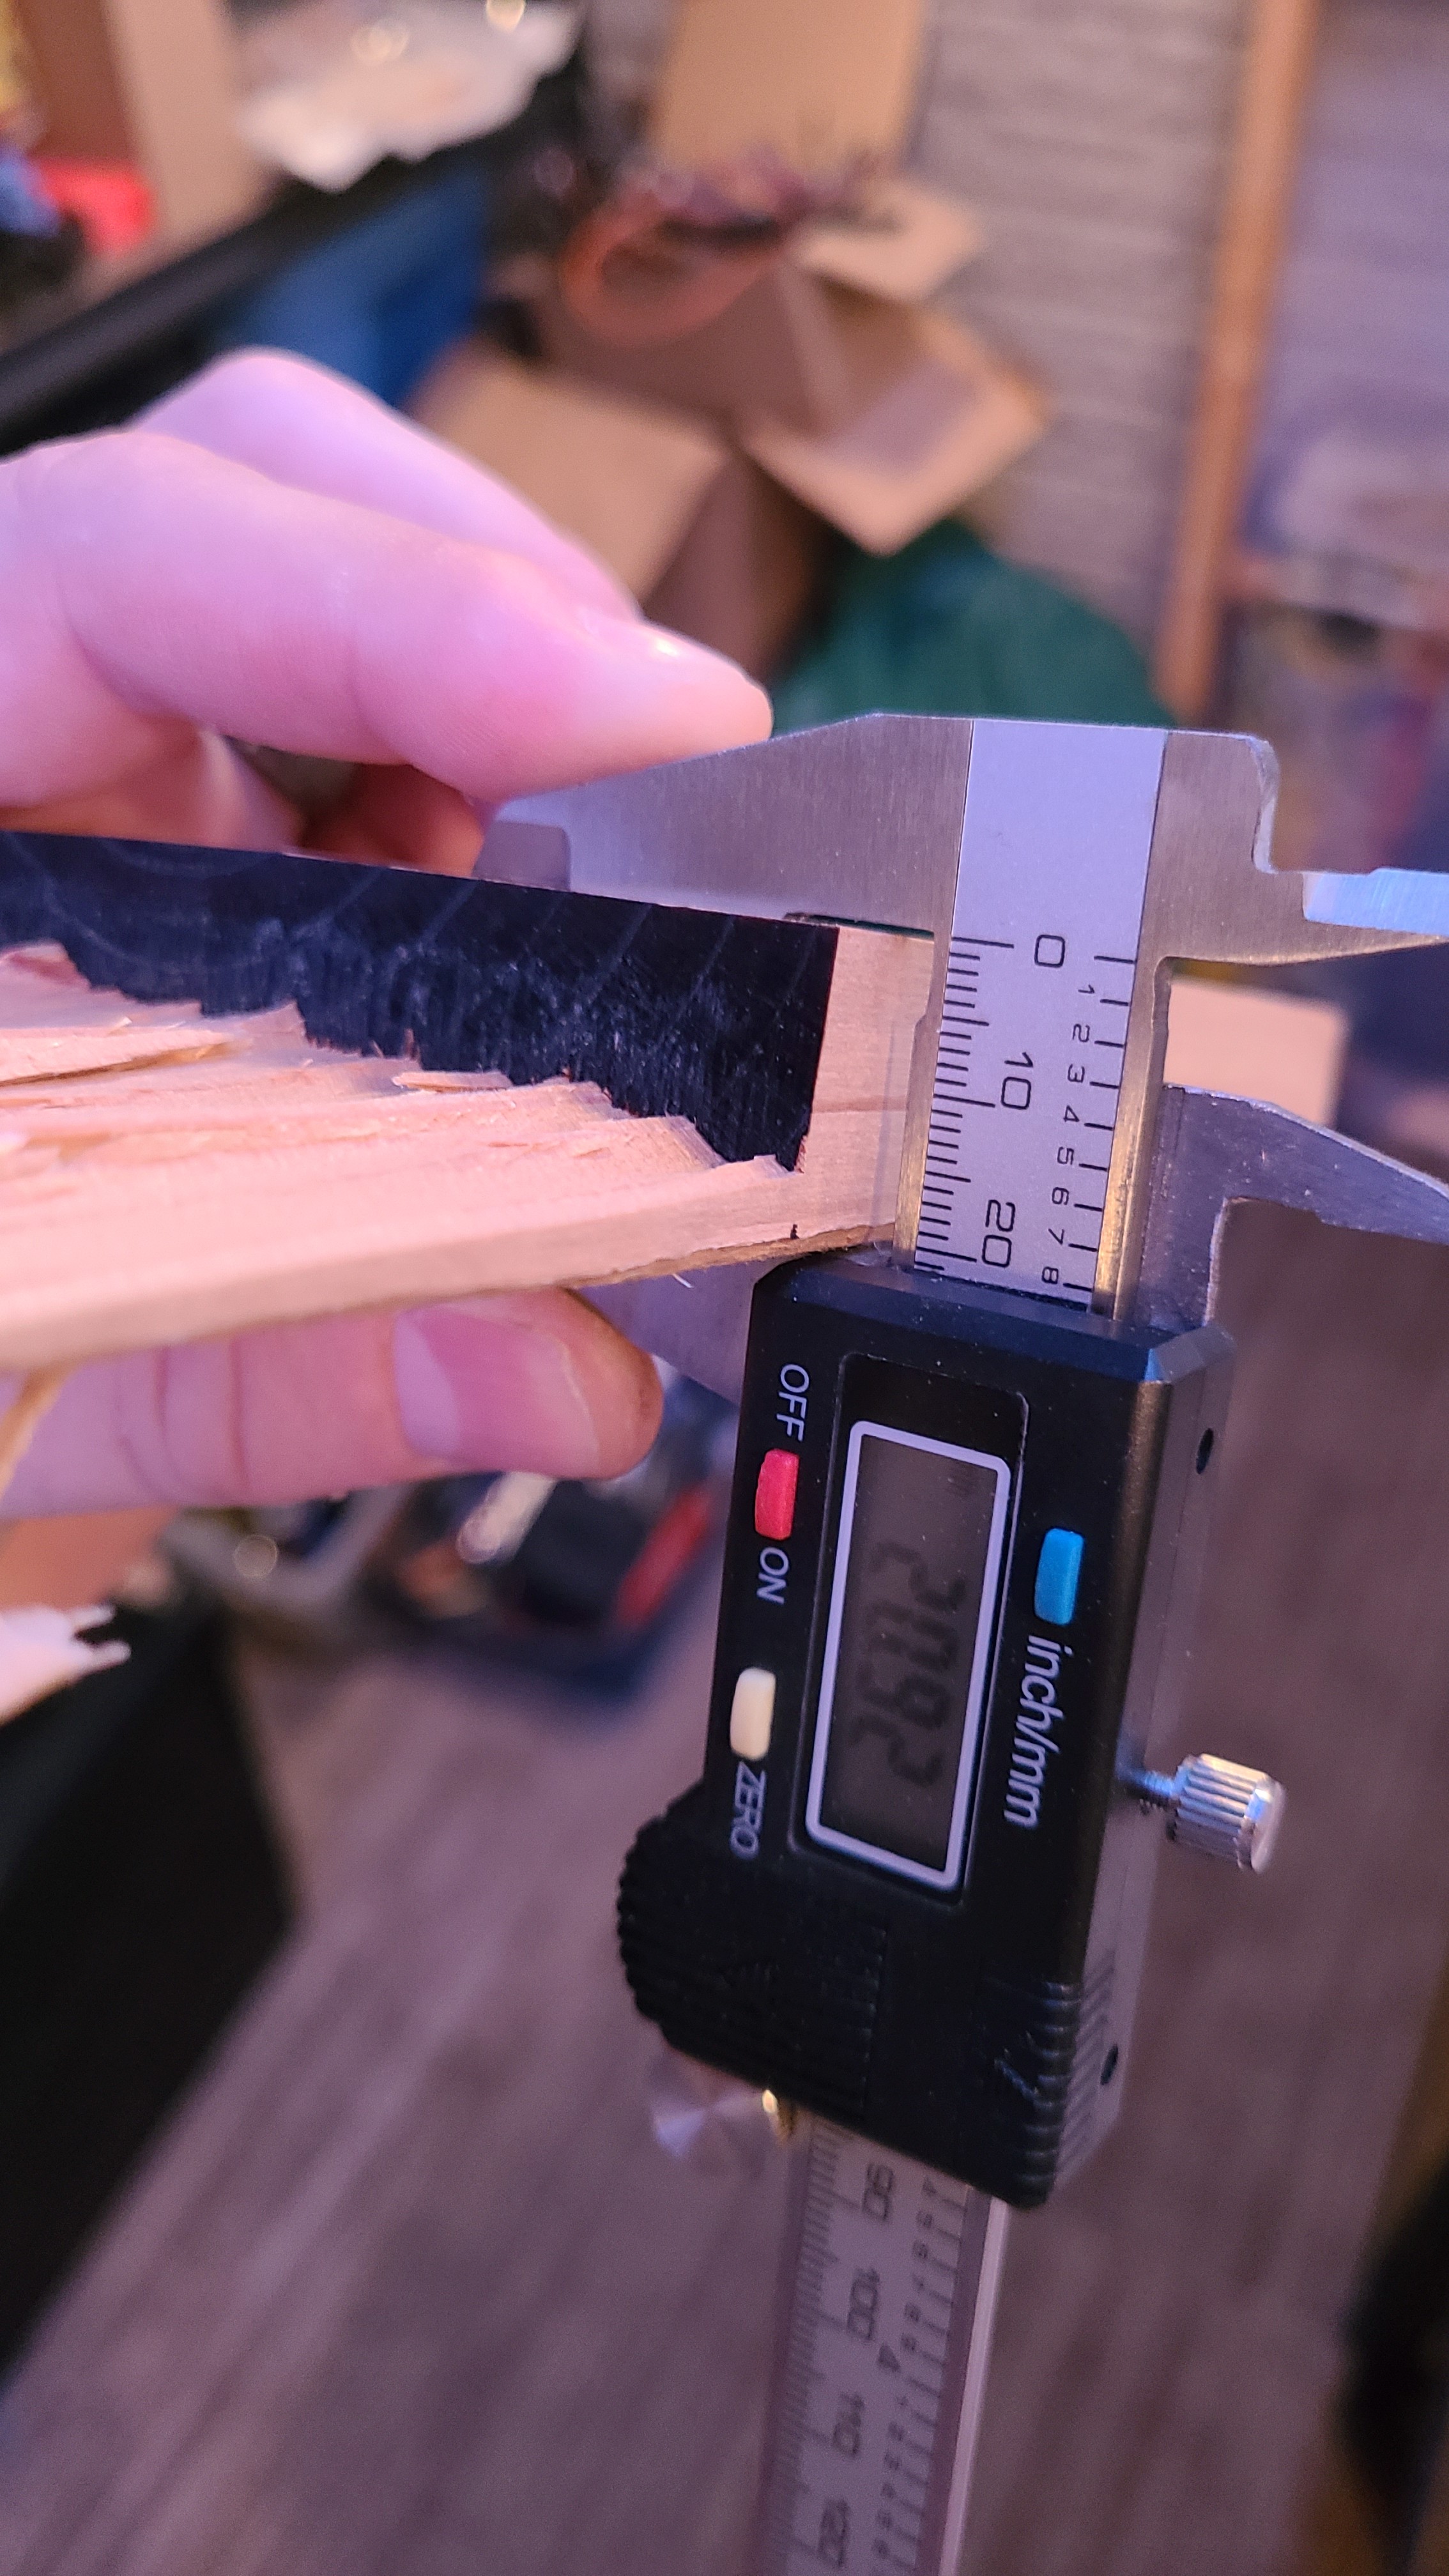
This is pallet wood I was collecting for a feature wall project that ended up being done with Pergo. I figured I’d give it a try to see how deep it would cut. Well, 100mm/min, 100% pew, 3 passes, goes all the way through. Cross-cut and rip.
Now I think I need to talk my wife into letting me buy a planer. Then I think I could make some nicer stuff.
my understanding it the main limitation on plywood is the glue. its a very strong polymer that doesn’t absorb the laser light well and is somewhat heat resistant. so the laser has a hard time cutting through it. diode lasers cut solid wood like butter
I managed to grab the same NEJE laser talked about here. It’s the one I used on my Christmas presents. They’re awesome. I grabbed the 7.5w one off of Amazon and replaced my 3w one that was on my engraver.
Could you clarify this comment? It was my understanding that I would need the focal point to be as small as possible at the top of the work surface. Are you saying the focal point should be somewhere else?
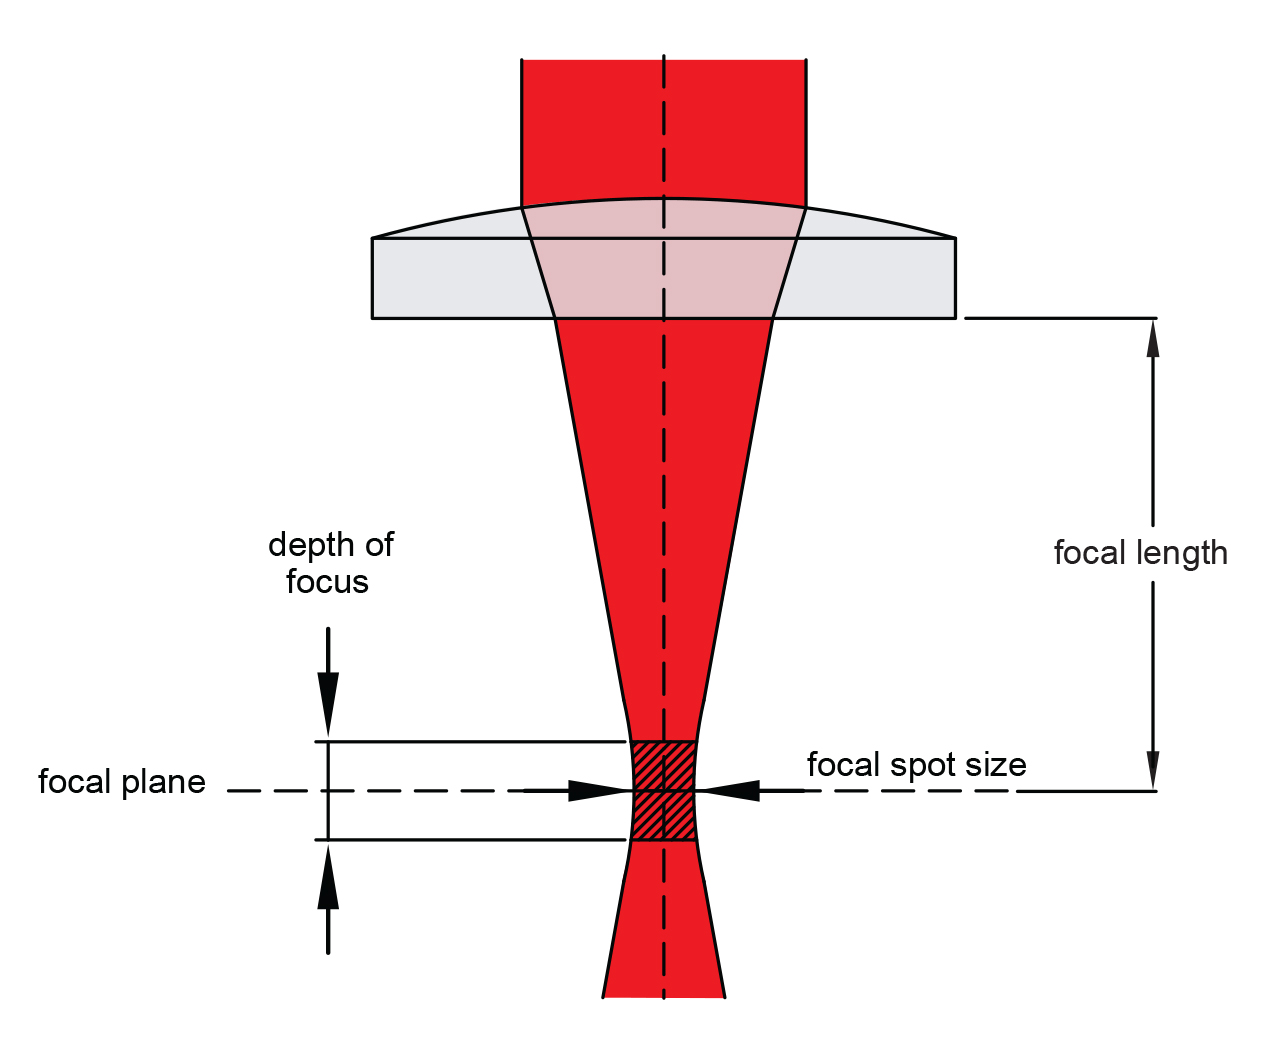
he is talking about the focal length, the distance between the laser aperture and the material being cut. you are correct you want the focal point as small as possible, but when trying to cut thick material you want the focal distance to be long so that you have a narrow consistent cone through the cut.
it is possible with good optics to change the focal length, witch allows you to have a small focal point while having more distance between the laser and the material. (think of it like focusing a camera for 10 foot away then backing up to 10 feet to get a good picture). also if you have a long focal length it is good to have a fan or something set up next to the machine to remove smoke from the work area. otherwise smoke will get in the way of the laser and reduce your effective power.
Thanks for the thorough reply, that makes sense. I had not thought of the cone as a whole being more narrow if I raise the laser up farther from the workpiece. I’m excited to work on some new test cuts now!
Given good fume extraction, should I run my laser as high as I can keep it in focus?
i would say that depends largely on what you plan on doing with it most of the time. if your going to cut thick pieces of wood most of the time, then probably. if your going to be cutting thinner (1/4" or less) wood most of the time and doing engravings, then i would keep it short. less to worry about and a bit safer.
also keep in mind that if your doing engravings you need enough Z axis movement to account for the thickness of the material… meaning if you set your focal length for your max Z then you cant engrave anything because you cant move the laser up to focus on the top of the material.
Also be aware that your lens is going to drive a lot of the metrics behind what you can accomplish.
With a moveable Z axis, as you take multiple passes you can lower the focal plane into the already completed kerf, but the angle of the cone limits the total depth of cut you can achieve, thereby limiting the thickness of material you can get through.
I would focus on the top surface of the material to get the finest engraving possible, and focus “into” the material when doing a through-cut. Without a moveable Z stage, this usually means lifting the work a bit closer to the lens by placing shim/support material underneath, but with the MPCNC you can simply set a desired depth-per-pass value.
(edited for clarity, initial version was me thinking of a K40 with fixed laser height and a static or moving Z stage whereas MPCNC has adjustable Z height)