Open and Update each of the rail file, save each file.
Open core XY file, update, save file.
Open main MP3DP file, update, save.
Fwiw Ryan recently shared link to linear rails sold in 50mm increments ( chuangneng )
Am also disappointed with the yuge drive space seemingly wasted by windows updates residue. I don’t envy the critical thankless task that the windows updates team manage to do, at the scale they do. But, it feels disrespectful to waste Customers time and disk space the way things are currently implemented.
Appreciated the linear rails 25mm spaced holes being modeled accurately, used those to drill holes in polycarbonate panels to attach the rails.
(I always think your picture is of a one-eyed monster (the snout with the black dot being the eye) with a huge mouth. Took me two months to realize it’s a dog…)
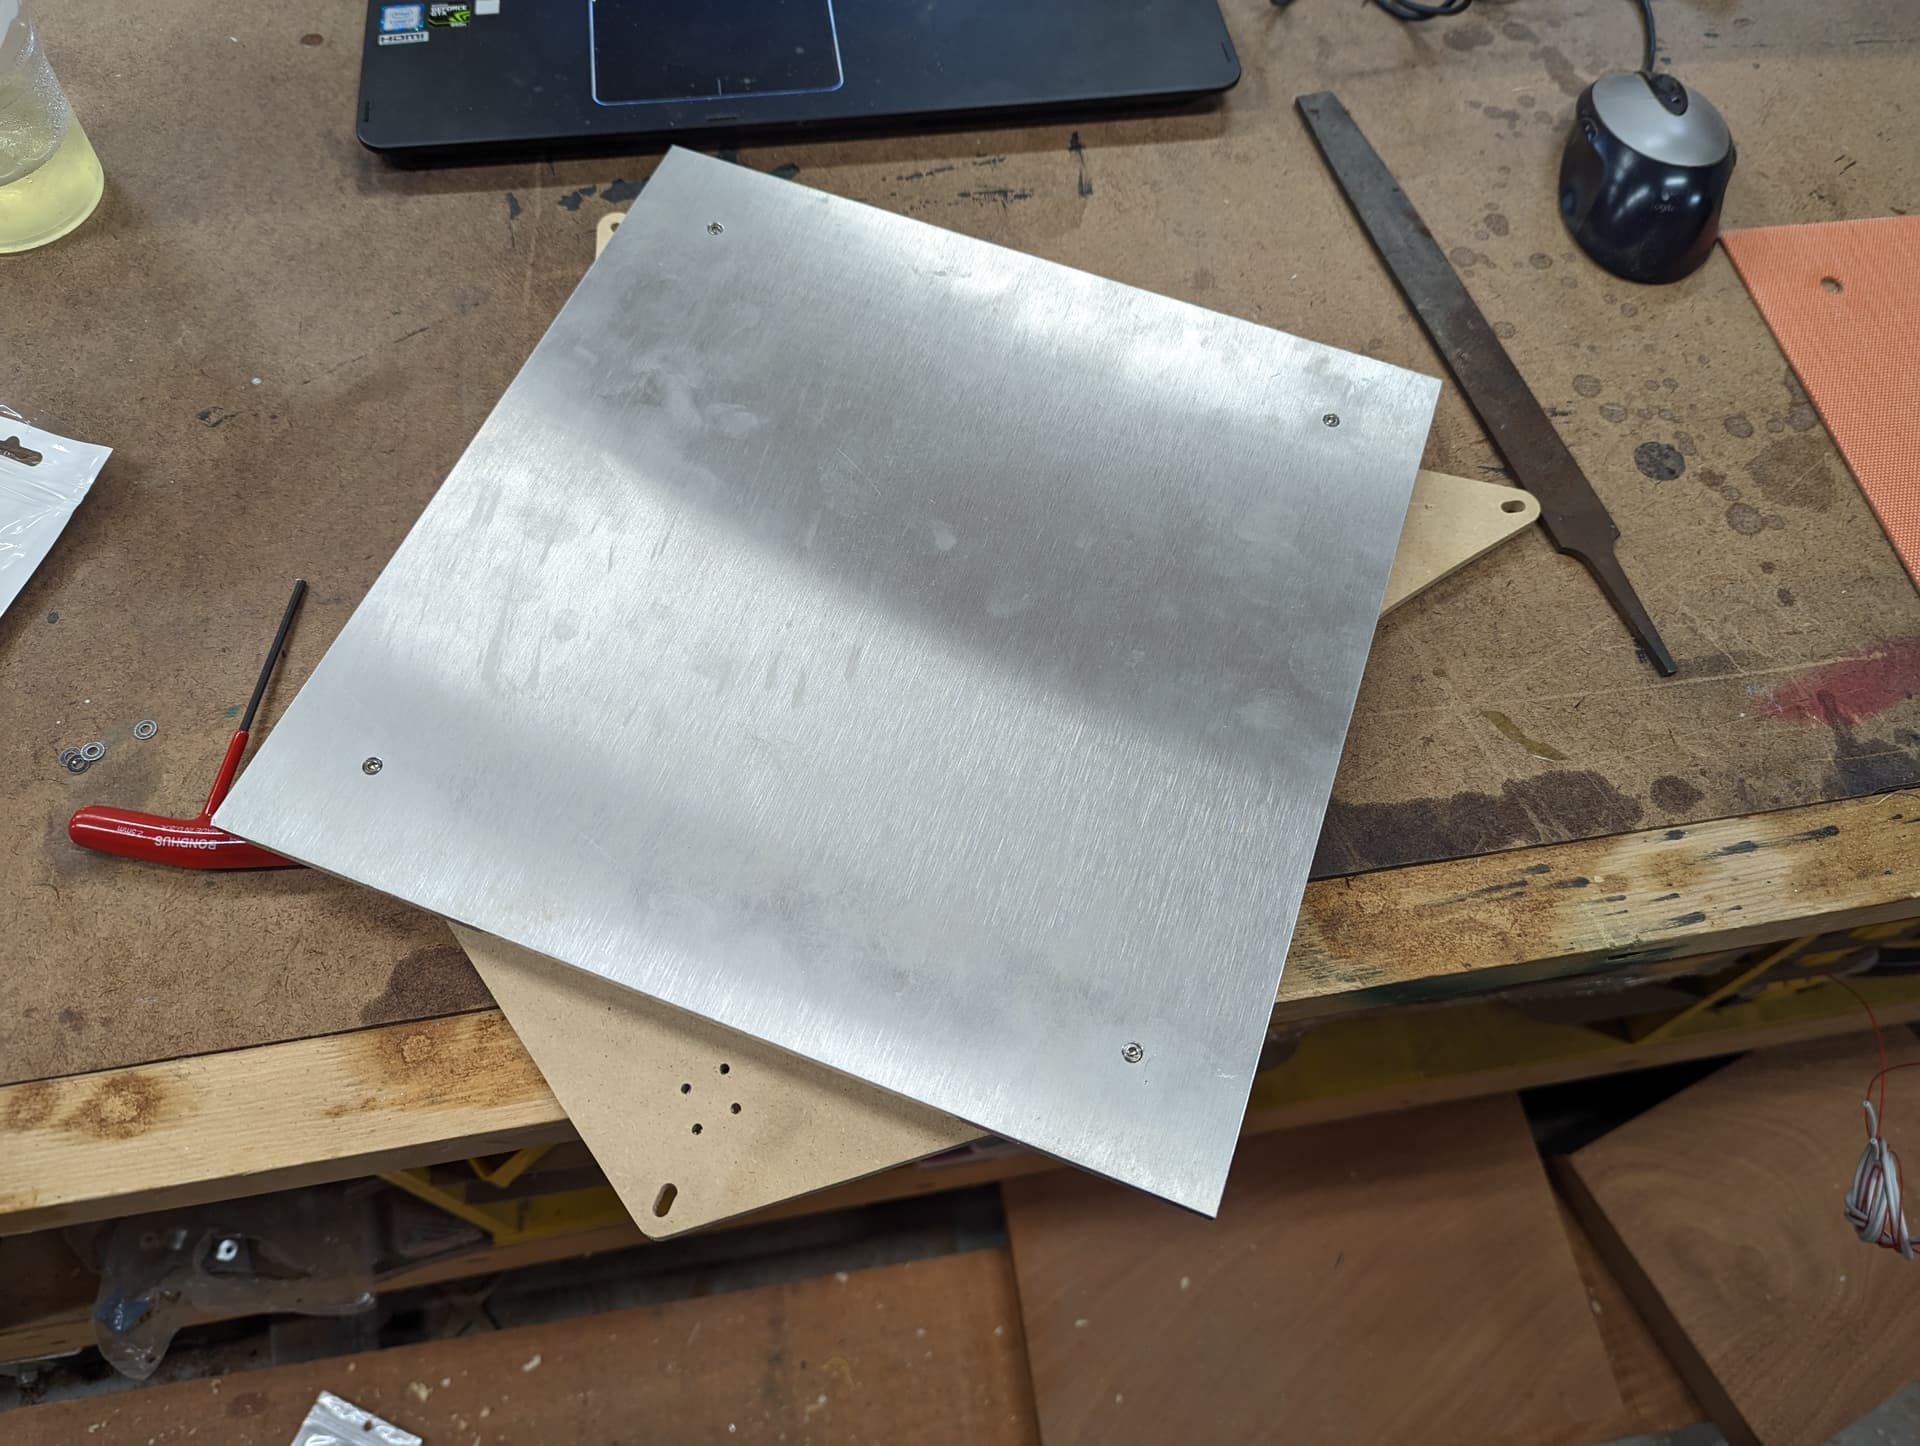
Progress! Come to find out, the blanks I cut were big enough. I got f360 updated on the shop laptop and took a second look. The blanks I cut were the bare minimum size in order to work. It just meant that I had to mount it perfectly square on the spoil board.
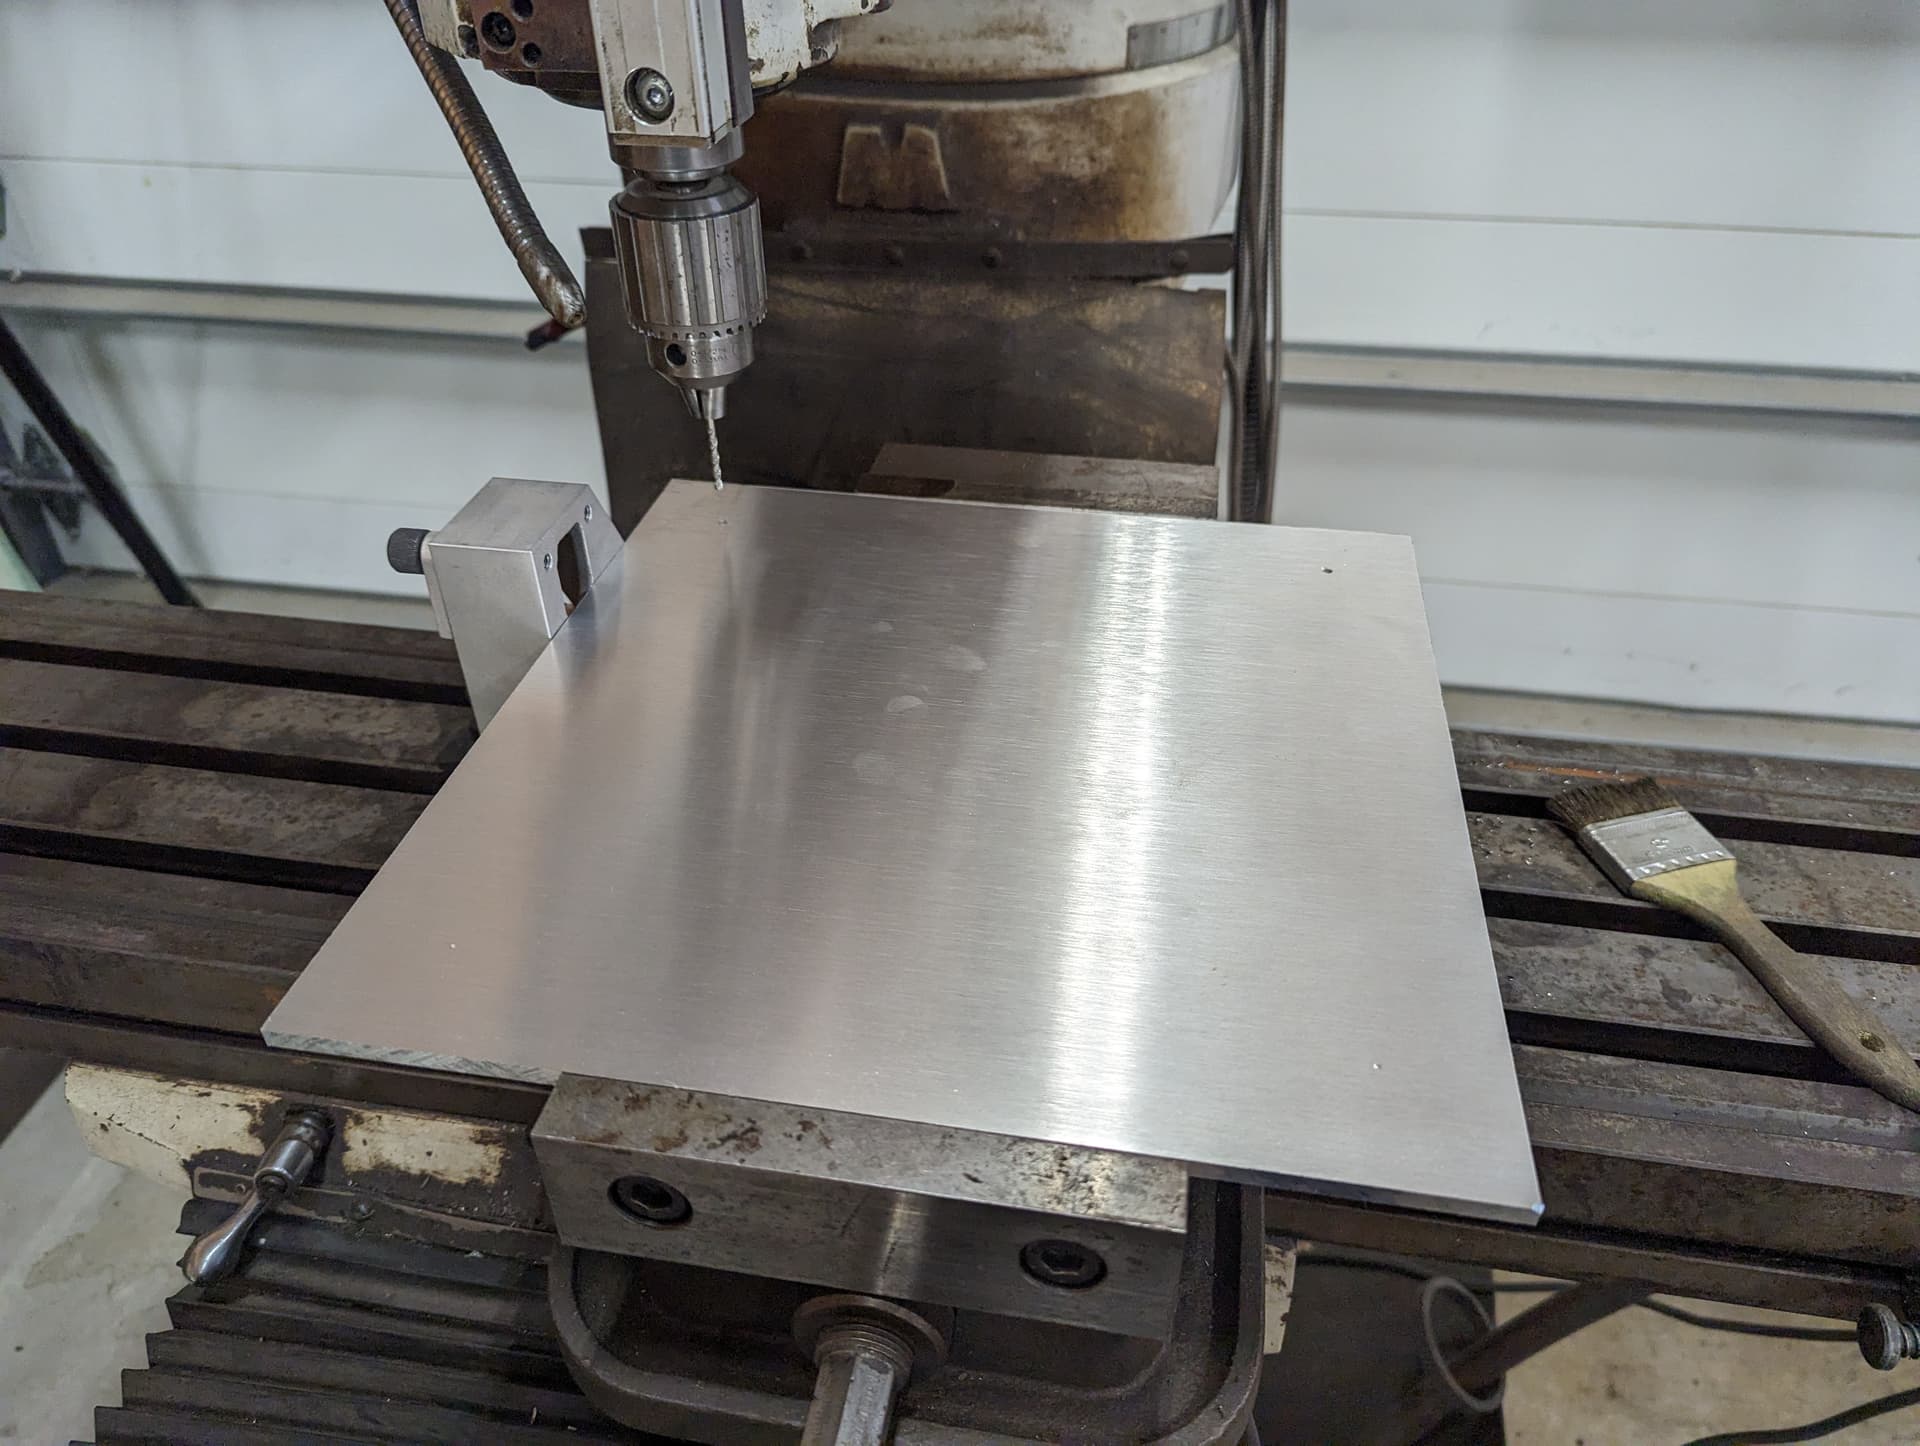
After a little work, I was able to get the MPCNC to cut the plate.
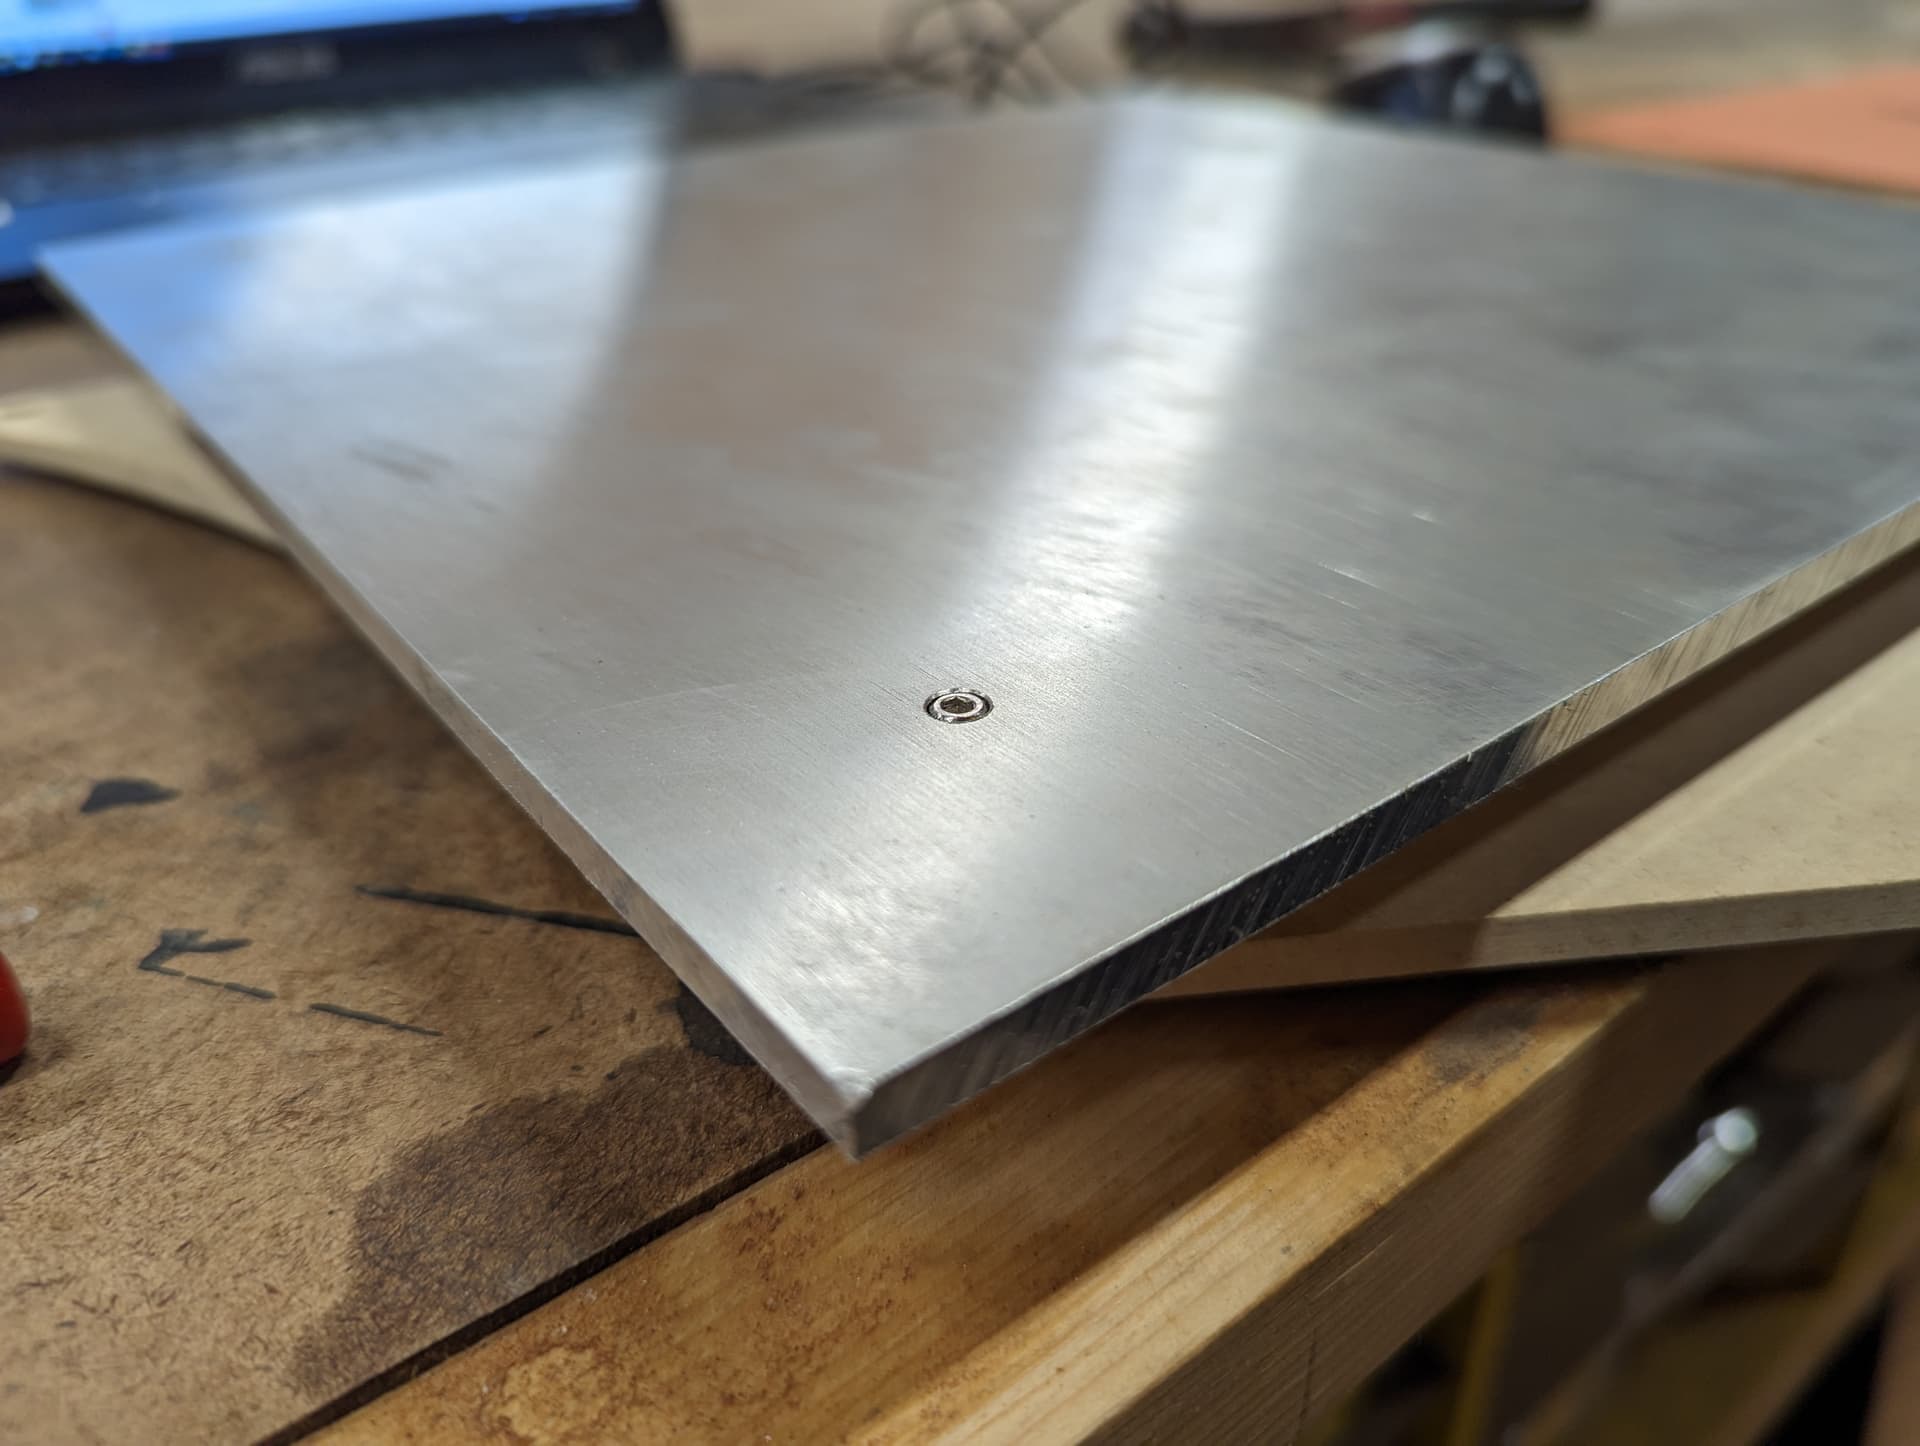
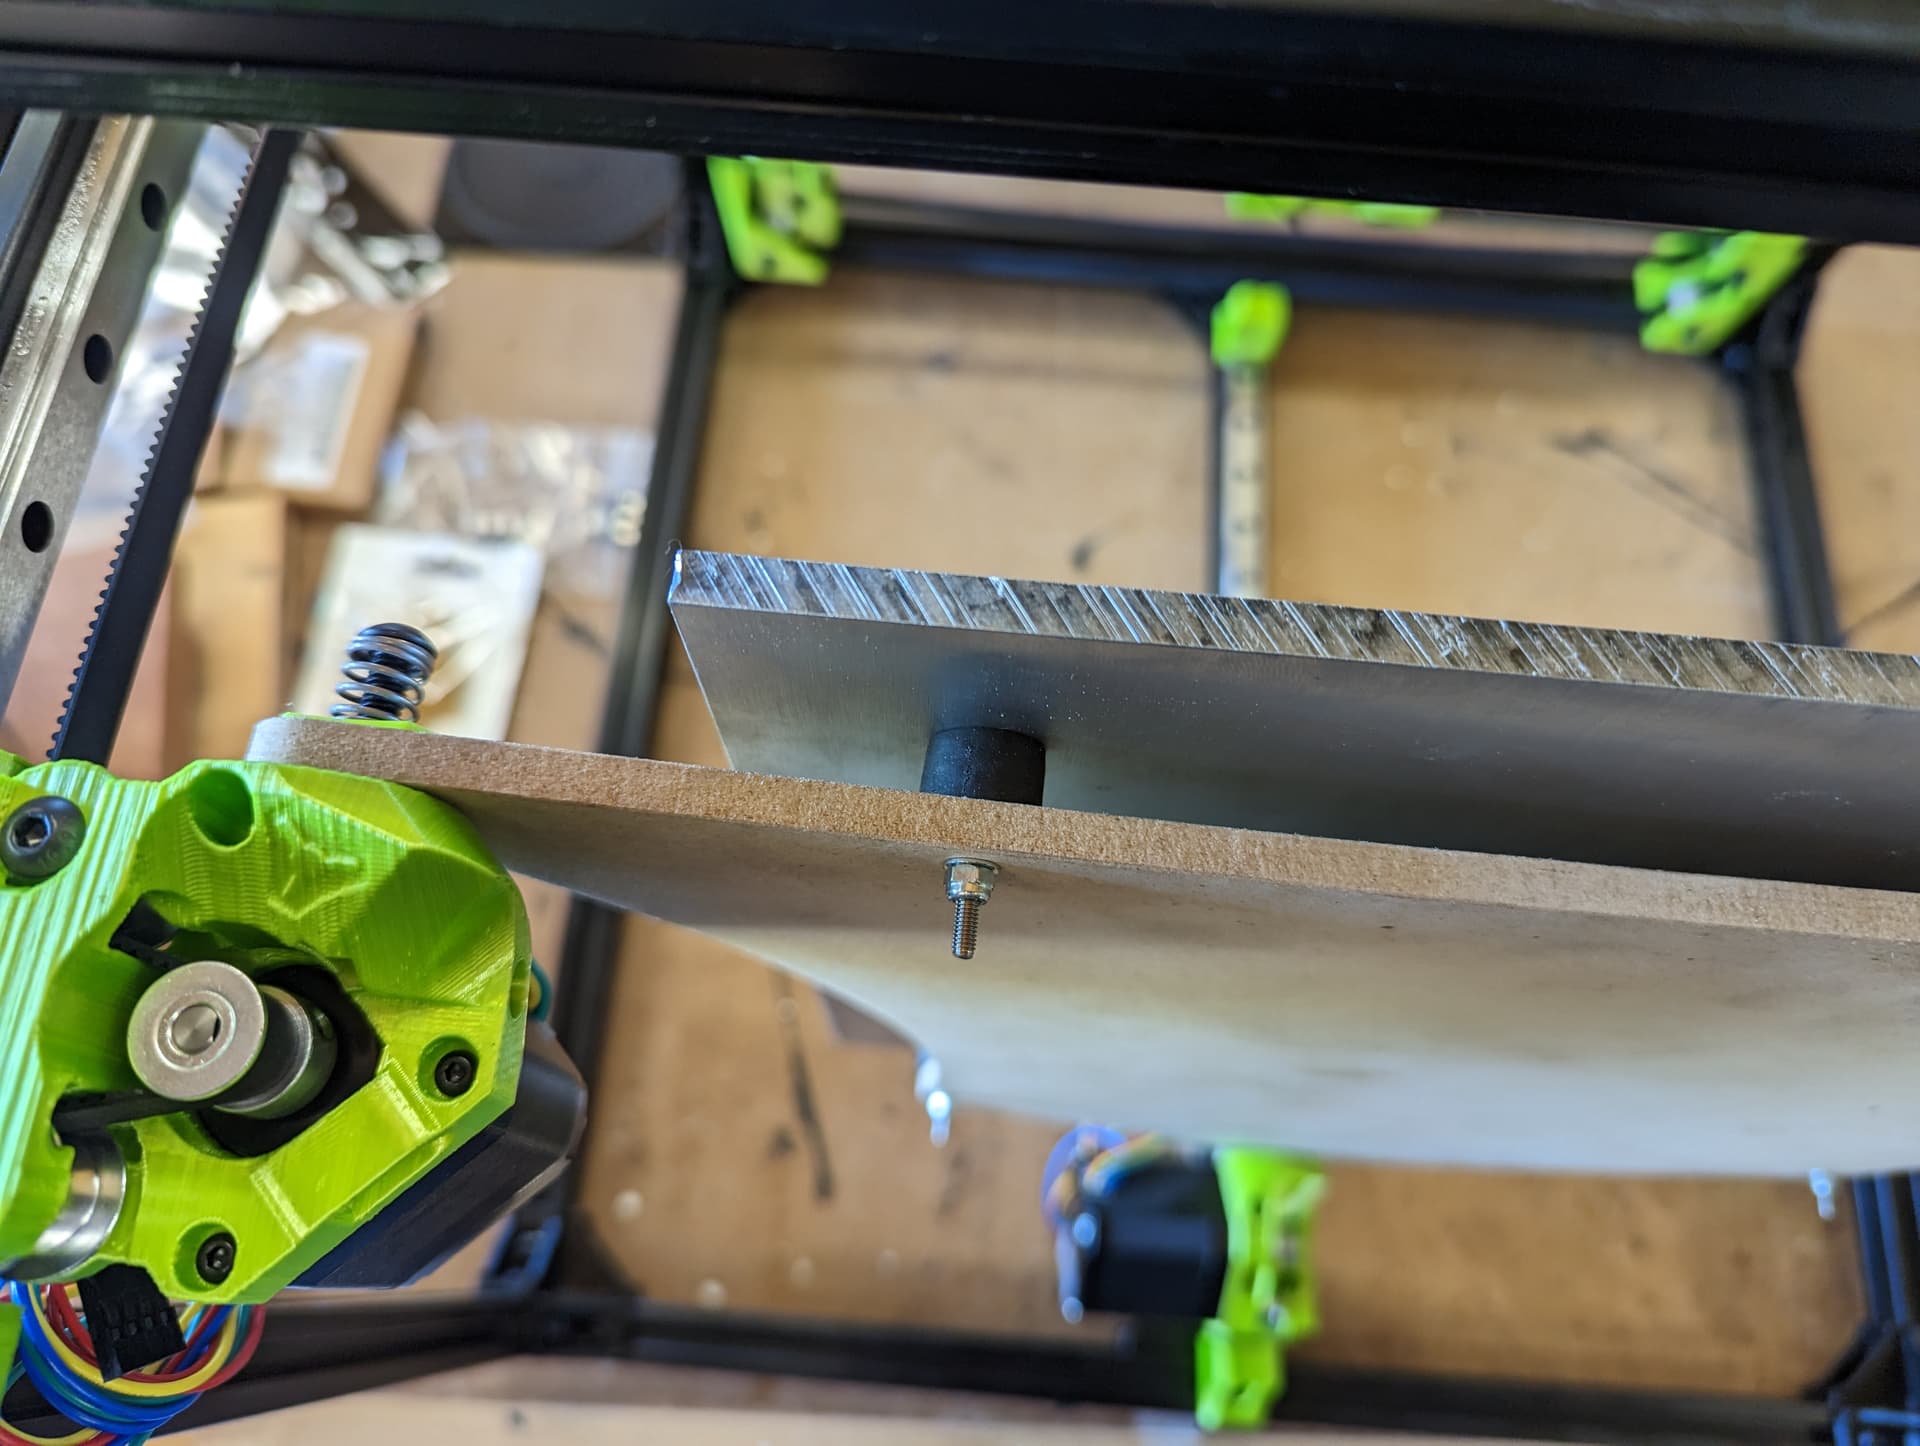
I then took the aluminum build plate over to the mill and cut some holes and recesses for 3m mounting bolts.
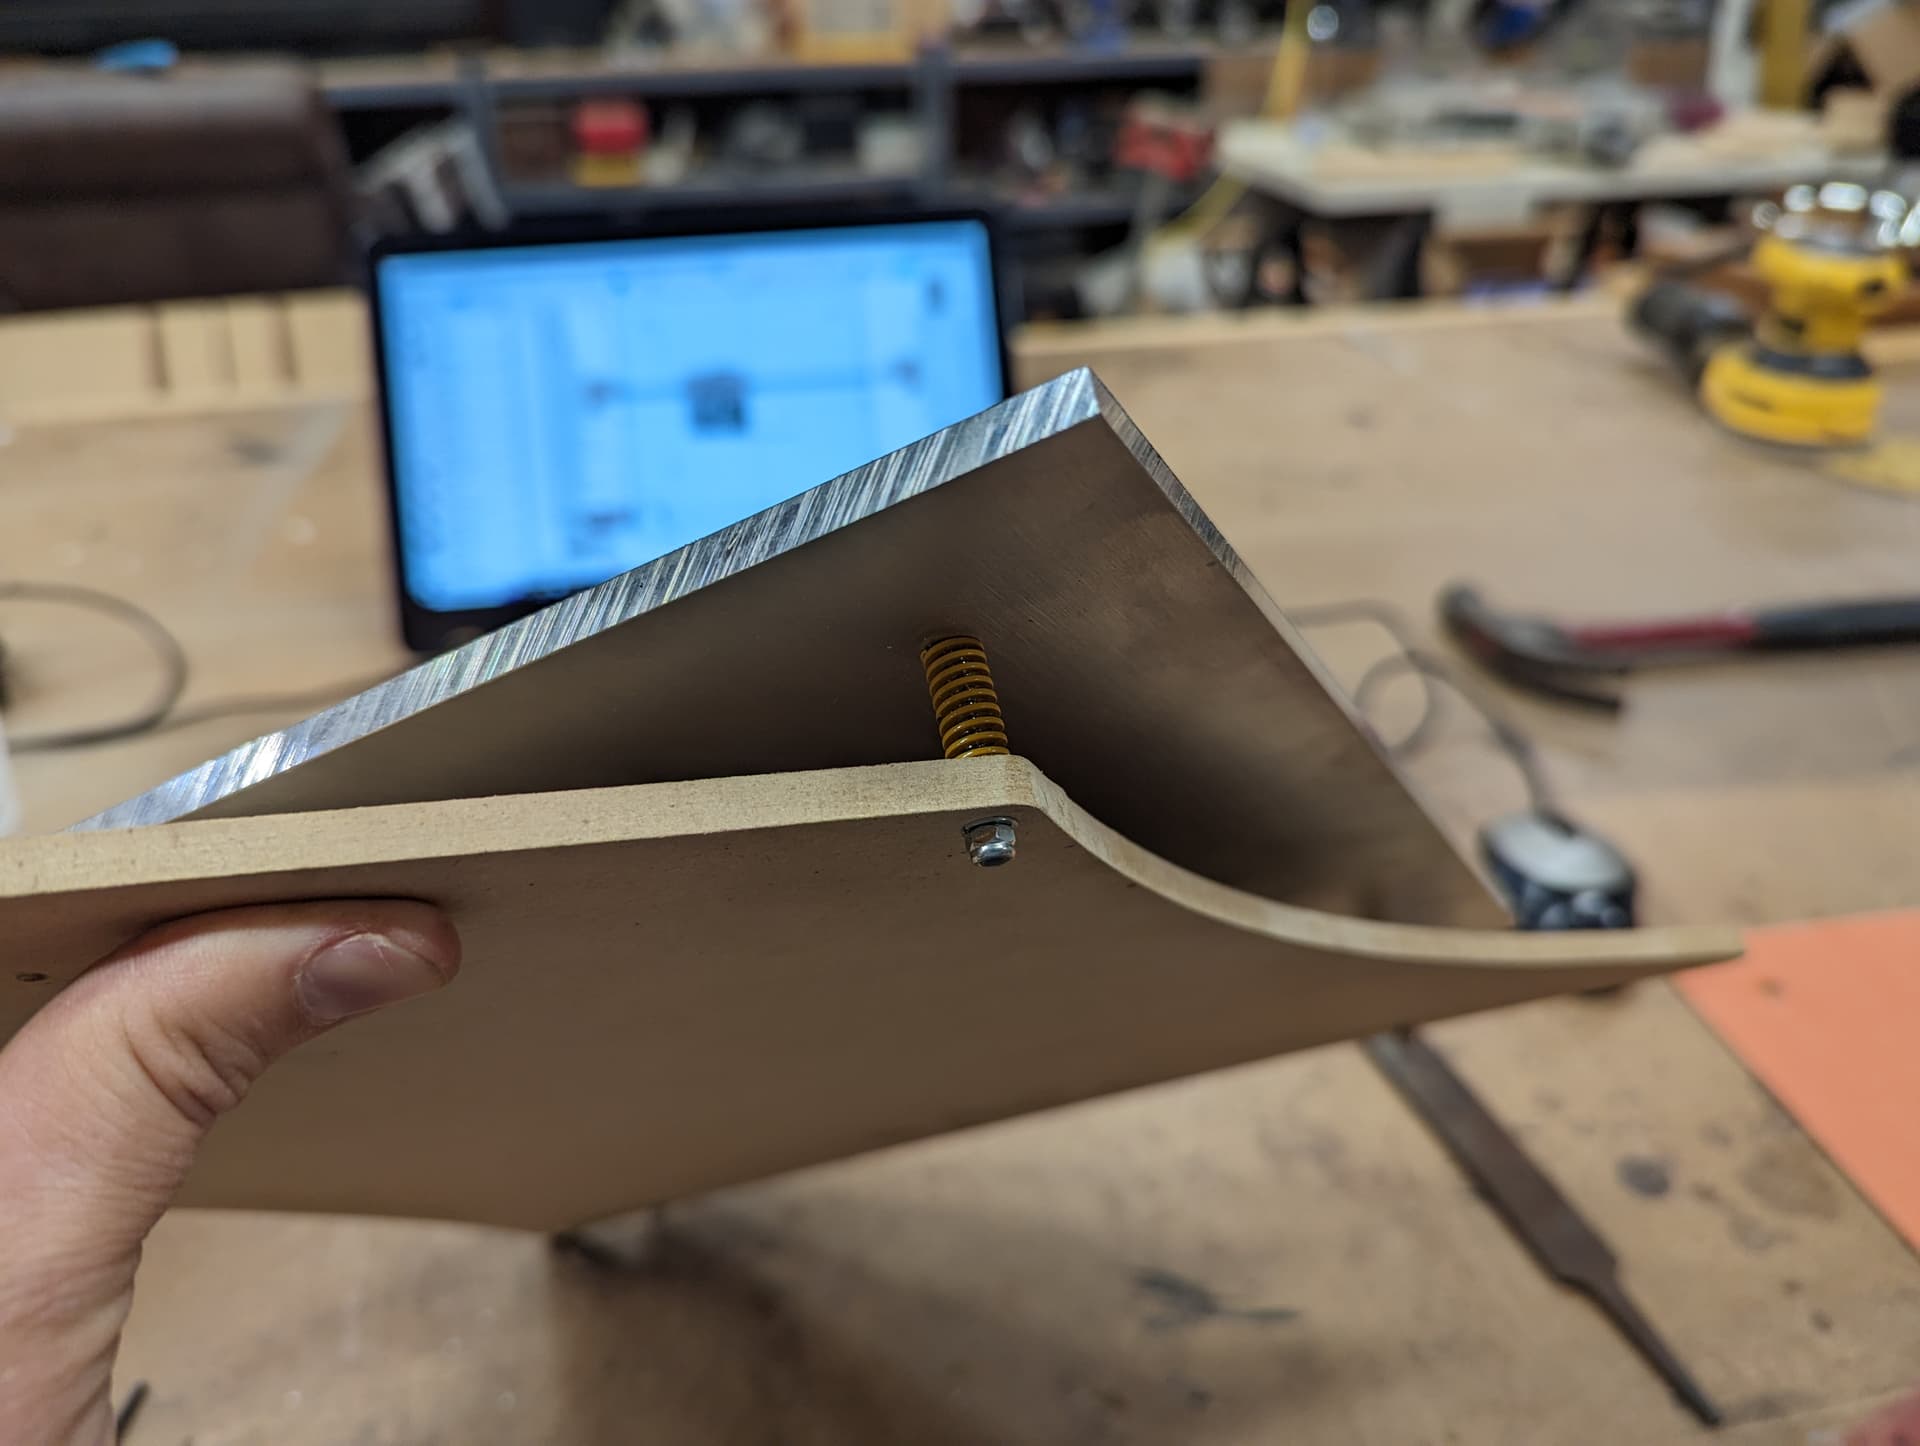
Right now I’m using 20mm springs between the two plates, but I may get some shorter ones. Either that, or I may need to get some 3mm bolts that are 35mm long. We’ll start with what I have and see what the mesh looks like.
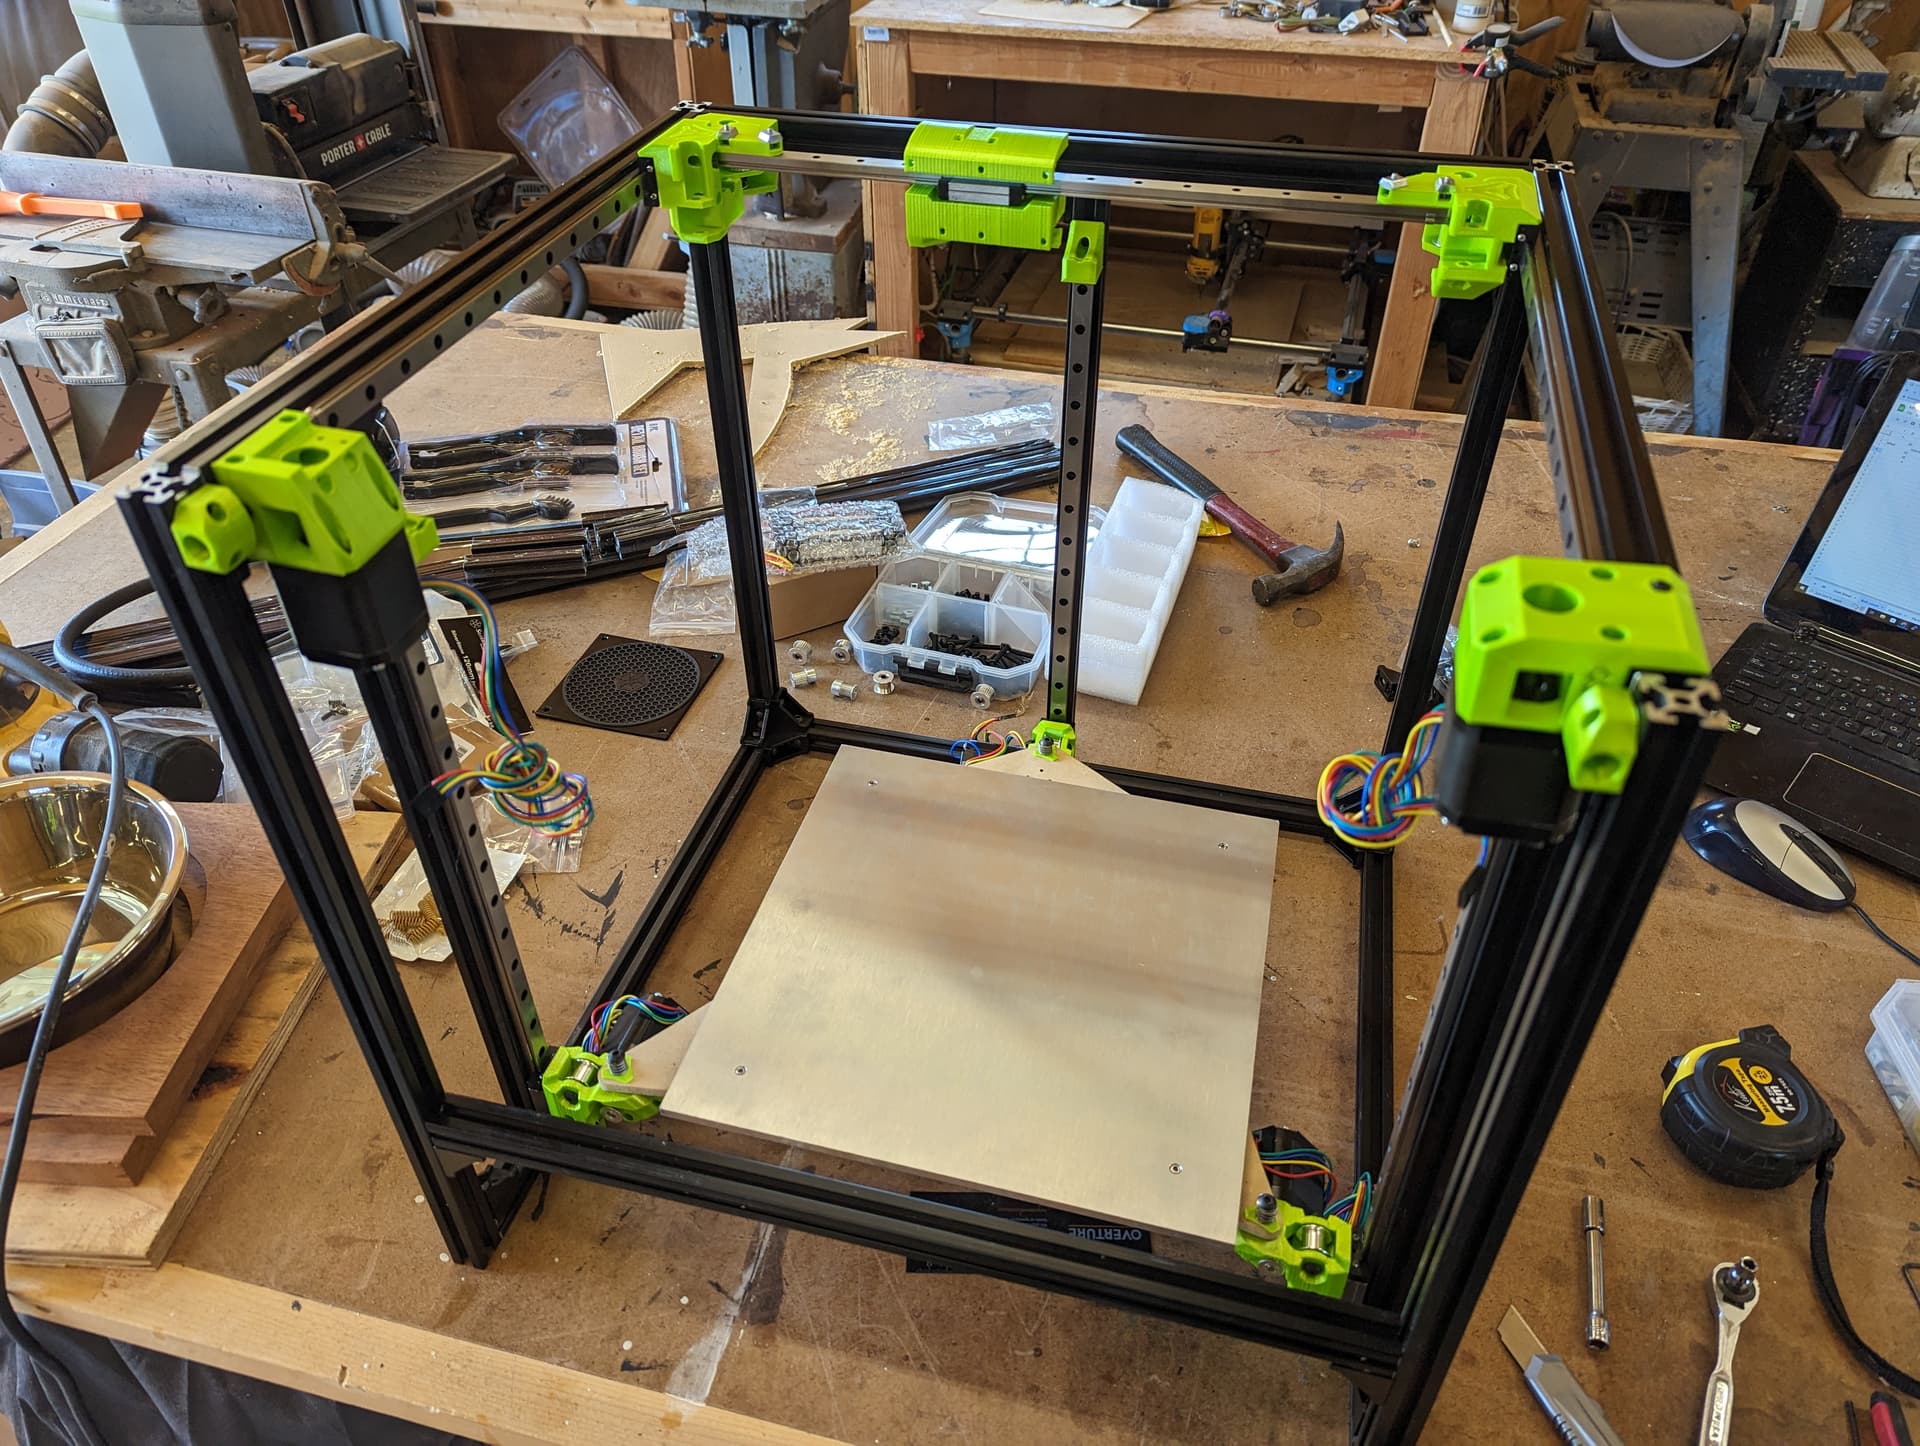
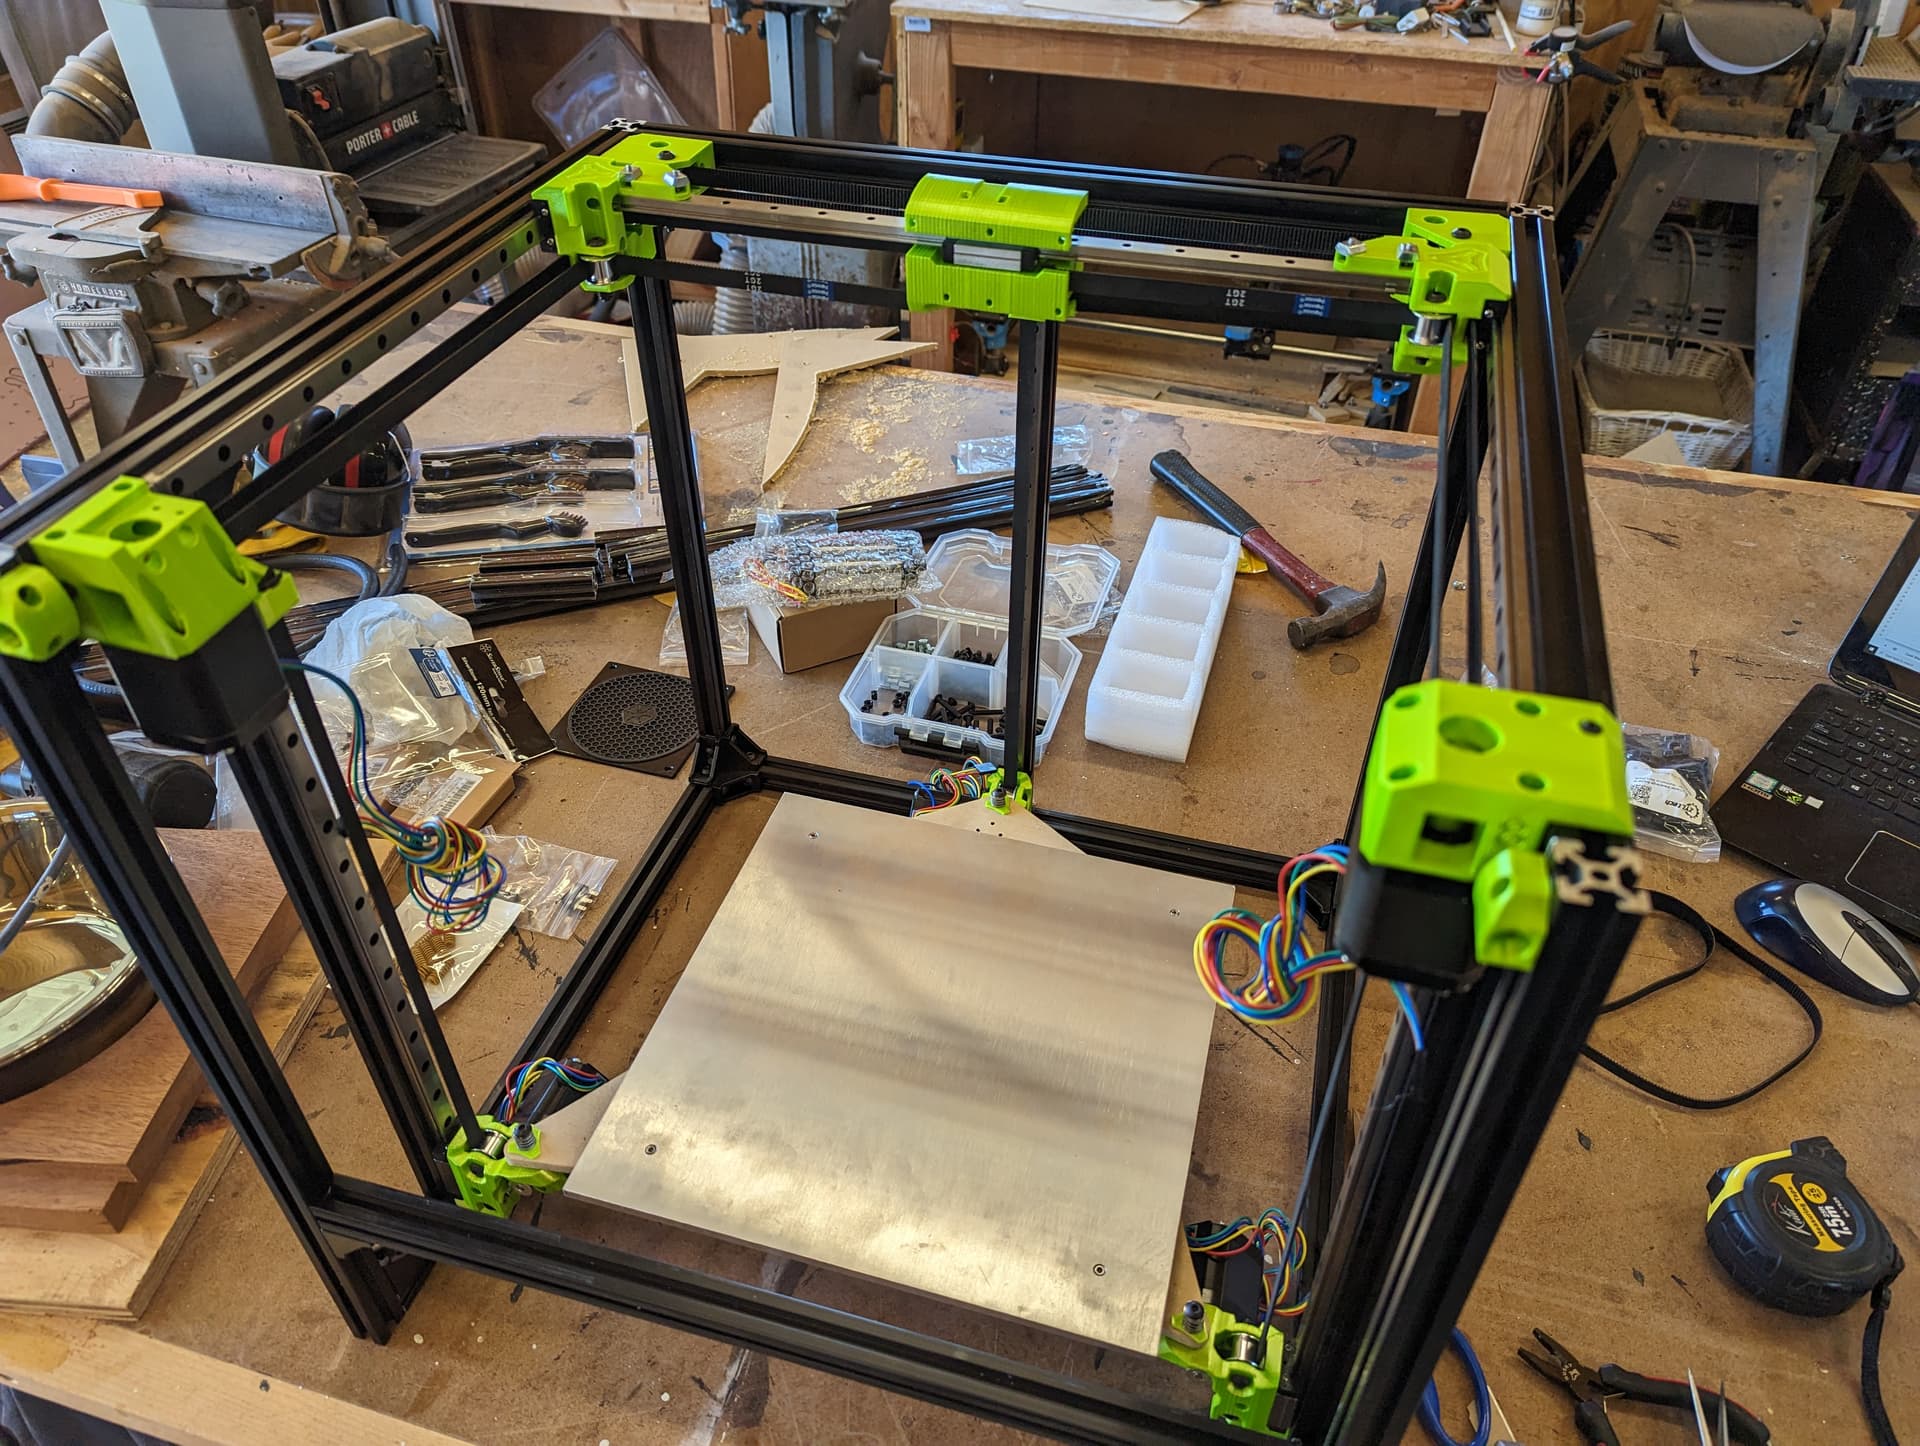
I want to get some of the machine built before I mount the bed heater to the aluminum plate.
I recessed the bolts in the aluminum. The plan is to mount the magnetic pei sheet to the aluminum and then drill holes in it for the bolts. I left the end stop mounted on the mill so I can use the existing zeros for drilling the clearance holes in that.
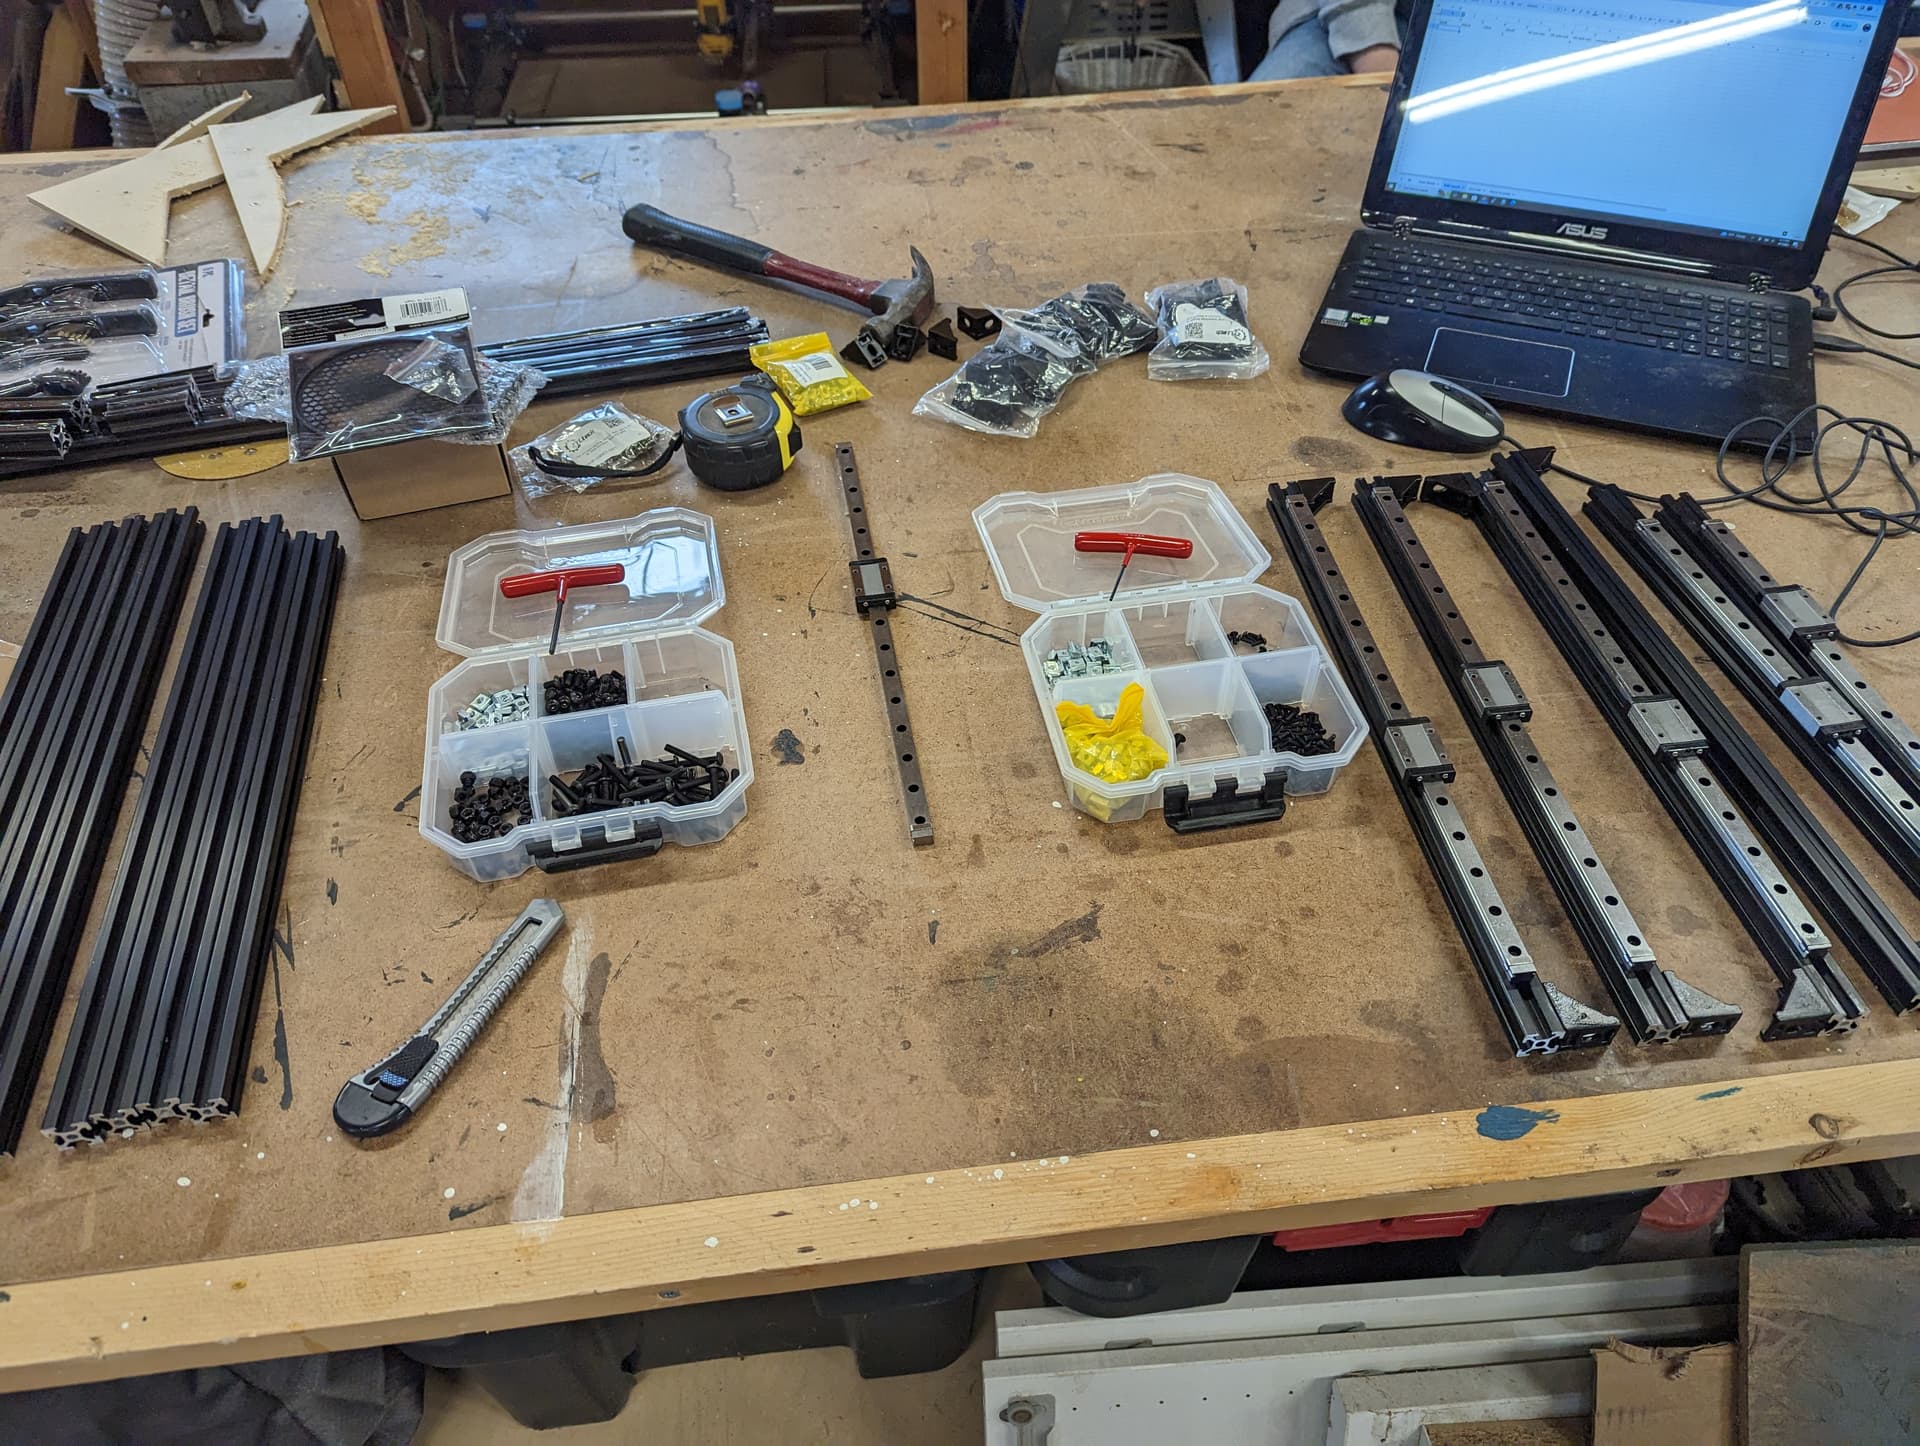
Tomorrow’s plan is to get the extrusion and mgn rails cut to length.
Yeah I would probably cut those springs in half or squish them down really far. You can also use a piece of rubber tubing. It just needs to have a little bit of give for thermal expansion. At the same time if you can’t really move the bed by hand much there is no way a nozzle will while printing. More forgiving this way then a bed slinger.
I am mounting mine on silicone spacers. With the active bed leveling I figure they just need to be securely mounted but not rigid to allow for bed expansion.
Sometimes I can be dumb. This time, I was confusing our local atwoods with being a menards. We don’t have a menards. Now I get to find a suitable panel replacement.