MPCNC Primo Schneewittchen Reanimated - Oldenburg, Germany

Hi Philipp,

deine MPCNC ist echt nice und deine Printed Parts sehen Hammer aus. Hattest du beim Zusammenbau irgendwelche Probleme, das etwas nicht passte? Meine Z-Achse macht mir große Schwierigkeiten. Die Kugellager haben nicht gleichzeitig Kontakt und dadruch ist alles etwas wacklig.

Vielleicht hast du ja einen Tipp…ich werkel schon seit etwa 6 Monaten an der MPCNC rum und bekomme einfach kein dreh rein.

Liebe Grüße aus Bremen

Man muss die Schrauben fester anziehen, als man denkt. Der “light touch” der Anleitung bezieht sich eher auf KFZ-Mechaniker. :stuck_out_tongue:

Hab die gesamte Core-Einheit nochmal auseinander genommen und setze sie nochmal zusammen…ich finde deine Stepper Cover ziemlich cool woher hast du die?

Good luck with that. For the covers see here: Golden Primo First build - #113 by wellthad. You have to program a colour change in between. Also you can’t attach dragchains to the steppers that easily any more. :slight_smile:

Oh Forgot English Community.

Last question if i may ask, what Dragchain Mount for Z Axis is that? i’ve been looking for it everywhere cant find it…mine is pretty shitty :smile:

No worries. Here is the link to my Frankenstein DragChainMashup: Printables (no screwing around!), the original from which I remixed it is there as well (Printables), also a link to the dragchain (which is pretty awesome!): AR cable chain link opened by arek_r1 - Thingiverse.

This is Z-Axis holder for the chain that does not actually attach to Z. Pretty neat: XYZ Cable Chain for MPCNC Primo by laooola - Thingiverse and this is the “screwblock”: Screwblock by Kaligma - Thingiverse I created to hold the chain.

Hope that helps. :slight_smile:

1 Like

Could you suggest a torque value? (Hast Du einen Vorschlag für das erforderliche Drehmoment?)

Gruß,
U.

1 Like

Wood glue and toothpicks will take care of the original holes…then you are good to go on the new holes.

Hey Ulli, great to see you again. :slightly_smiling_face:

But no, regrettably I do not have a value. I just go after how it feels after playing around for quite a while.

Thank you very much. You helped me a lot. I will keep you updated if your tipps helped me getting this machine to work :rofl:

I build several 3D Printers by my own but so far i’m not able to build a working CNC sometimes i want to :face_vomiting:

Two months of dust… :slight_smile:

2 Likes

Your printed parts look really good. I have a prusa mini too and I feel mine don’t look as good. Do you mind sharing your print settings?

Sorry for the late reply, was on vacation. :stuck_out_tongue:


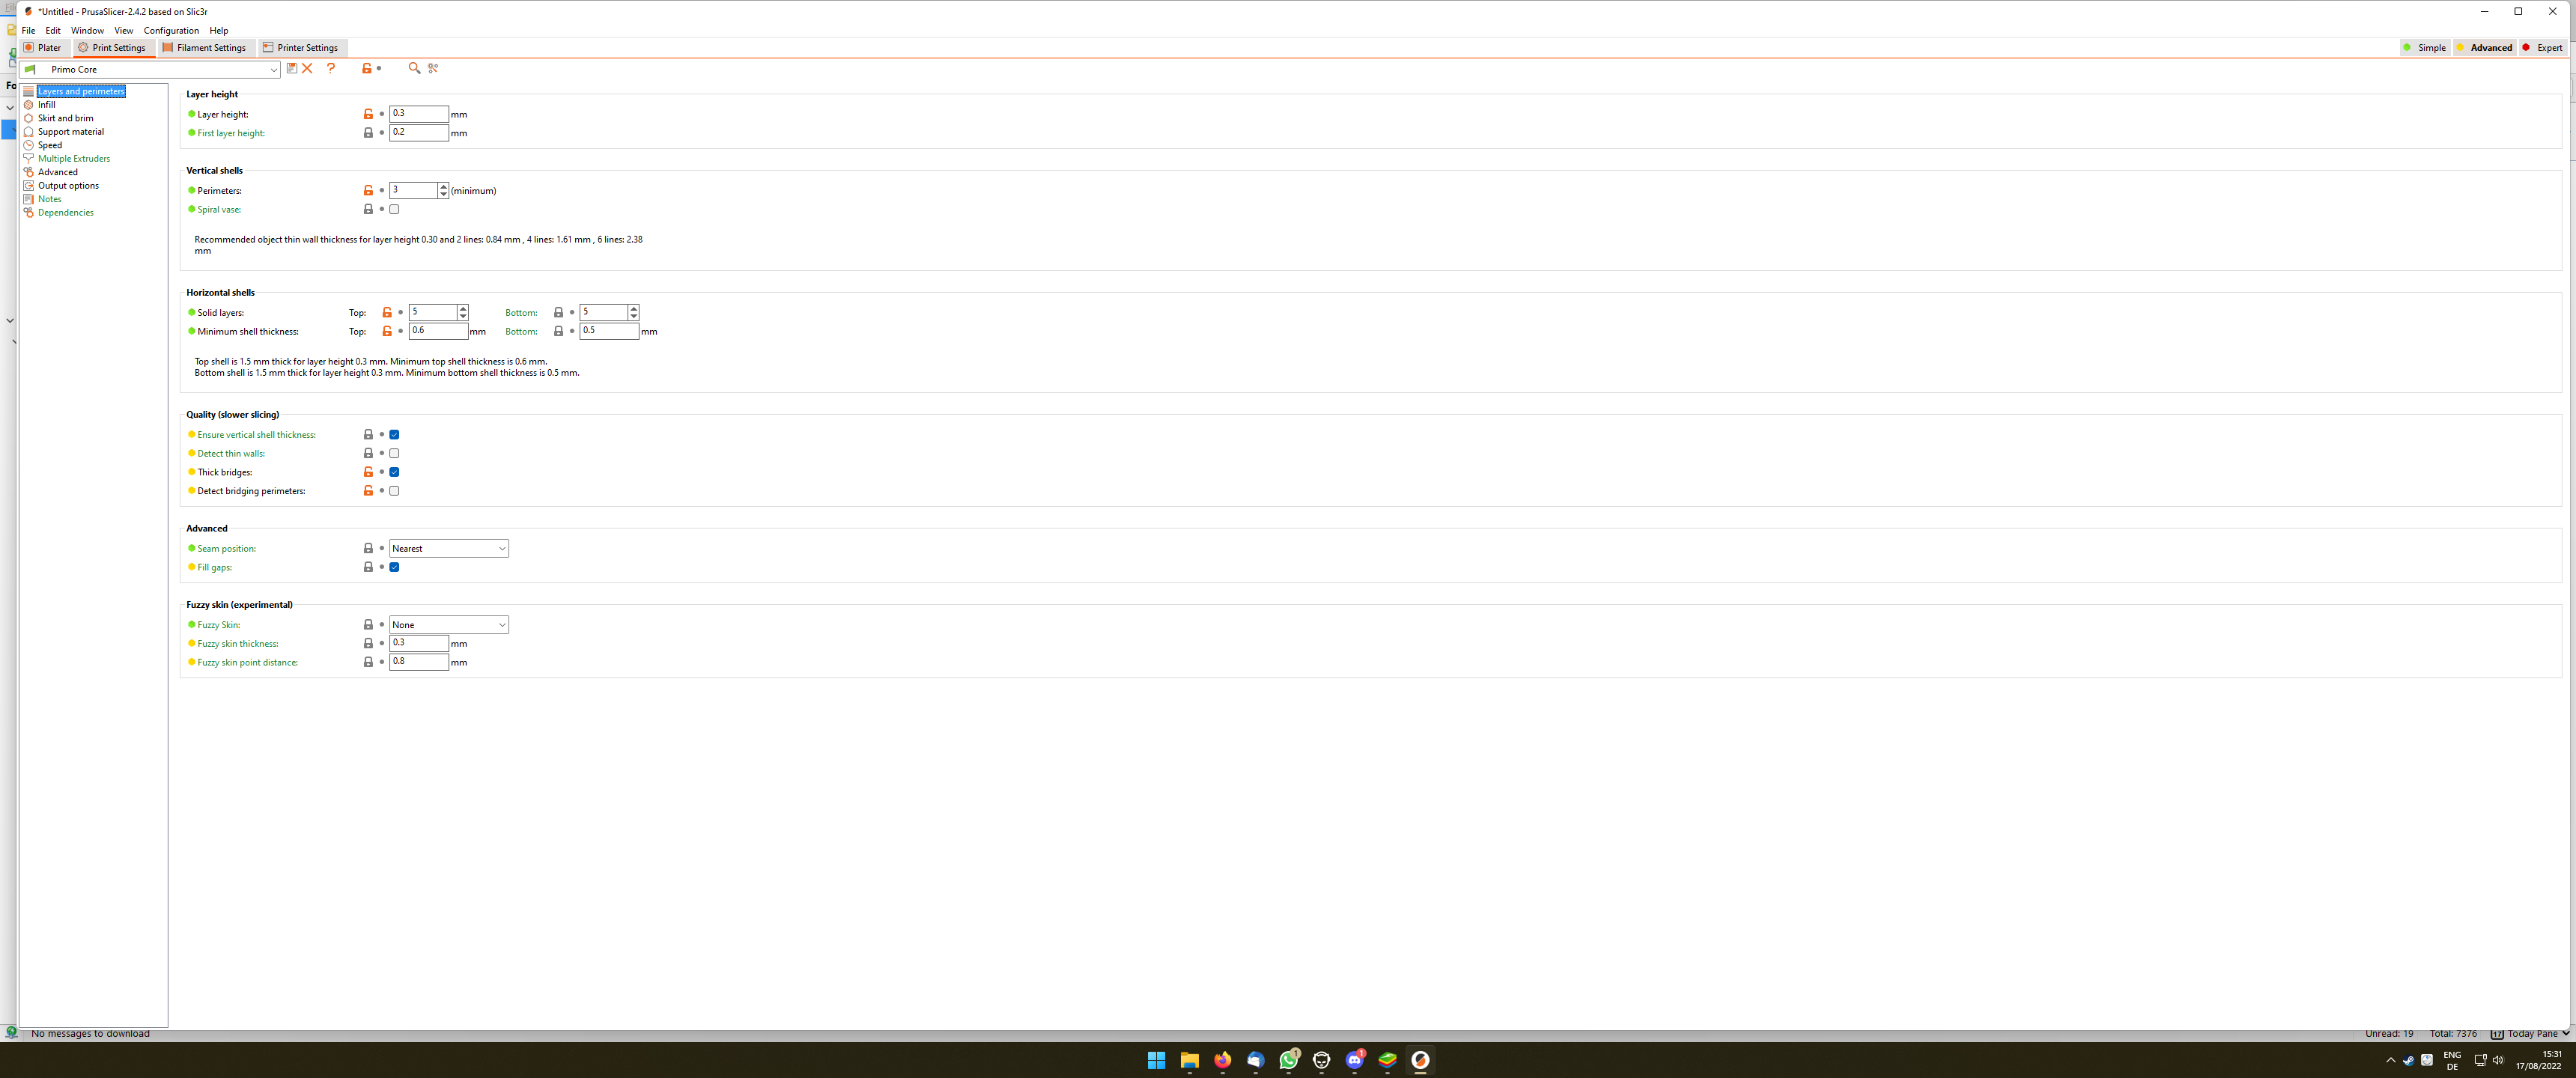
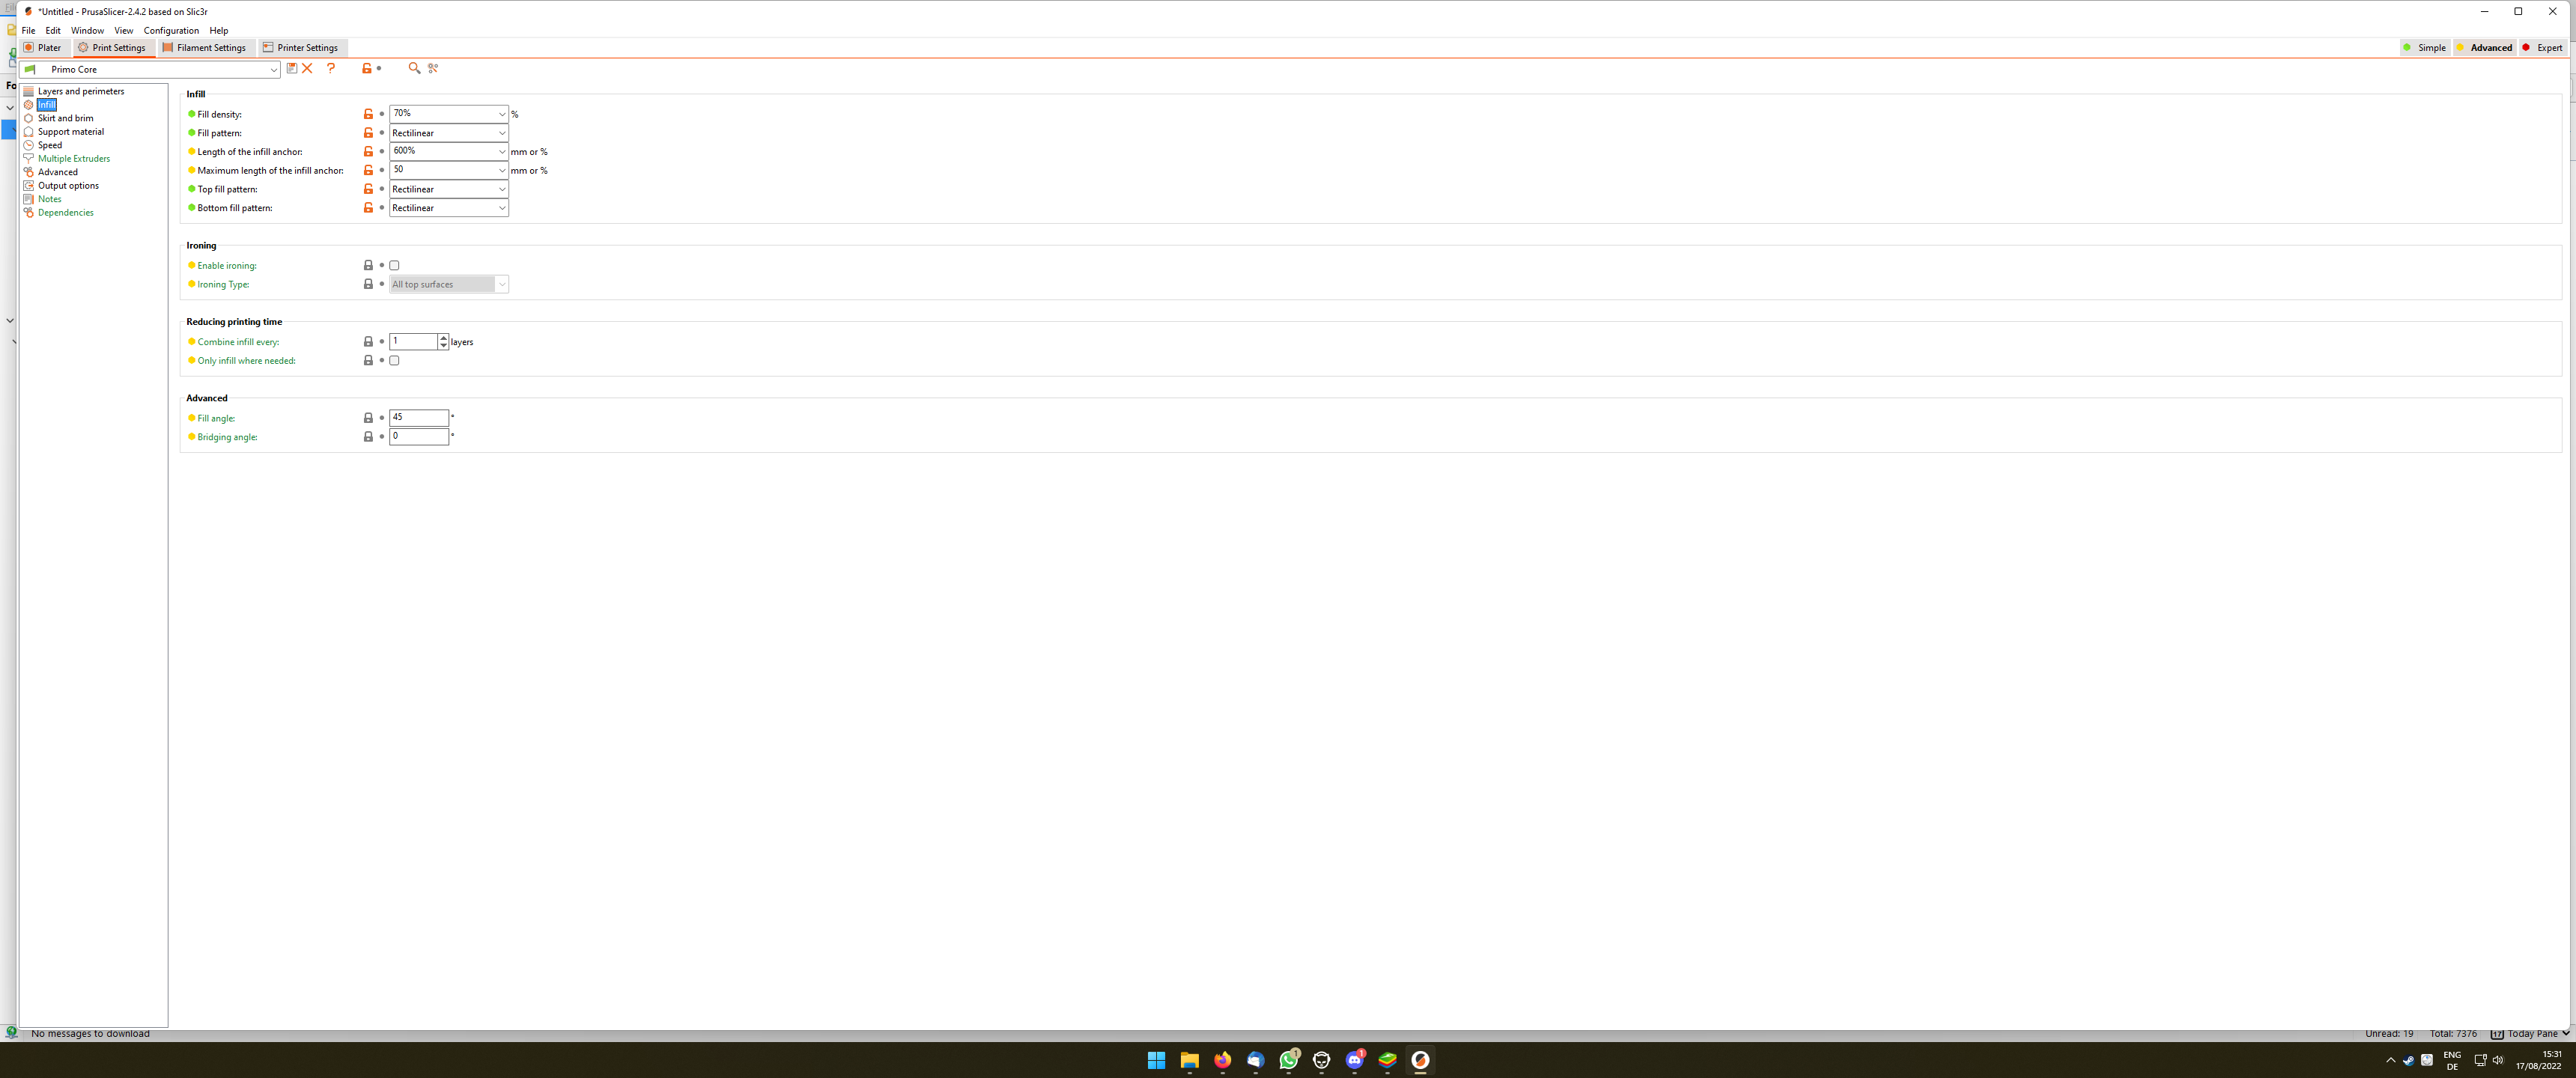
Those are for the core, for the other parts just change infill to 45% (there is variable infill now which might help with the core, but I never did that).

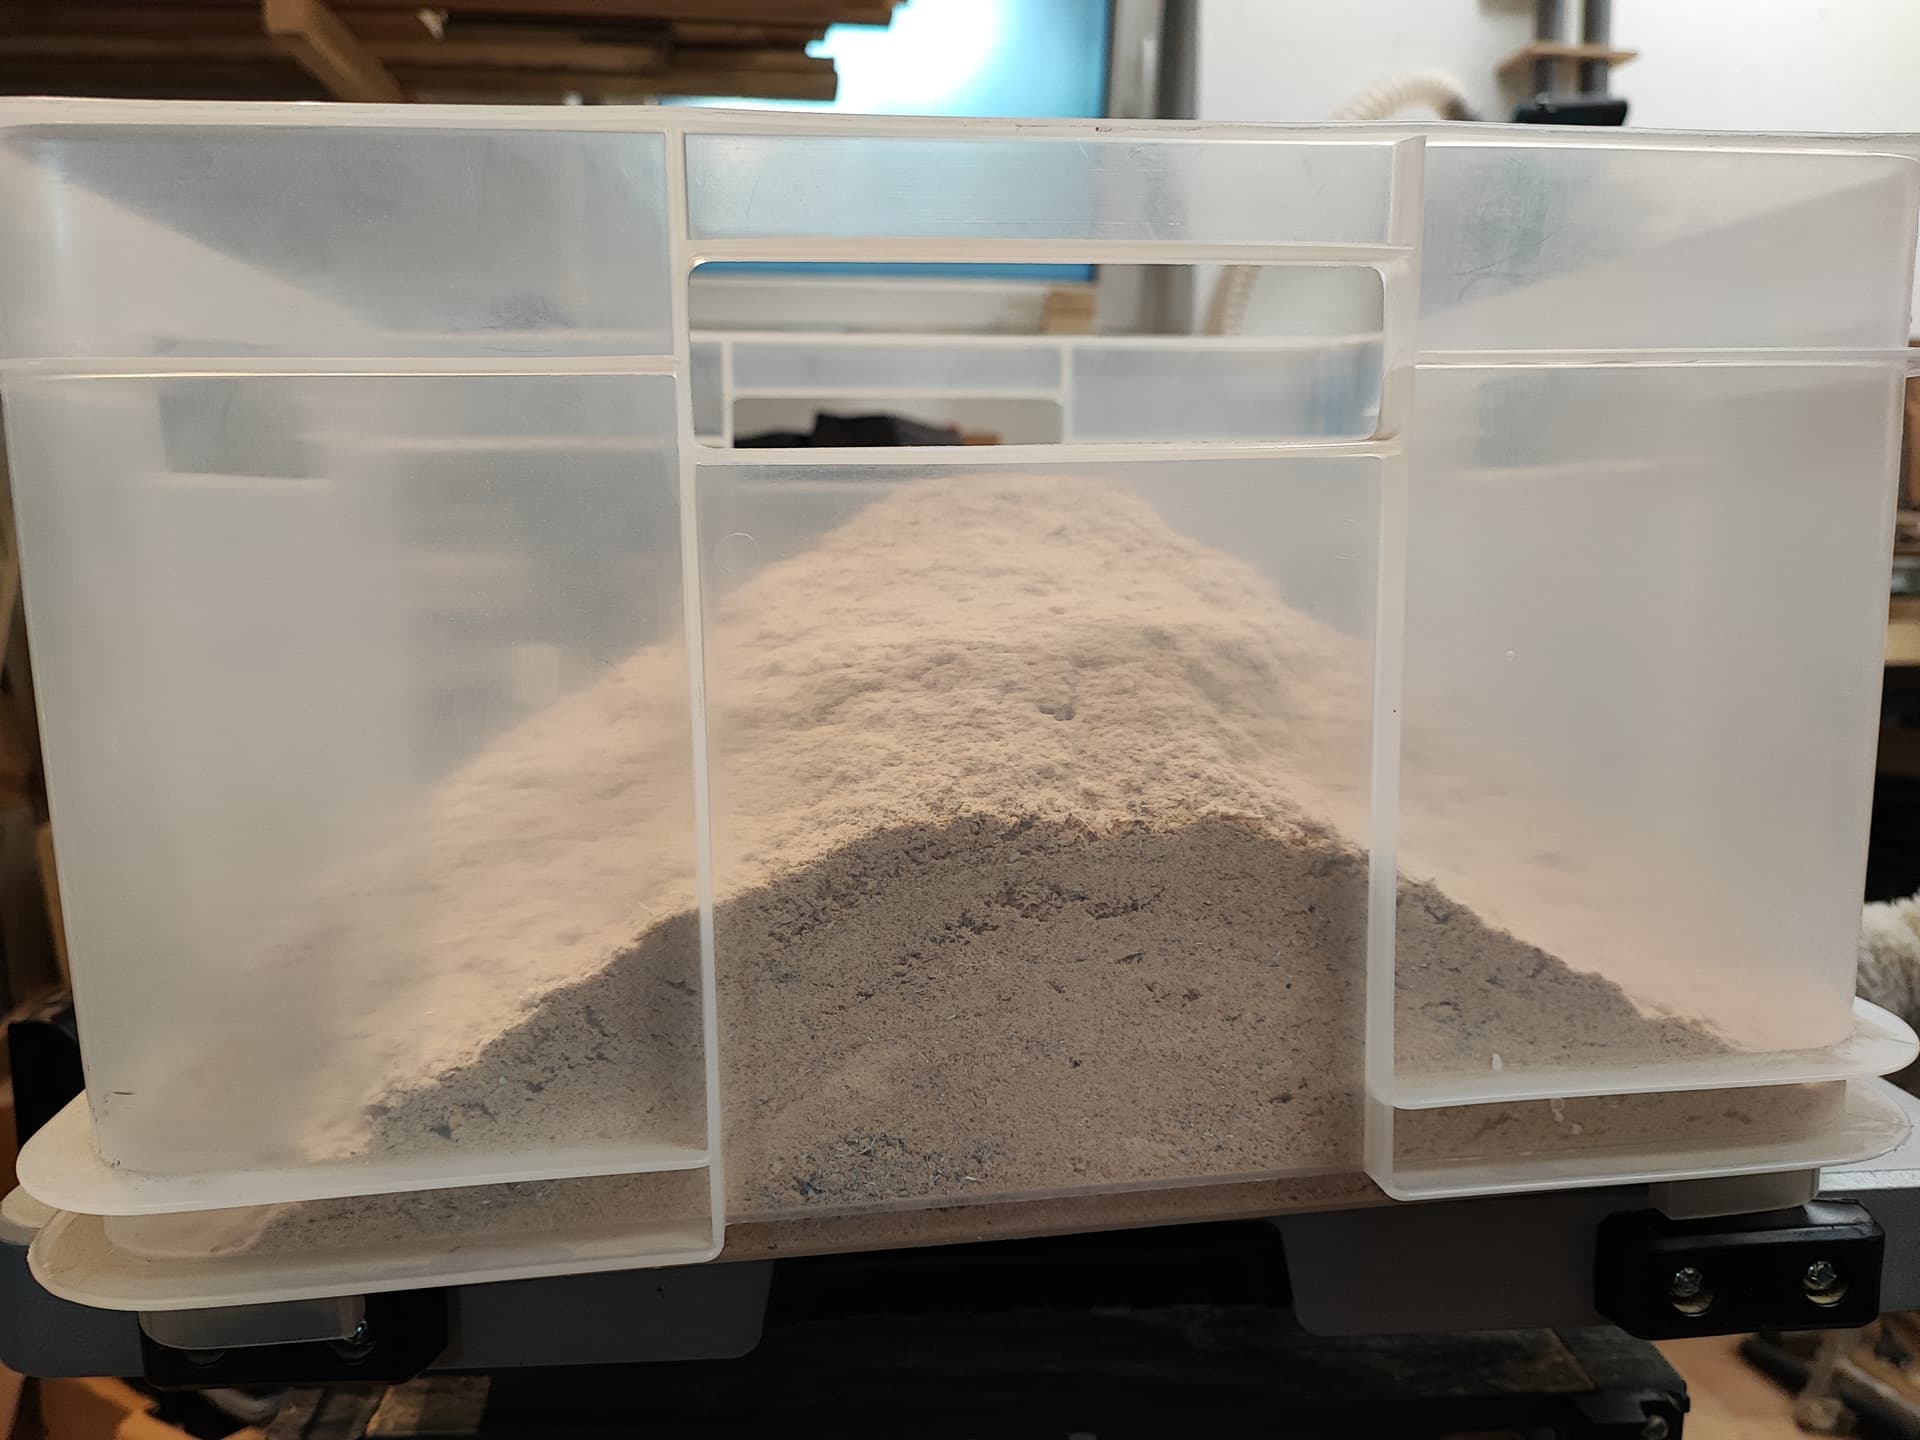
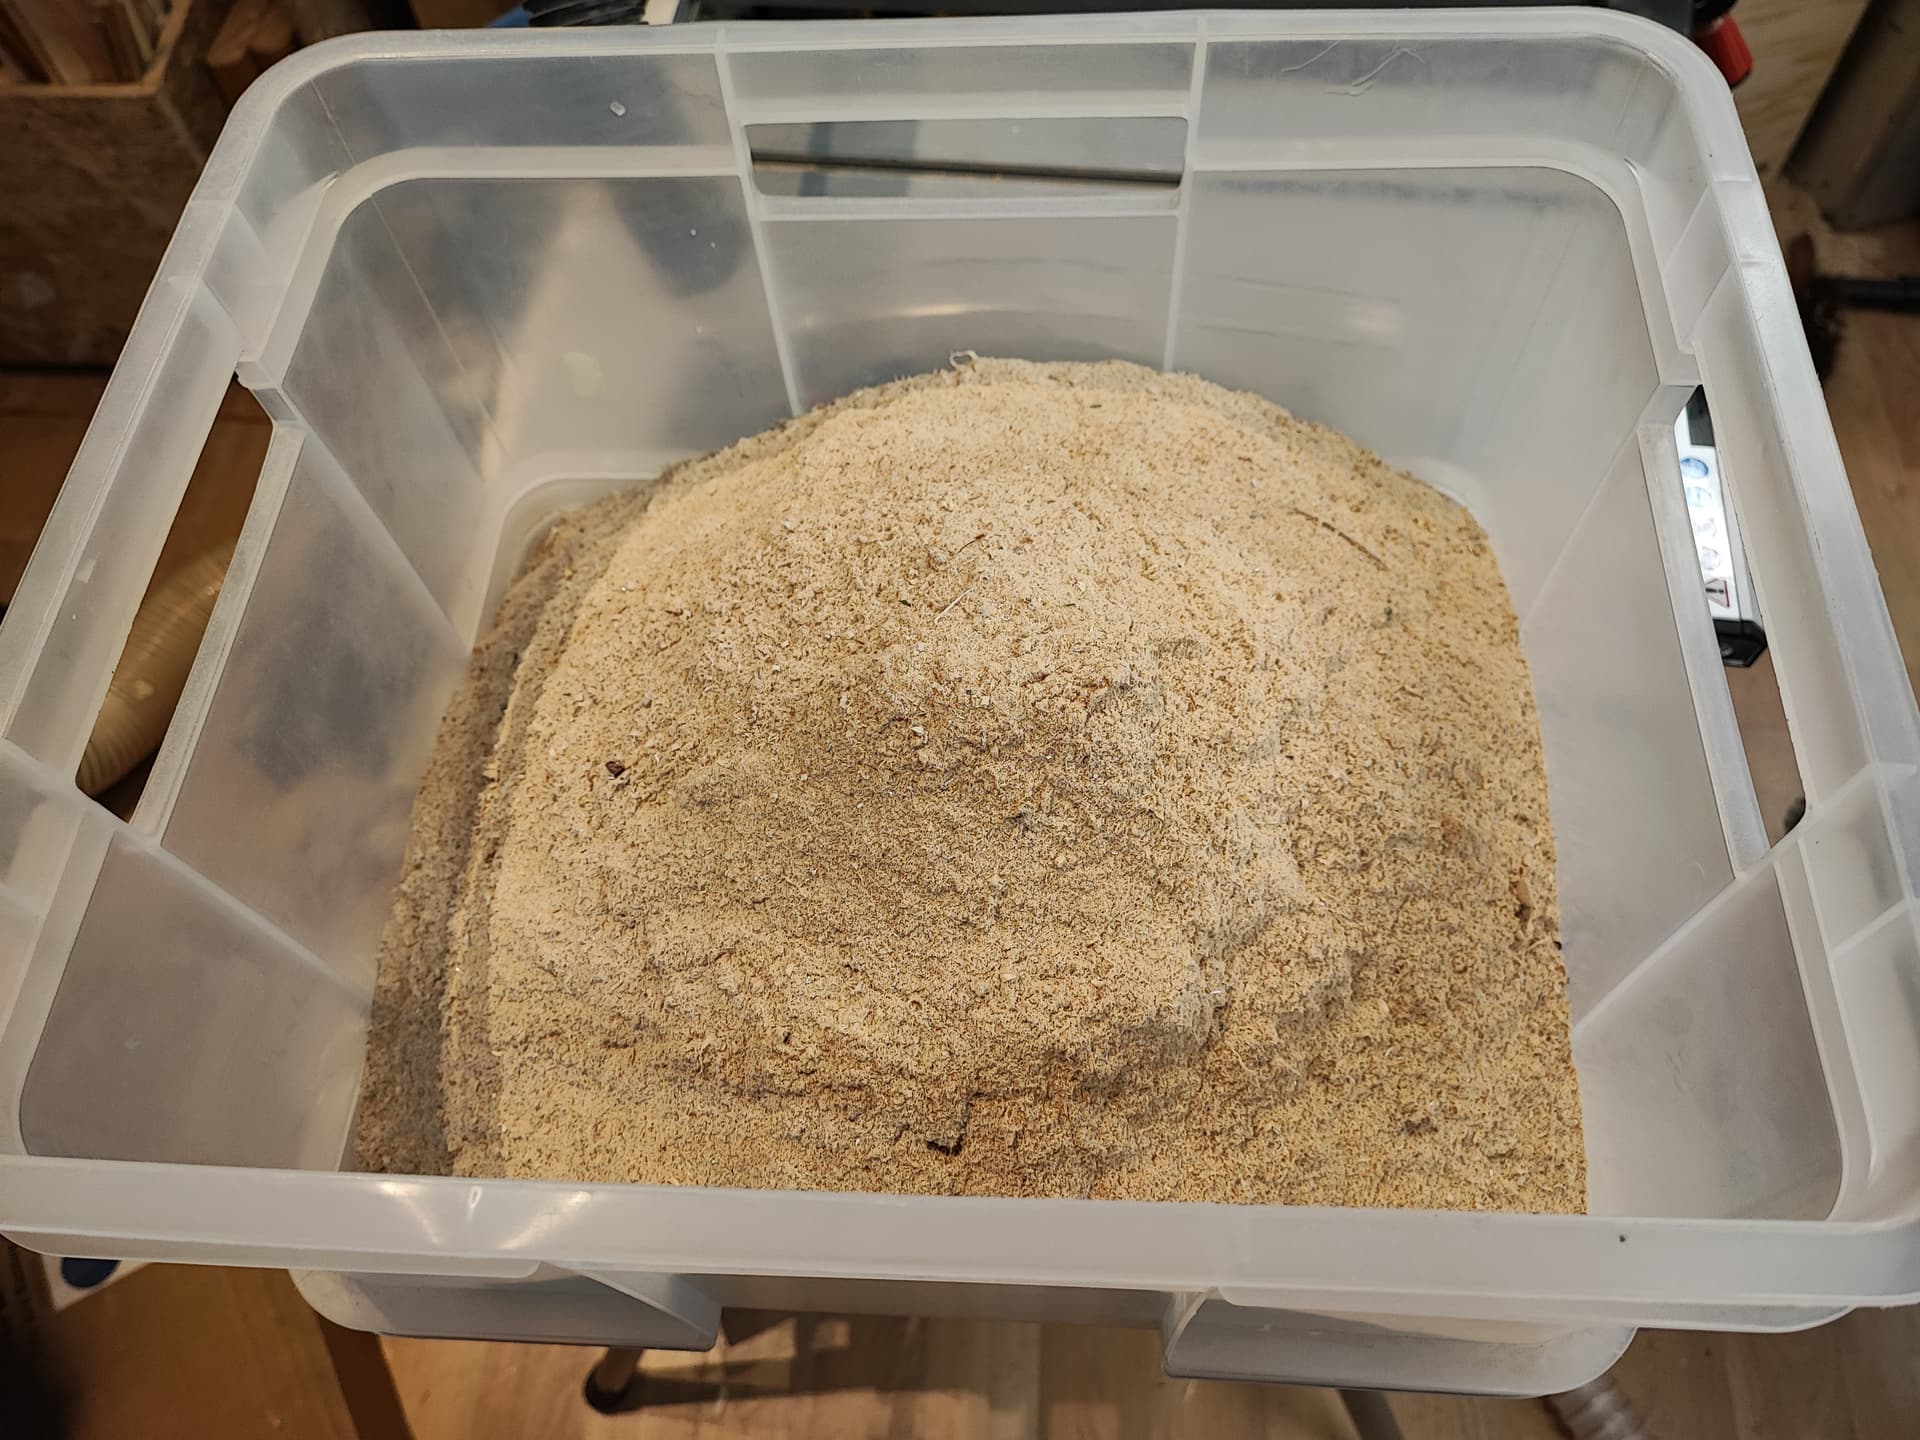
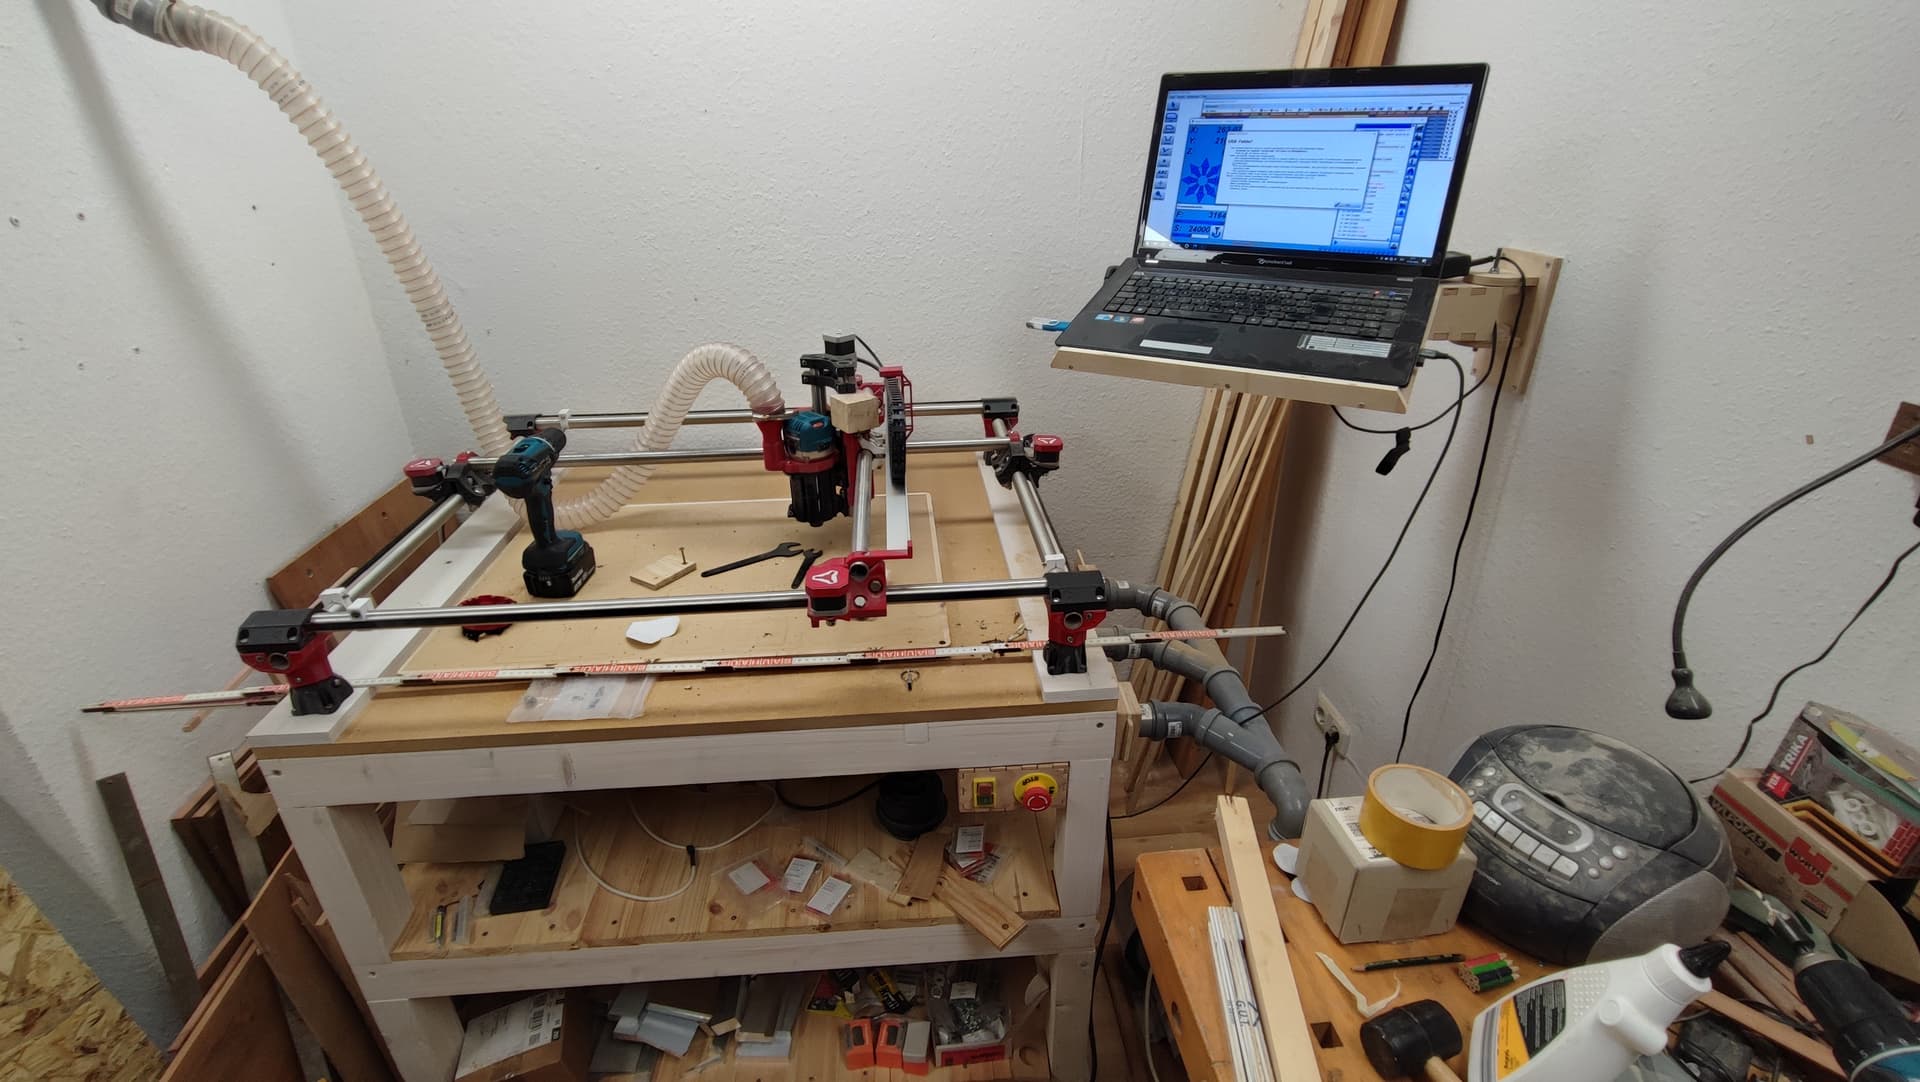
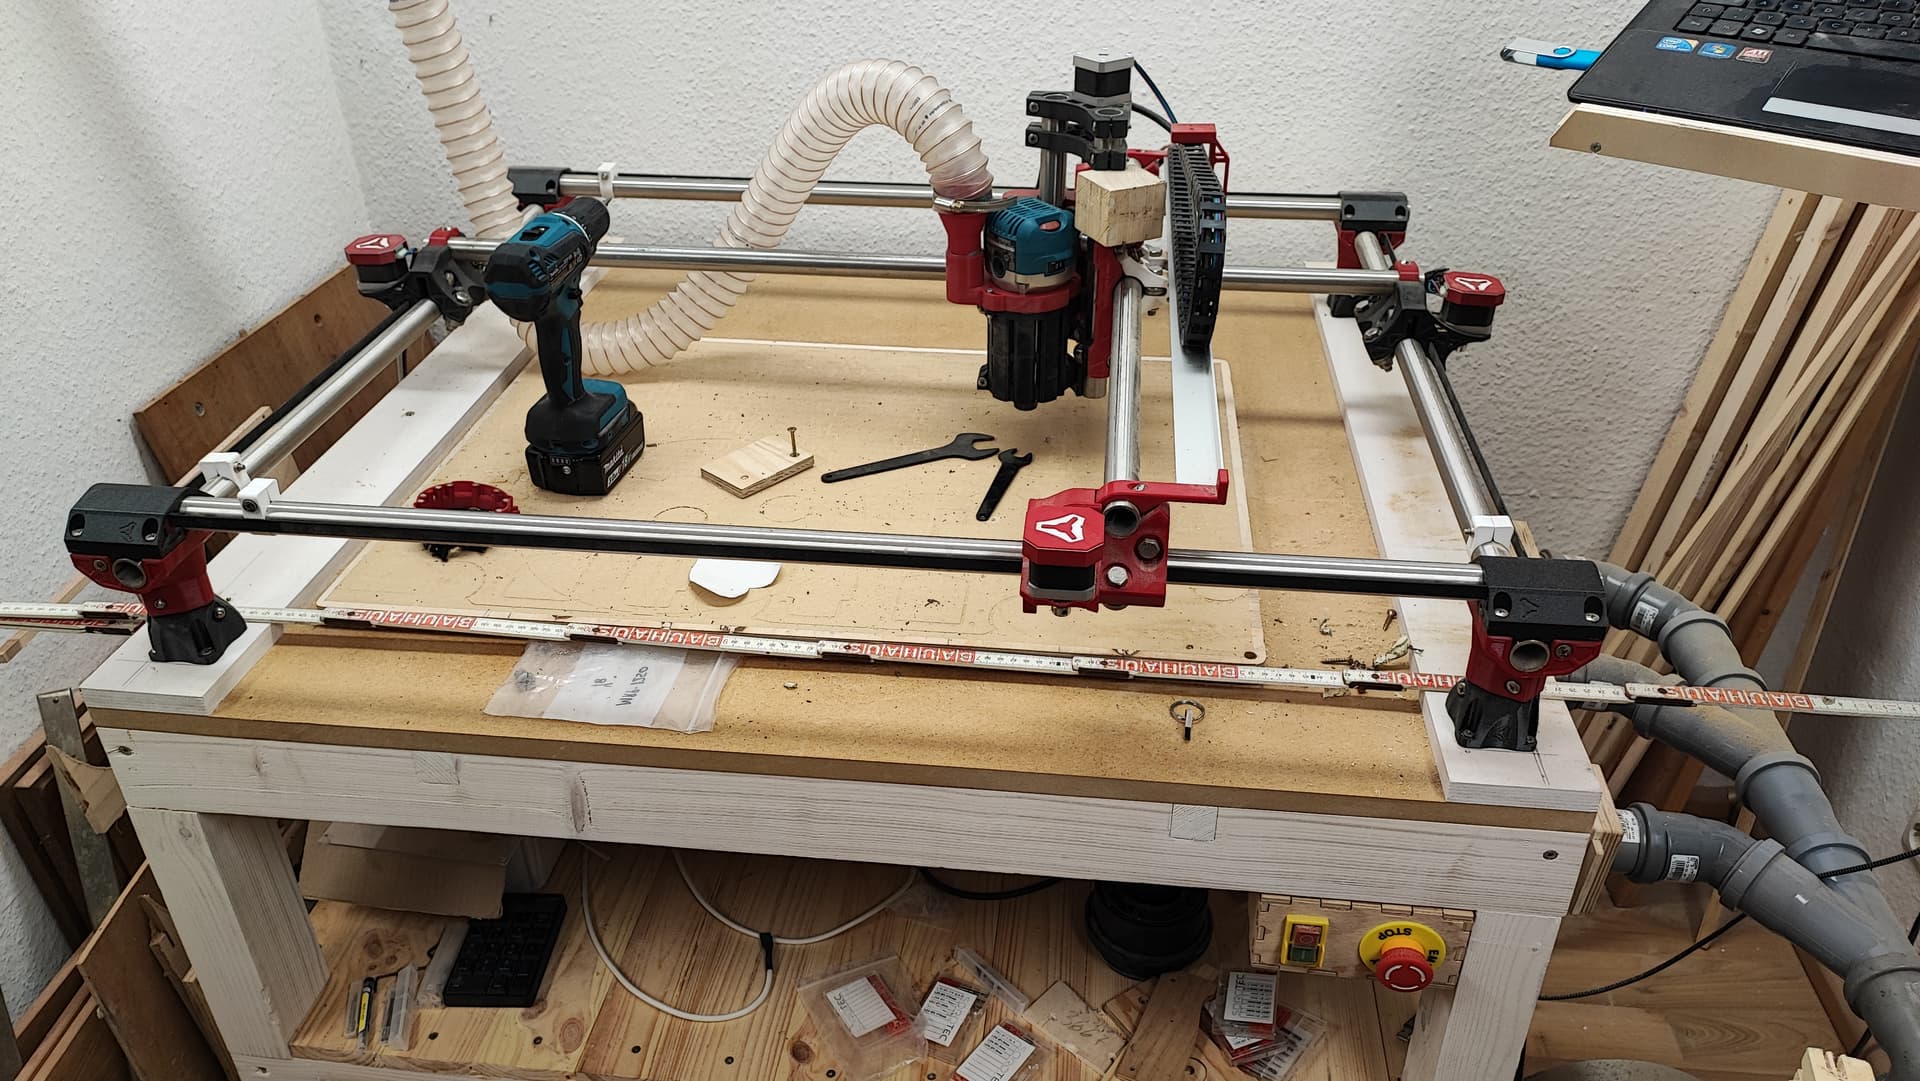
I added a very great dust collection that costs one only ~5mm. It does not suck dust out of the groves well, but it keeps the rest of the shop clean. Plus, it looks awesome:

Credits to ELS on Prusaprinters who does not seem to be on the forum (?). STLs here: Printables

2 Likes

I was thinking of doing a similar design to minimise the loss of space.
It does look awesome.

2 Likes

I bet that also helps keep the router cooler on longer runs.

The creator of it said he had it run for 20 hours, so yeah, it should also cool. :smile:

One last picture before disassembly. I am sad now. :smiling_face_with_tear:

3 Likes

Hell yeah!! Looks fabulous.

1 Like

You mean LOOKED fabulous as in past tense!