
Next is extruder calibration. Assuming that works out ok, then it needs to start printing.
The magnetic build surface has a plastic protective cover film and it is not likely a printable layer surface. I think the first few surface calibration tests will likely destroy a PEI textured sticker if I had one for it… Should there be a pei sticker over it? What surface do you all print on? If it doesn’t really matter, perhaps some blue tape and glue stick for the first print just to test the nozzle height and start laying plastic.
Can you post a picture on the plastic protective film?
I used to print on glass, then glass with 3m blue painters tape, then textured PEI sheet. All 3 ways gives good results.
I think that answers the question (it shouldn’t be the bare metal). The plastic protective film is a clear cover sheet like the film you get on a touch screen when it is new. You can kind of see the film here… it is dirty on this shot:
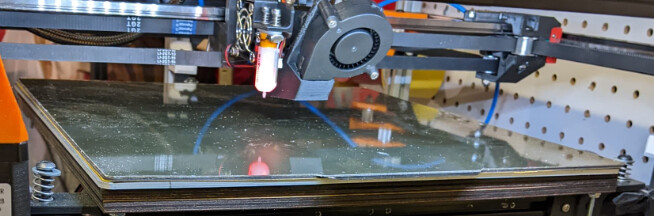
I’ll need to get a better picture.
I went back and looked at my order… apparently I ordered this:
https://www.amazon.com/gp/product/B09F6Q4CYM
and it is one sided smooth PEI with a protective film, so I should be able to print right to the PEI sheet without the top protective layer with nothing else like tape or glue.
You do need to take that film off.
The product information states specifically to take that off before printing to it. It is sure easier to ask questions on the forum than to stop and actually read the documentation.
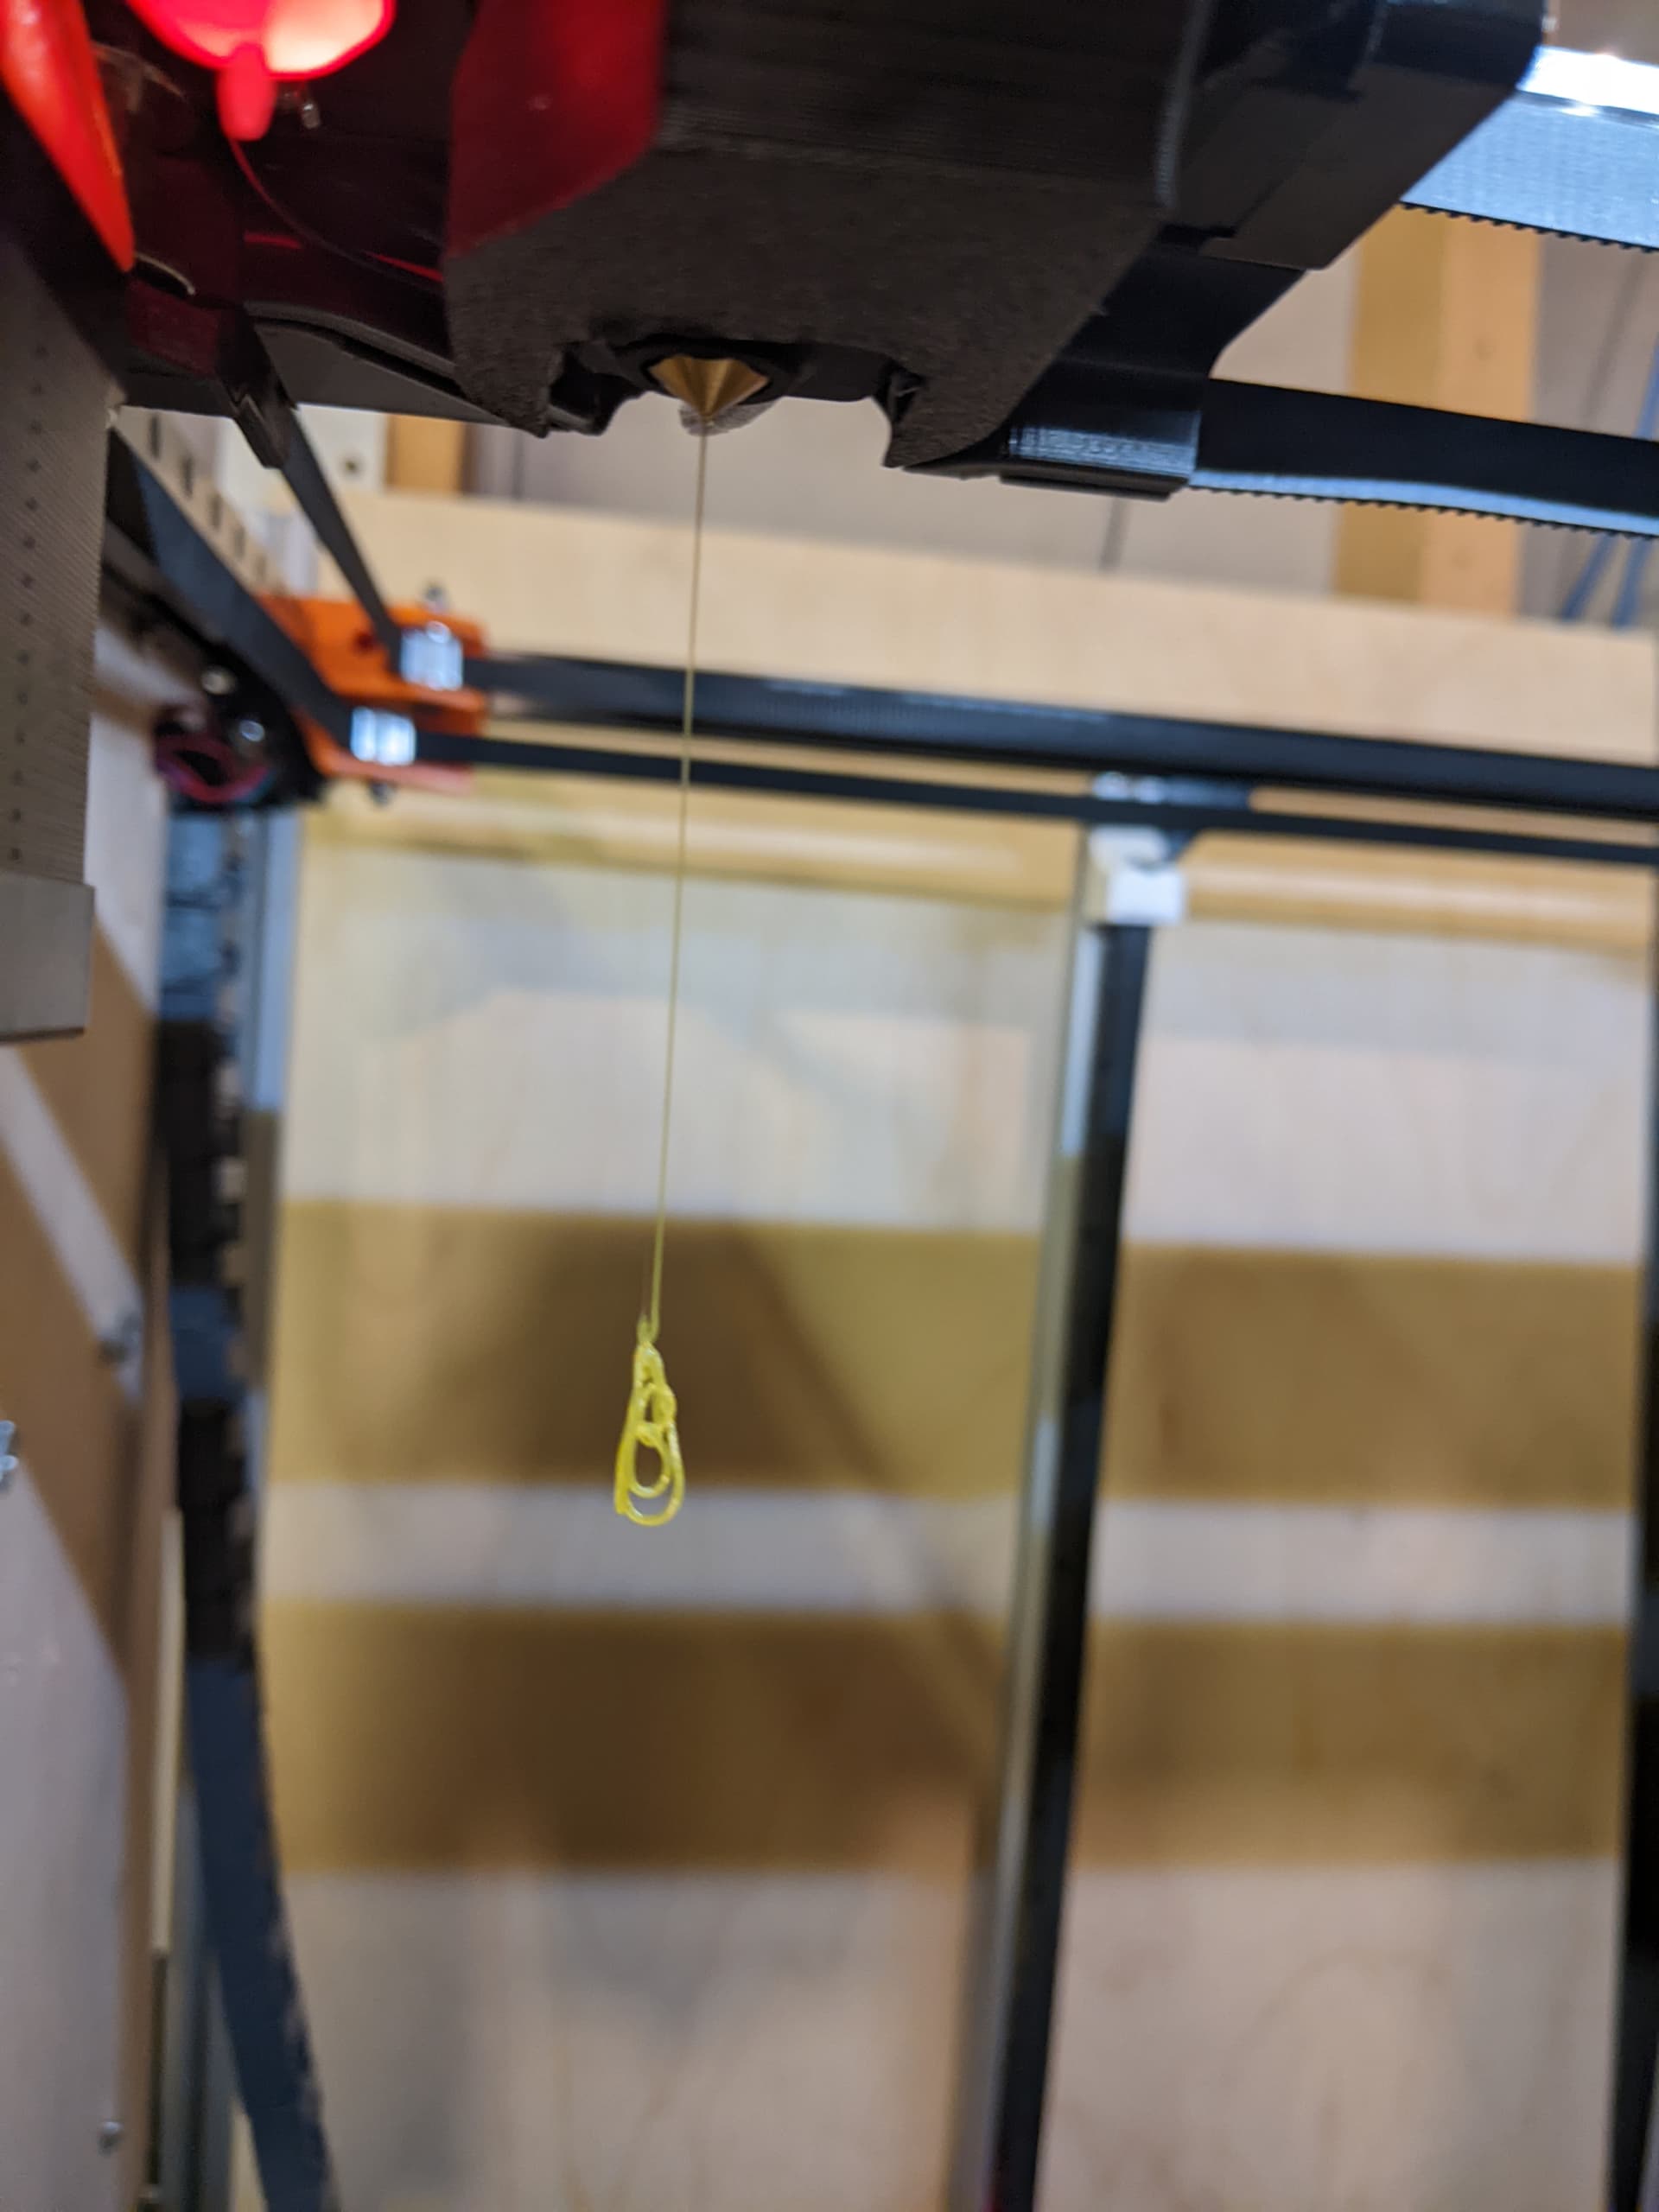
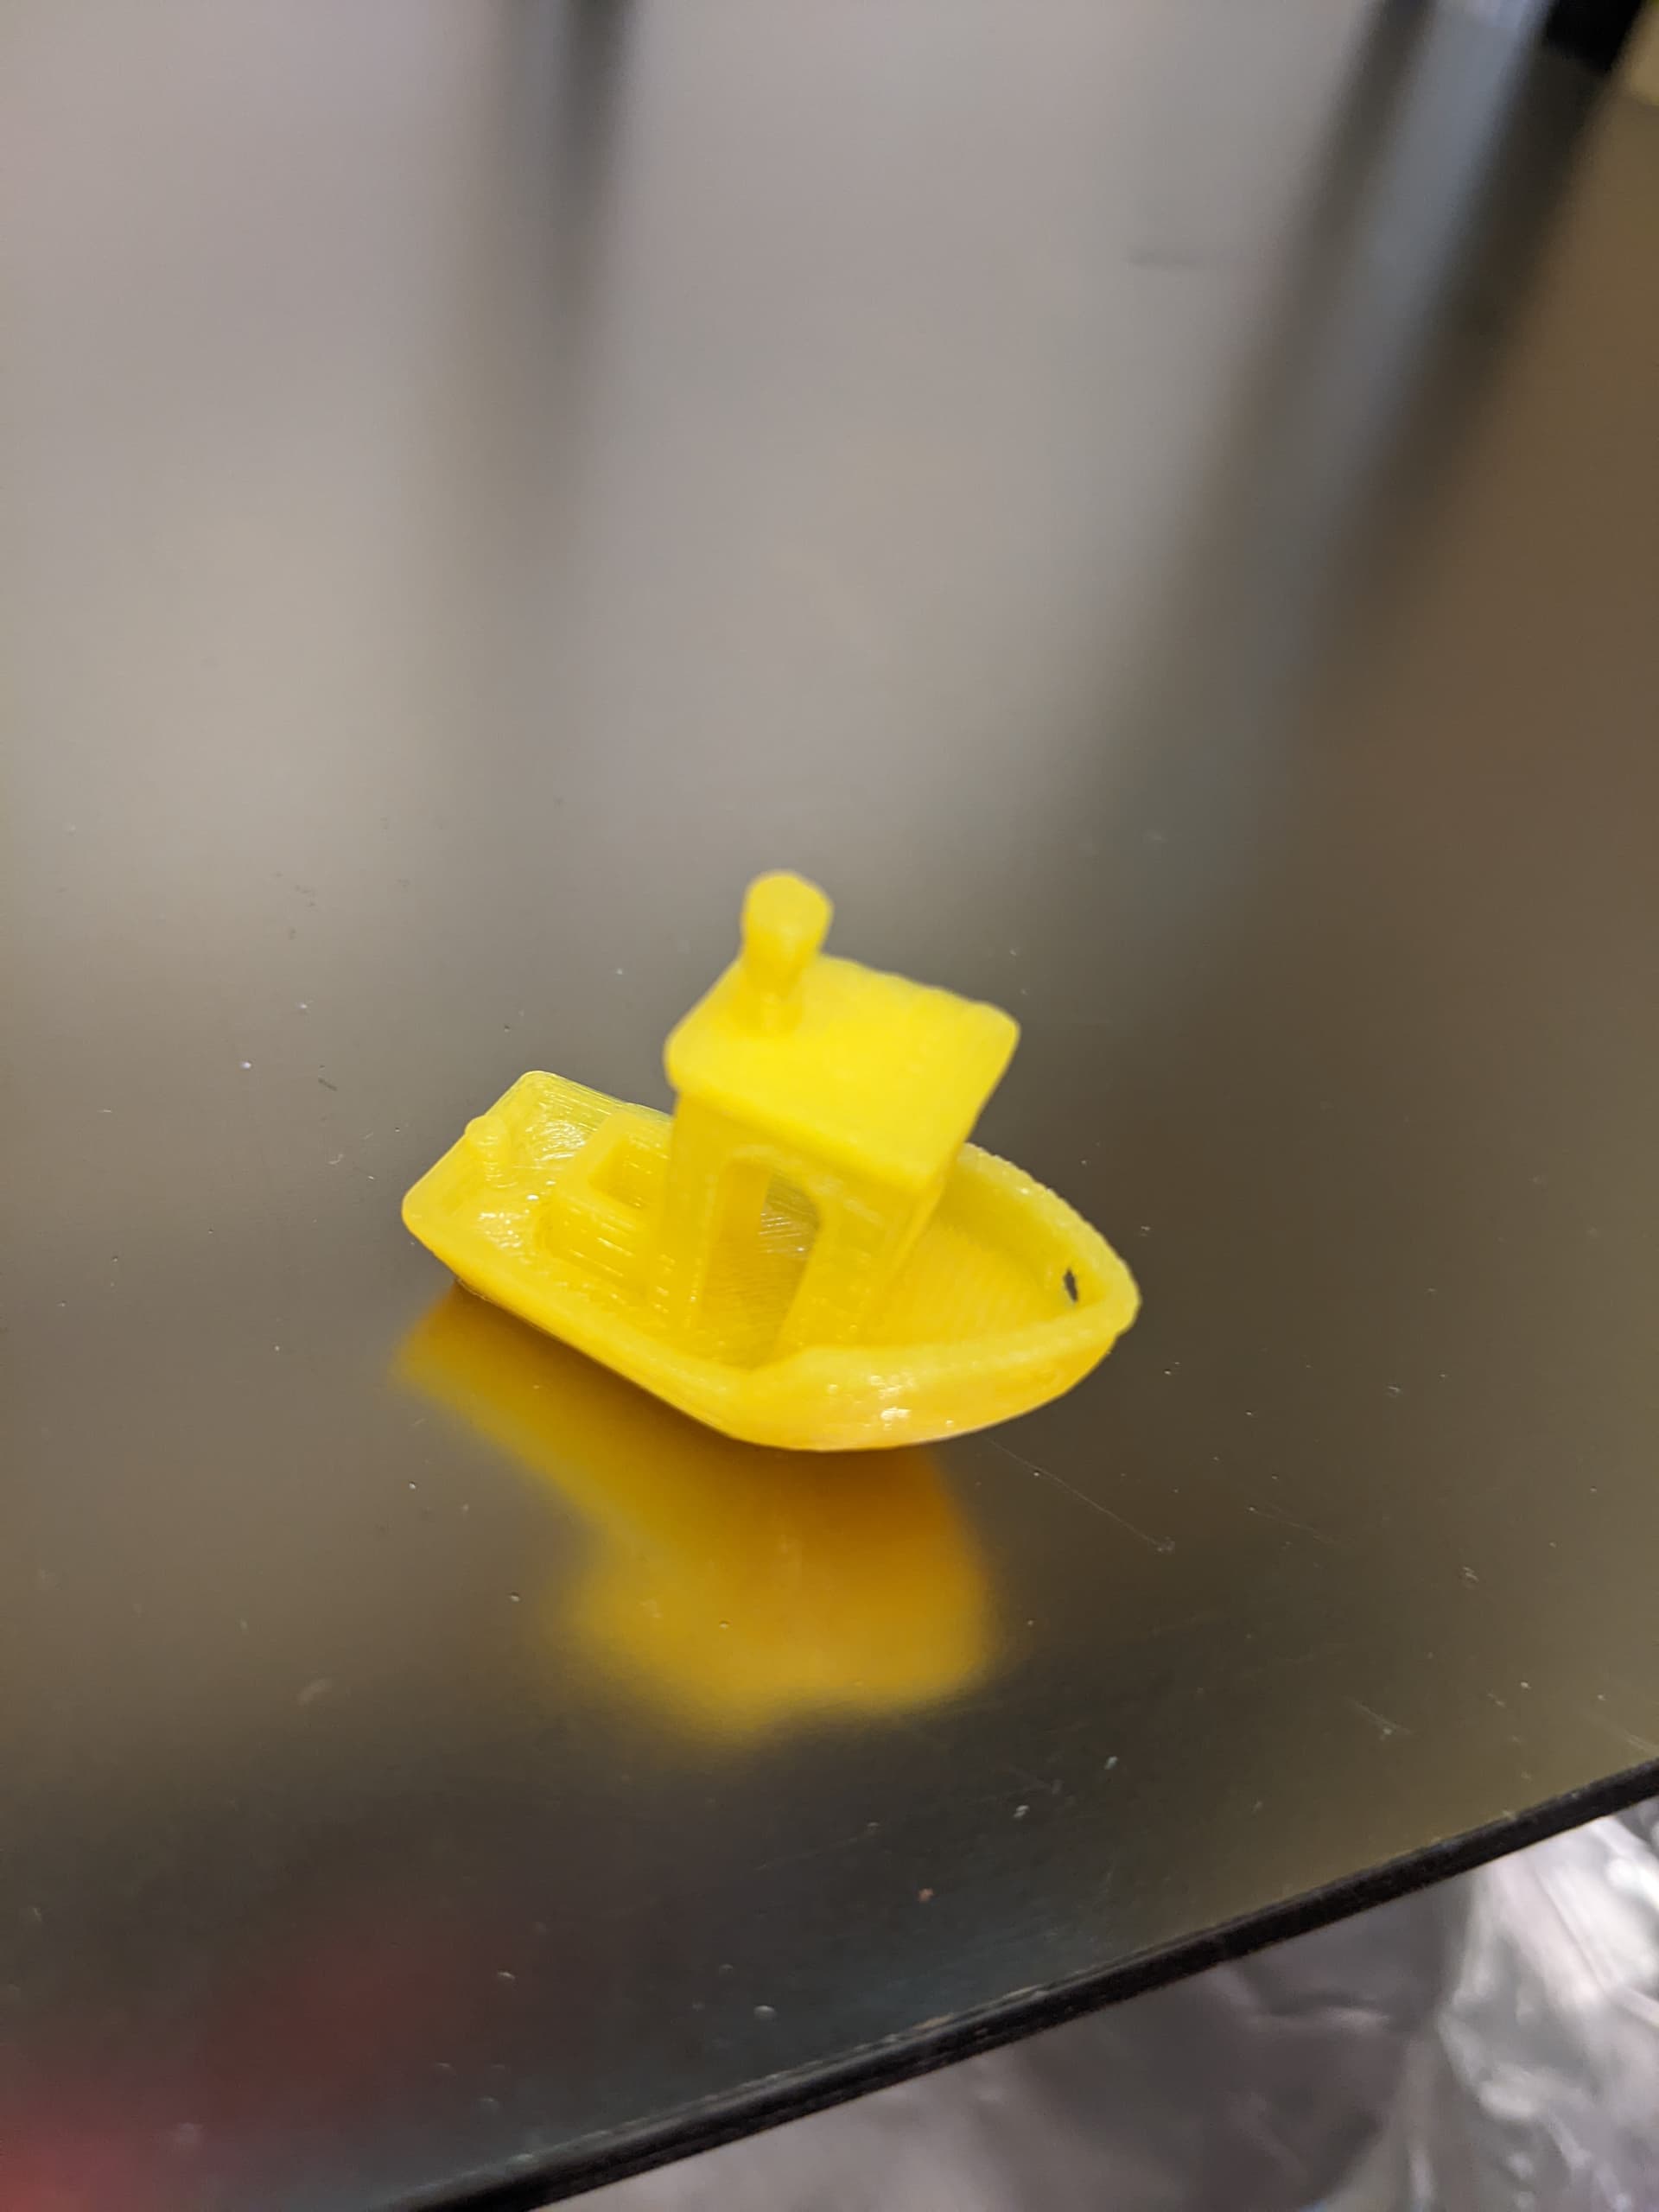
That looks great!
Congratulations! Squirting molten plastic qualifies for being able to claim a MP3DP serial number
First print with this machine, first print for me with klipper.
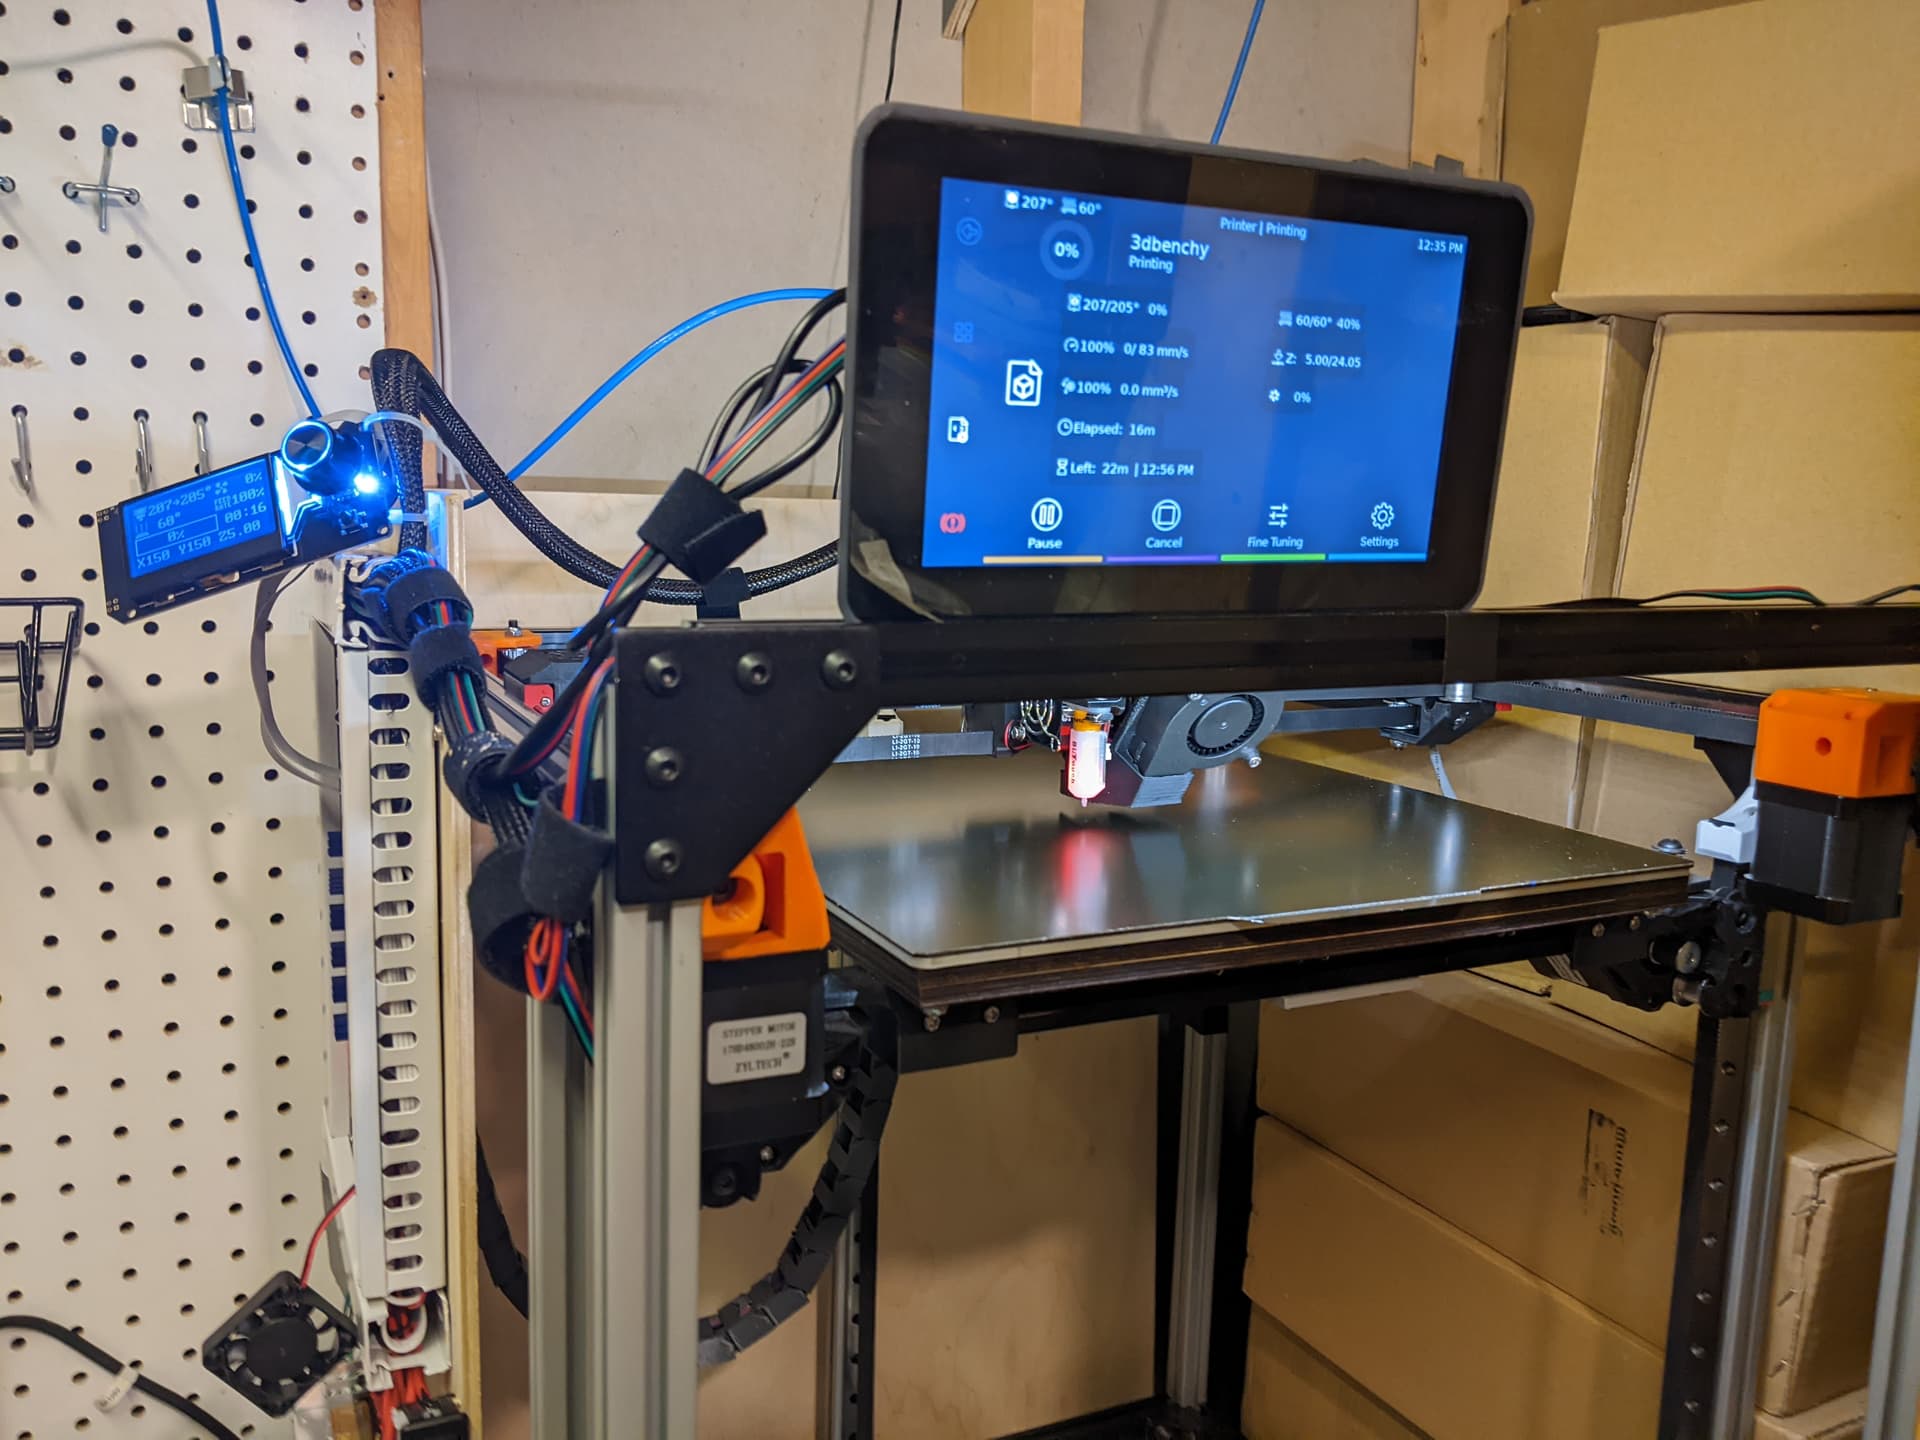
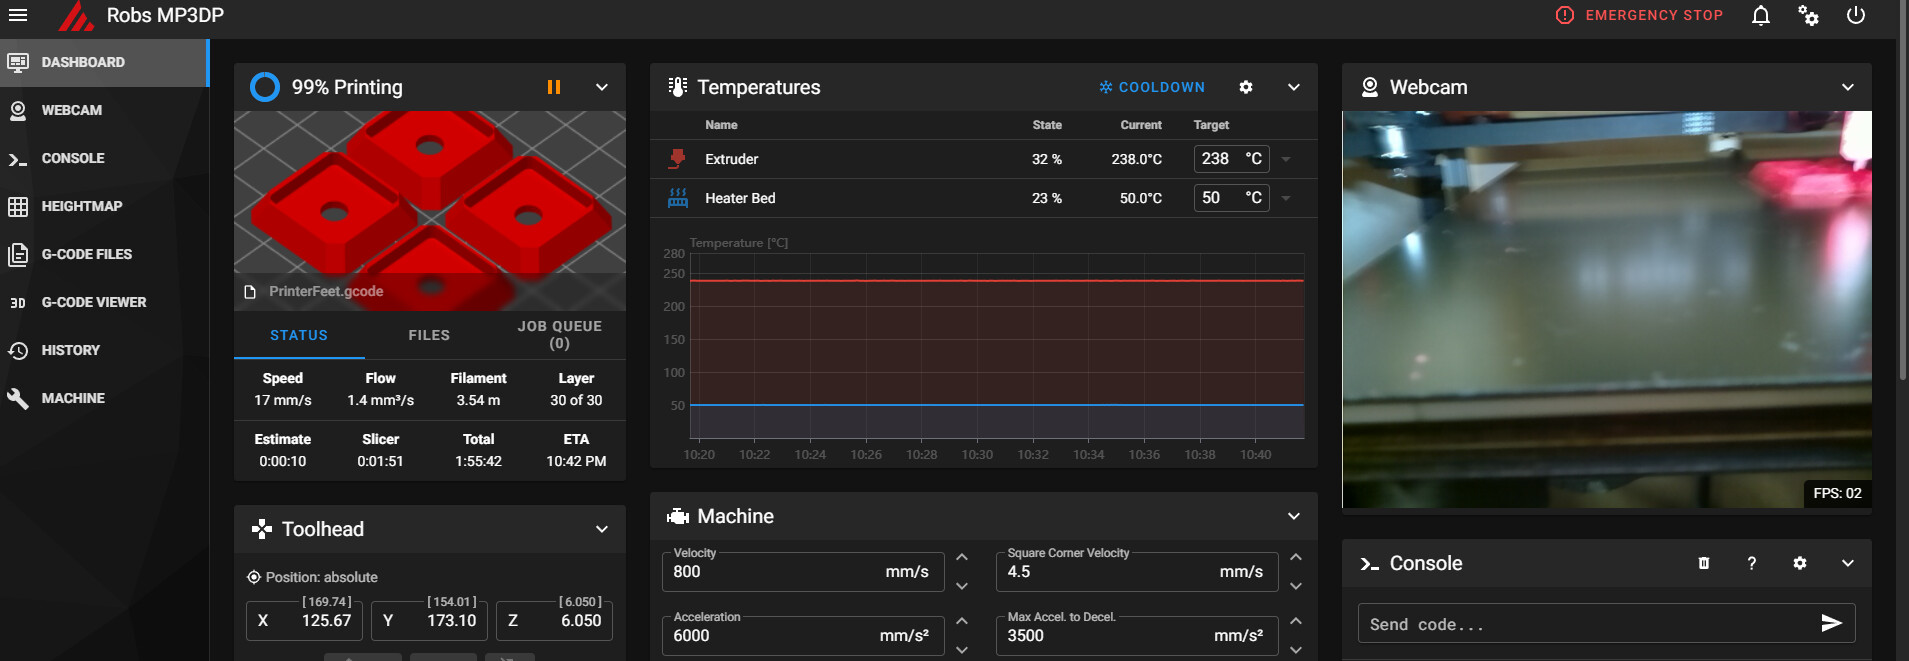
It was to be a benchy, but after 17 minutes of heating up, it still hadn’t started printing, so something isn’t quite right… print canceled 2x
Throwing darts here: Picked 205 as extrude temp and 60 for bed. Extruder wouldn’t stabilize and wandered from 205-207 C for 7 minutes. I’m looking to see if there is a pid tuning calibration for the hot end. Perhaps that is why it isn’t progressing. Thoughts?
Edit: the command is PID_CALIBRATE HEATER=extruder TARGET=200
I got 000014
It sure did! Congratulations.
Just a note of thanks to those of you who took time to consider my questions and even post answers and encouragement. I really appreciate the help. This has been a long frustrating build with duplicate purchases of several electronic components and reprints and just not much time to make it work. There are still so many things still left to do (enclose print area, enclose controller area, mount LCD, mount RPI, turn on camera, mount camera, make soft feet, make bed drop pads, secure print trolley wiring, etc.), but it is at least somewhat useful now and the purpose it was built was to reprint the MPCNC parts I cracked from heavy use this summer. Based on my first bency print, this is totally possible now. Thank you!
Curious about 3d printing calibration for dimensional accuracy:
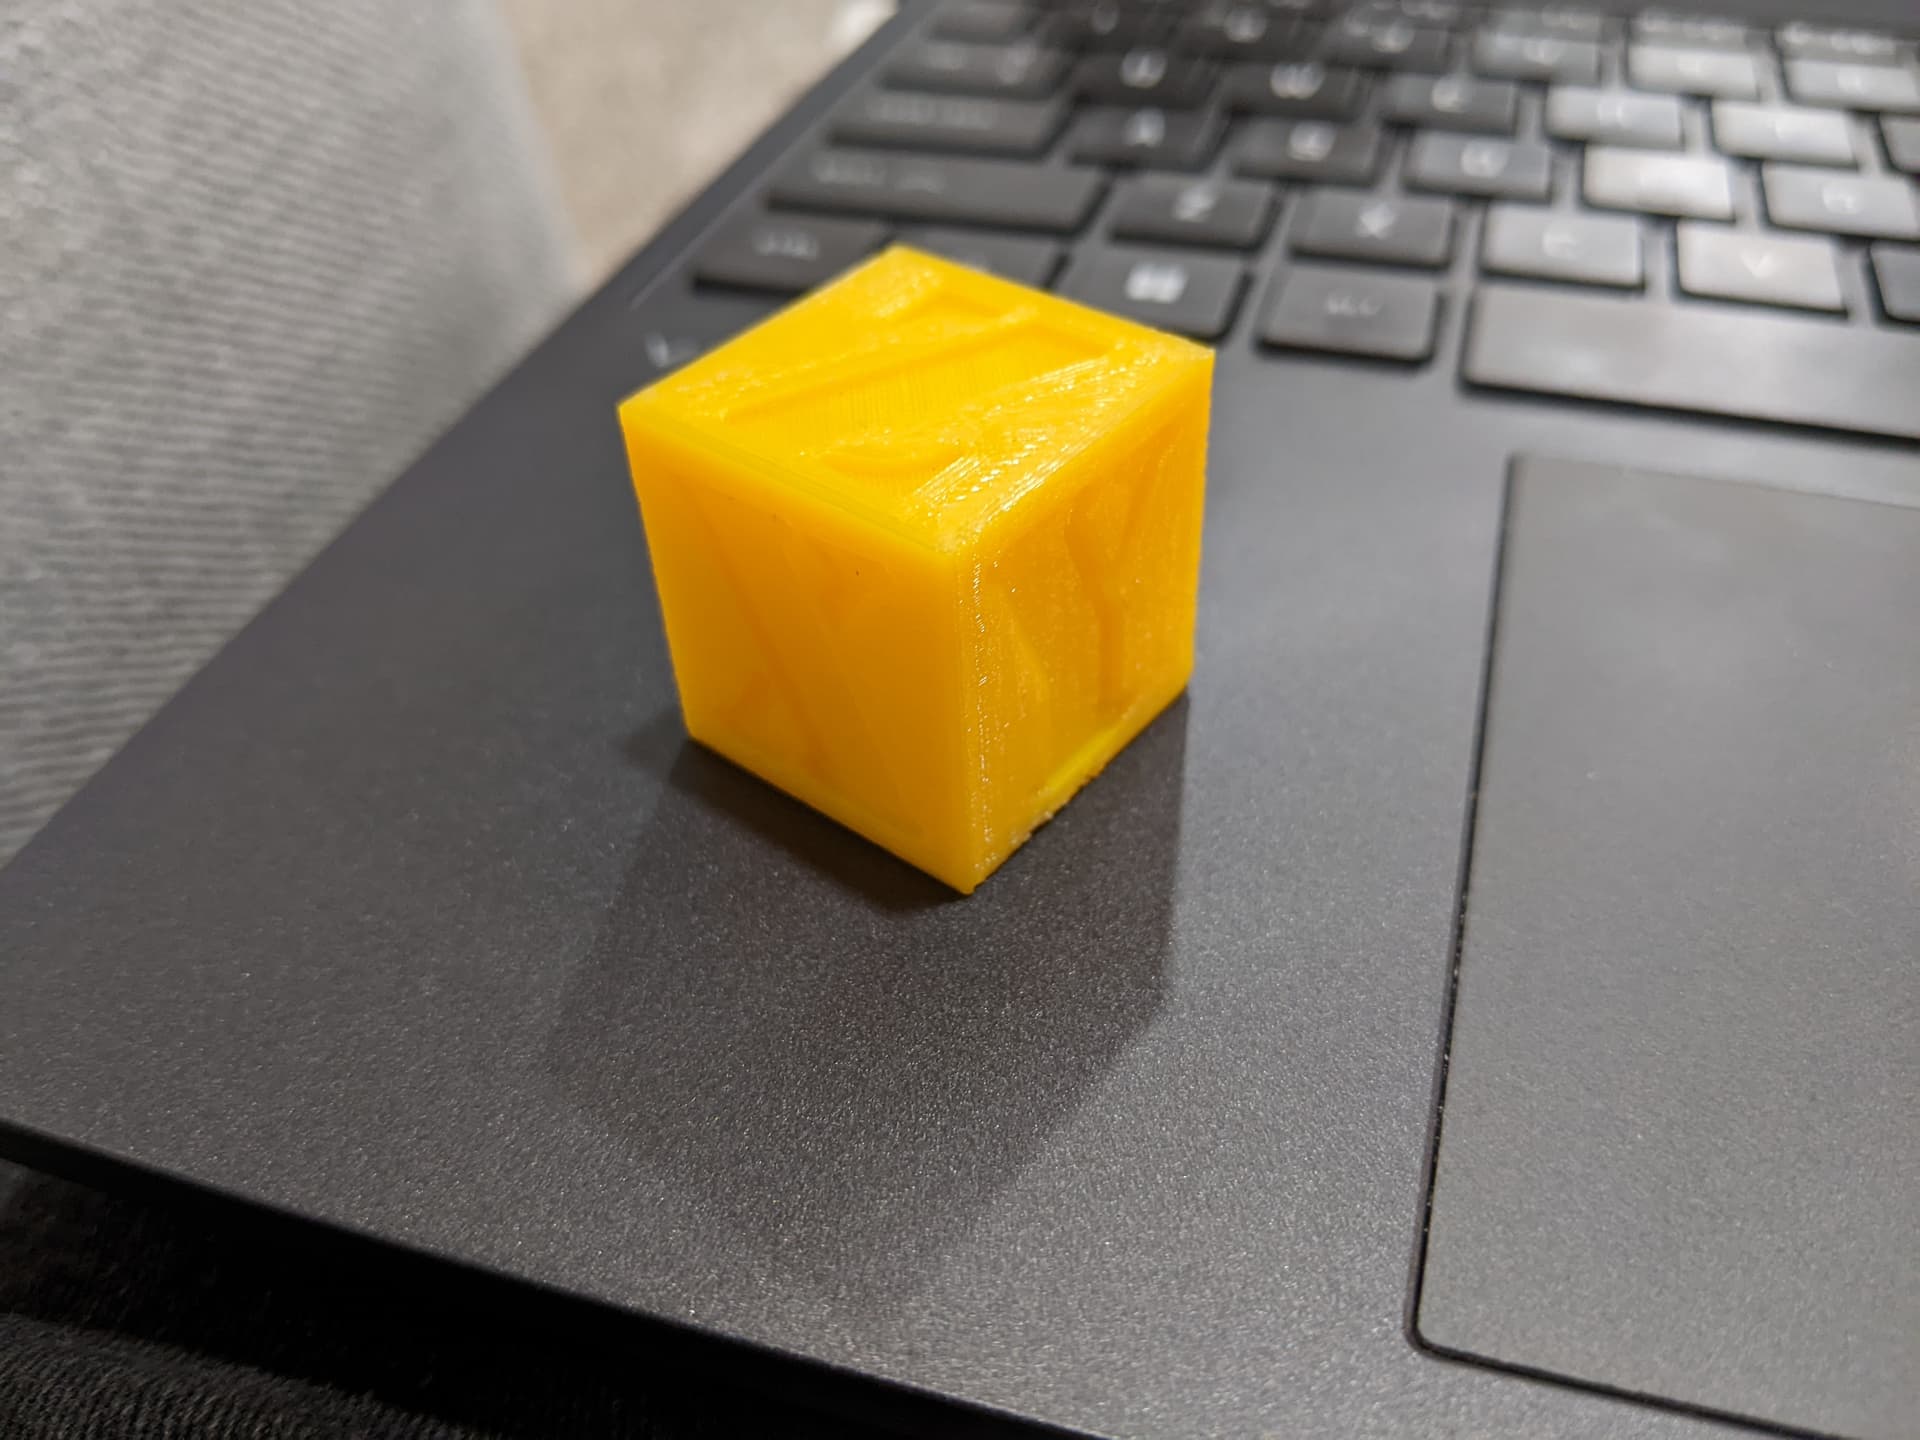
printed a 1"x1"x1" cube (25.4 mm x 25.4 mm x 25.4 mm) of PLA at 205 °C with a 0.4 mm nozzle and a step height of 0.2 mm.
X = 25.38 mm
Y = 25.77 mm
Z = 25.59 mm
Is that within what should be considered acceptable tolerance?
Possible sources of dimensional inaccuracies:
- overextrusion
- excessive heat and flow/squish
- some other minor setup issue.
Thoughts?
How fast, 500mm/s at 6000mm/s^2 ?
Only at 60 mm/s. There is no shaper sensor on it, so it isn’t up to speed yet. How fast should it go? I’m basically using stock generic slicer settings. If it is accurate at slow speed it should translate to faster speeds. Intuitively… But, it probably needs to be tuned for specific speeds?
Generic slicer settings don’t translate to different printers. My best settings for PLA - 30mm/s for the first layer, then 200 for infills/inner layers, 500mm/s top and bottom (with acceleration 3000 it does not get to that speed unless there are long runs), 80-100 for outer wall. All of that after setting linear advance, input shaping, correct geometry and extrusion multiplying