Your cube is good but you can get within 0.2mm accuracy. Print bigger model, like 100x100. This will give you a better picture if culprit is steps per mm vs extrusion multiplying factor
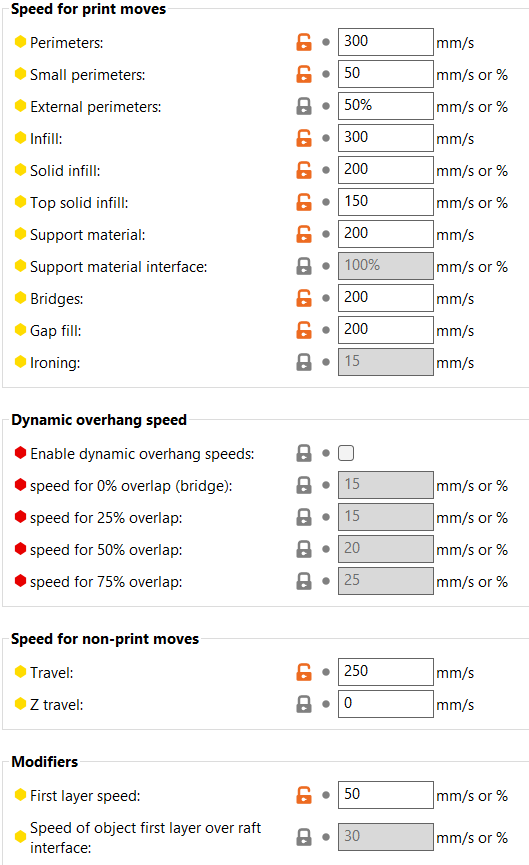
I looked at your settings and then put in these:
and it looks like this:
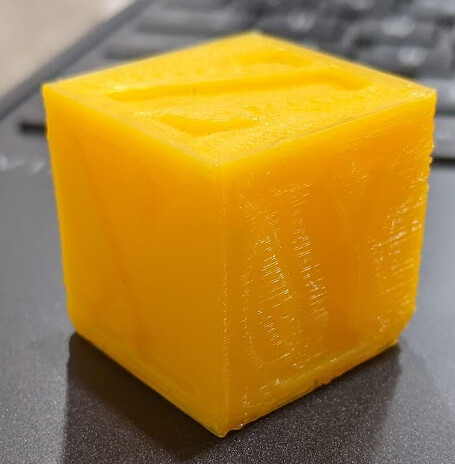
as opposed to the one at 60 mm/s that looks like this:
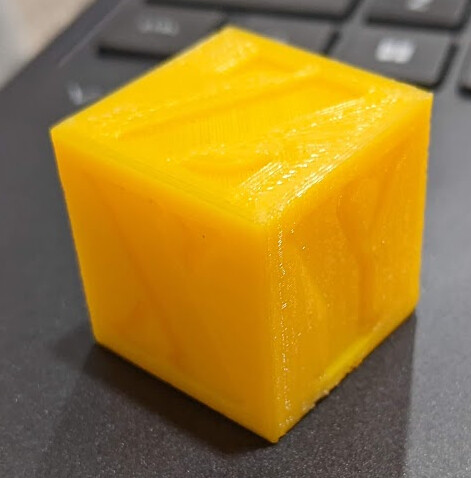
There is definitely some resonance around the Y on the faster one, but it did it.
Wondering if it will print a benchy with these settings…
Hard to see on the yellow but if you get ringing on faster speeds either reduce acceleration or use input shaping (which is great and does not require any additional hardware). Also make sure linear advance is also set to the correct value. Every printer is different
+1 for this. Ended up wasting >400g of filament on a Core that was wrong height. Cause was I didn’t use larger dimensions to calibrate Z correctly.
Really you need to print something big. So if you 10X that size is the error now 250.38mm or is it 253.8 or worse?
I do this by printing large rectangles and face them different ways depending on what I want to test. No sense printing a giant cube if you can do it with two rectangles.
my measurement caliper only goes to 6" , so the printer is working on a 150 mm square frame that is 10 mm high and 10 mm thick. That might be a bit taller than needed, but should give an idea of the error for x and y. Then it will print a 5 mm x 5 mm tower 350 mm tall… because it can.
I see a darth vader helmet in my future.
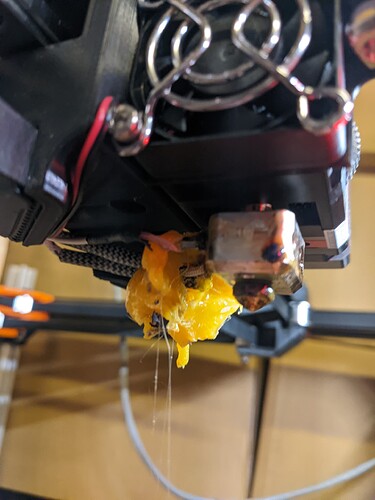
Yeah, so that isn’t supposed to do that:
THEN she says, “How much would it cost for you to just buy one that works?”
In face in my case she said - “Just buy one that works!!” ![]()
![]()
You wouldn’t get to work on it then!! Heresy.
Well in my case she also asked several times- “why did you buy the kit, can’t you buy them already finished?”
Sometimes I just HAVE to put my foot down!![]()
… And there’s more : In disassembling, I took the extruder off and proceeded to lose one of the bearings. Luckily having kept the box for it, each part was labelled in the info leaflet, so now we just get to wait on Amazon and run the cnc I guess.
Bummer.
Where was the hotend leaking from when it started squirting plastic?
Probably the nozzle would have had to be loose. After getting all the pla off, I removed and reinstalled and tightened the nozzle while it was hot, but it wasn’t loose.
There is a reason you can buy parts, a kit, or the fully assembled printer. To each their own.
The trick is to have 2 3d printers. One working and one you’re working on. If the wife asks for a print, print it on the working one. She’ll never figure out you keep switching from one printer to the other.
I do the same with Harleys. She always knows which one I’m working on, though, because it’s the one NOT in the garage next to her car.
Did you look under the piano? If it’s not there it’s under the fridge, or any other similarly immovable object.
There’s some sort of rule of science that deals with that.
Hah, joke’s on you, our piano sits on felt coasters and can therefore be moved pretty easily. ![]()
Au contraire mon ami!!
Well in your case it’s not ever going to be there, so don’t bother looking.
The first law of ball bearing and tiny spring disassembly is that it will roll under the nearest piano OR other immovable object!! ![]()
My shop area is the far end of the storage room and with the mpcnc in there for the winter, I have enough room to turn around. I did crawl under the work bench. For times like this, it makes sense to have the printer completely enclosed.
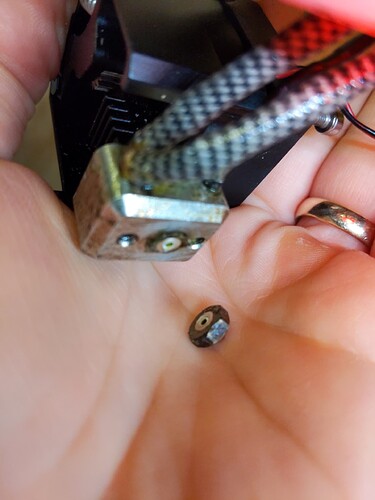
Ok. So I got new bearings and installed them, but the heater block was off by 90 degrees. So I needed to just loosen the nozzle to twist it…
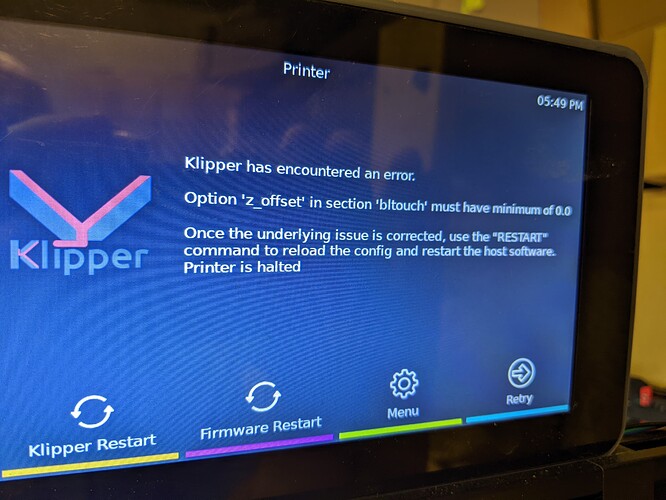
It is ok. I bought new 0.6 mm nozzles too and got it all back together, but the nozzles are slightly longer, so I needed to adjust the z height so I did a z calibration because, “Hey. What does this do?”
Now I have this:
And it won’t wifi connect or do anything else so I can’t change it. How do you fix that?
