Building v4.1 with info from this thread.
Frame pieces cut. Squaring and frame assembly started.
Time is very limited to detail it all out, but progress has been made.
Building v4.1 with info from this thread.
Frame pieces cut. Squaring and frame assembly started.
Time is very limited to detail it all out, but progress has been made.
Progress. I have most of the printed parts mounted. Waiting on a couple bolts. Looking into belts and wiring now.
Documentation pictures and information show none of the z axis with belts or are shown in such a way as to hide them.
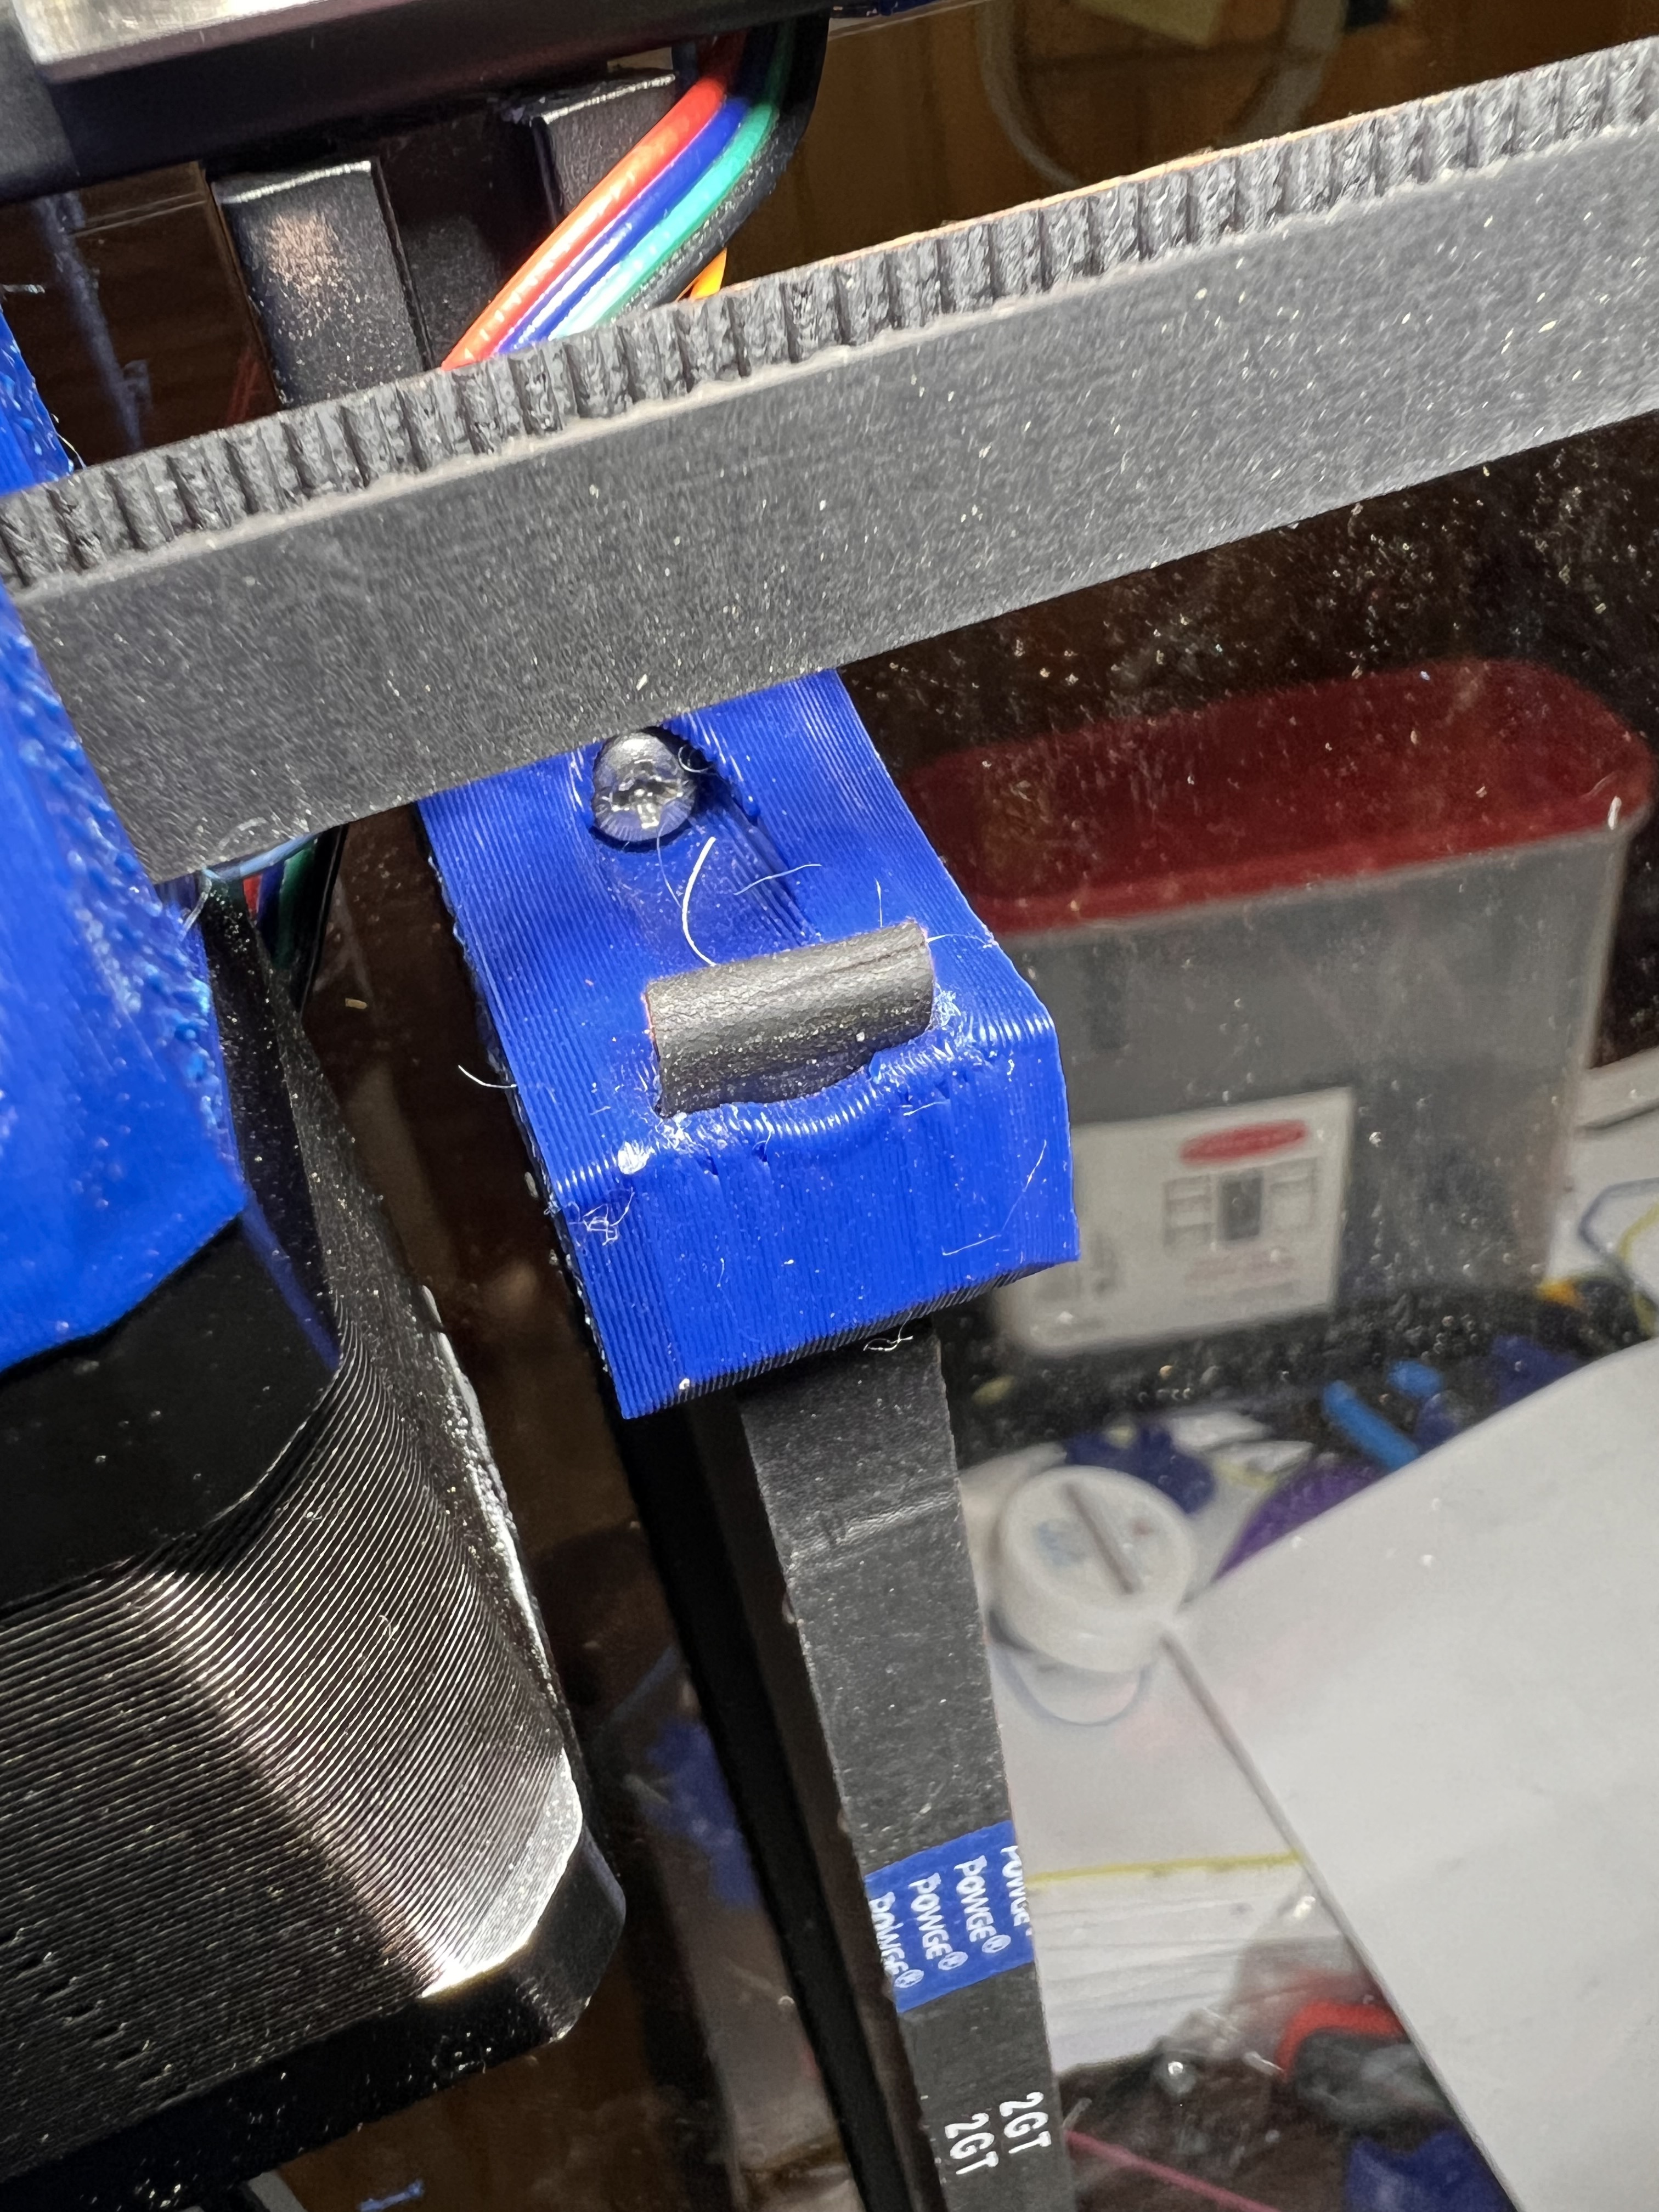
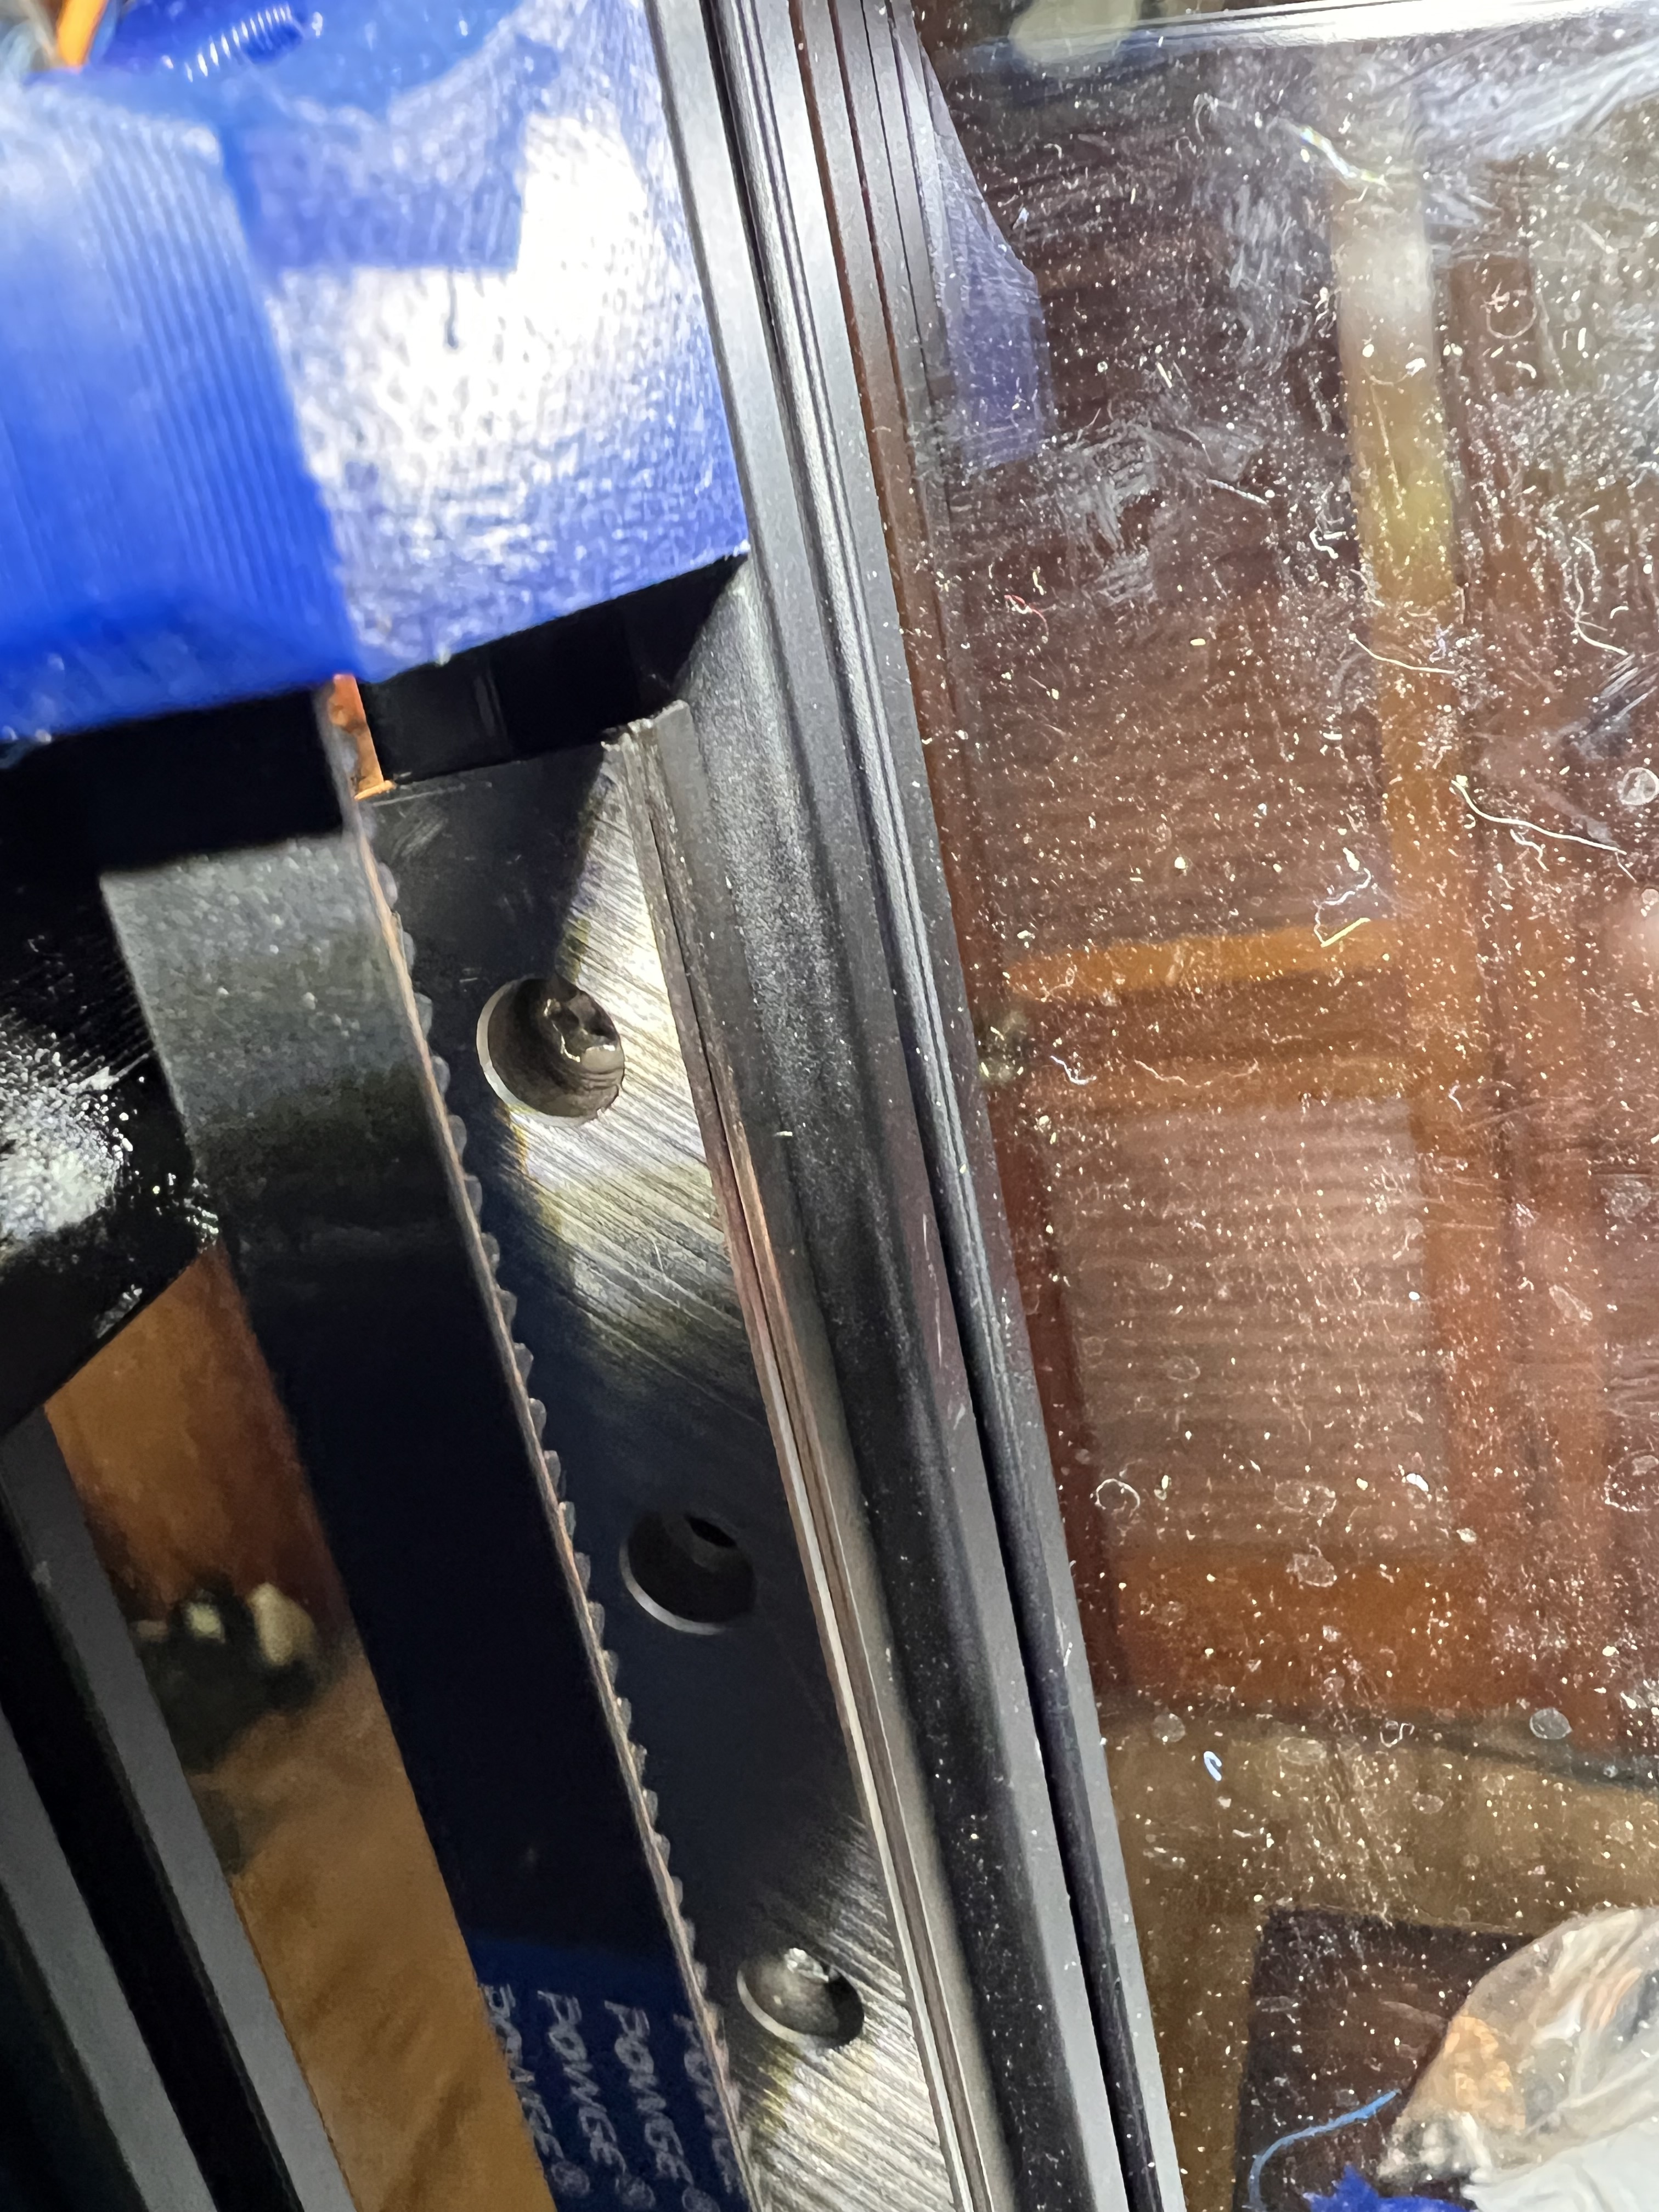
Question: How high do we mount the z axis belt holder and how does it actually hold the belt?
Crappy pics but hopefully they help some. I started with my top belt holder up against the linear rail and then slid it up to tension the belt. Also I missed it the first time. The lower belt holder goes in the bottom rail not on the z rail. Oh and the belt comes up though the tensioner and then folds back on it’s self and back in. My discription of that sucked but hopefully you’ll be able to decipher it lol
Did the same. I opened the MP3DP model in Fusion and used measure tool to help figure out how high top Z belt holders should be mounted.
I knew I wasn’t the only one just couldn’t remember who else… and didn’t want to call anyone out like that LOL
Thanks @Jonathjon and @azab2c. I figured it must be straight-forward to not be called out as it was. That slot looks really narrow, so it should hold. Does the top position really matter as long as it goes up high enough for the nozzle to put down the first layer and nothing with the X/Y movement hits it?
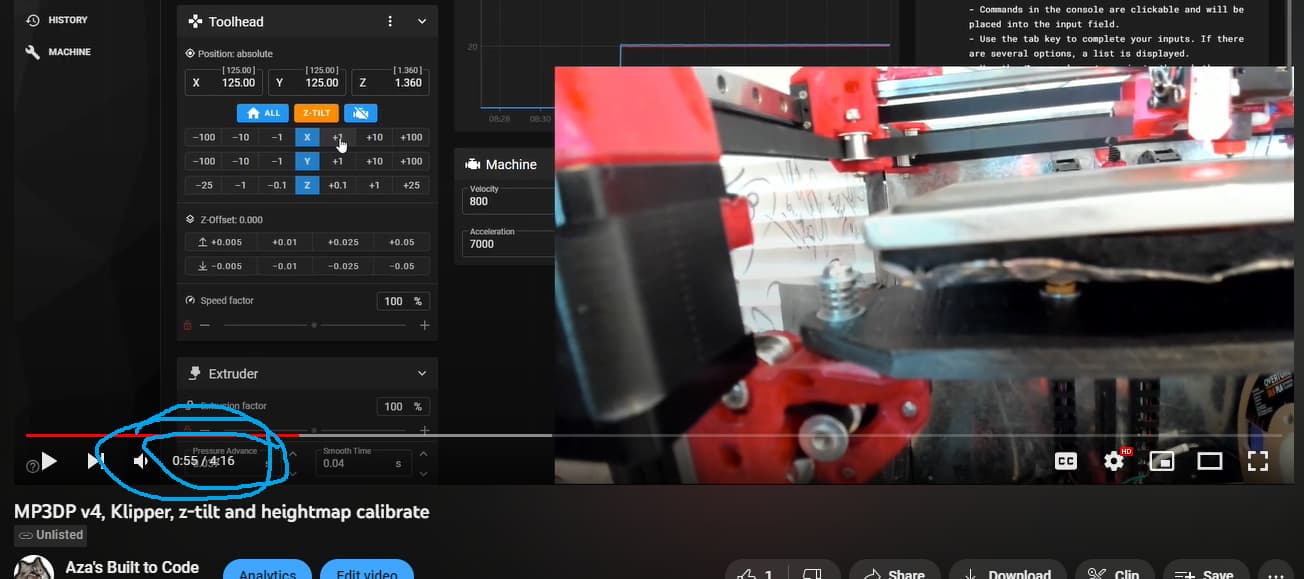
You’re right, just position high as possible without colliding with XY motion. For me that ended up being ~35mm from top of top extrusion to top of Z Belt Holder, see model in Fusion if possible. Fortunately there’s a wide margin available for where you position height of the top Z belt holder. At least that was true for my build… Given the overall thickness of the build plate assembly , and hotend/nozzle am using.
Hopefully following screenshot from this clip (part of Klipper Heightmap Calibration ) helps illustrate…
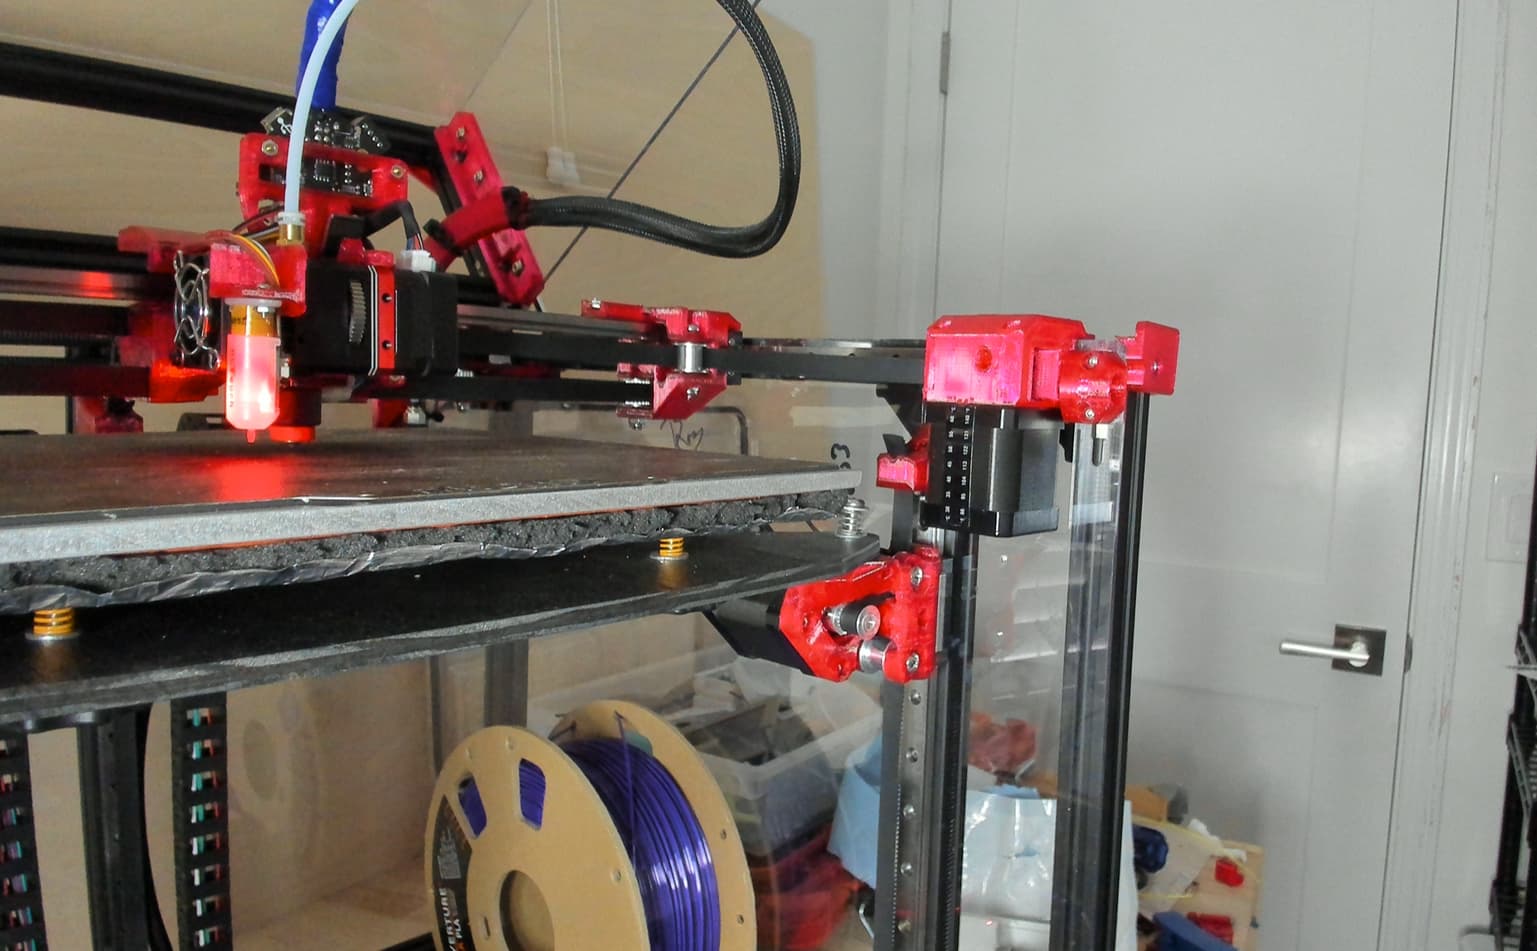
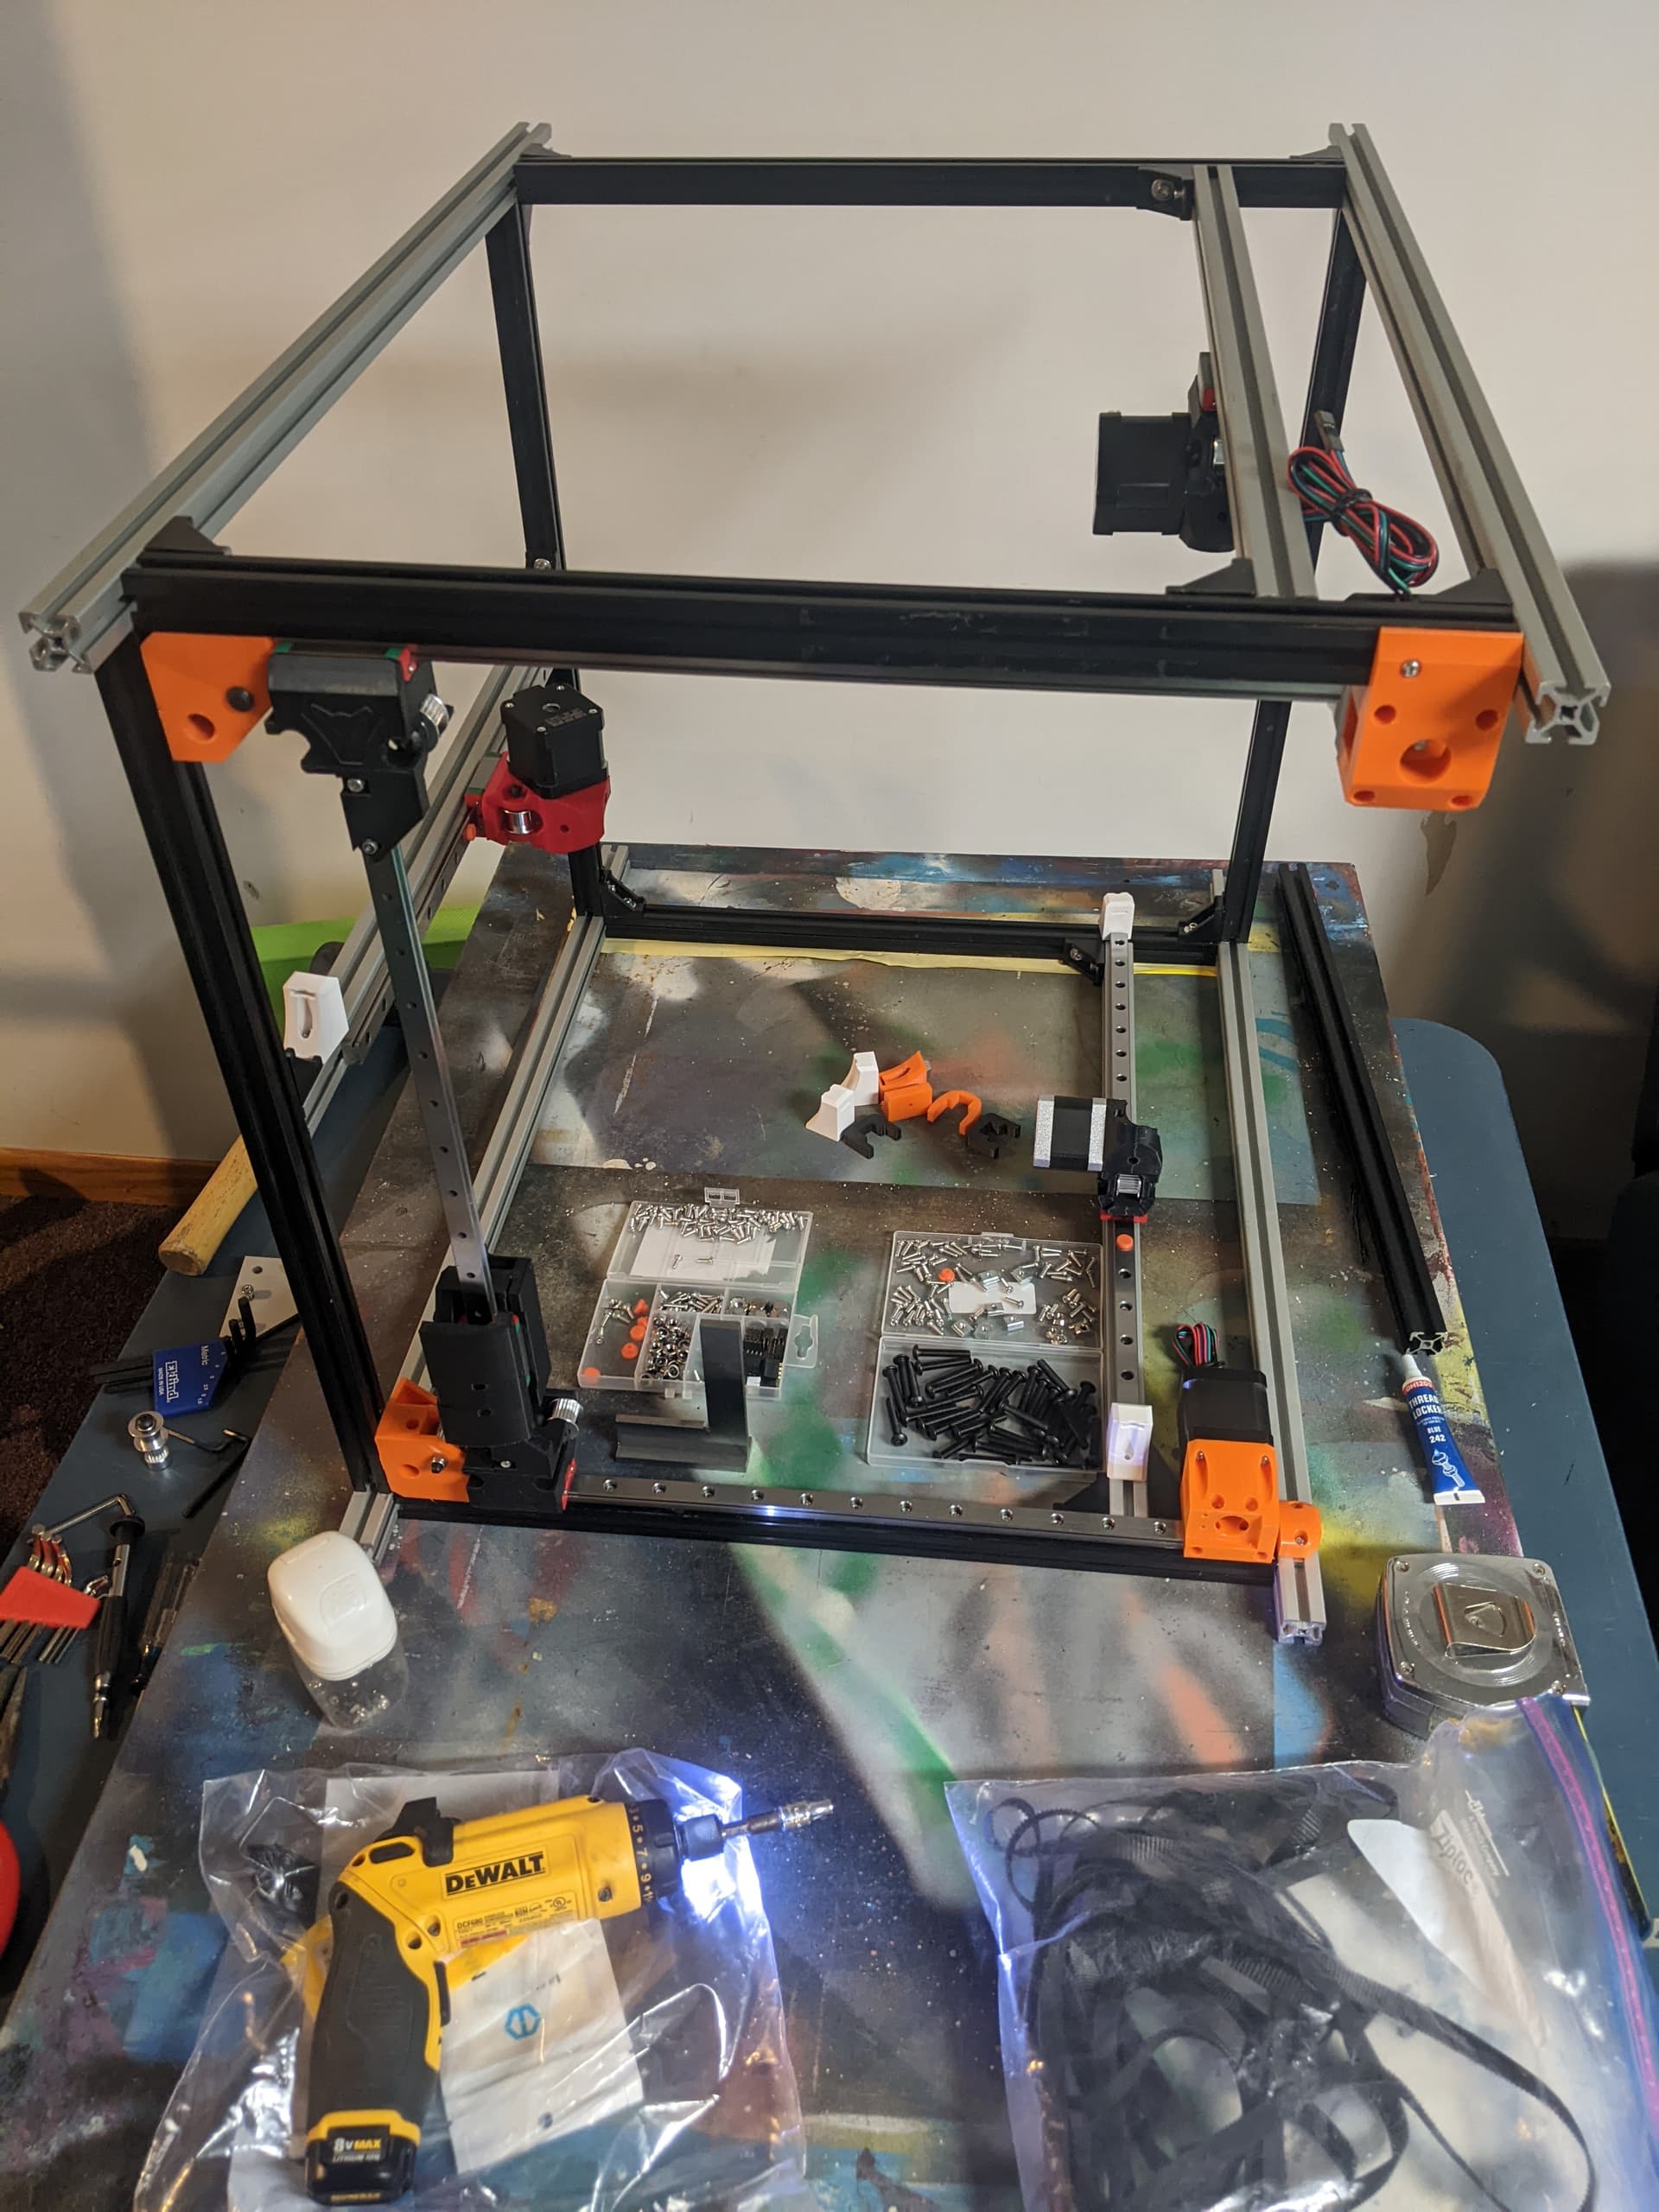
Update on progress (I had a friend print these parts with random filament just to get me going… hence the different random orange, black, red, white colors.):
Next is to get belts on, verify squaring, and start wiring.
@probrwr I found your printables model: I have the H2 V2S. Is your print model likely to work with it? They are close, but the nozzles are way different. I printed the basic one with the V4 print kit and I’m wondering if it could work. I pulled your bed mount for the 2020. Did you print the center part of the bed mount T adapter from the voron part kit?
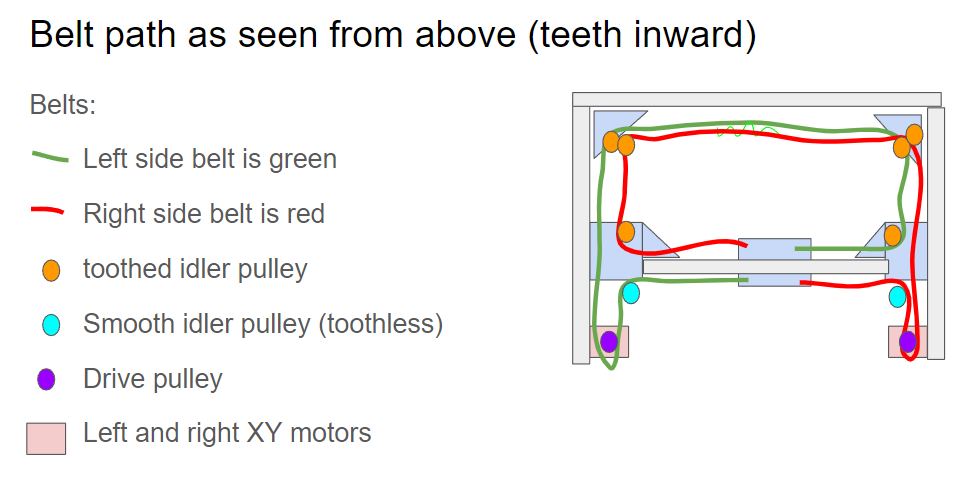
I’m not following the belt path for the core XY setup. Is there a 101 diagram to show that maybe the right side motor belt goes above and threads here and here while the left belt threads below and goes here and here…wait… I think I have the whole Y setup backwards. That helps a little, but still doesn’t bring it all home.
Reading the docs for previous version, v3, and some other threads helped me figure out belt stuff. Here’s v3 info and a photo… https://docs.v1e.com/mp3dp/version3assm/#belting-the-gantry, much of the advice there was helpful for v4 even though it’s a diff design.
Captured and shared my assembly experience, my first CoreXY build…

Let me know if that helps or confuses, am trying to figure out whether to leave unlisted or make public? Intentionally left audio commentary in which is kinda understandable at 0.25x playback.
Oh, the mp3dp-v4-gallery-pictures-mainly-wiring-examples can help with visually understanding/confirming too.
Cheers!
So you don’t loop the belt back on otselft to locknitbin place, you cut and insert a 1/2" length of belt to hold it?
At full speed without audio comprehension, the video was very helpful to me. Thanks @azab2c!
Yeah, I didn’t manage to bend the belt back on itself for XY, and instead ended up cutting off ~1/2" that could mesh with itself.
Bent belt ends is easier for the vertical Z belts. My build has interior panels (not common) which complicated Z belt install because I only had holes preventing Z Belt holders from sliding.
Guessing Bent belt ends will hold better if you can manage that approach. I was too frustrated and ended up with the short pieces to hold.
For example in the video, from 1:49 to about 3:00 you can see me faffing with trying to bend belt back on itself, finally gave up on that and used small separate piece.
This is what I ended up having to do for the Core this last go around. After watching your video I did exactly that and it was the easiest approach so far
This would have been super useful to me yesterday:
After swapping the x axis mount from the left and right sides, it all made sense. I’m short 3 smooth idlers so I’m waiting on those, but I’m going to start wiring the power supply, octopus and the raspberry pi and the 7" touch panel I have had laying around for a couple years. This will run klipper and mainsail to start.
I have the BIQU H2V2s and I’m looking for a printed mount for it. Any suggestions?
I plan to make a the voron-style base to hold the heated bed. it is a 24 V plate that fit my budget… nothing special. It will be held with a printed 2020 junction to make a T with @probrwr 's motor mounts for the ends.
@orob i believe the mount will work perfectly with your version. Actually the fan kountbwas designed for that one also but works with my Revo version.
@orob pretty sure i drilled the cross piece and threaded the end of the T piece and bolted them together.
Thanks for the confirmation on the extruder mount.
It looks like there is purple at junction between the two 2020 pieces below the bed in your photo, which is why I asked about that… driling it will work though. Thanks!
I think i used it to get the alignment right and then marked and drilled it.
One note. Depending on the thickness of your belts you may need to put a piece of electrical tape on the small pieces to get them to hold.
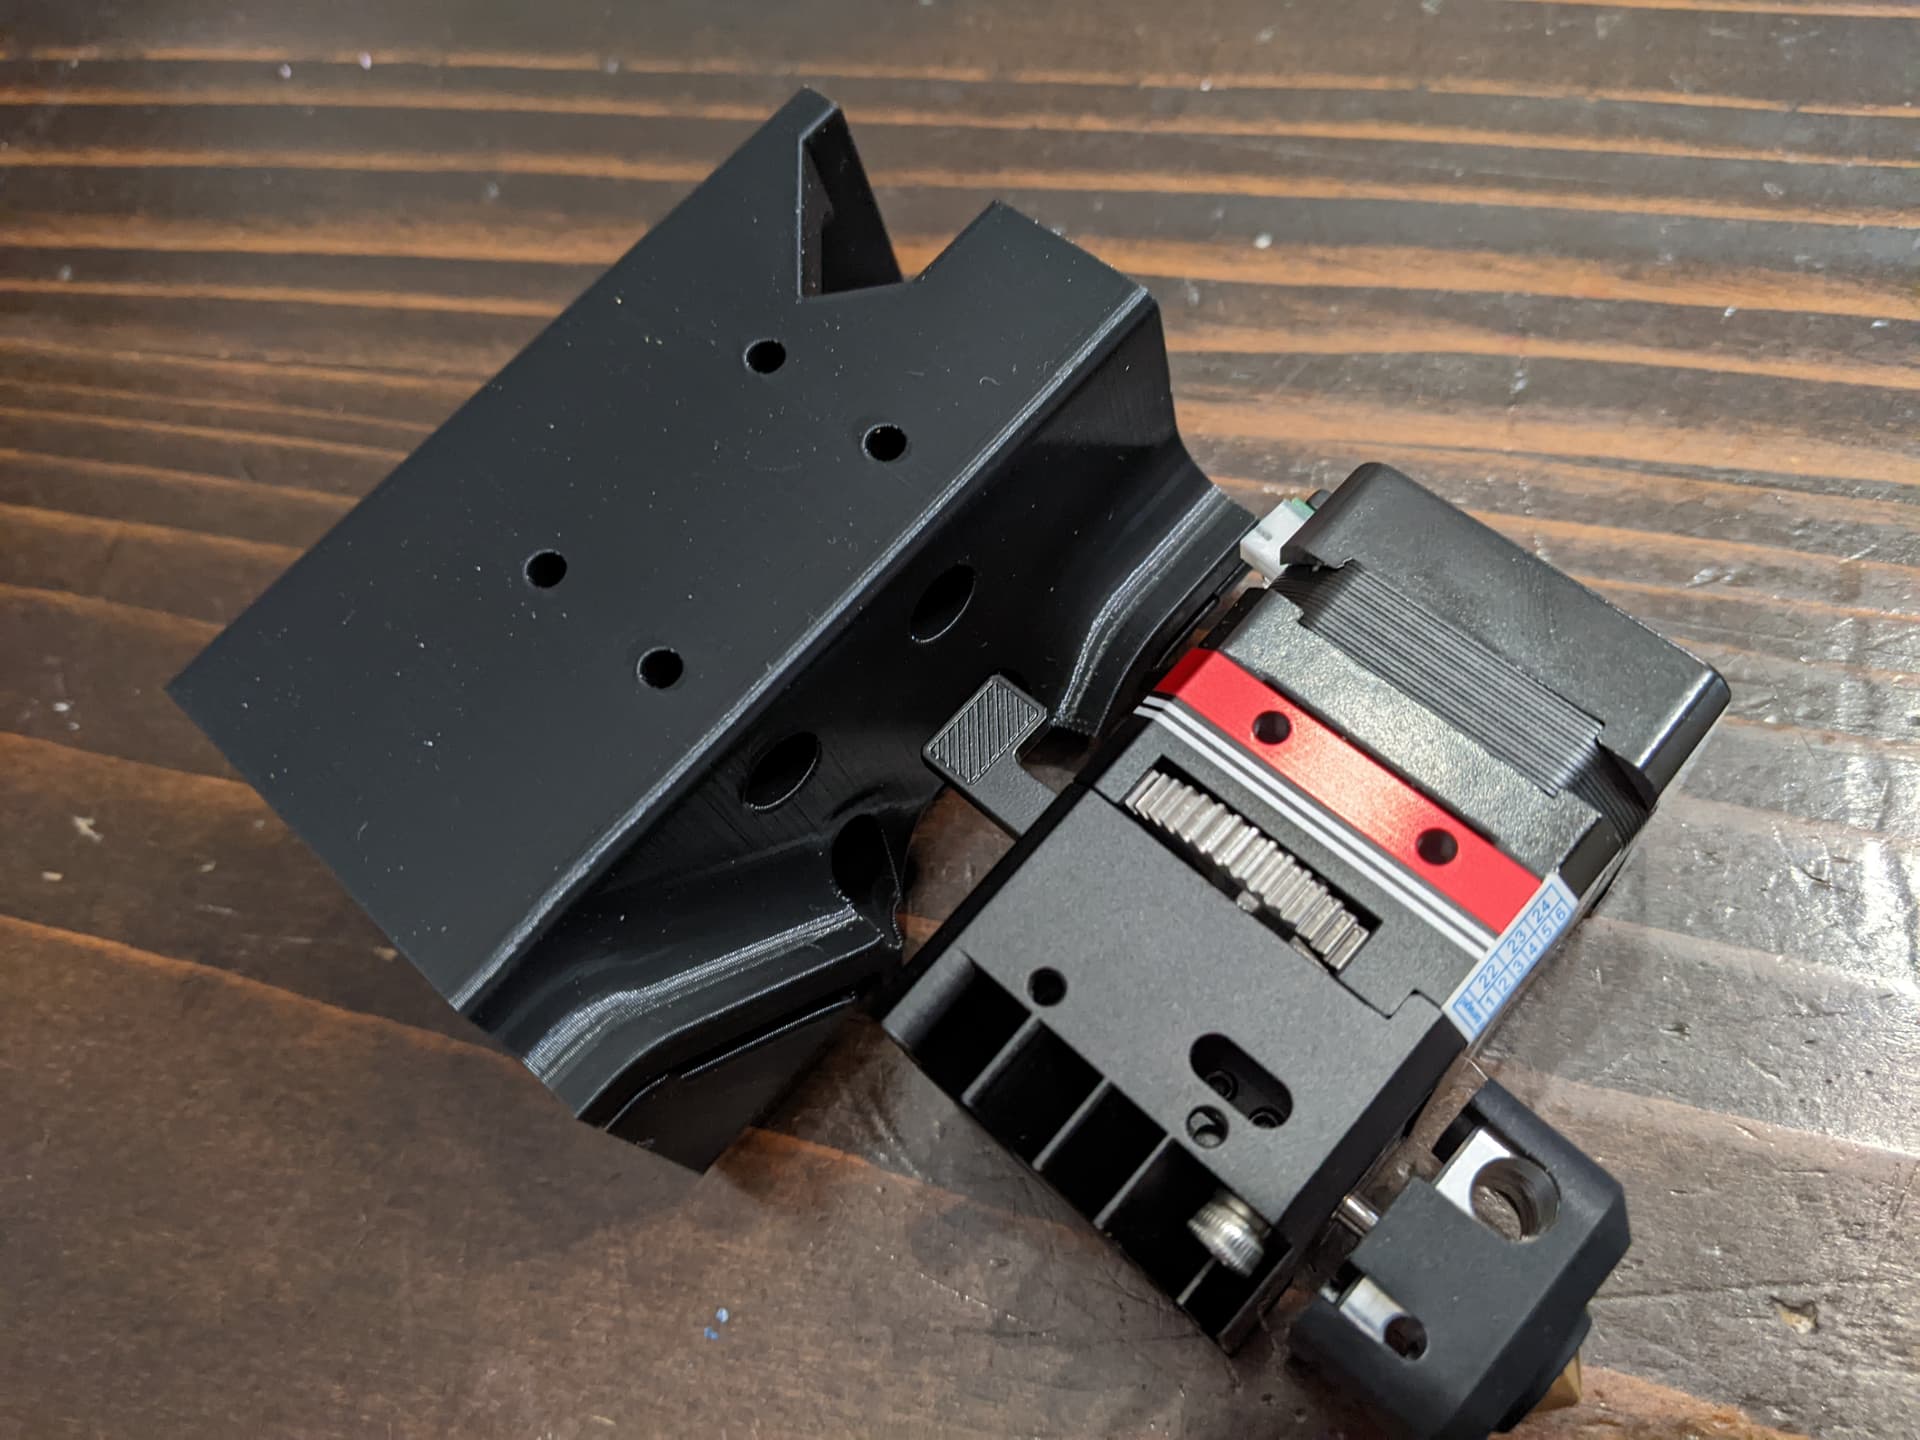
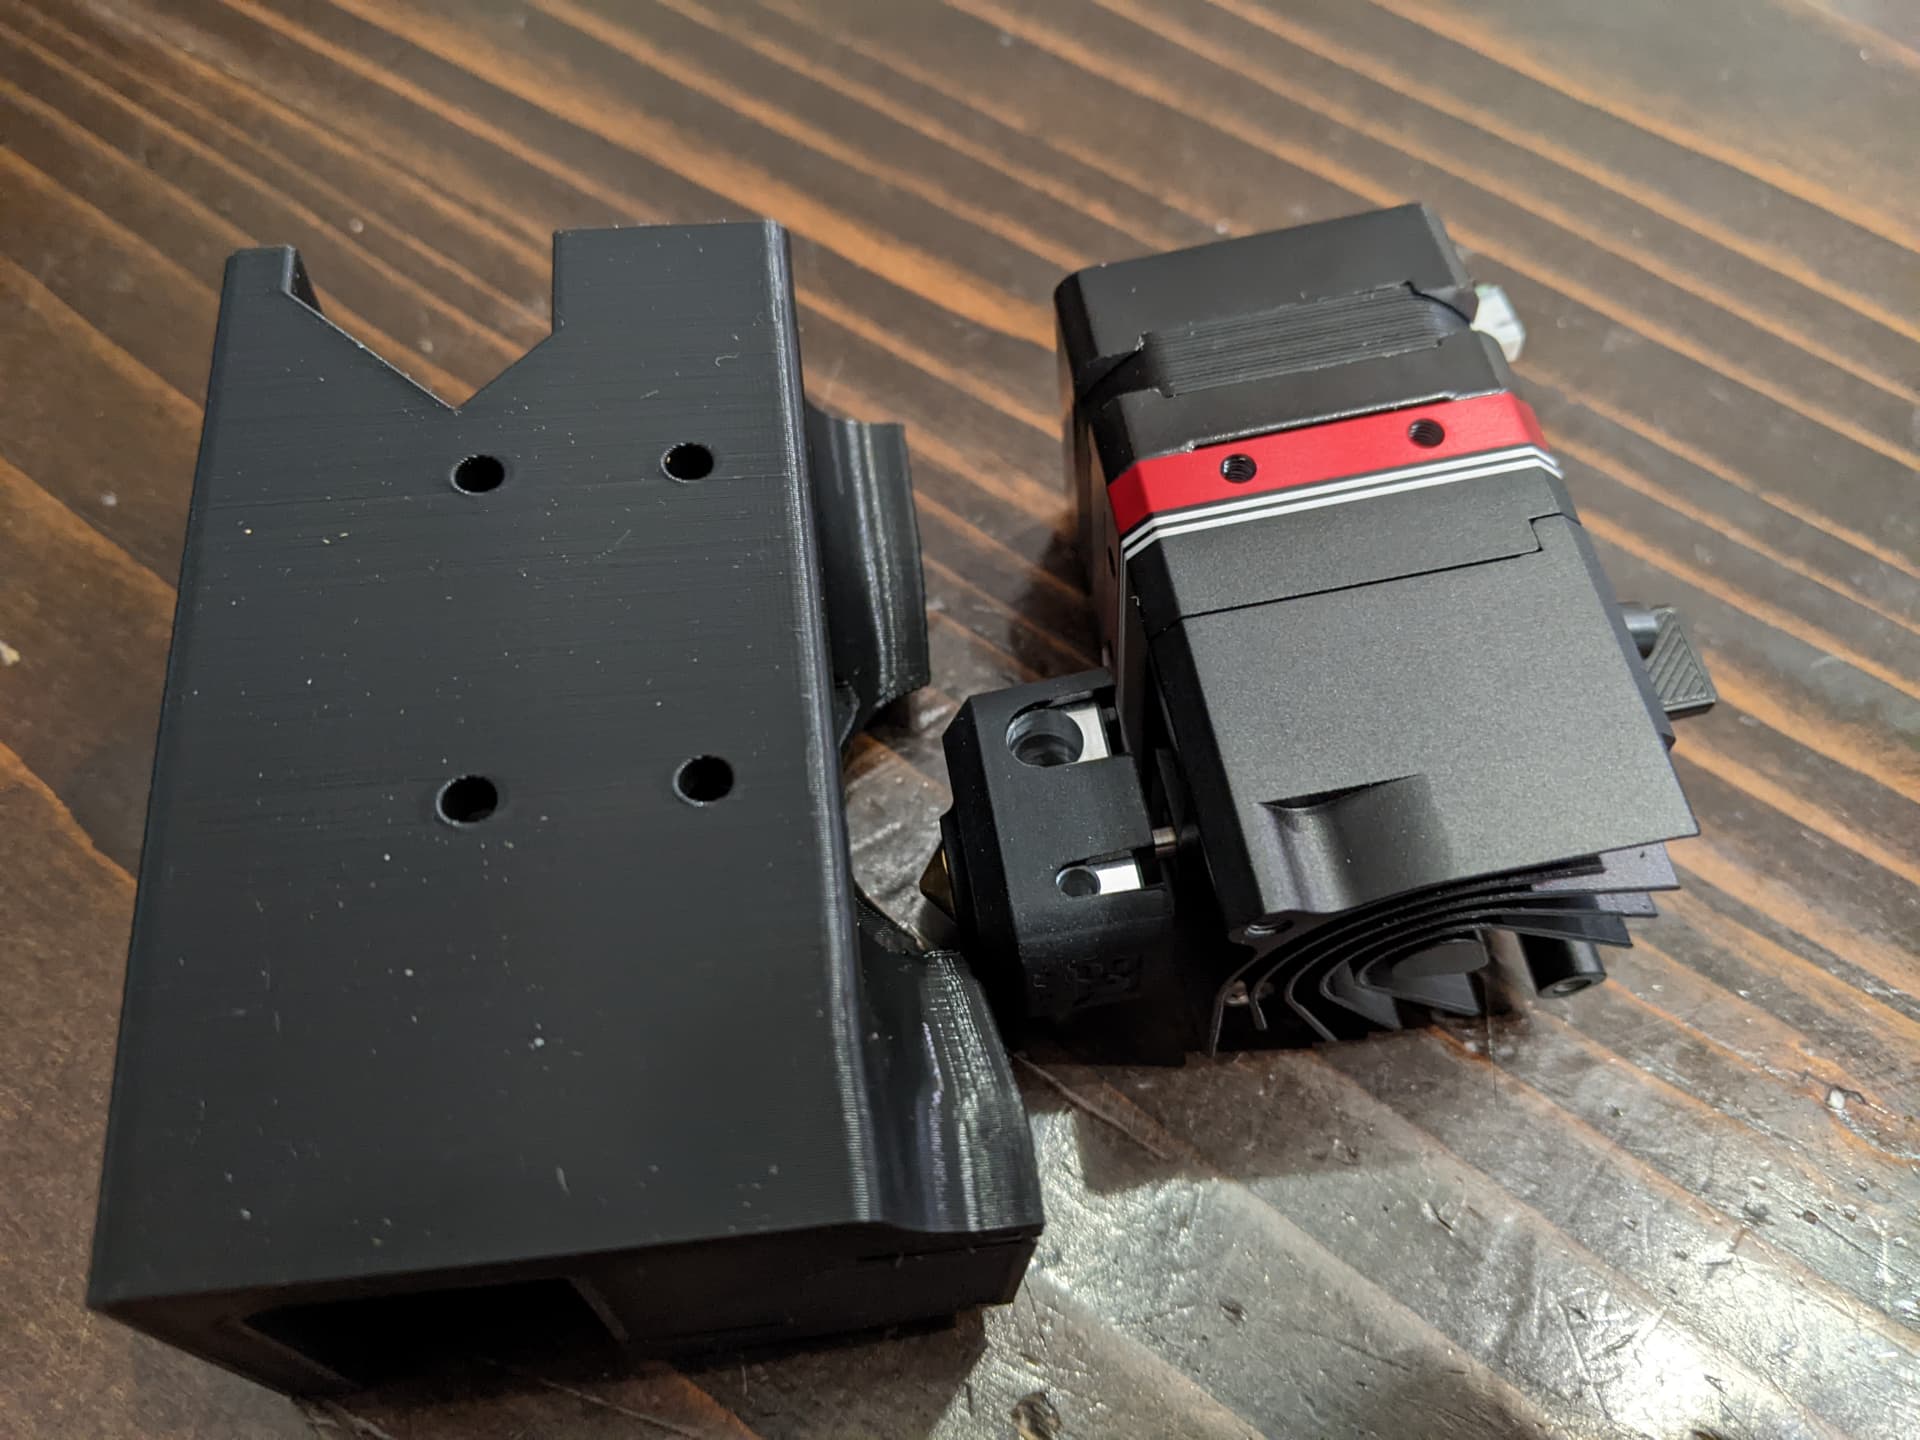
So the h2v2s extruder trolley is printed and ready to install. There are 4 bolt holes. If I use 4 bolt holes on the extruder, then the gear runs the trolley, if I flip the extruder around the there are only 2 mounting holes. But the fan is on the left as preferred in the documentation.
Is a 2 screw mount sufficient? I’ll get some pictures.
Edit: pics
4 holes and exposed manual gear:
2 hole connection: