Interesting that model has 200x200 heat pad under a 254 x254 plate.
@probrwr thank you for all the info you’ve been sharing. Am ordering a EBB36 and H2S V2 REVO thanks to your mention of them. Curious what heat pad you’re using? Planning to use PEI on your 12"x12"x1/4" Alu ? Cheers!
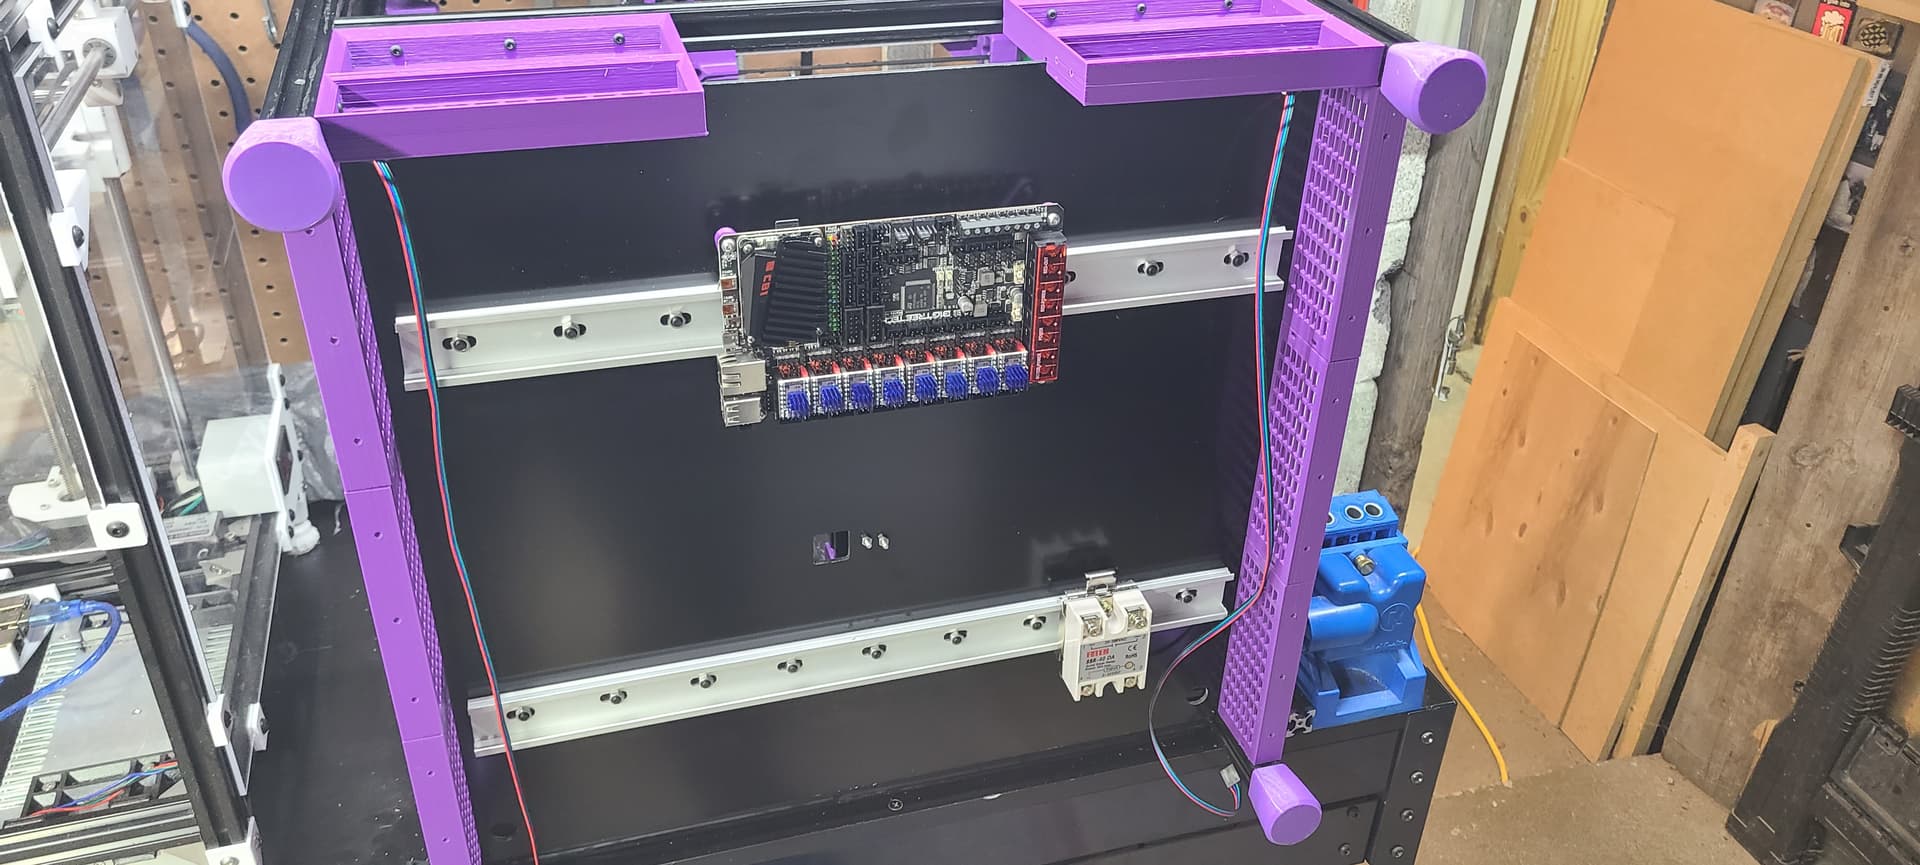
My plan is to mount the electronics on a piece of ACM mounted below the printer. I added an extra 90mm to the verticals to make this happen.
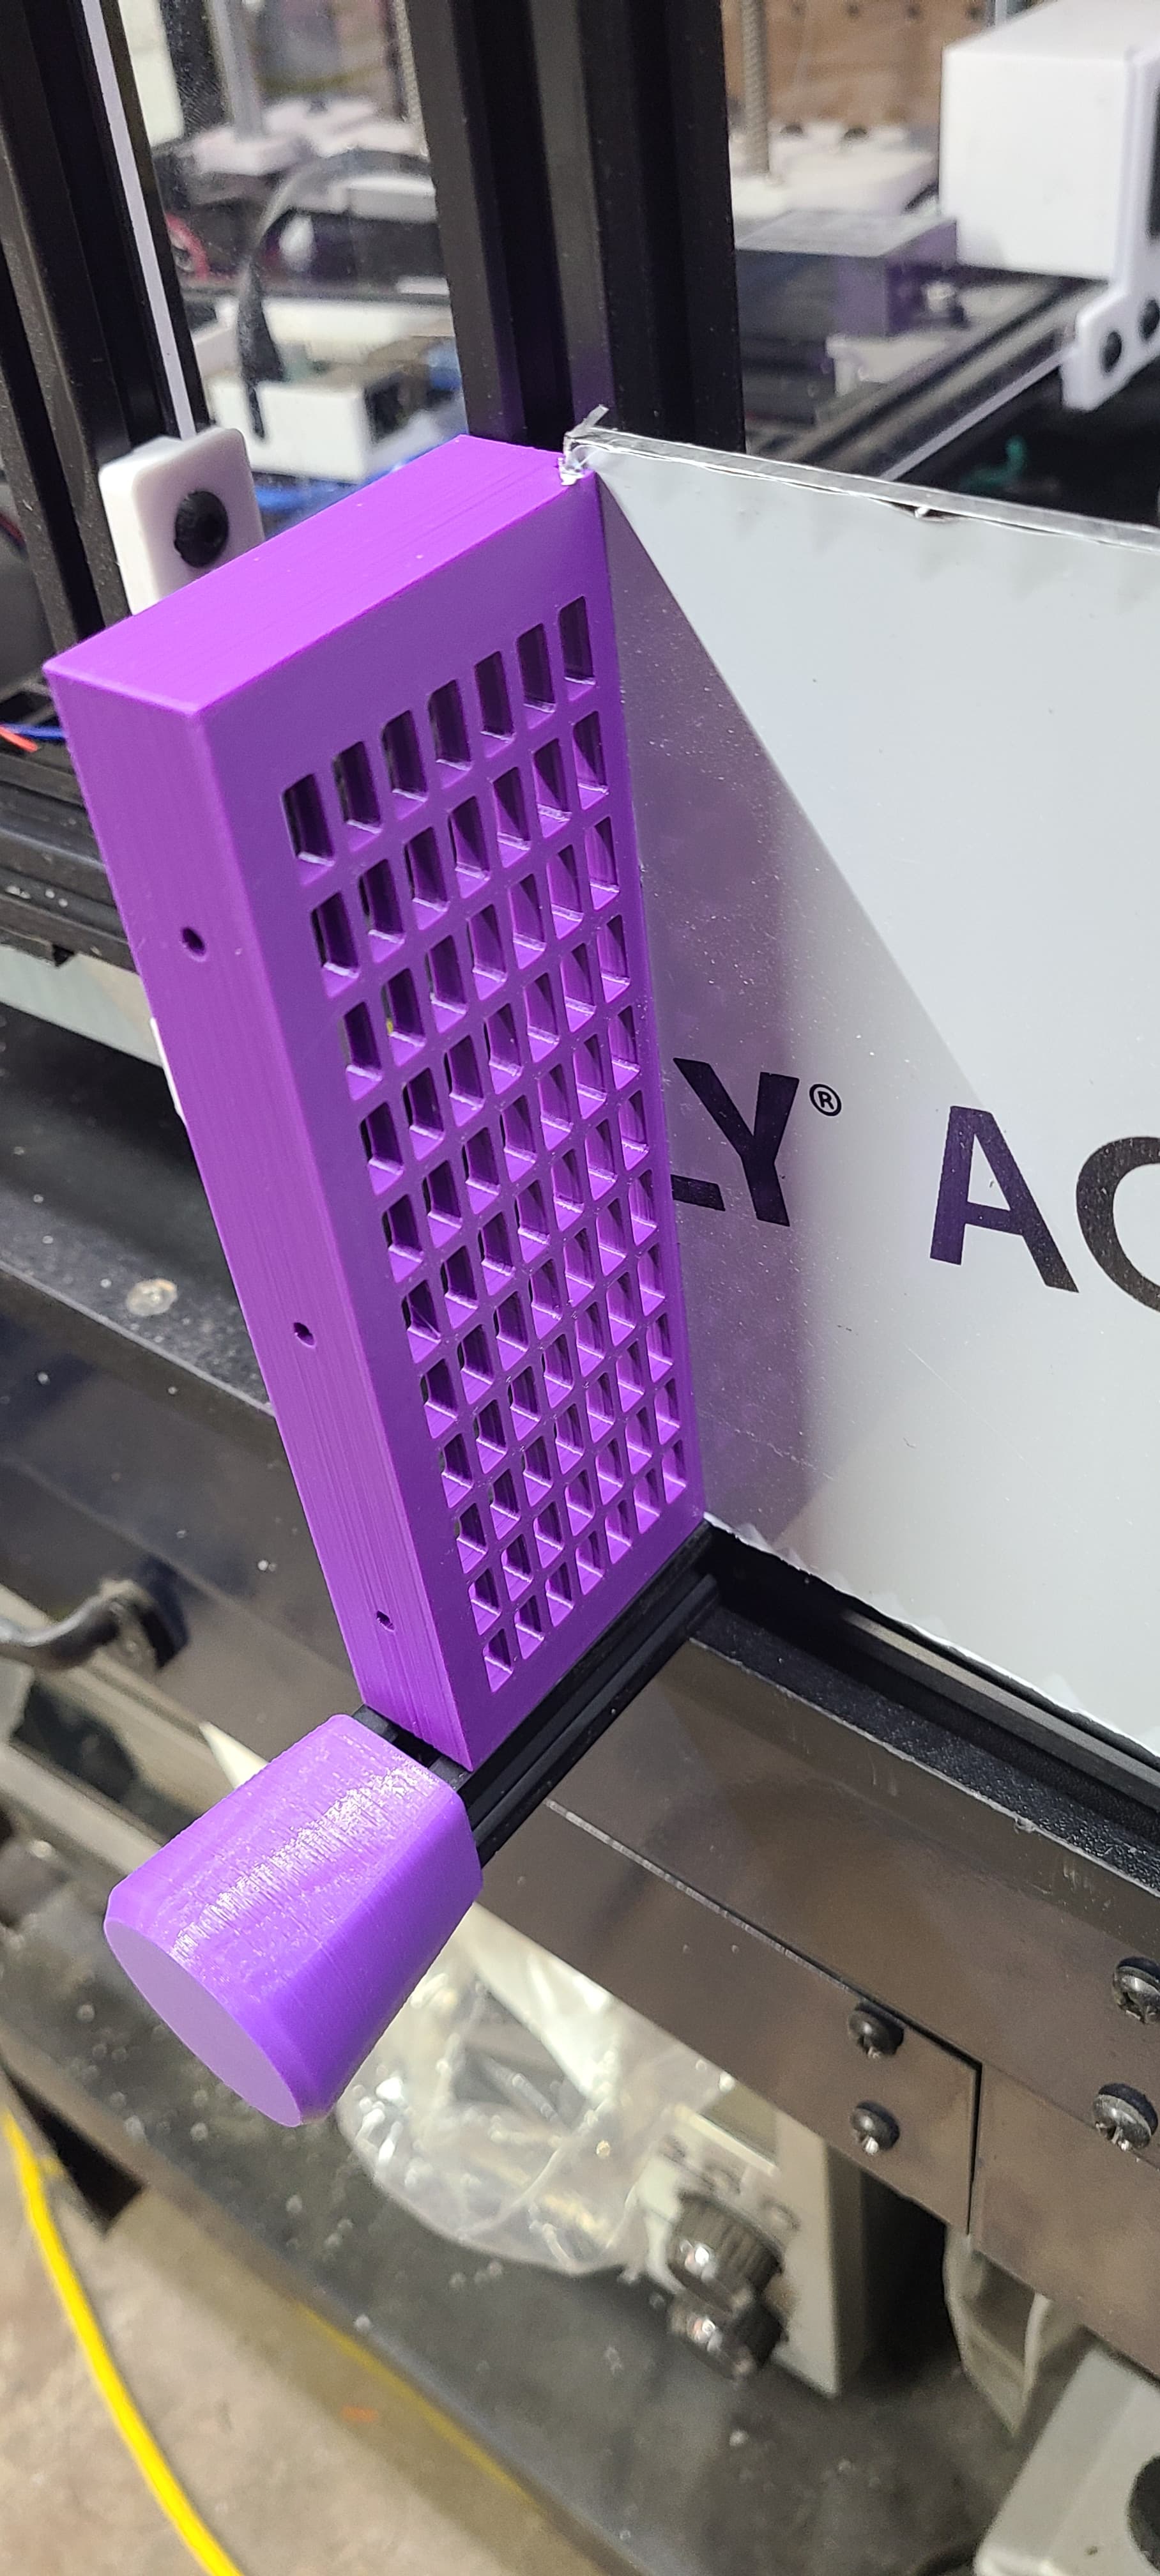
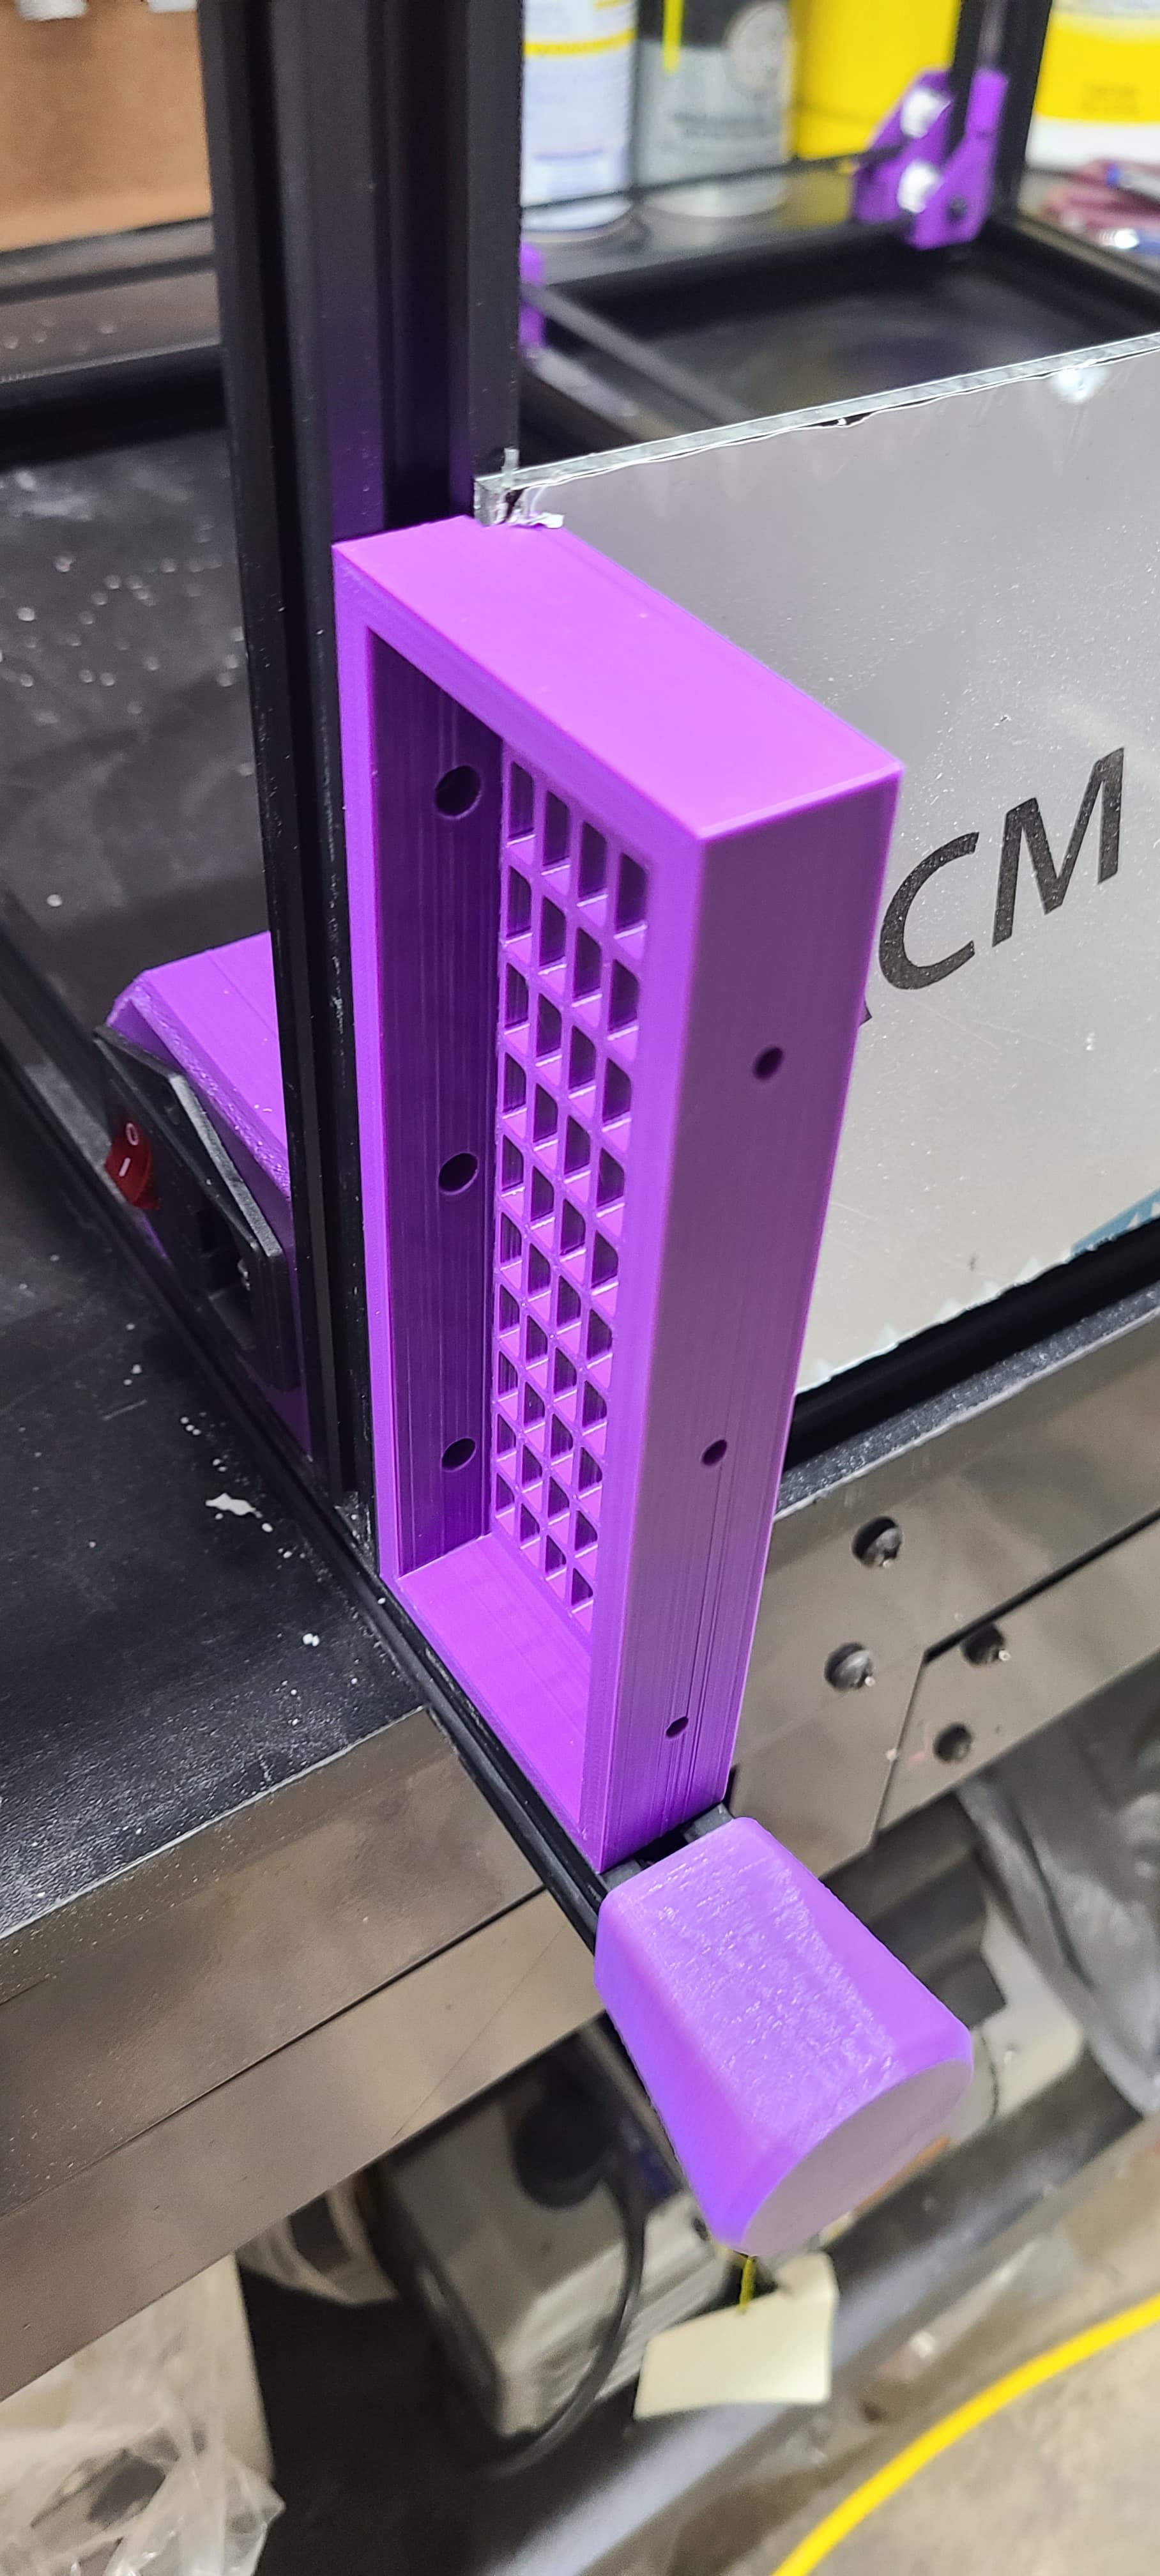
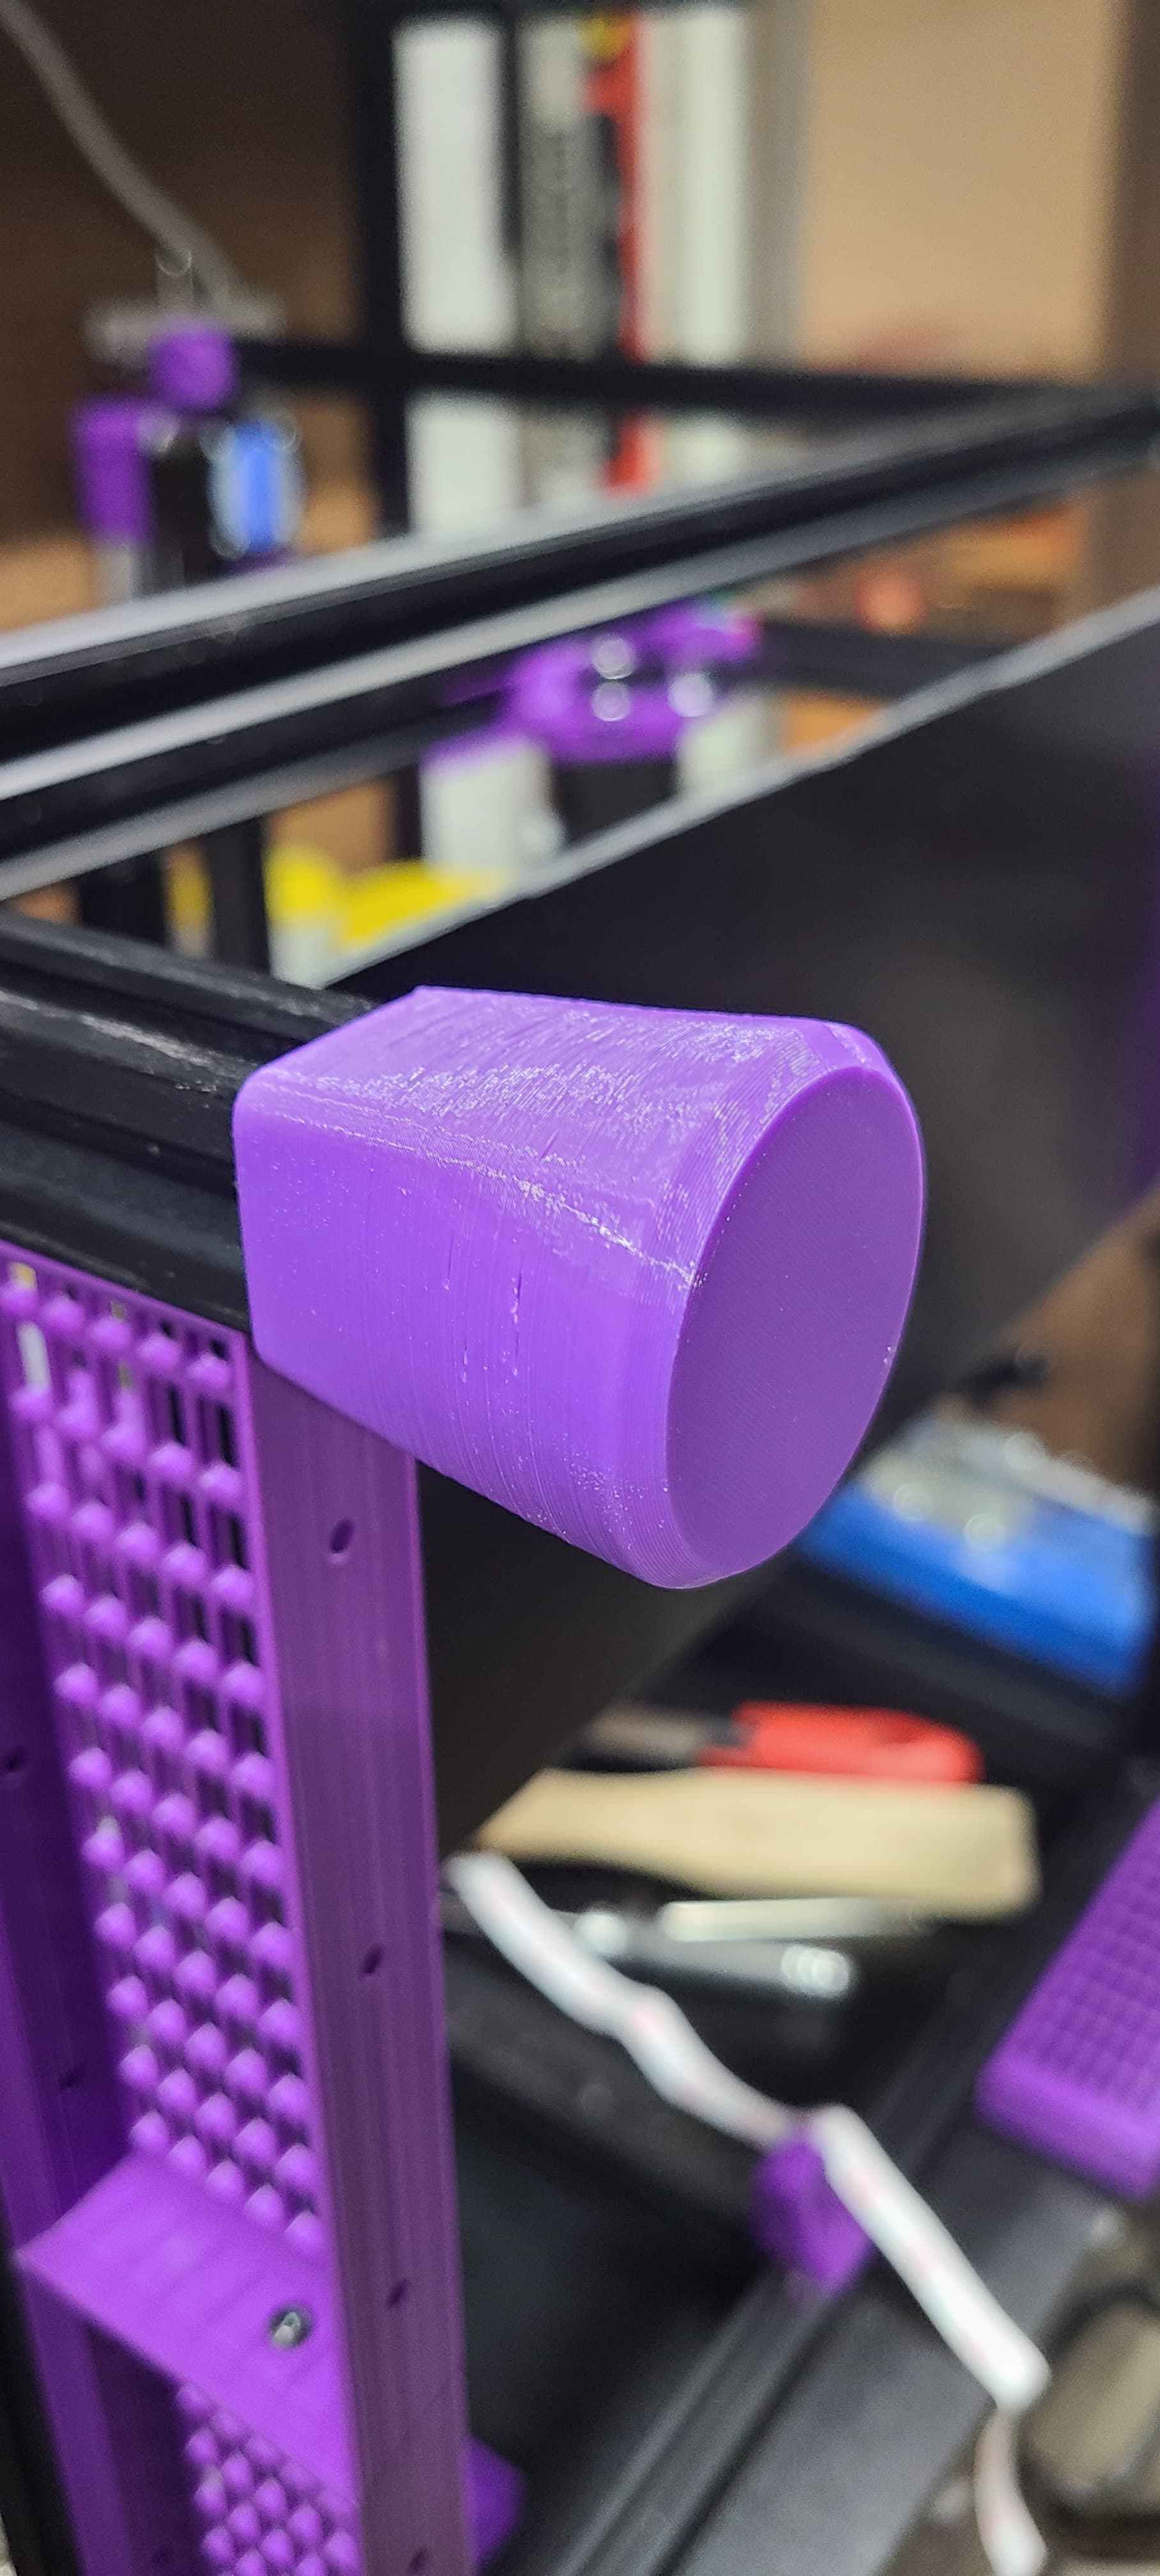
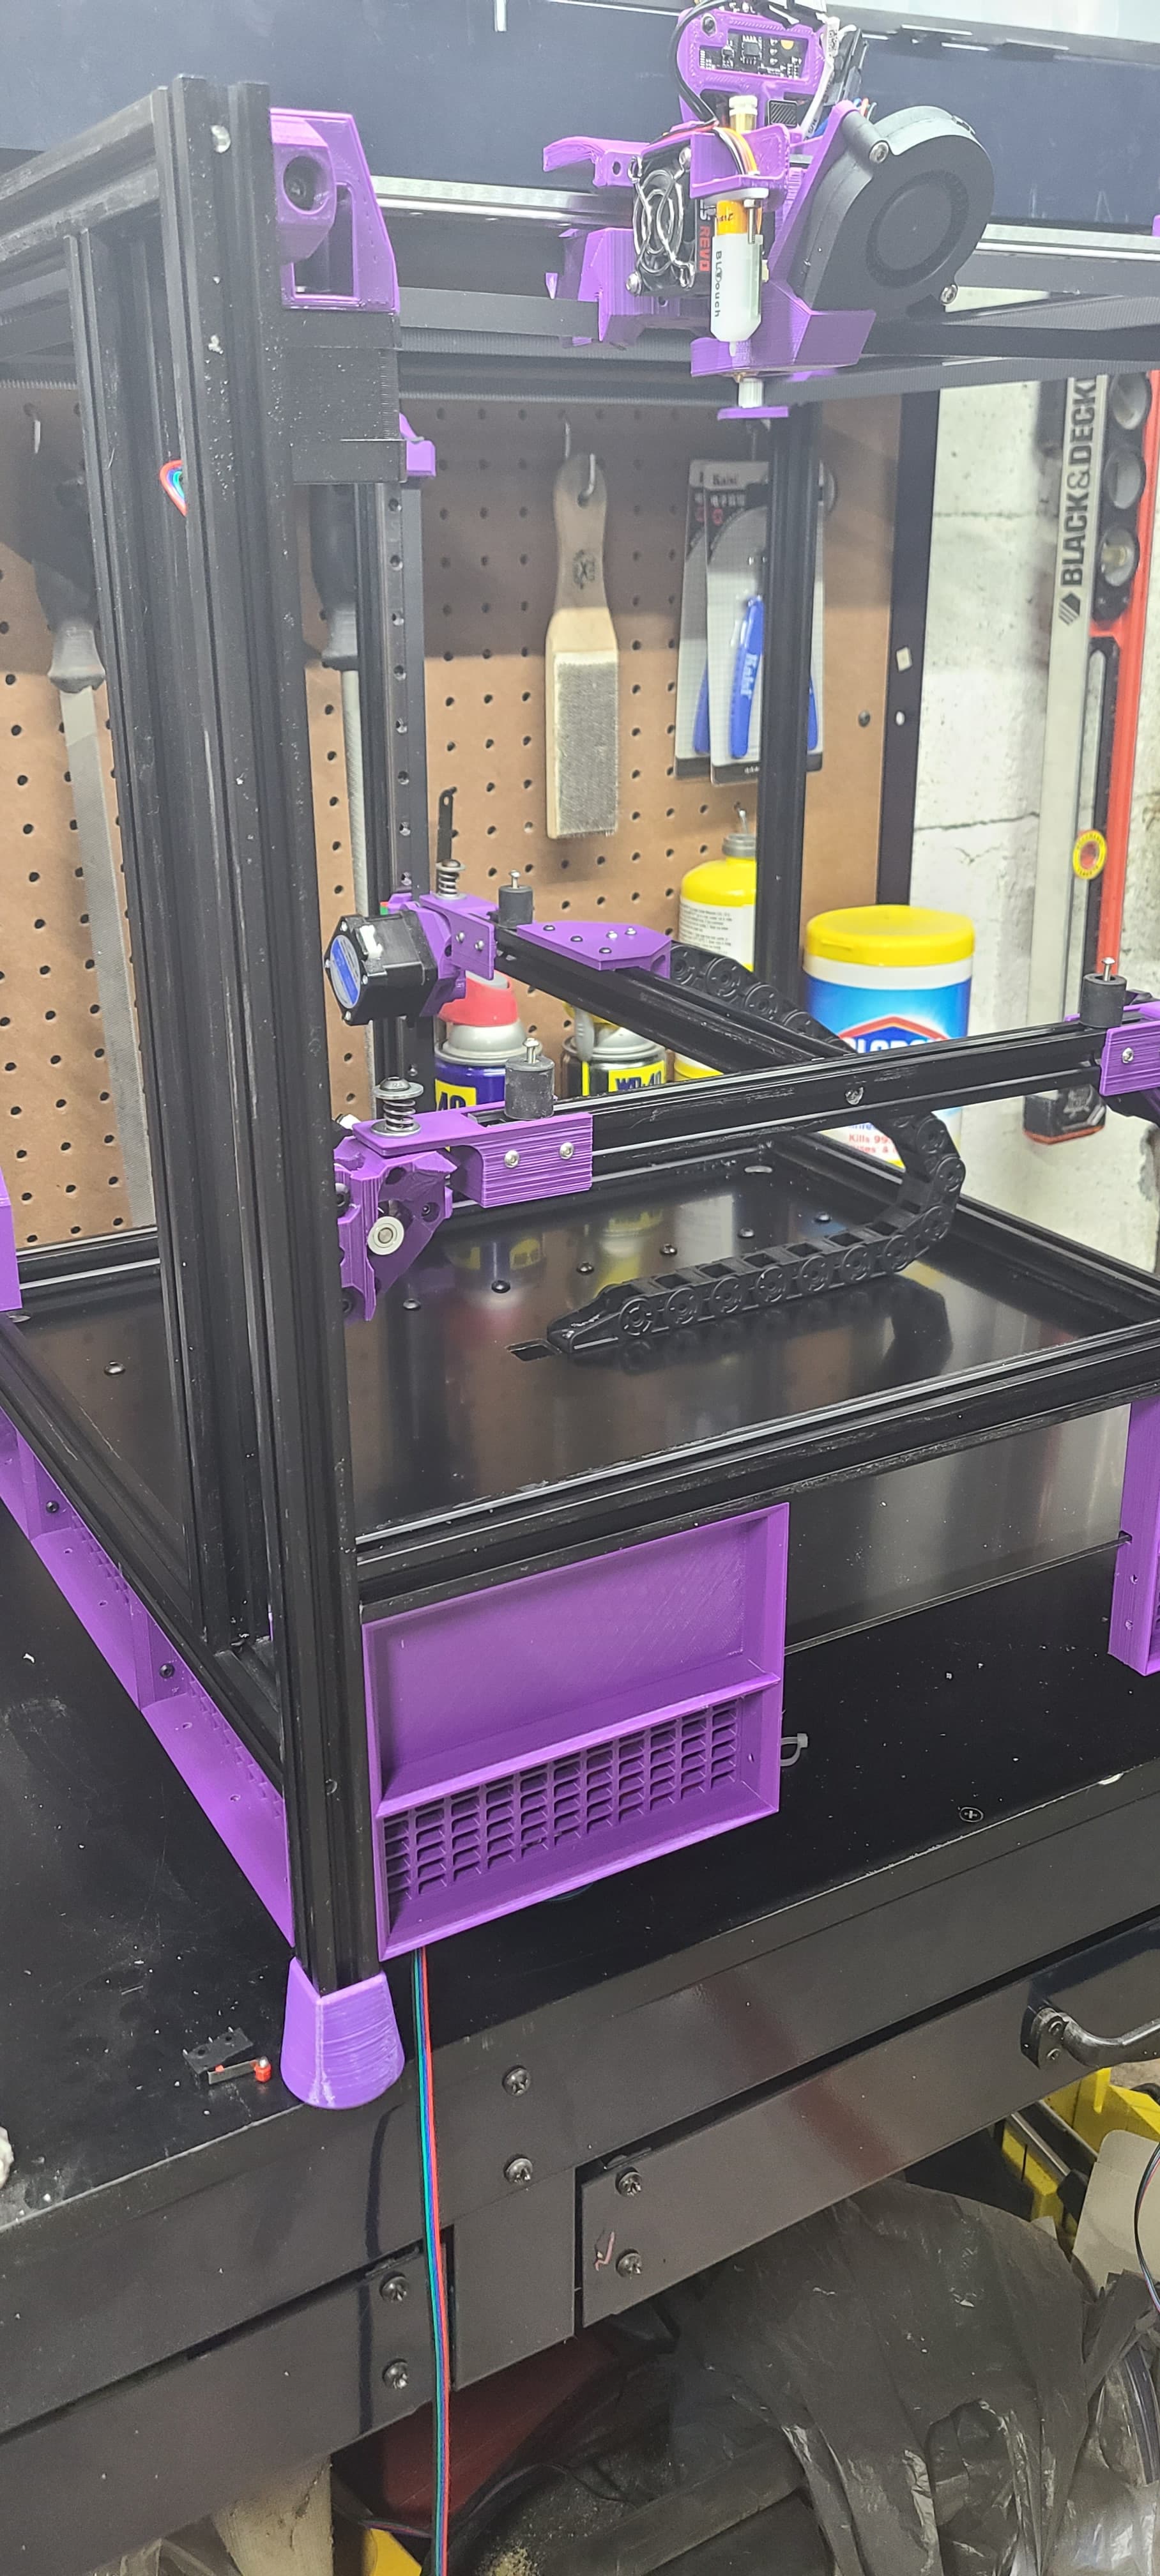
I made feet for the posts and printed them from Overture Purple TPU with 2 perimeters and 20% cubic subdivision infill. Super happy with how they came out and the fact that they almost perfectly match the Inland Purple PLA+.
Modeled the first iteration of the skirt. Its purpose will be to enclose the bottom area and it is undercut to clamp the ACM in place around the perimeter. I had to use supports on ut but watched Teaching Techs new video on supports and they came off near perfectly.
The back will have fans to pull air through for cooling and the front will be taller with a slot for the ACM to slide in to at the correct height. I will also add the touch screen to the front.
Nice! Appreciate the updates. Am not sure about details for my build yet, but am currently planning to copy Voron Trident/2.4 DIN mounted electrical component layout underneath.
I expect to go the same direction. I have DIN rails coming and already had the SSR. Ordered an DIN rail SSR mount for it. Since the bed heater is only 500W and my SSR is a 40A model I don’t think I will have nay heat issues with it.
I got it without. I don’t plan on using a PT100 or PT1000 on anything so did not see a need for it. The PT’s are RTD temperature sensors. They are much more accurate and responsive to change than a thermistor is, but the newer thermistor packages work fine for this.
Next time I am up in your area we should get together. I am almost directly south of you in Radford VA but my beer is carried in your area by Tygart Valley Distributors.
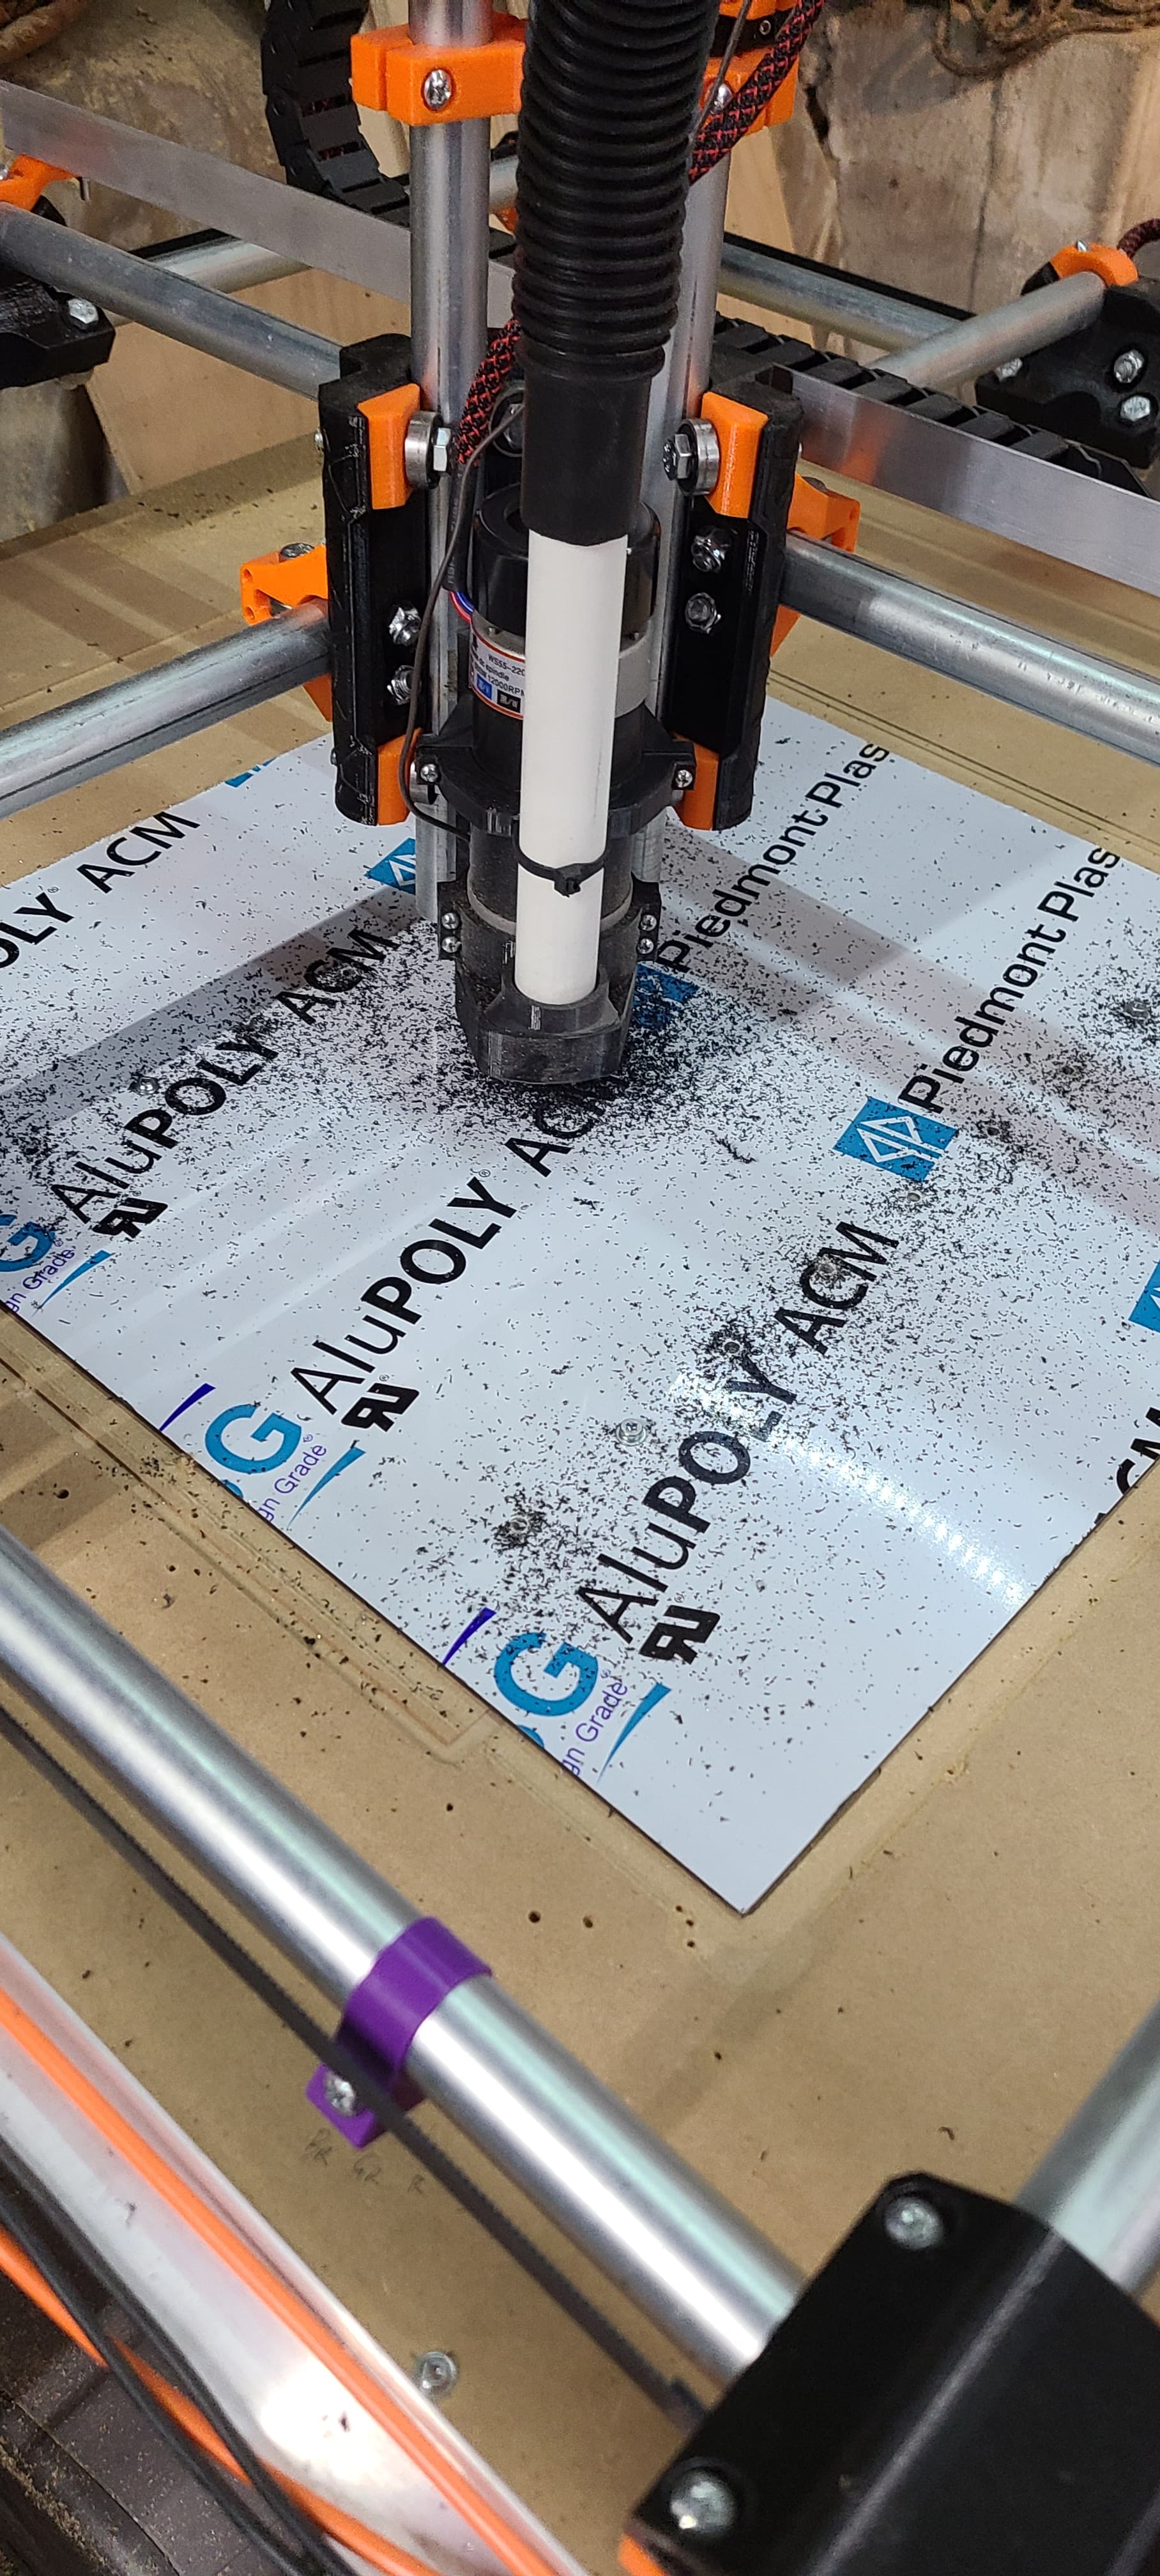
Cleaned off the Primo and set up to cut my bottom panel. Of course I tightened the Y Endstops and they broke so I had to print new ones. Now all my colors don’t Match No worries!
I got some new 1/8 downcut bits in as I have had issues with the thinner material being pulled up. I set it up to bore the holes for the DIN rails first and as it finished them I added screw to hold the piece down and removed the outside screws holding the piece. I “May” have undersized and skewed my rough cuts. It is time to fix the spoil board on this thing.
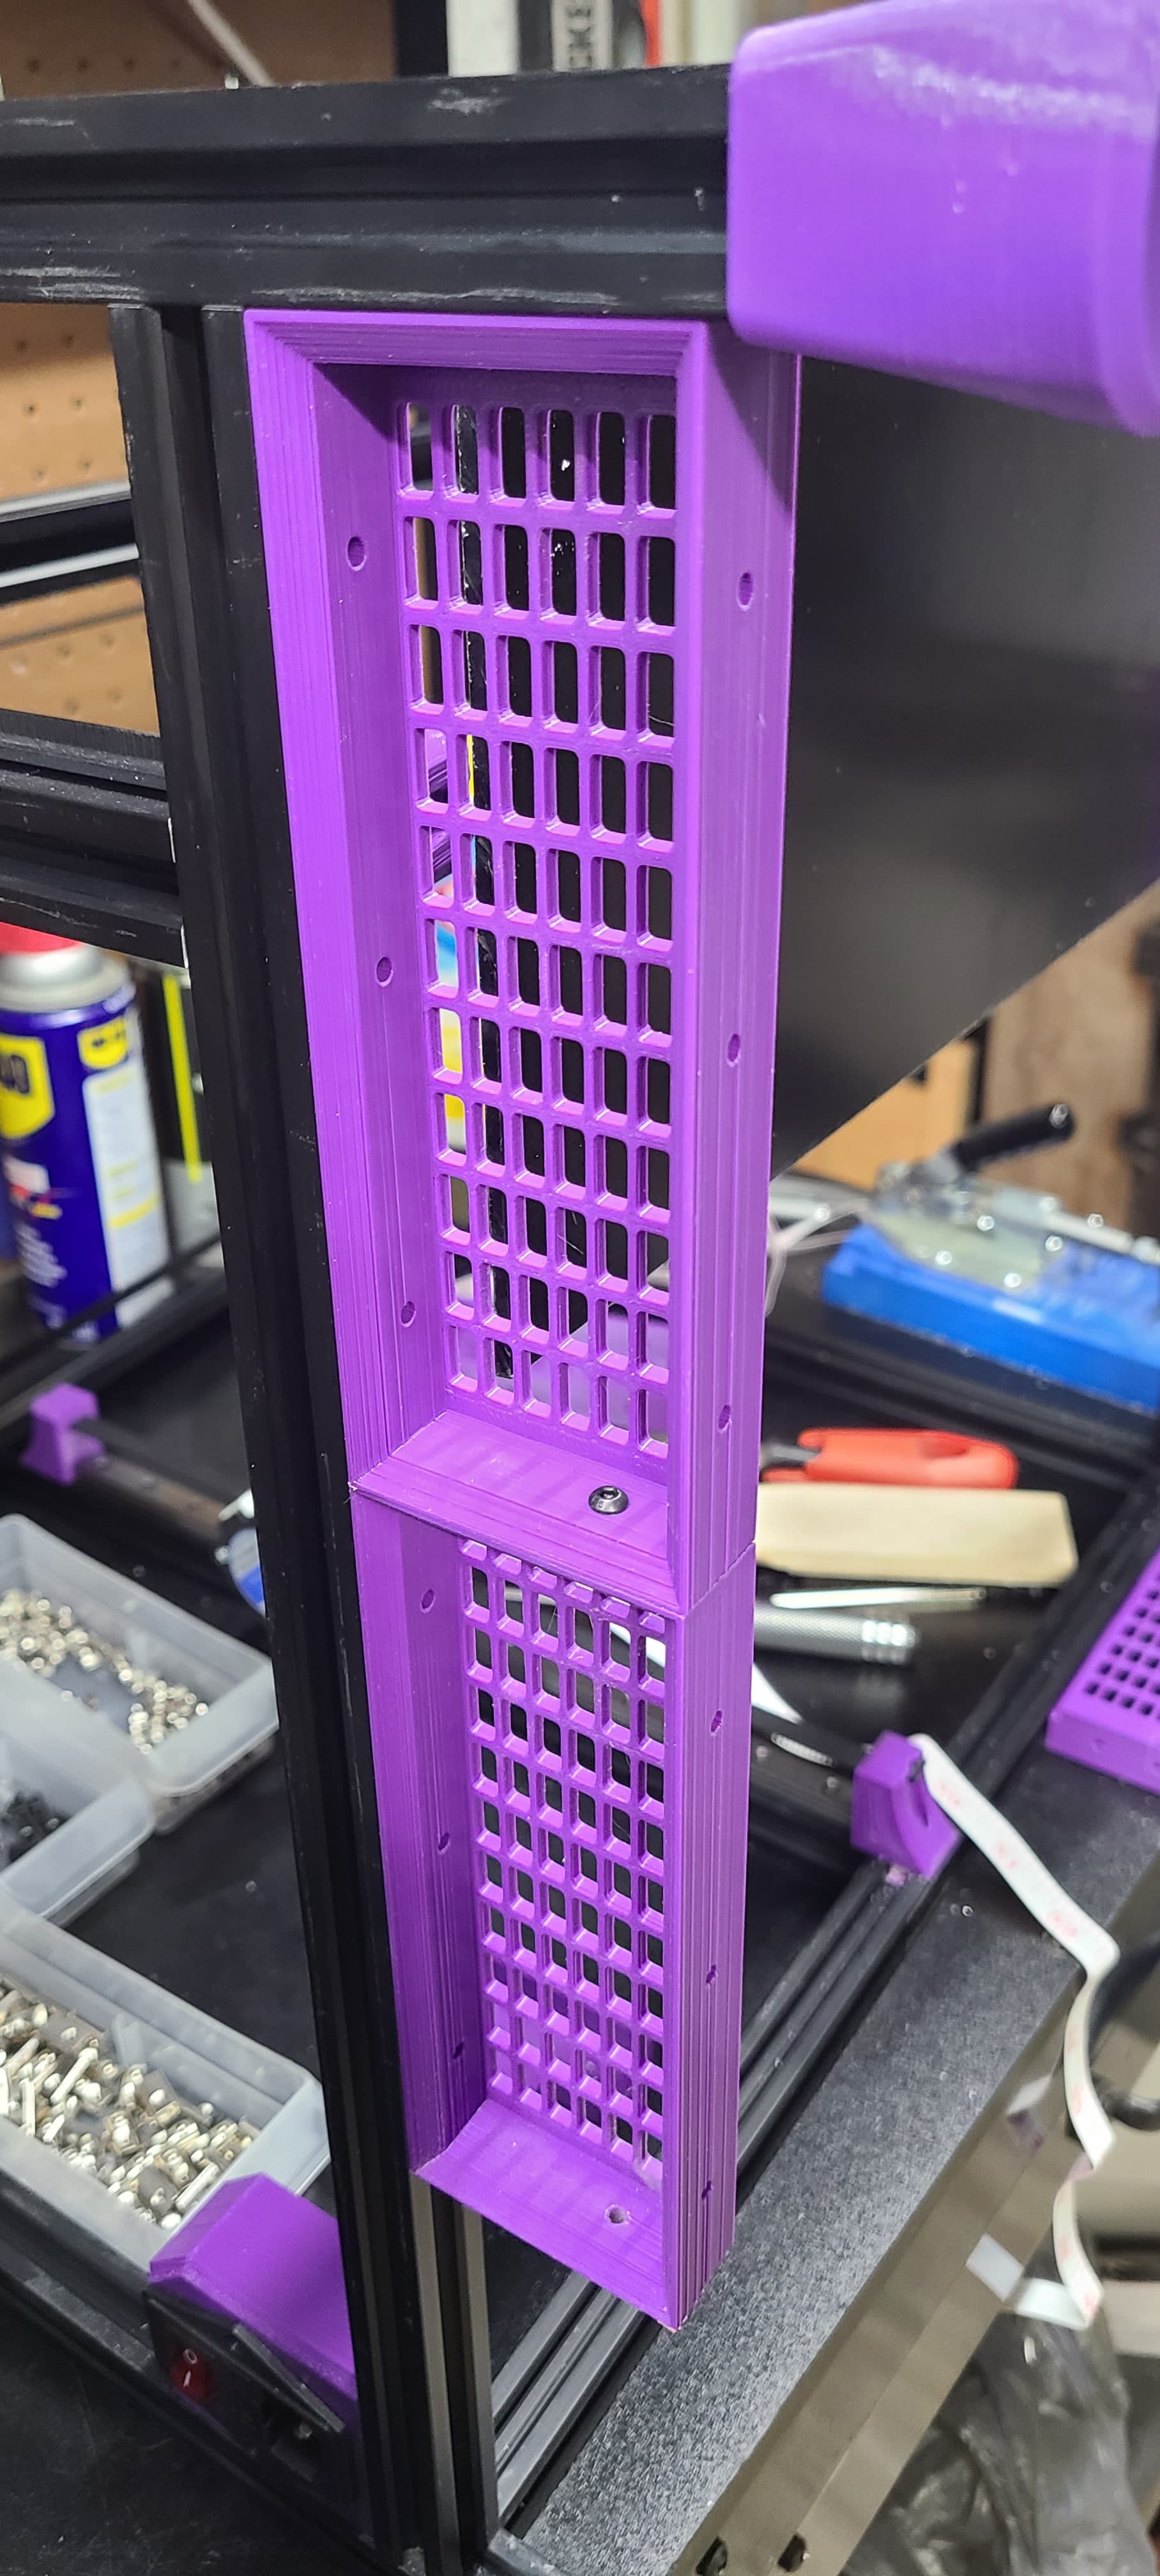
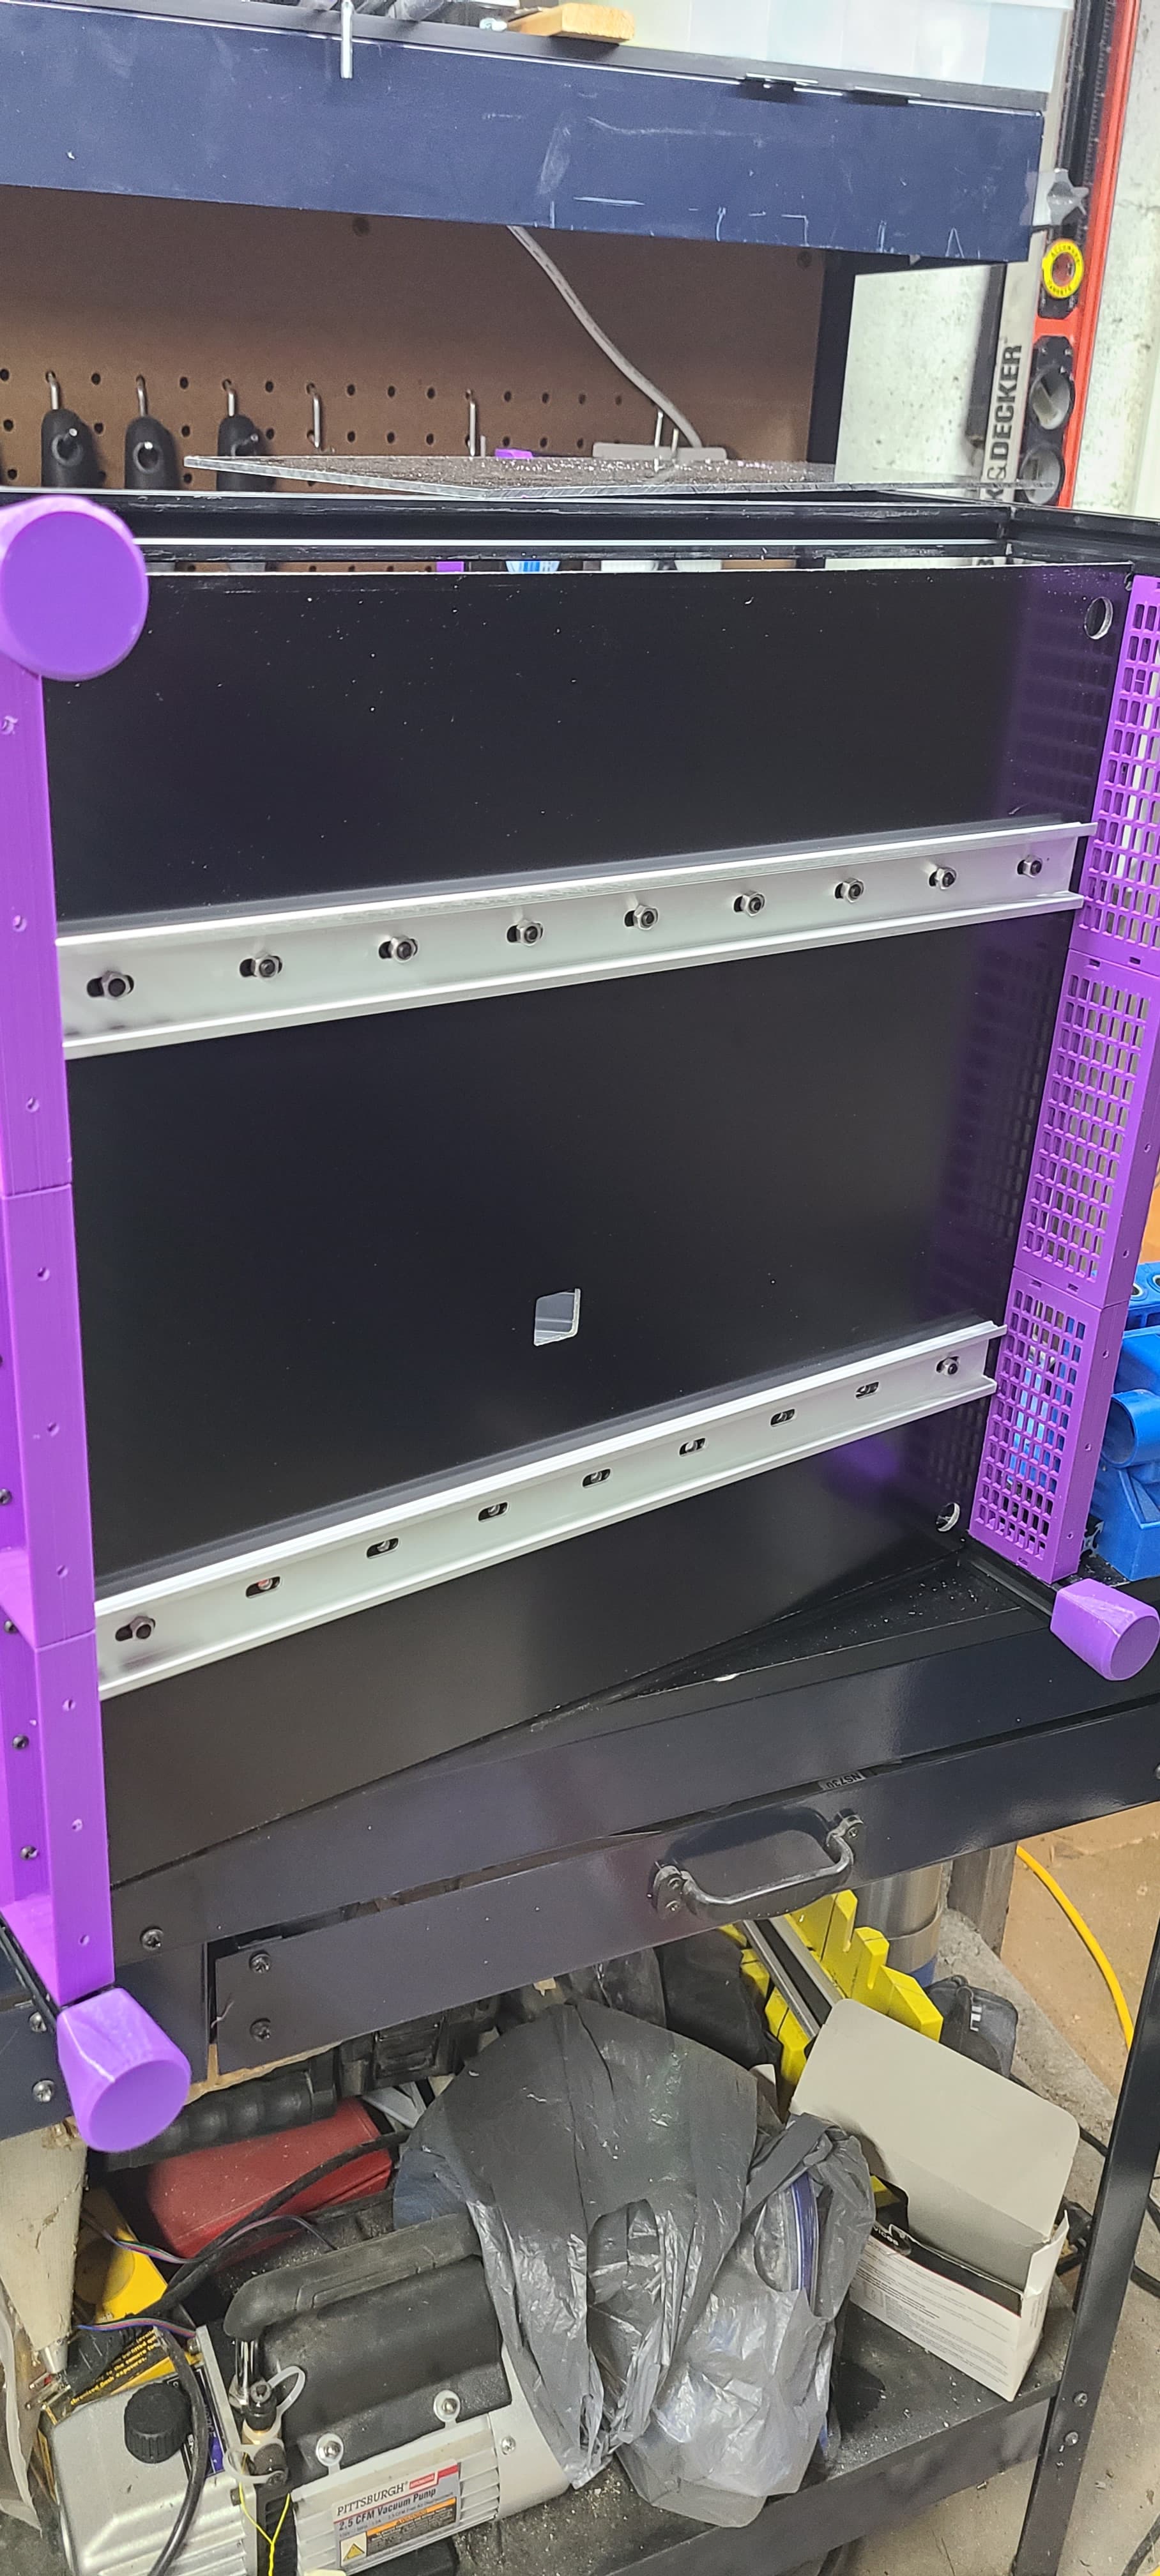
Pretty happy with how this came out! The side skirts work great but I failed in my measurements for the front. New ones printing now. I am coming up on 2Kg of this PLA+ so far! Just ordered two more to make sure I can get through all the things I need to. Trust me, I have made a LOT of errors!
The square hole is for a cable chain coming from the bed supports. It will carry the Z stepper drives and all the bed wiring. Each corner has a 15mm hole to allow wiring from inside to get below the bottom plate. Fronts for A/B motors, back left for power, and back right will probably be my CAN bus wiring from the hotend. Looking forward o only have 4 wires to mess with!
Cheers for sharing, appreciate the info, am also figuring out how to route, organize and mount wiring/DIN/electrical too. Leaning towards CNC’d panels where possible. So many options…
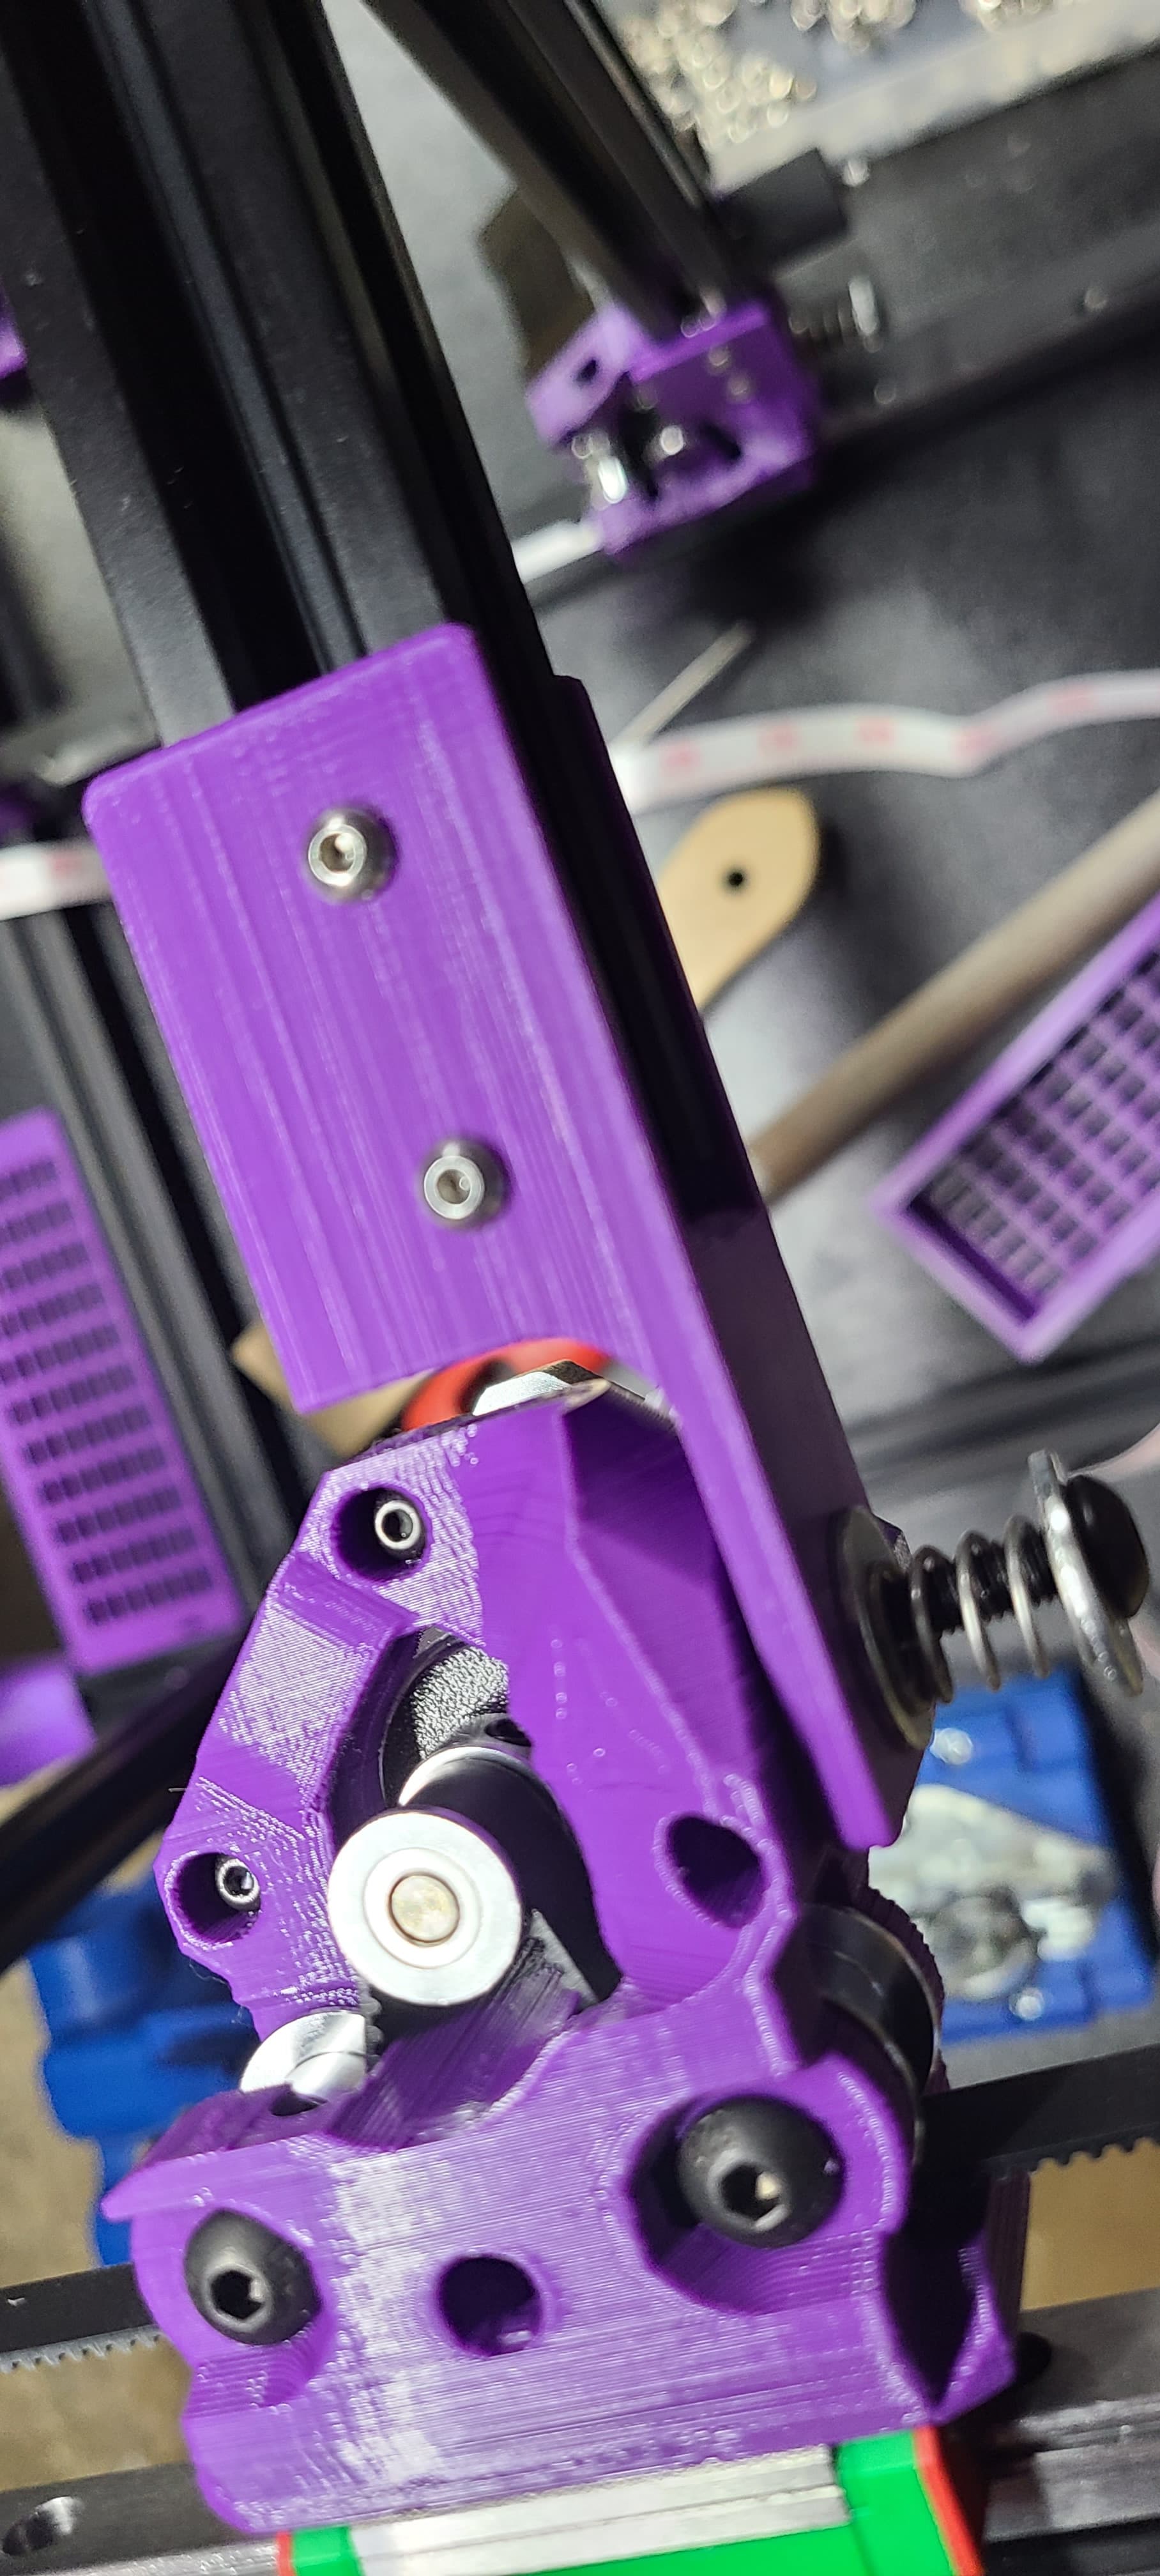
Designed some din mount adapters for the BTT Manta M8P. They mount to these DIN mounts from Amazon.[DIN mounts](1.08 Width Universal DIN Rail Mount https://a.co/d/cVanm7q)
Made me very happy when they worked perfectly right off the printer!
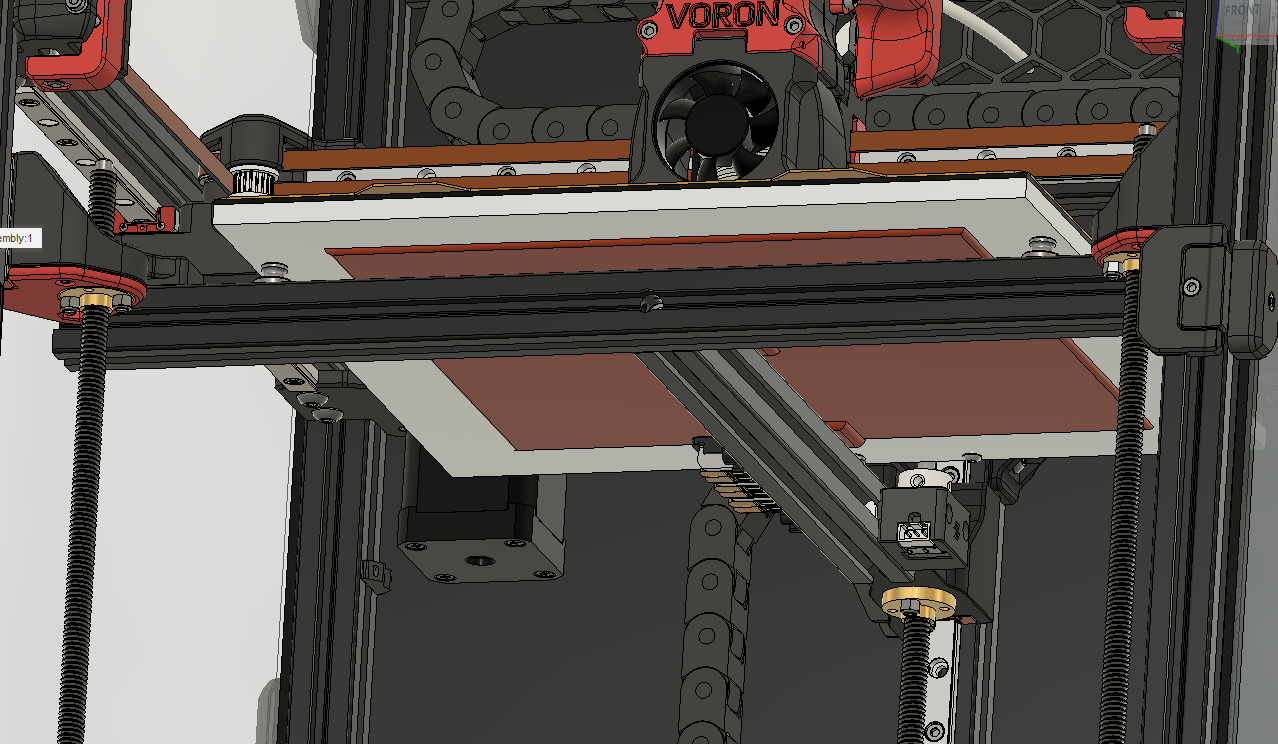
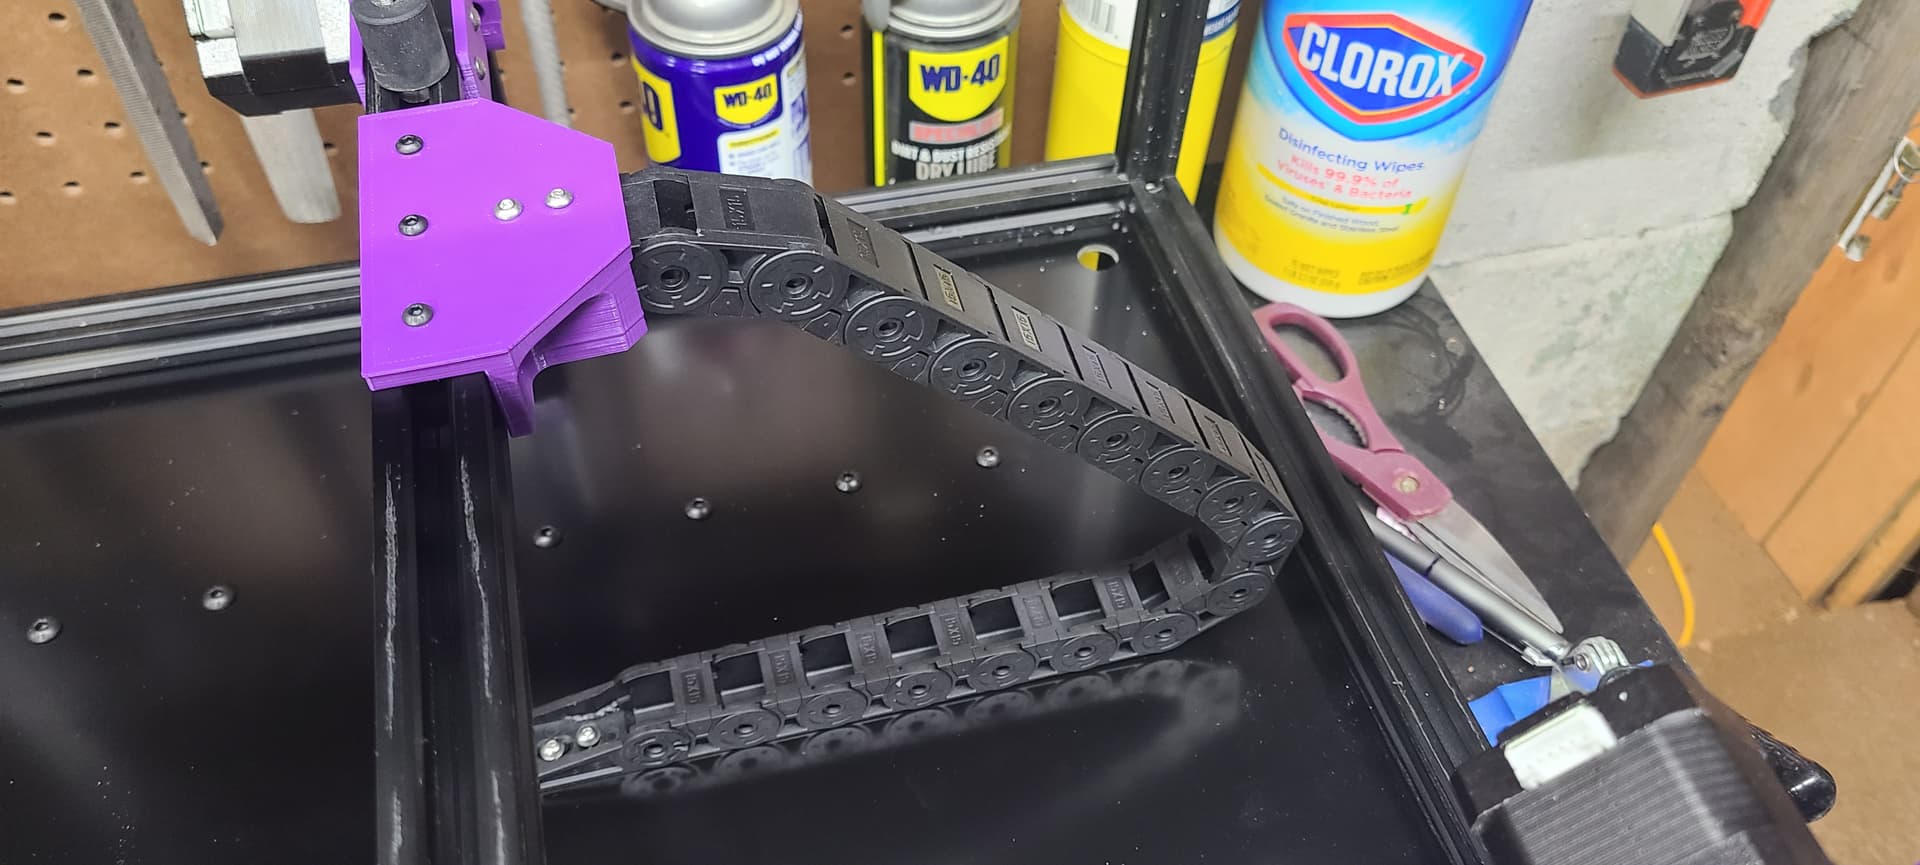
I also said in another thread that I would share my cable chain setup. The intent is to route the wires in the extrusion supporting the bed. This could easily be done with the standard bed mount. The chain is a 15x15. It will carry three stepper wires, bed heater, thermister and ground wire for the bed.
Nice! Looks like you’re sorted out already, but incase you need more DIN and other mounts, guessing you’ve already seen Voron’s Electronics Bay models ?