Time to join in on the fun. I will be building the wooden framed version of this MP3DP. I started printing parts this week and so far everything is turning out great. Printing with Matchbox PLA with 30% infill and 3 perimeters.
I went through the painful process of ordering all the linear rails, CF tube, SKR Pro and other components. Still need to order the bed and the Hemera.
I’m really looking forward to this build. I should be able to begin cutting out the wood this weekend on the Primo. I was thinking of increasing the design to 3/4" thick wooden walls but I am not sure it is worth the extra hassle and cost. I assume 1/2" plywood is plenty rigid for this application.
Hey Matt, can’t wait to see your build.
I also thought about using 3/4" , I was more concerned with the weight then the cost, at the end I decided on 1/2" ply for my build and it is rock solid.
I believe that Dan @SupraGuy also did his with 12mm MDF?
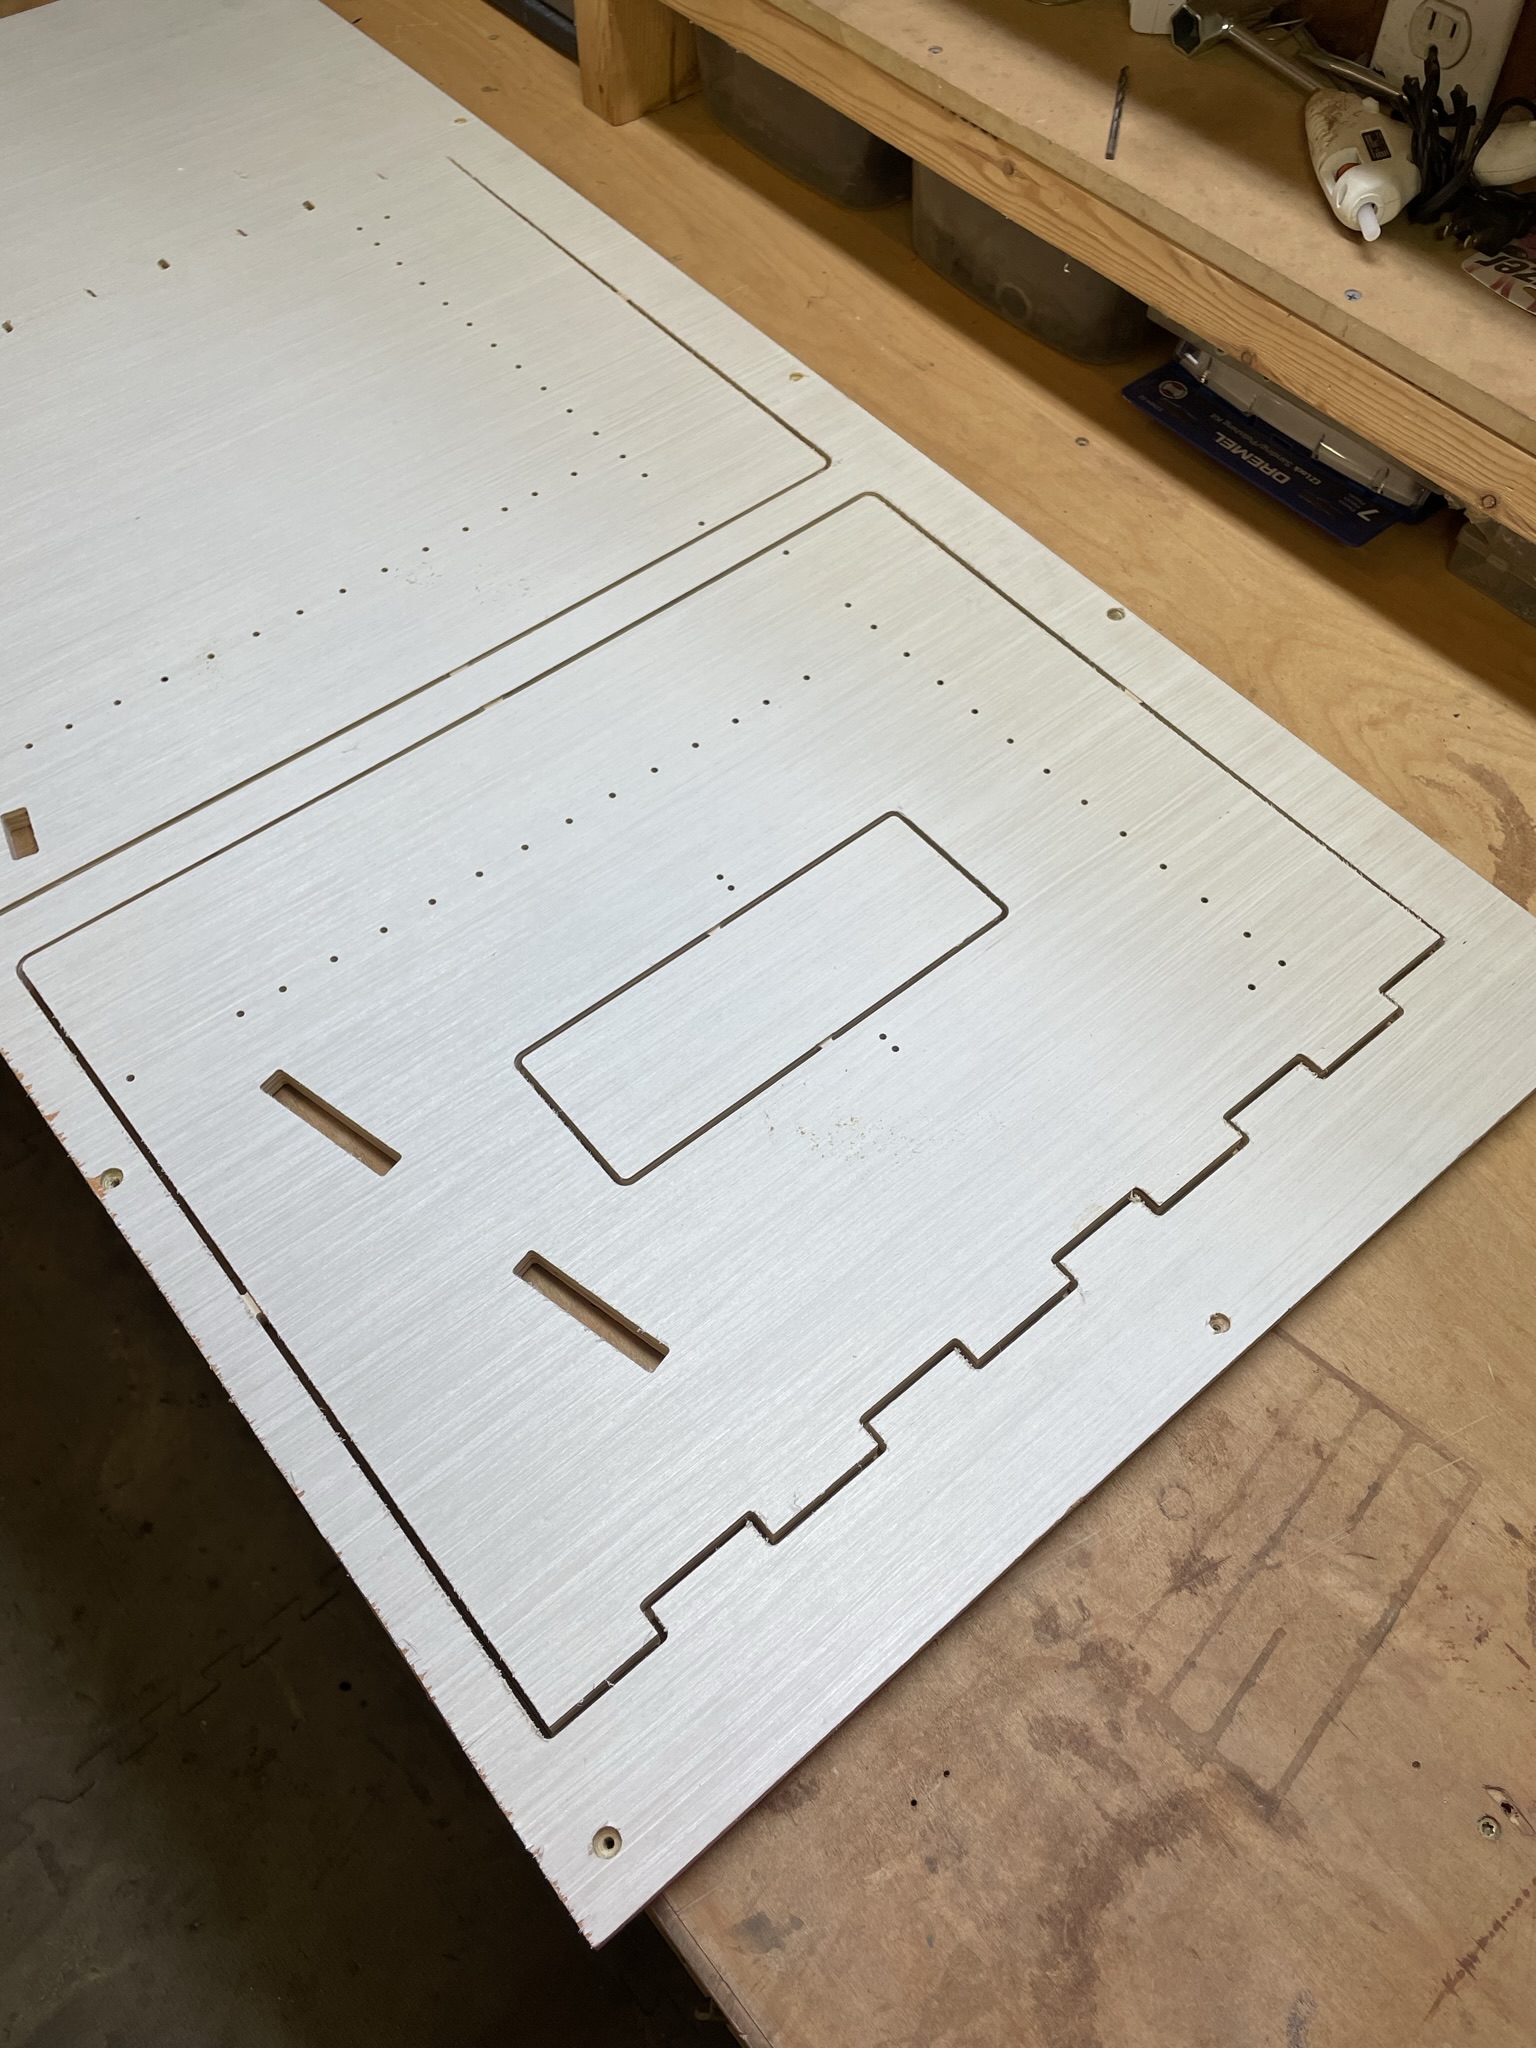
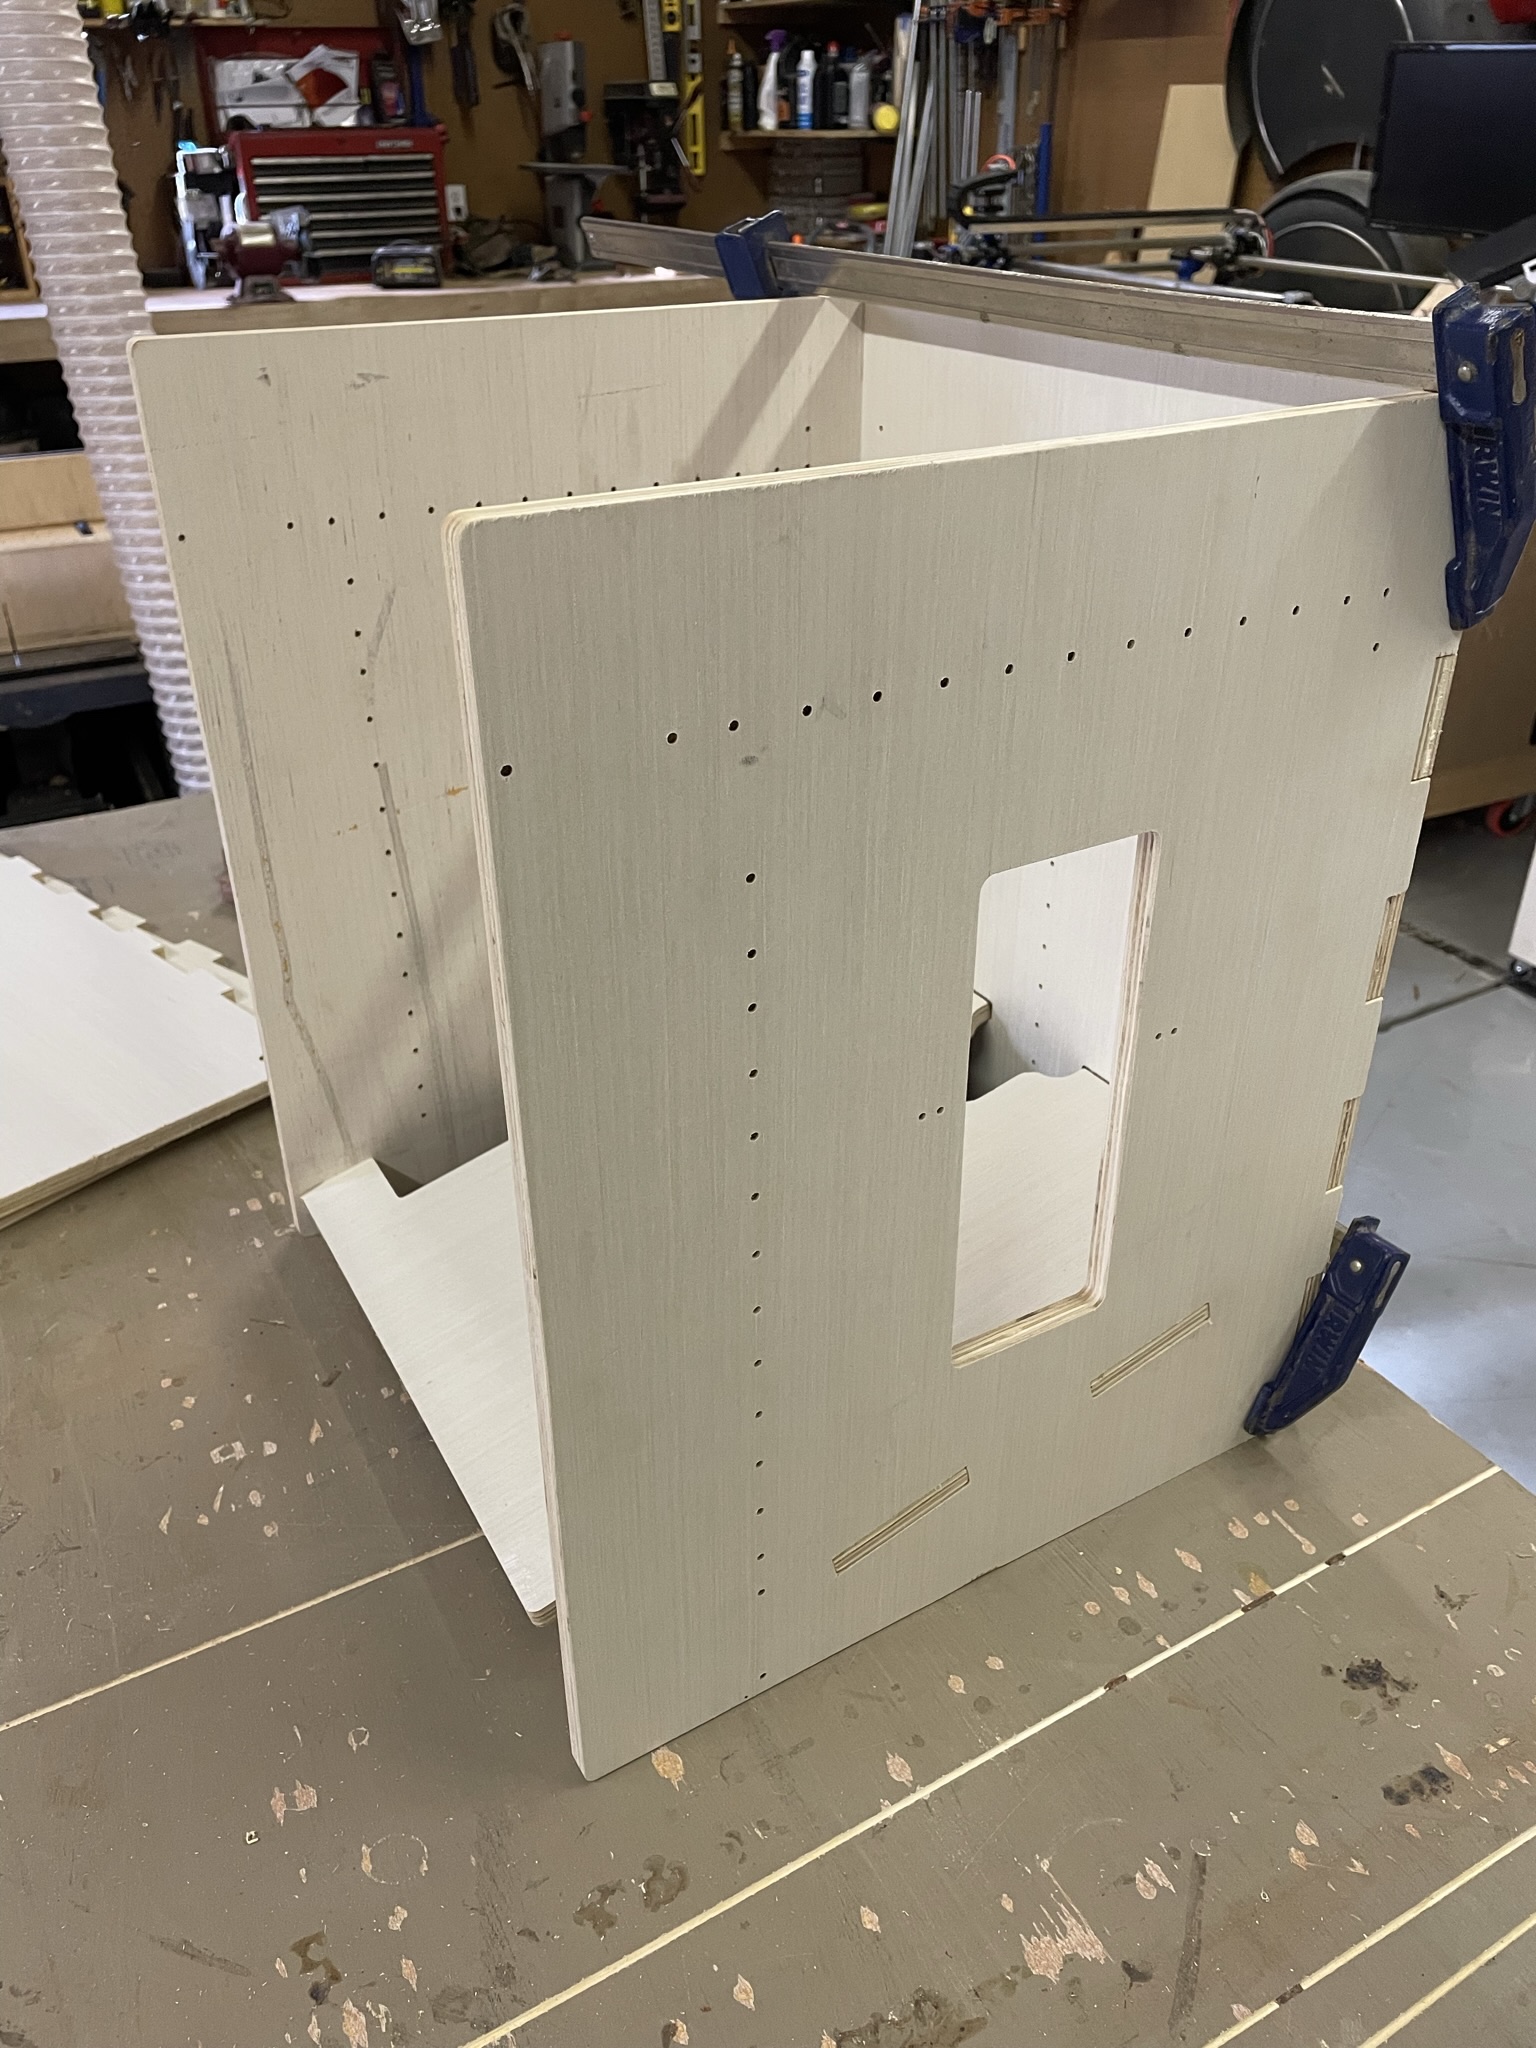
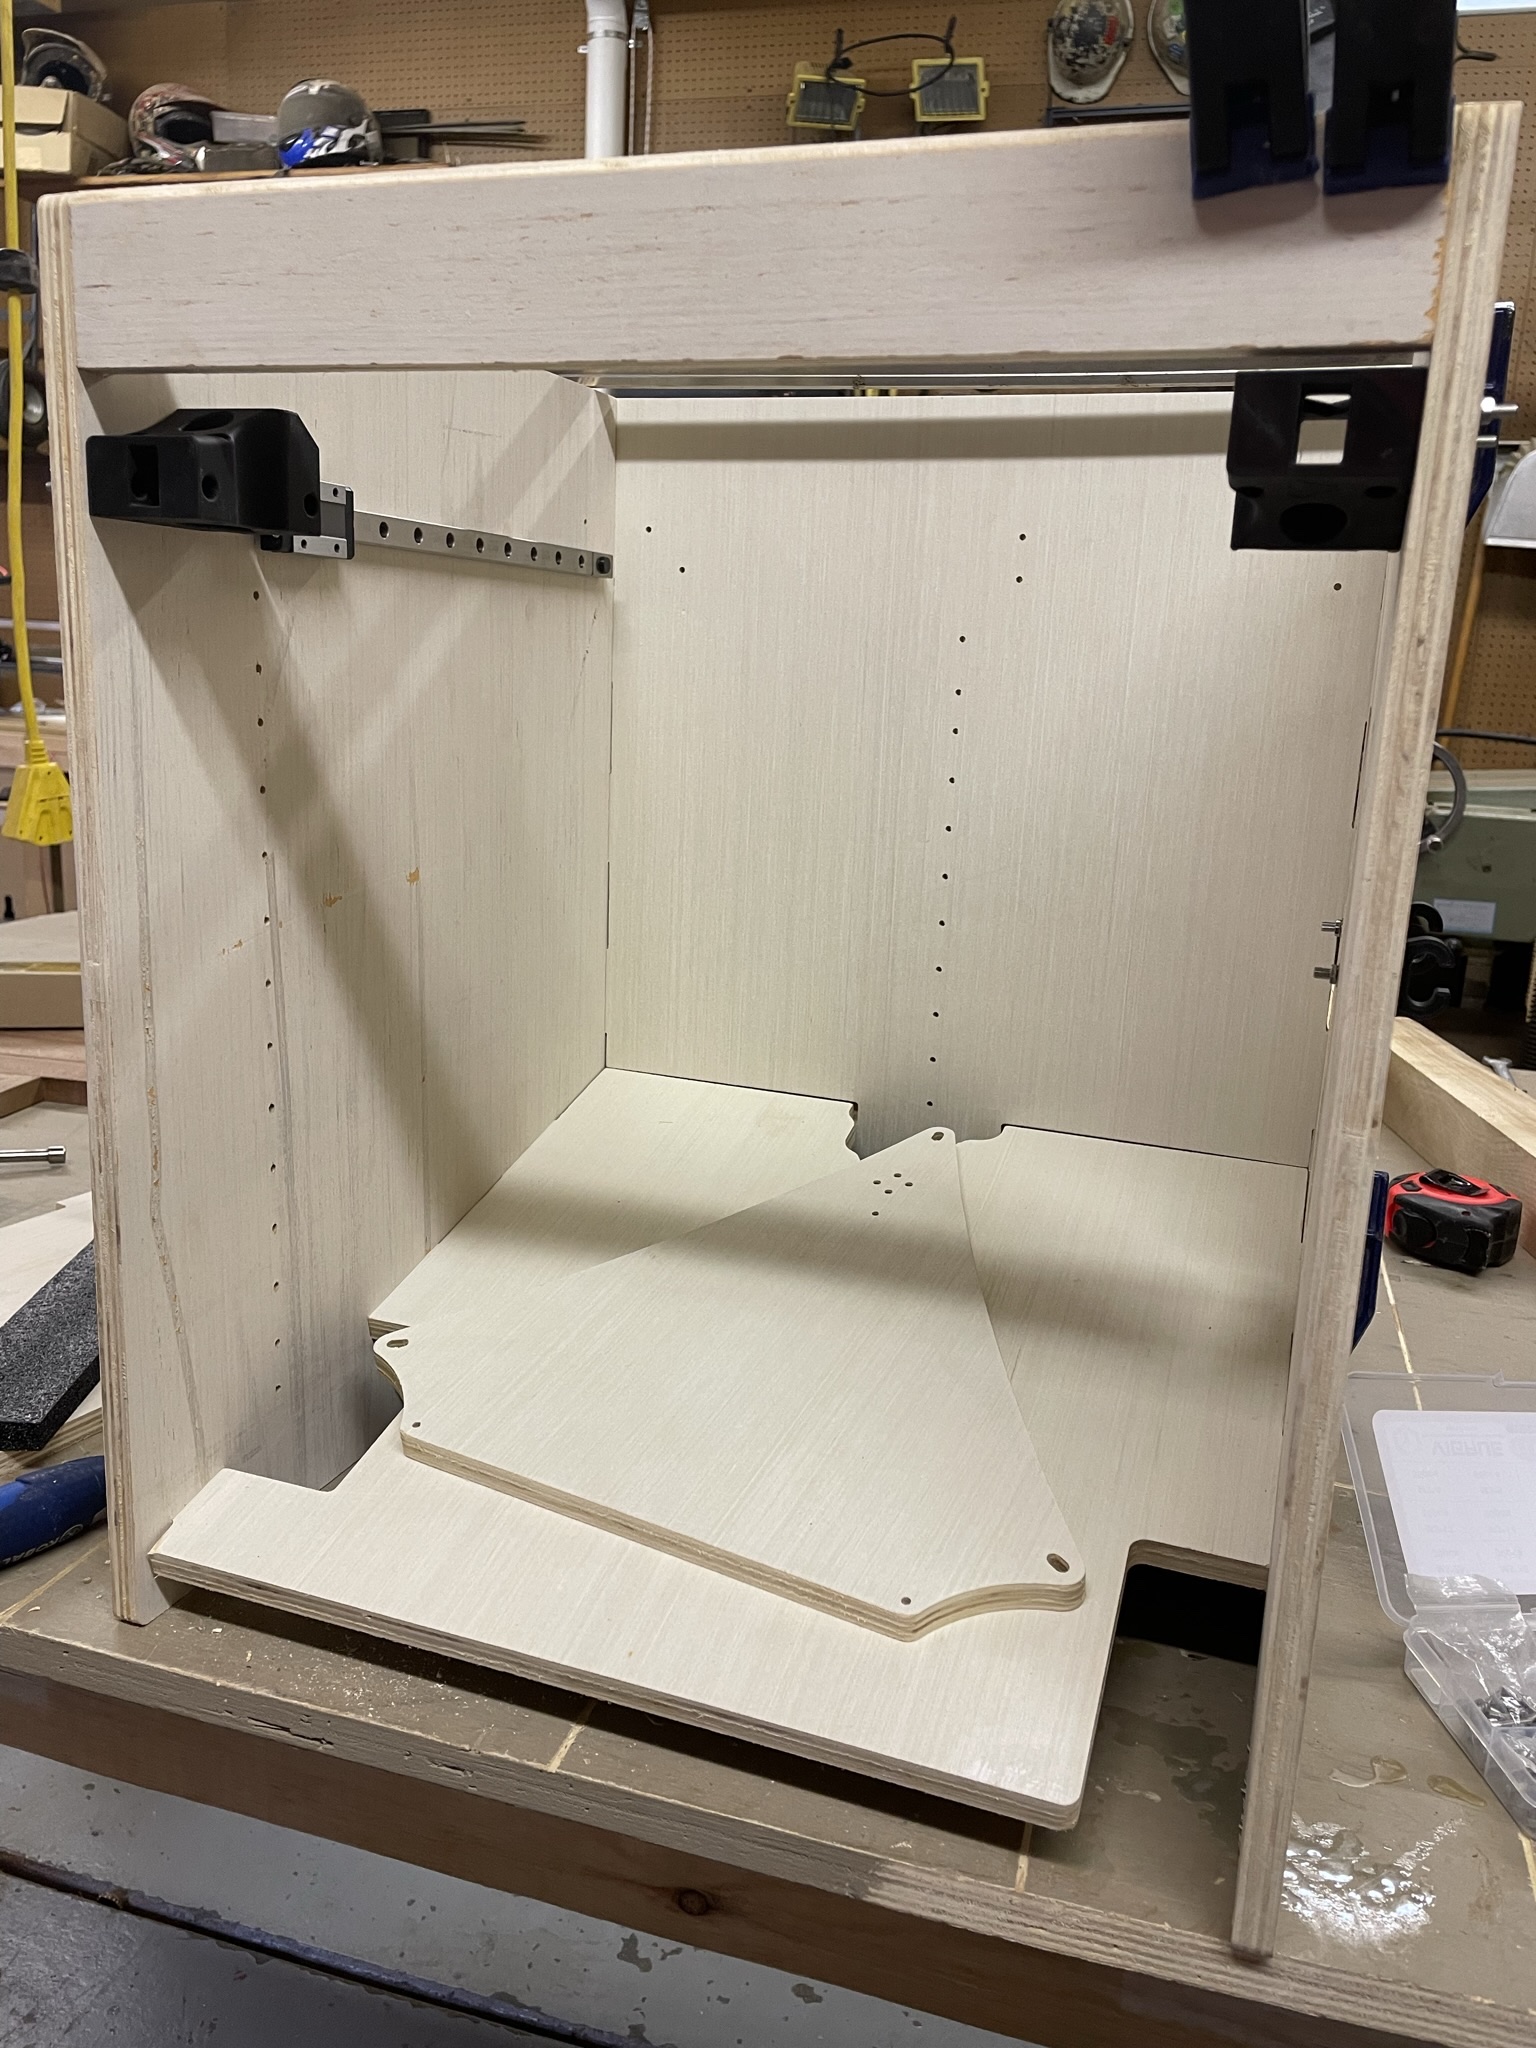
Finished getting the panels cut out of the 1/2" plywood and started dry-fitting everything up as my prints come off the printer. Everything is coming together well so far. Putting in a V1 shop order for the pulleys, idlers, belt and such.
One recommendation for those of you who wish to go with the milled frame design and something that I forgot to do and wish I did. I recommend using an overcut feature for the corners of the finger joints to eliminate the radius corners left from the radius of the bit.
This will help the finger joints fit together nicely. I used an 1/8" end mill and I needed to go back with a wood file and file out the corners. So I suggest an overcut to keep from doing that.
That is the easiest way. I had some Carbon Fiber tubes, or arrow shafts laying around that I used before, then ended up buying more the other printers. If you look at my printer/s I have a small CF shaft across the top, If your wood is nice and straight, no worries, but I had some bends so I think it was worth it.
On the next one I might try a small face frame just to ensure a really cubic build.
While assembling, make sure to get things as square and even as possible, measure everything and the diagonals a bunch. The accuracy I am getting is pretty awesome, but it all starts with the frame. Extrusions can be easily adjusted (and lose it easier), flat frames take a bit of forethought but hold it later.
All my printers run 24V PSU, including the repeat.
12V is a little easier for some peripherals like fans, but there are way more and better options for things like bed heaters at 24V, which I believe offsets such things. Certainly 12V is sufficient for good quality though.
IMHO, it is not needed, but it is not worth the debate. 24V PSUs are pretty close to the same price. A 24V heater is going to use less current for the same wattage. That’s probably the biggest advantage.
If I am trying to use my parts bin full of 12V stuff, then I don’t think it is worth the switch. If I am buying everything new, I would go 24V. It is too bad it isn’t more interchangeable.
You need to download Fusion 360 if you have not already. Then using the link that Ryan provided in his original post you will be able to access the model.
From there you will download the fusion file from the link and open it in Fusion 360 in order to view and unhide wood panels. From there you will be able to access the sketches/dxfs for the panels.
Slight confusion in the Fusion file. The Y linear rails parts are labeled as 275mm rails and when measuring them they check out to be 275mm long. The Z linear rails are labeled 200mm rails and without thinking twice I got 200mm rails. However, these rails are also 275mm upon measuring. I should have measured them in the file just to double check. But I wanted to let others know before making the same mistake.
Process is slow going at the moment. SKR Pro, steppers, drivers, LCD, Hemera have all arrived. Still waiting on the CF tube. I don’t think I will see that until early Feb. Heated bed should be here this weekend. That should be about it.
Next steps are:
Get all the wiring together/ordered
Redesign the bed plate to mount a four-holed heated bed to
Paint the panels so I can start installing everything