New thread for the new LR4 build. This one is called Malibu Memories thanks to the comment from @Dreyfus. Running with it !
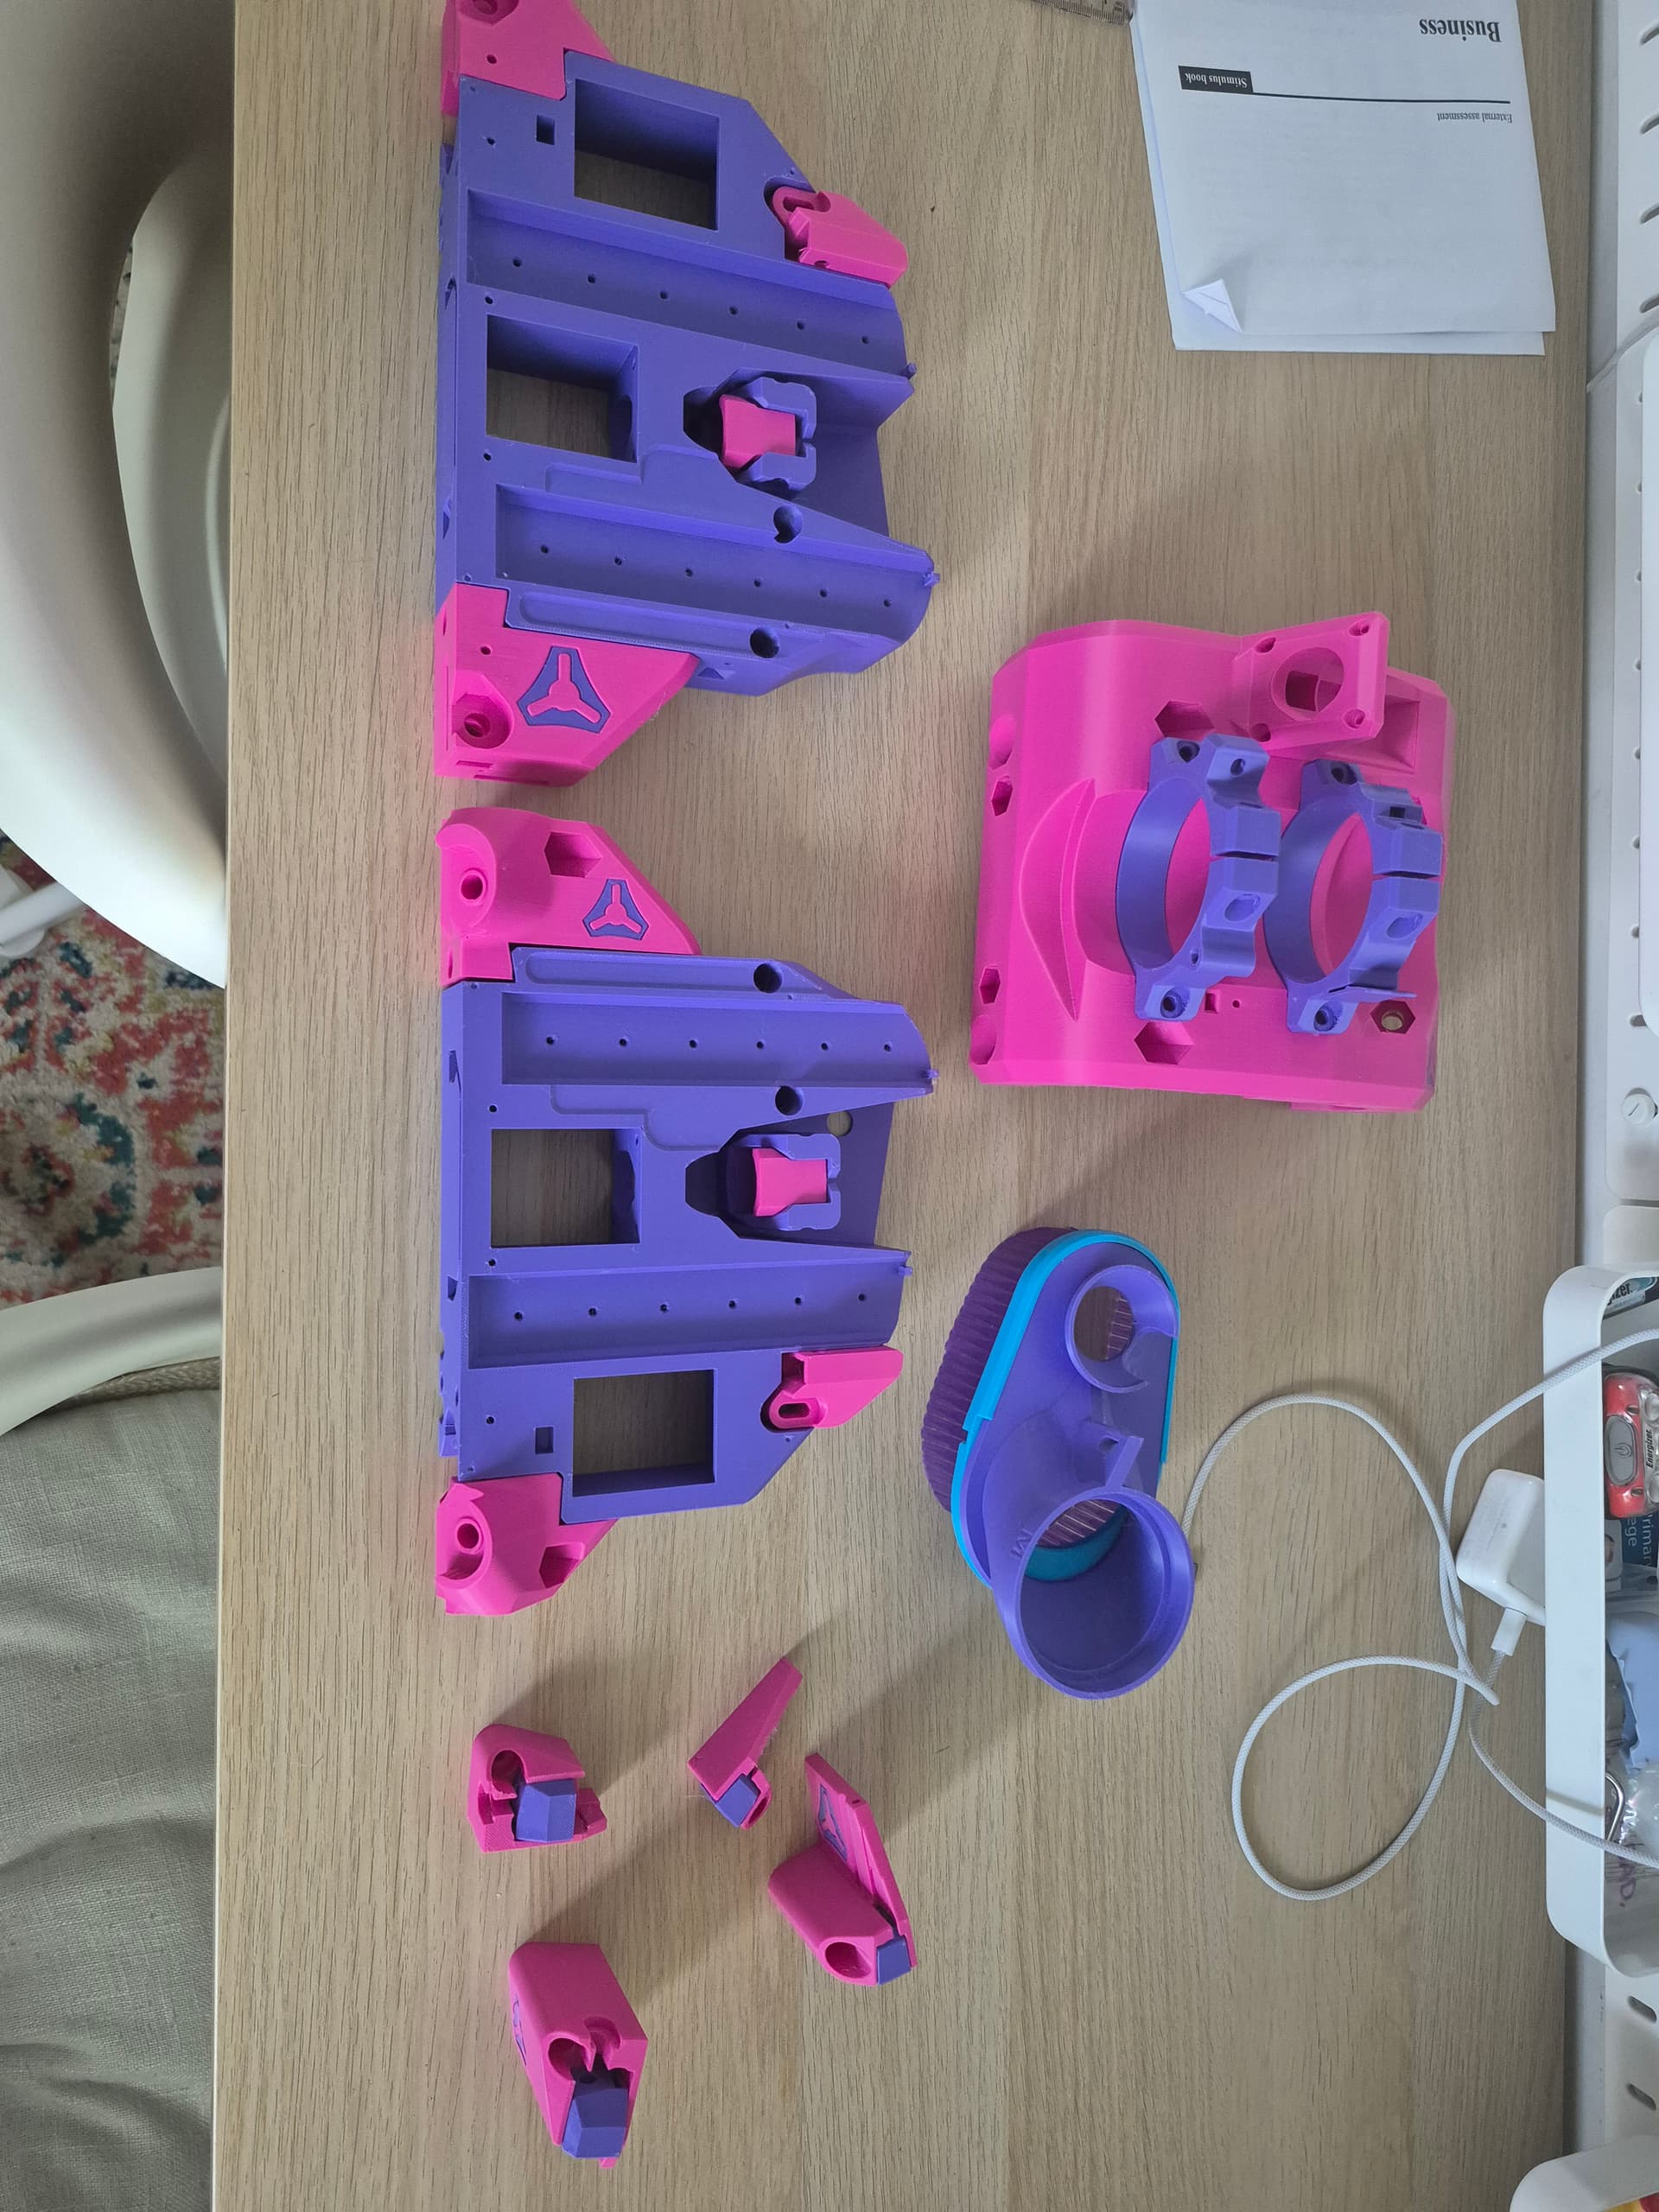
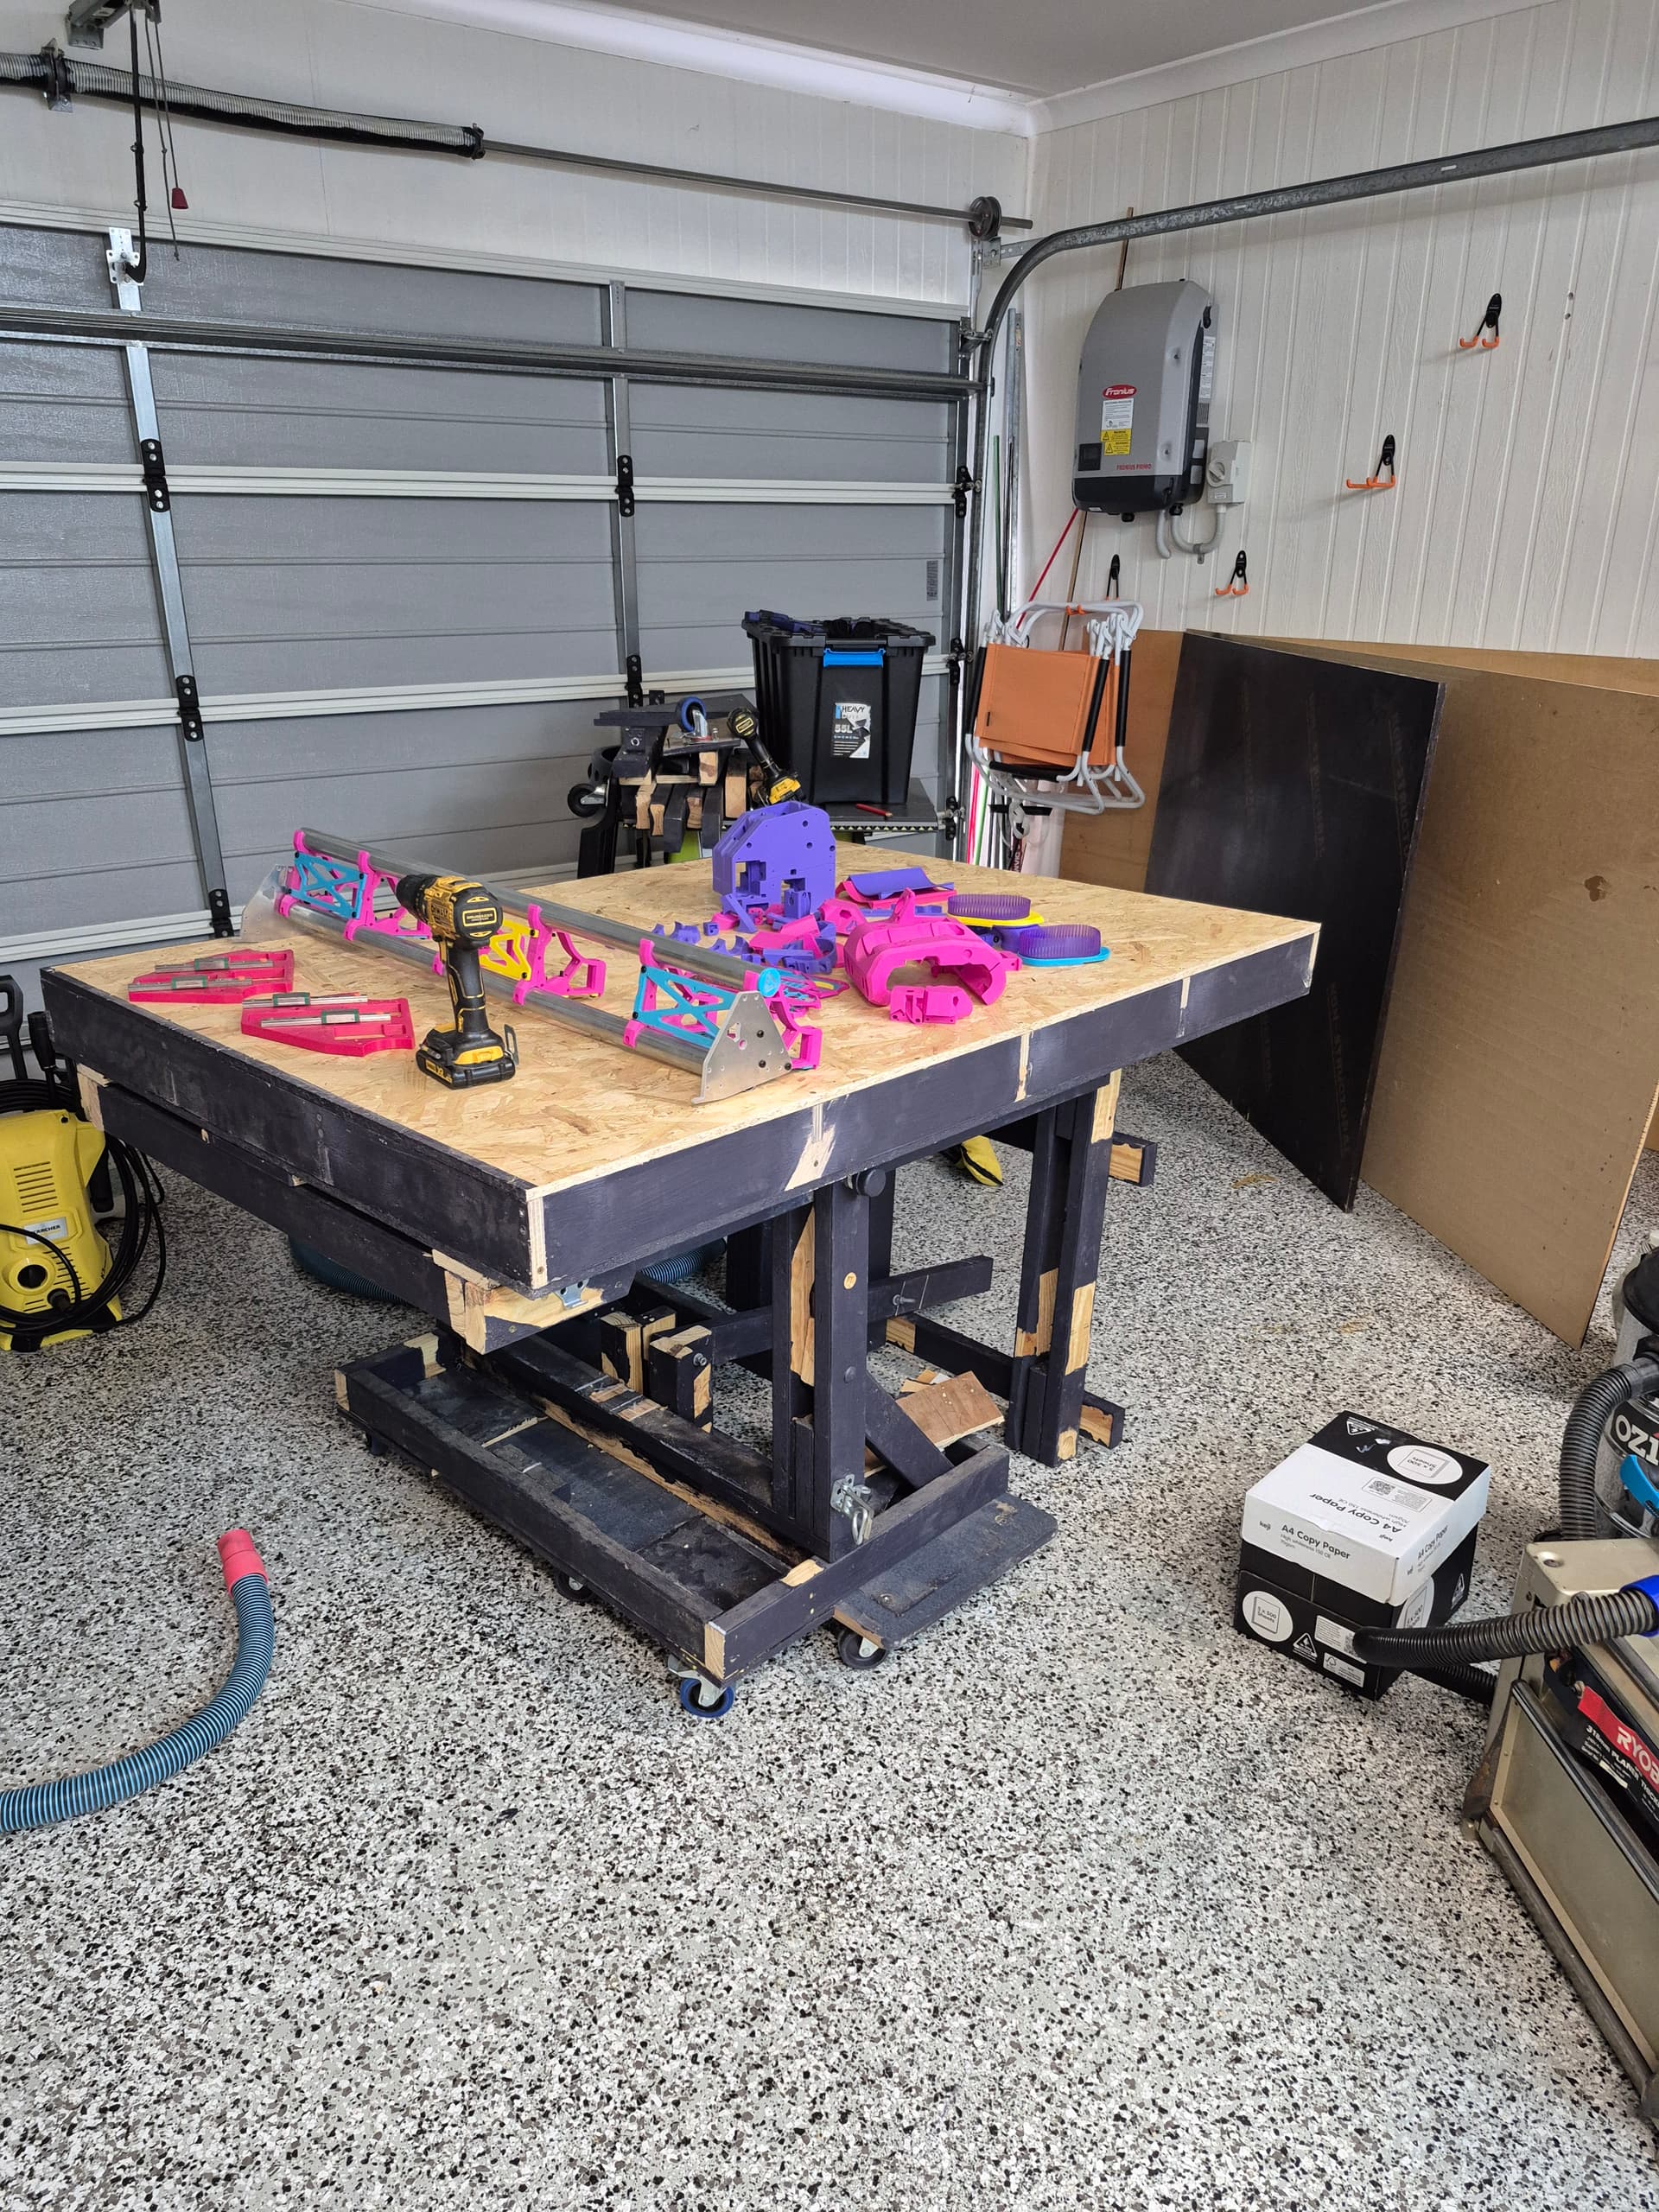
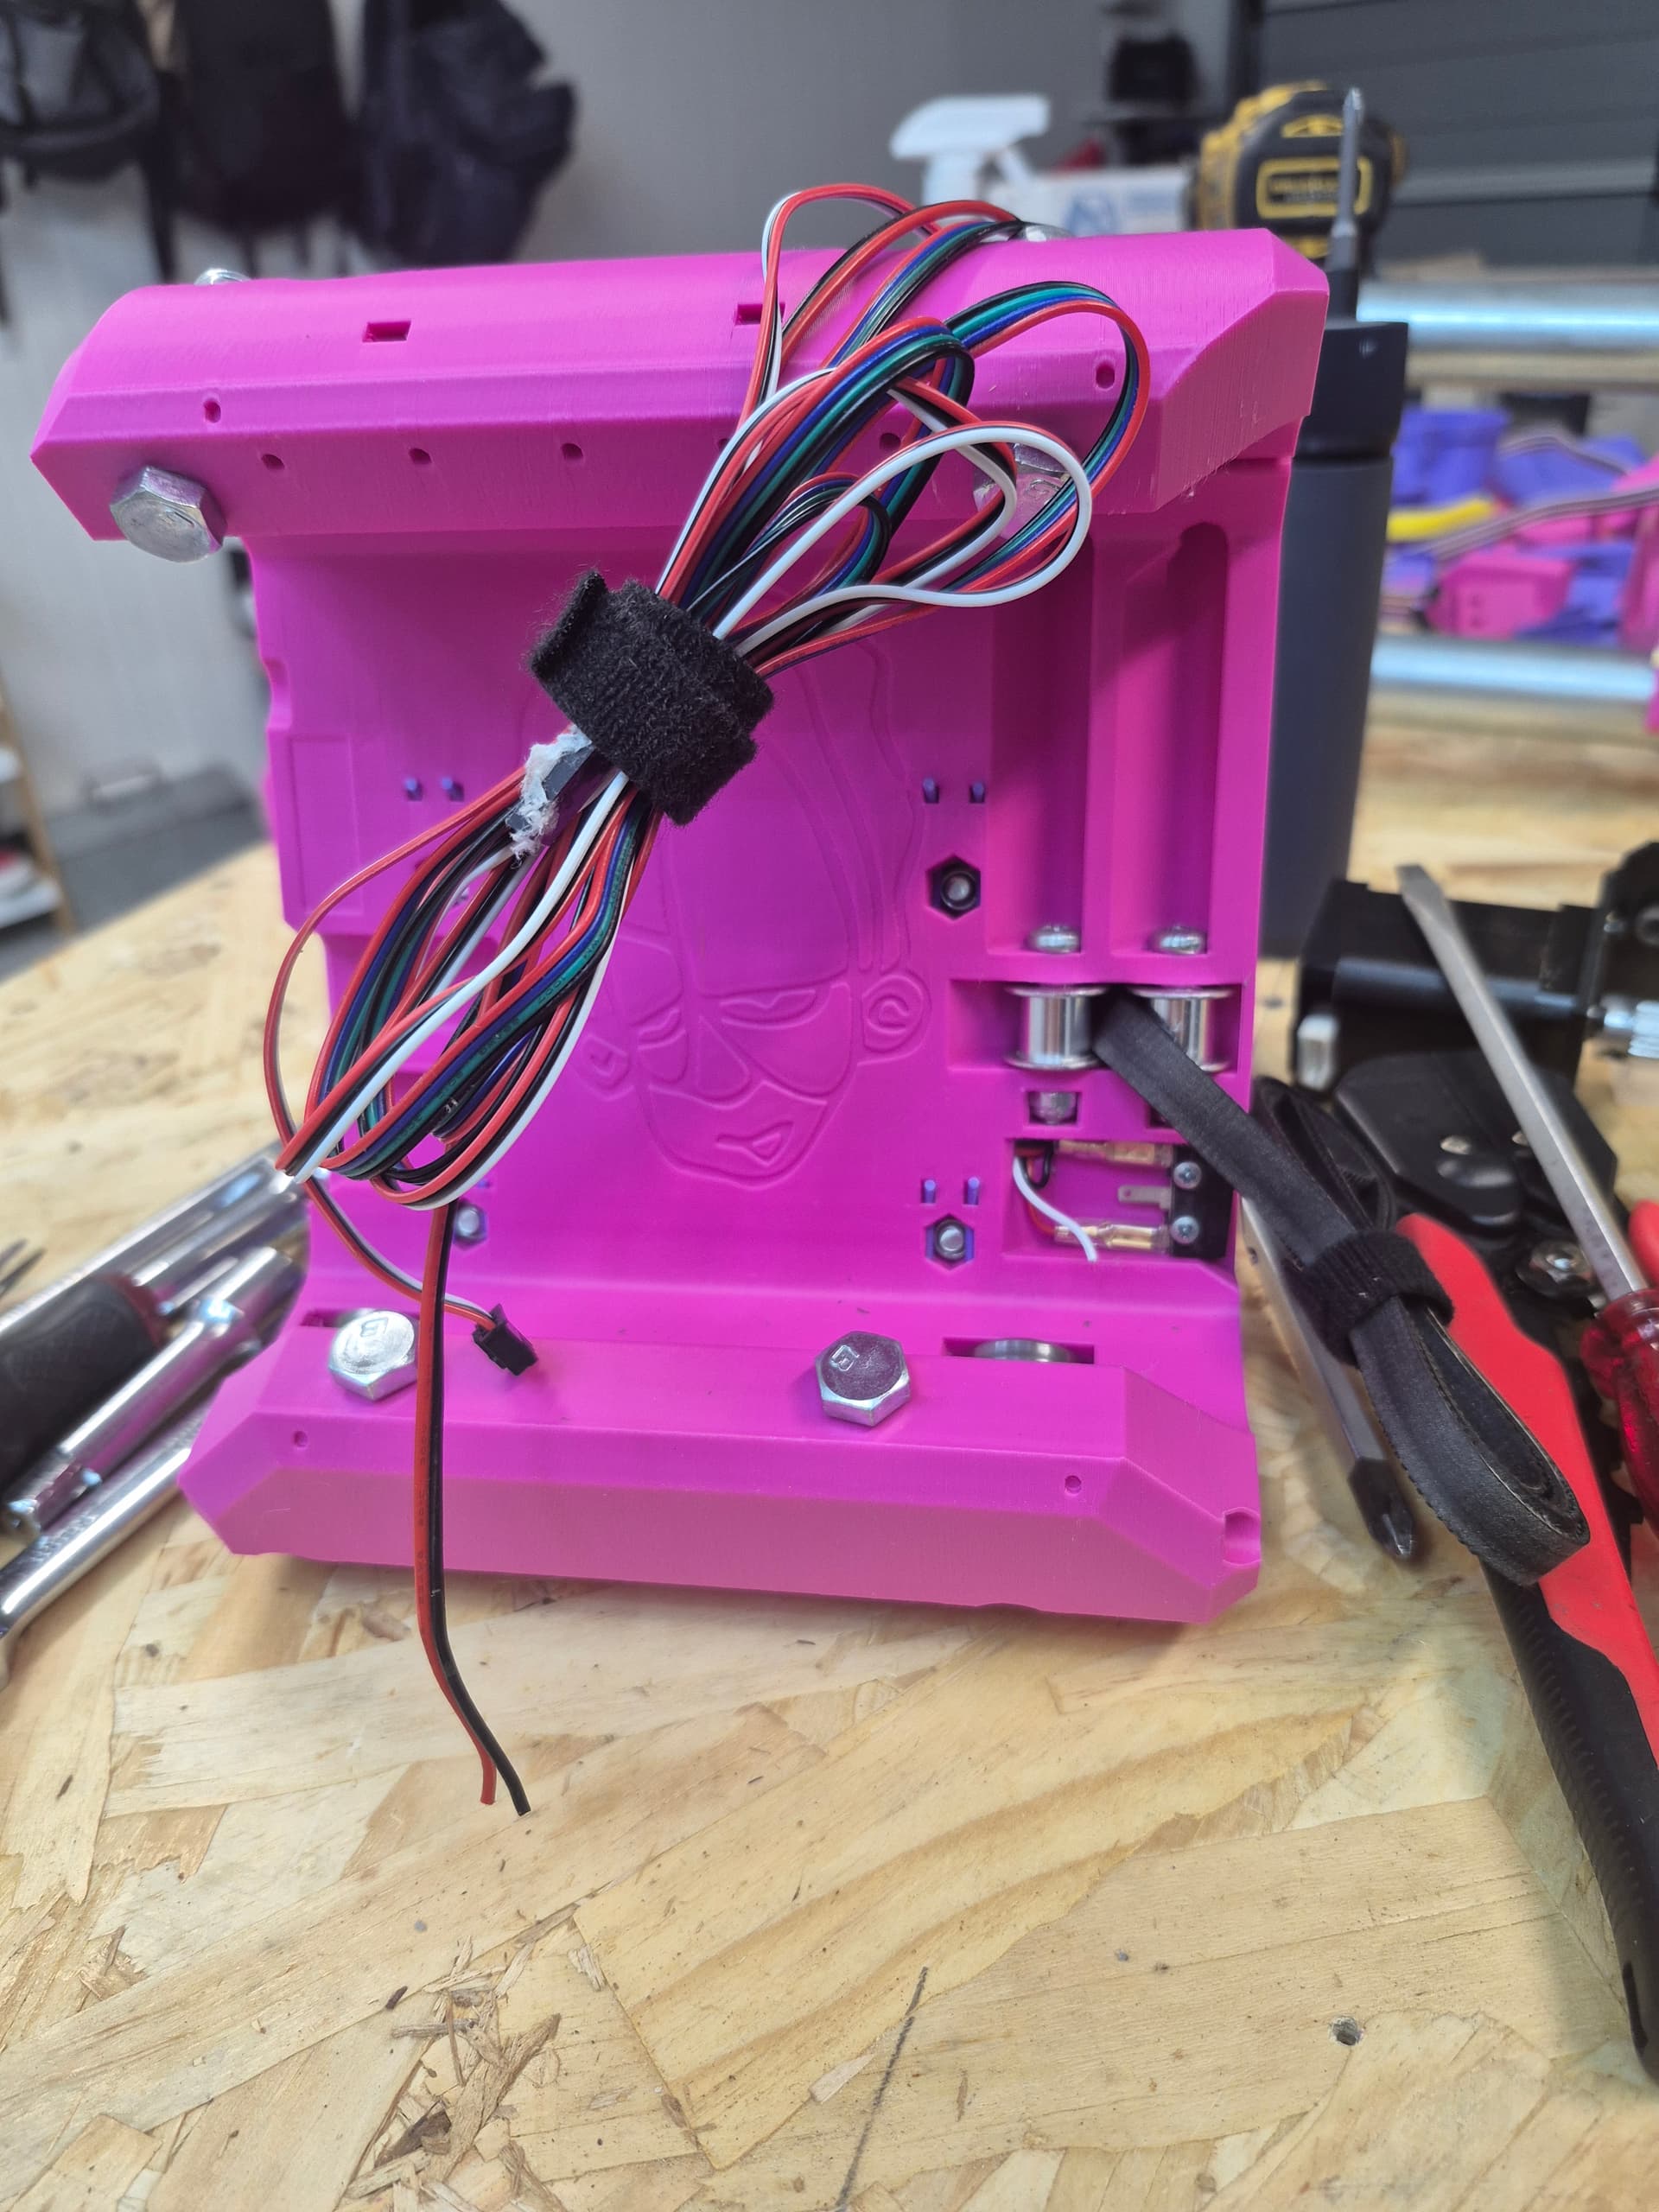
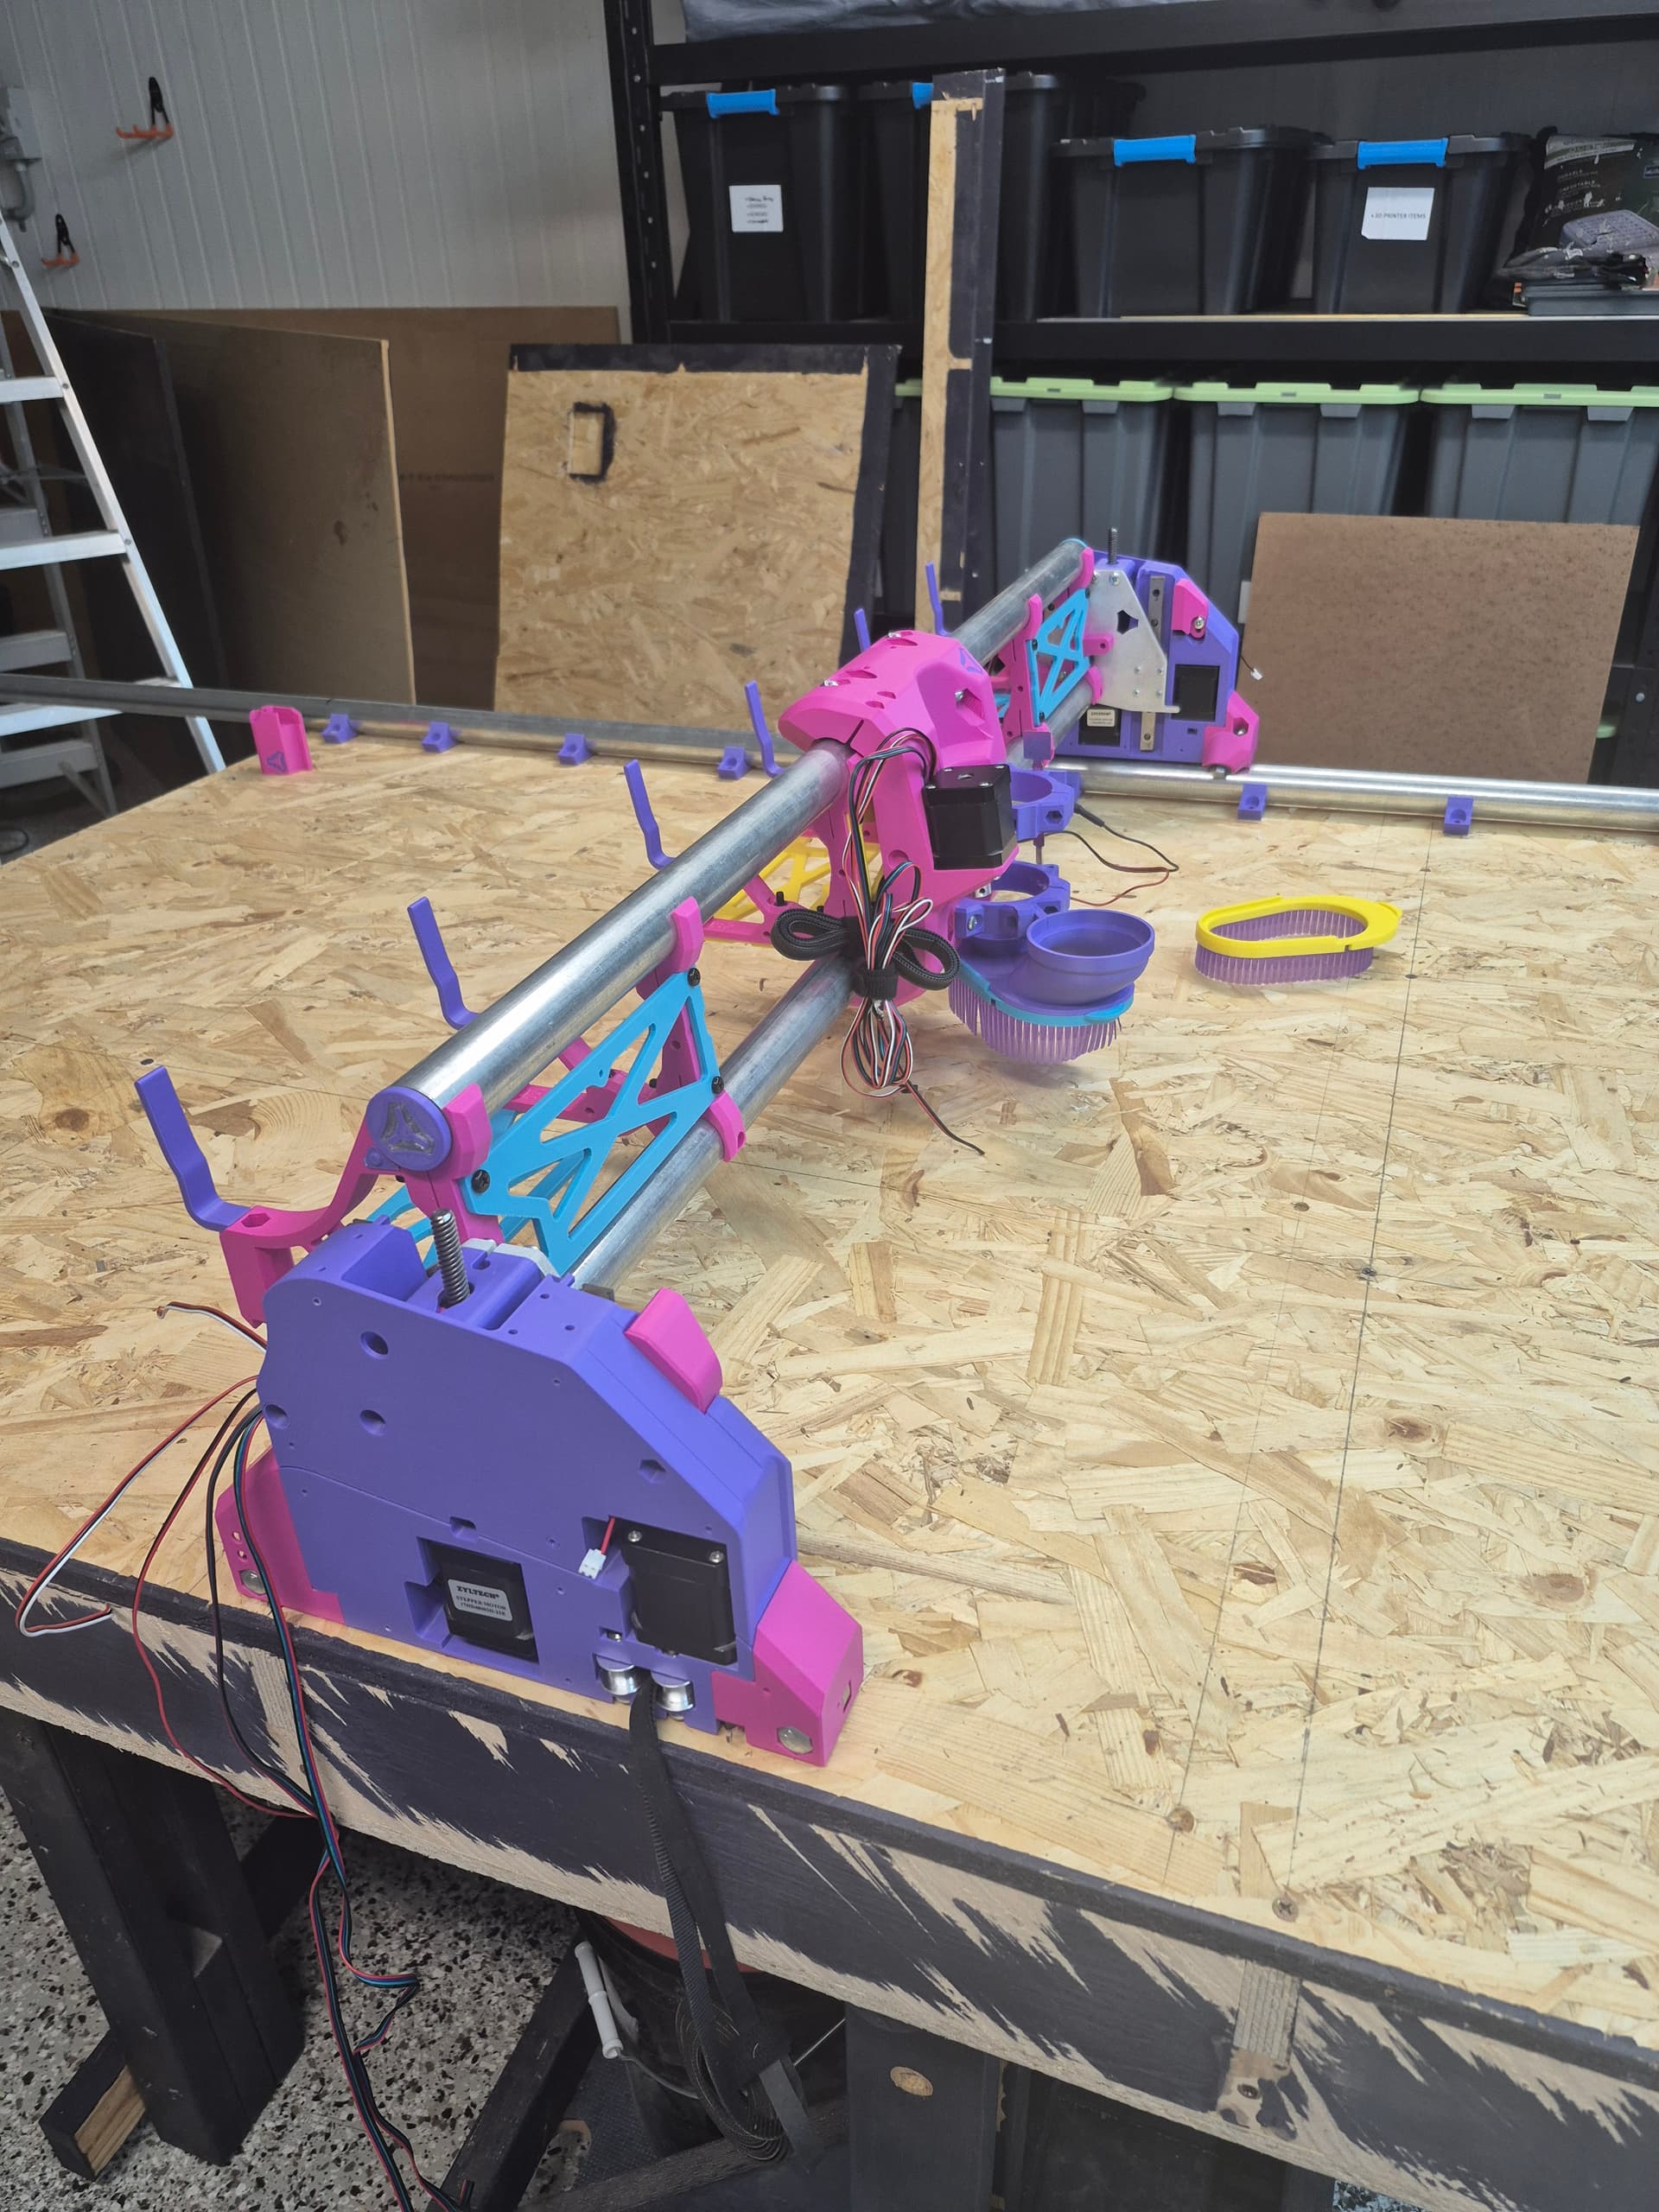
So I will be making use of the SKR Pro V1.2 board and will run grblHAL. As the board is still in operation on the LR3, I have been using a spare BTT Octopus v1.1 that I had lying around as the test. Once I get it all running over the Octopus I will then disassemble the LR3 and reuse most of the hardware. Still going to use it to cut the strut plates.
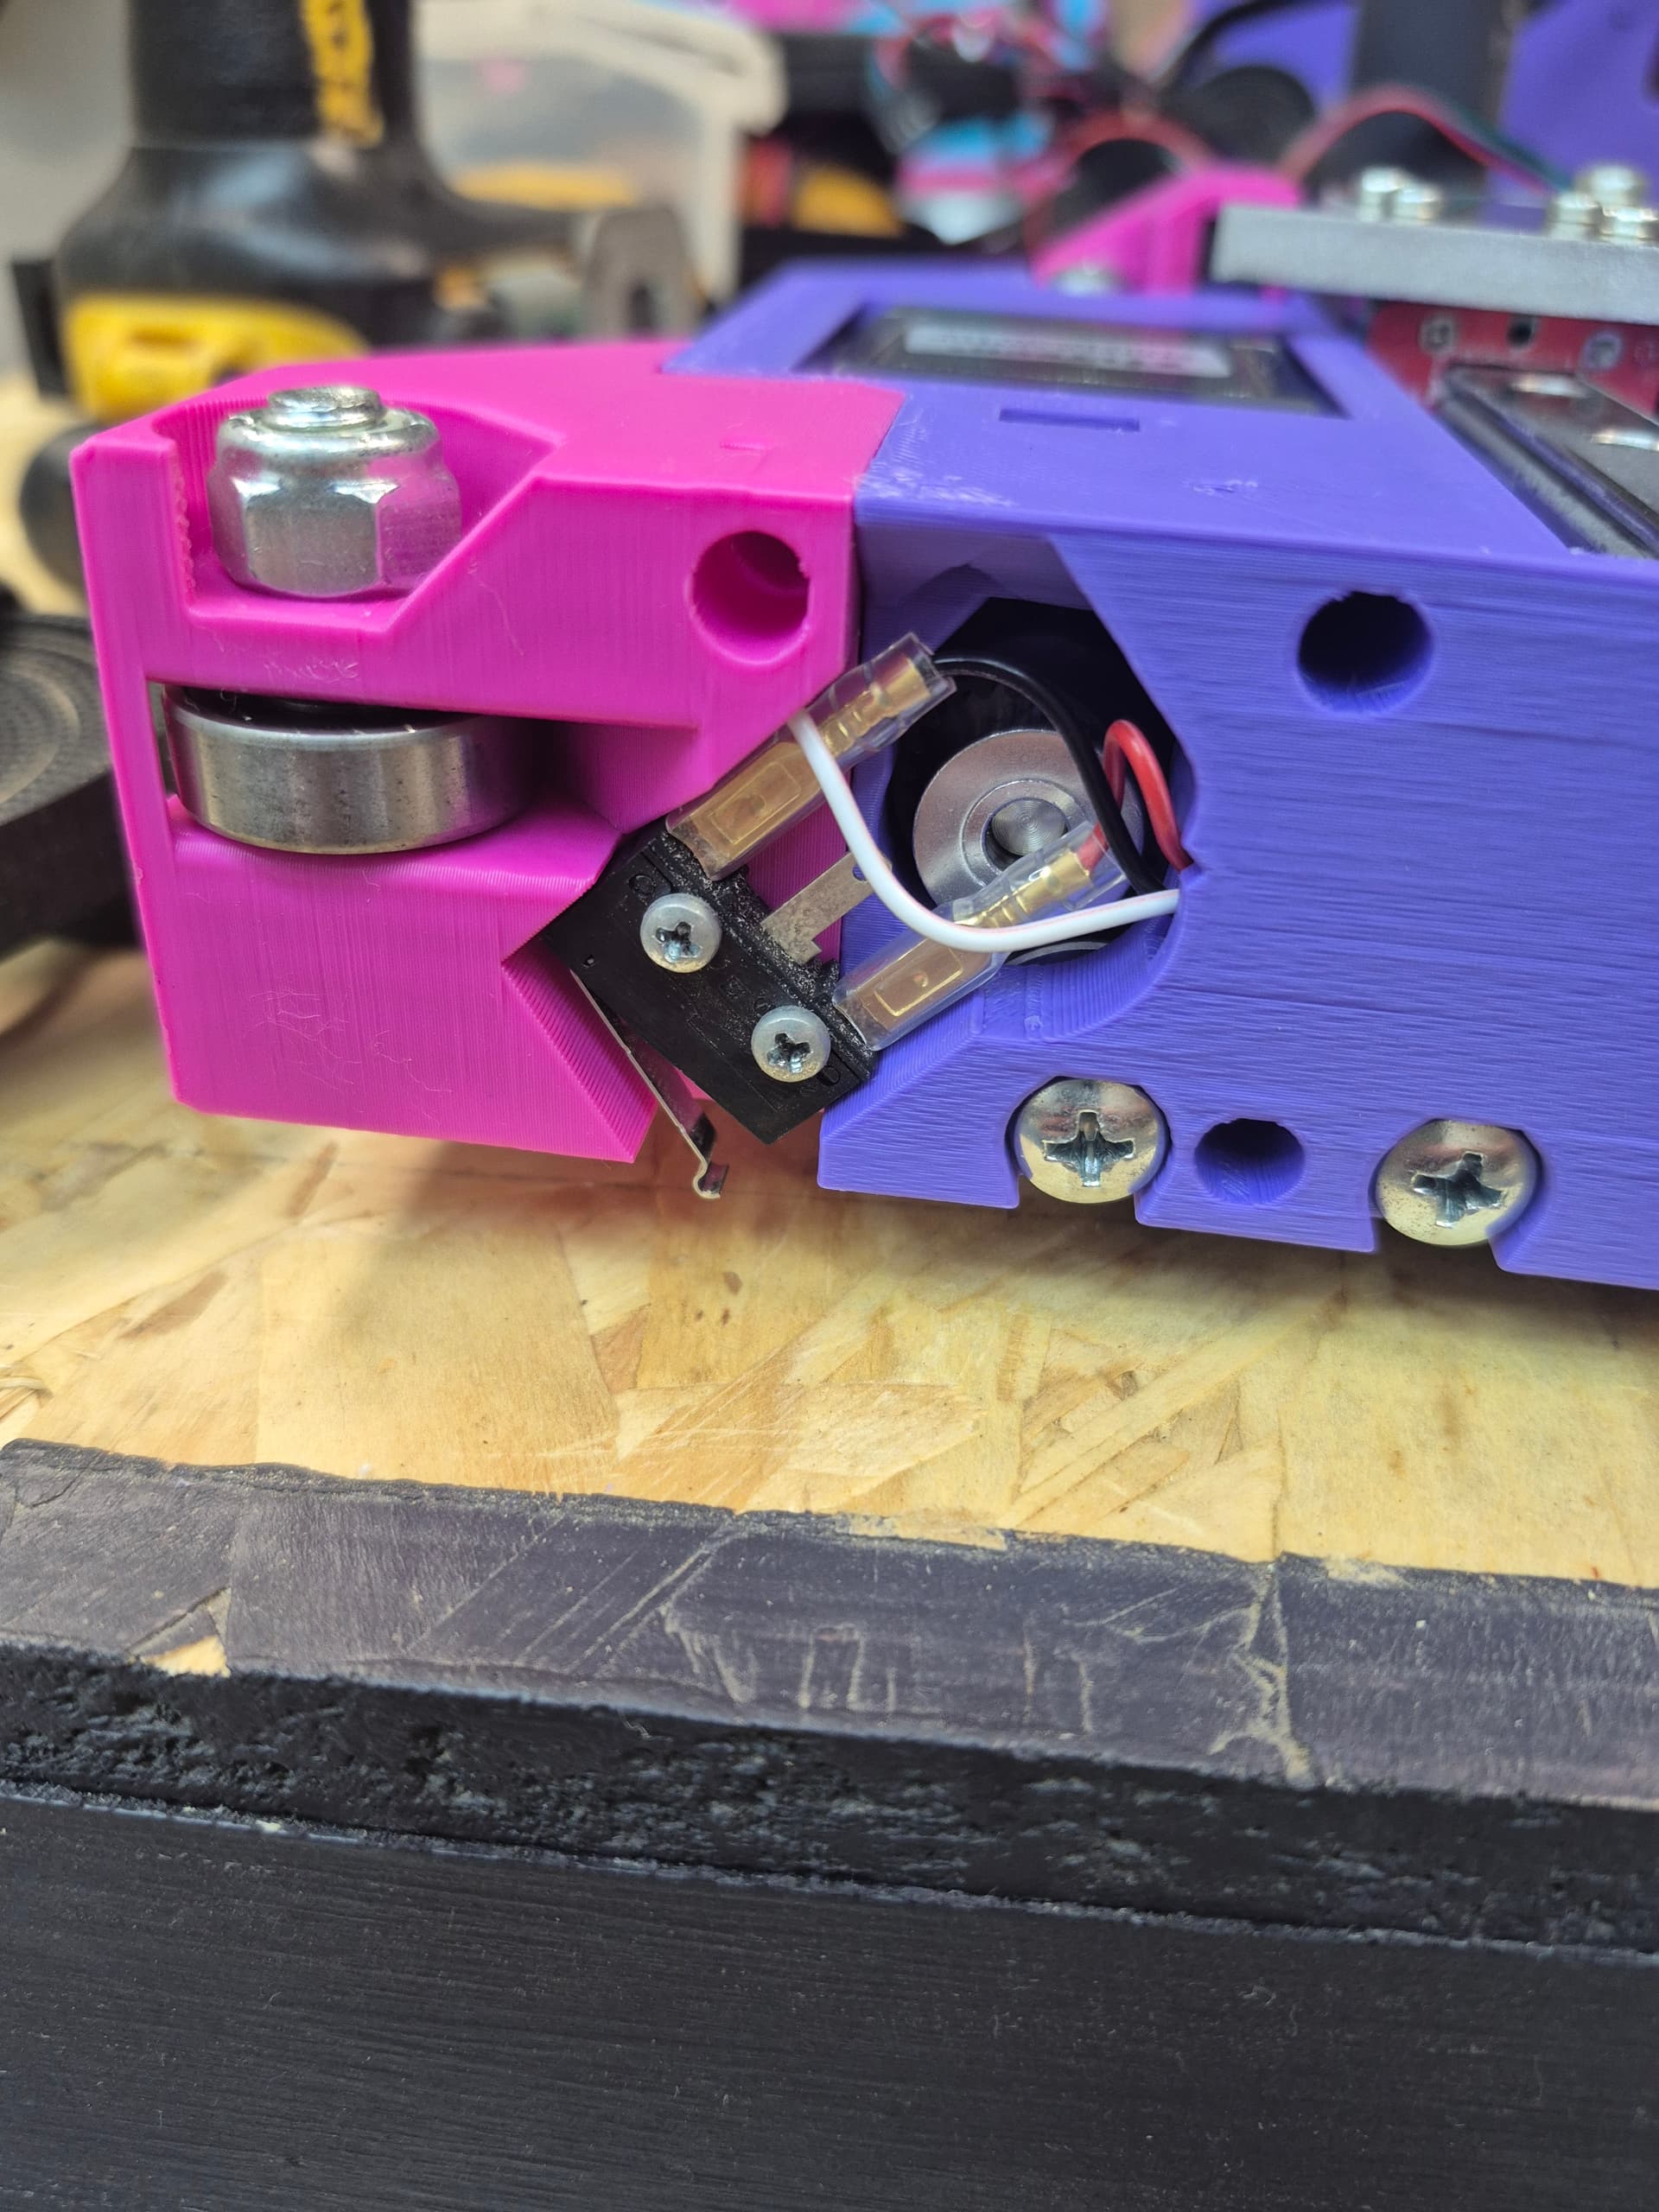
I have some new switches on order for using grbl commands, similar to the pendant just with out the stack dial for the moment. An E-stop will also be installed. The first hurdle I have is designing a new table.
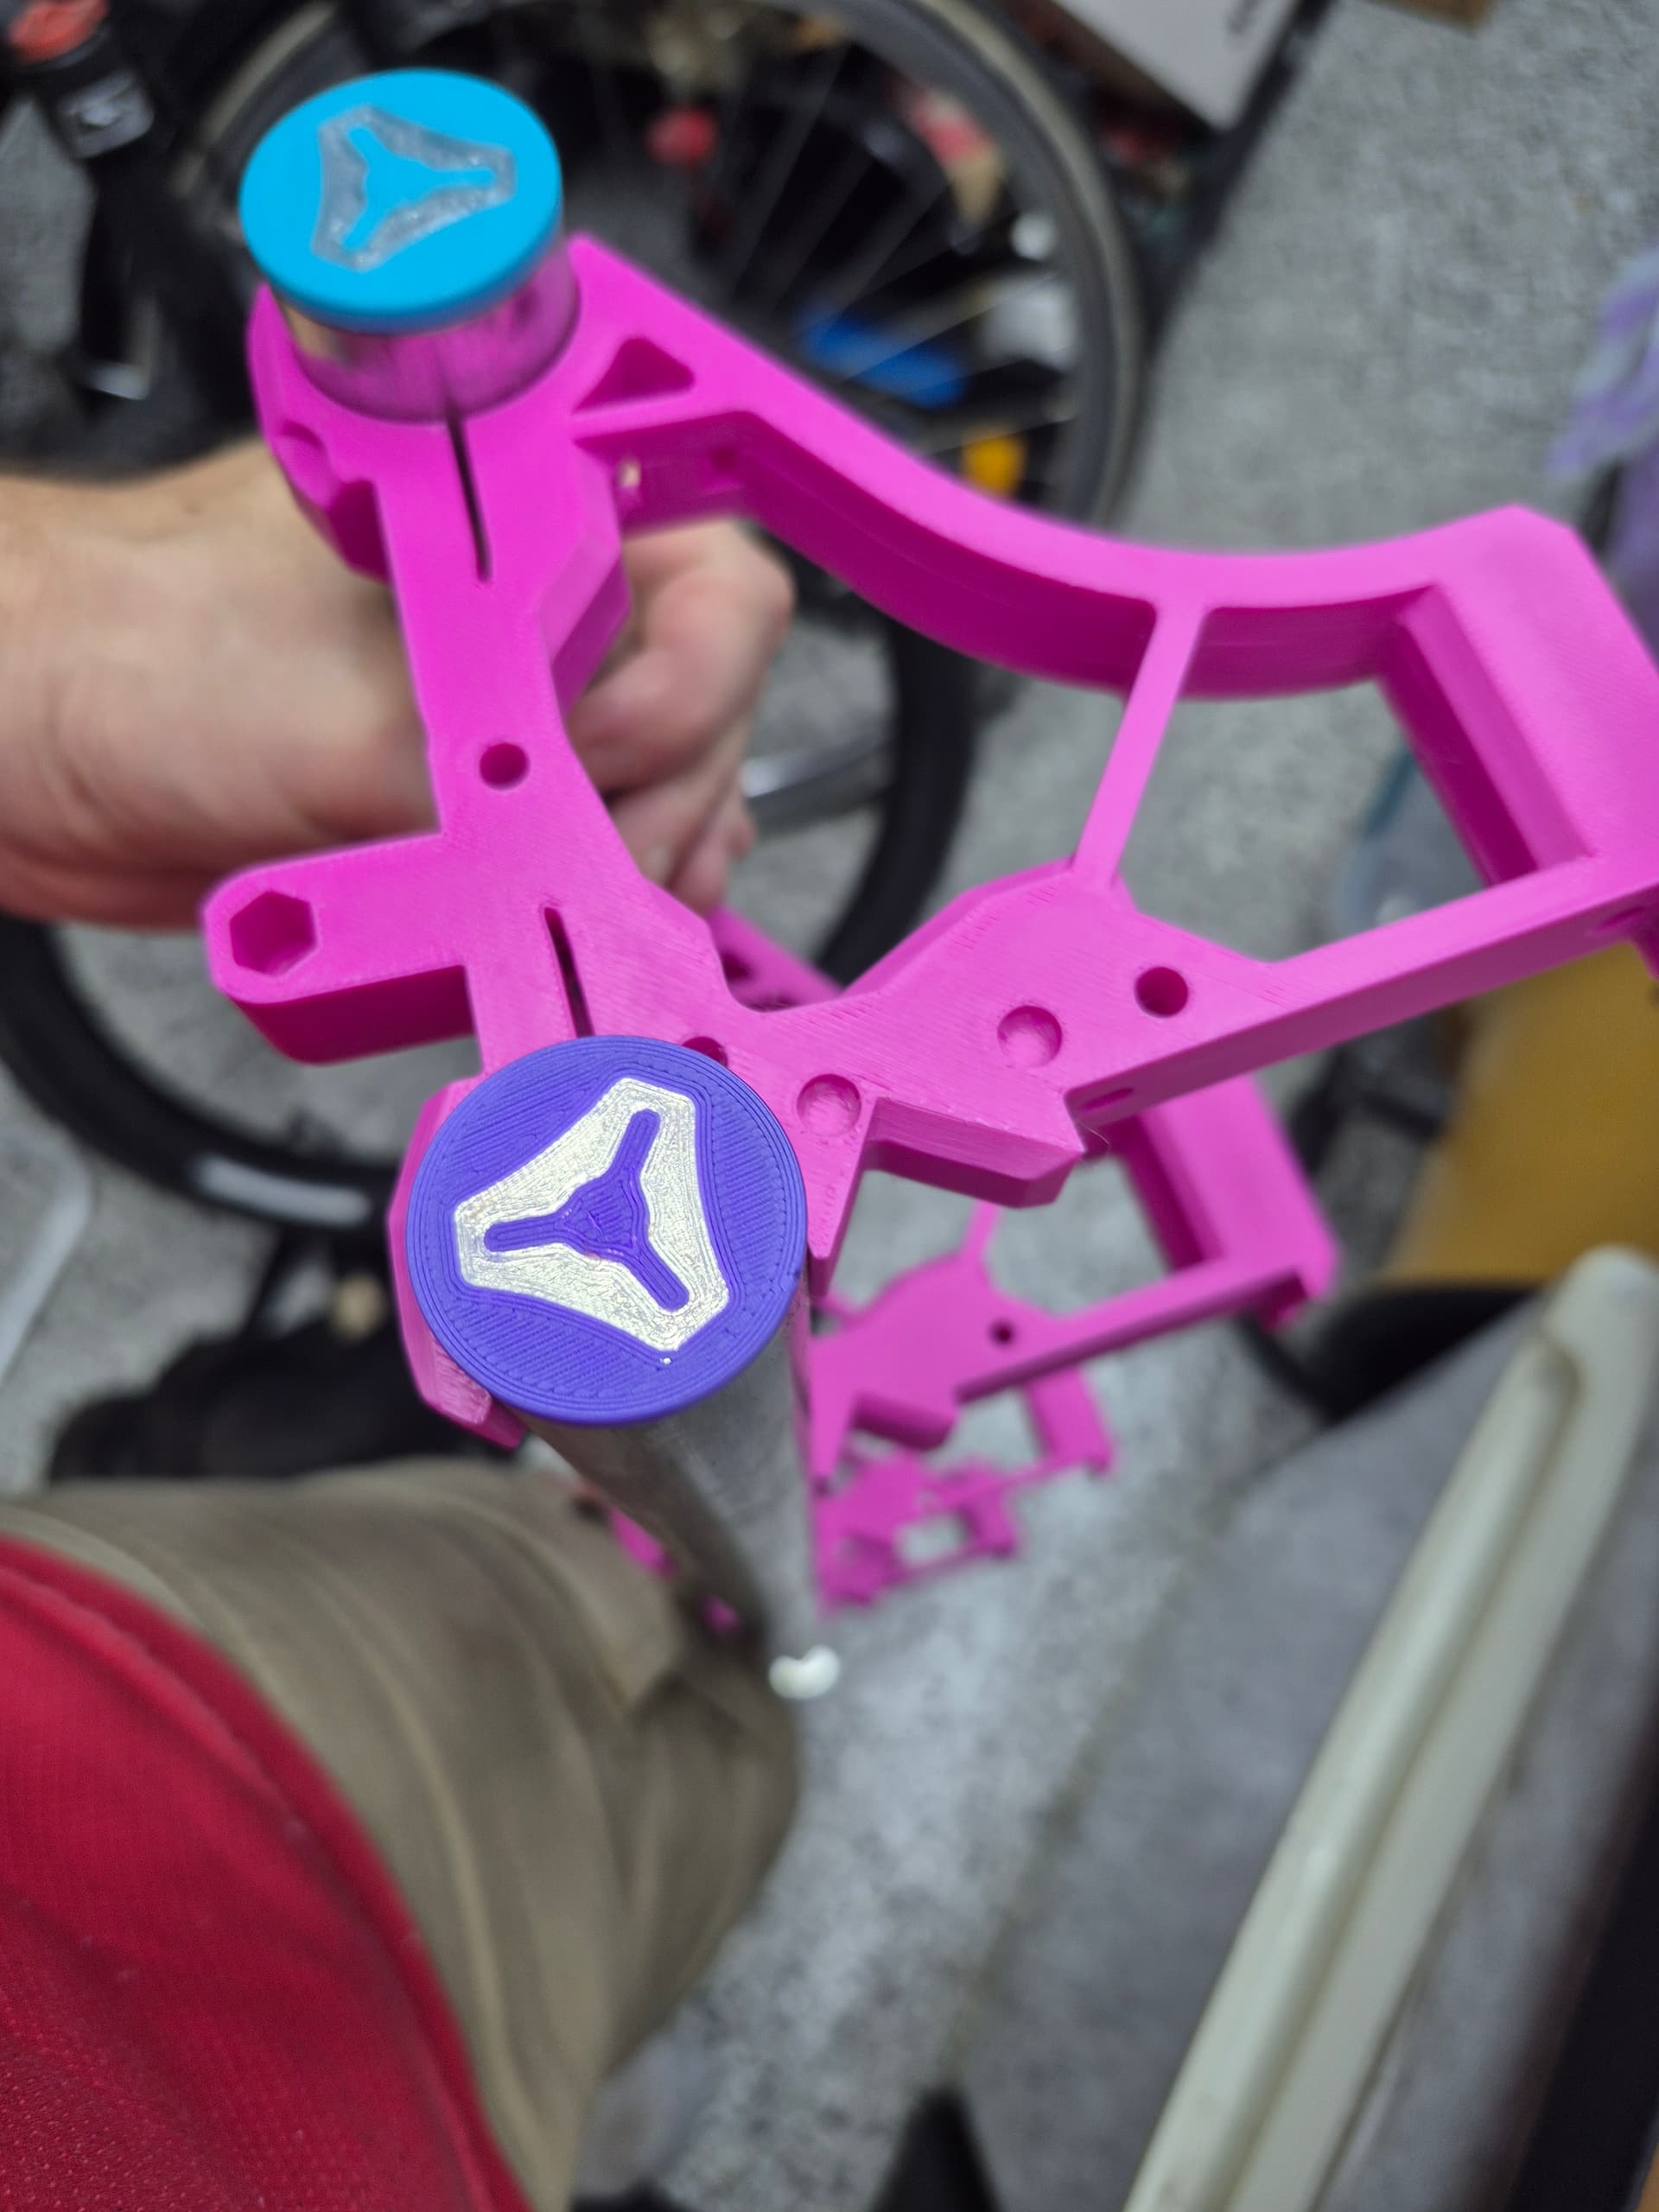
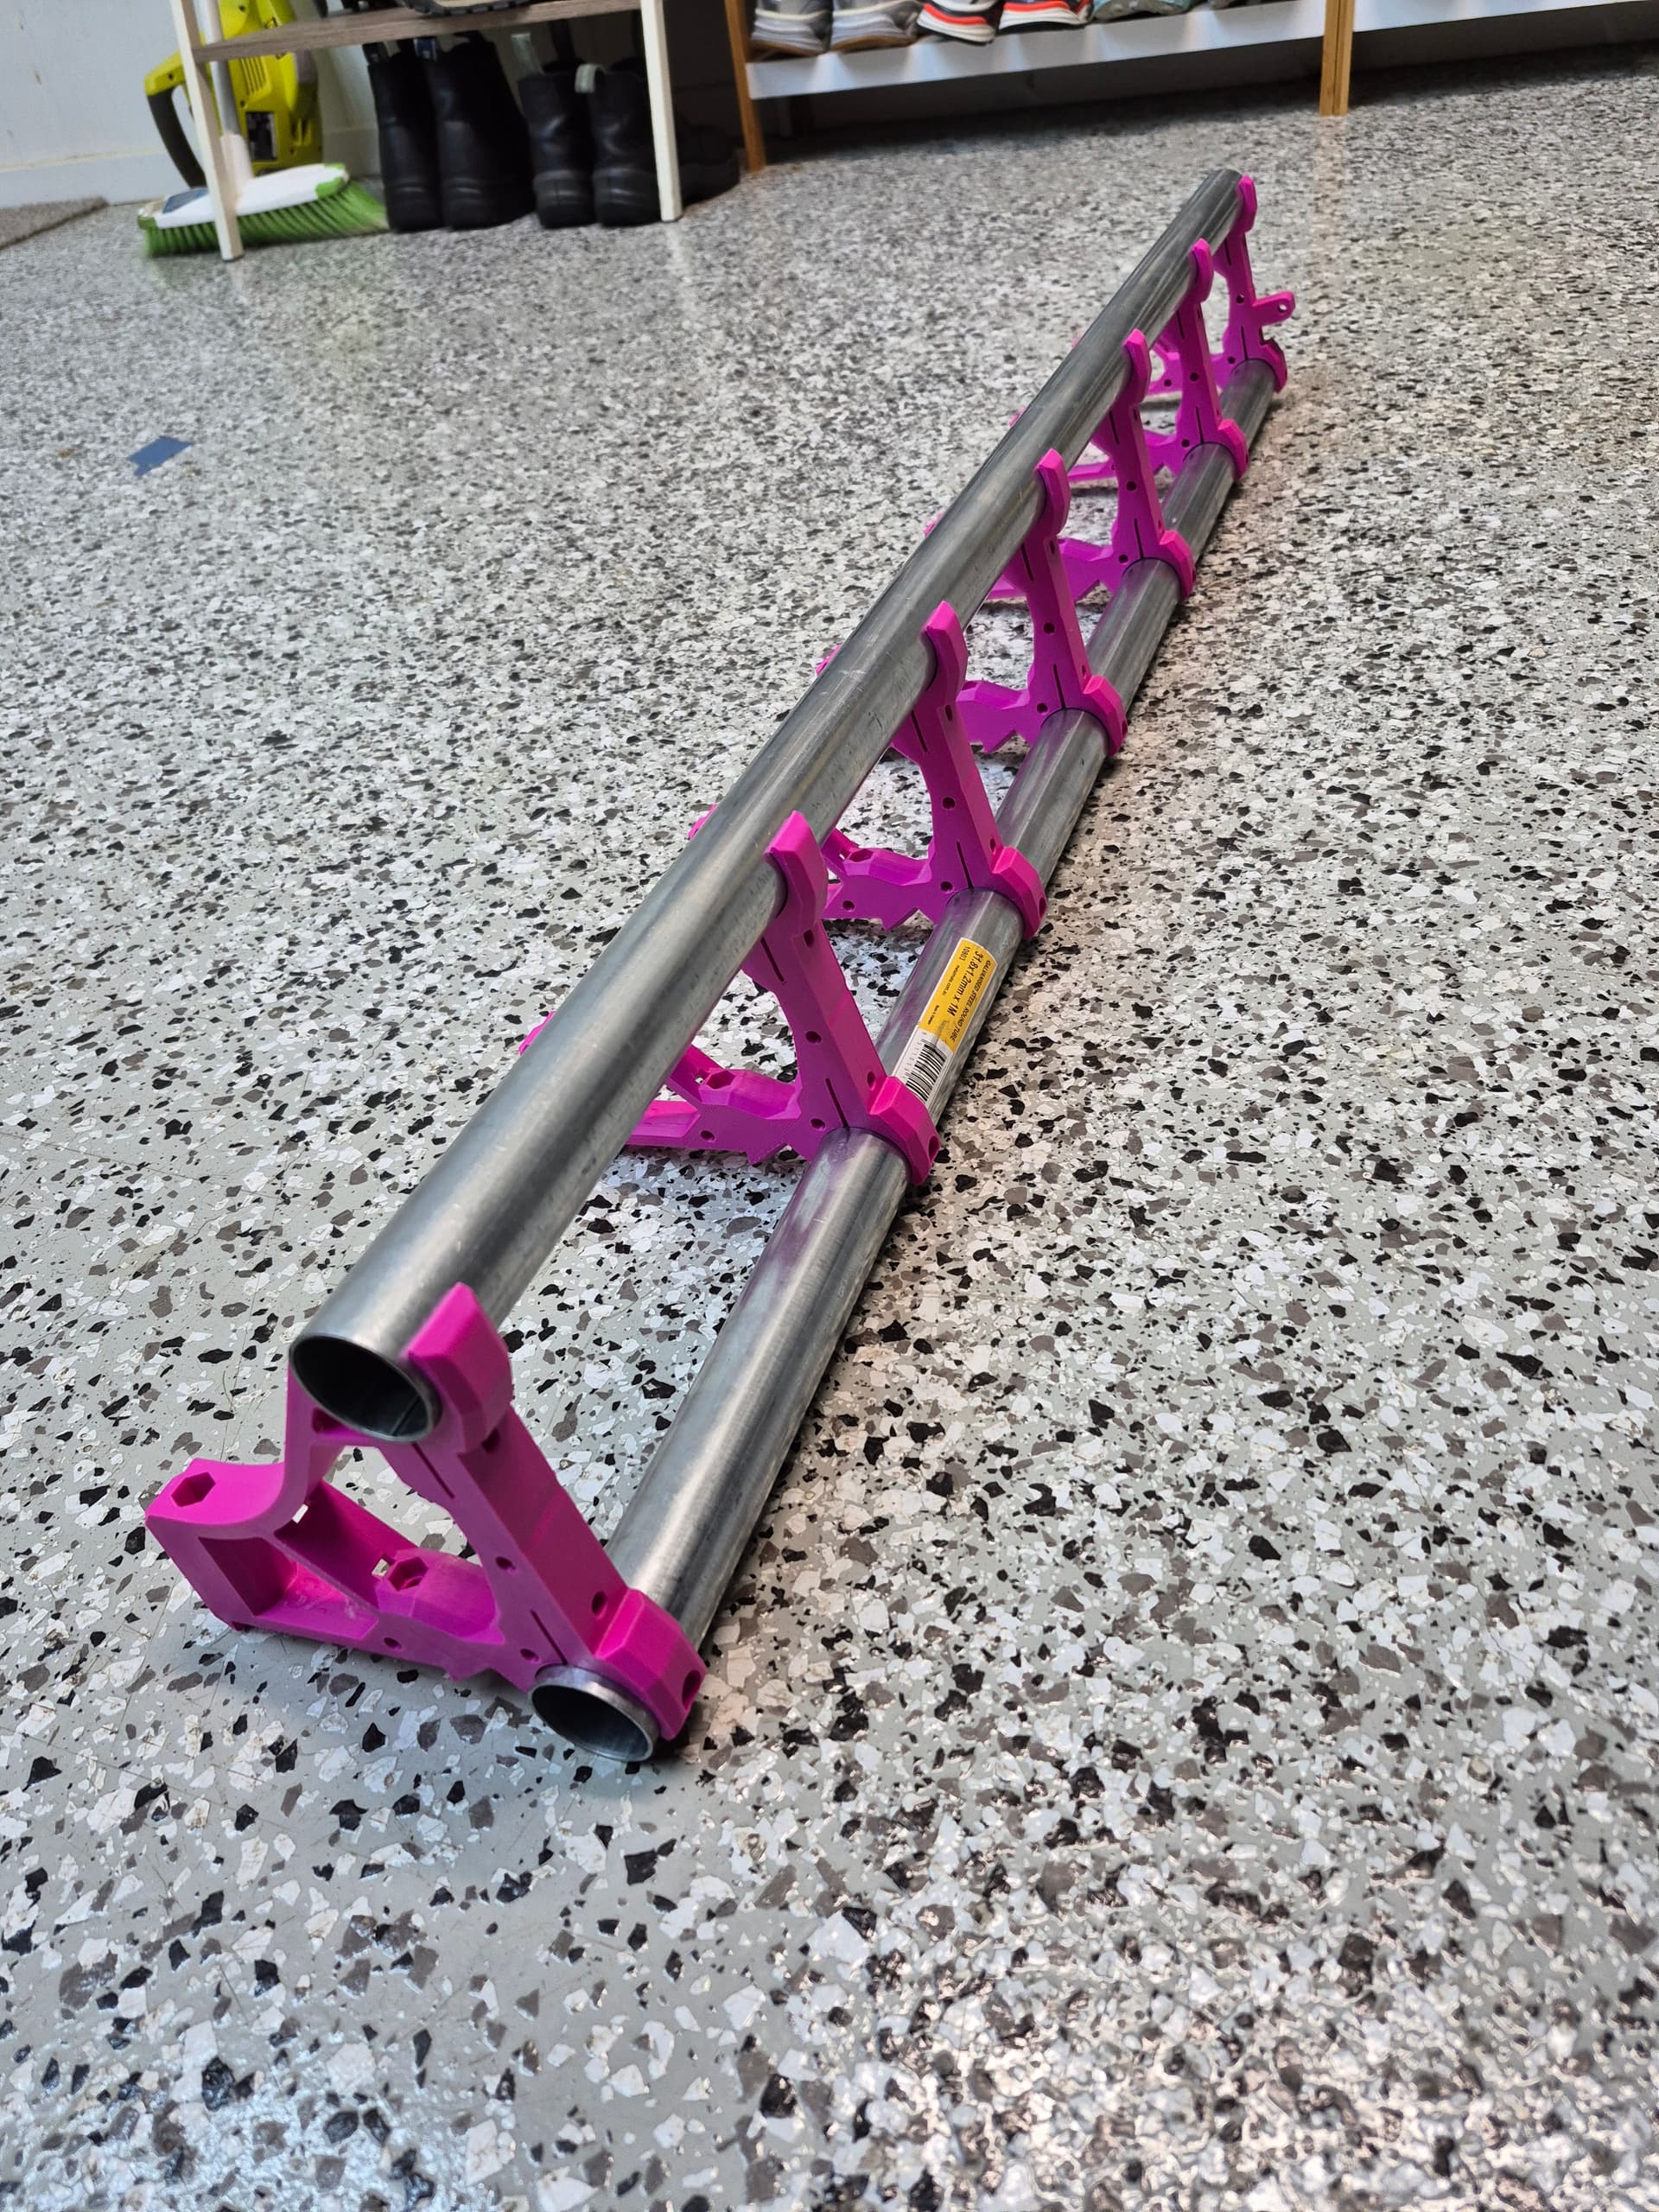
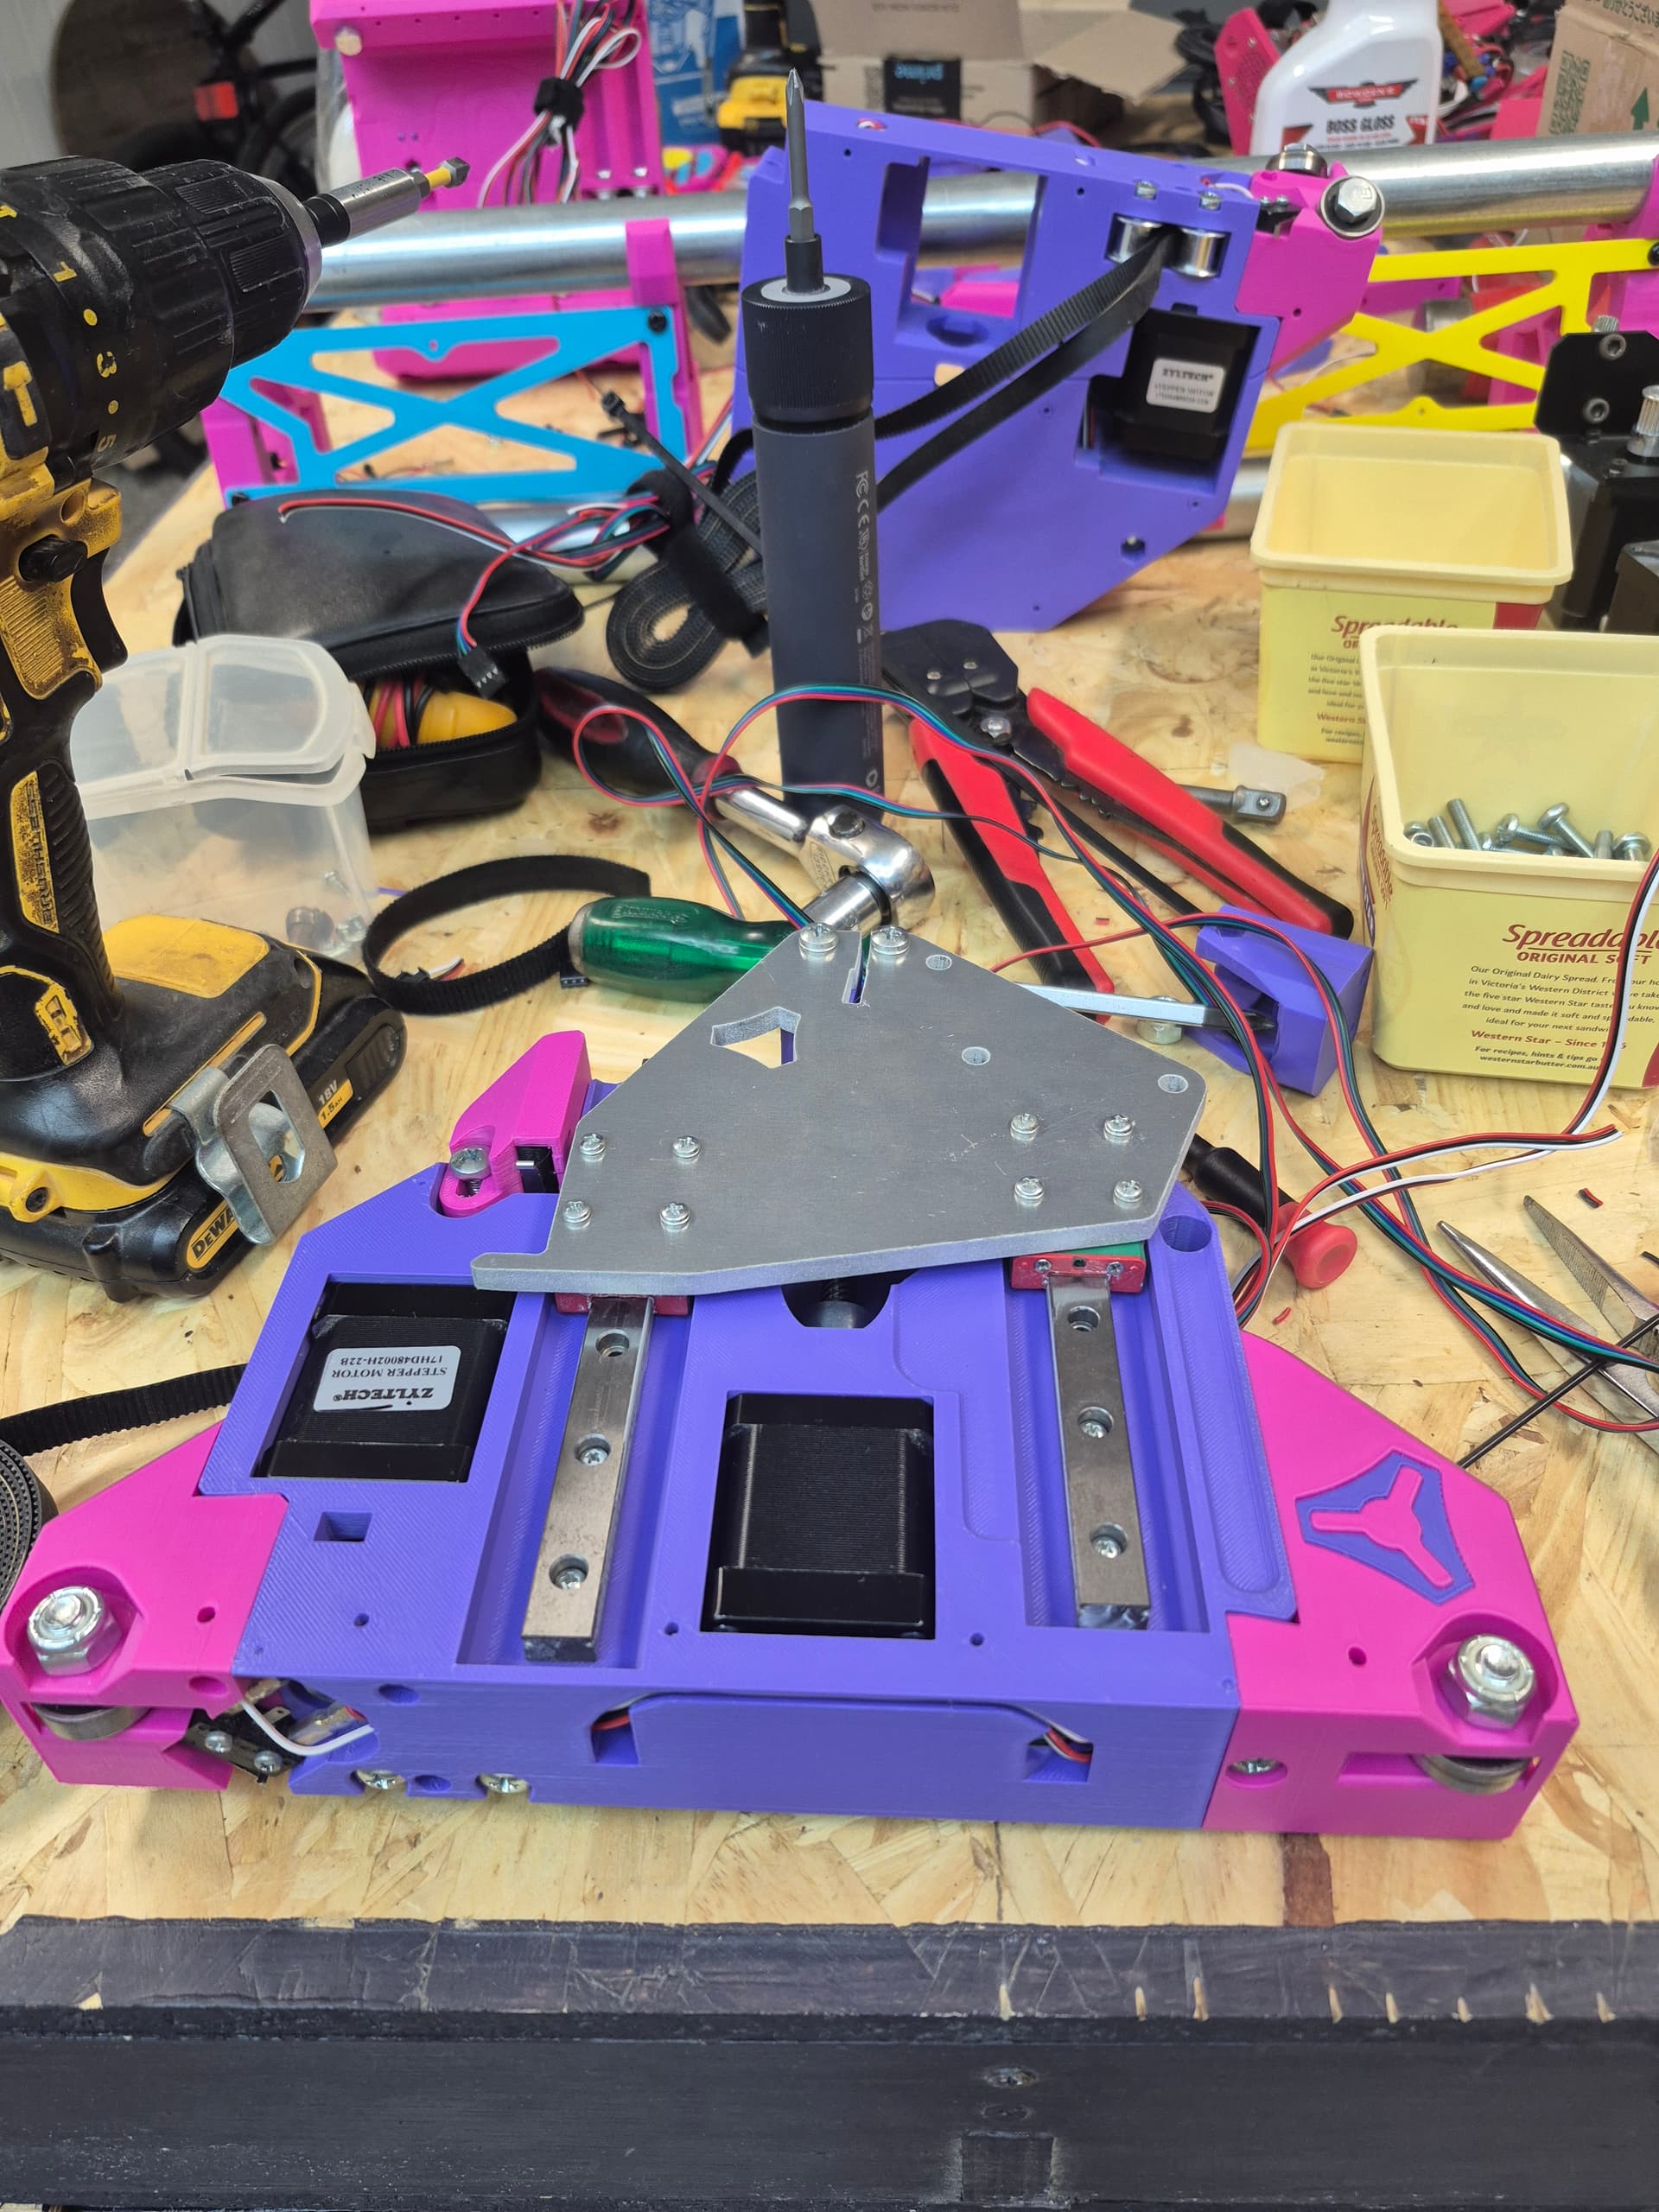
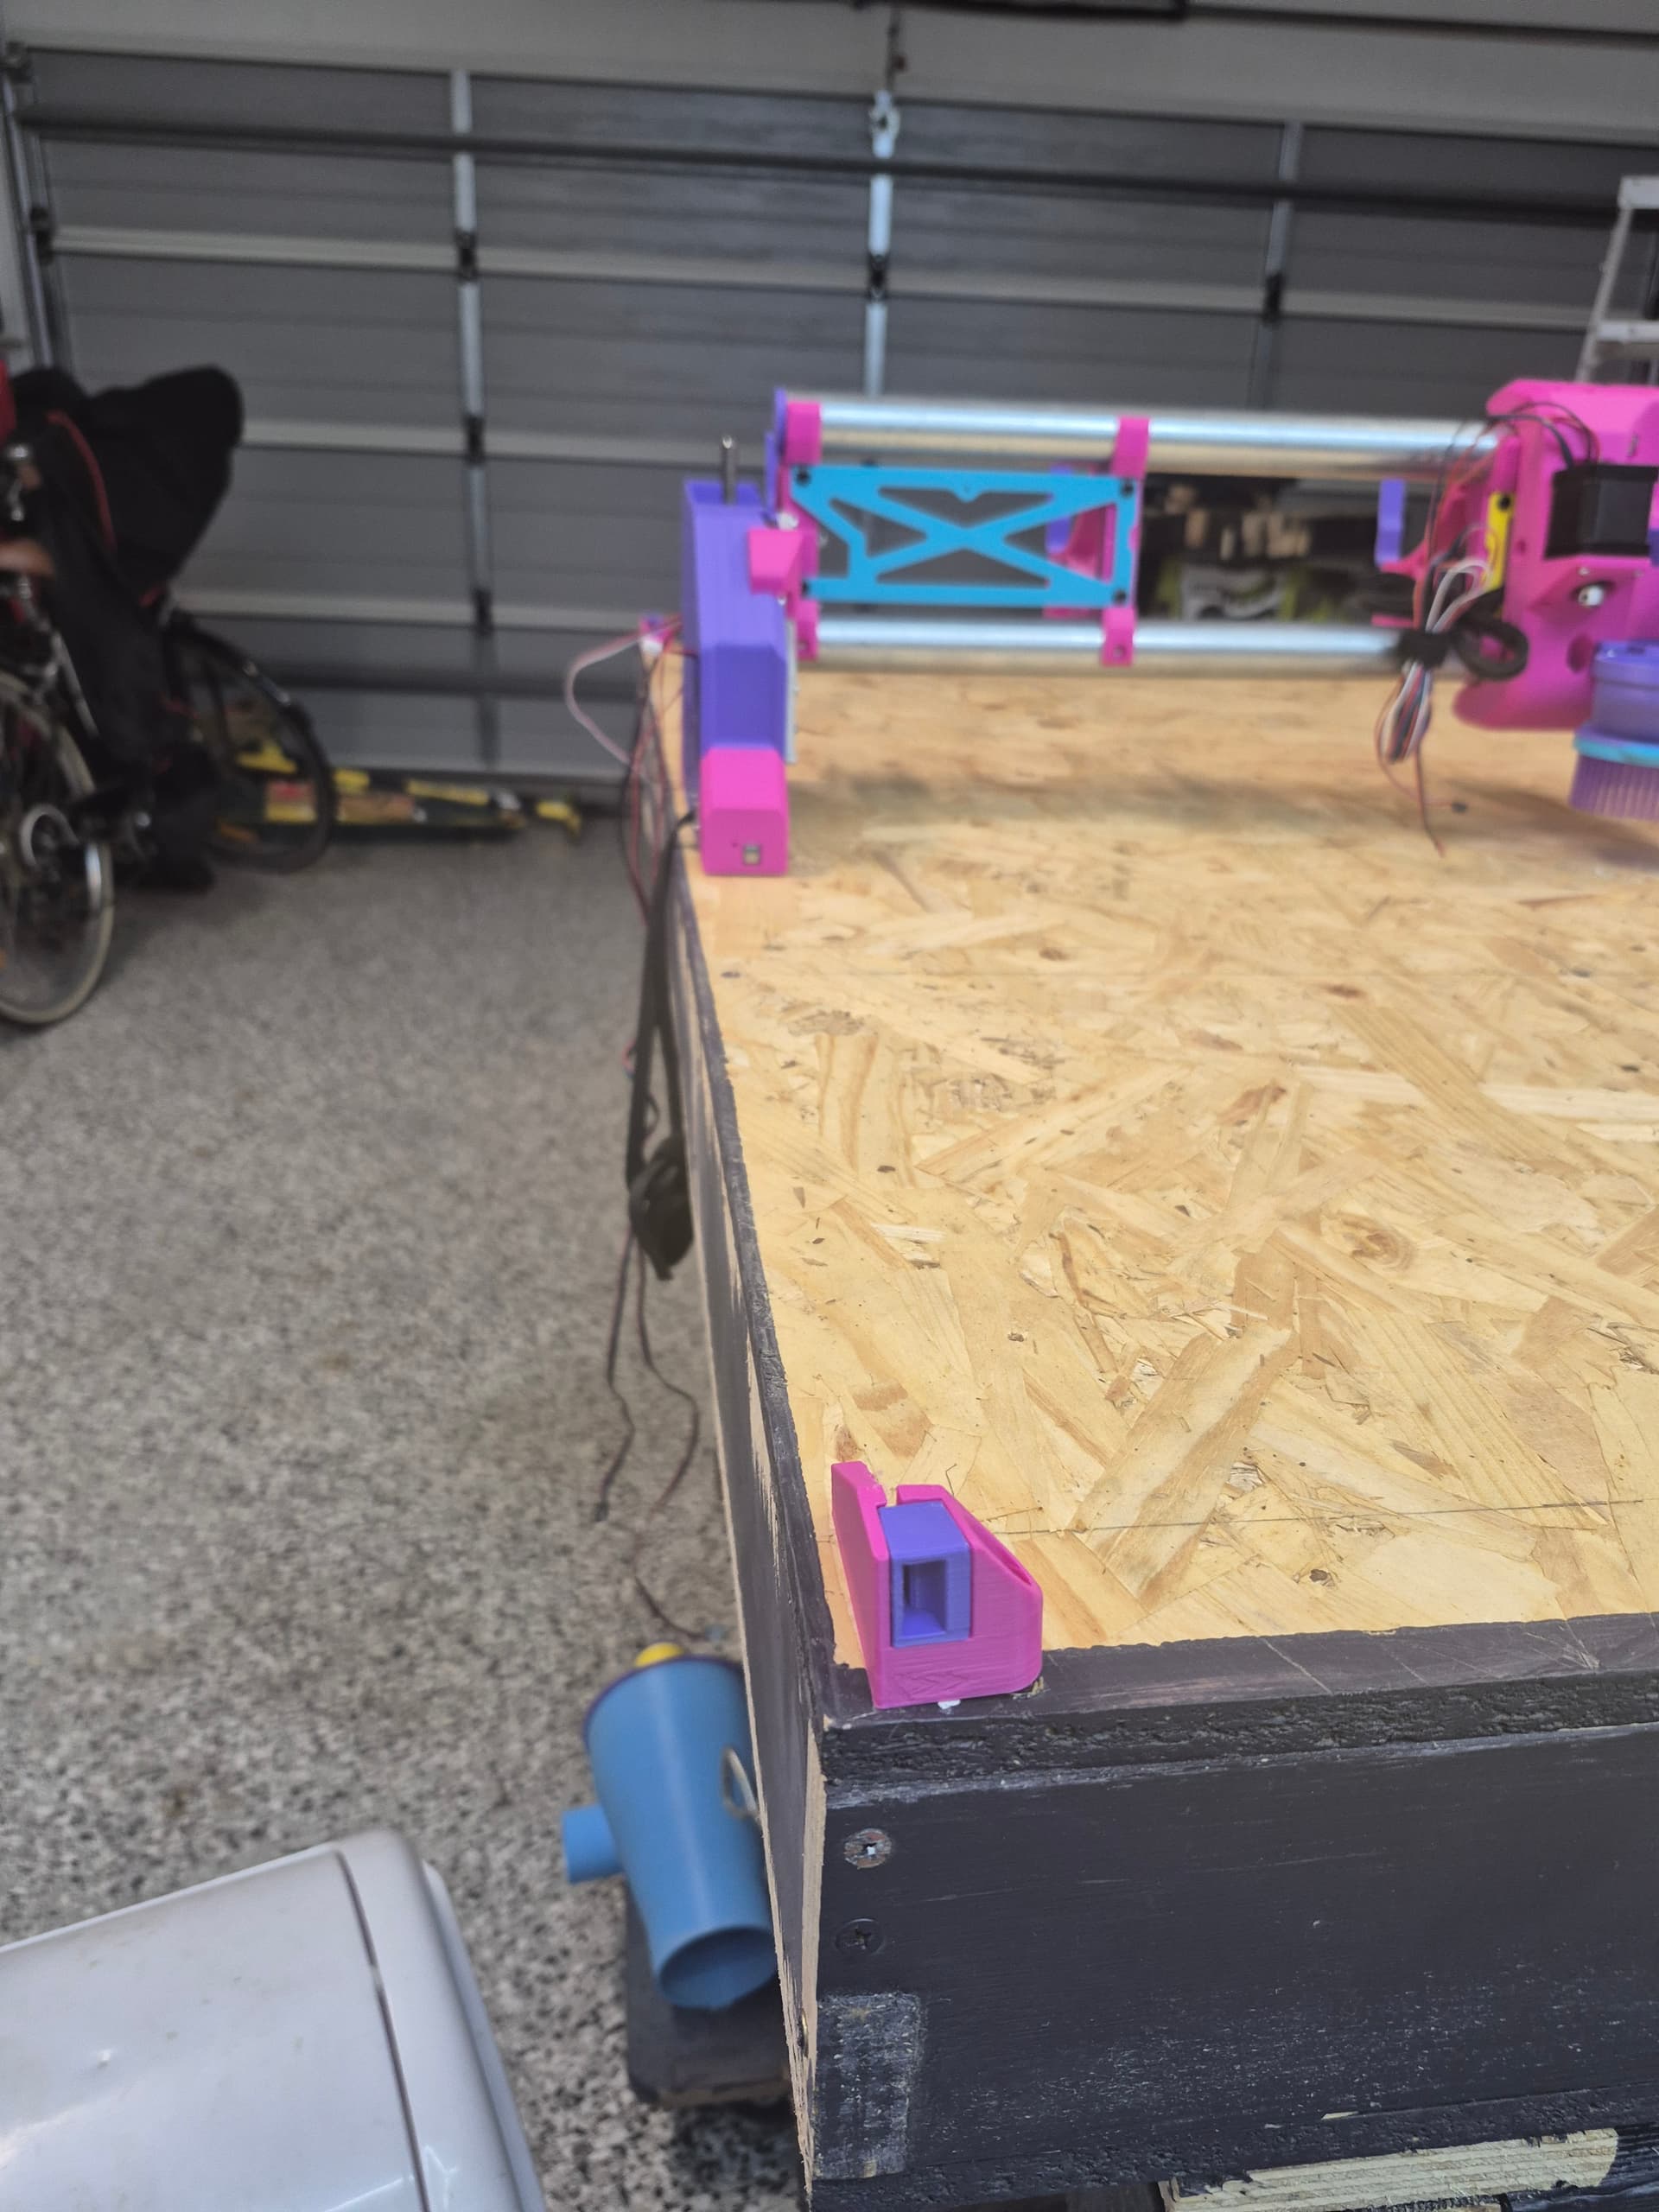
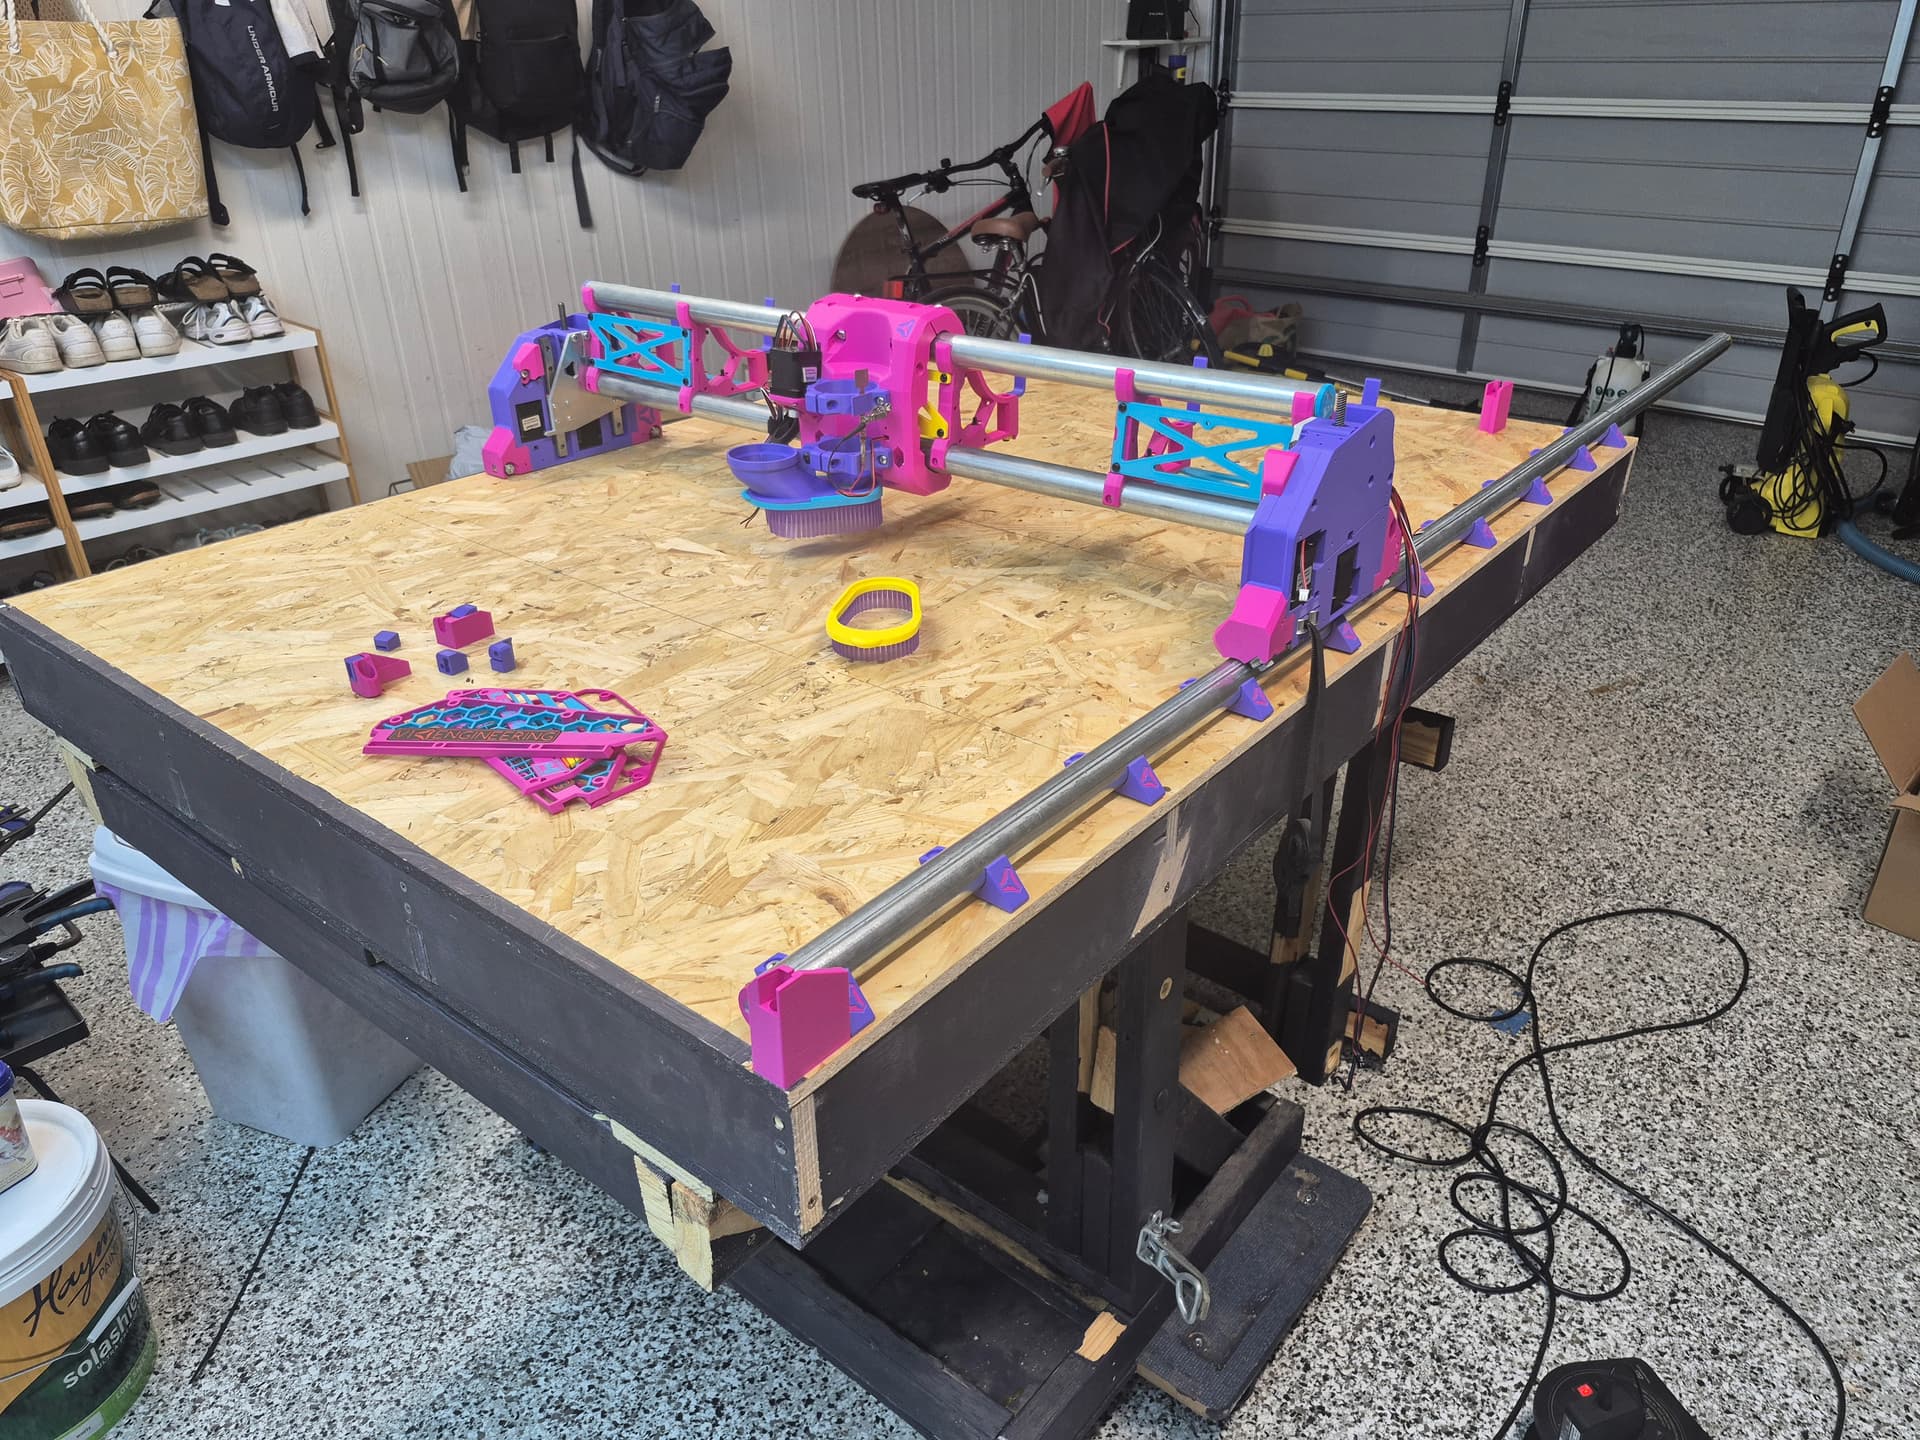
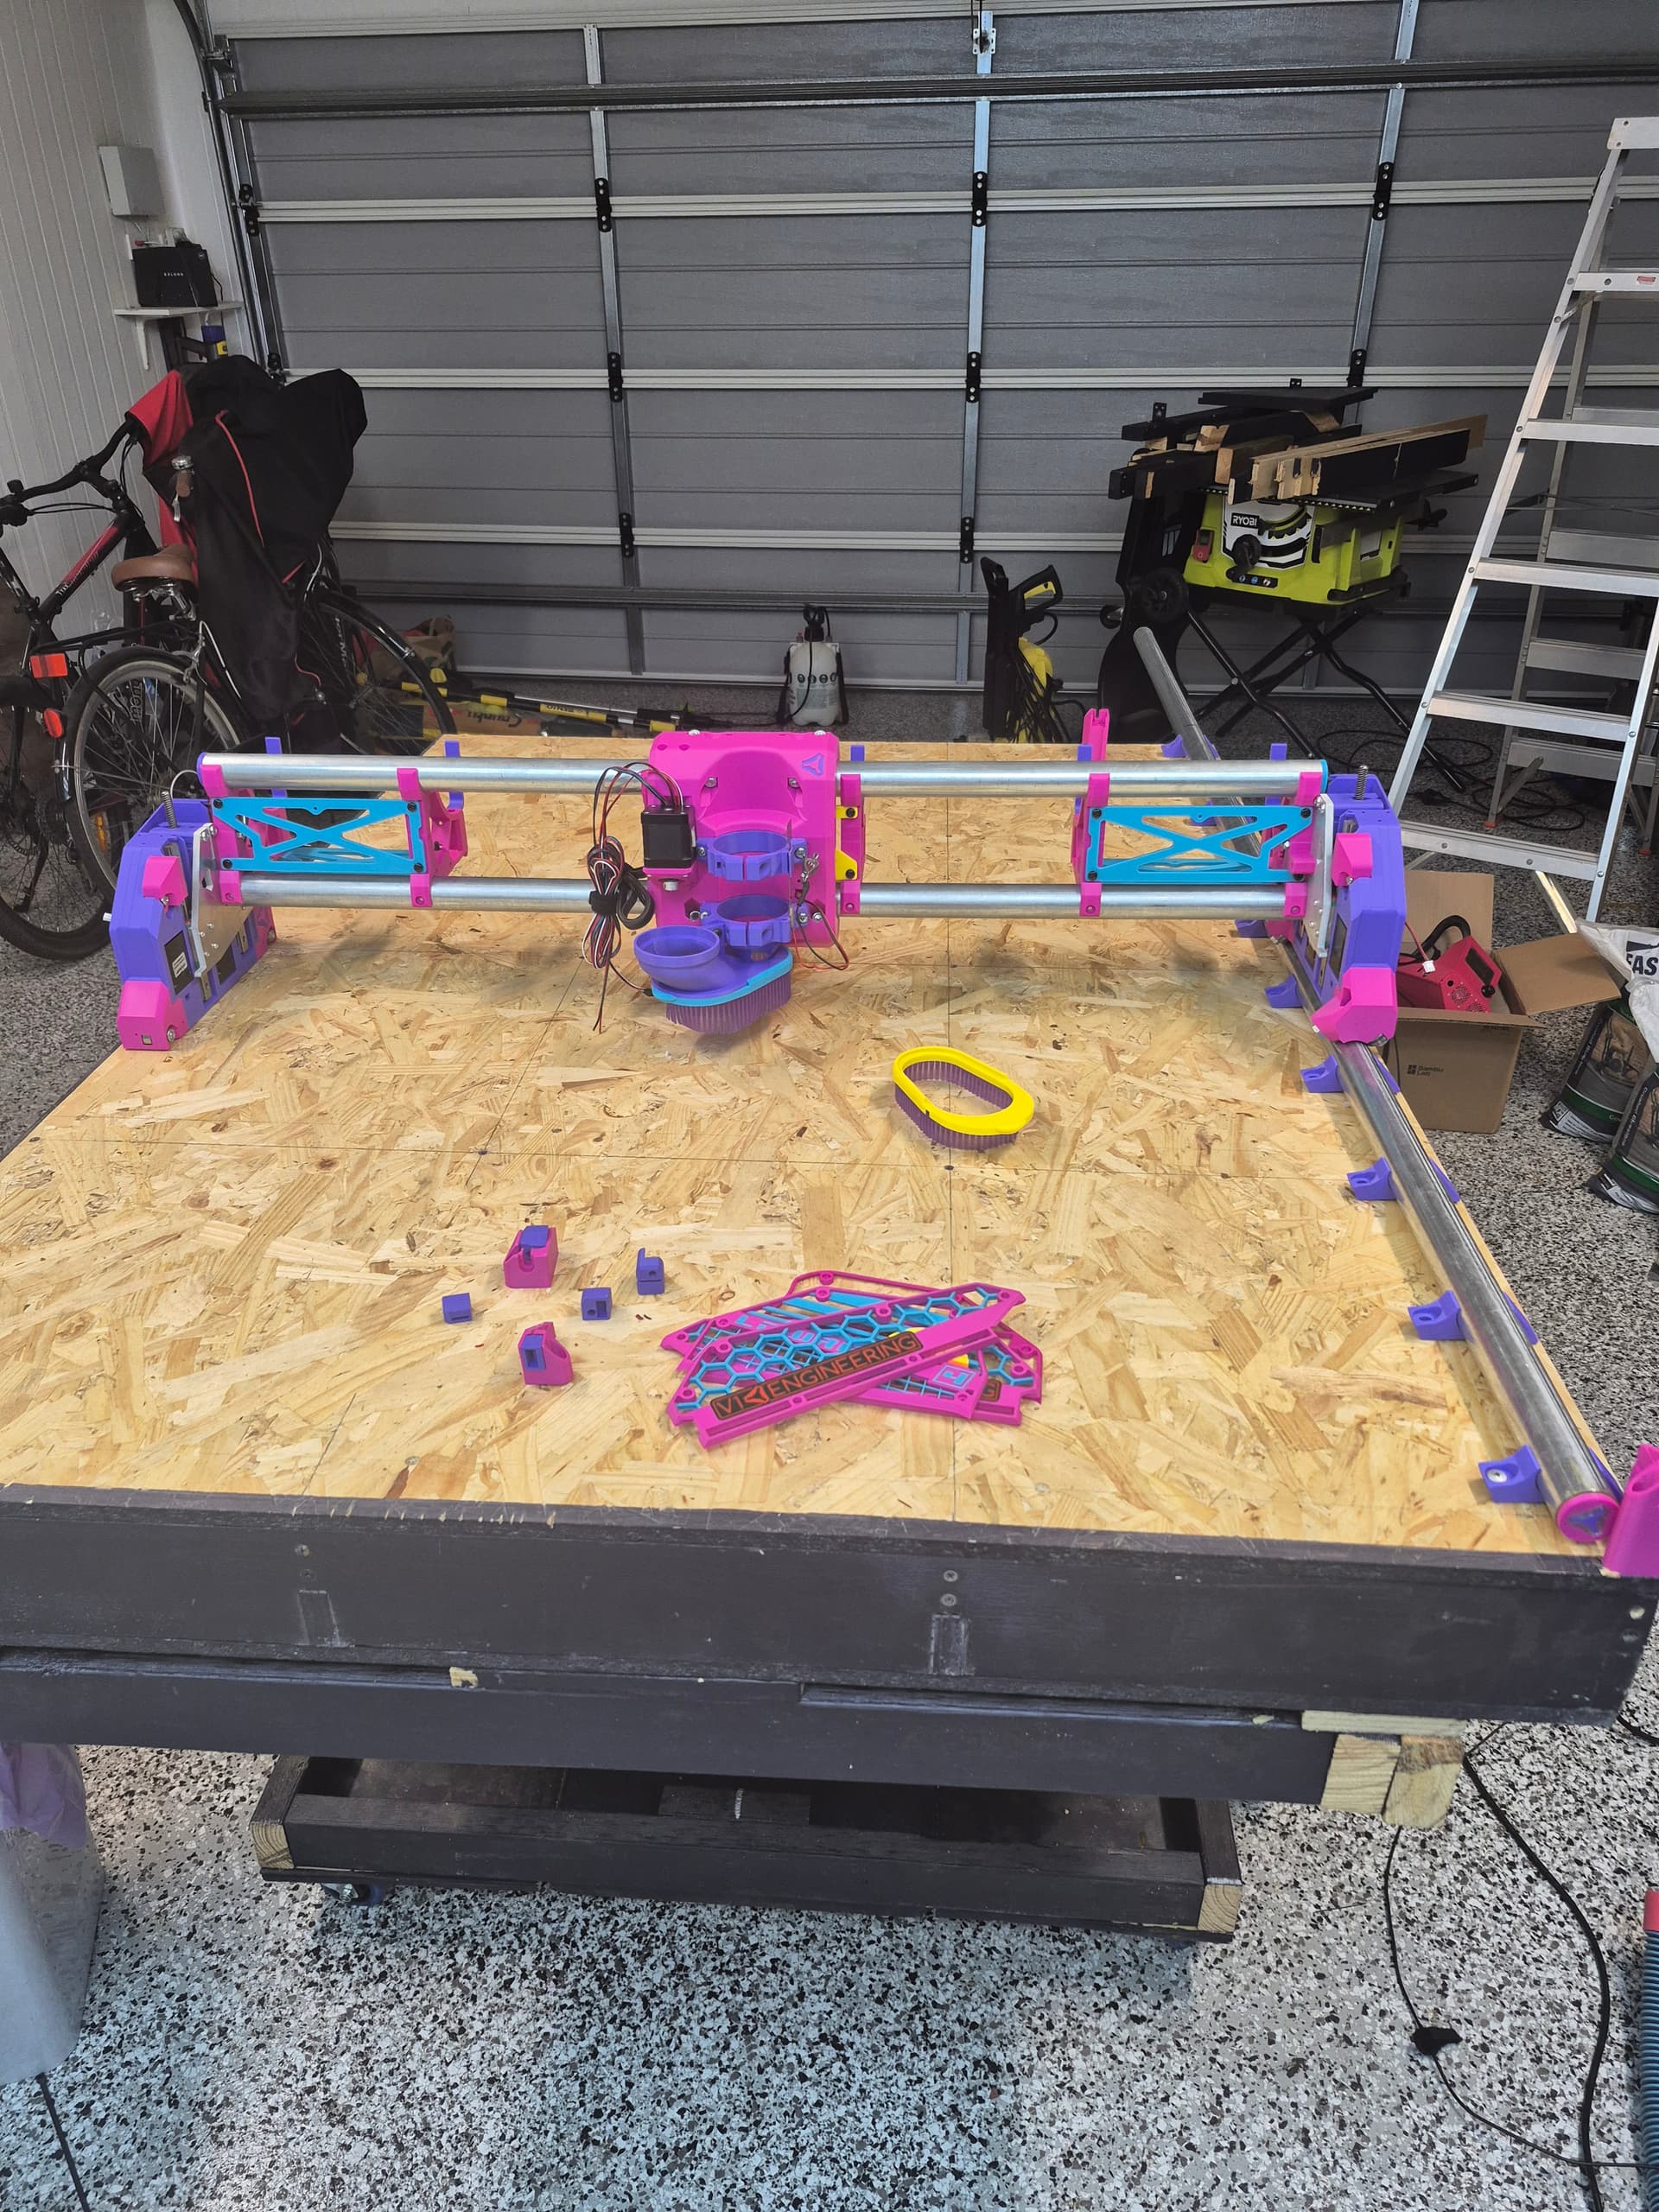
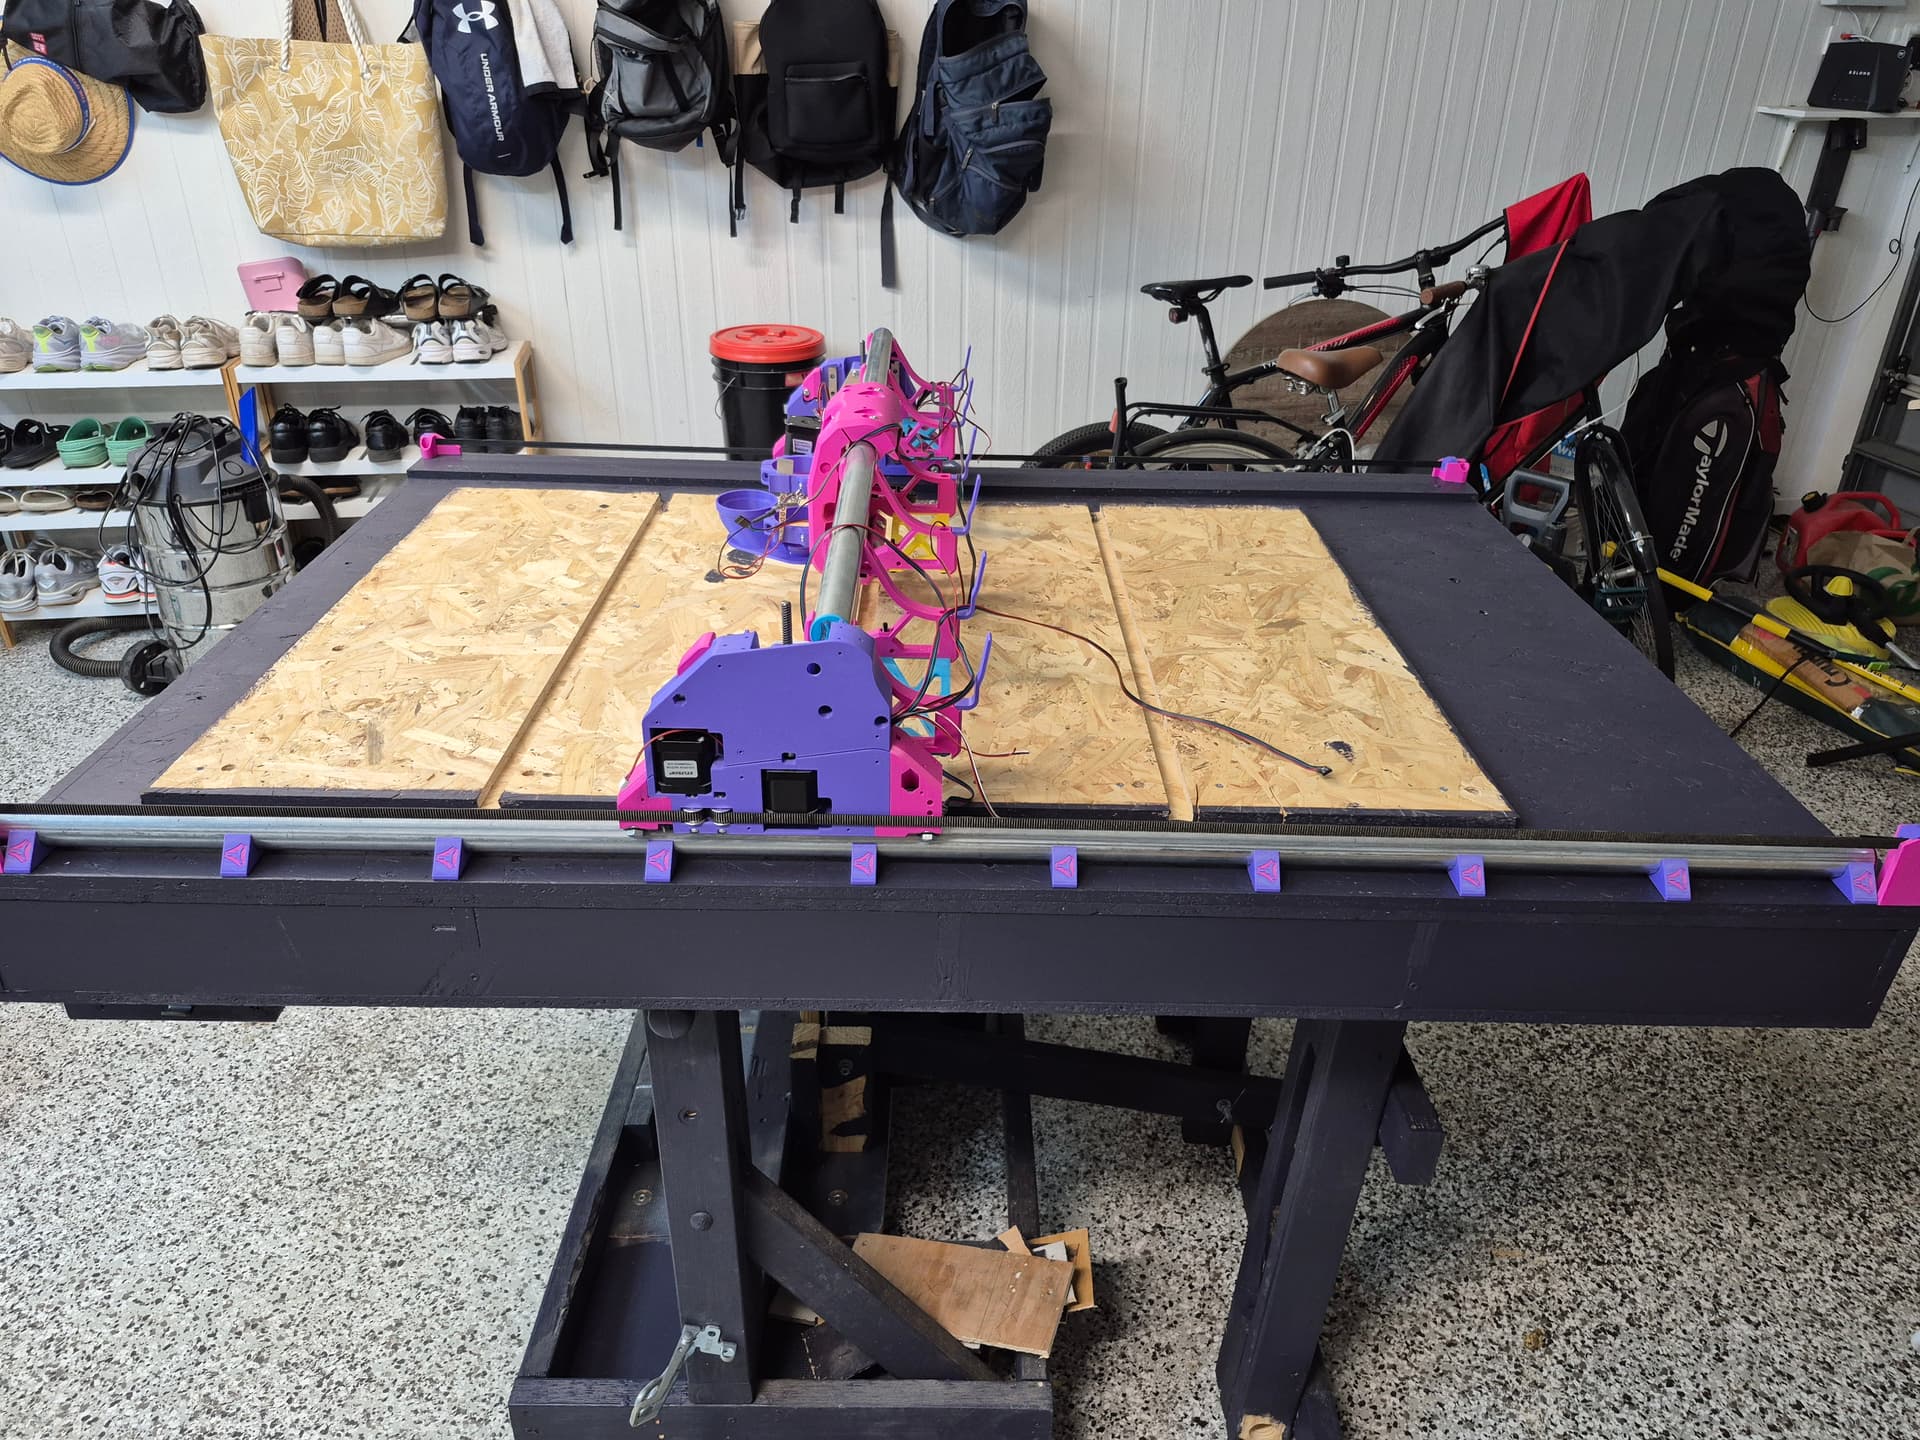
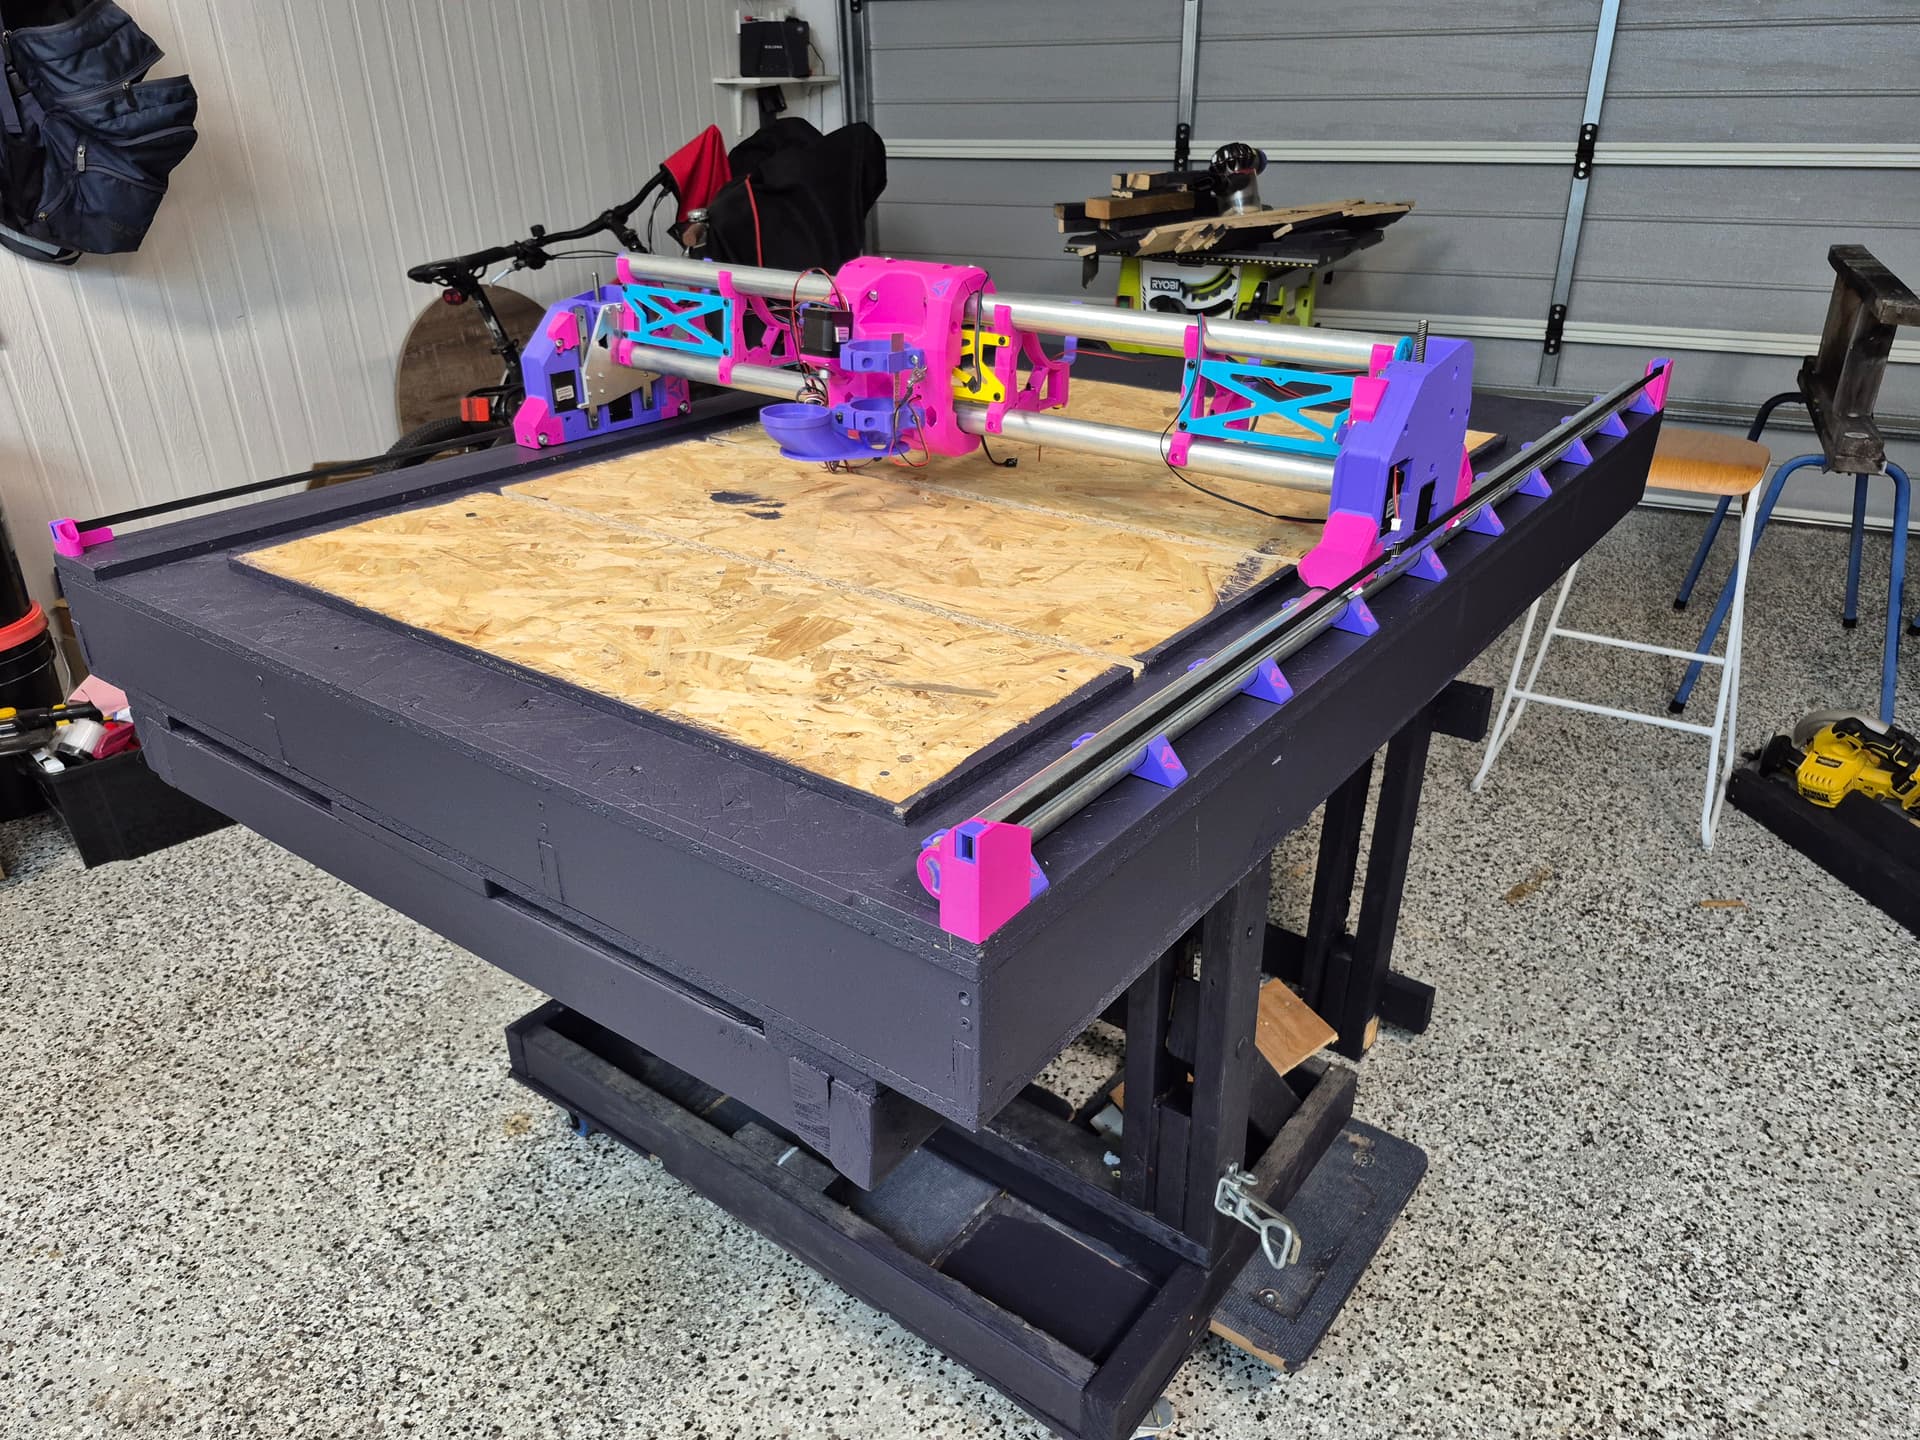
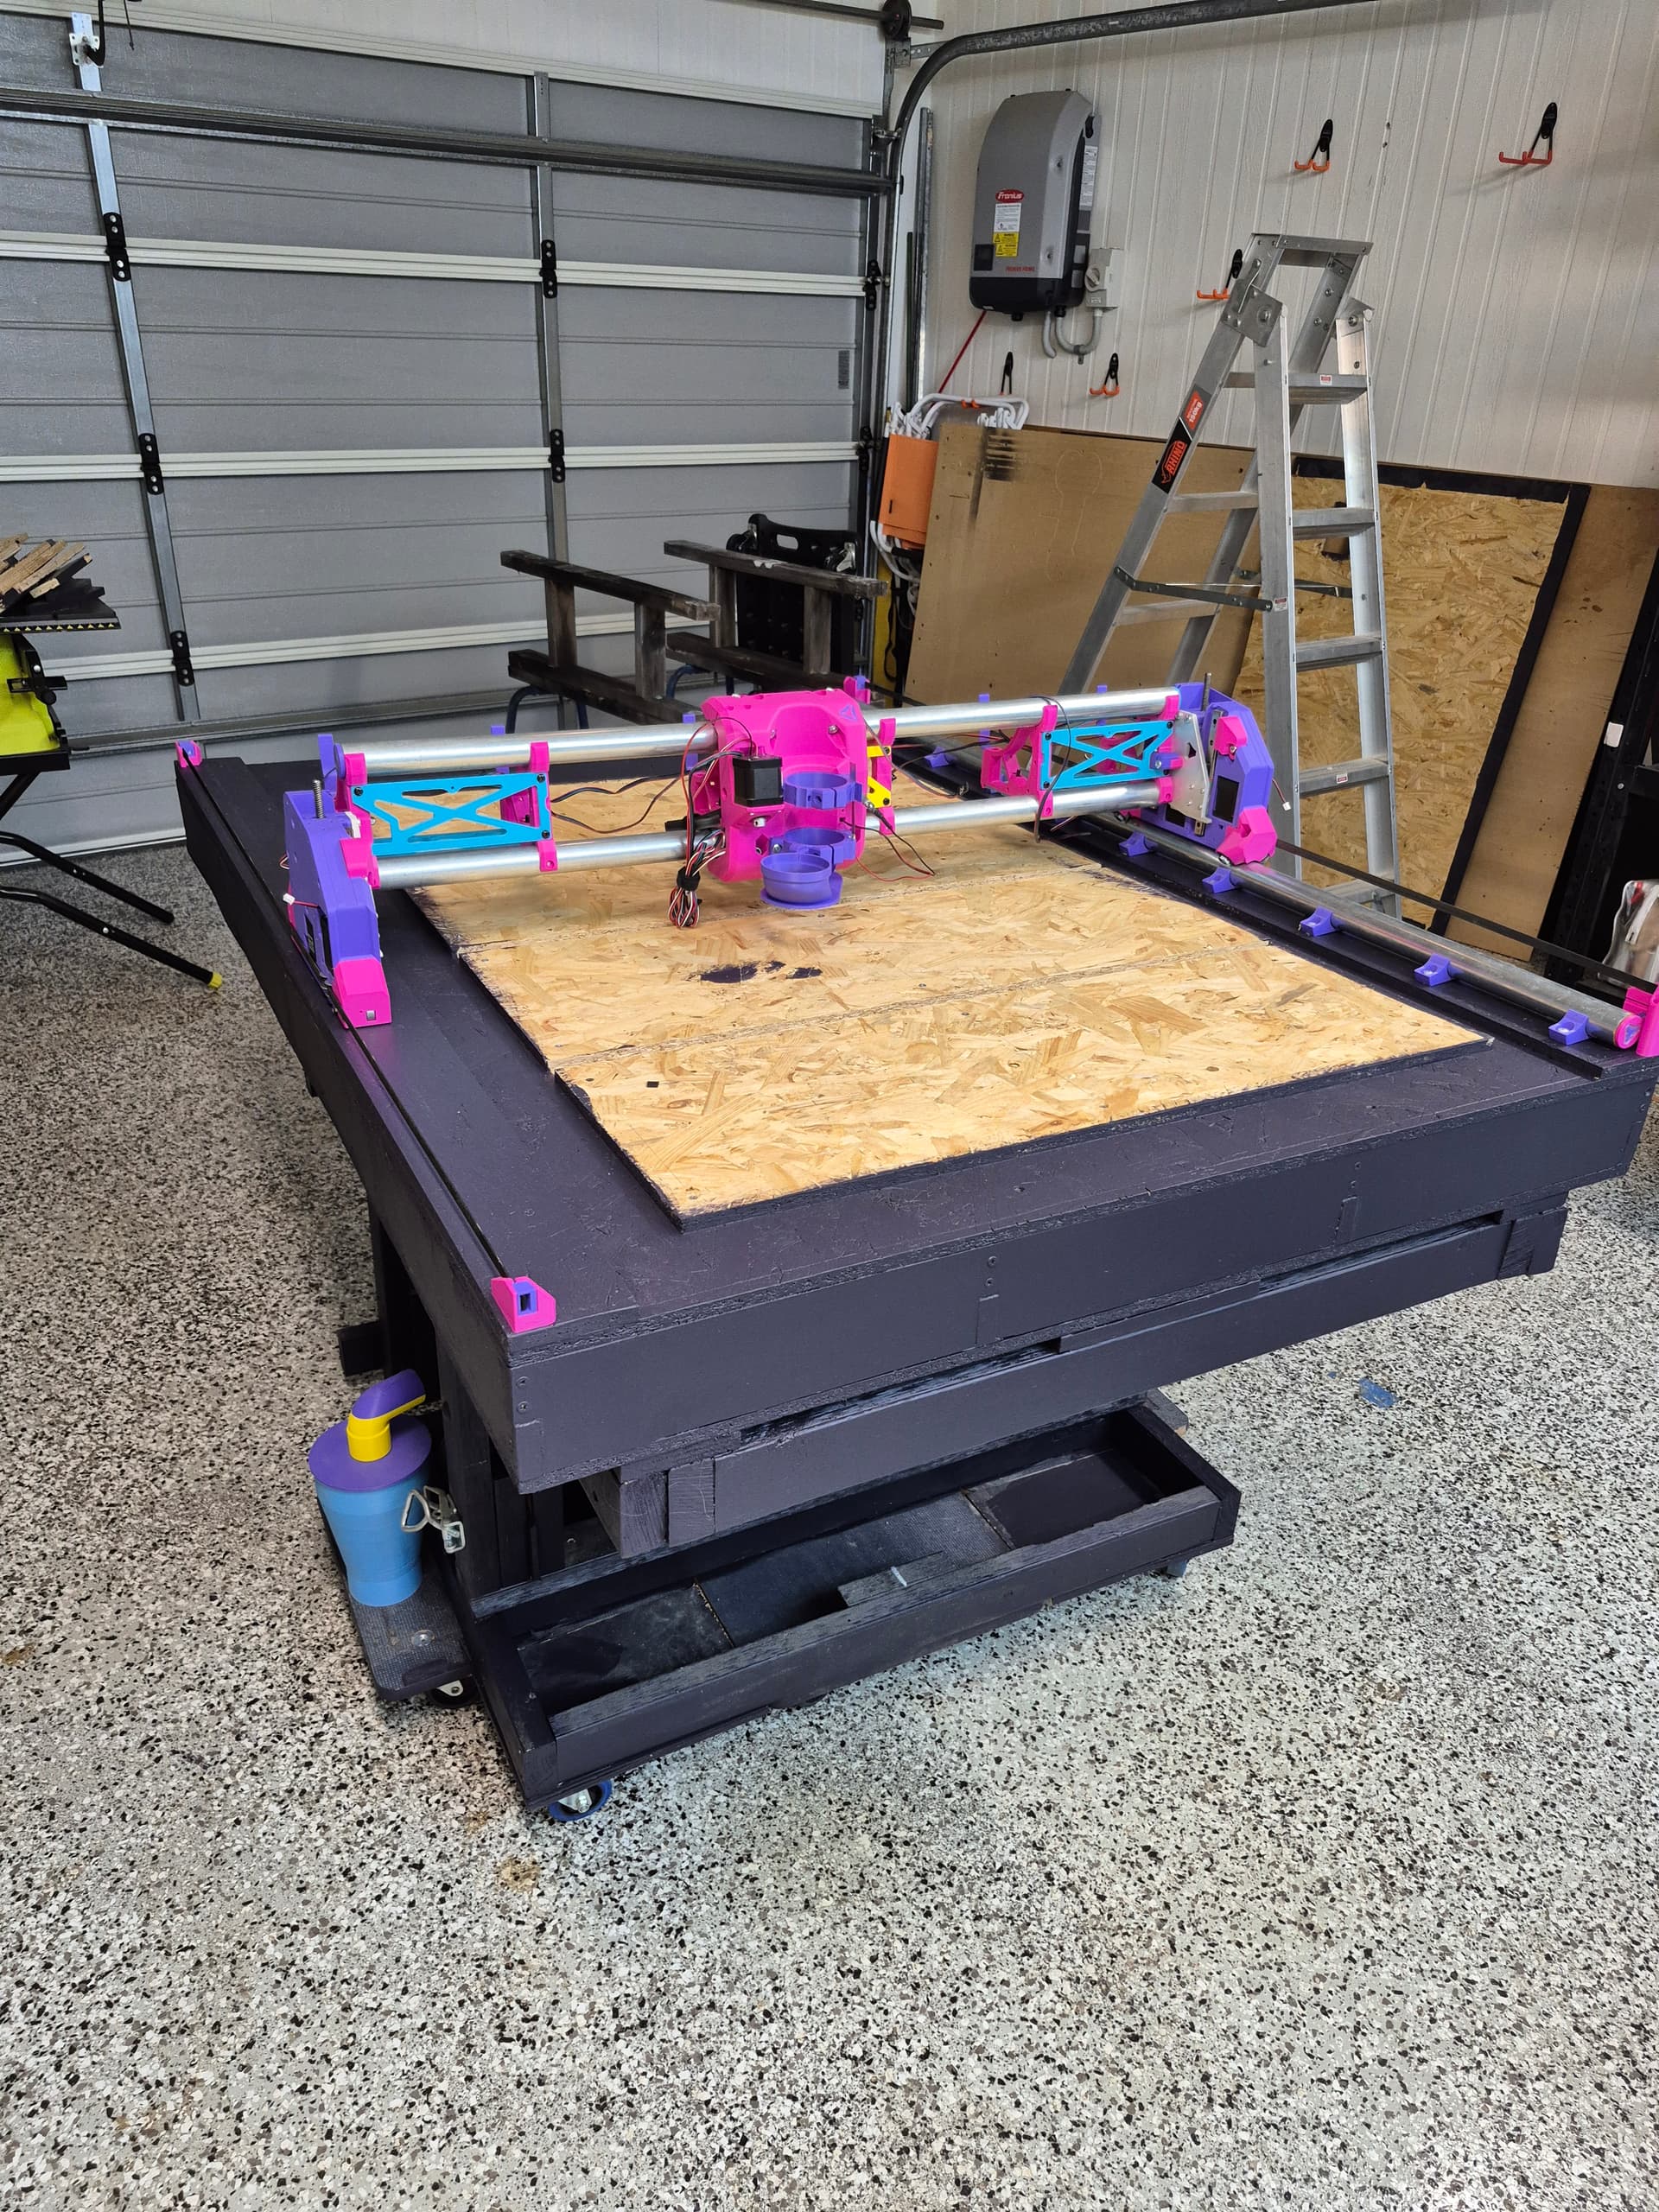
The new build will be a fraction of the size of the previous build. I found that the only time I use the Magenta Dreams to cut a full size sheet of ply was for its own torsion box styled table. other than that the biggest sheet I use is 900 x 1200 and thats only on occasions. SO the plan is to make this build to have a cutting area of 834mm x 1300mm. I purchased new pipe for the gantry and since they are exactly 1000mm I just worked backwards for the cutting area via the calculator.
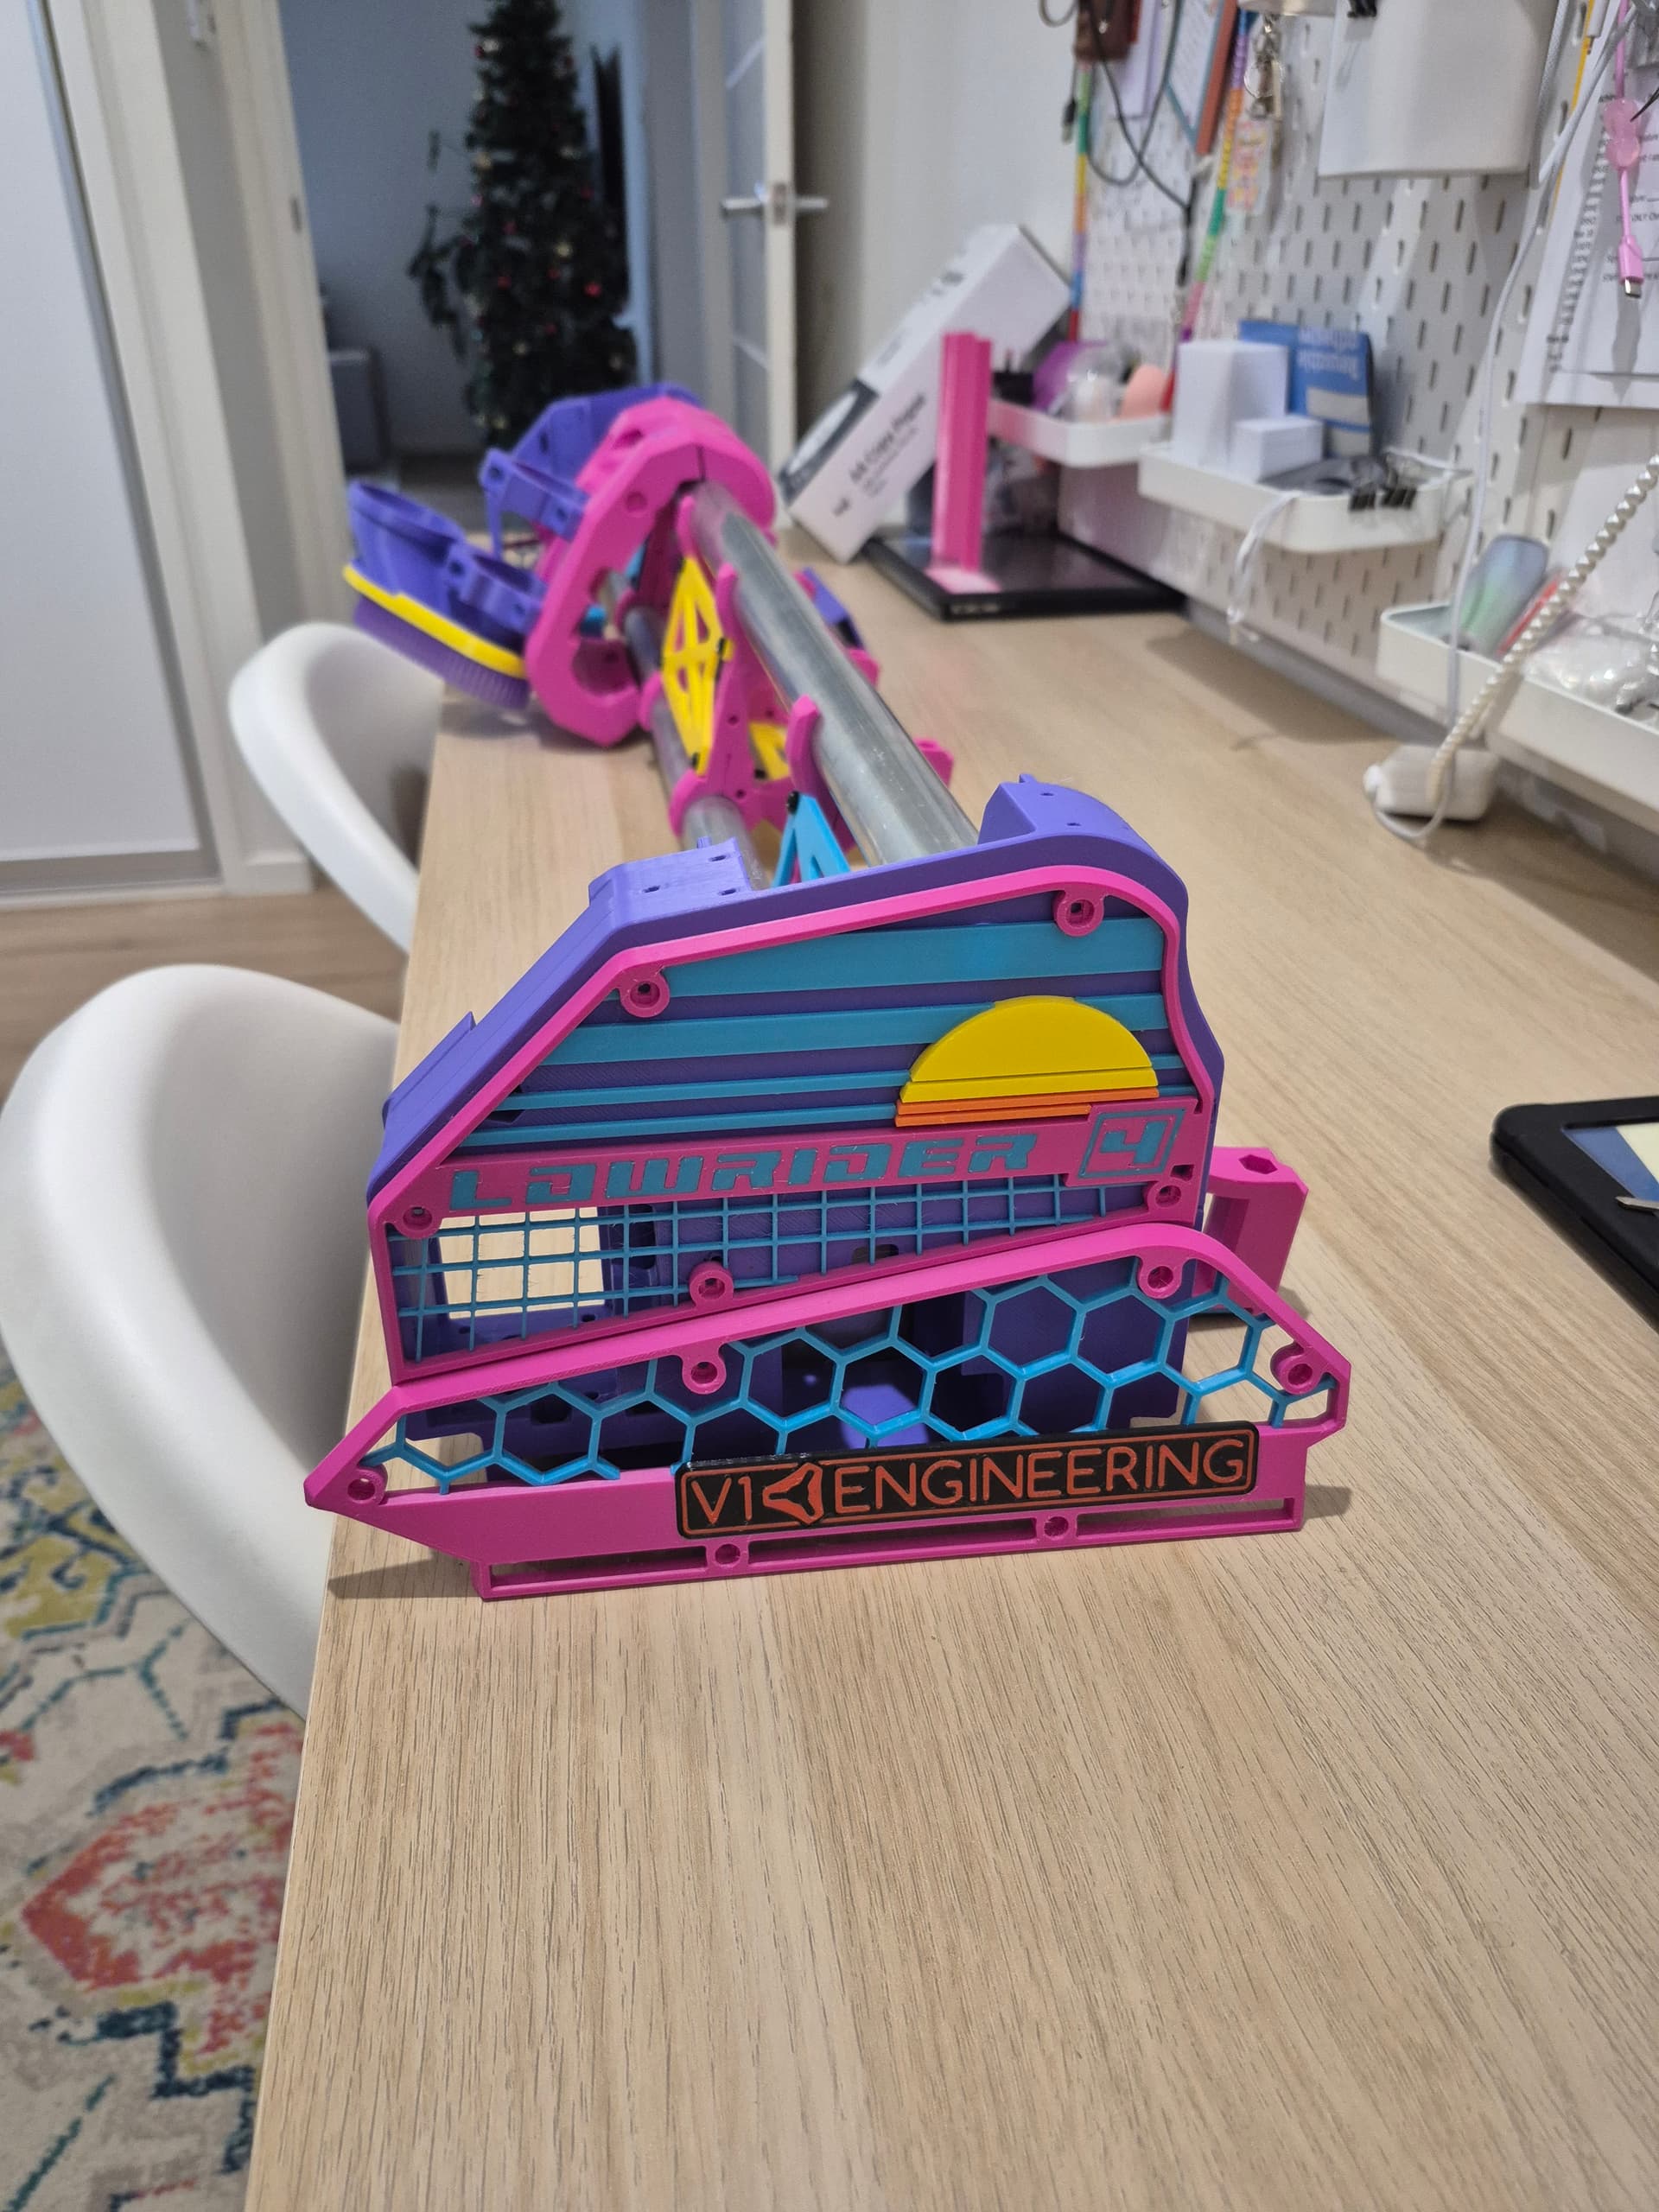
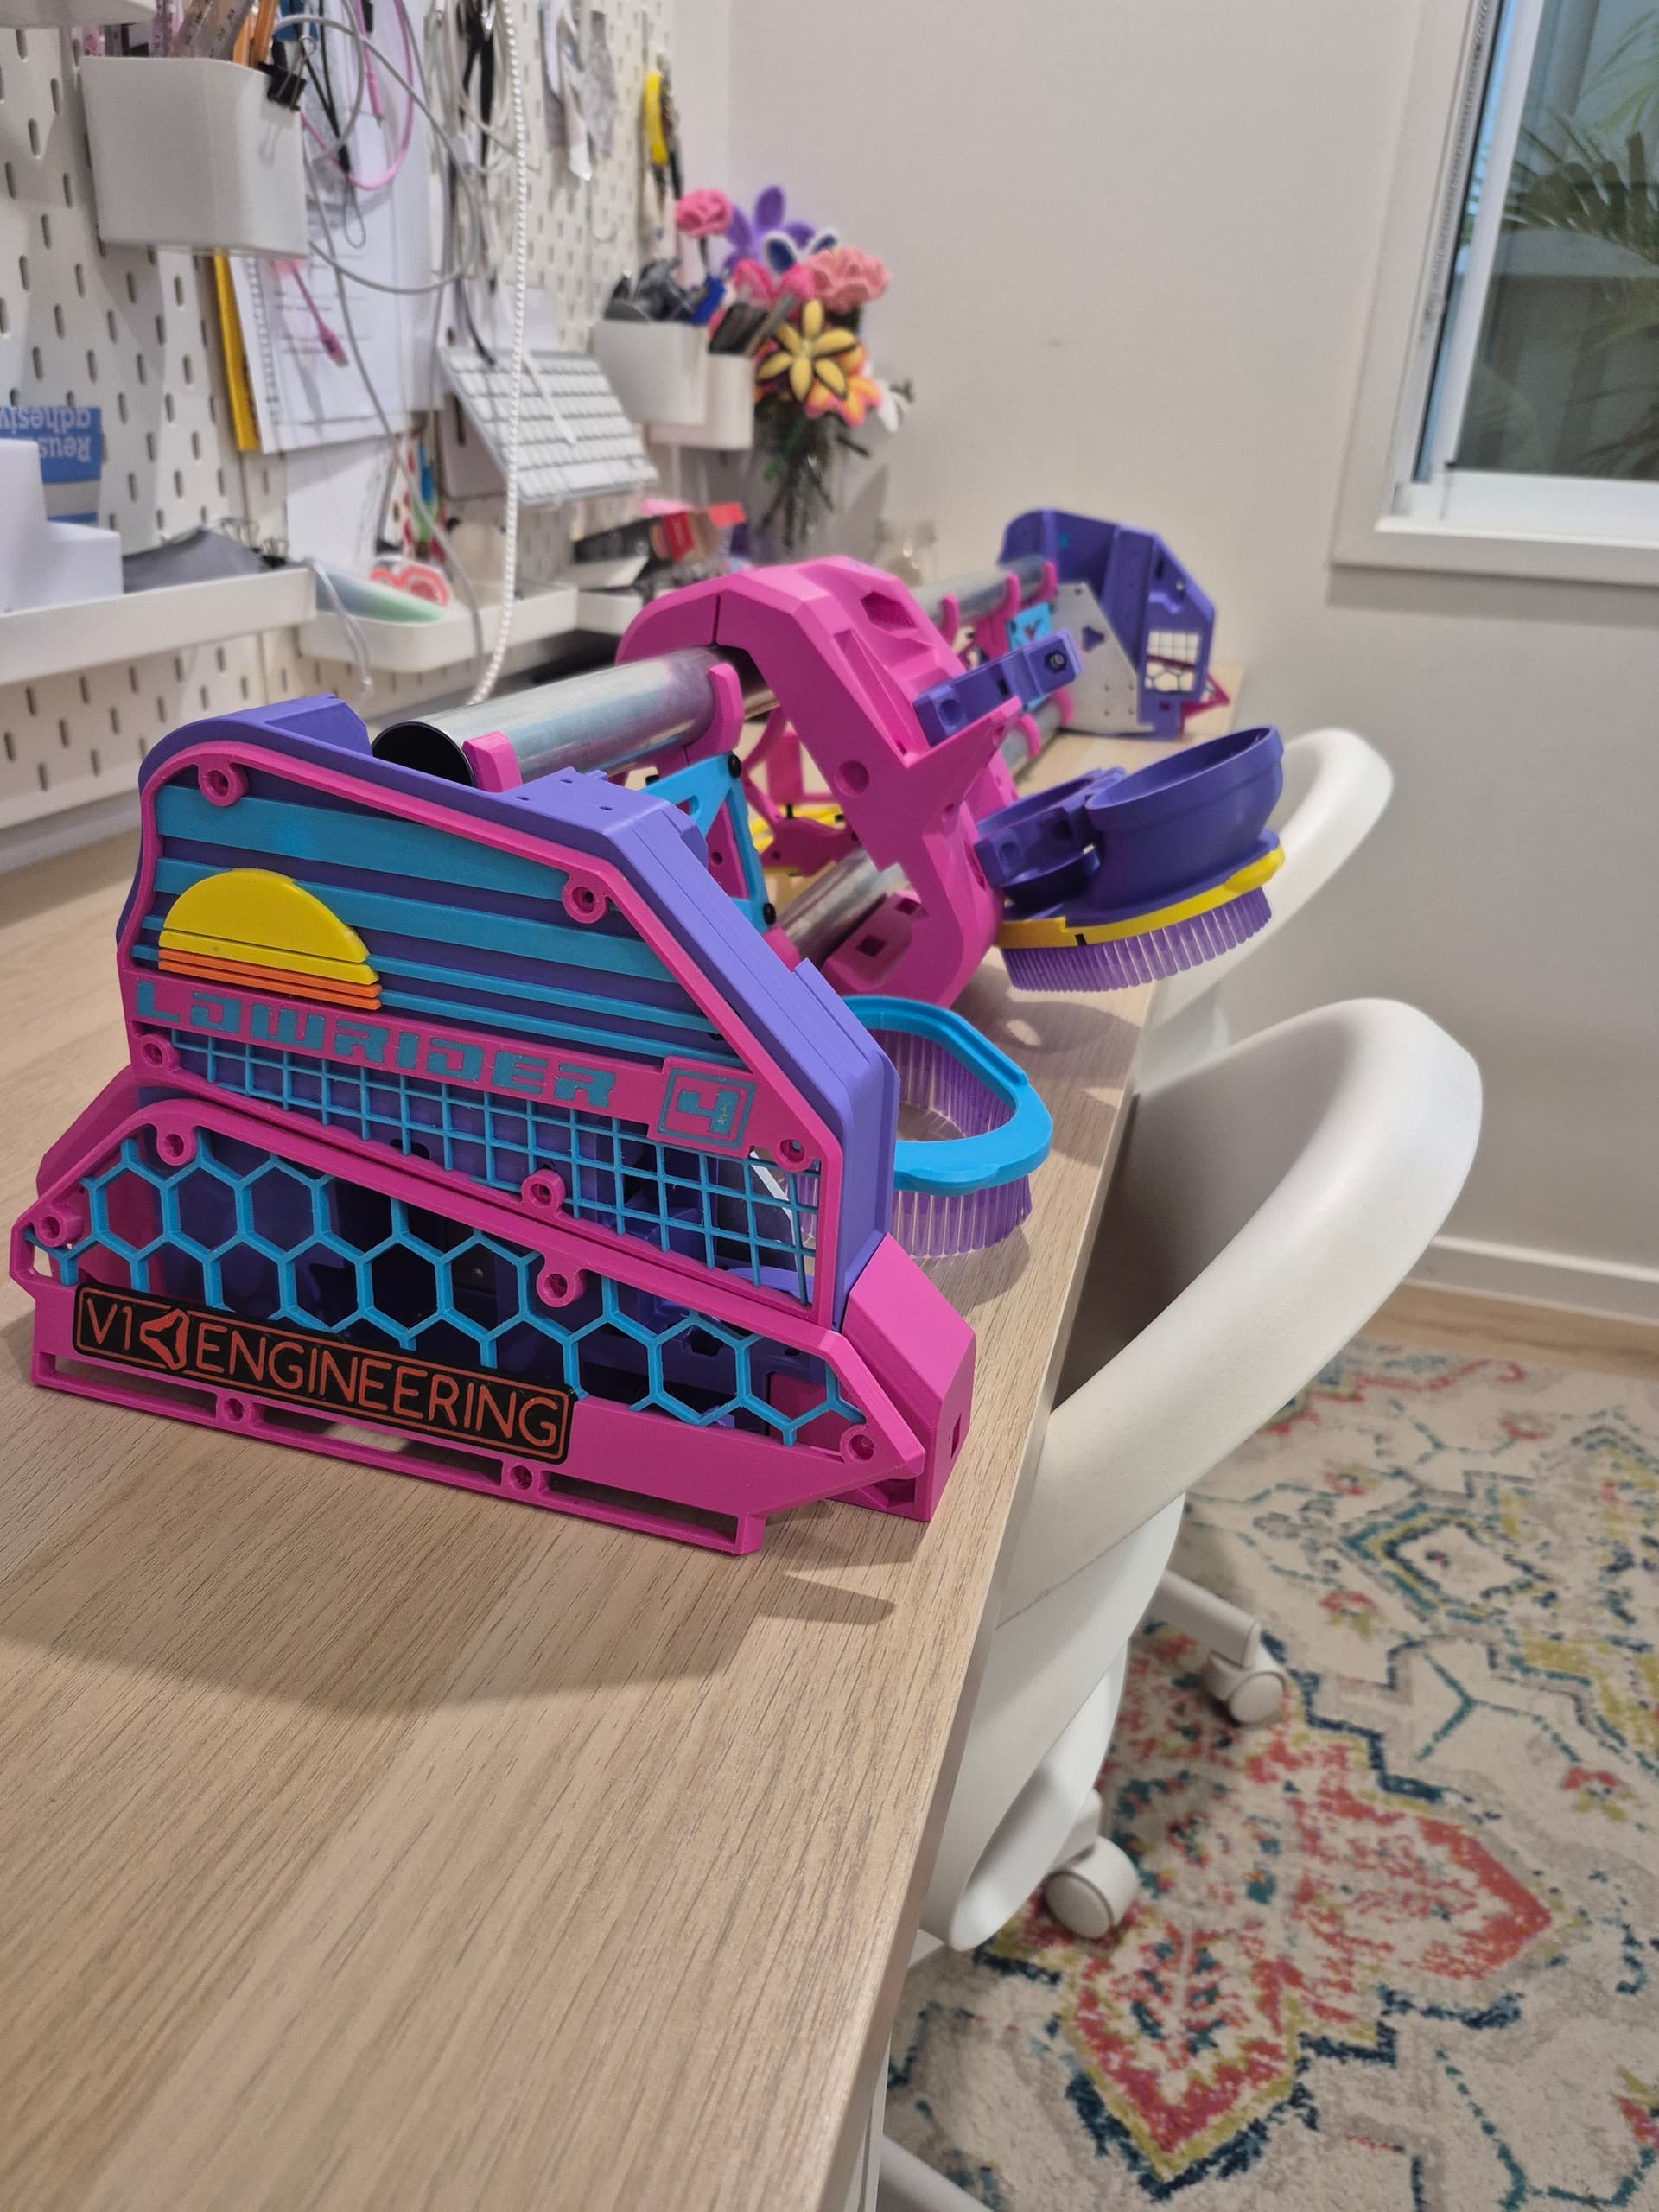
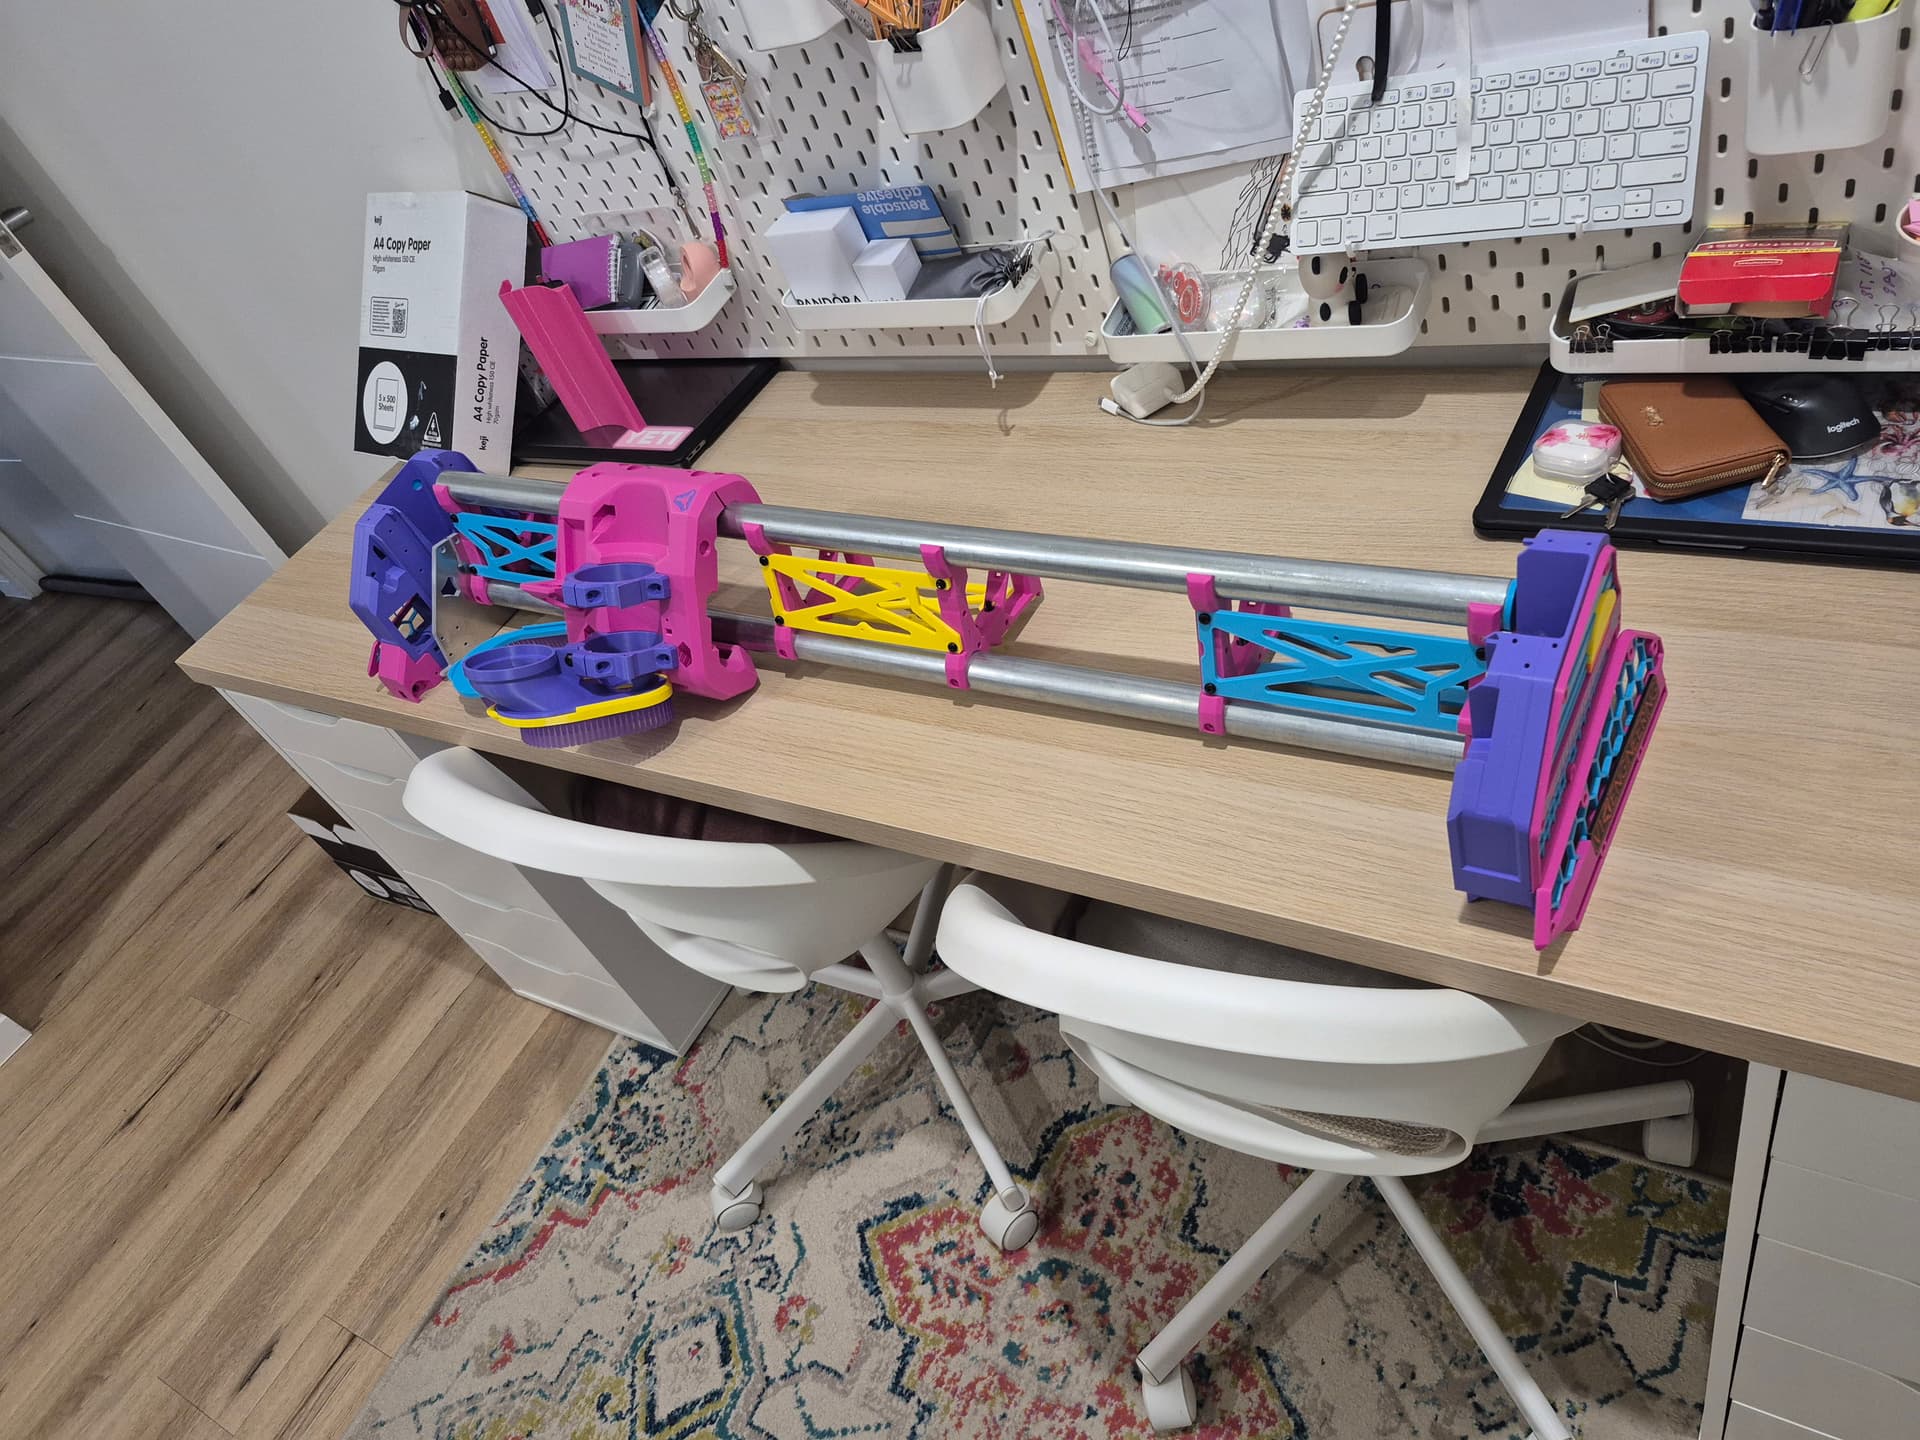
That is the most beautiful CNC machine I have seen!
Hall endstop switches, yay!!
Consideration: I chose the LEAST sensitive Hall switches because my machine is portable (will be pointing in various directions during my classes) and I don’t want the Earth’s magnetic field to throw off the calibration.
Appreciate that @stevempotter! I have managed to find those same sensors on a website based here is Australia, just waiting to hear back that they are still available and will get a good amount. I couldn’t make out where you had installed the 1k pull up resistor in your youtube video. I can see it in your drawn schematic and I can see that it’s the same as the dataset. Where aborting in your build did you put it?
Thanks @stevempotter , later in the night I did find another post you made which explained the locations but then I forgot to bookmark it. Thanks for the reply.
I have created another thread in relation to the HALL sensors/switches as I am anticipating a bit of discussion, from my end at least as my build is slightly left of field.
That’s interesting. I was wondering why you chose the ones you did. Looking at other ones at digikey the distinction I saw was that yours had the narrowest transition window between on and off. I figured it probably didn’t matter a whole lot though so I just ordered the ones you used.
So far the progress is going well. I have run 3 wire lengths for the endstop for the eventually hall effect endstops. Core done. Got 1 side just about sorted. Next will have to wait till tomorrow.