Magenta Dreams 😁

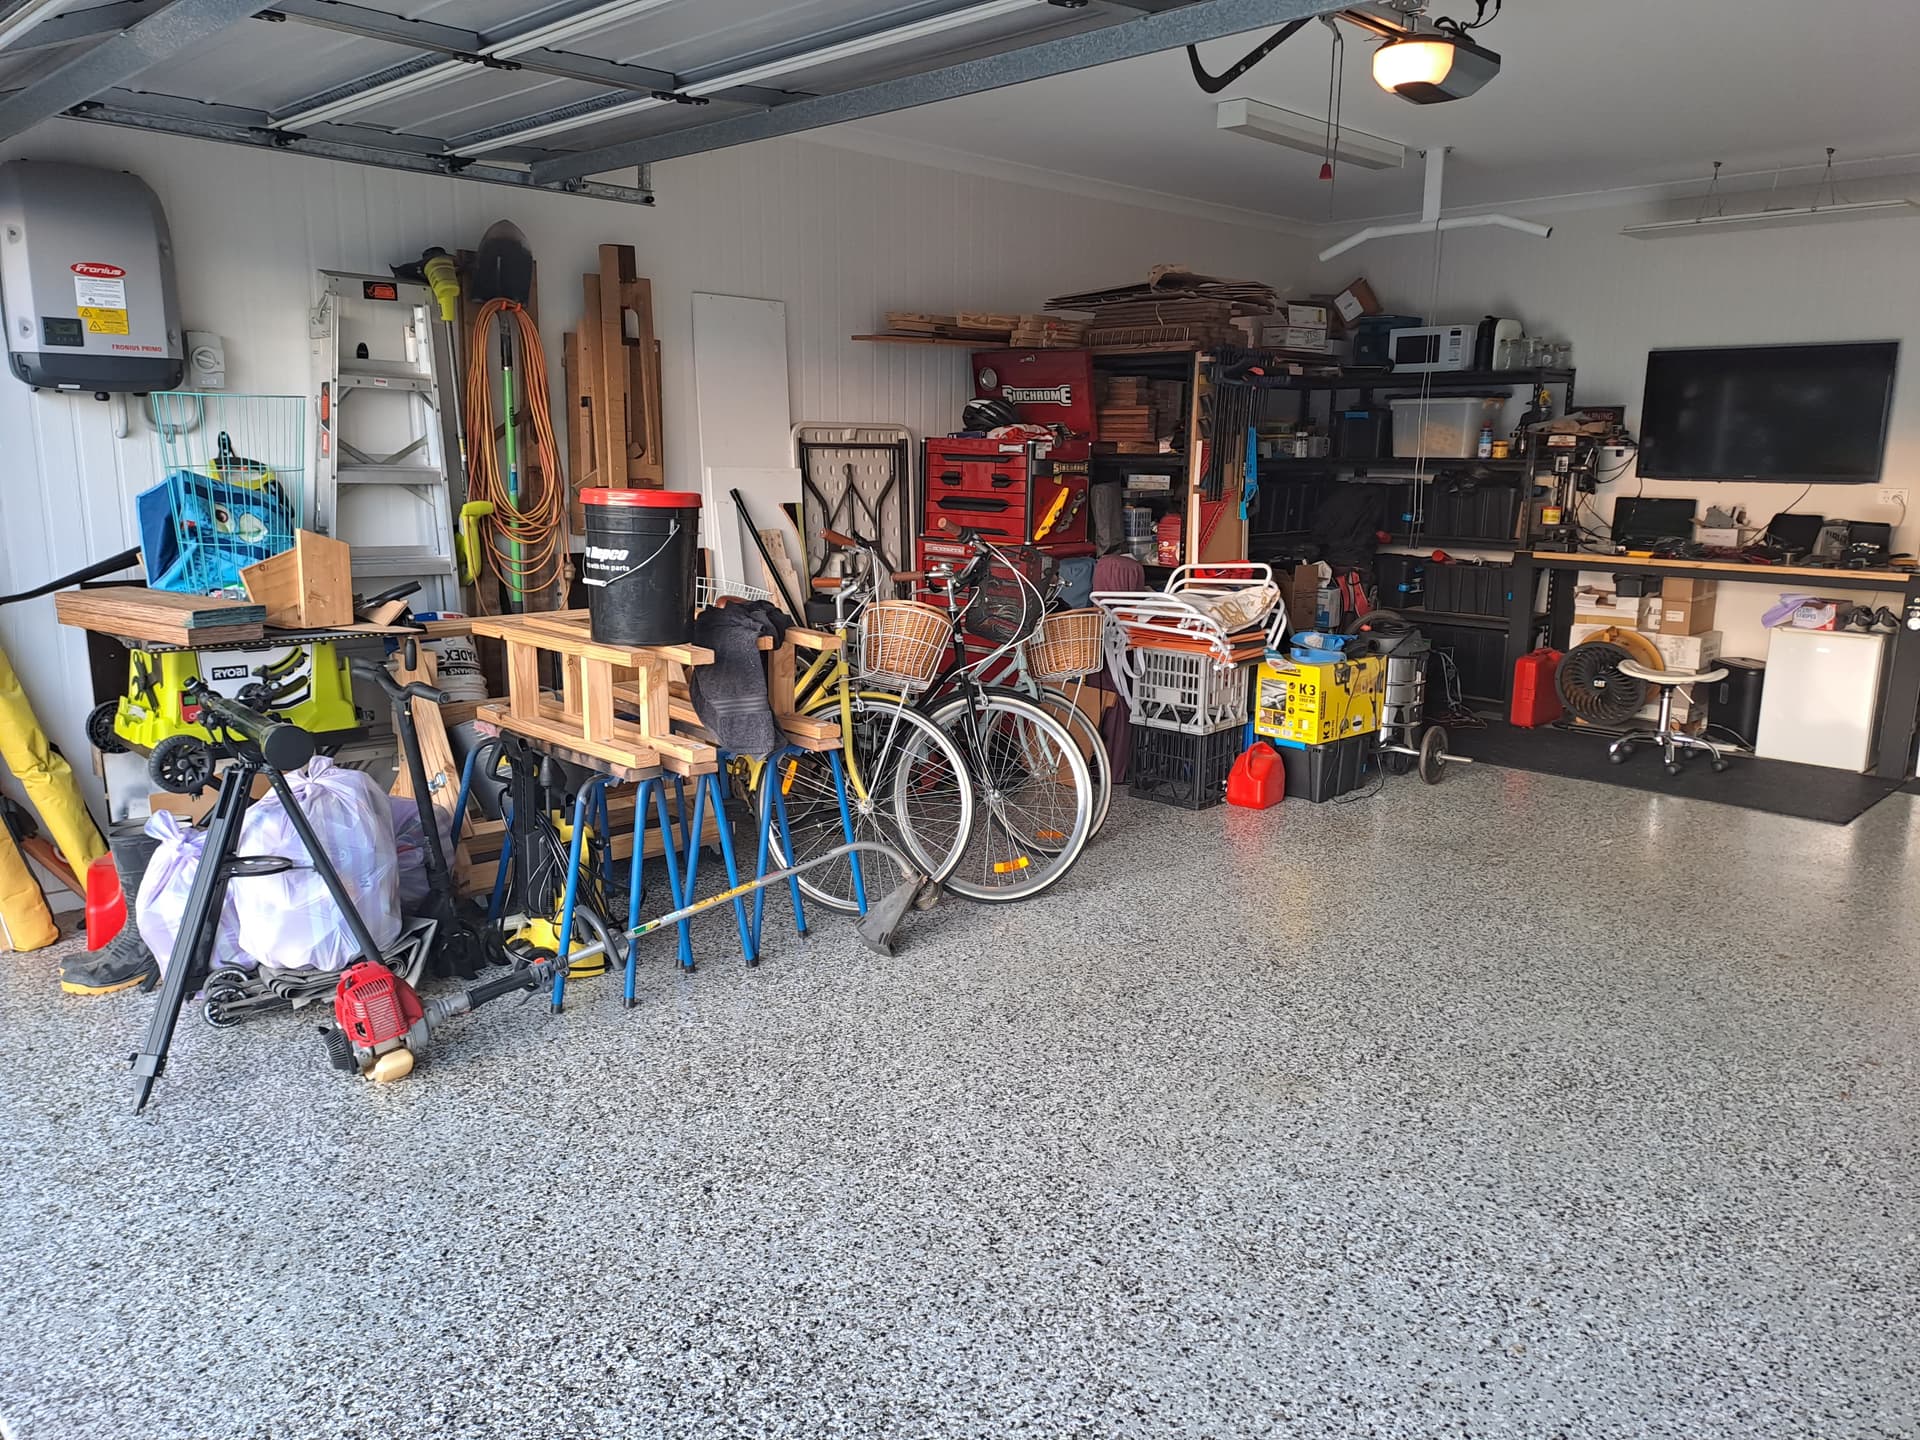
Hi there, just wanted to share my build progress and experience. I appologise if I double up or if I missed info from other posts. I am usually on here late at night to early morning.

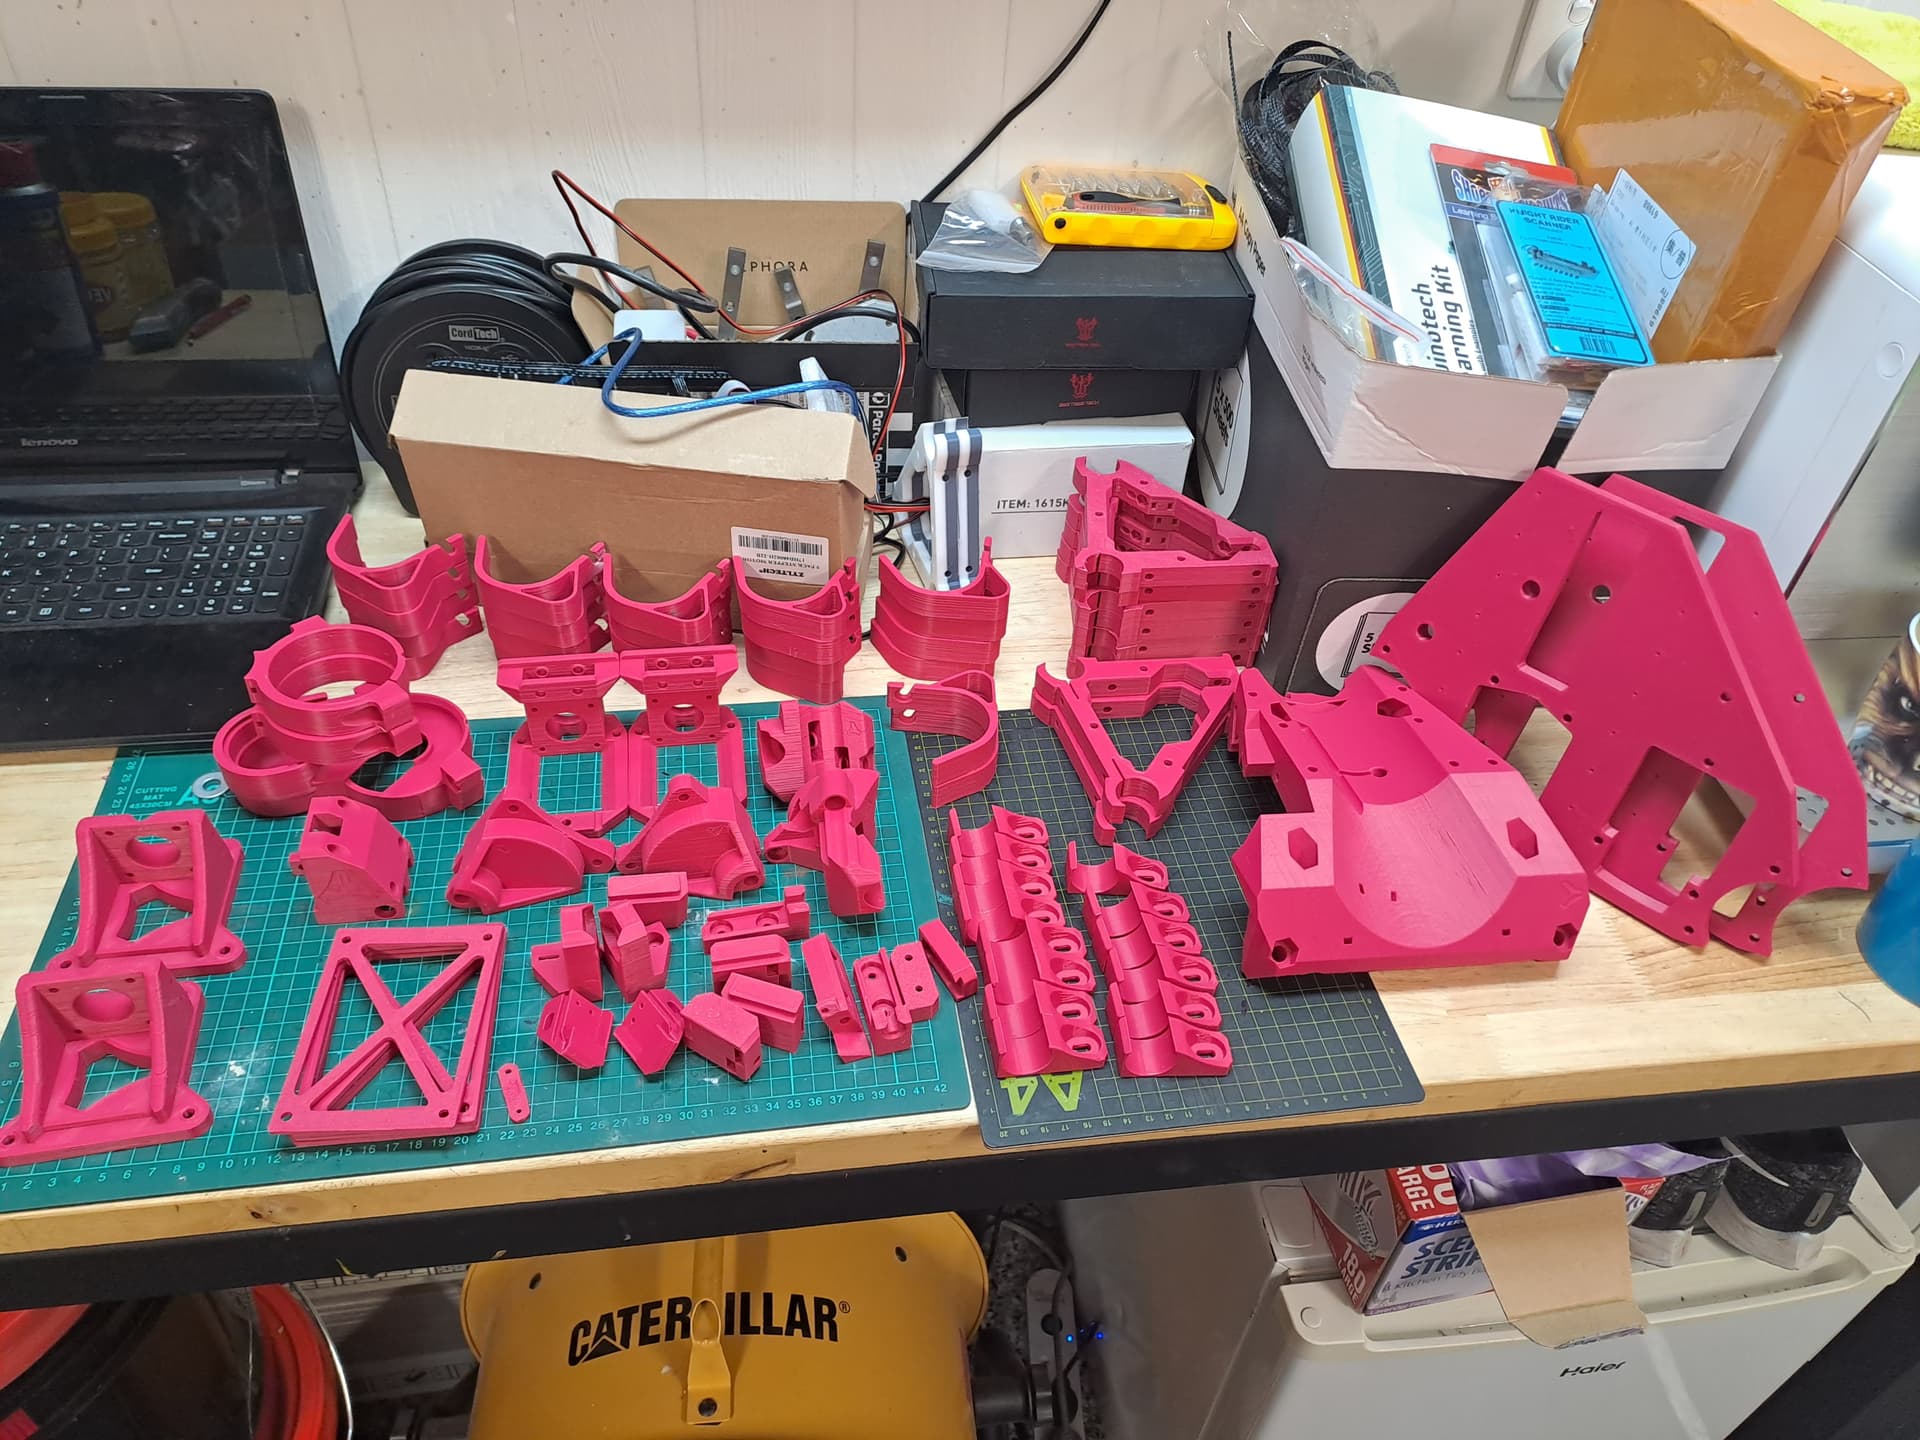
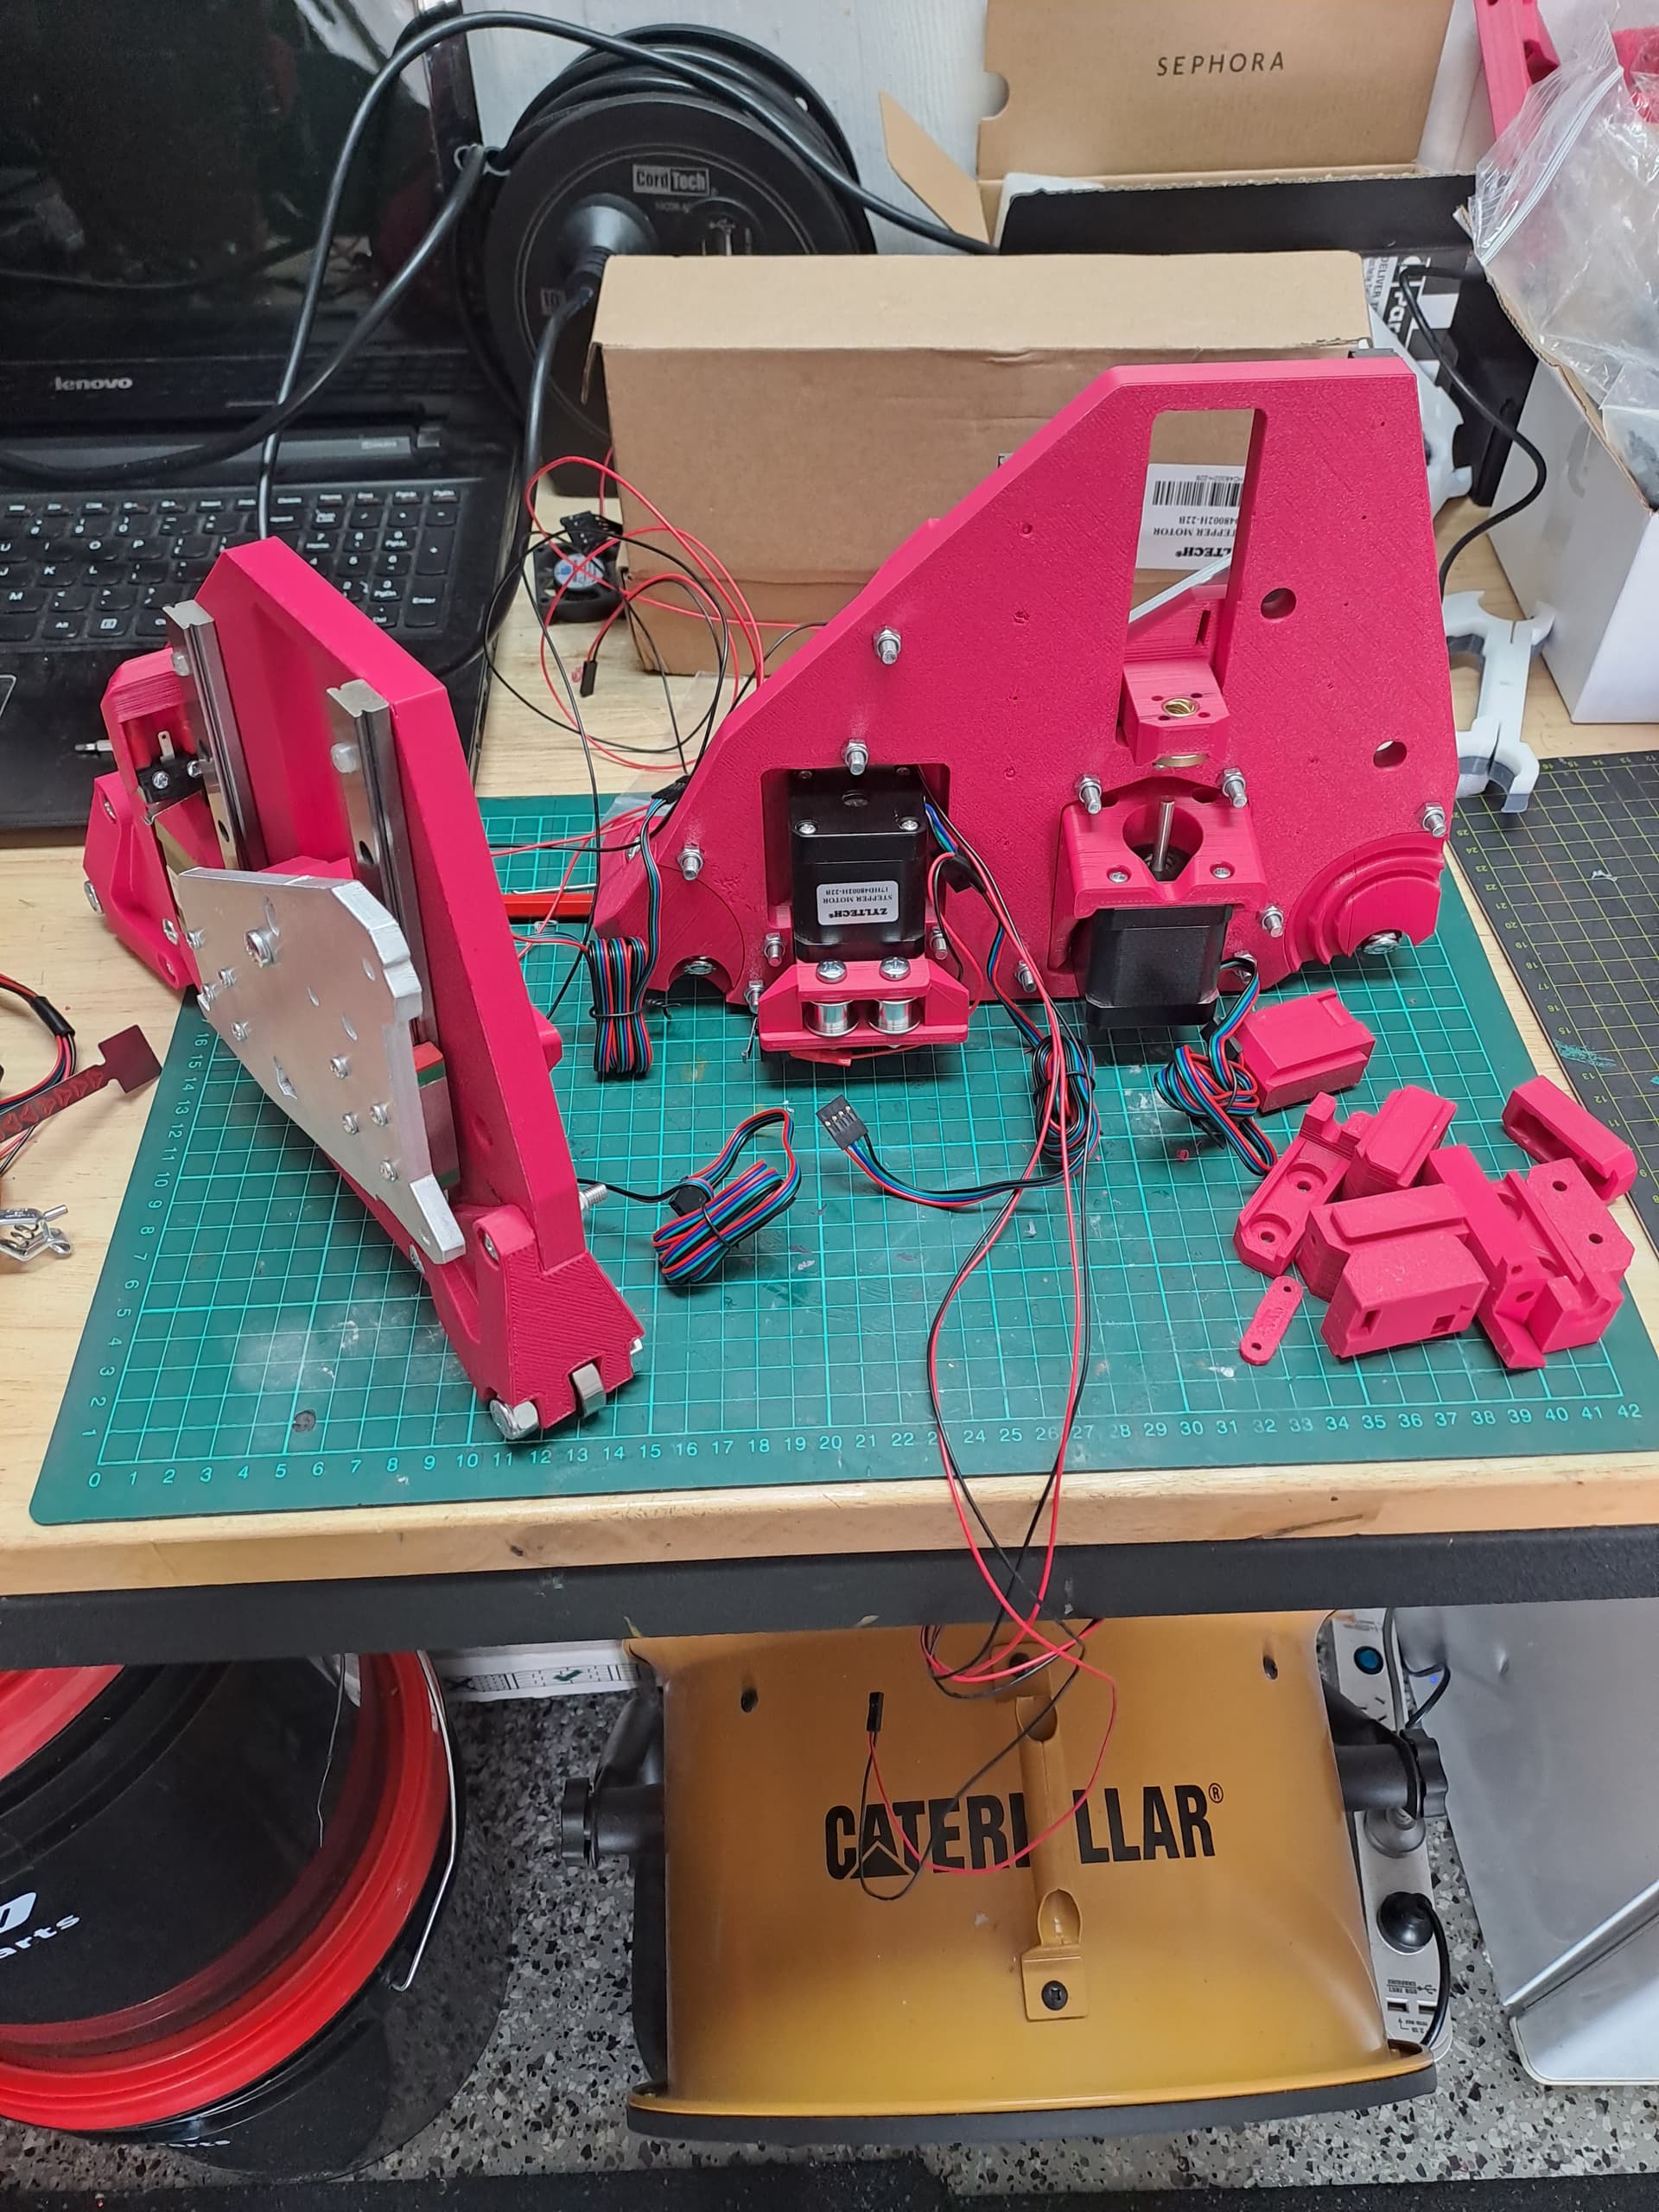
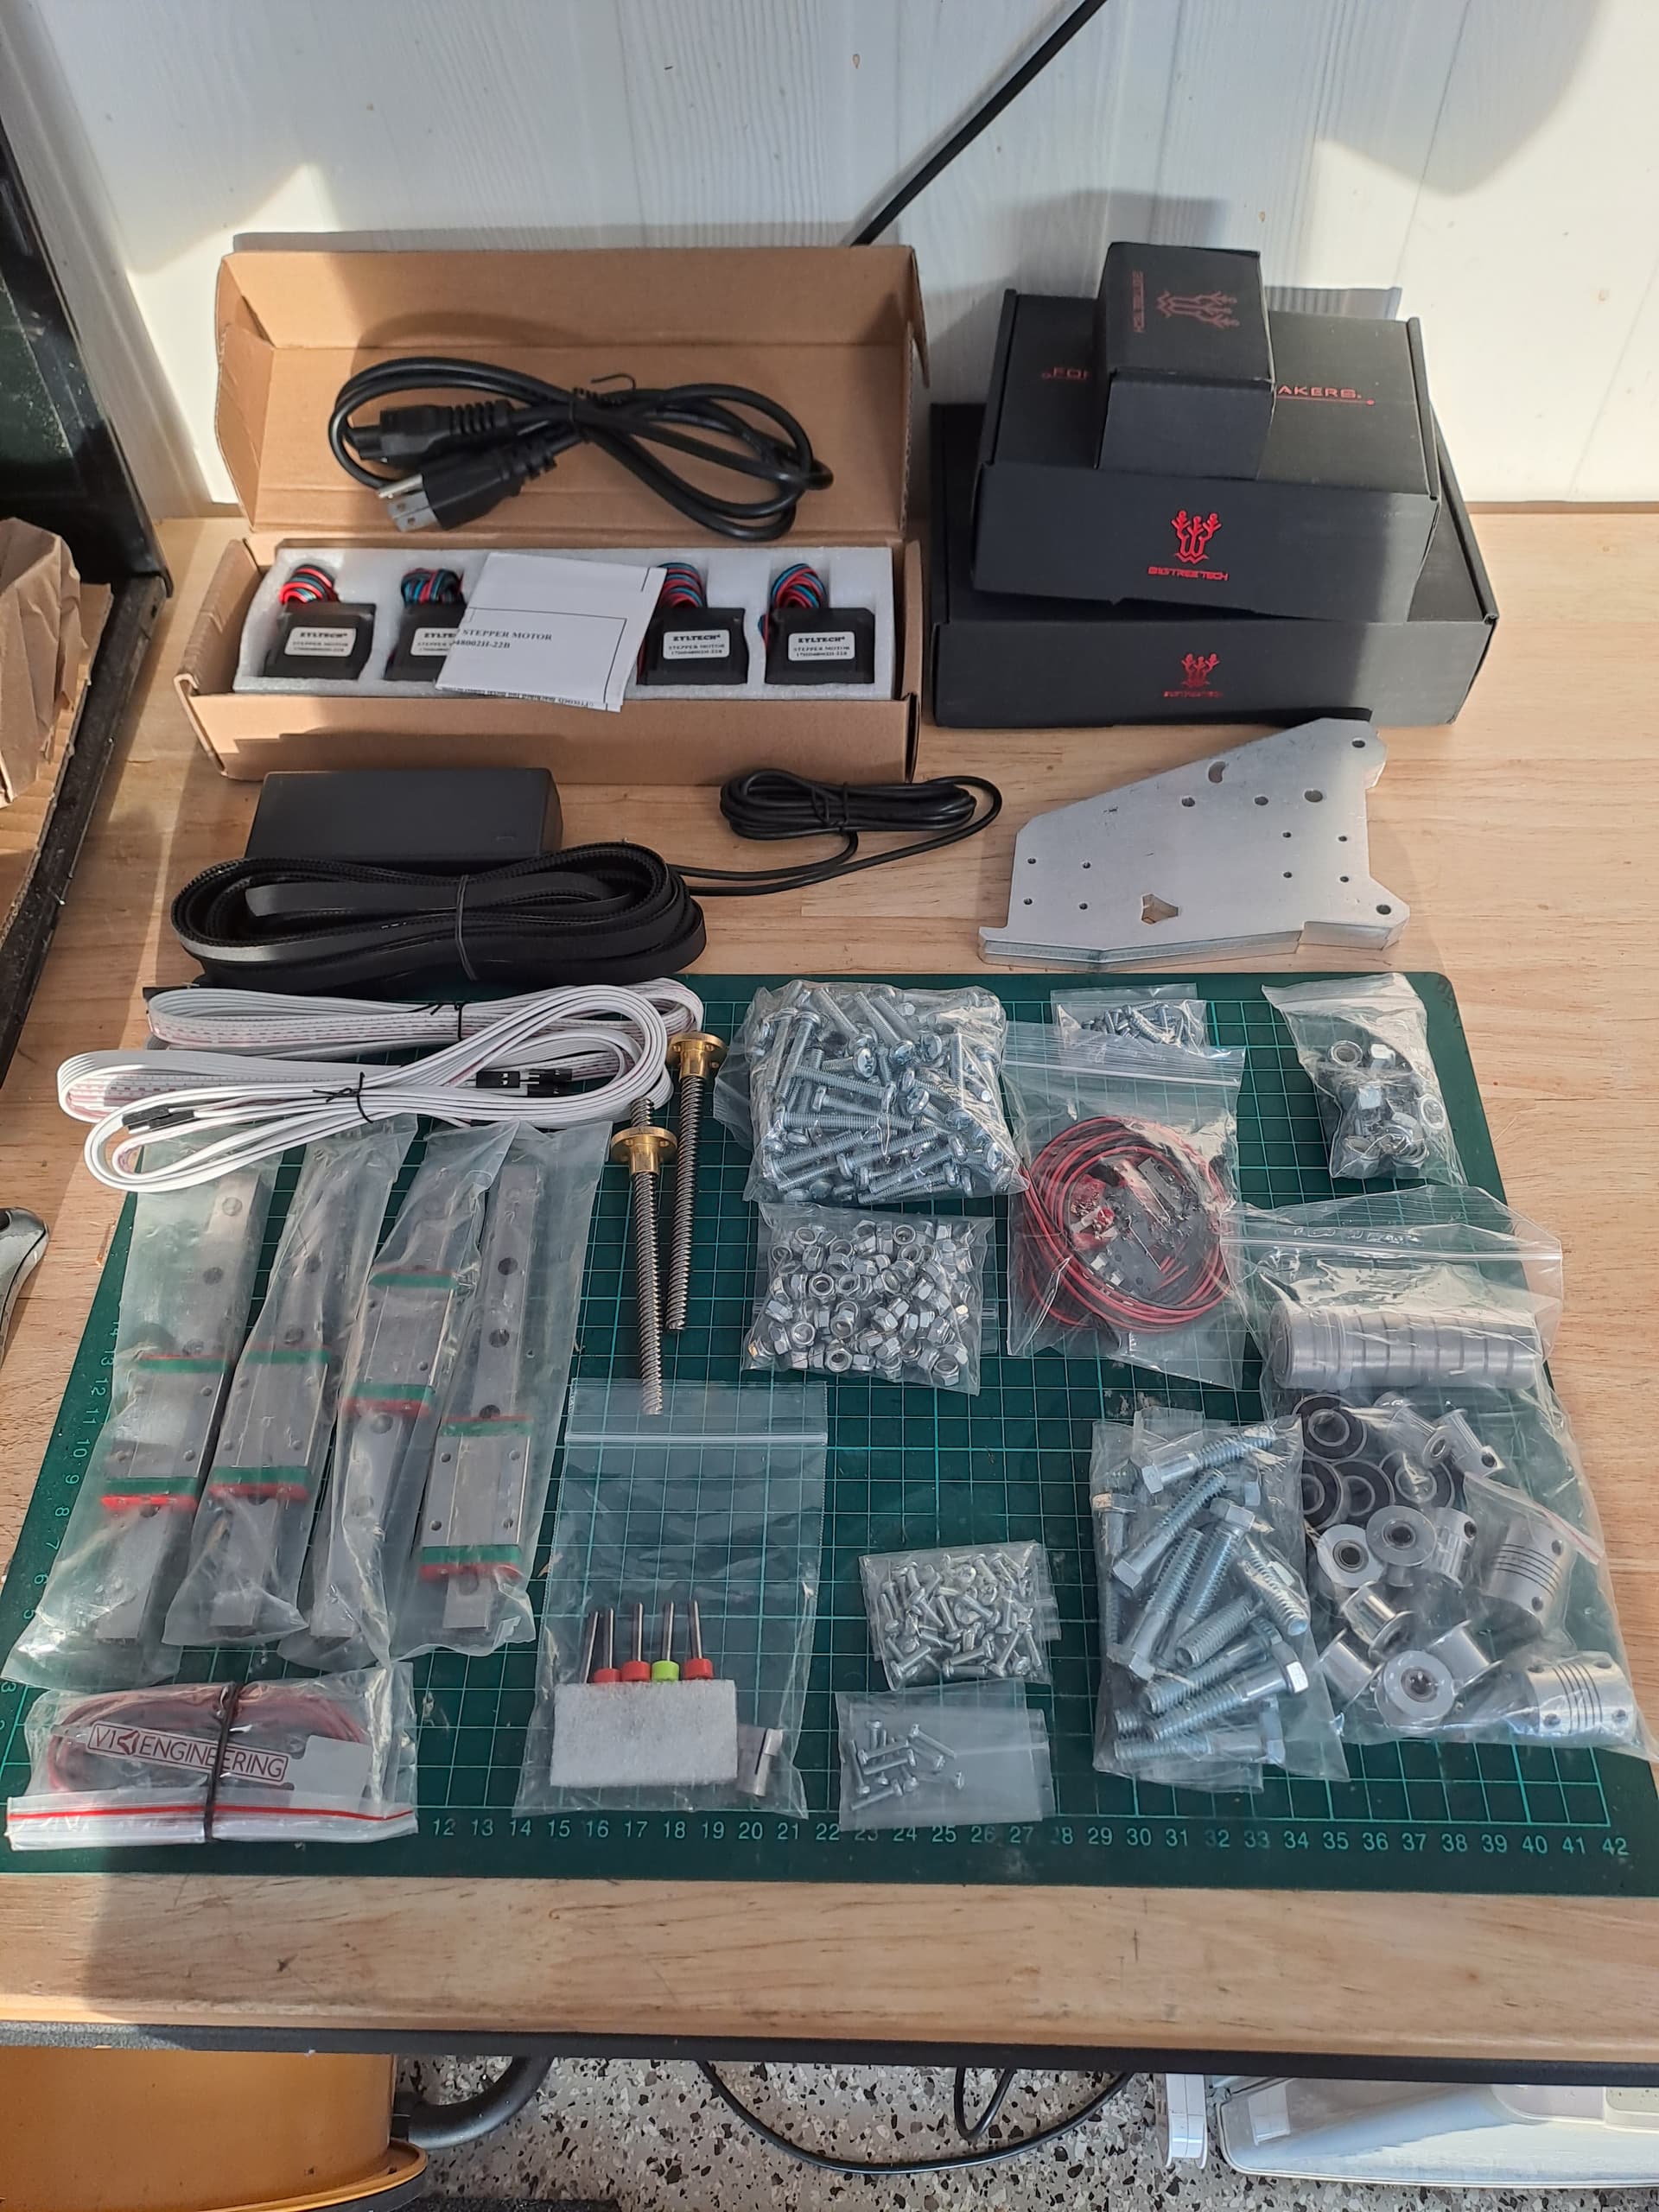
I have recently purchased the Lowrider CNC V3 hardware kit from V1 with the Metal XZ Plates, a couple of cutting tools and the Tiny Touch Plate :grin:, thank you @vicious1 . Was happily surprised with the time from placing the order on August 10 to it arriving August 28. I have help from a work mate who is currently printing the parts while I am busy trying to sort out a table for the LR3. Also have purchased 25mm aluminium tubing for the rails (3m from Bunnings, 2 of).

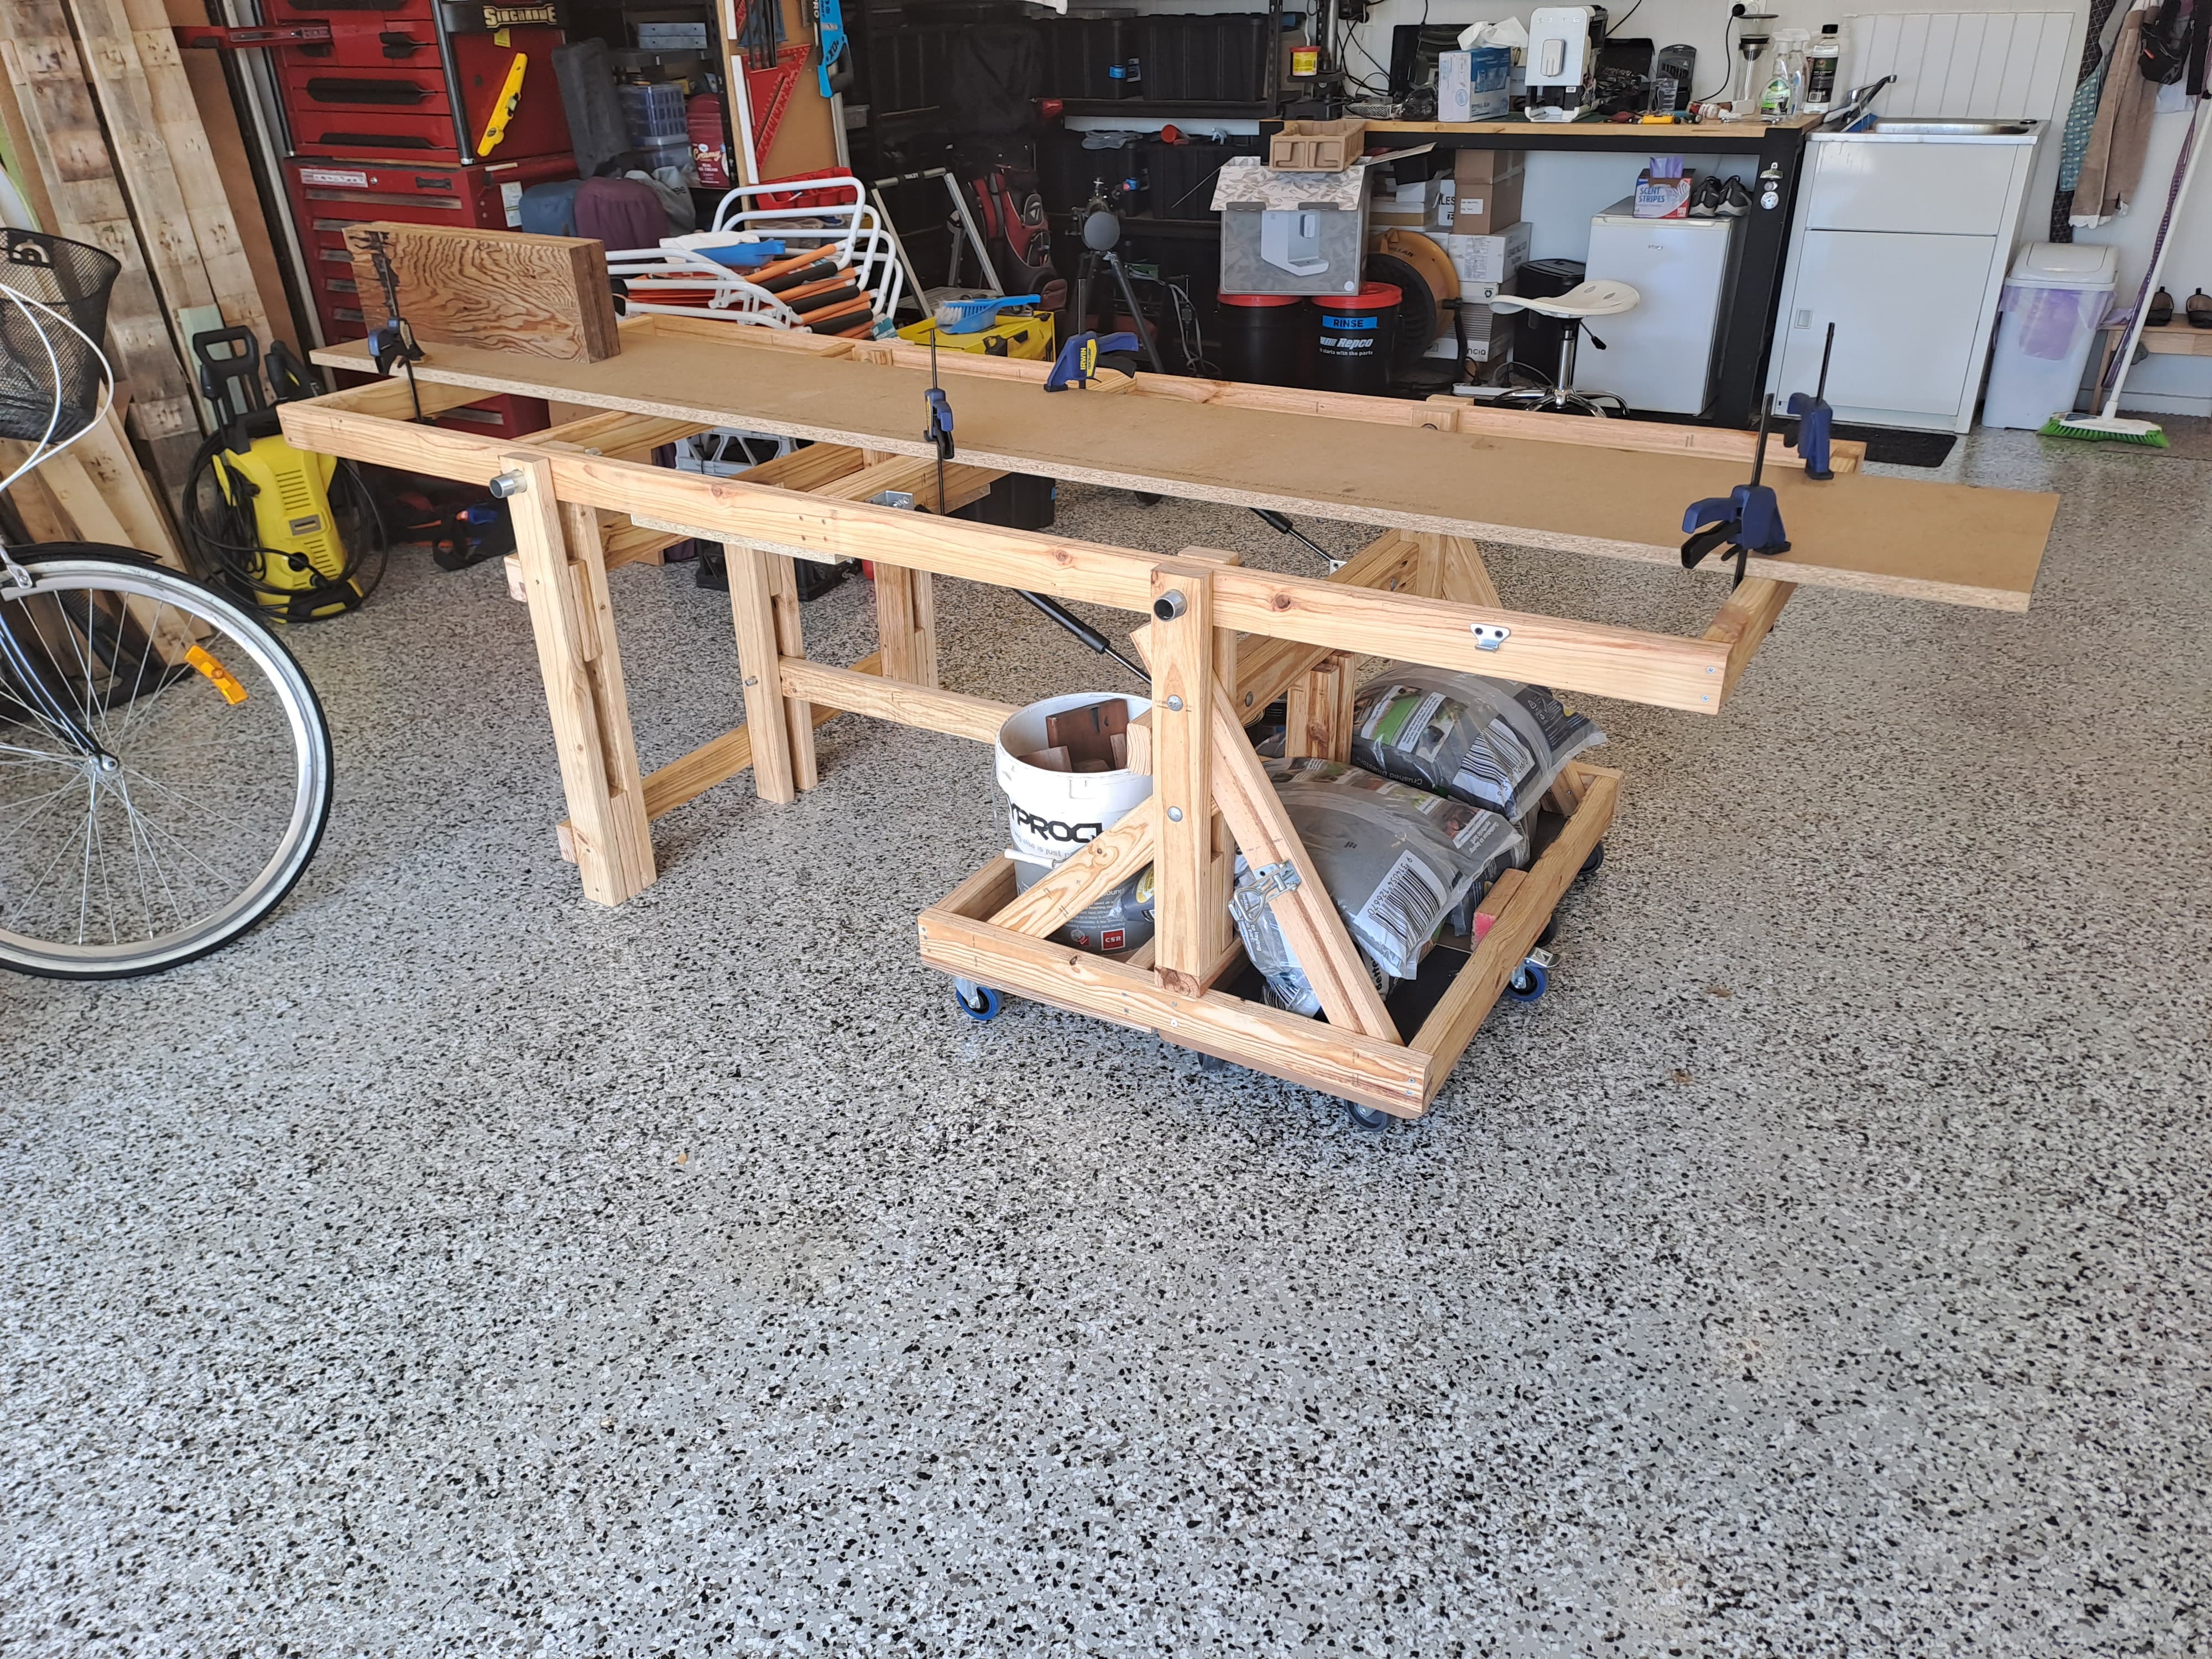
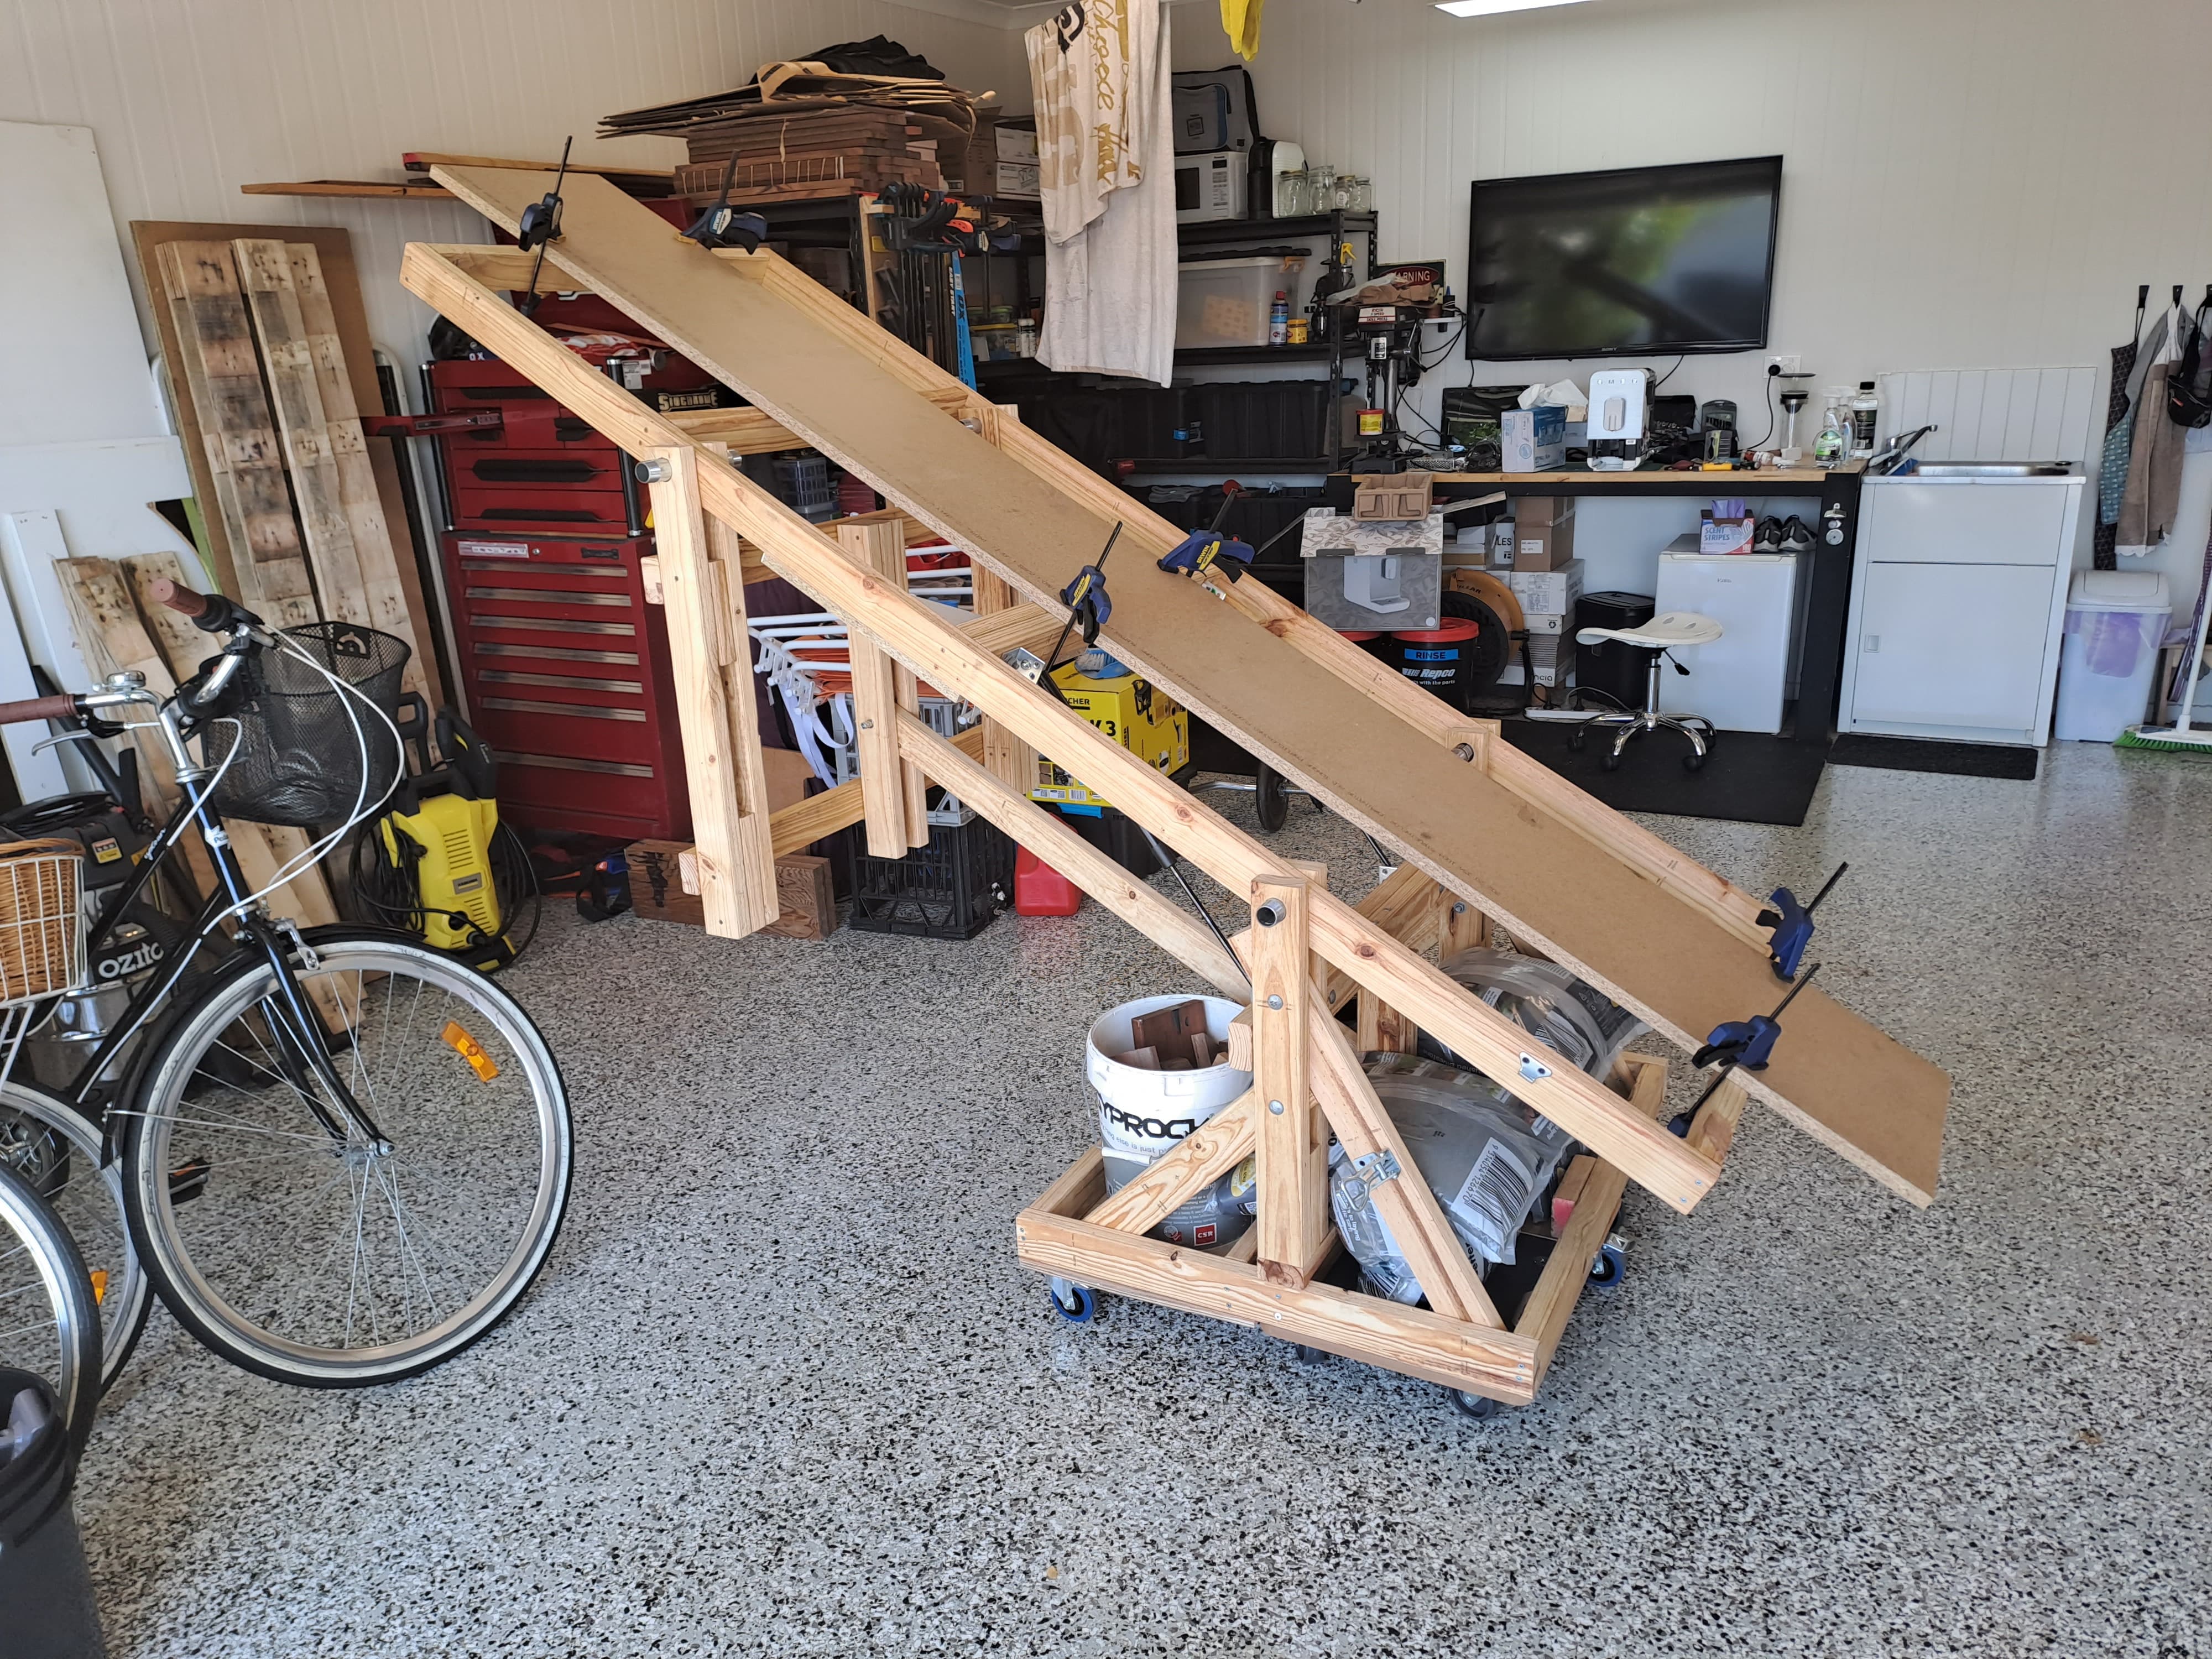
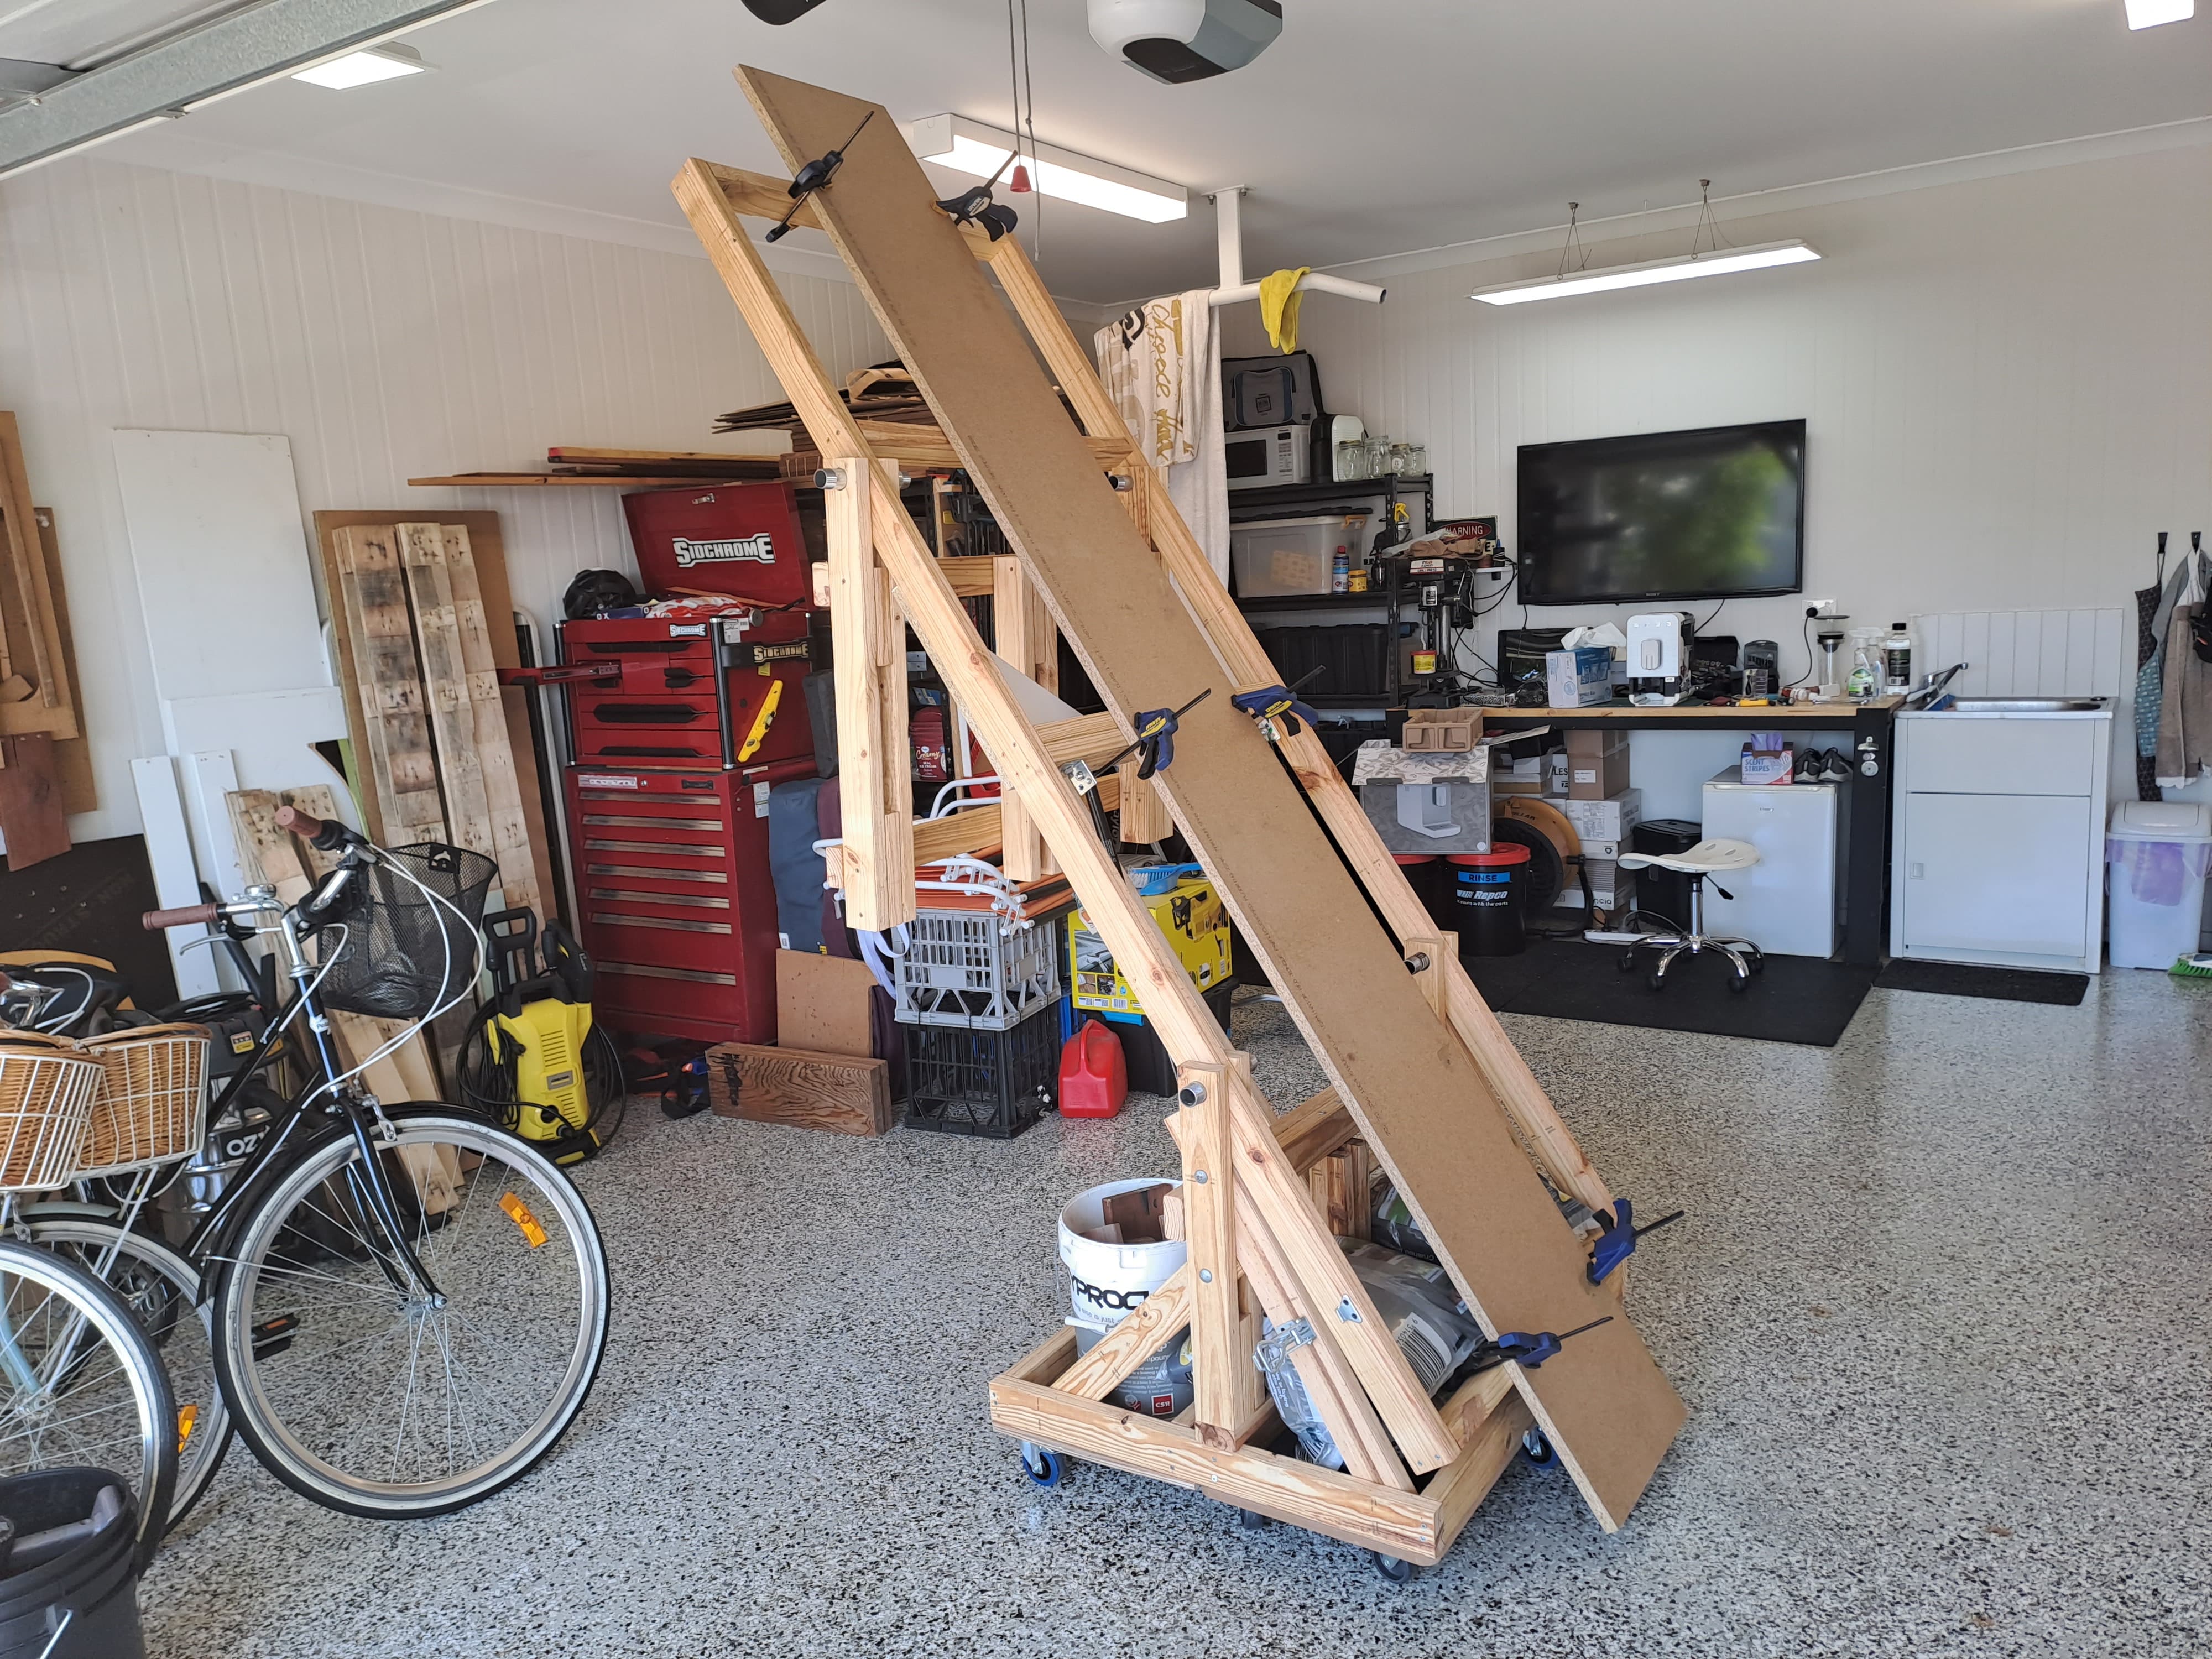
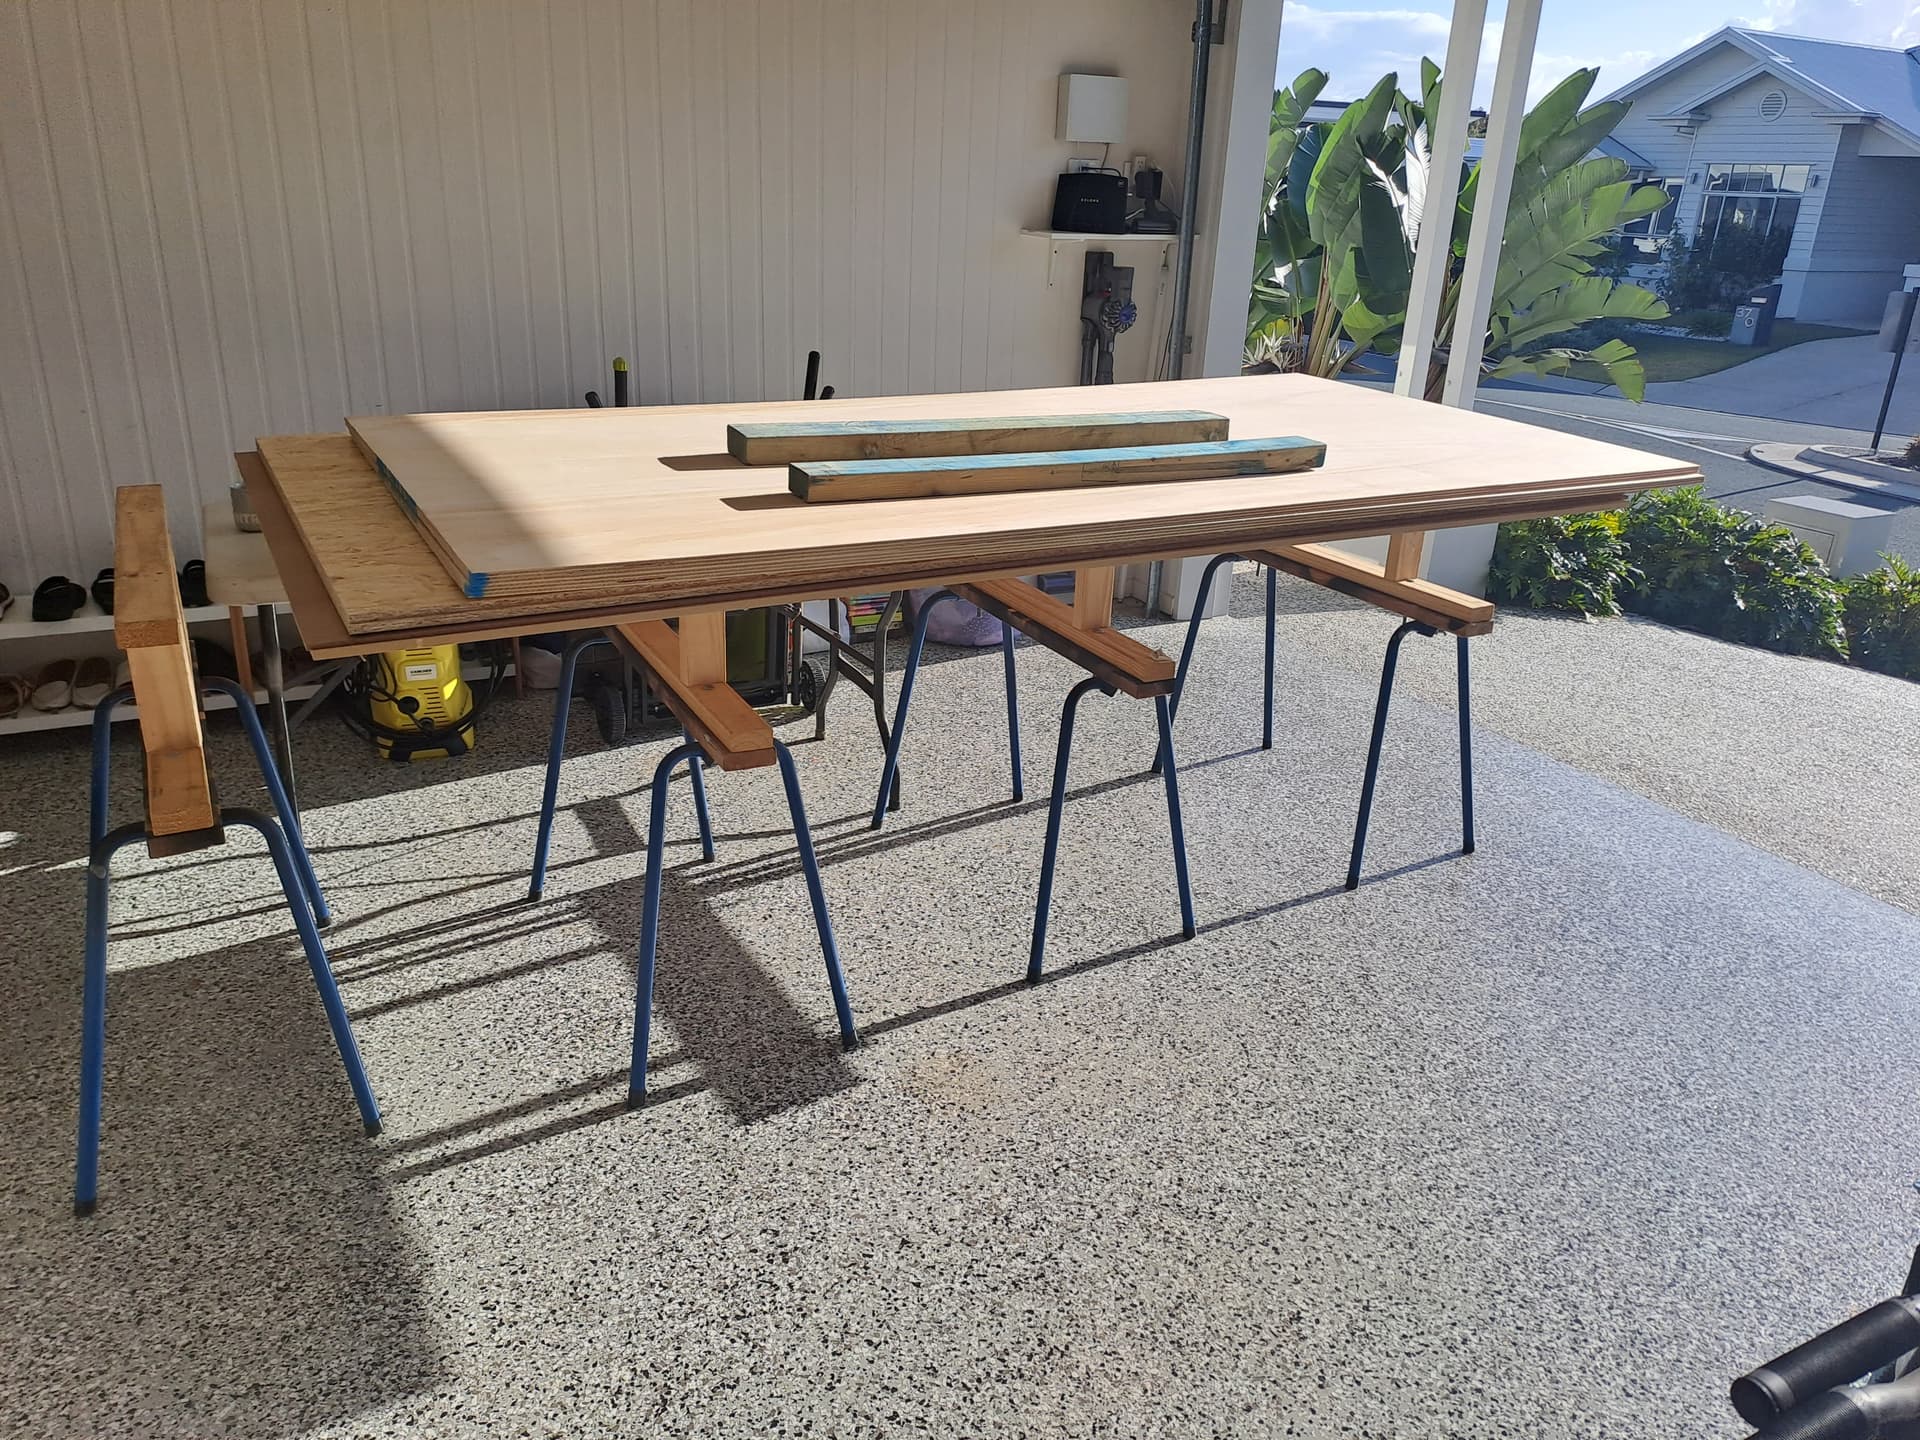
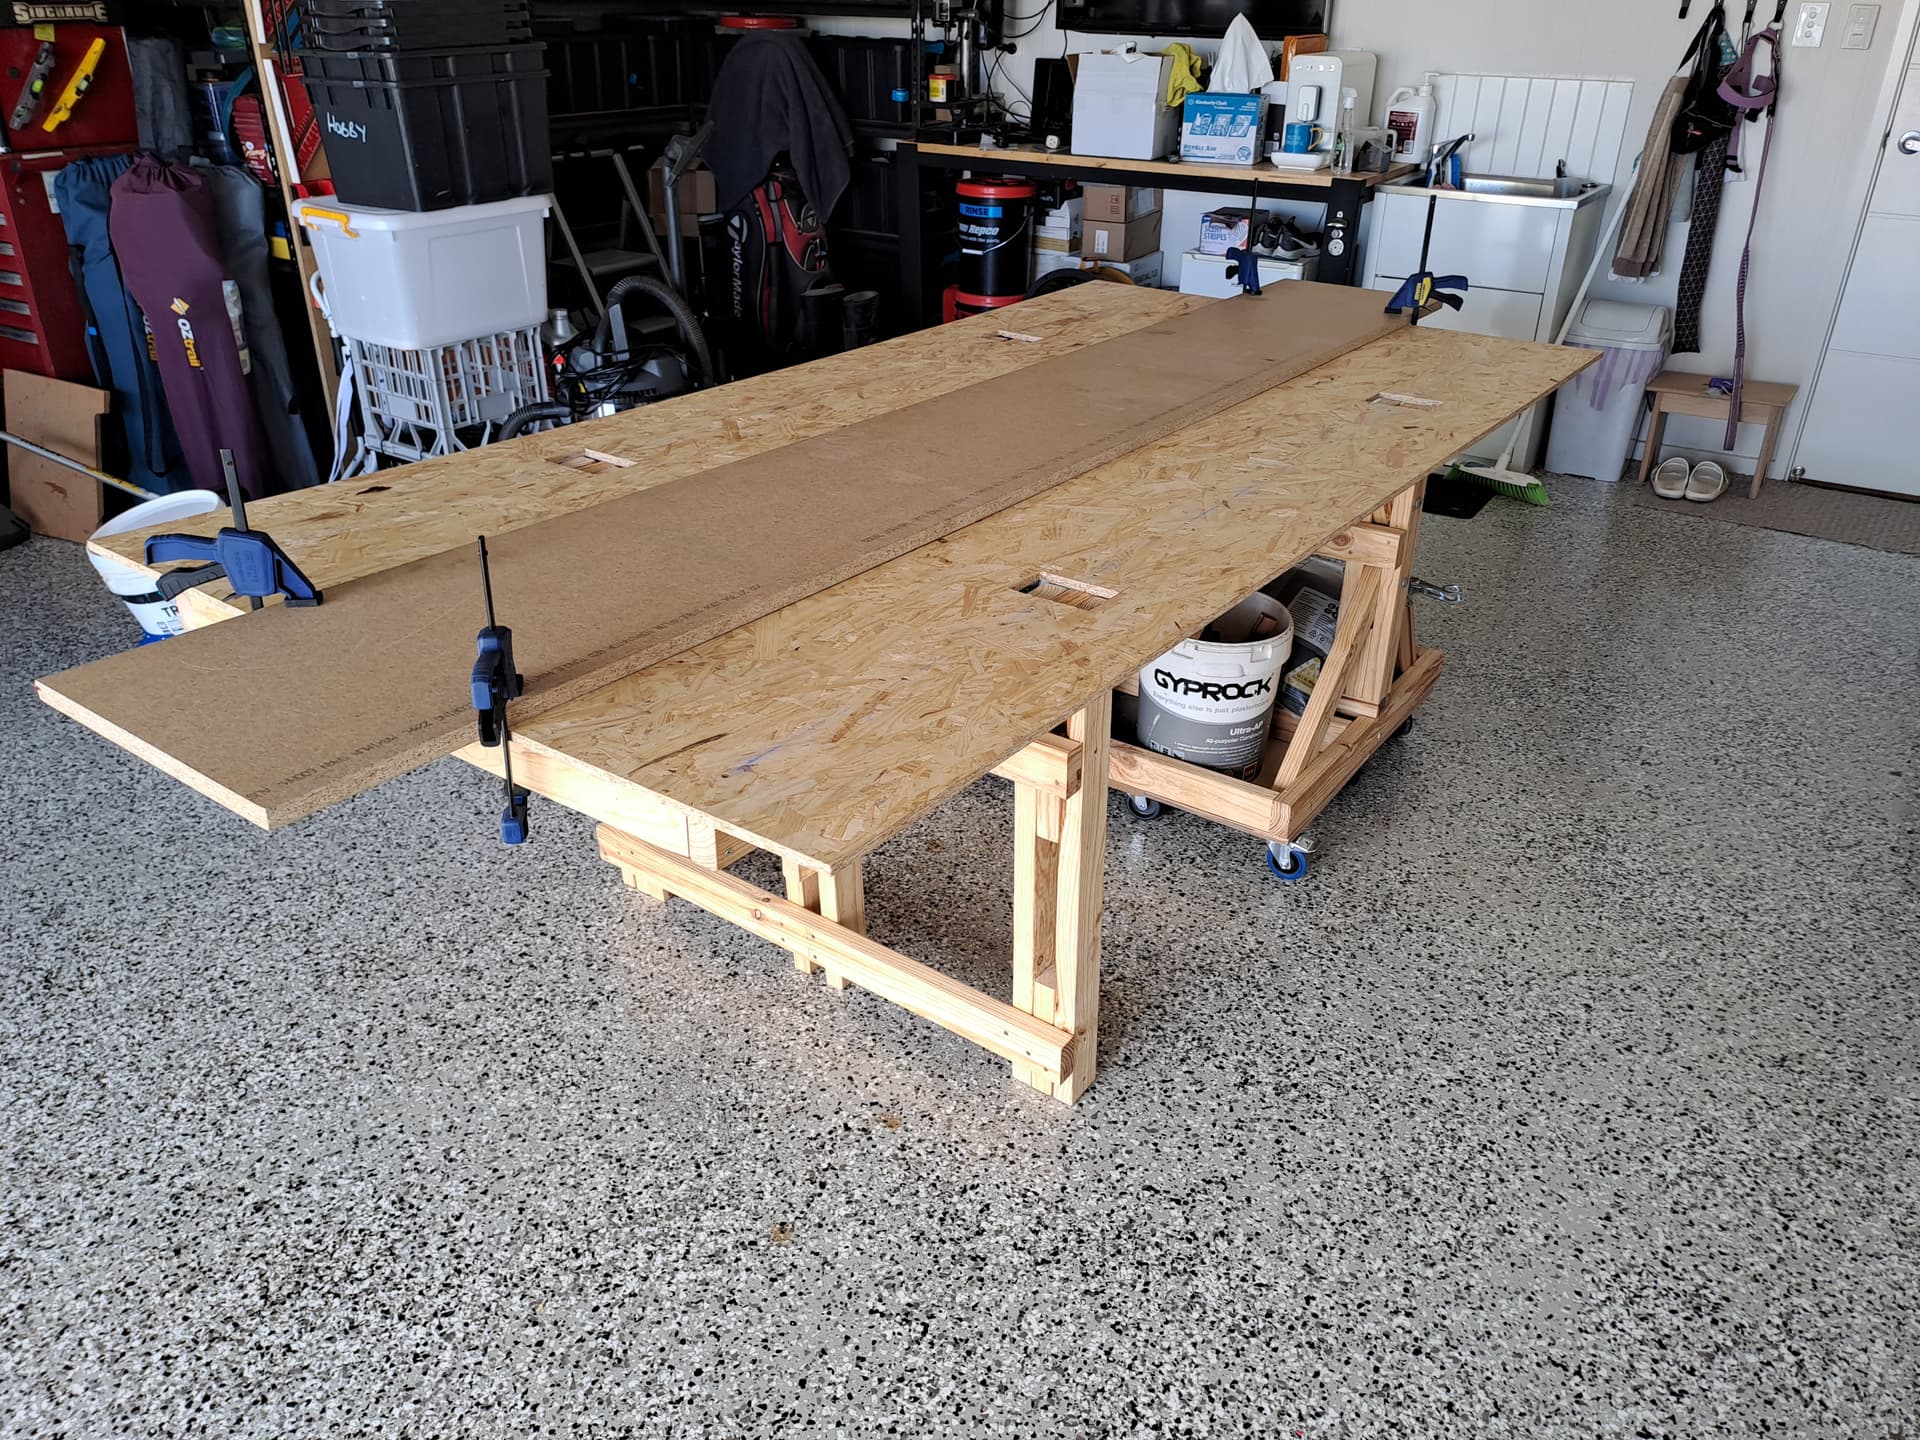
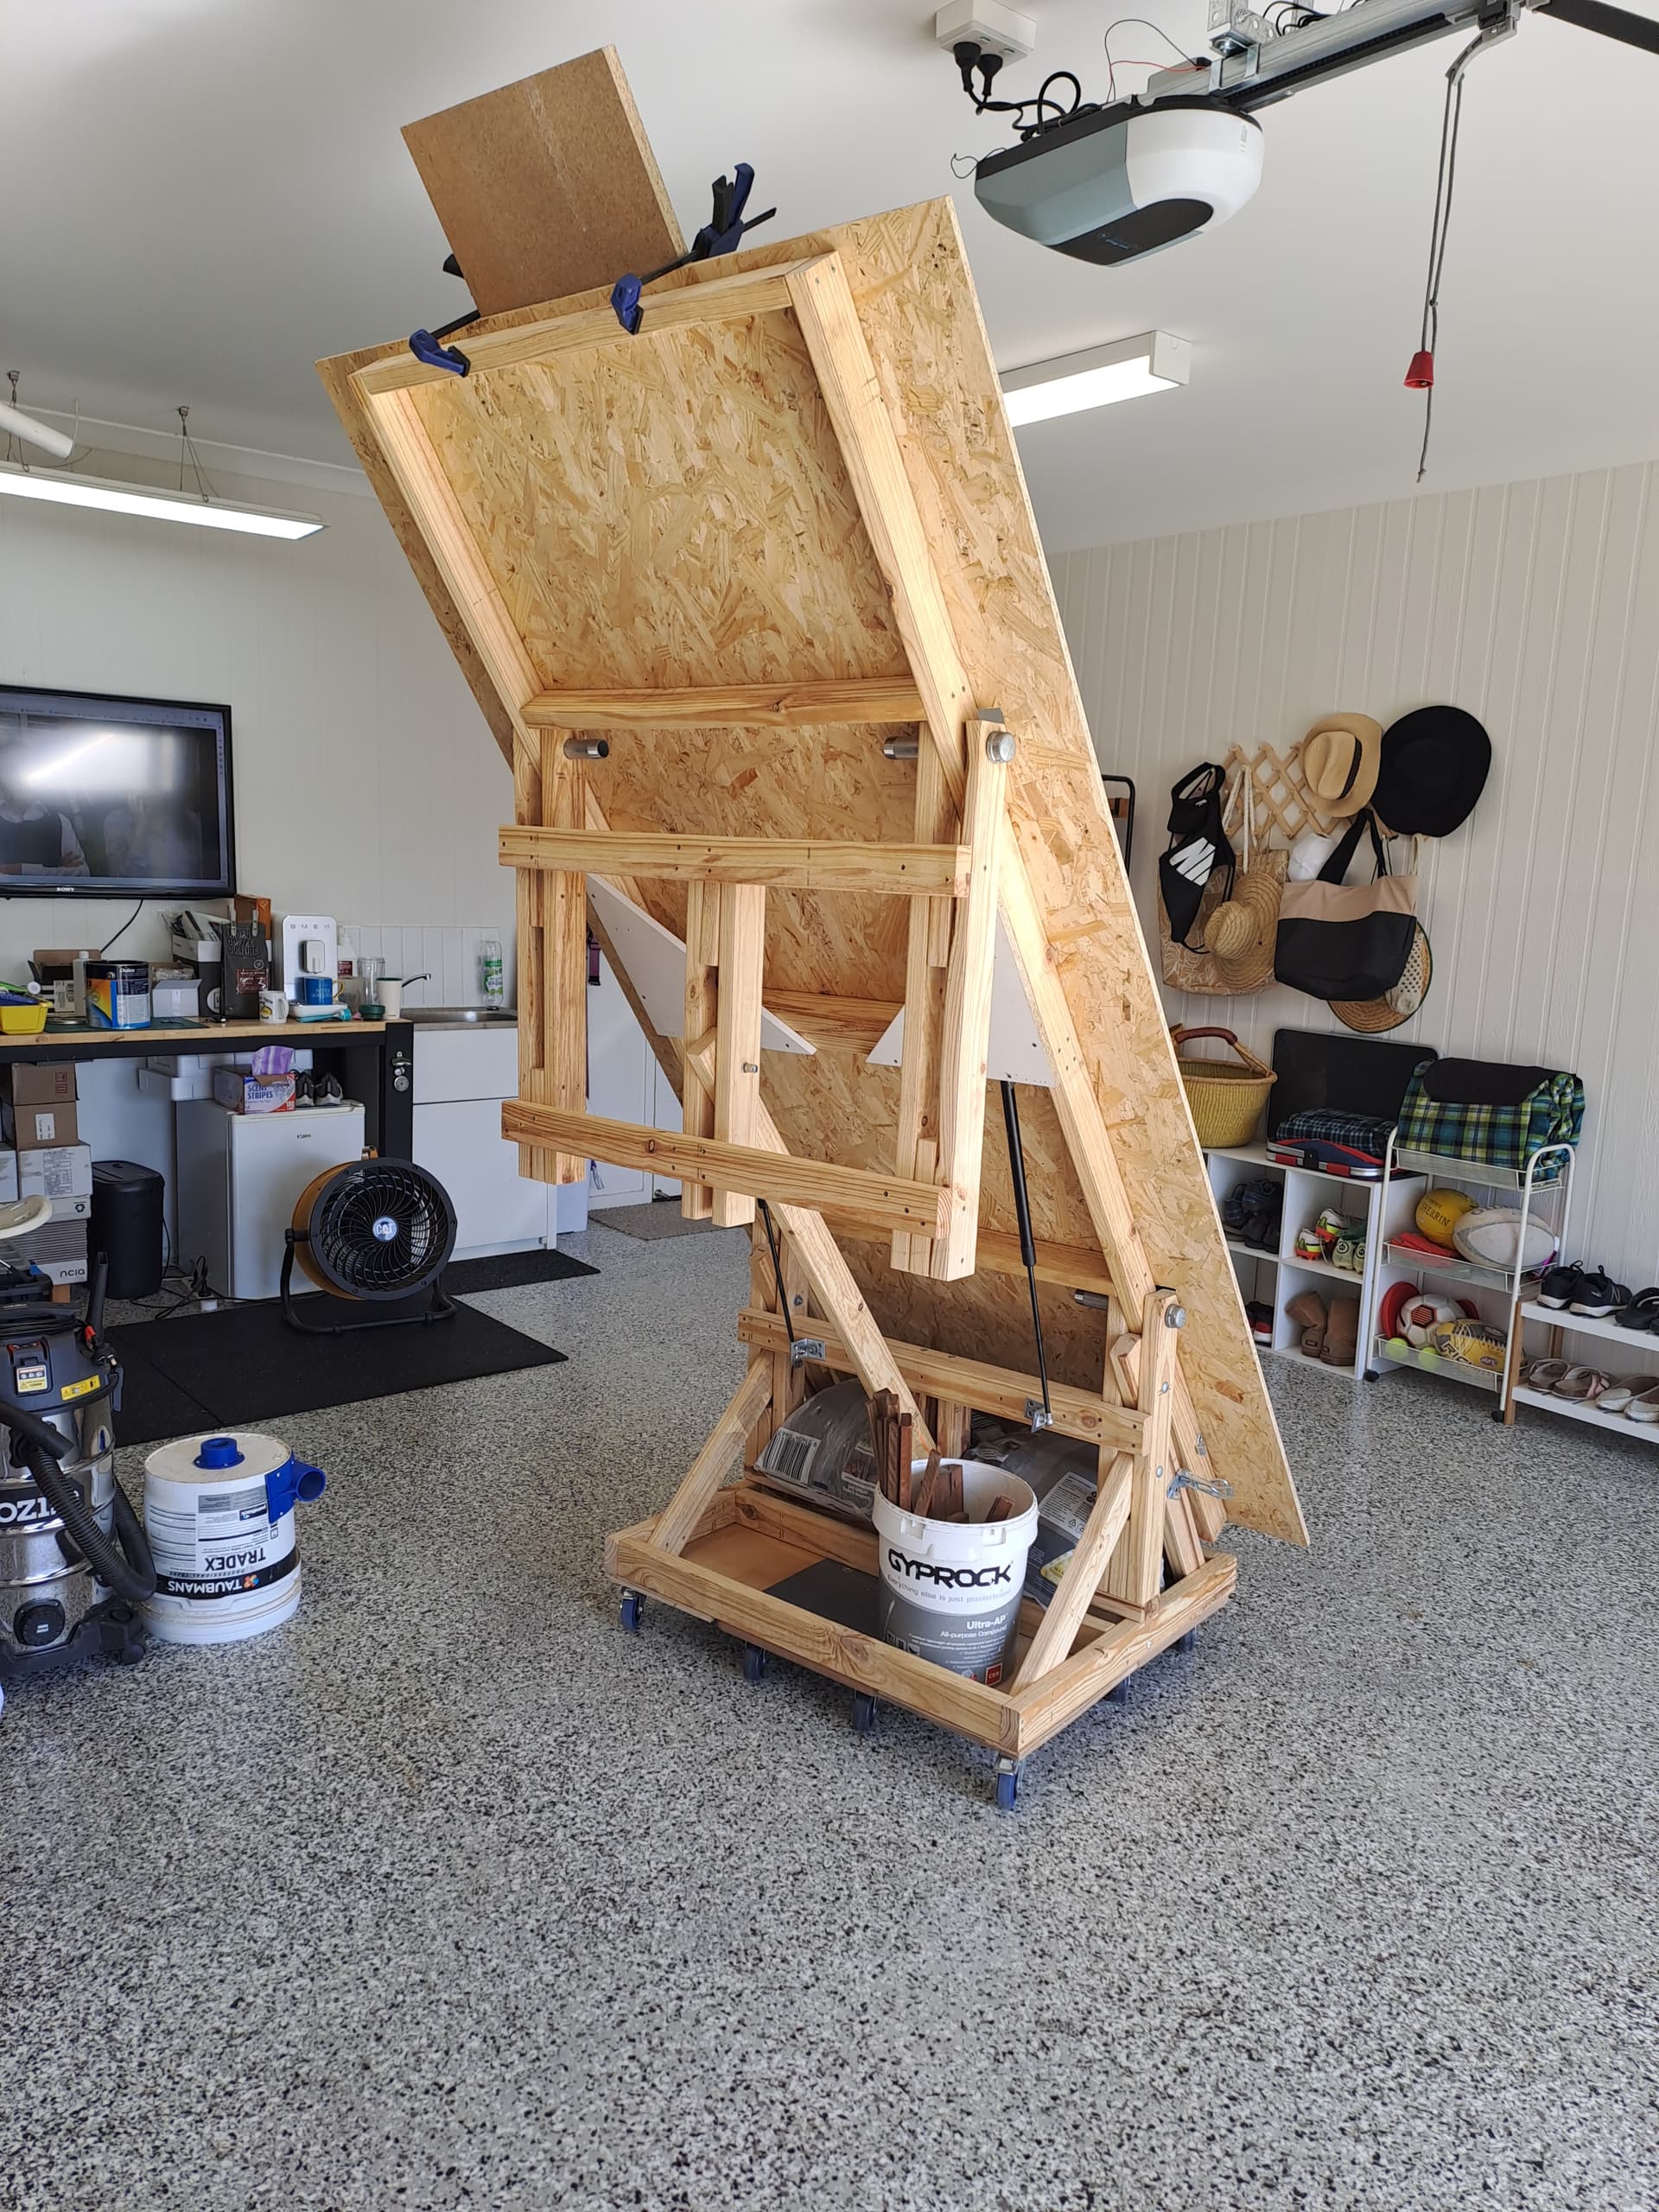
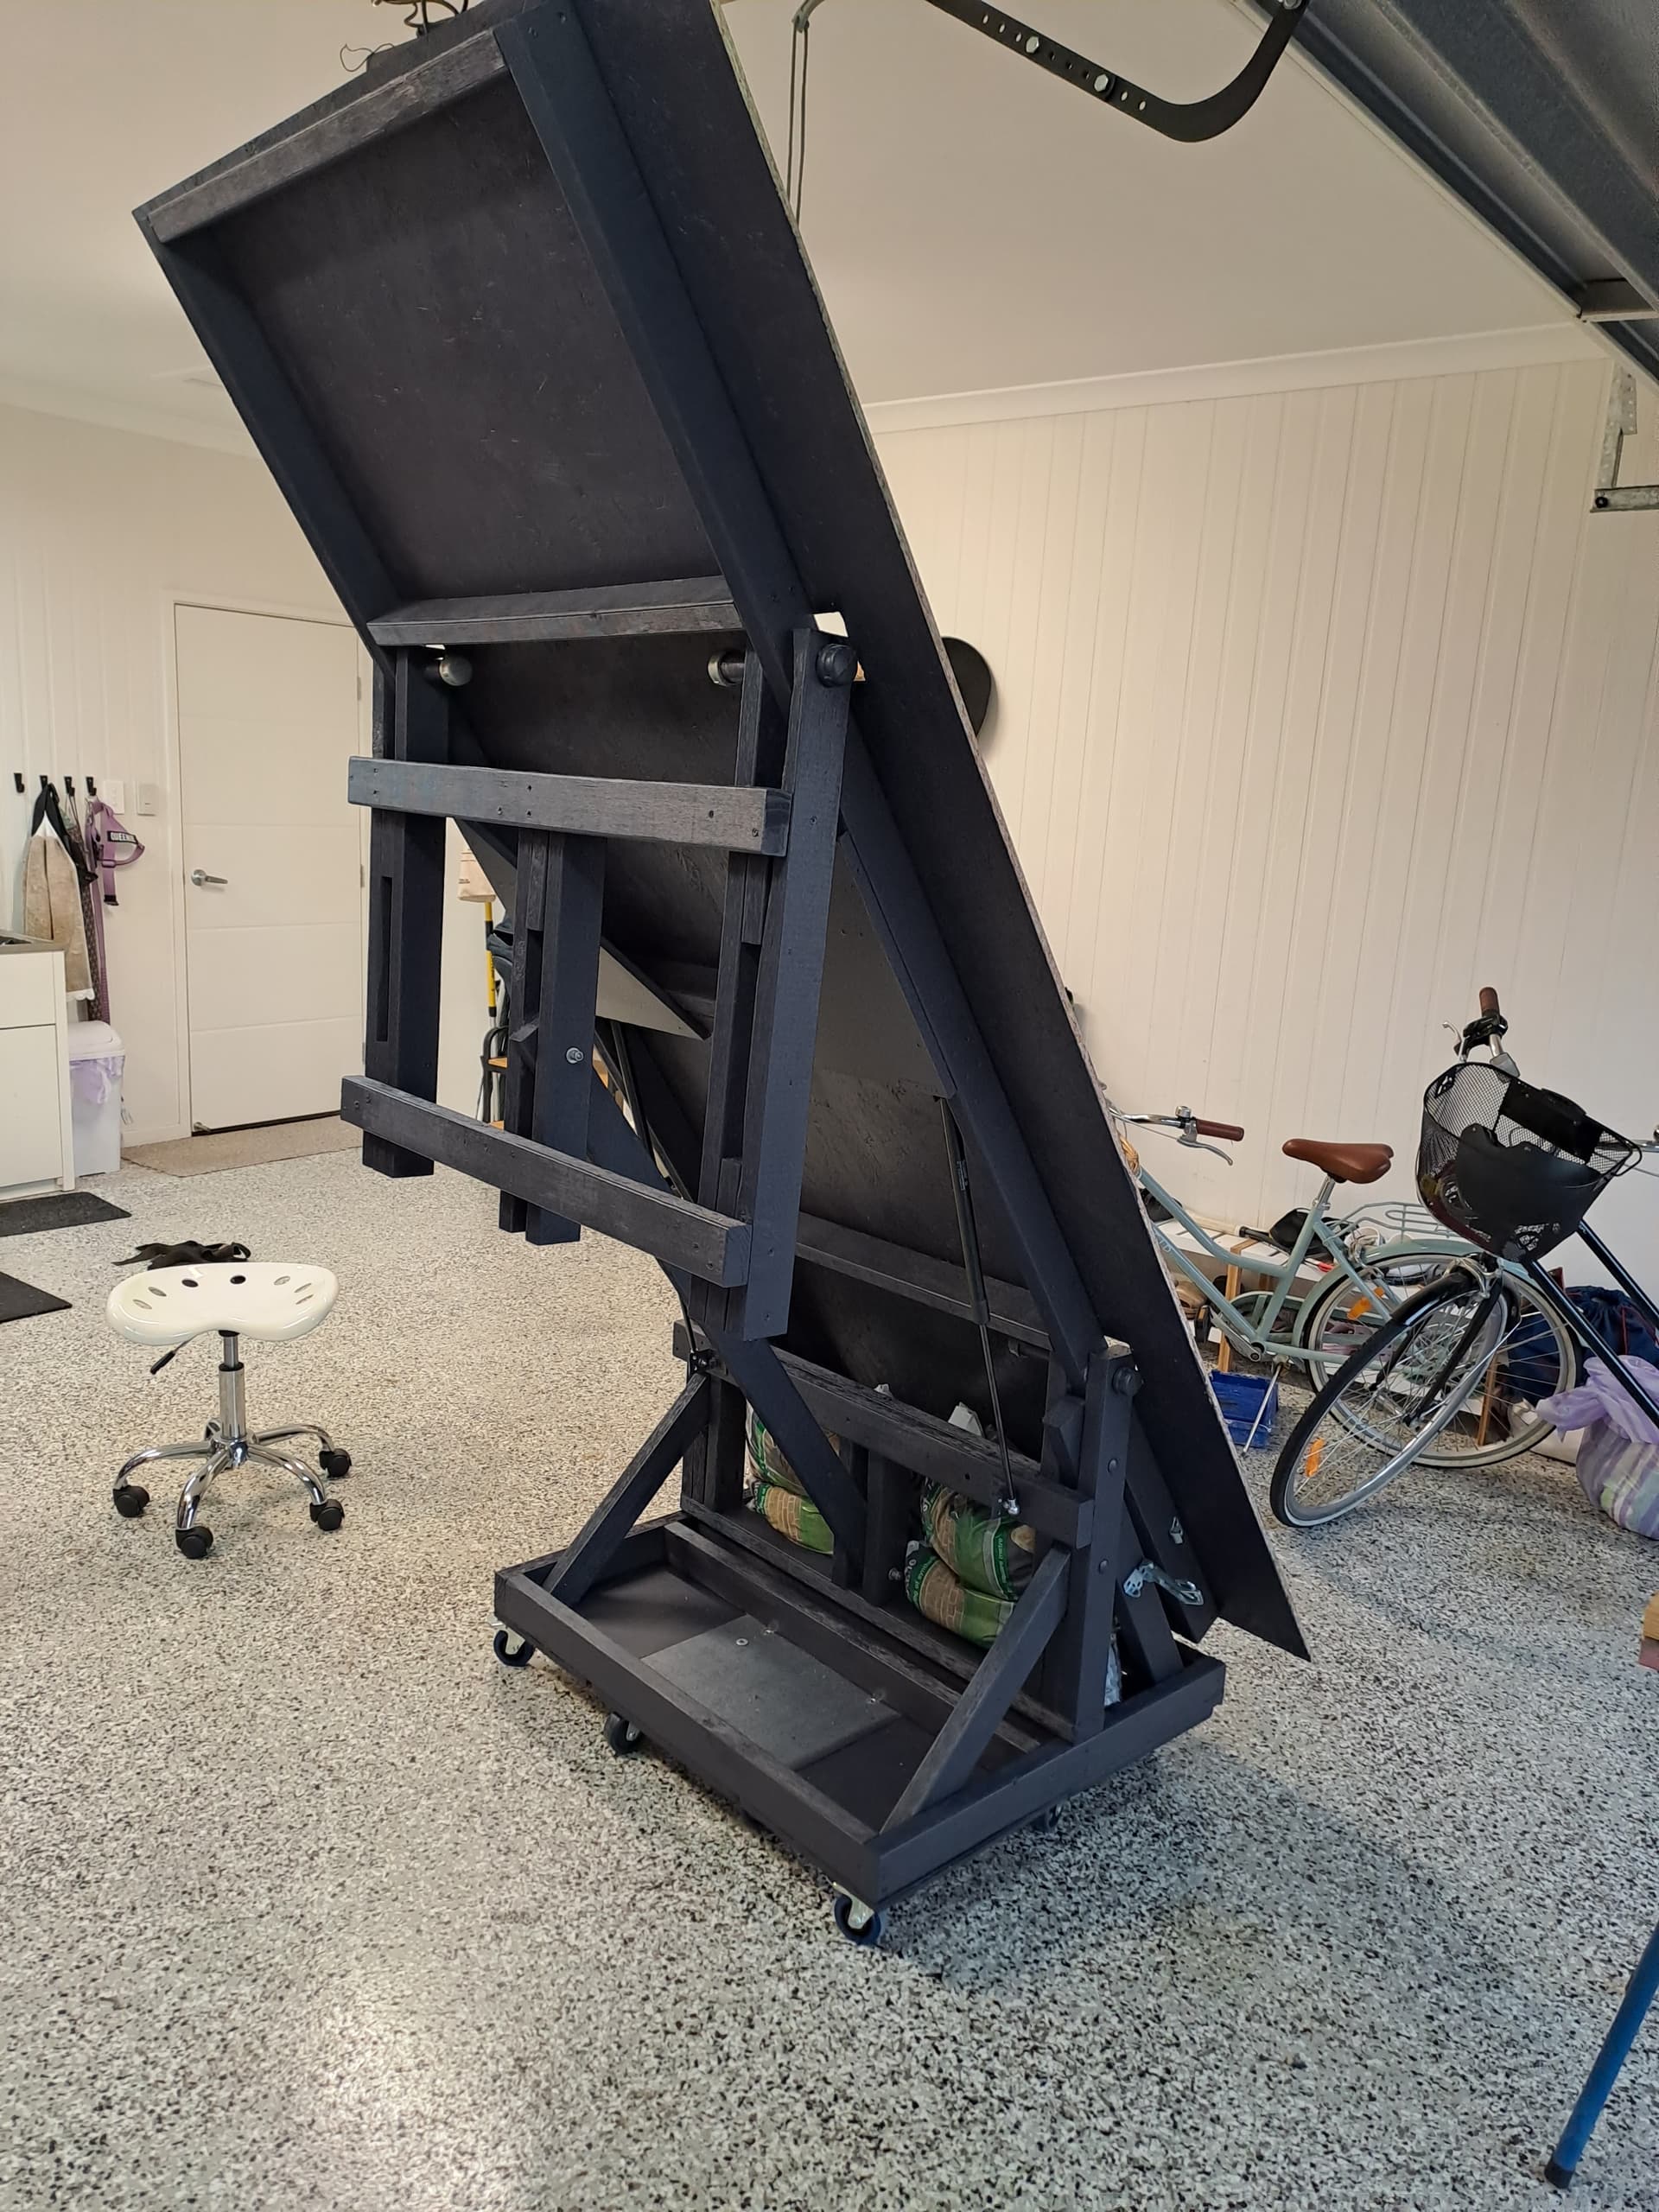
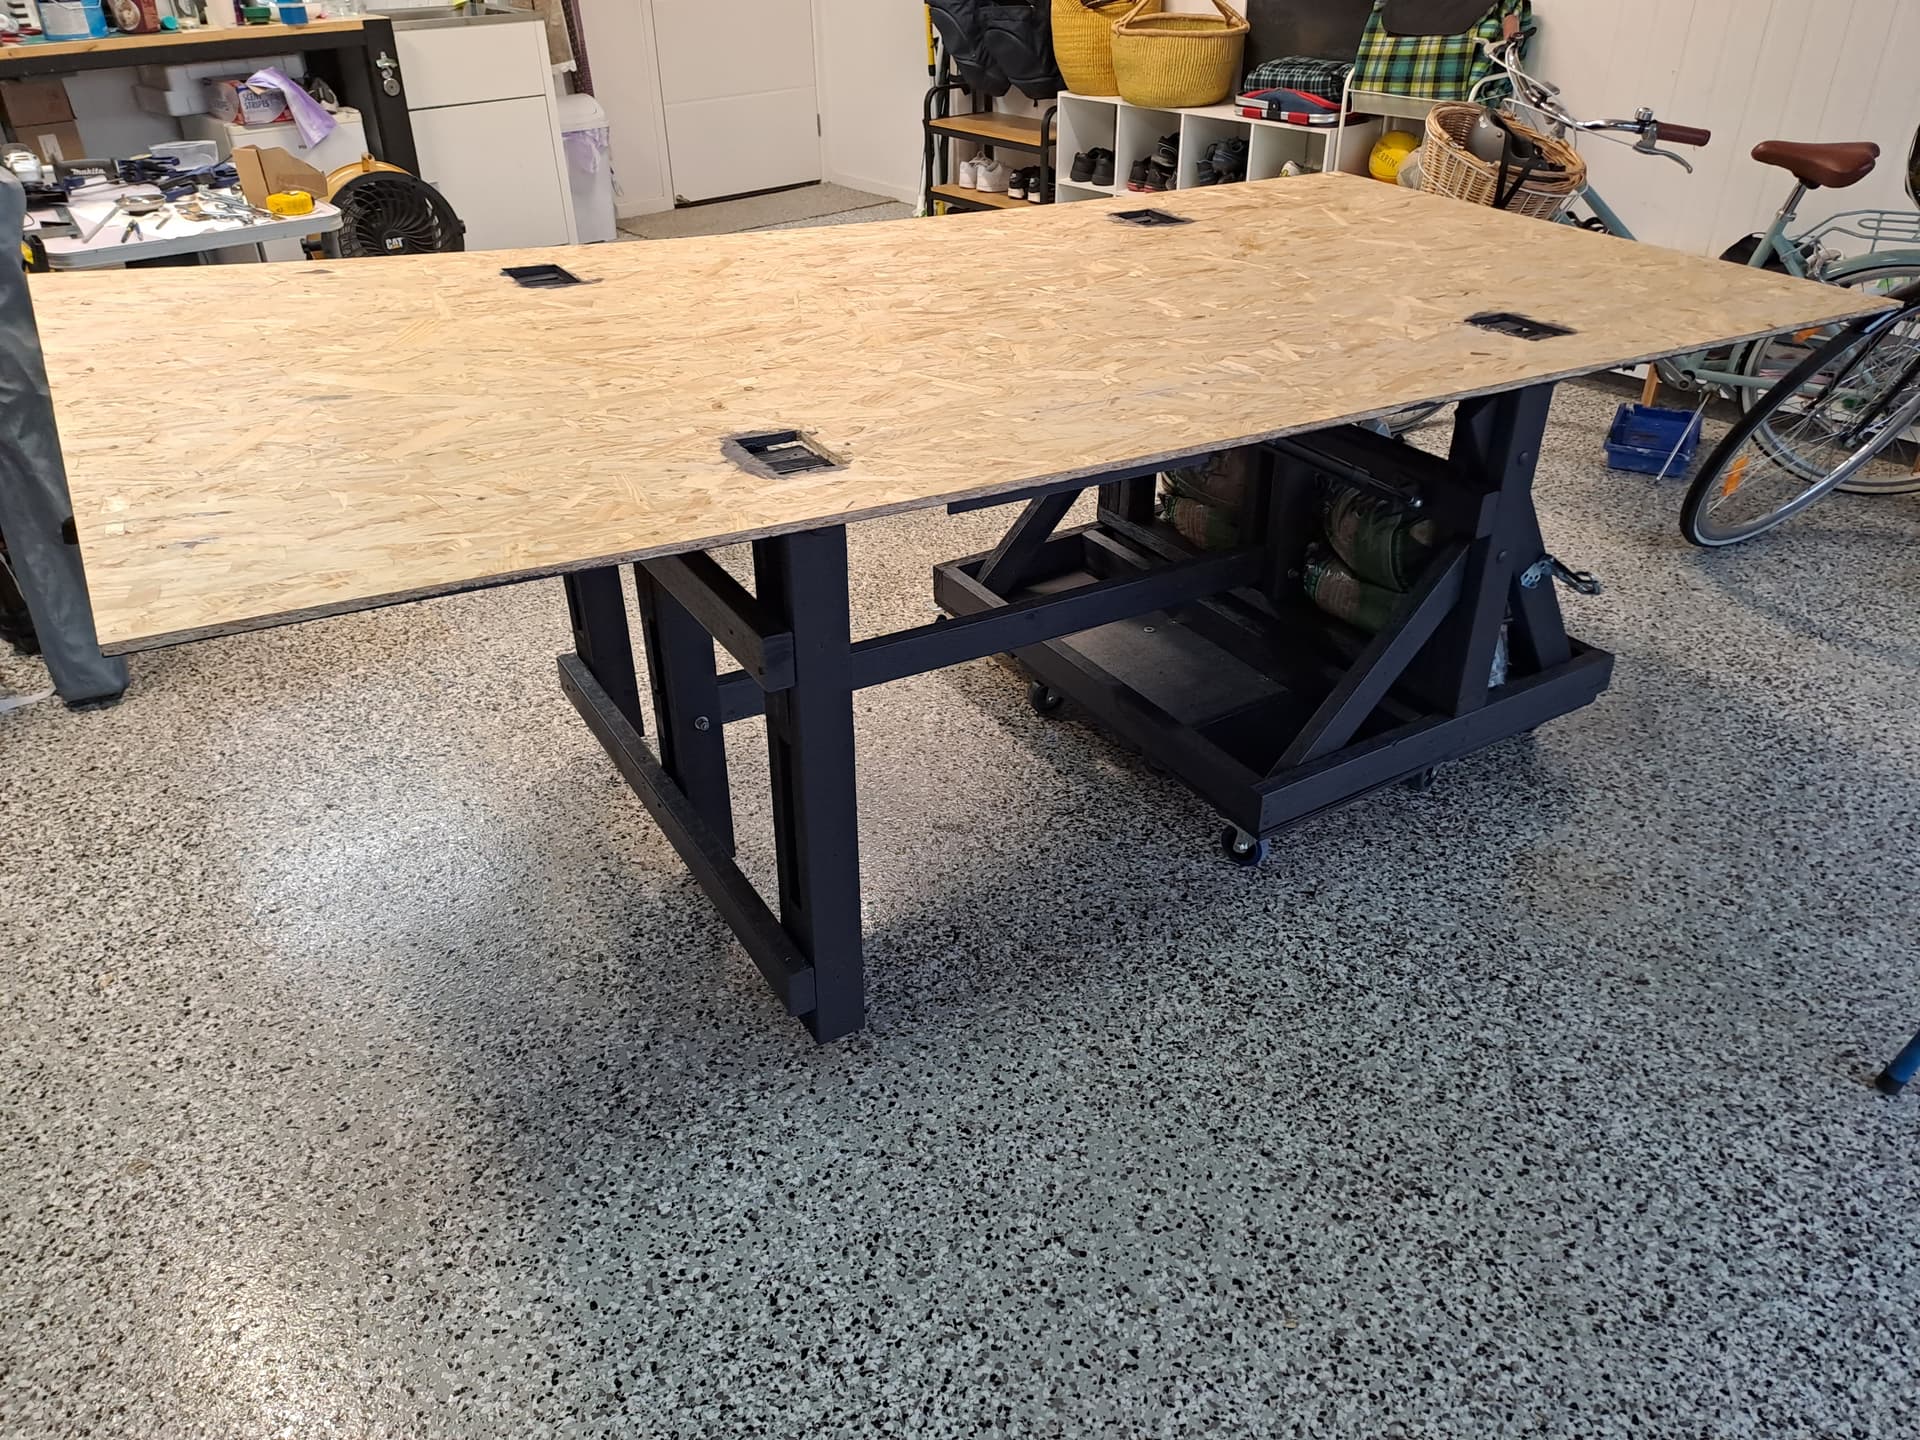
I have been keen to make a torsion box style table and with the help of @DougJoseph and his youtube videos and download files, I have the desired table design locked in. The next issue was room in the garage for the table, which will be able to accomodate a full size work sheet 2440mm x 1220mm , when not in use. I stubled accross a foldable design late one night but given the length of the table (Approx. 2900mm long) the height of the table would hit the 2700mm ceiling. So i decided on a 60° closed table that dropped flat with fold out legs at one end. Its a design that I will refine as I build it.


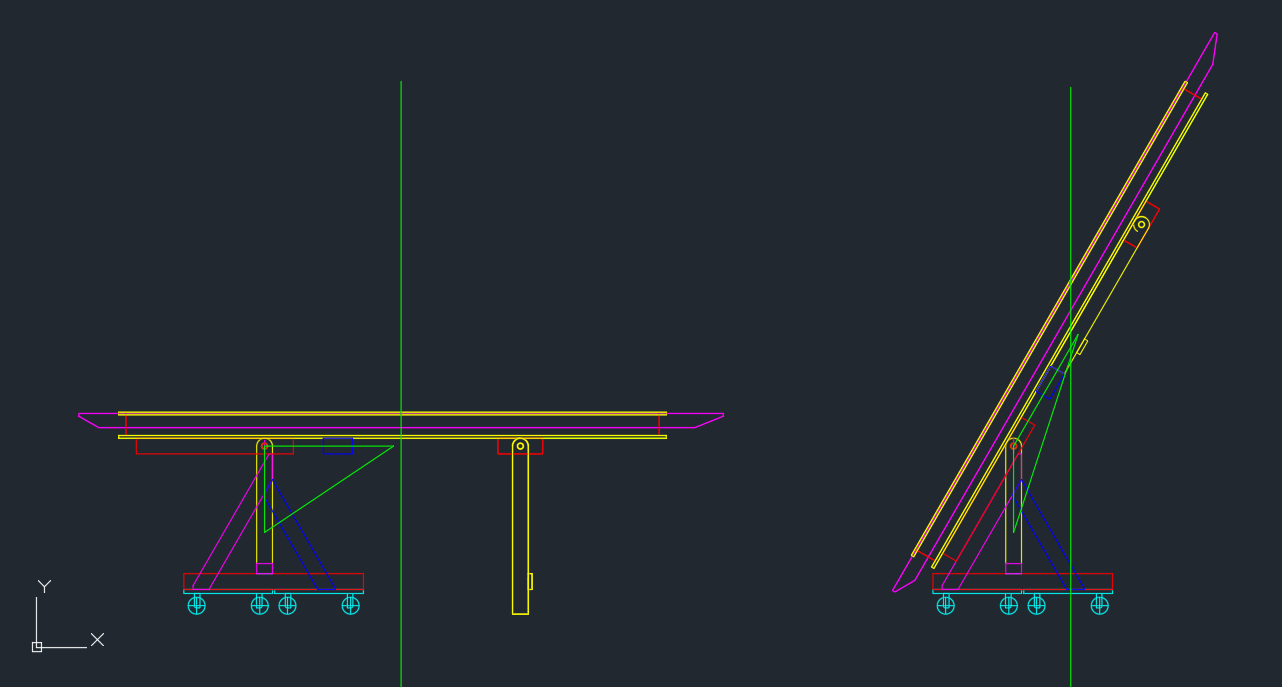
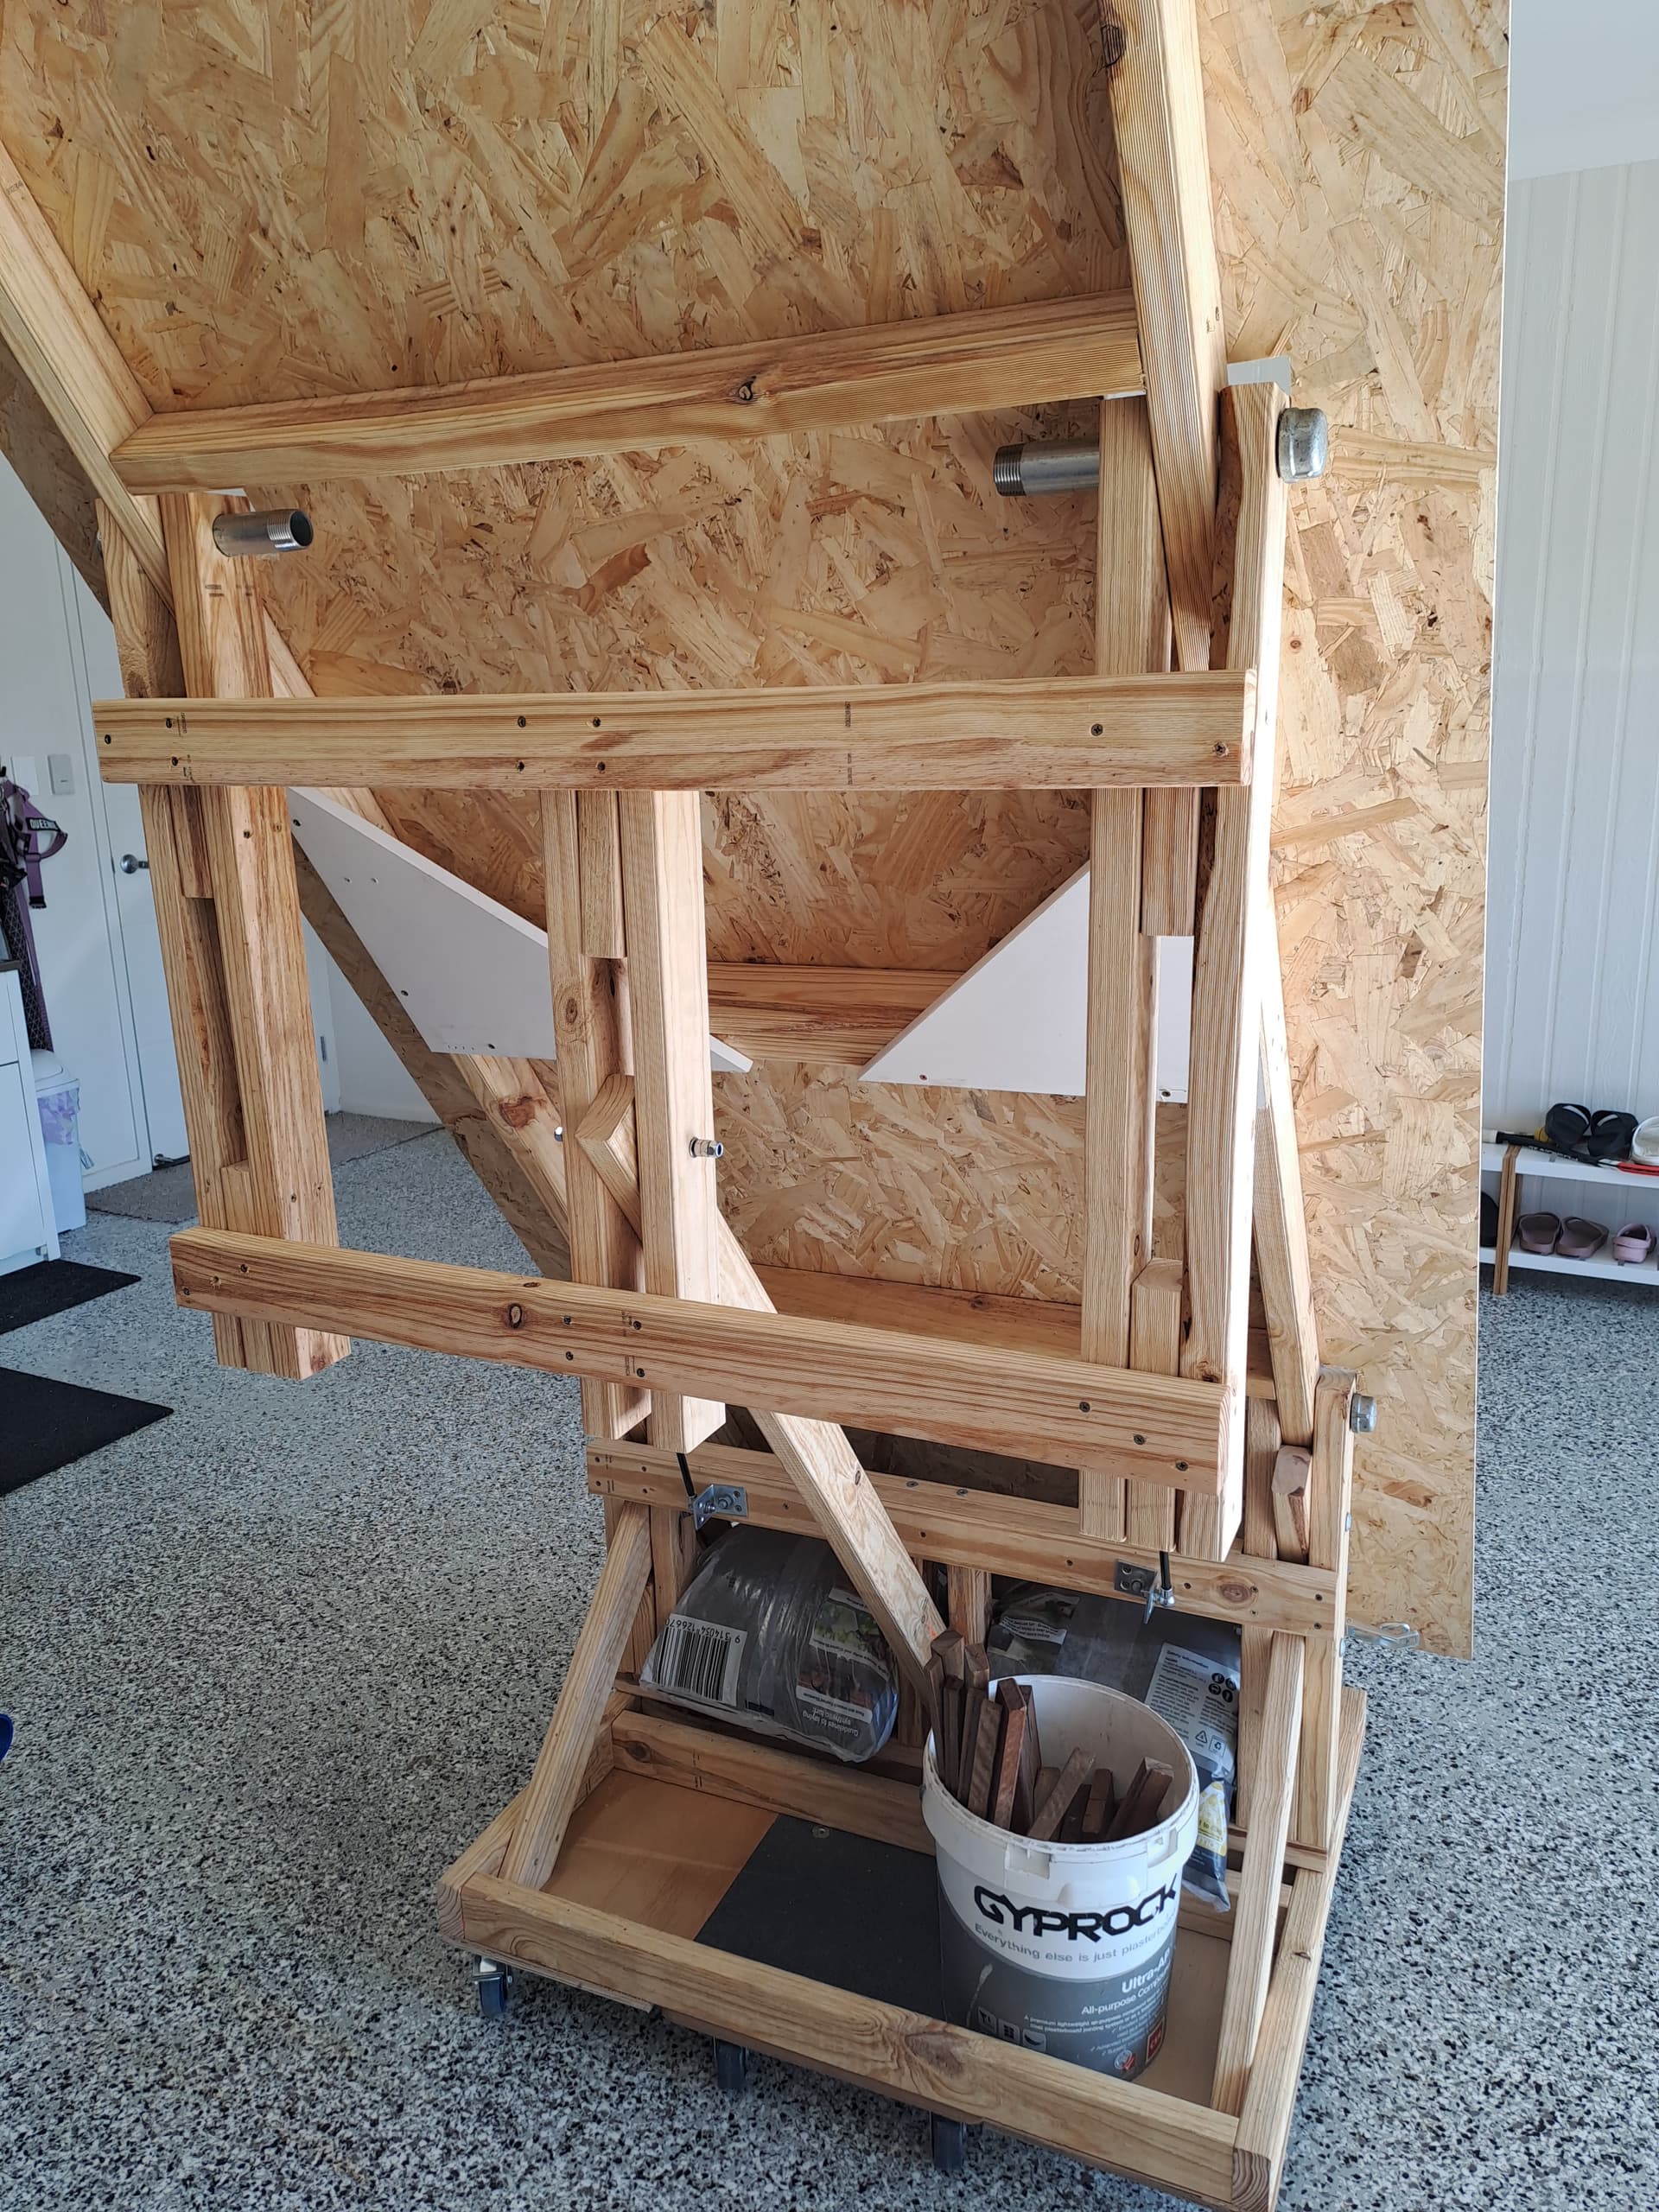
With the pivot point and centre of gravity of the table (Roughly 120kg + work piece and LR3) I will have 2 gas struts to assit lifting the table but more importanly assist with lowering. I will have over-centre fastners/catches to hold the table when it is stored at 60°. Found a great website to working out strut location, operation and calculator (both metric and Imperial) https://www.gasspringsshop.com/gas-spring-calculator/ if anyone is interested.

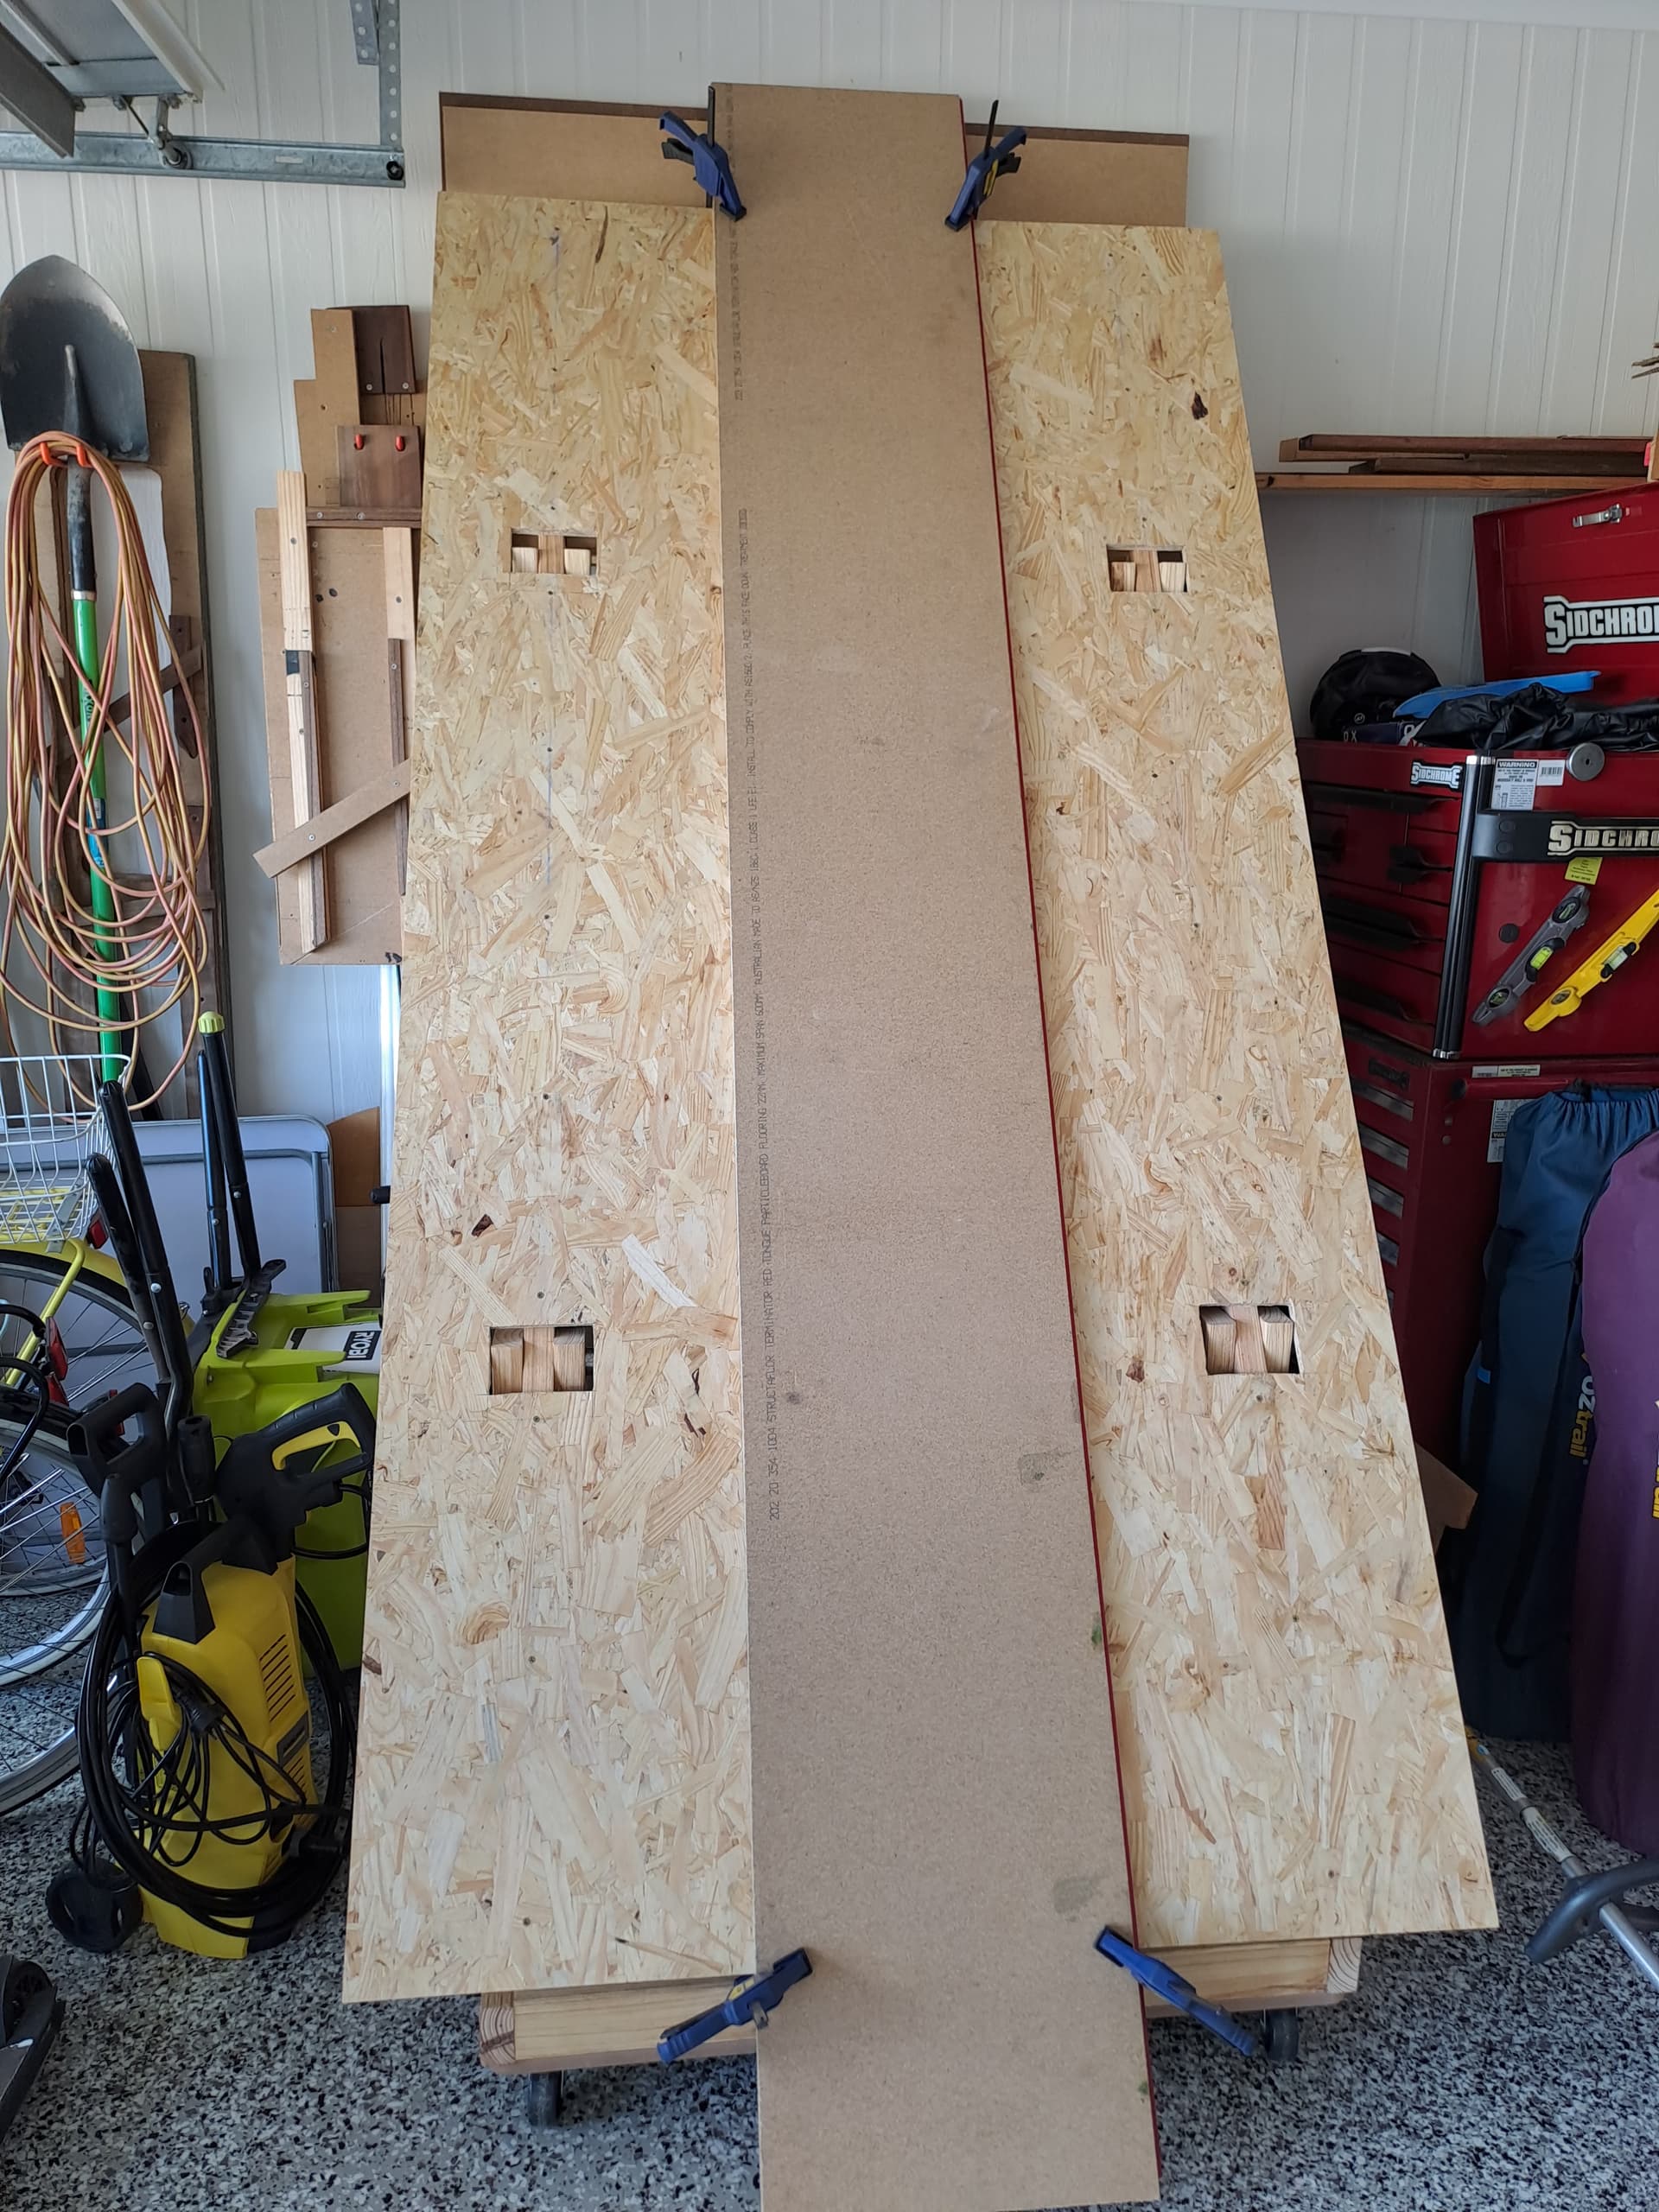
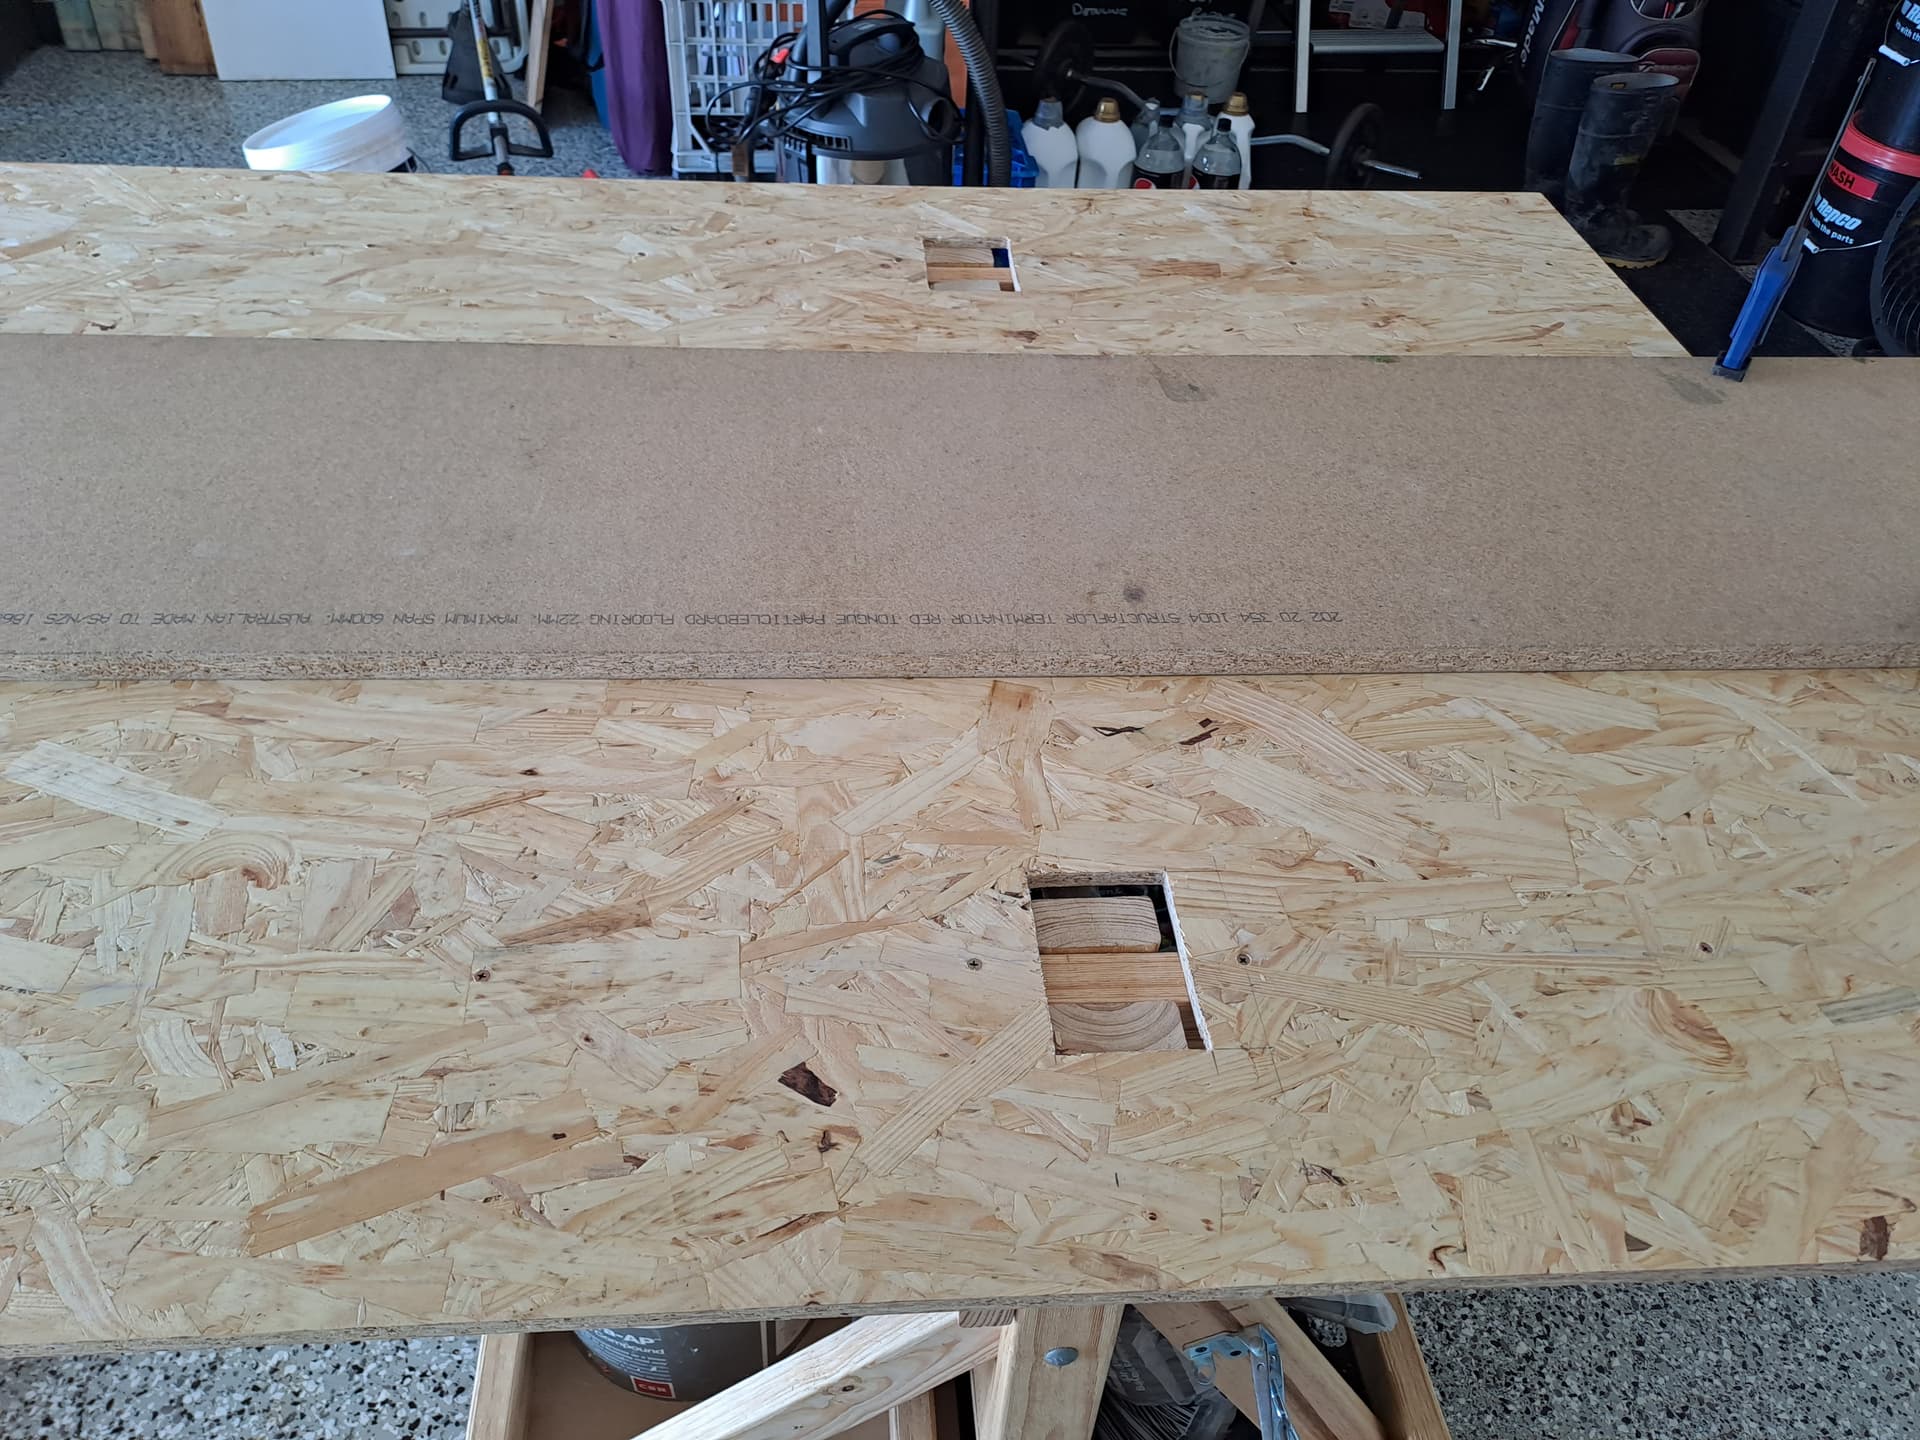
Will probably need some counterweight also. Cement bags will be standing by. I could not be bothered to round over the uprights, so I will just cut out provisions in the bottom skin of the table to accomodate the uprights.


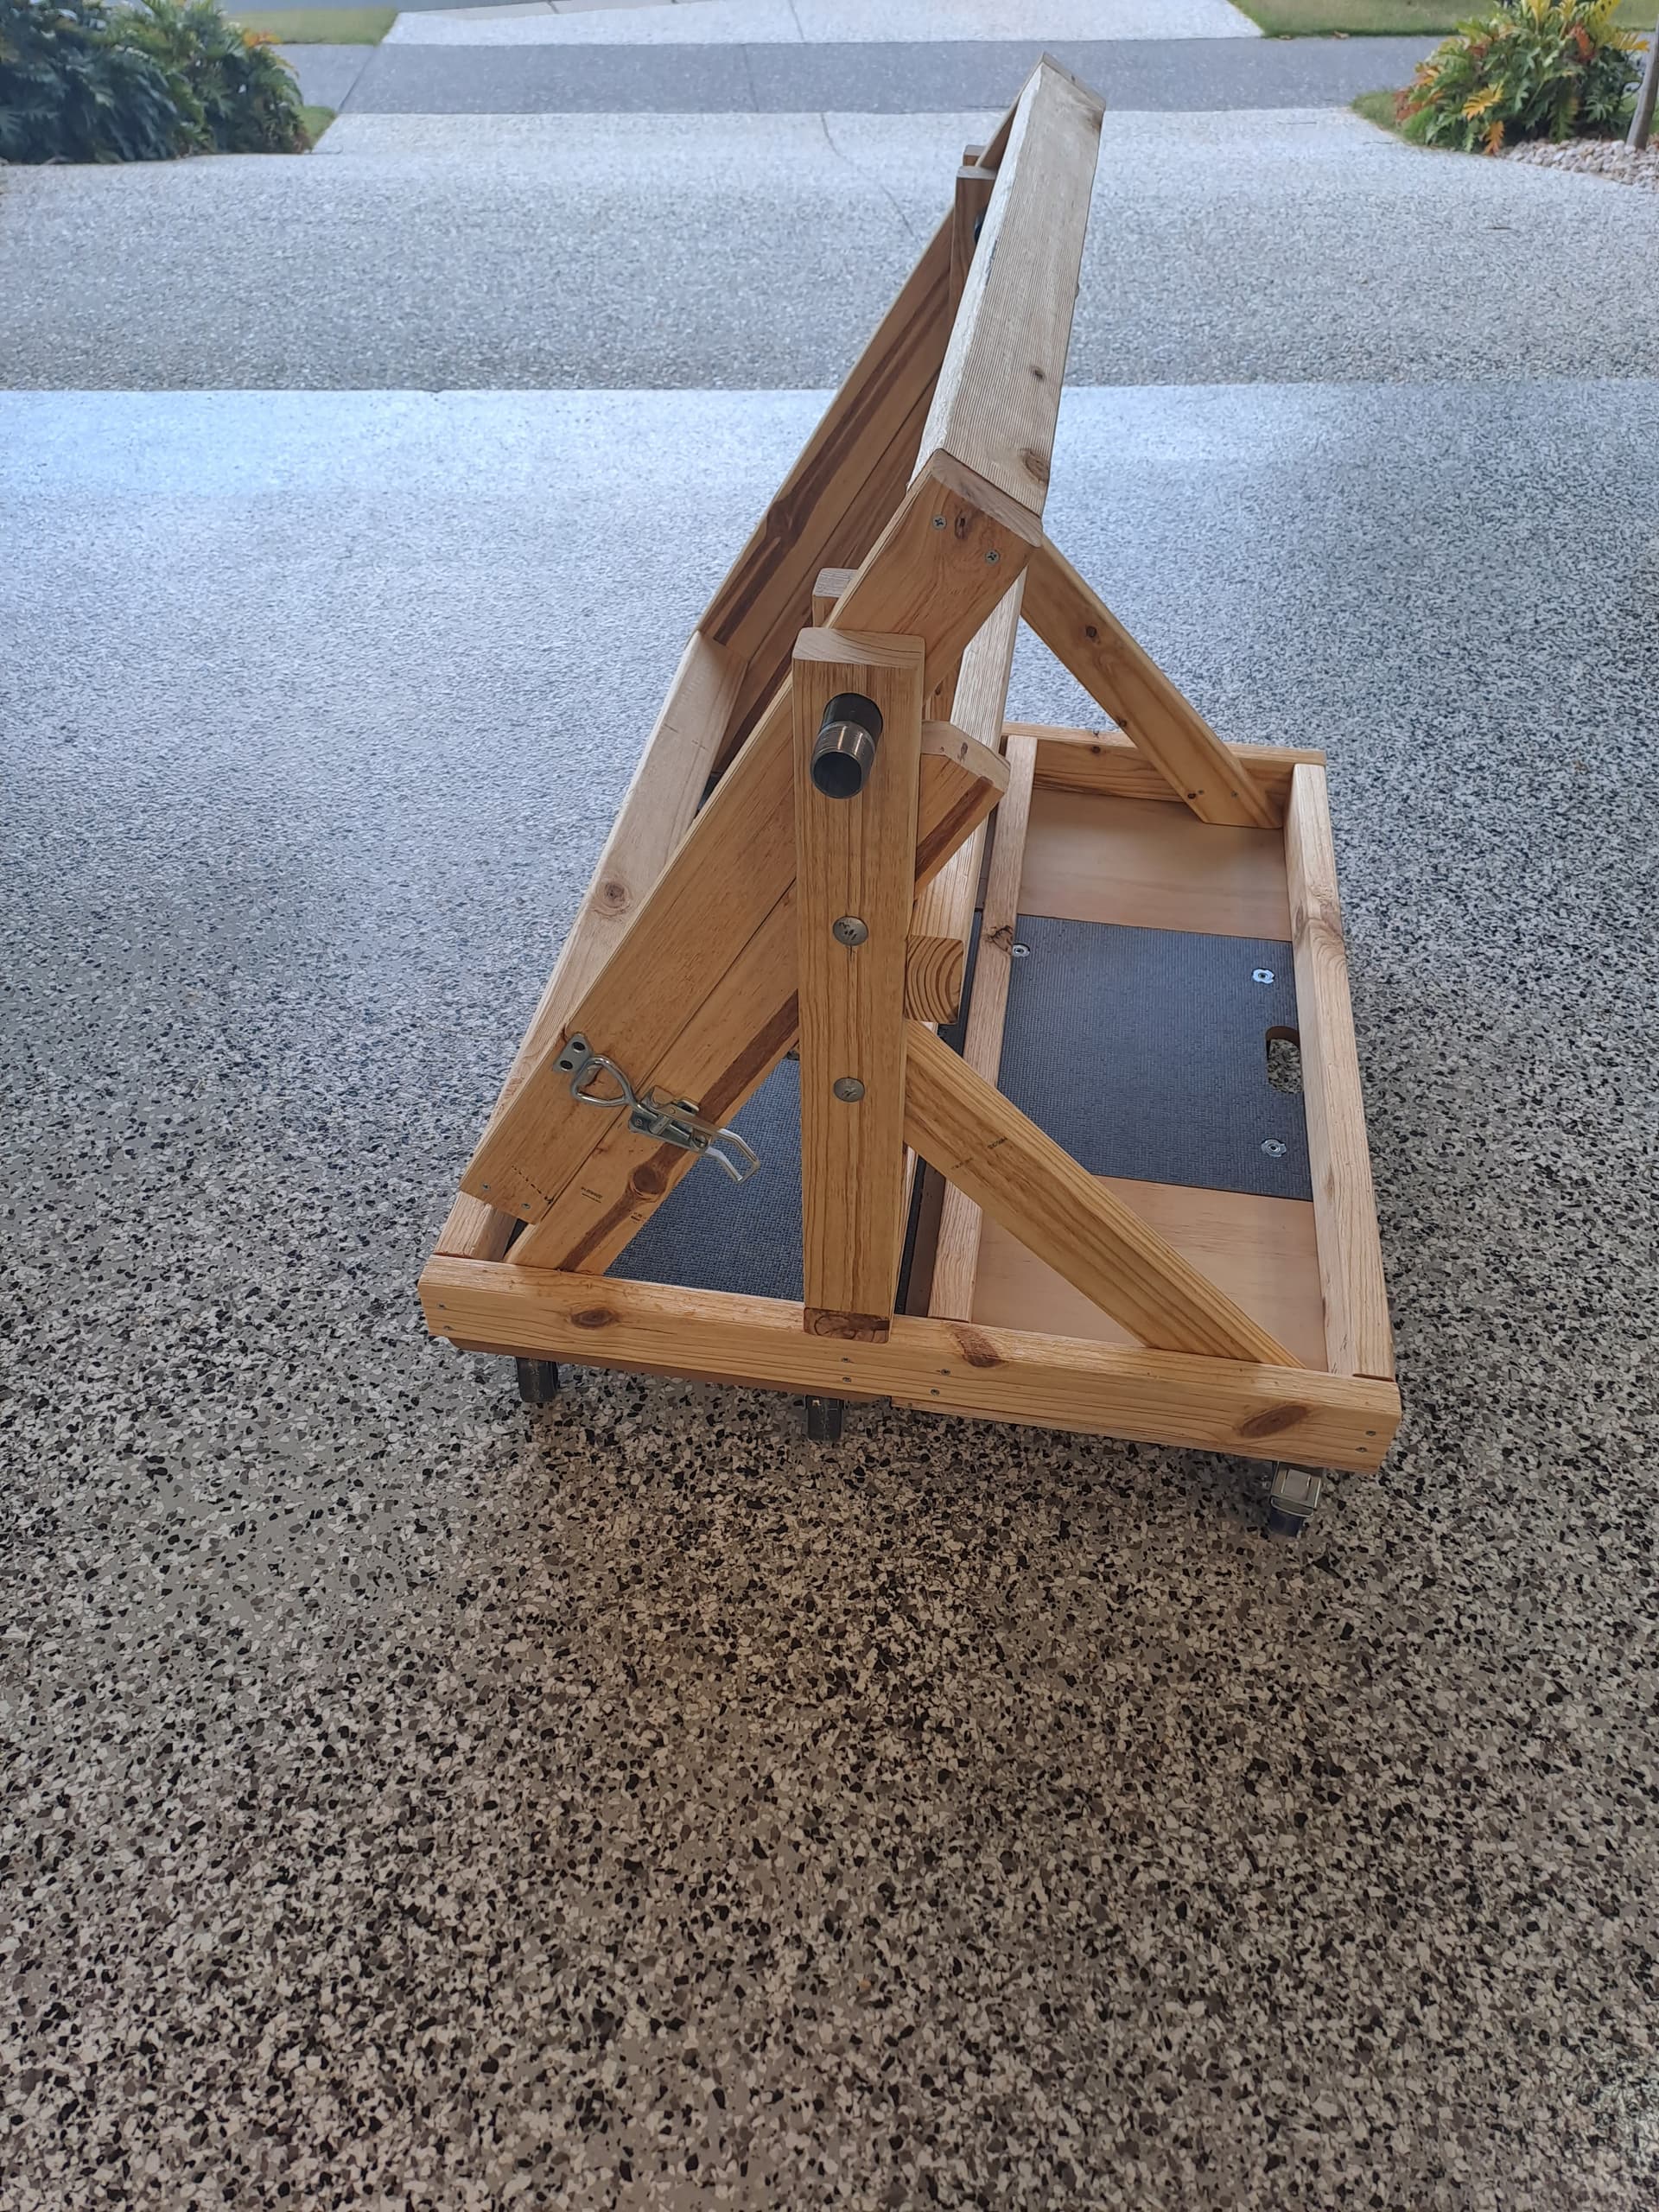
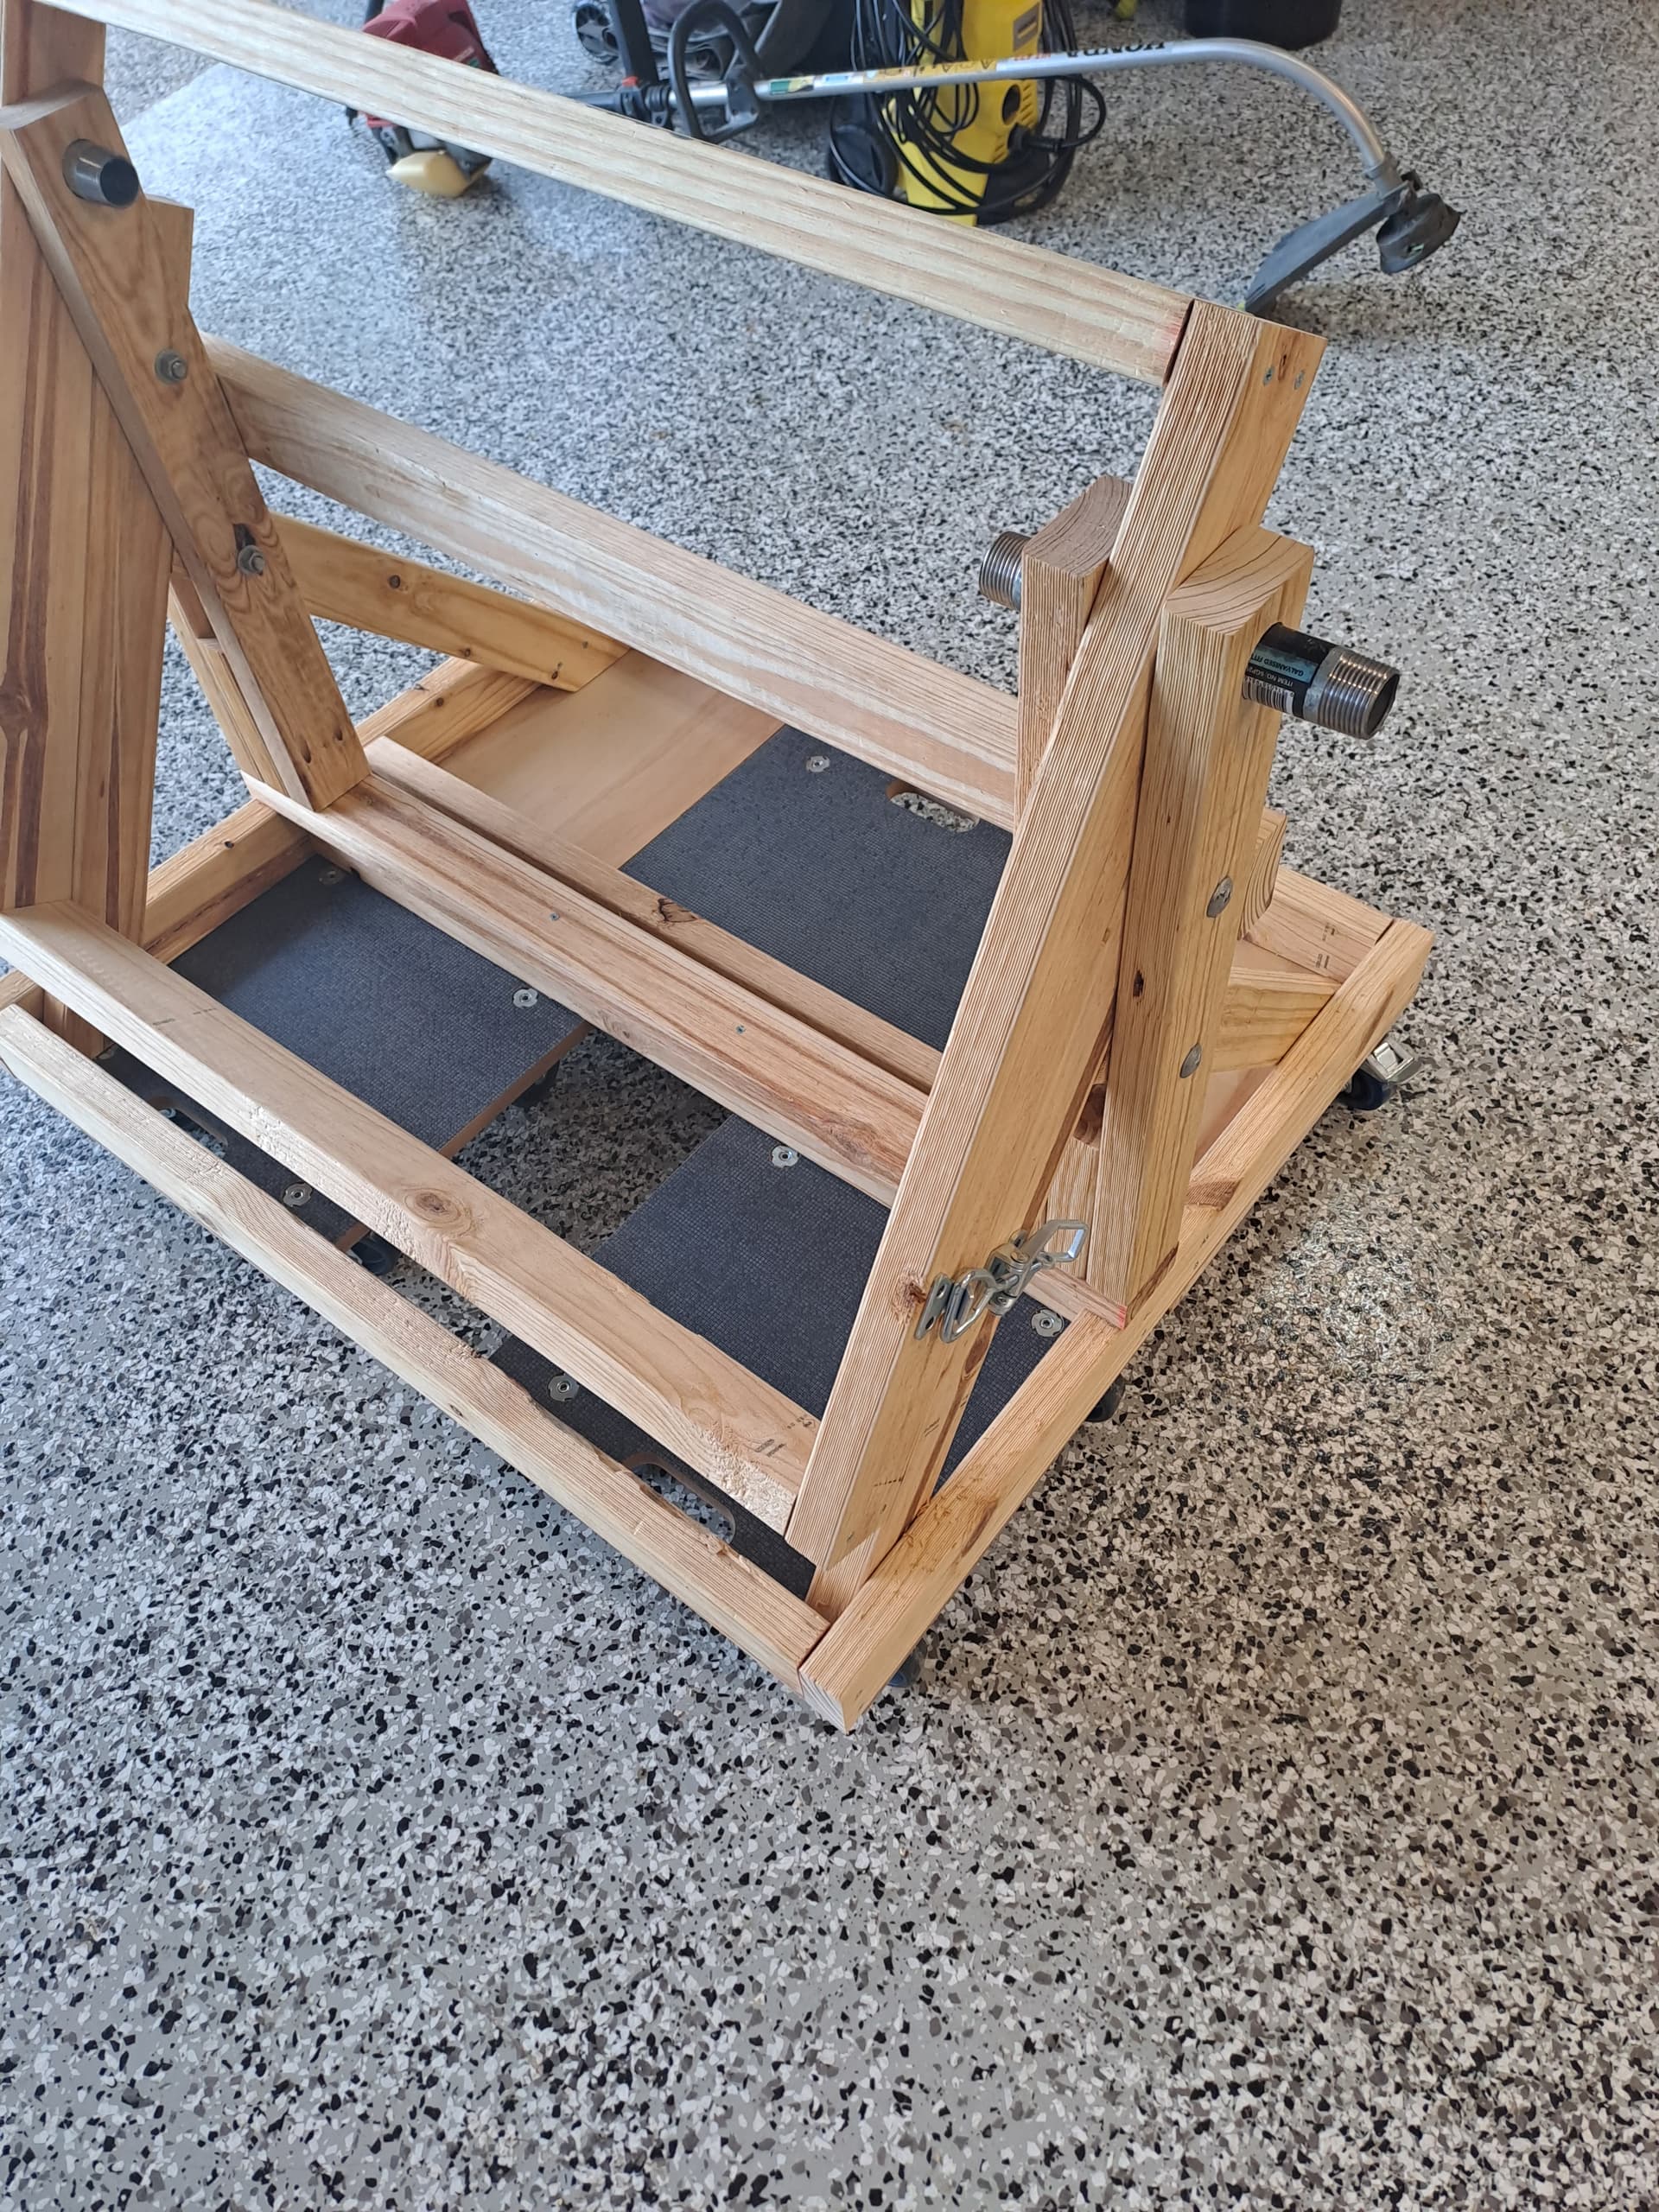
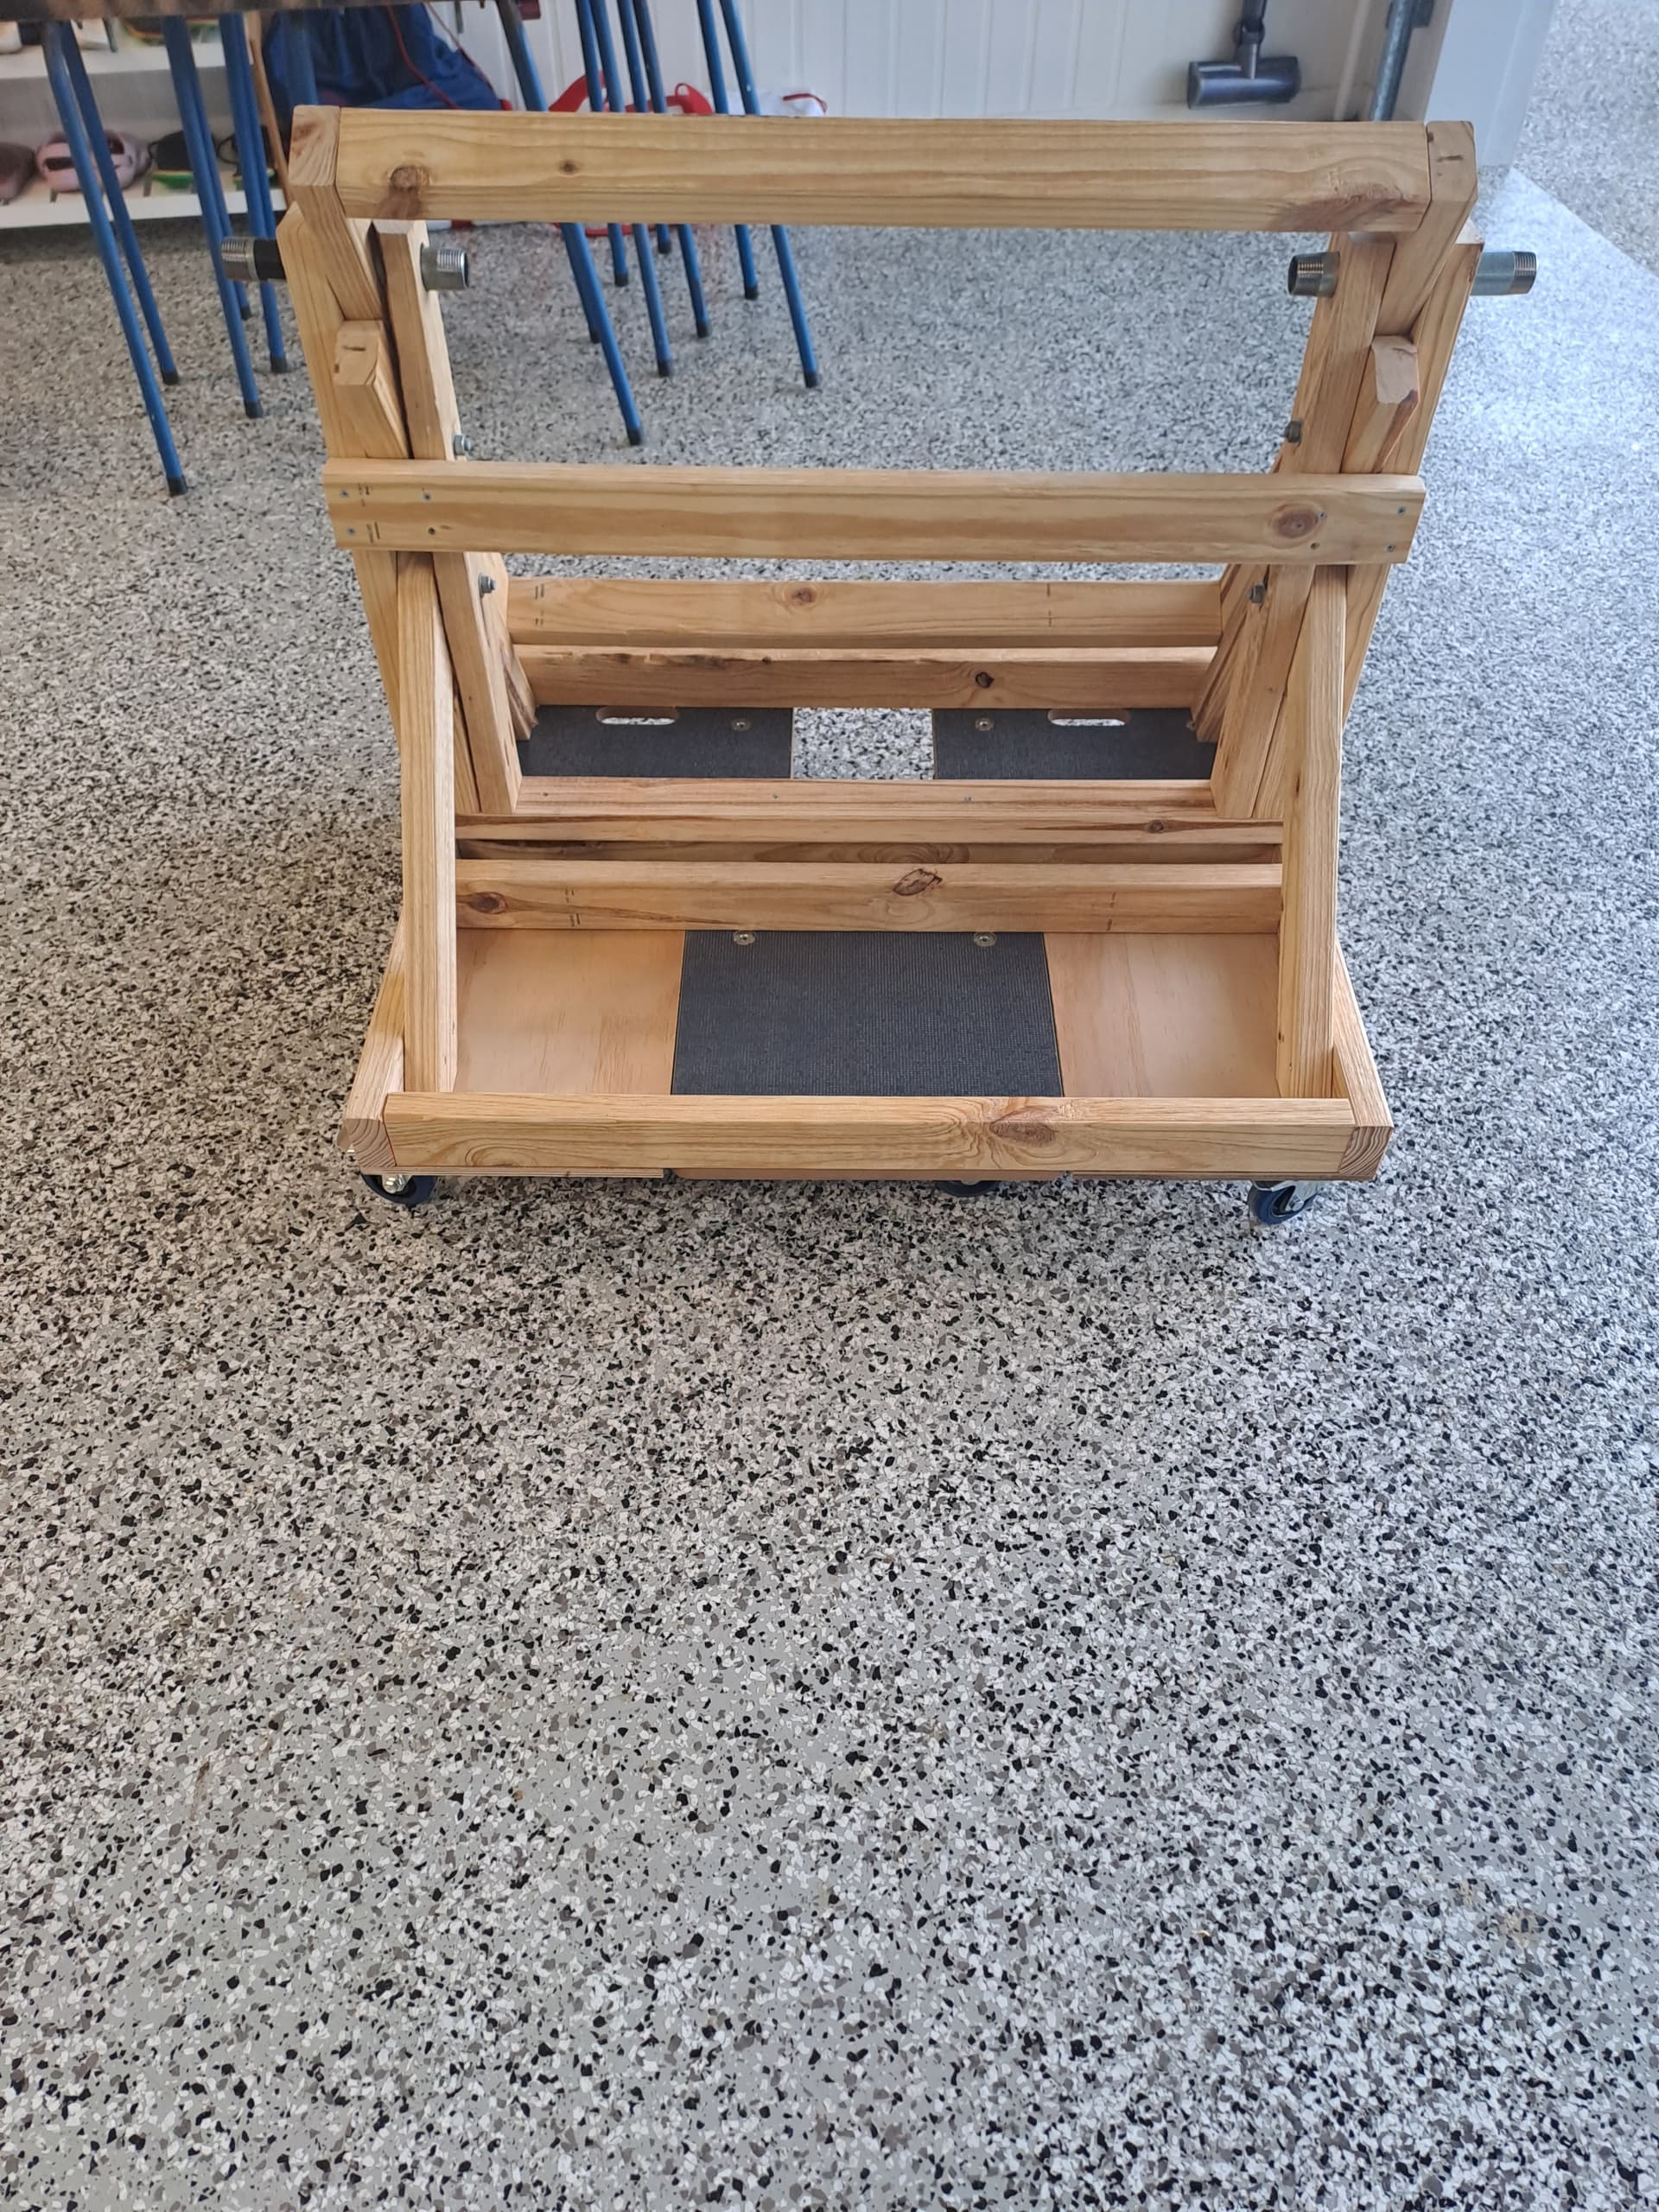
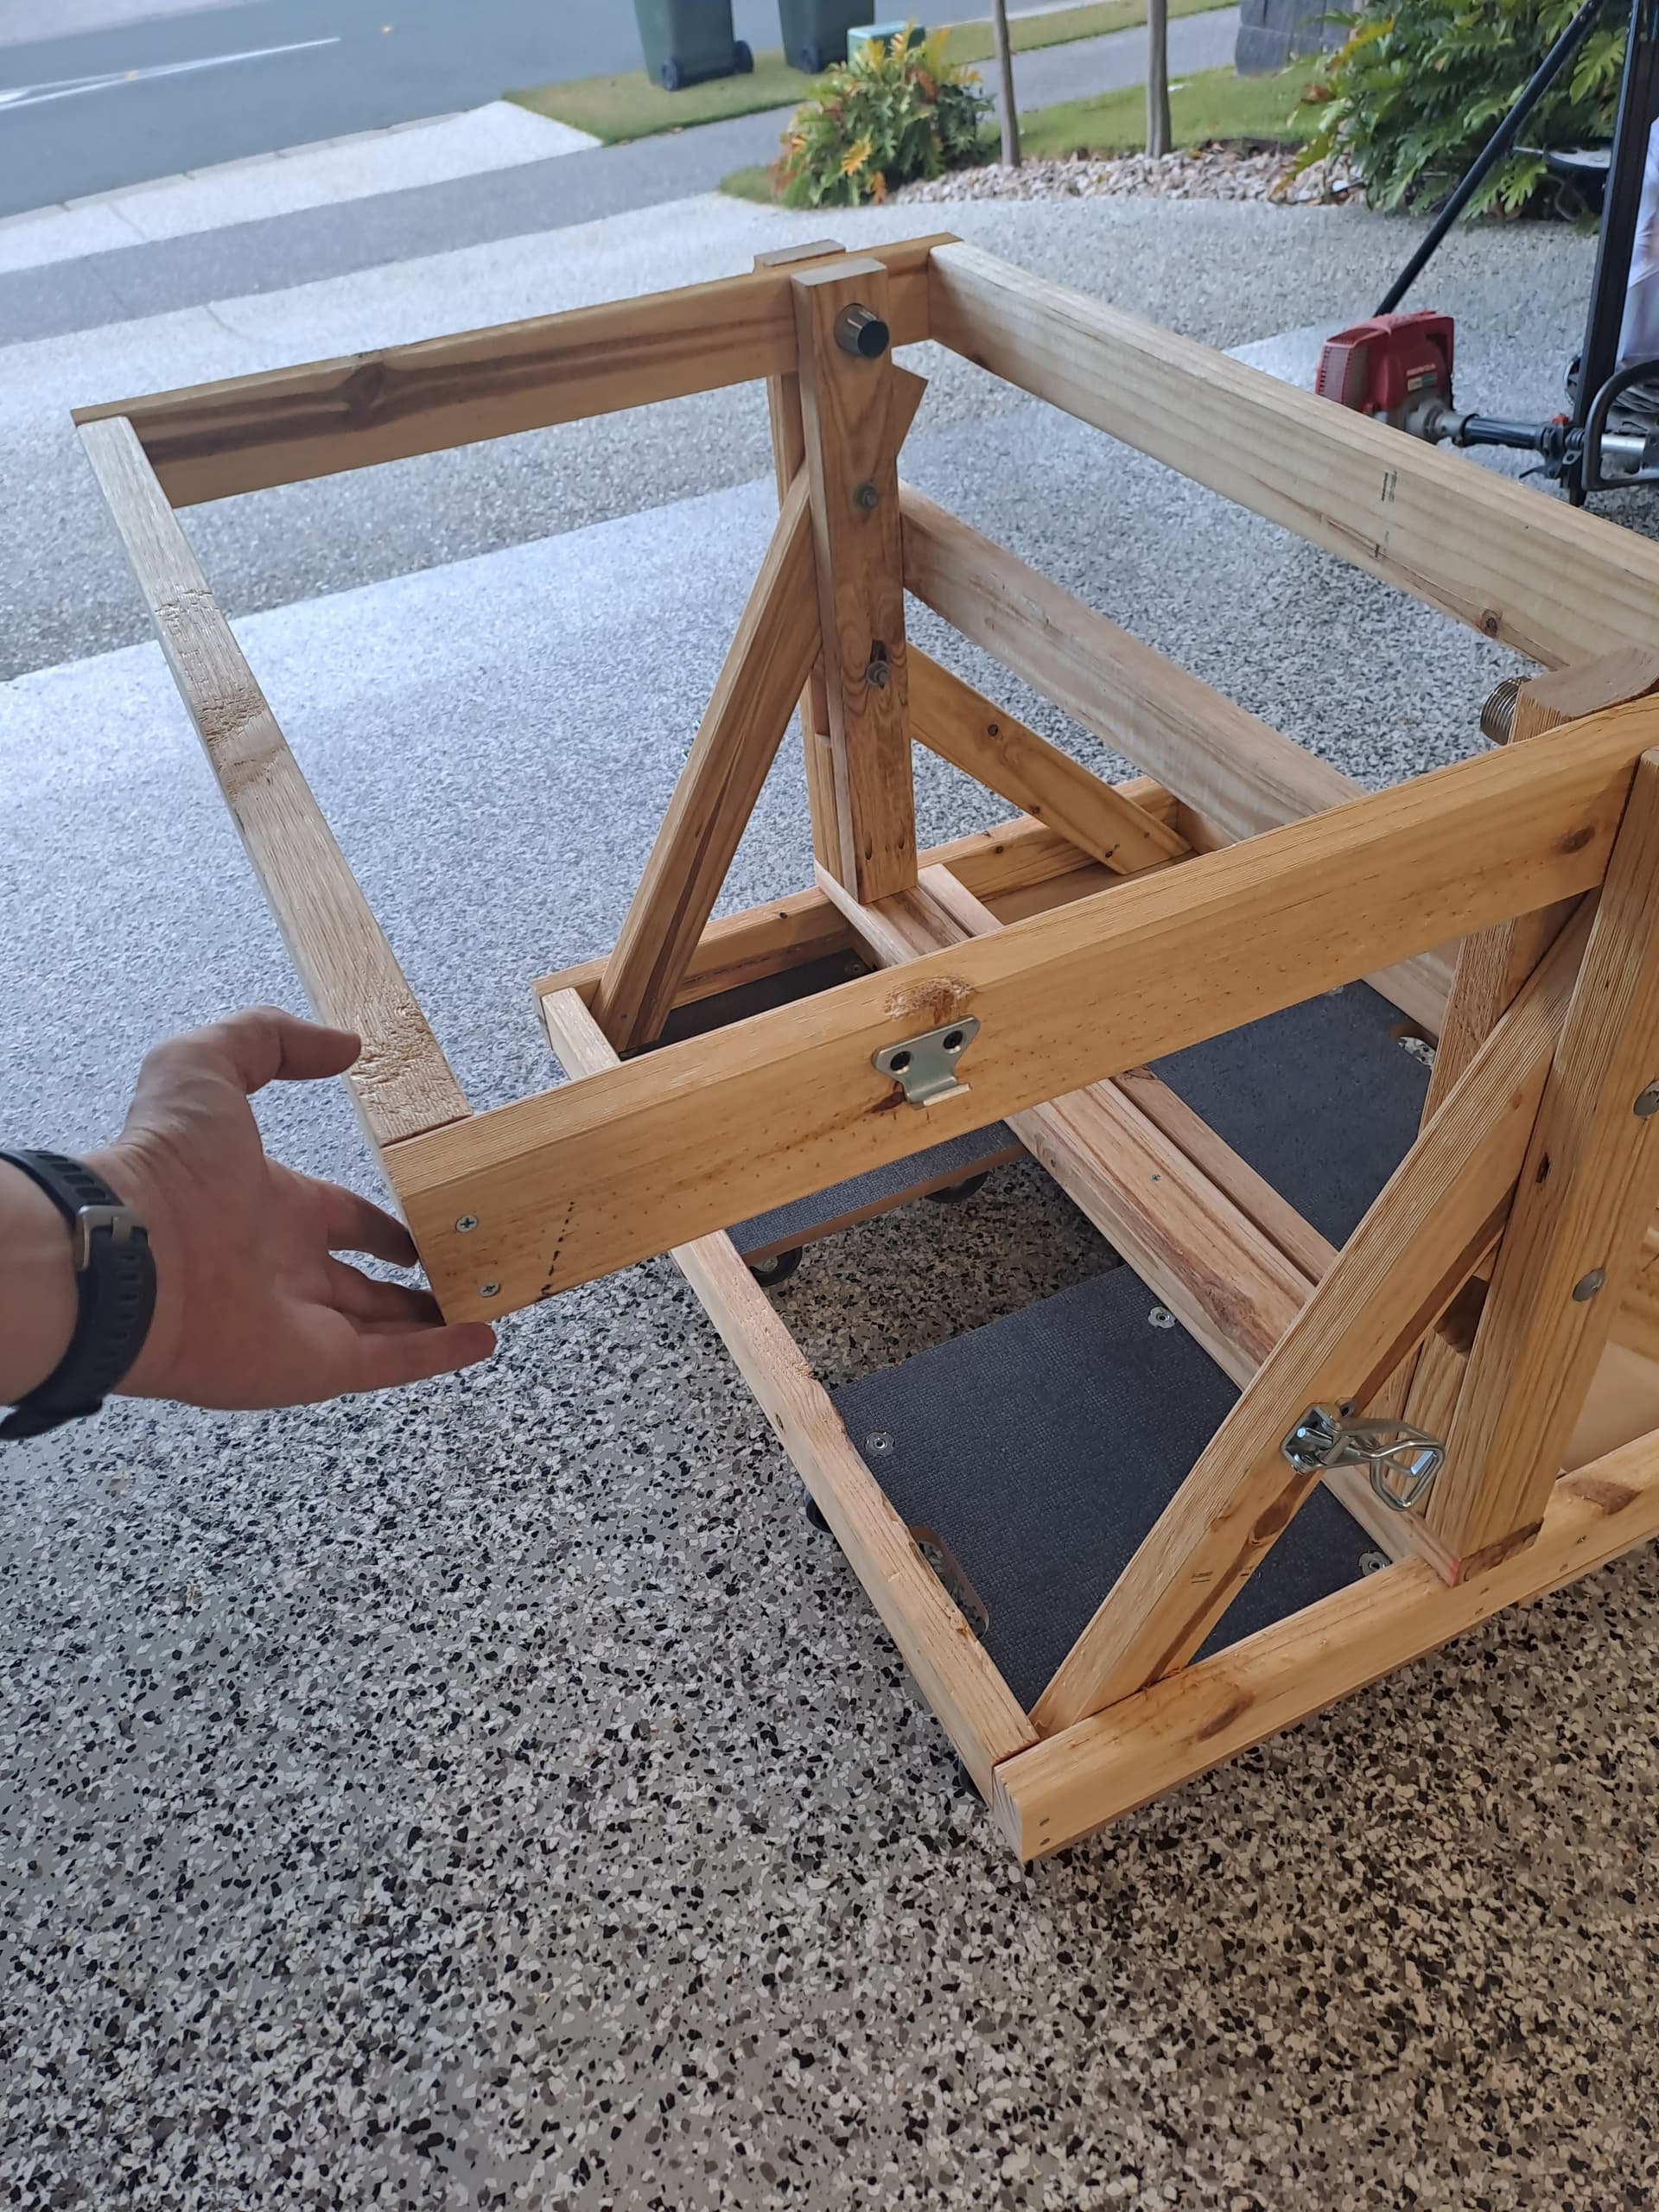
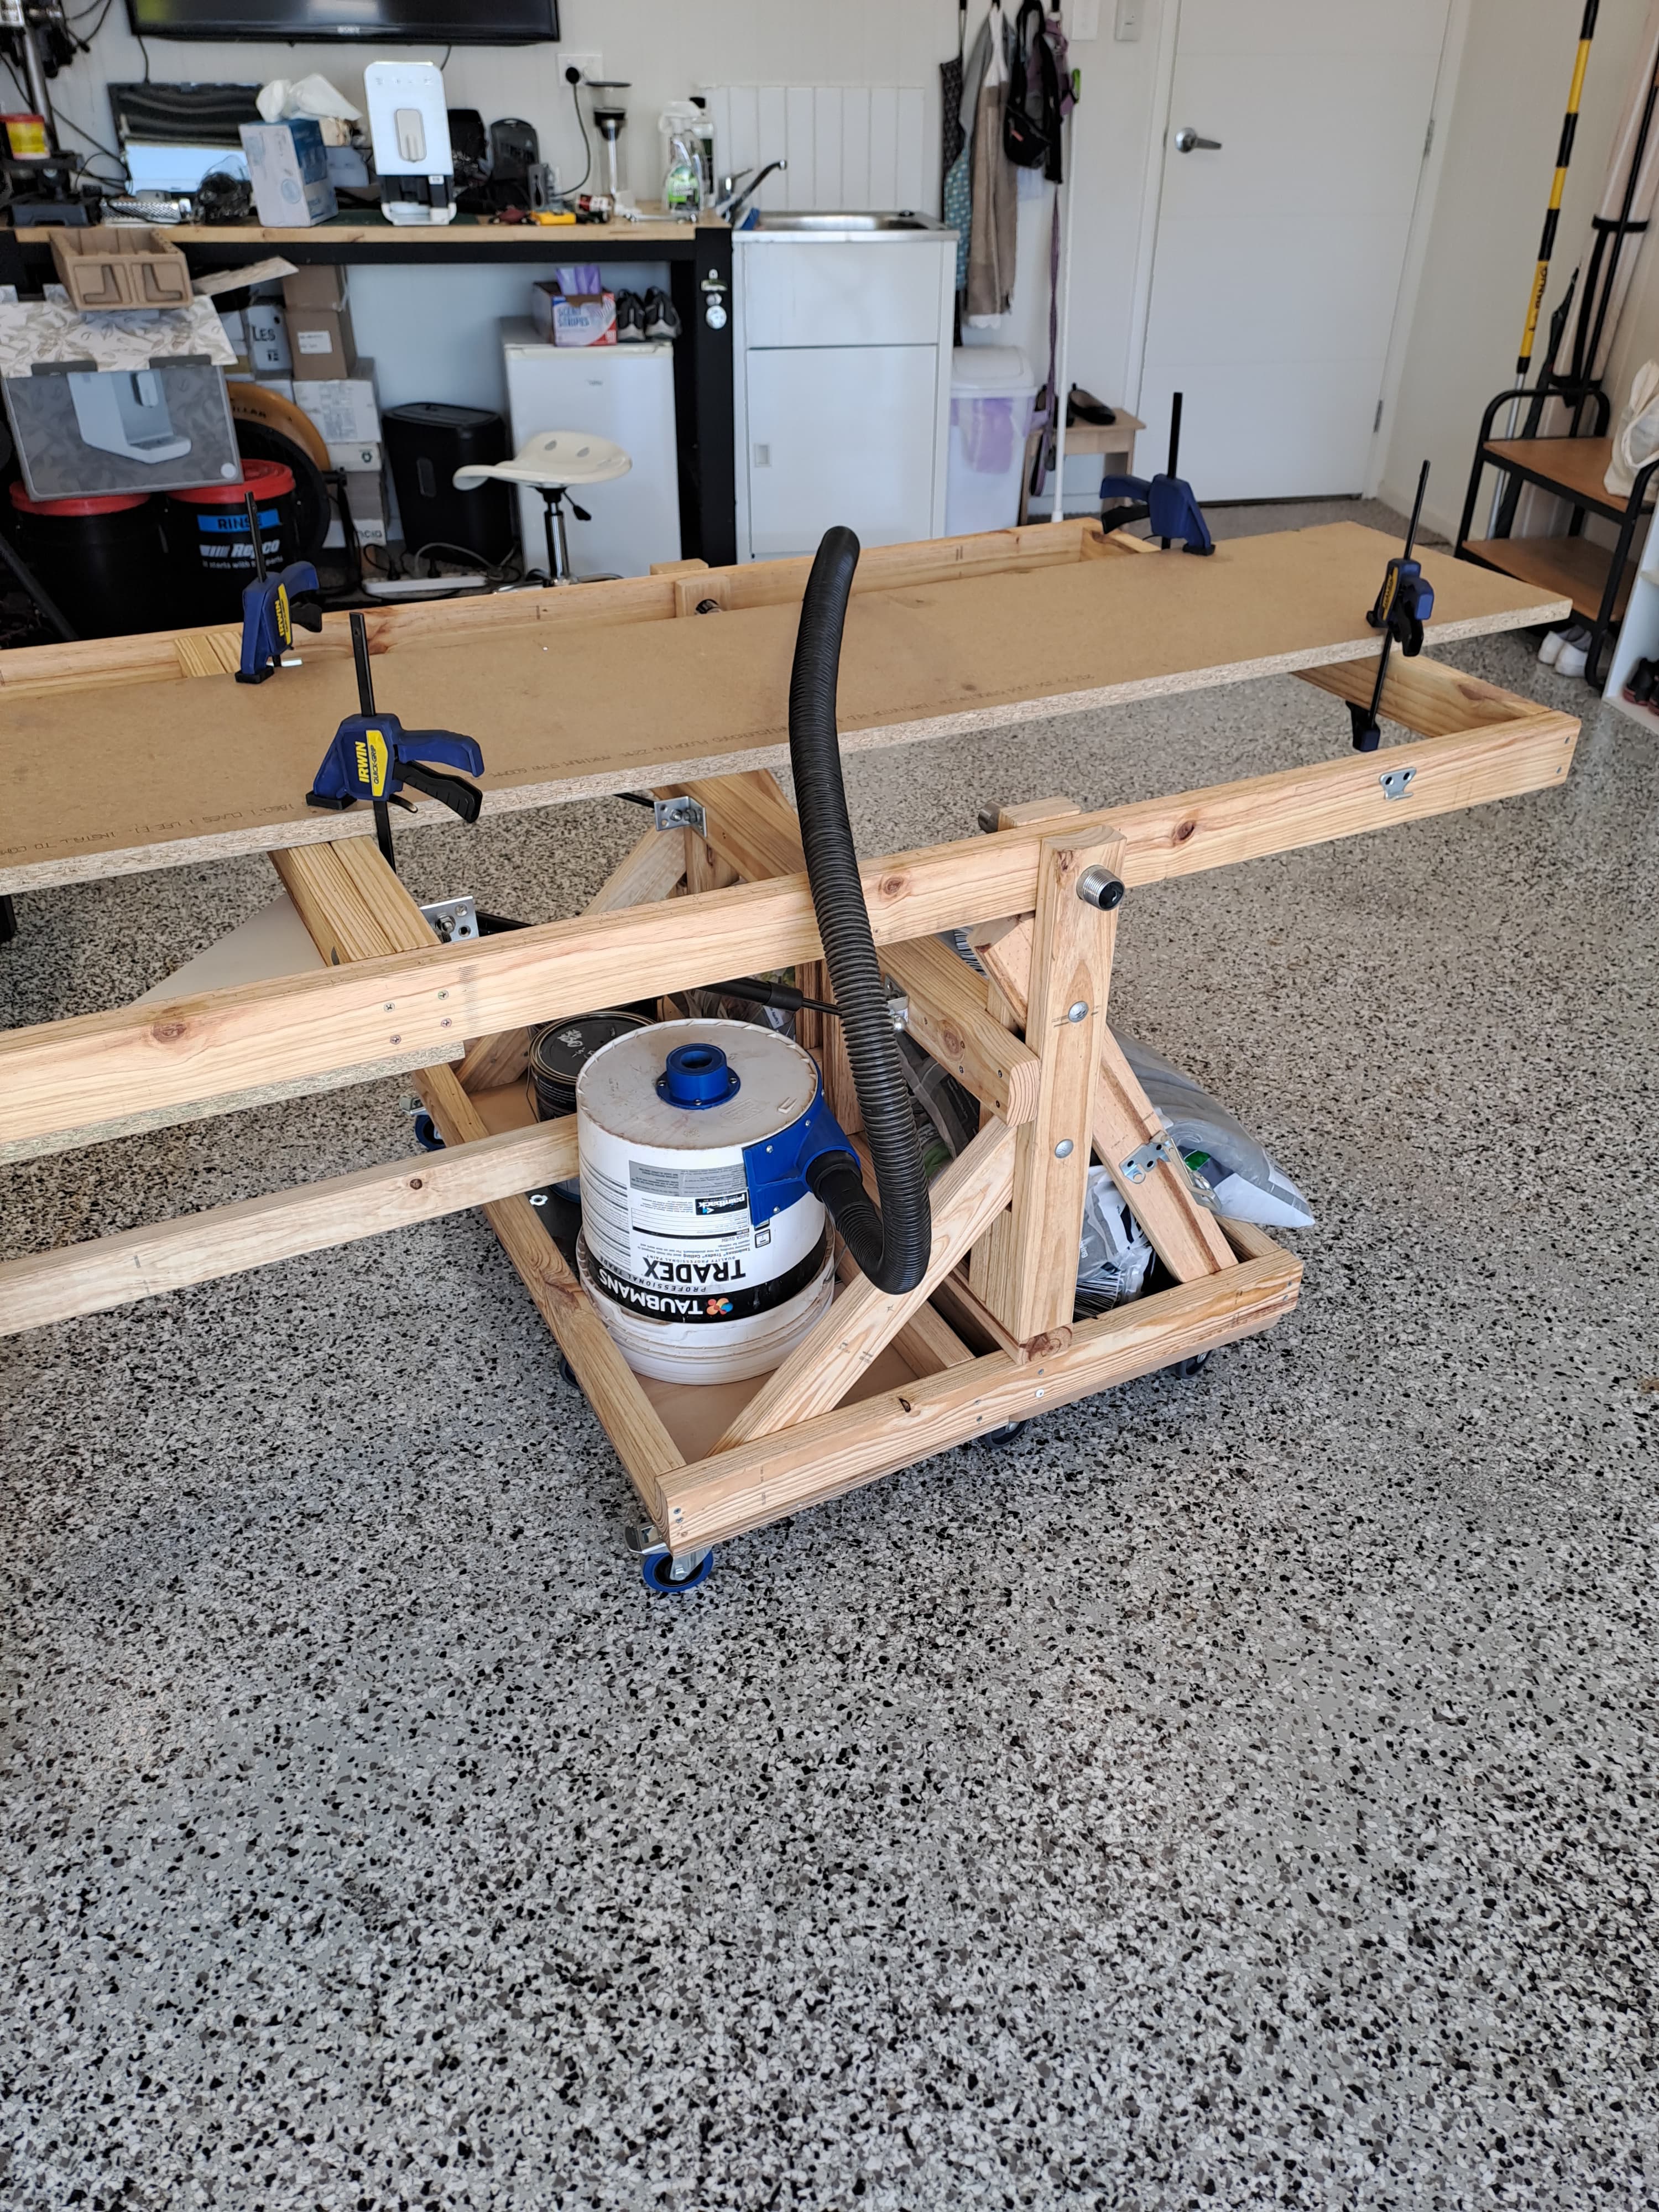
I have used 25mm water pipe for the pivot pins (roughly 32mm OD) with 3 x ALDI Dolly Trolleys for the base. They wera a cheaper option than buying wheel casters from Bunnings or Mitre10 and I didn’t want to wait for anything else from overseas as all the other items for the LR3 have been delivered. I have installed two additional locking wheel casters on the corners of the edge where there is only 1 dolly trolley. I will also replace 2 corner ALDI casters with locking ones on the opposite edge.

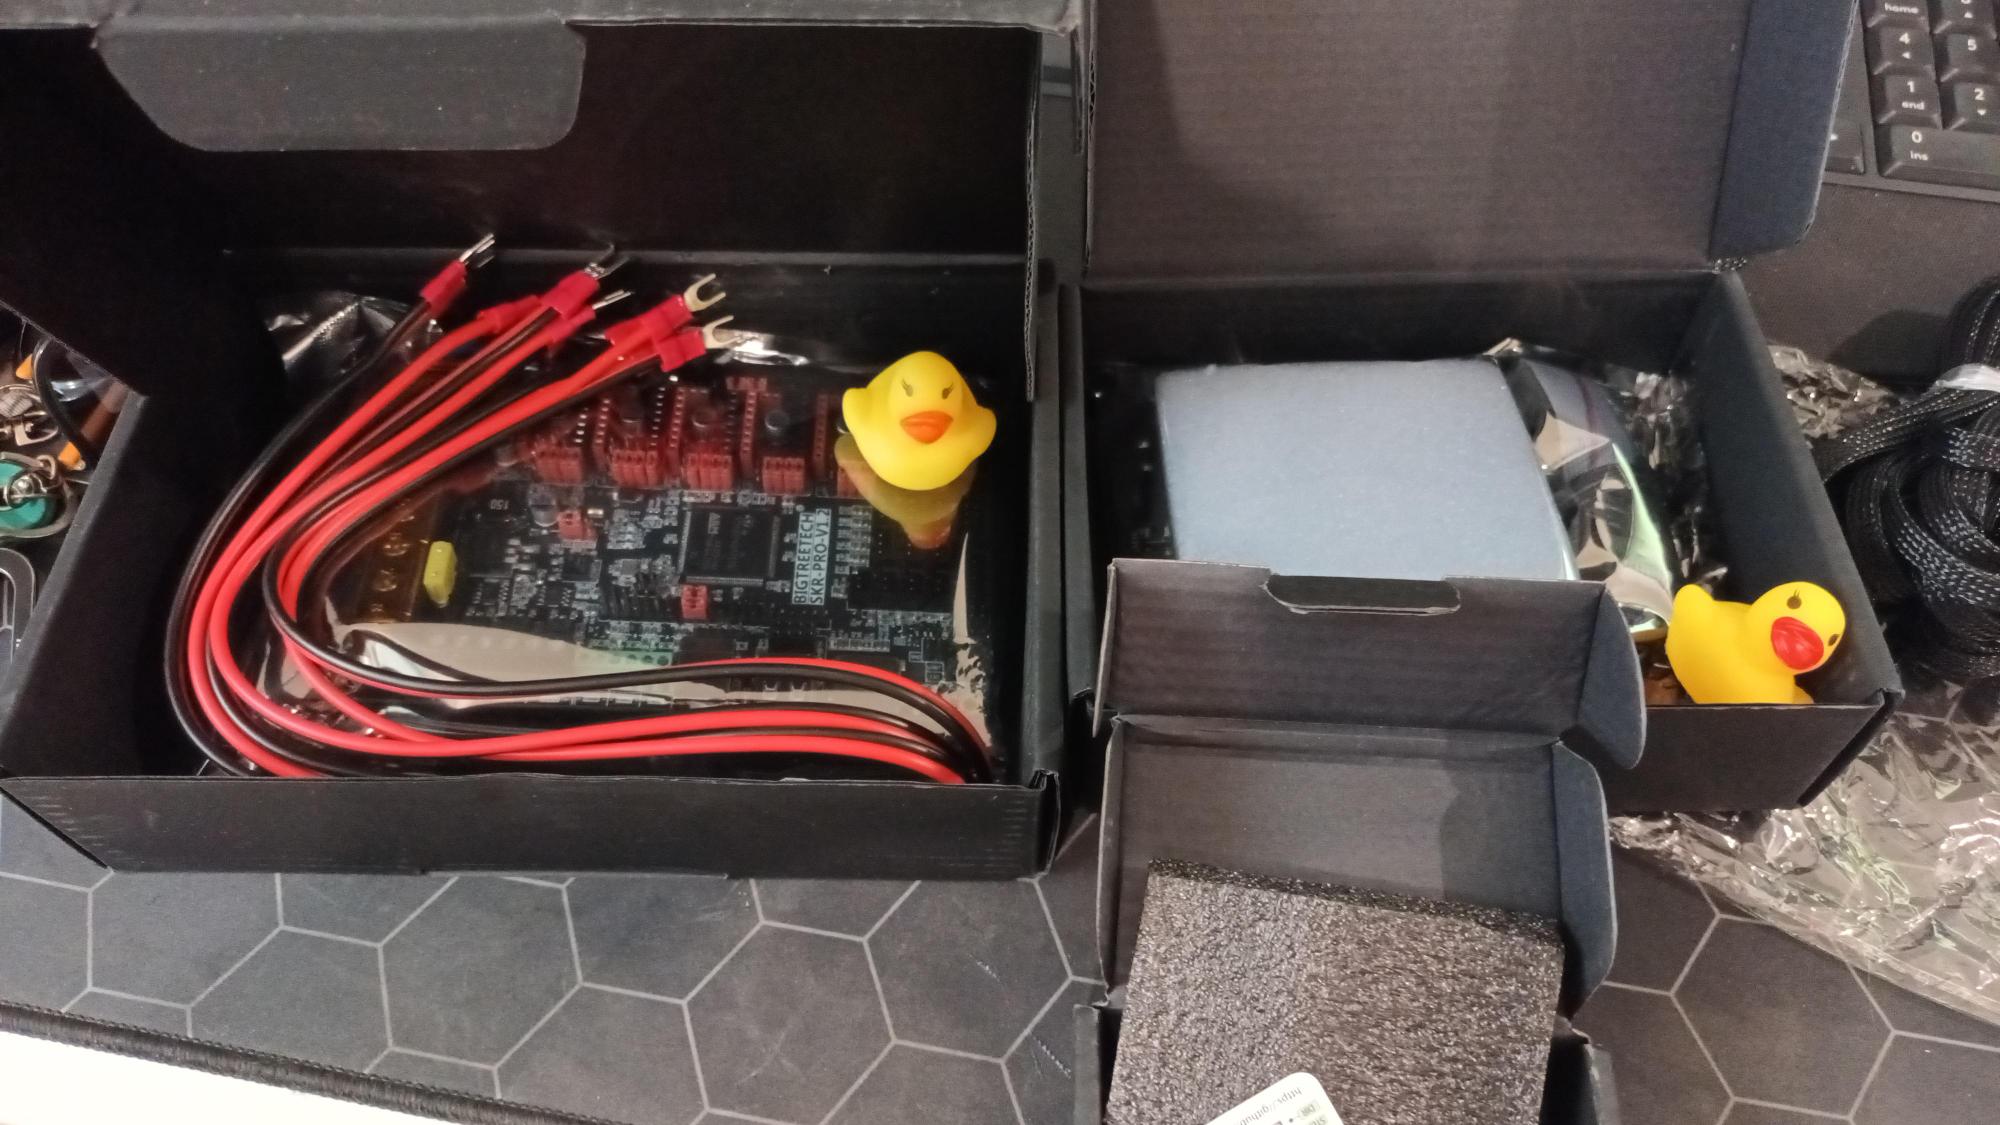
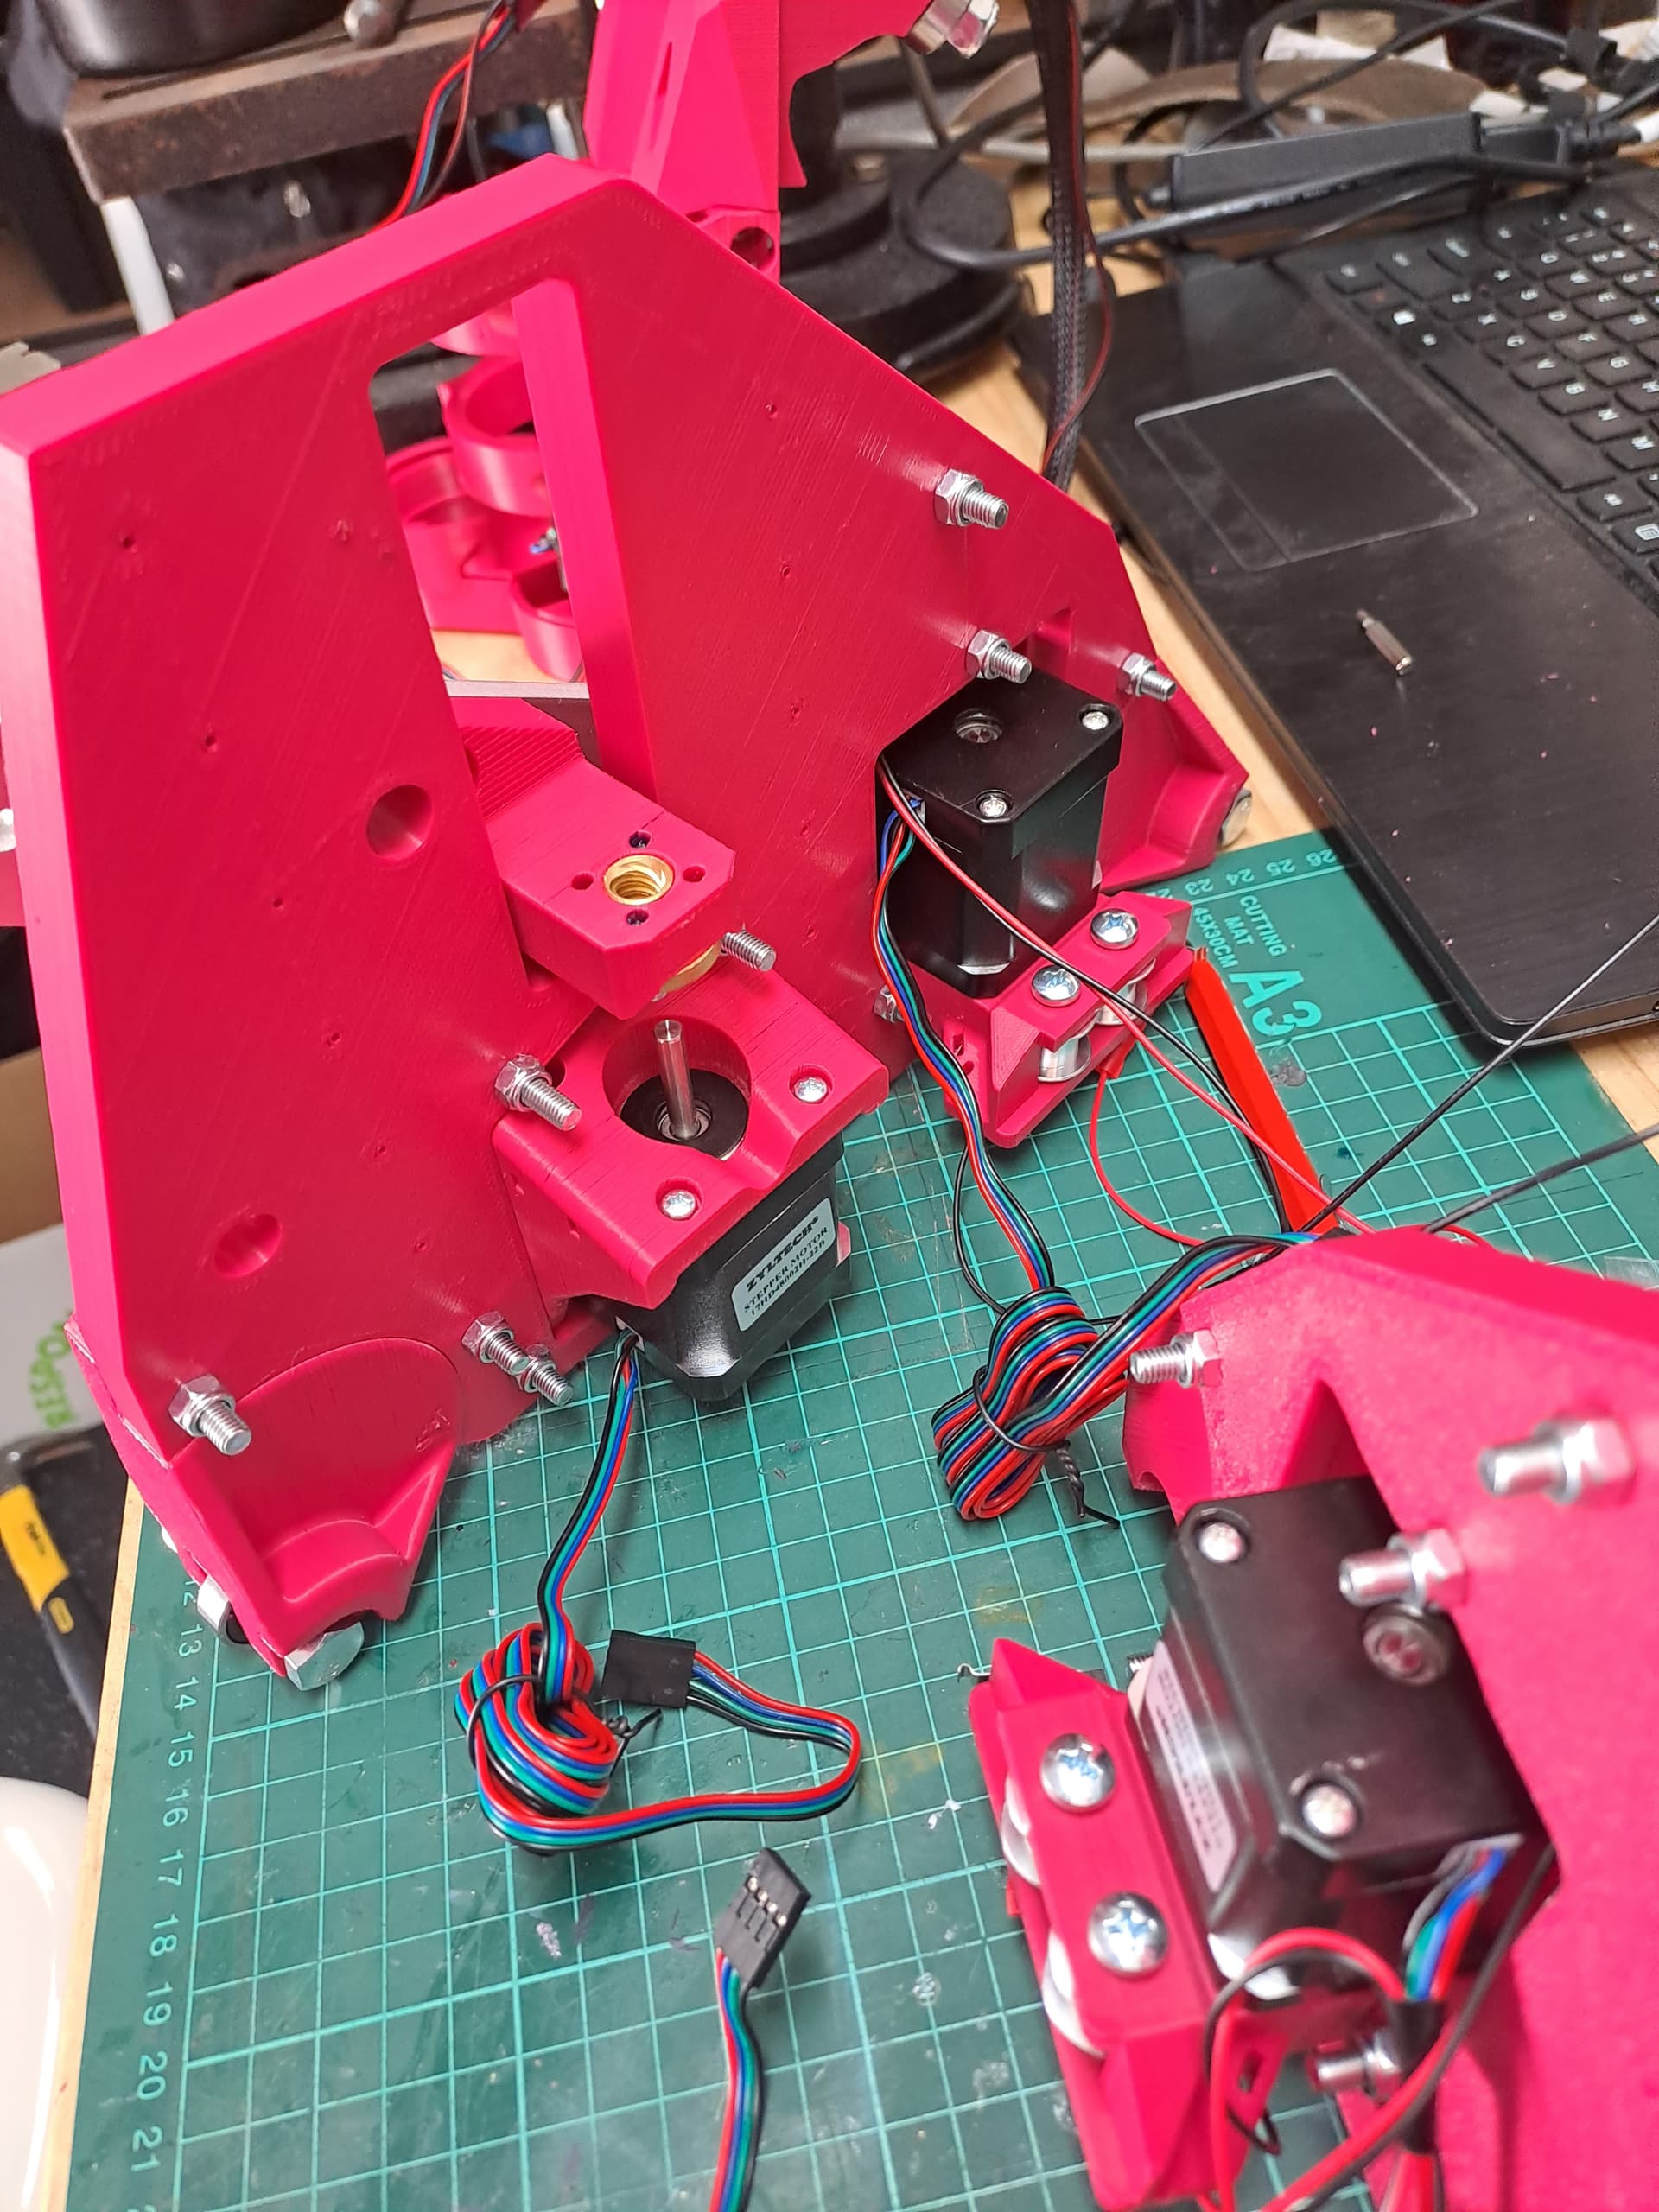
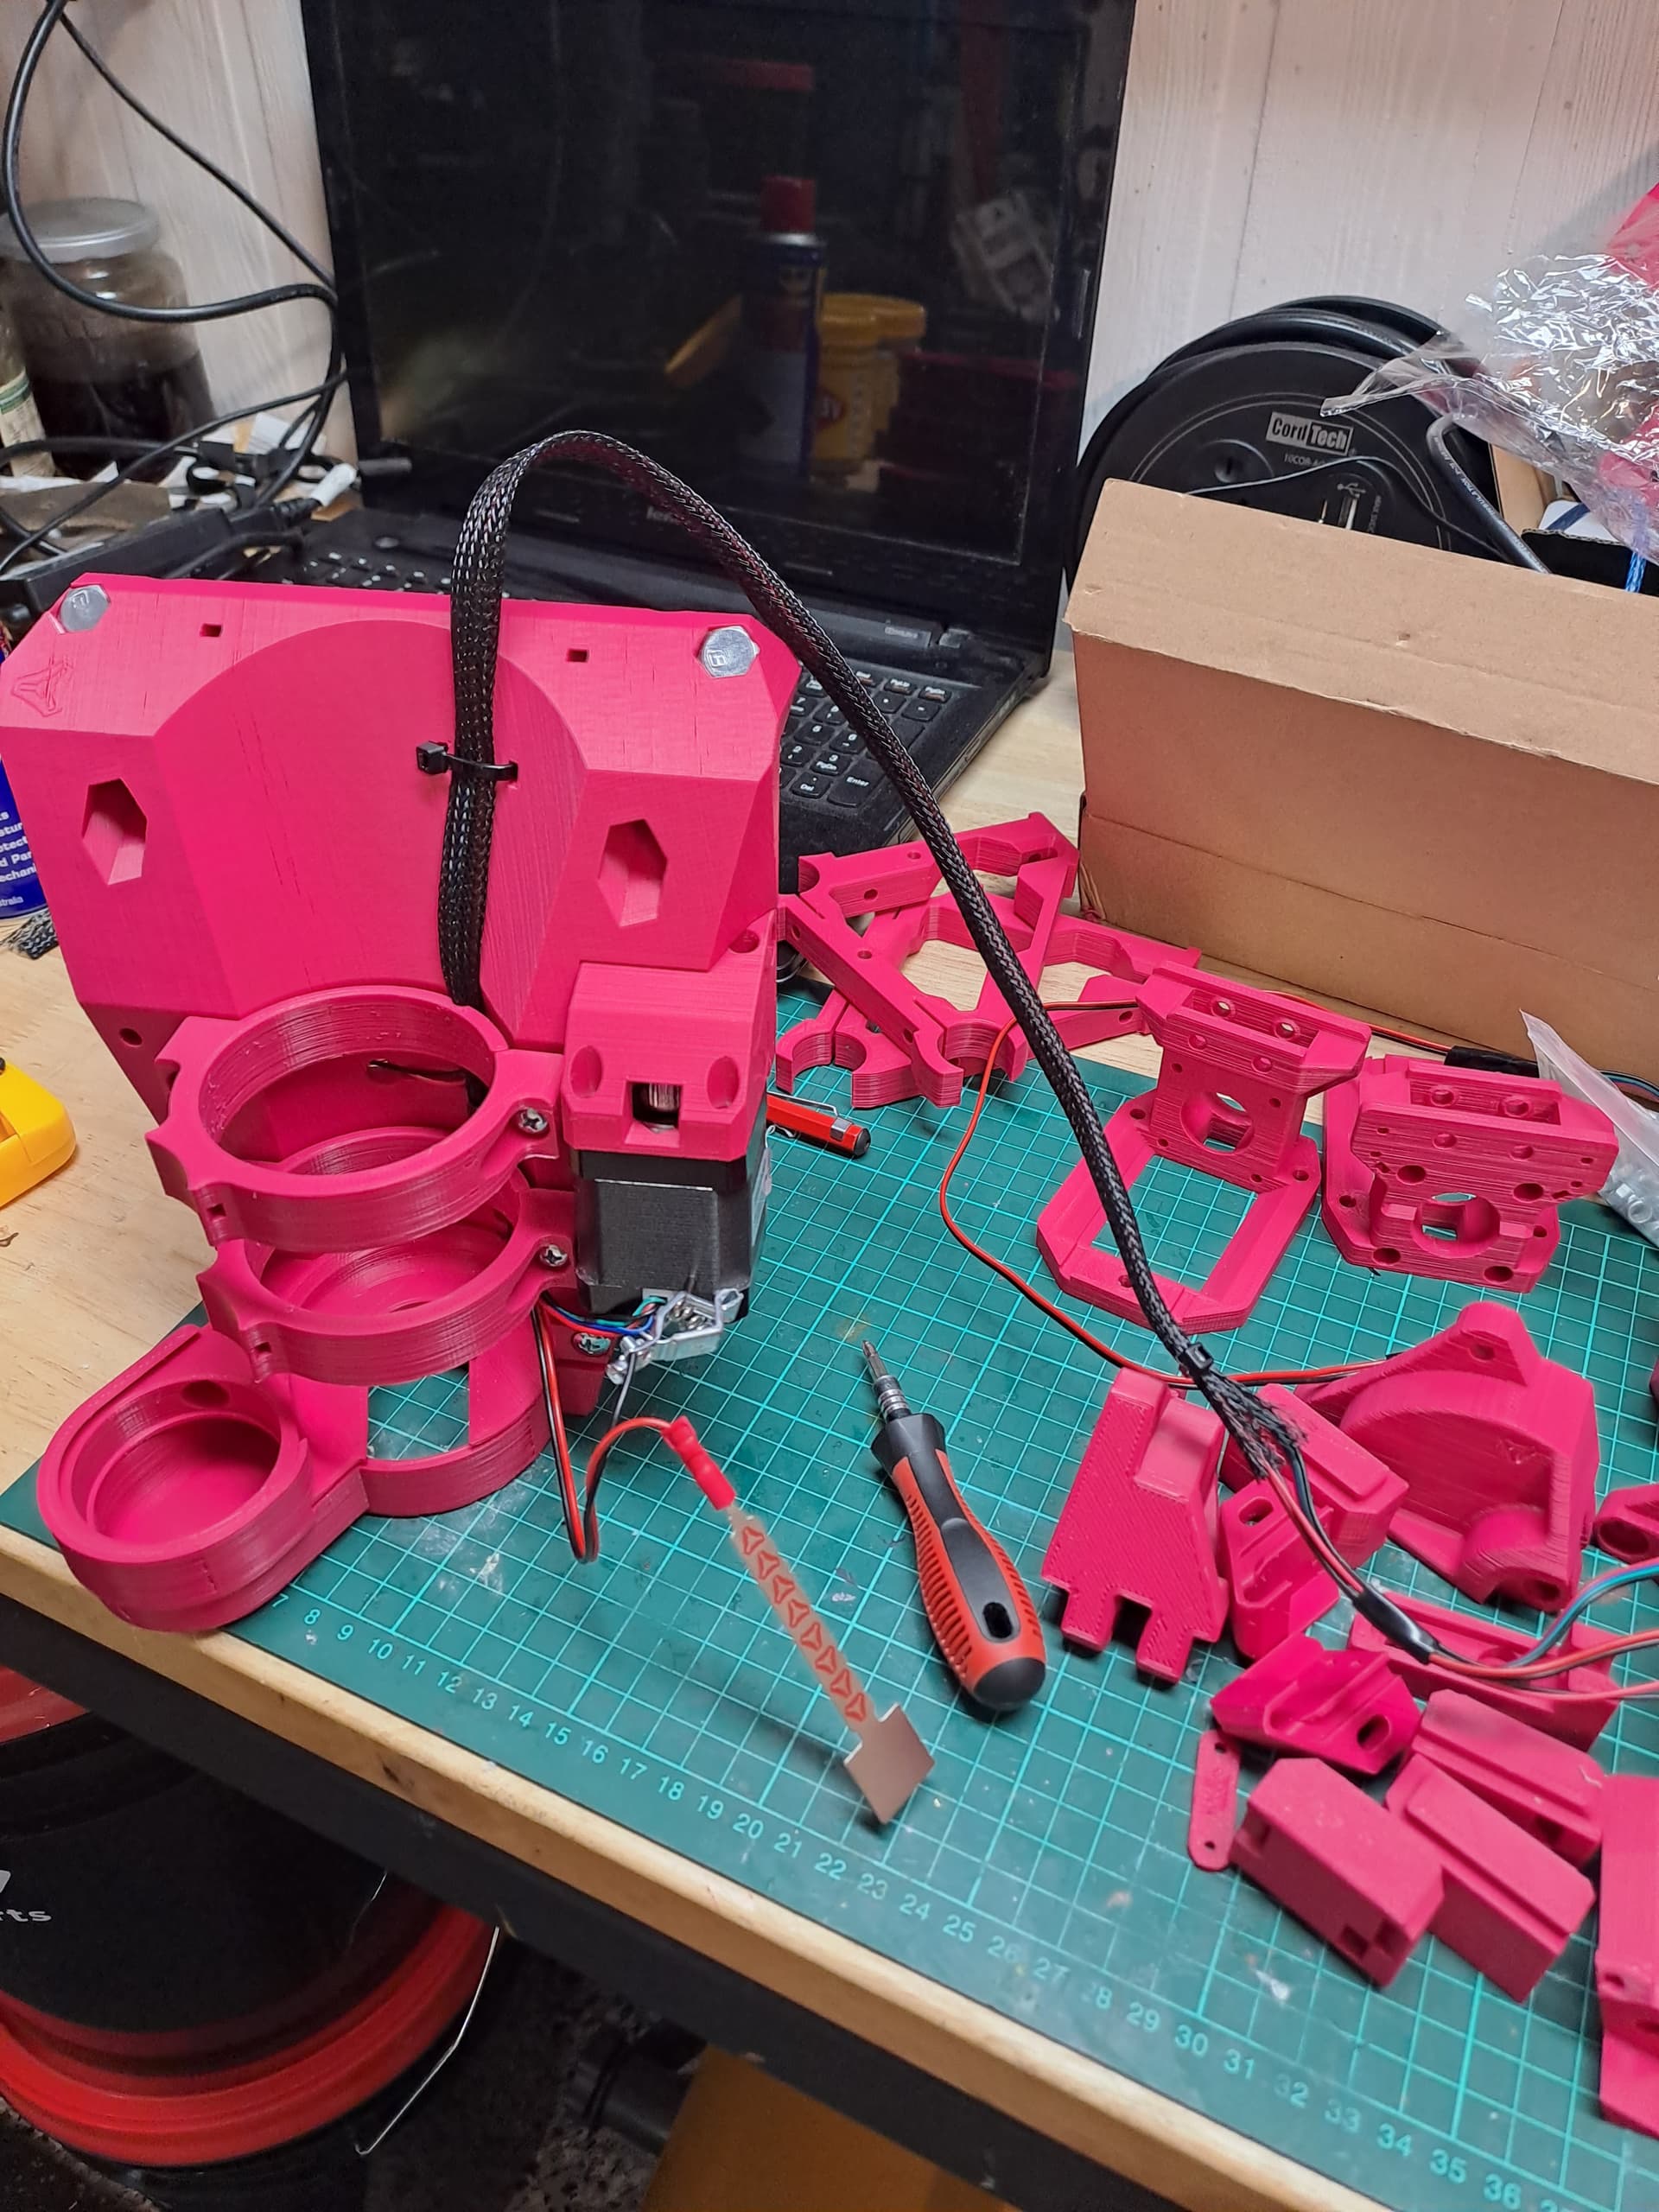
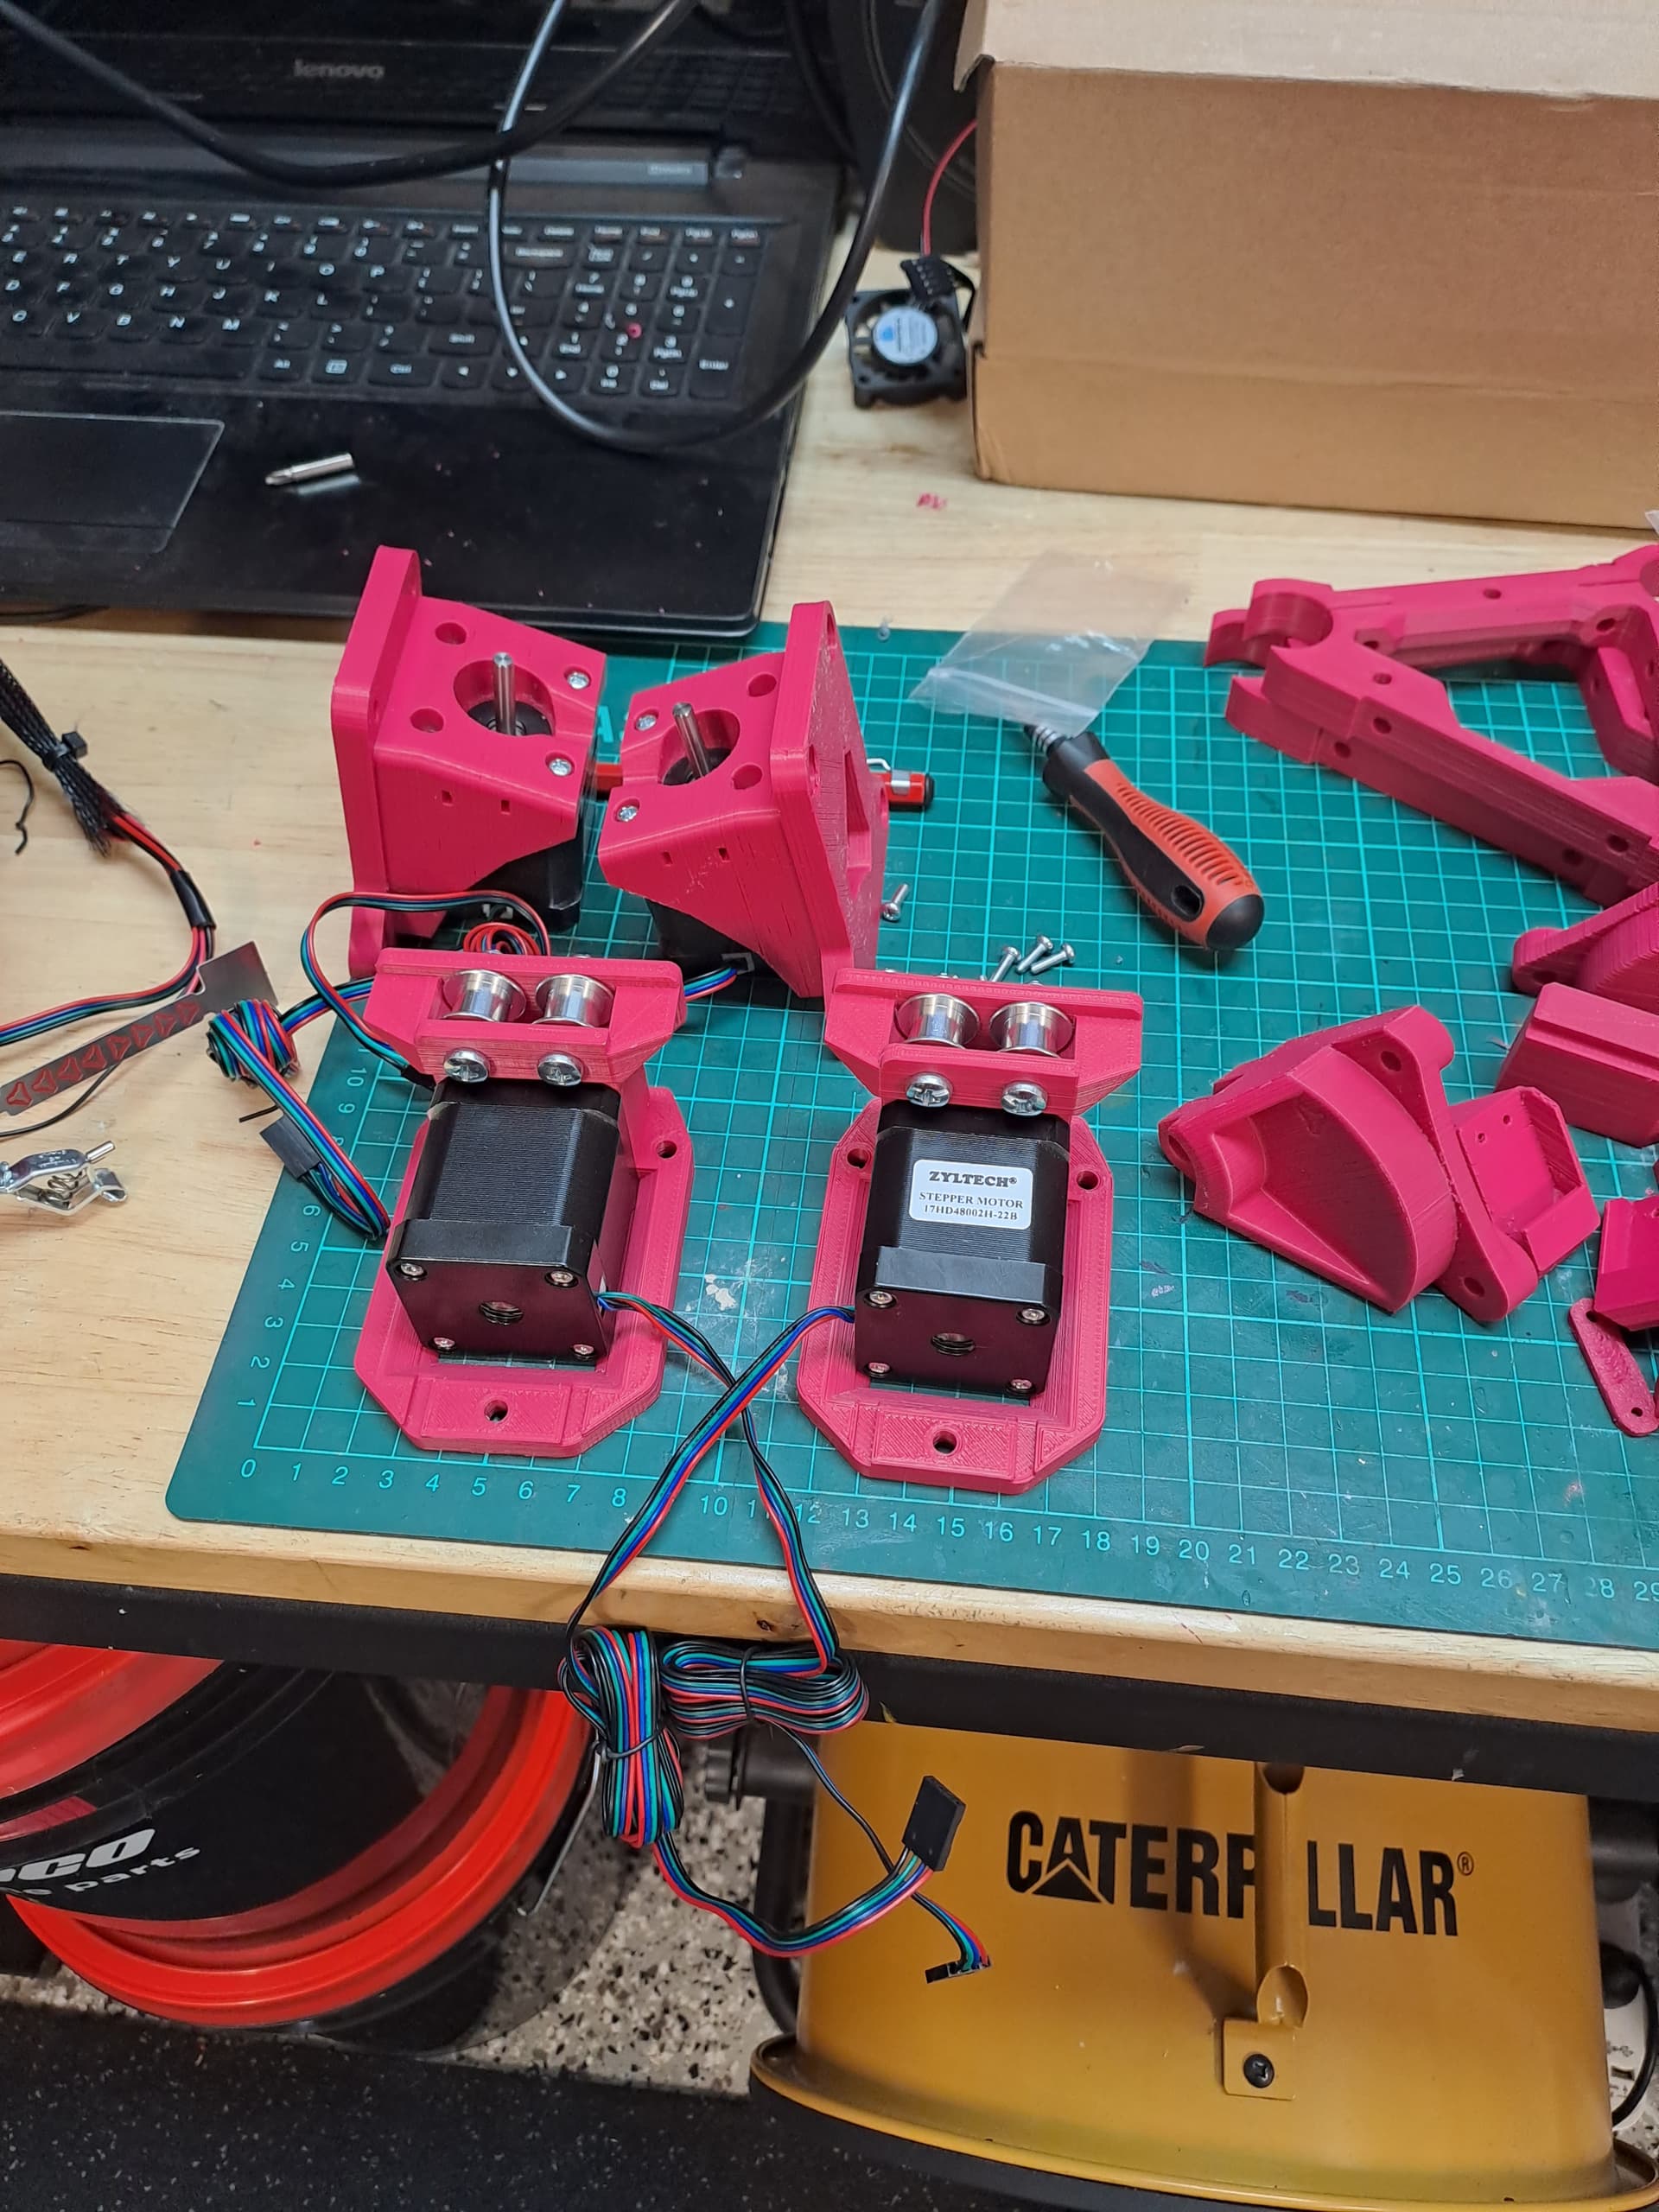
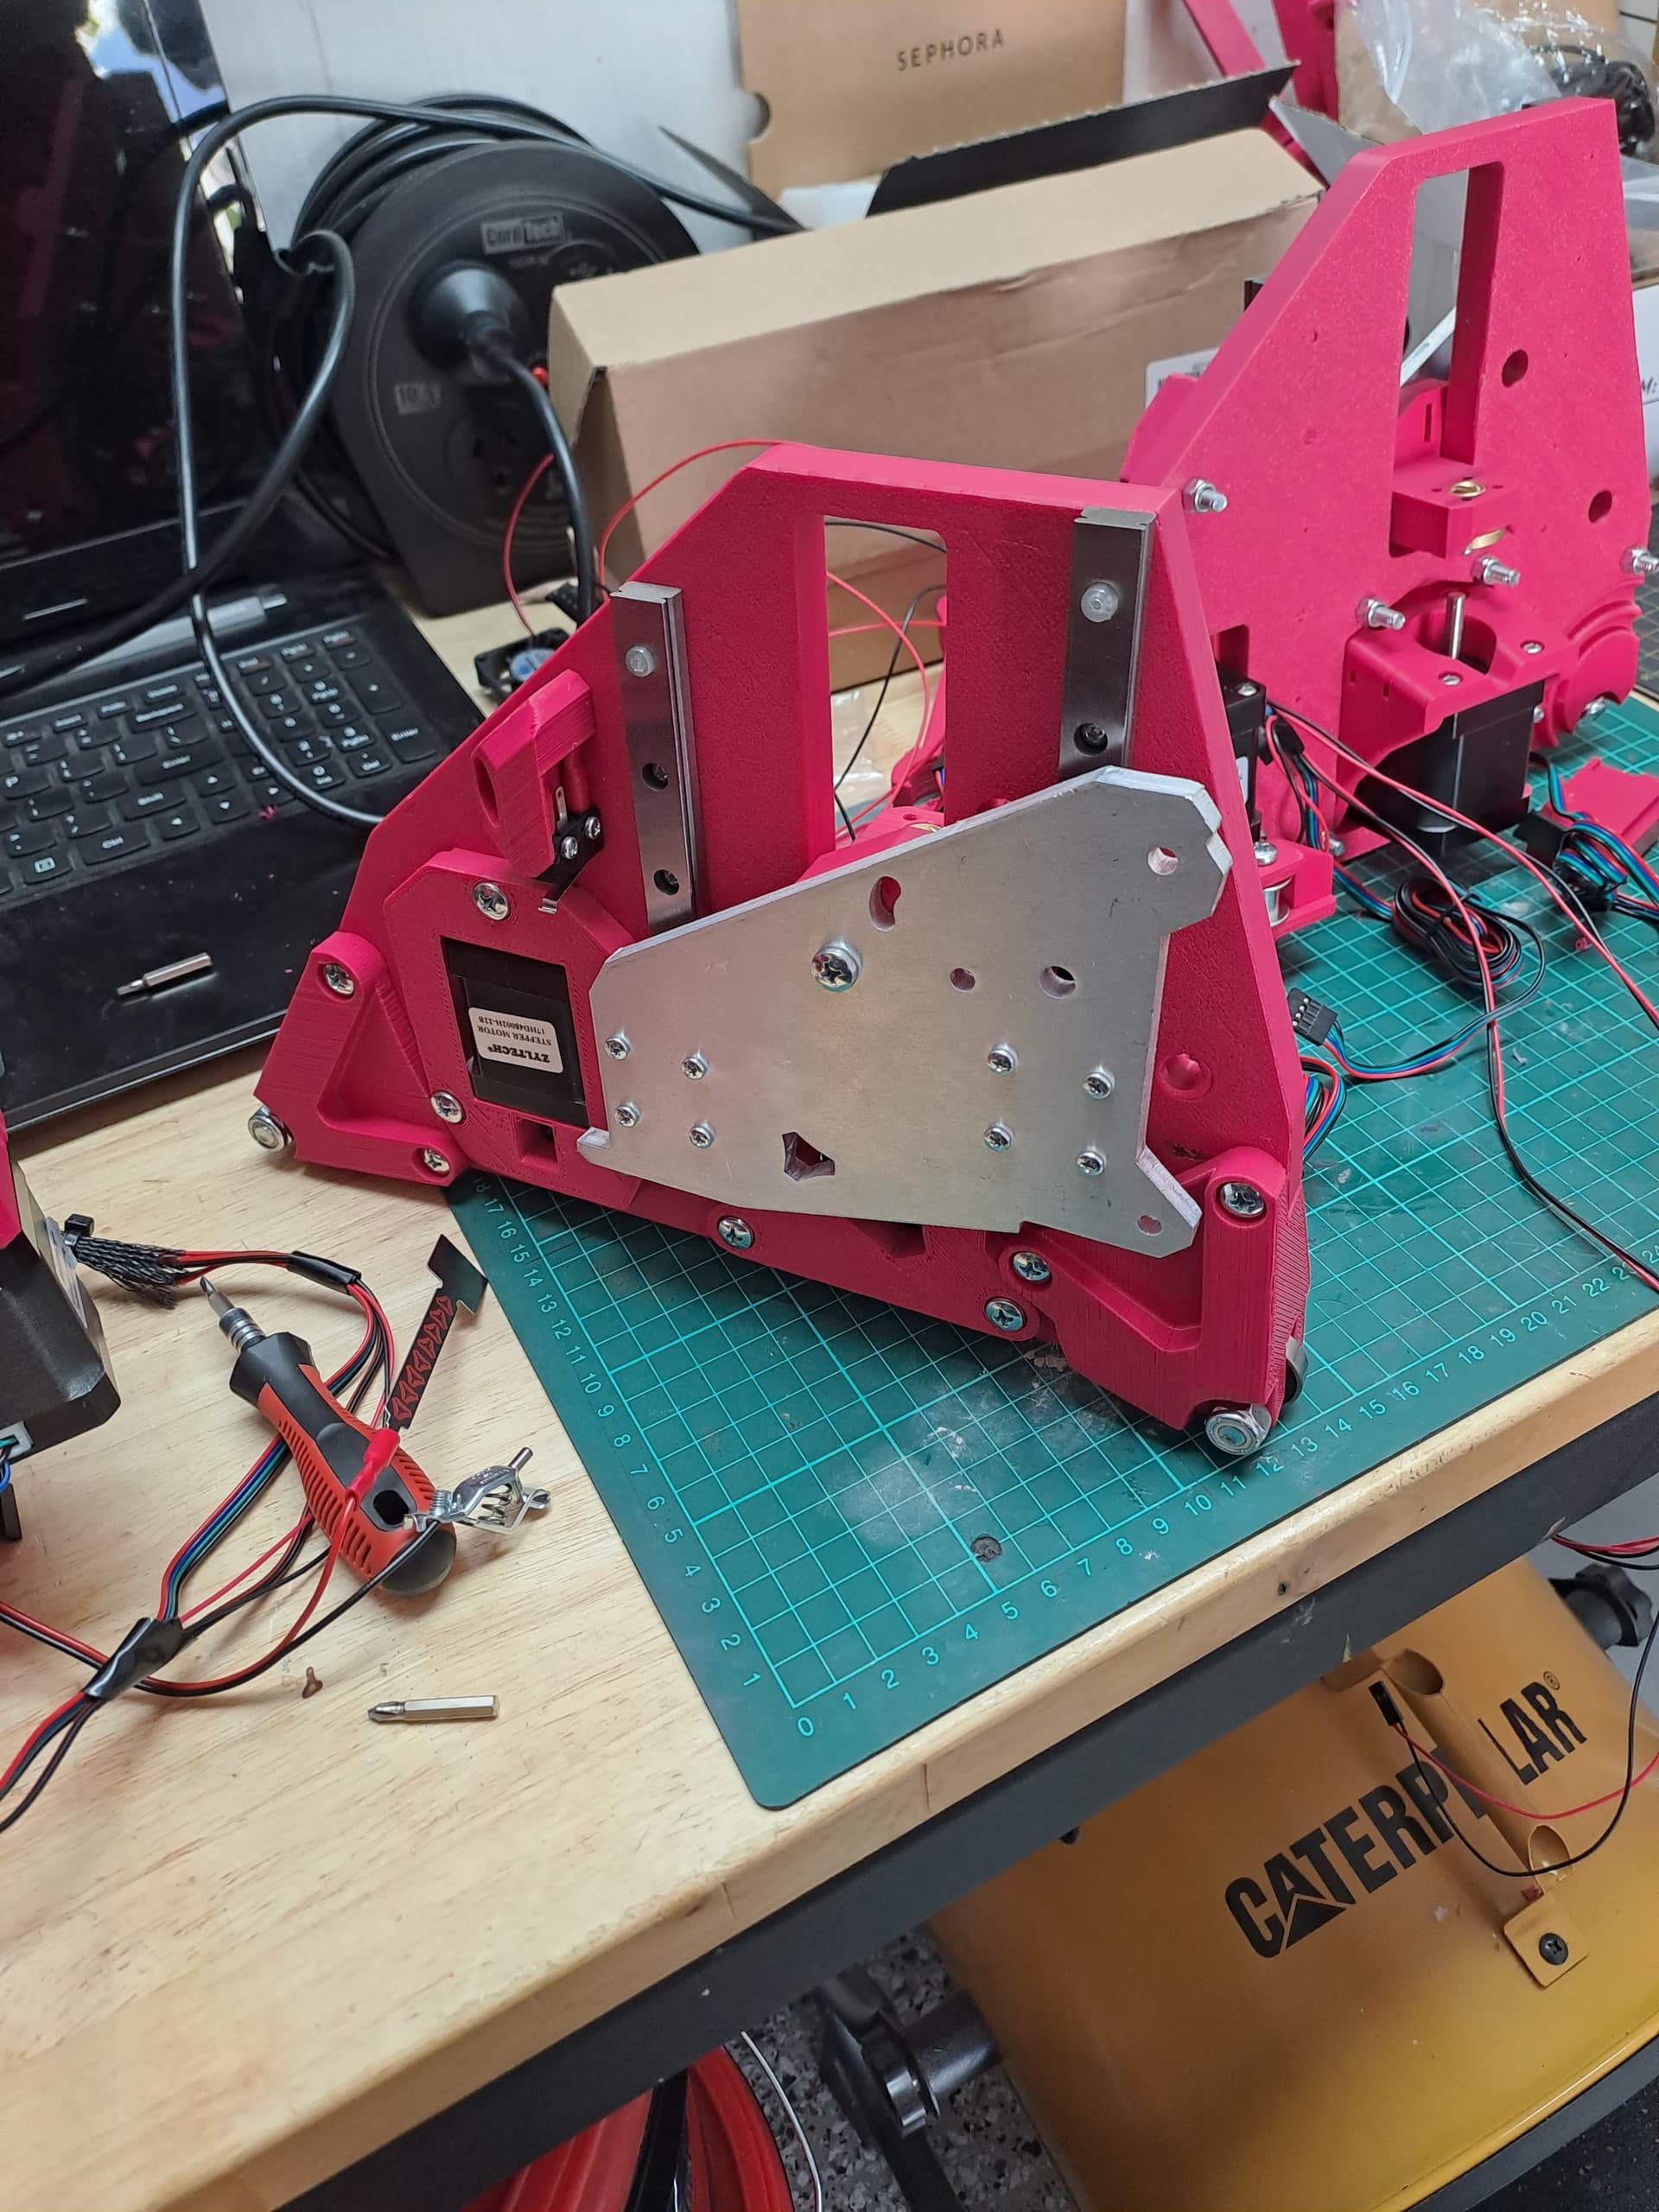
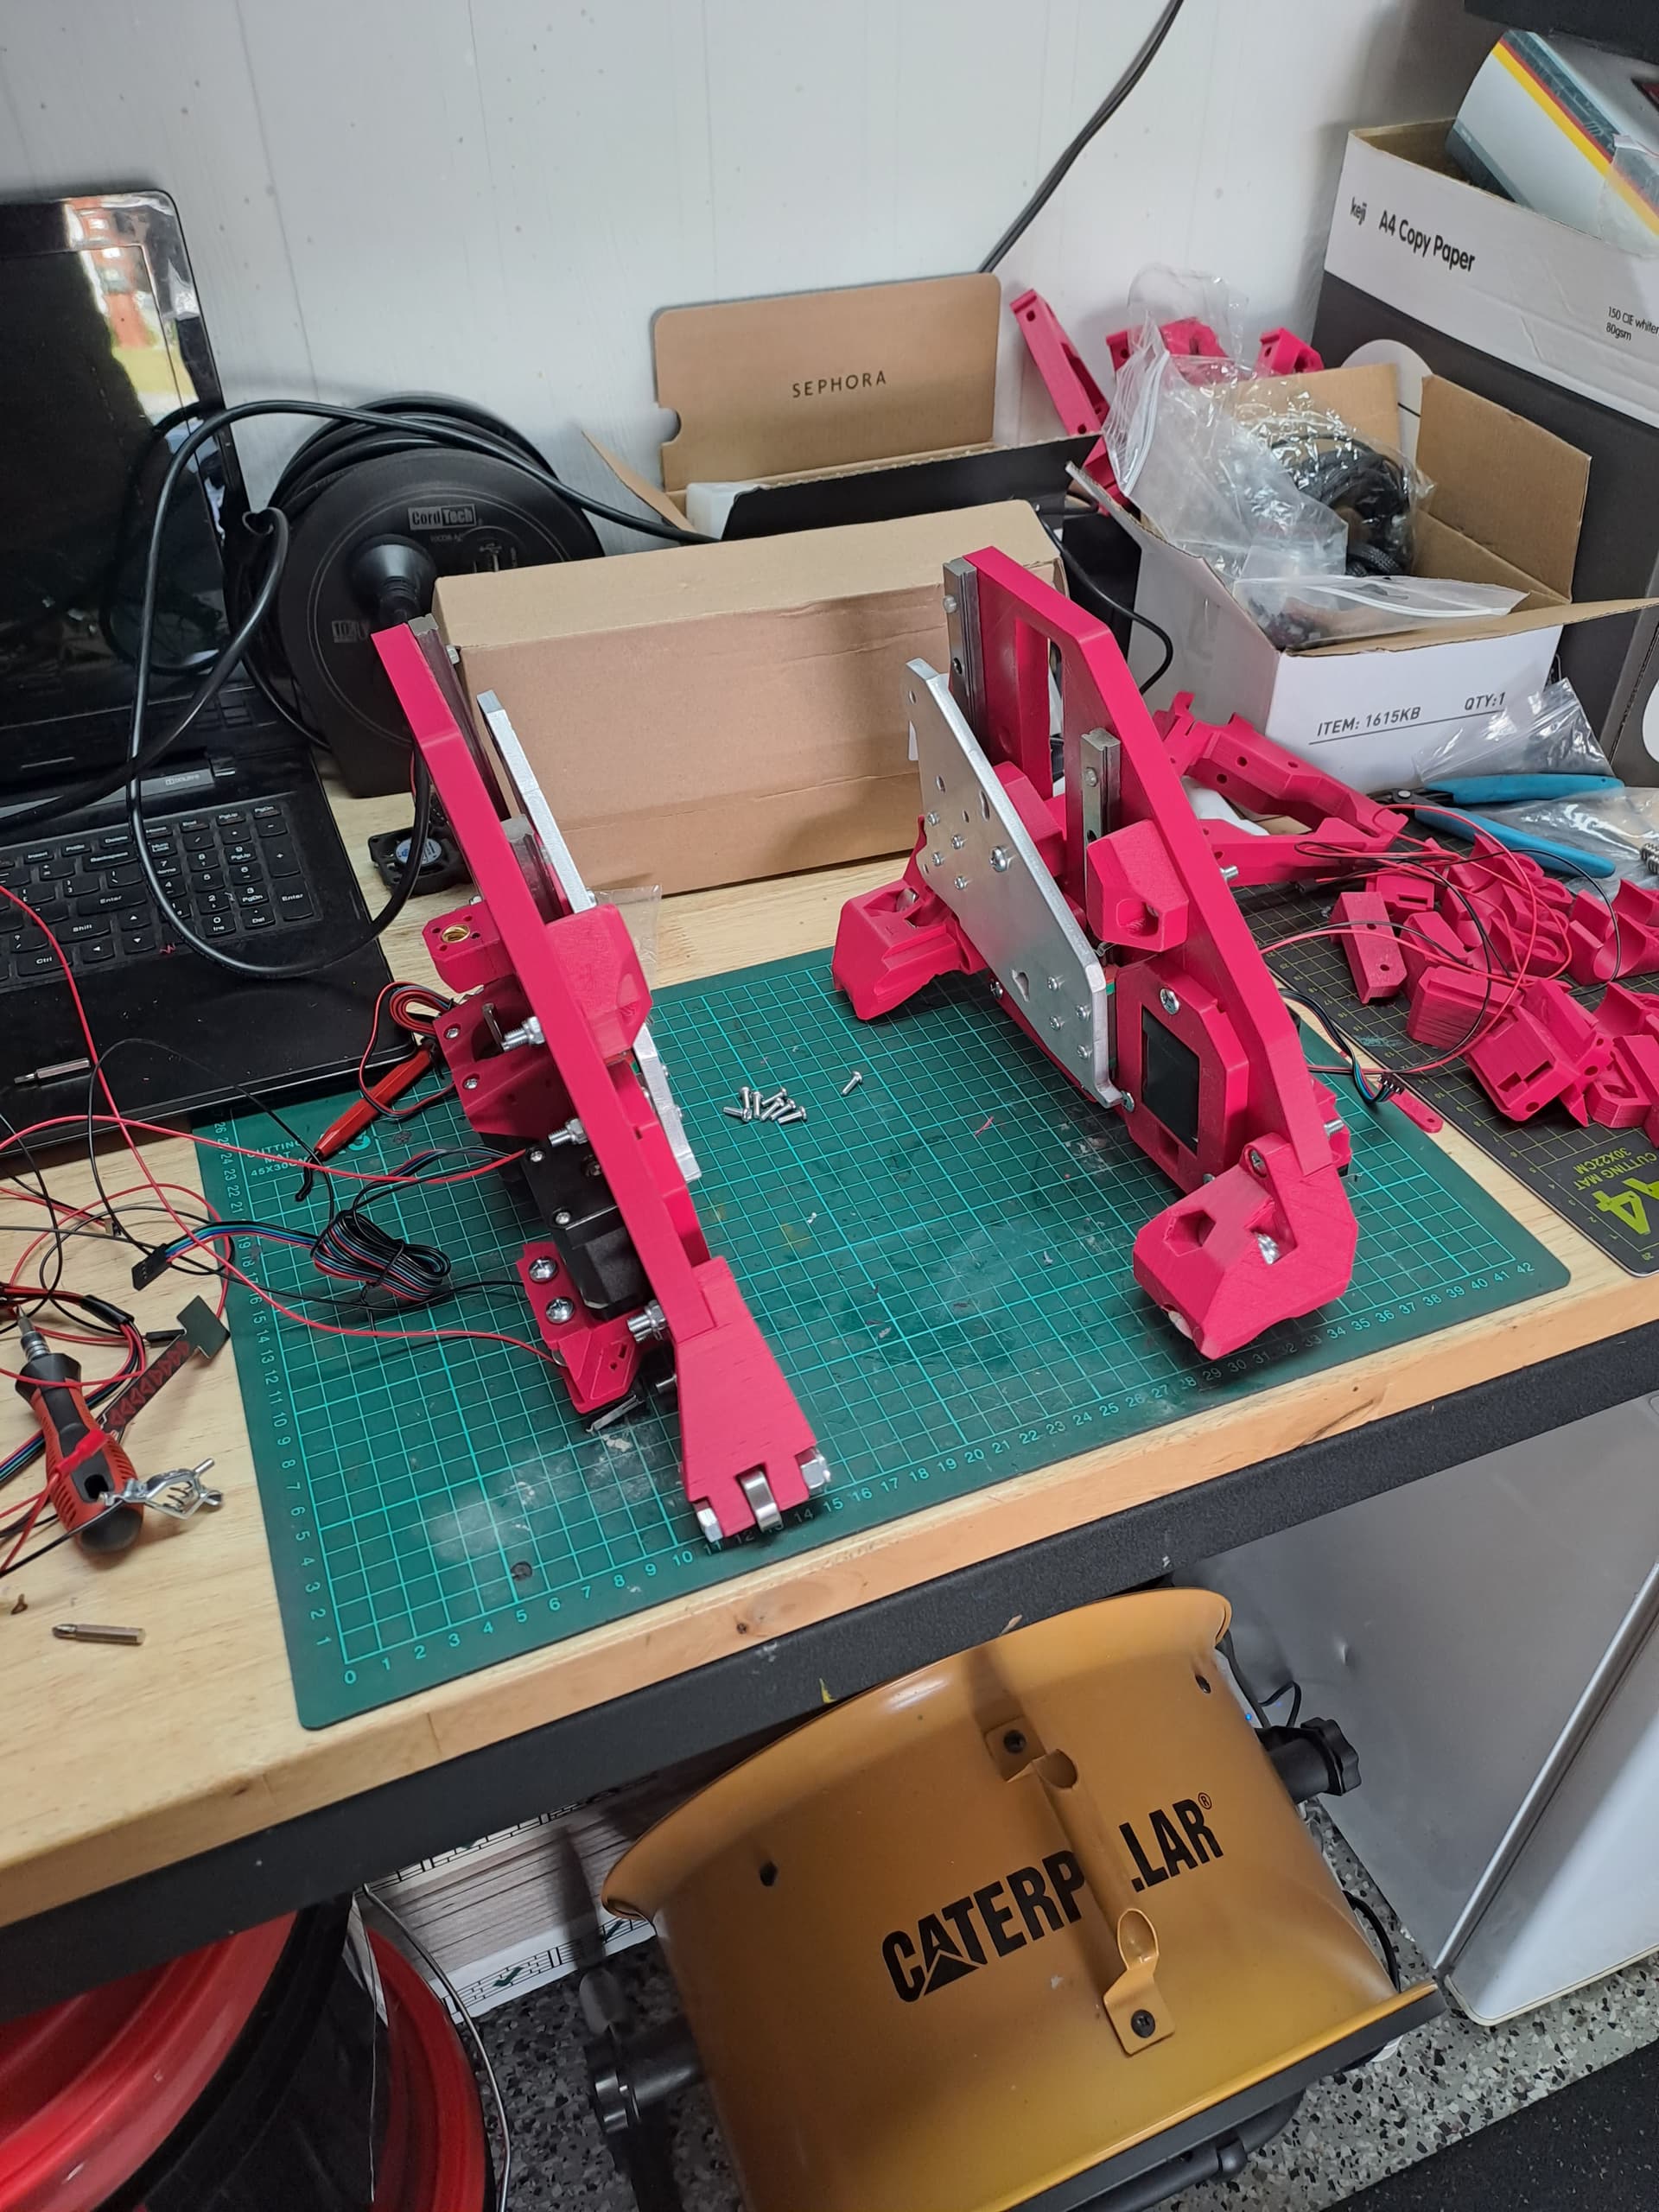
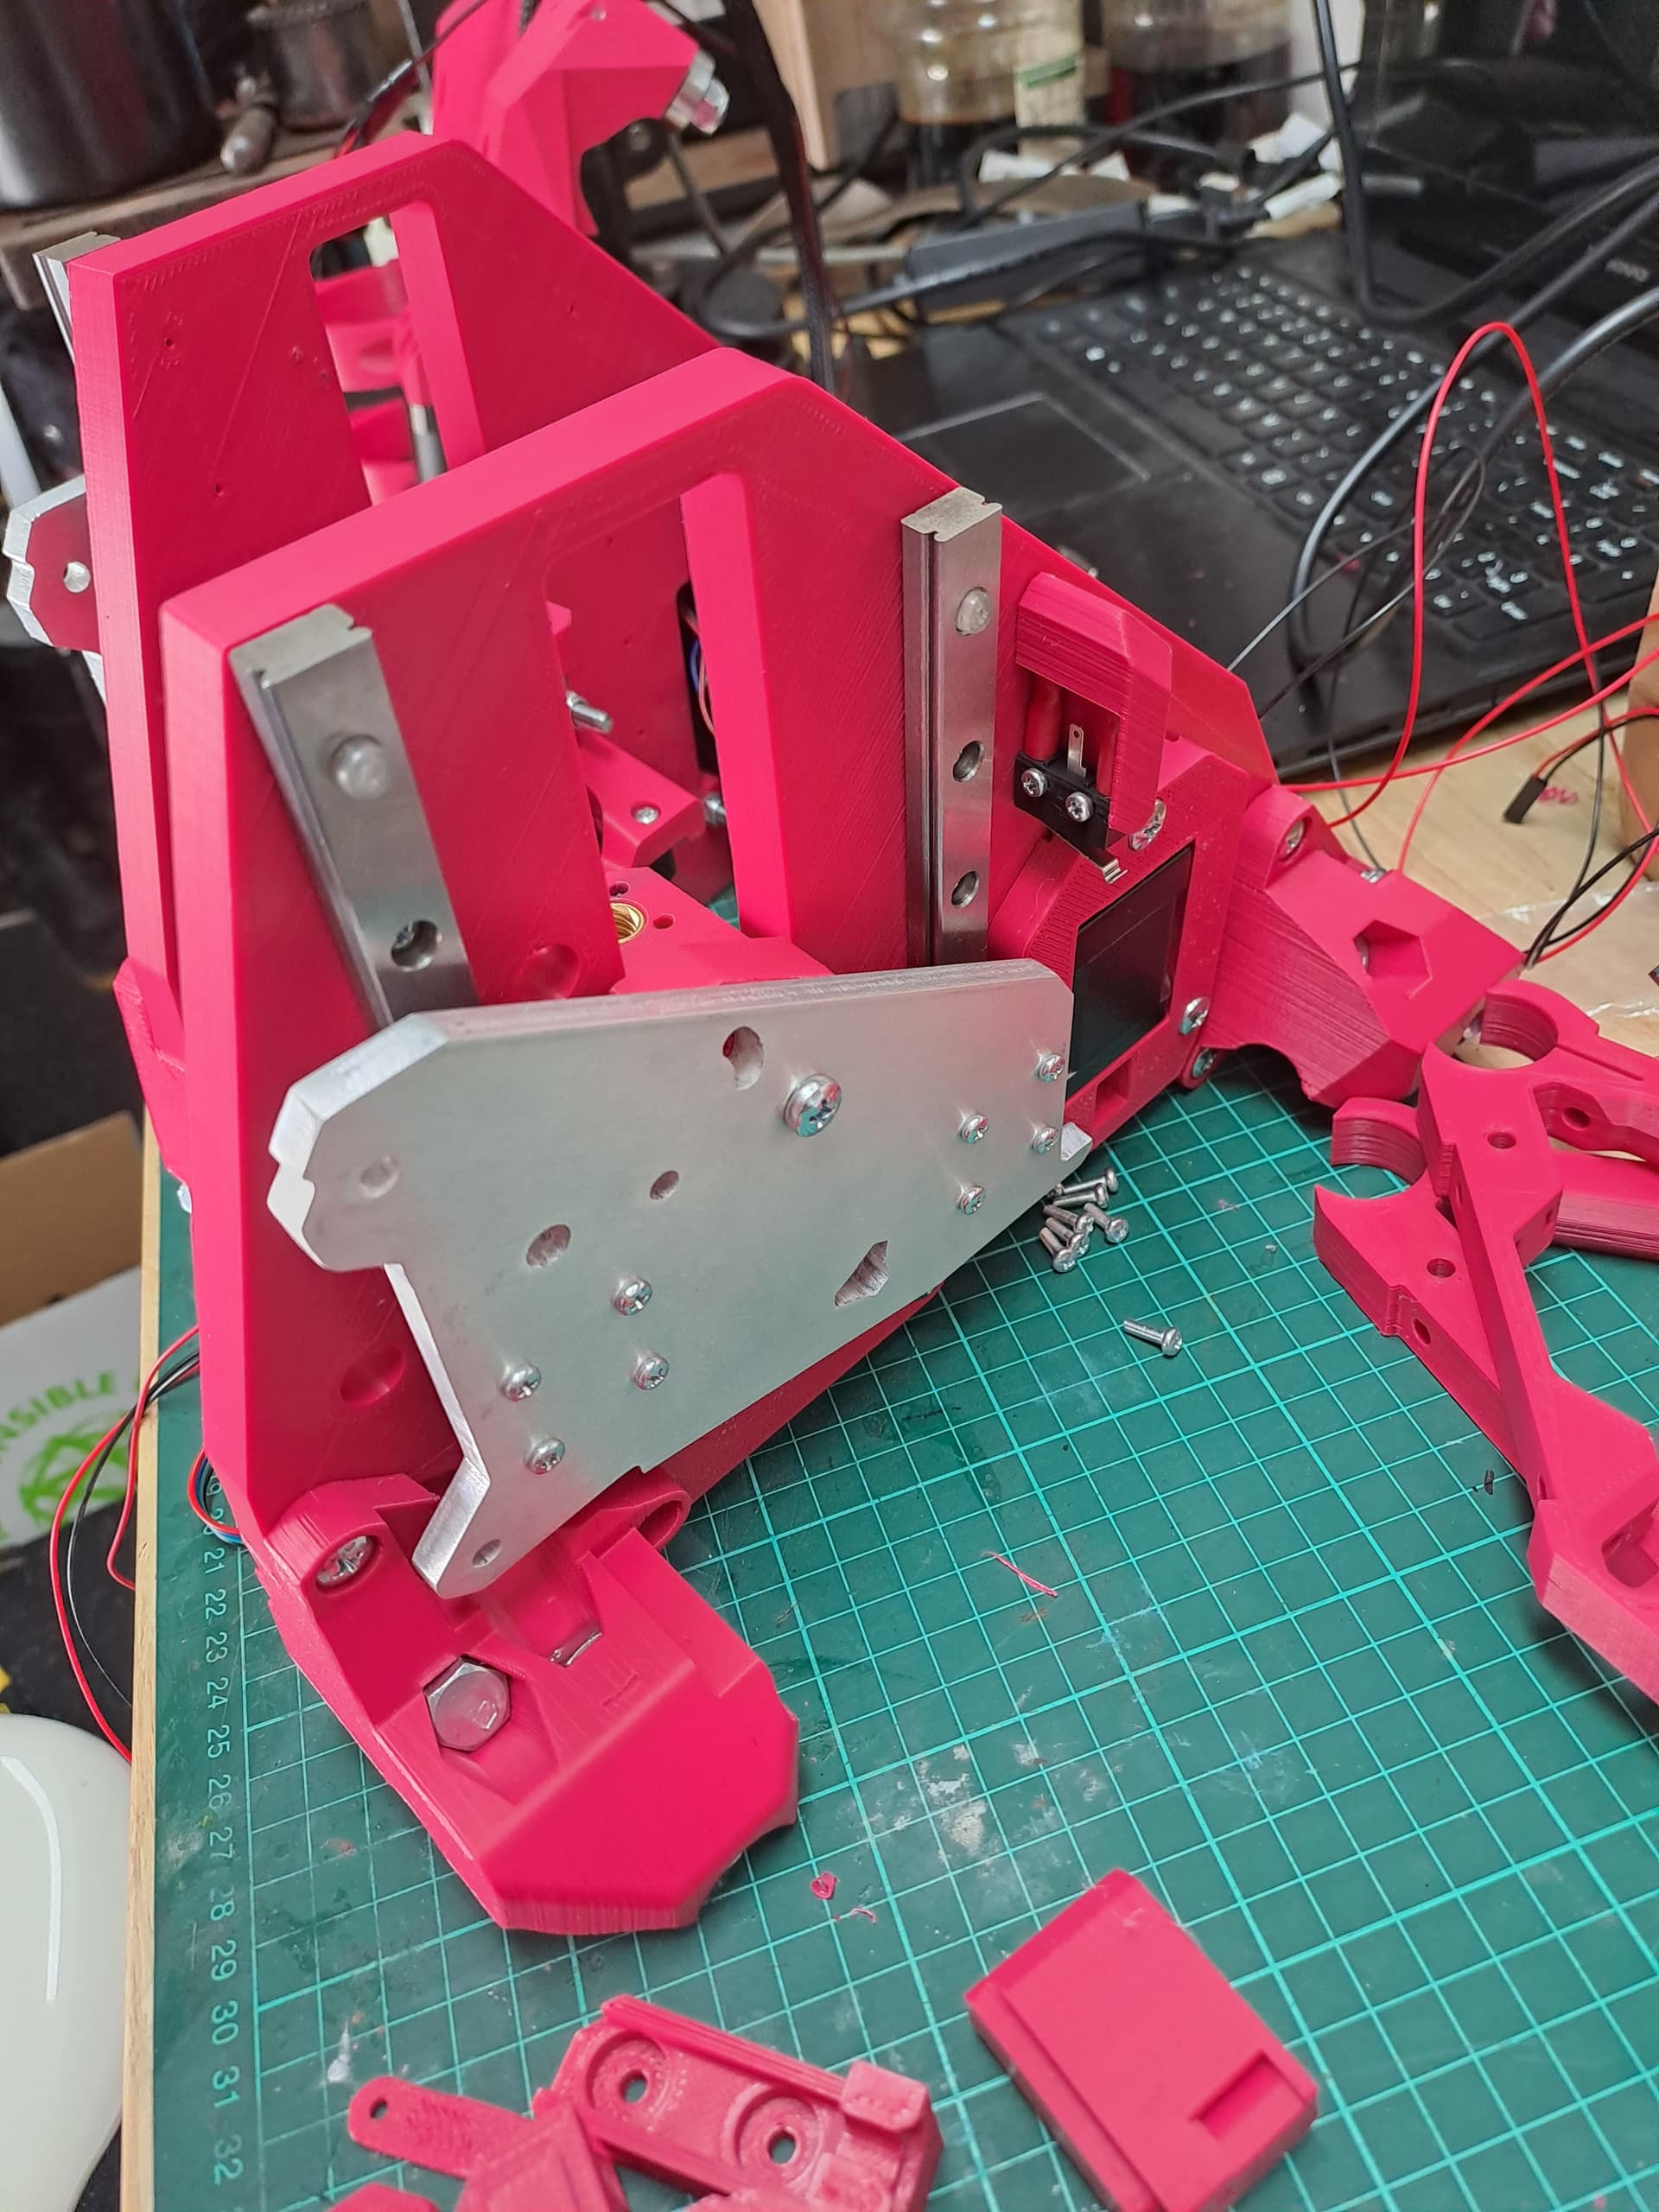
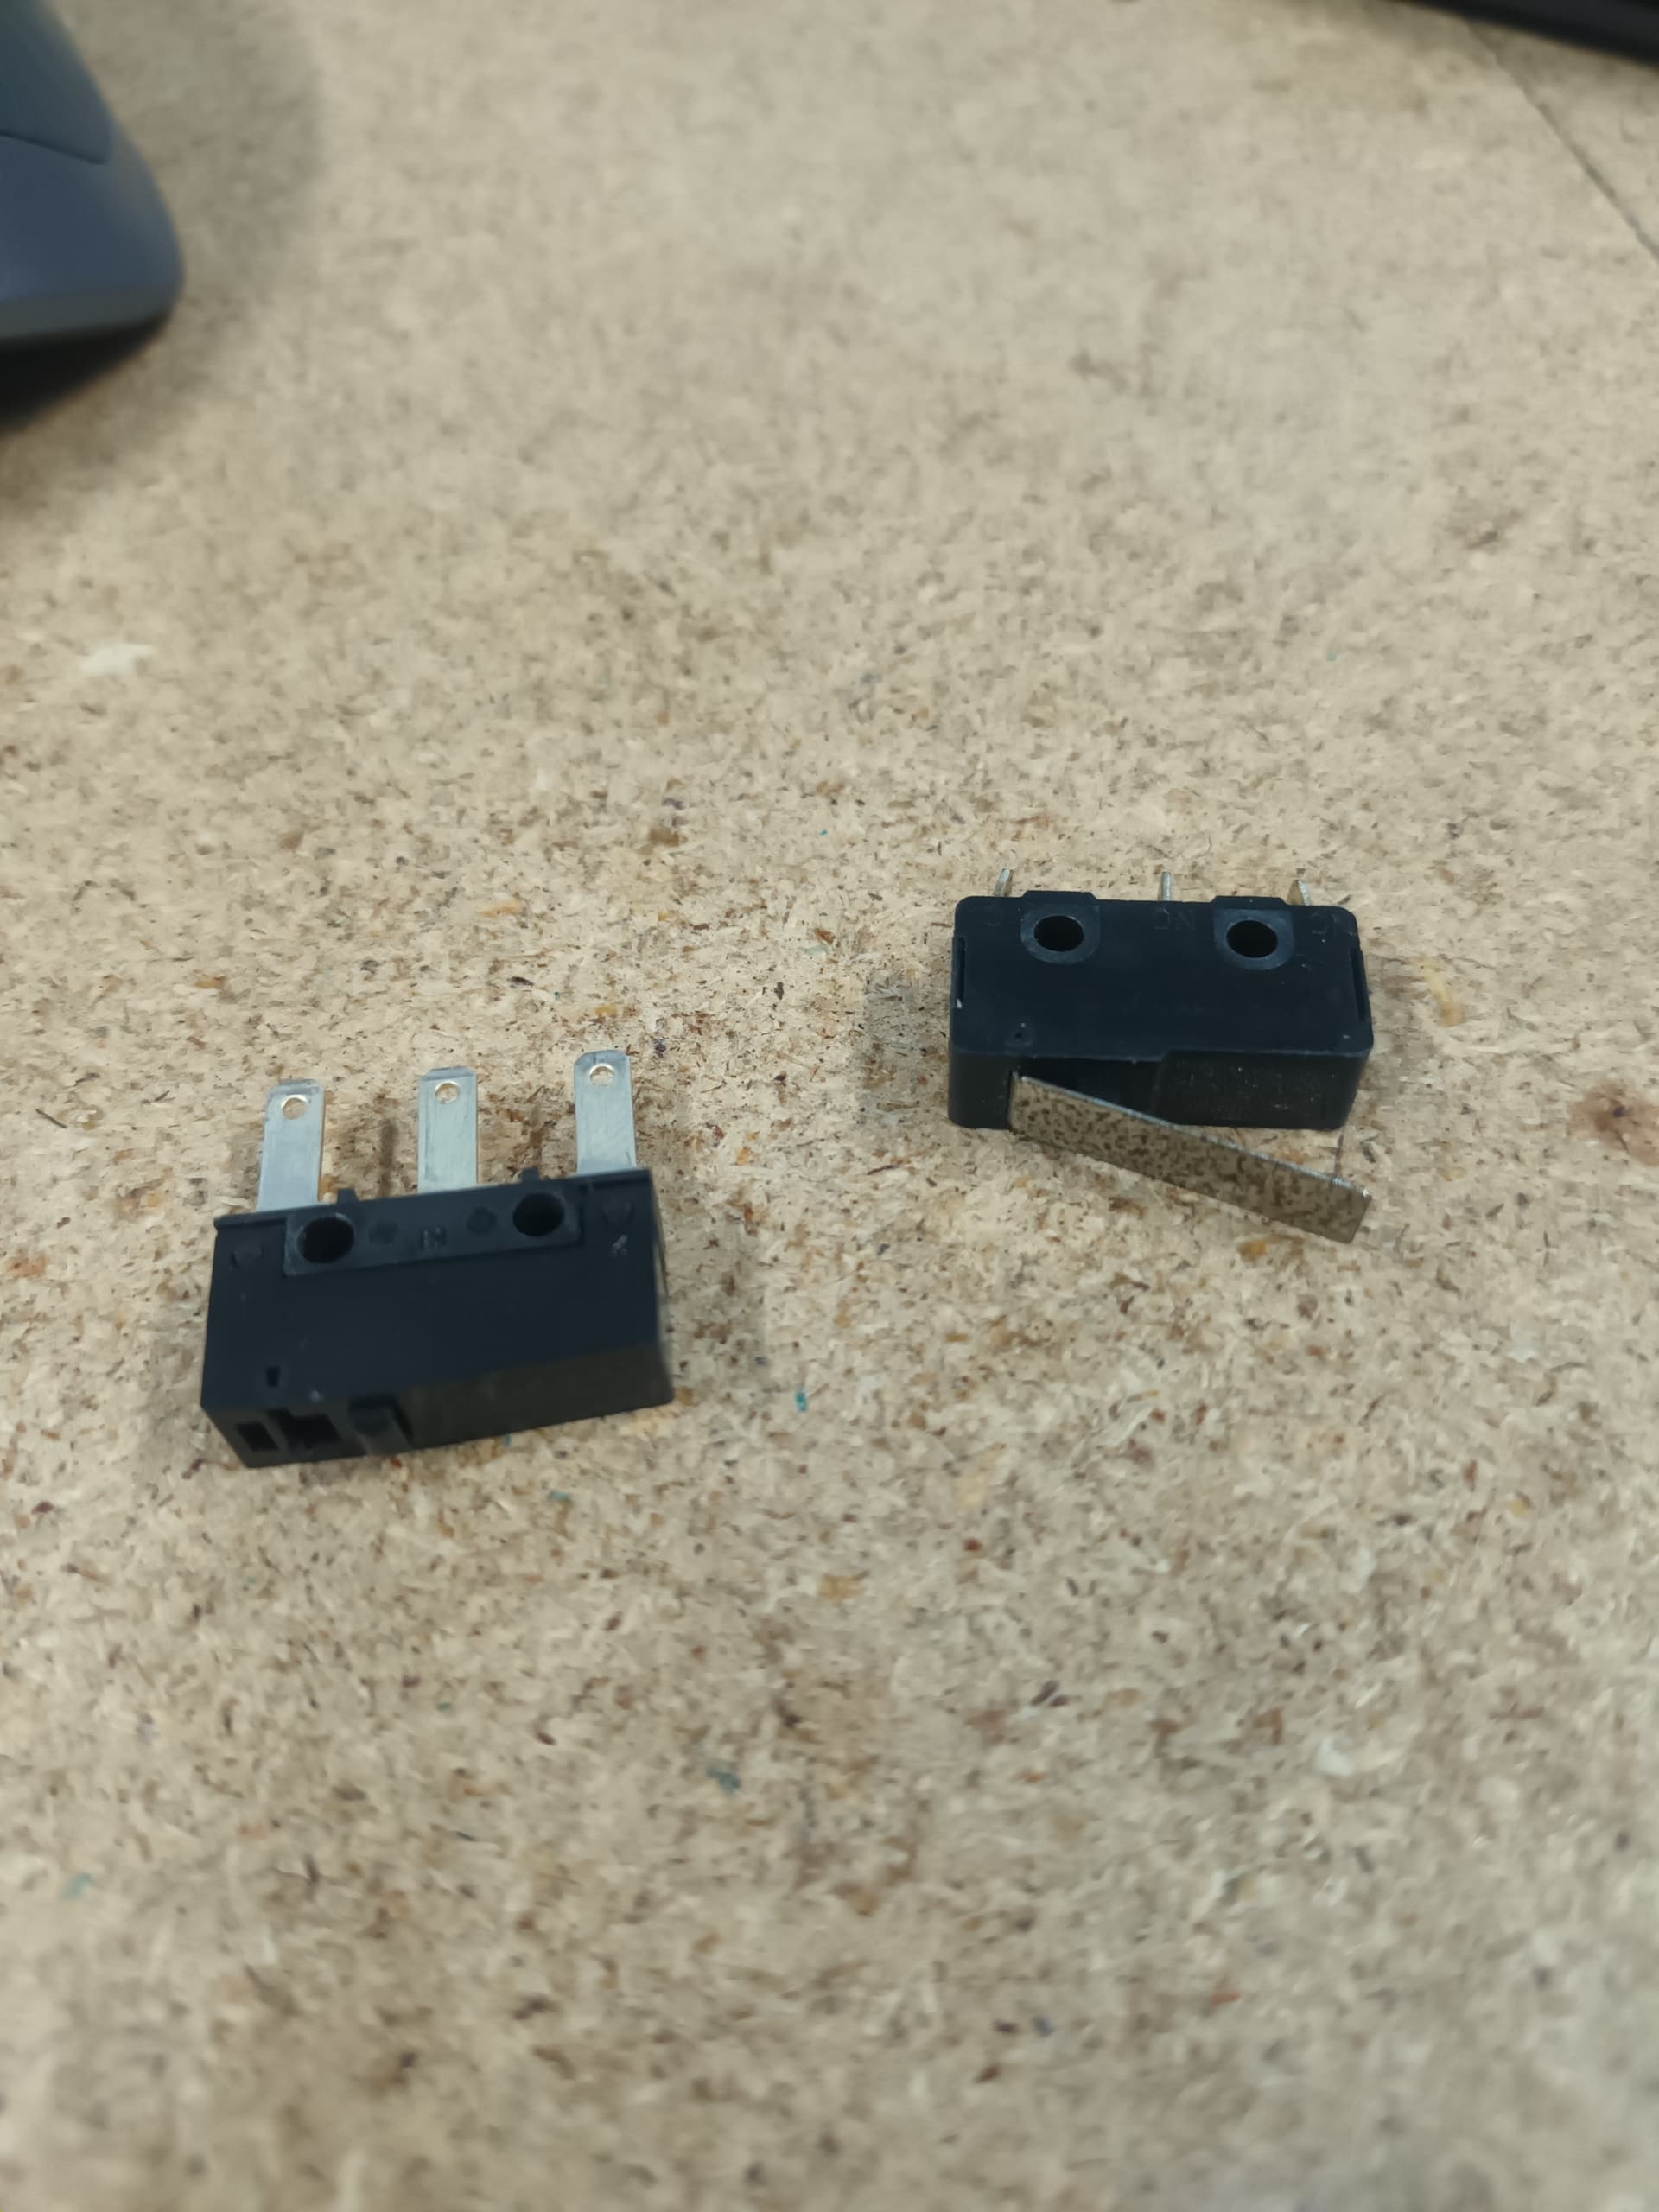
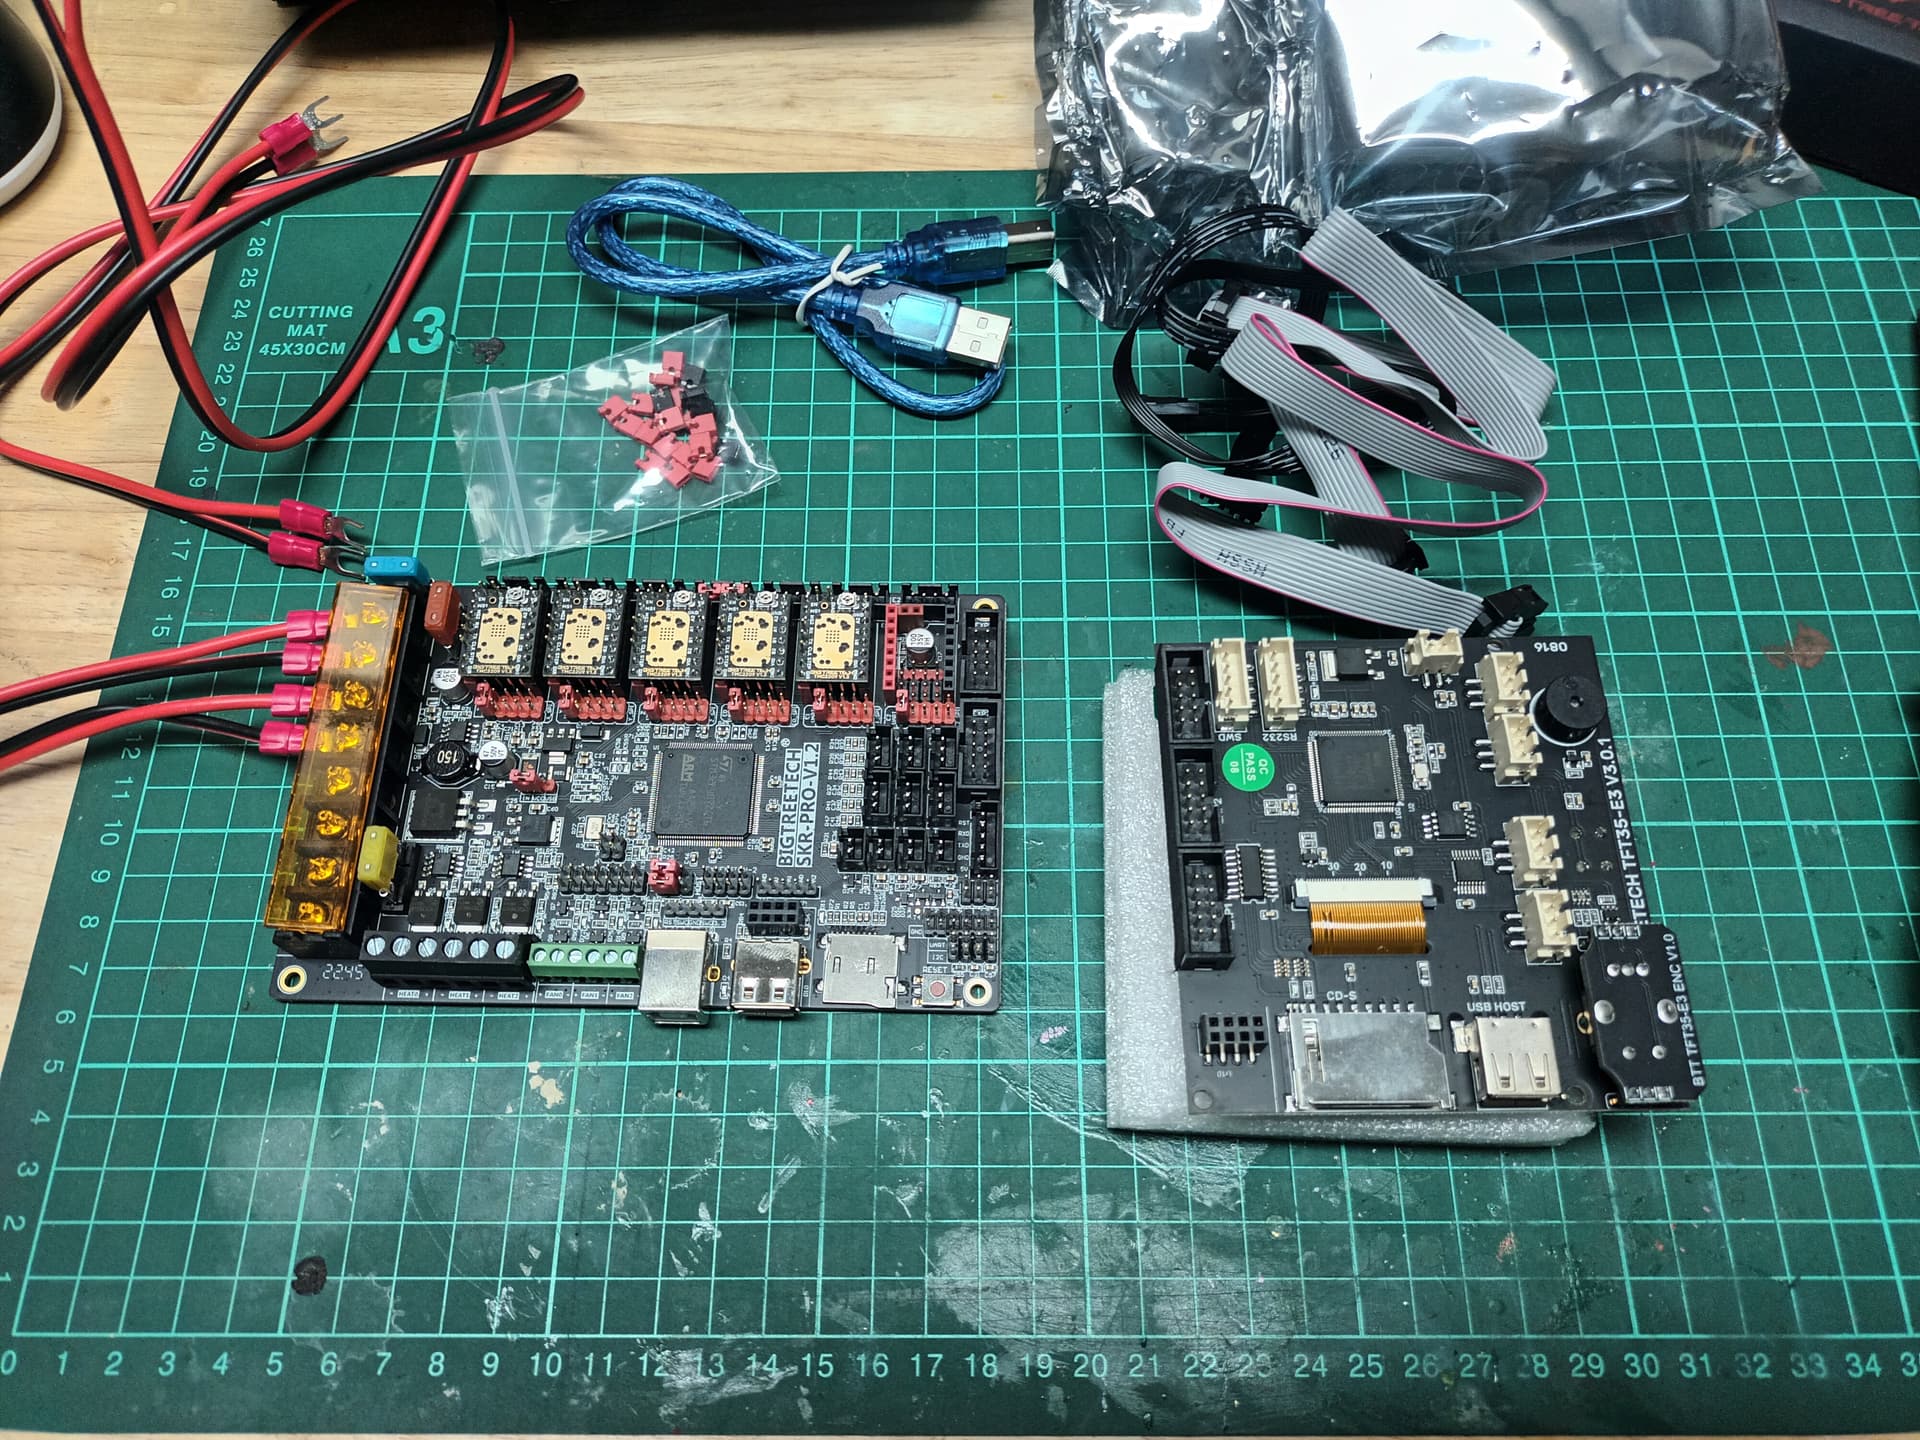
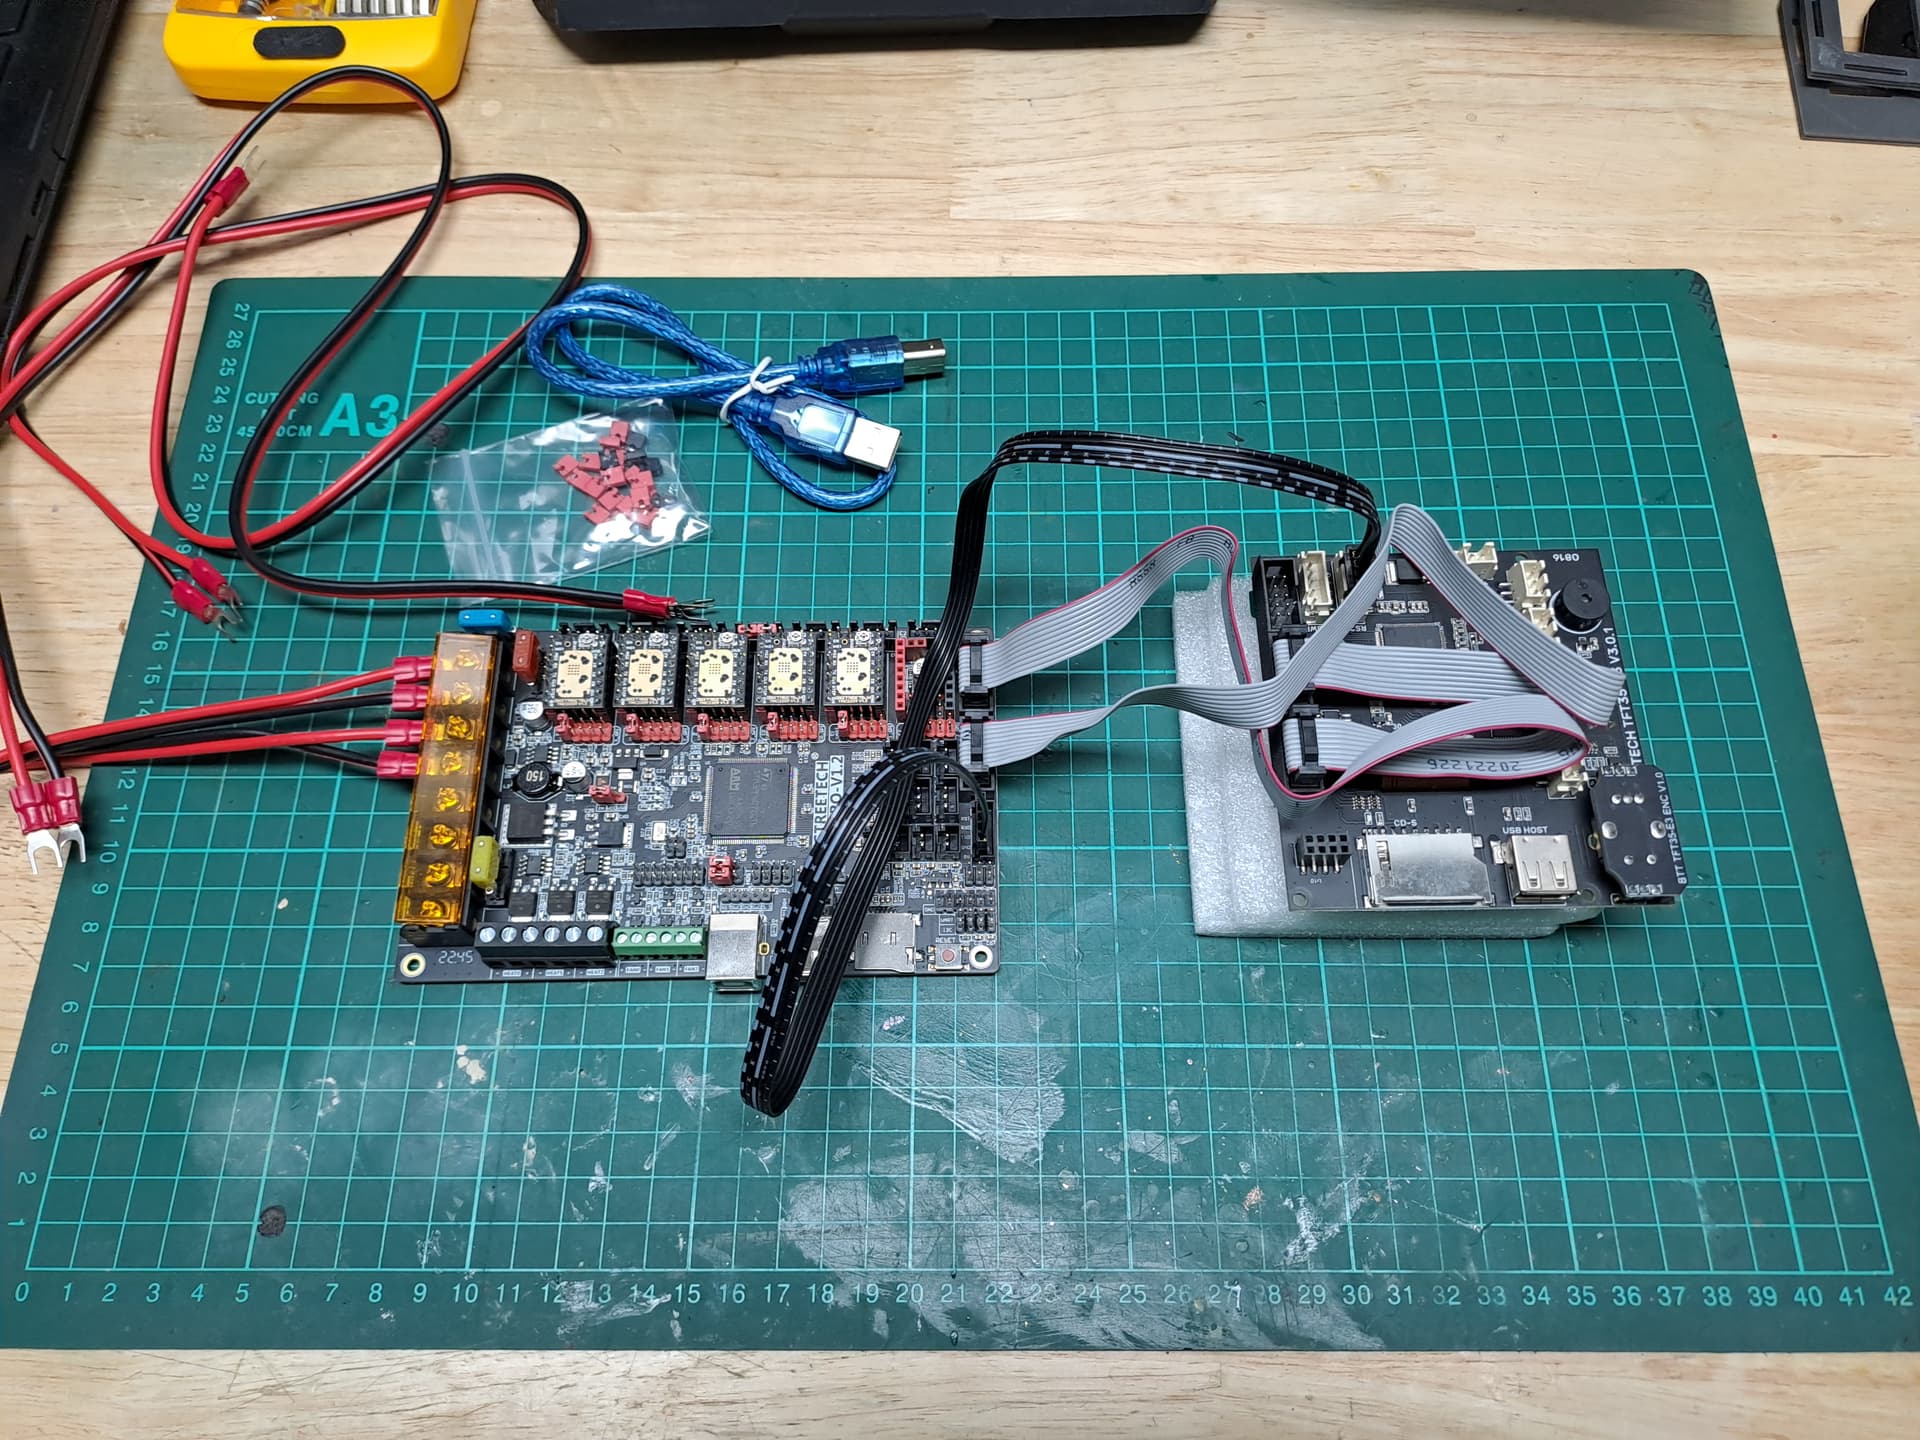
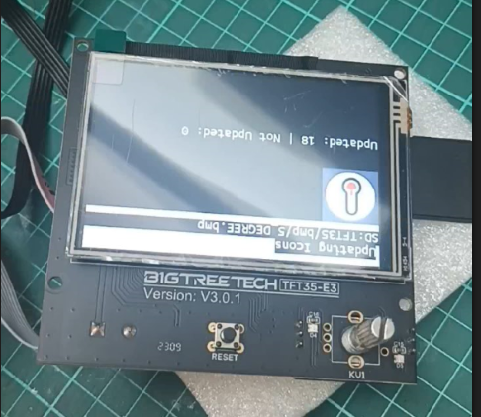
I have started working on the electronics. Those ducks though. Have preped the end stop switch wiring and have also purchased some insulated PET braid sleeving for when the wiring is run through the LR3. After bending the pin on each of the drivers they have been installed and removing the jumpers and placing one for the UART was done. I flashed the SKR PRO V1.2 before connecting the TFT35 E3 V3.0 and flashing it.


Screenshot 2023-08-30 232947
Screenshot 2023-08-30 233115

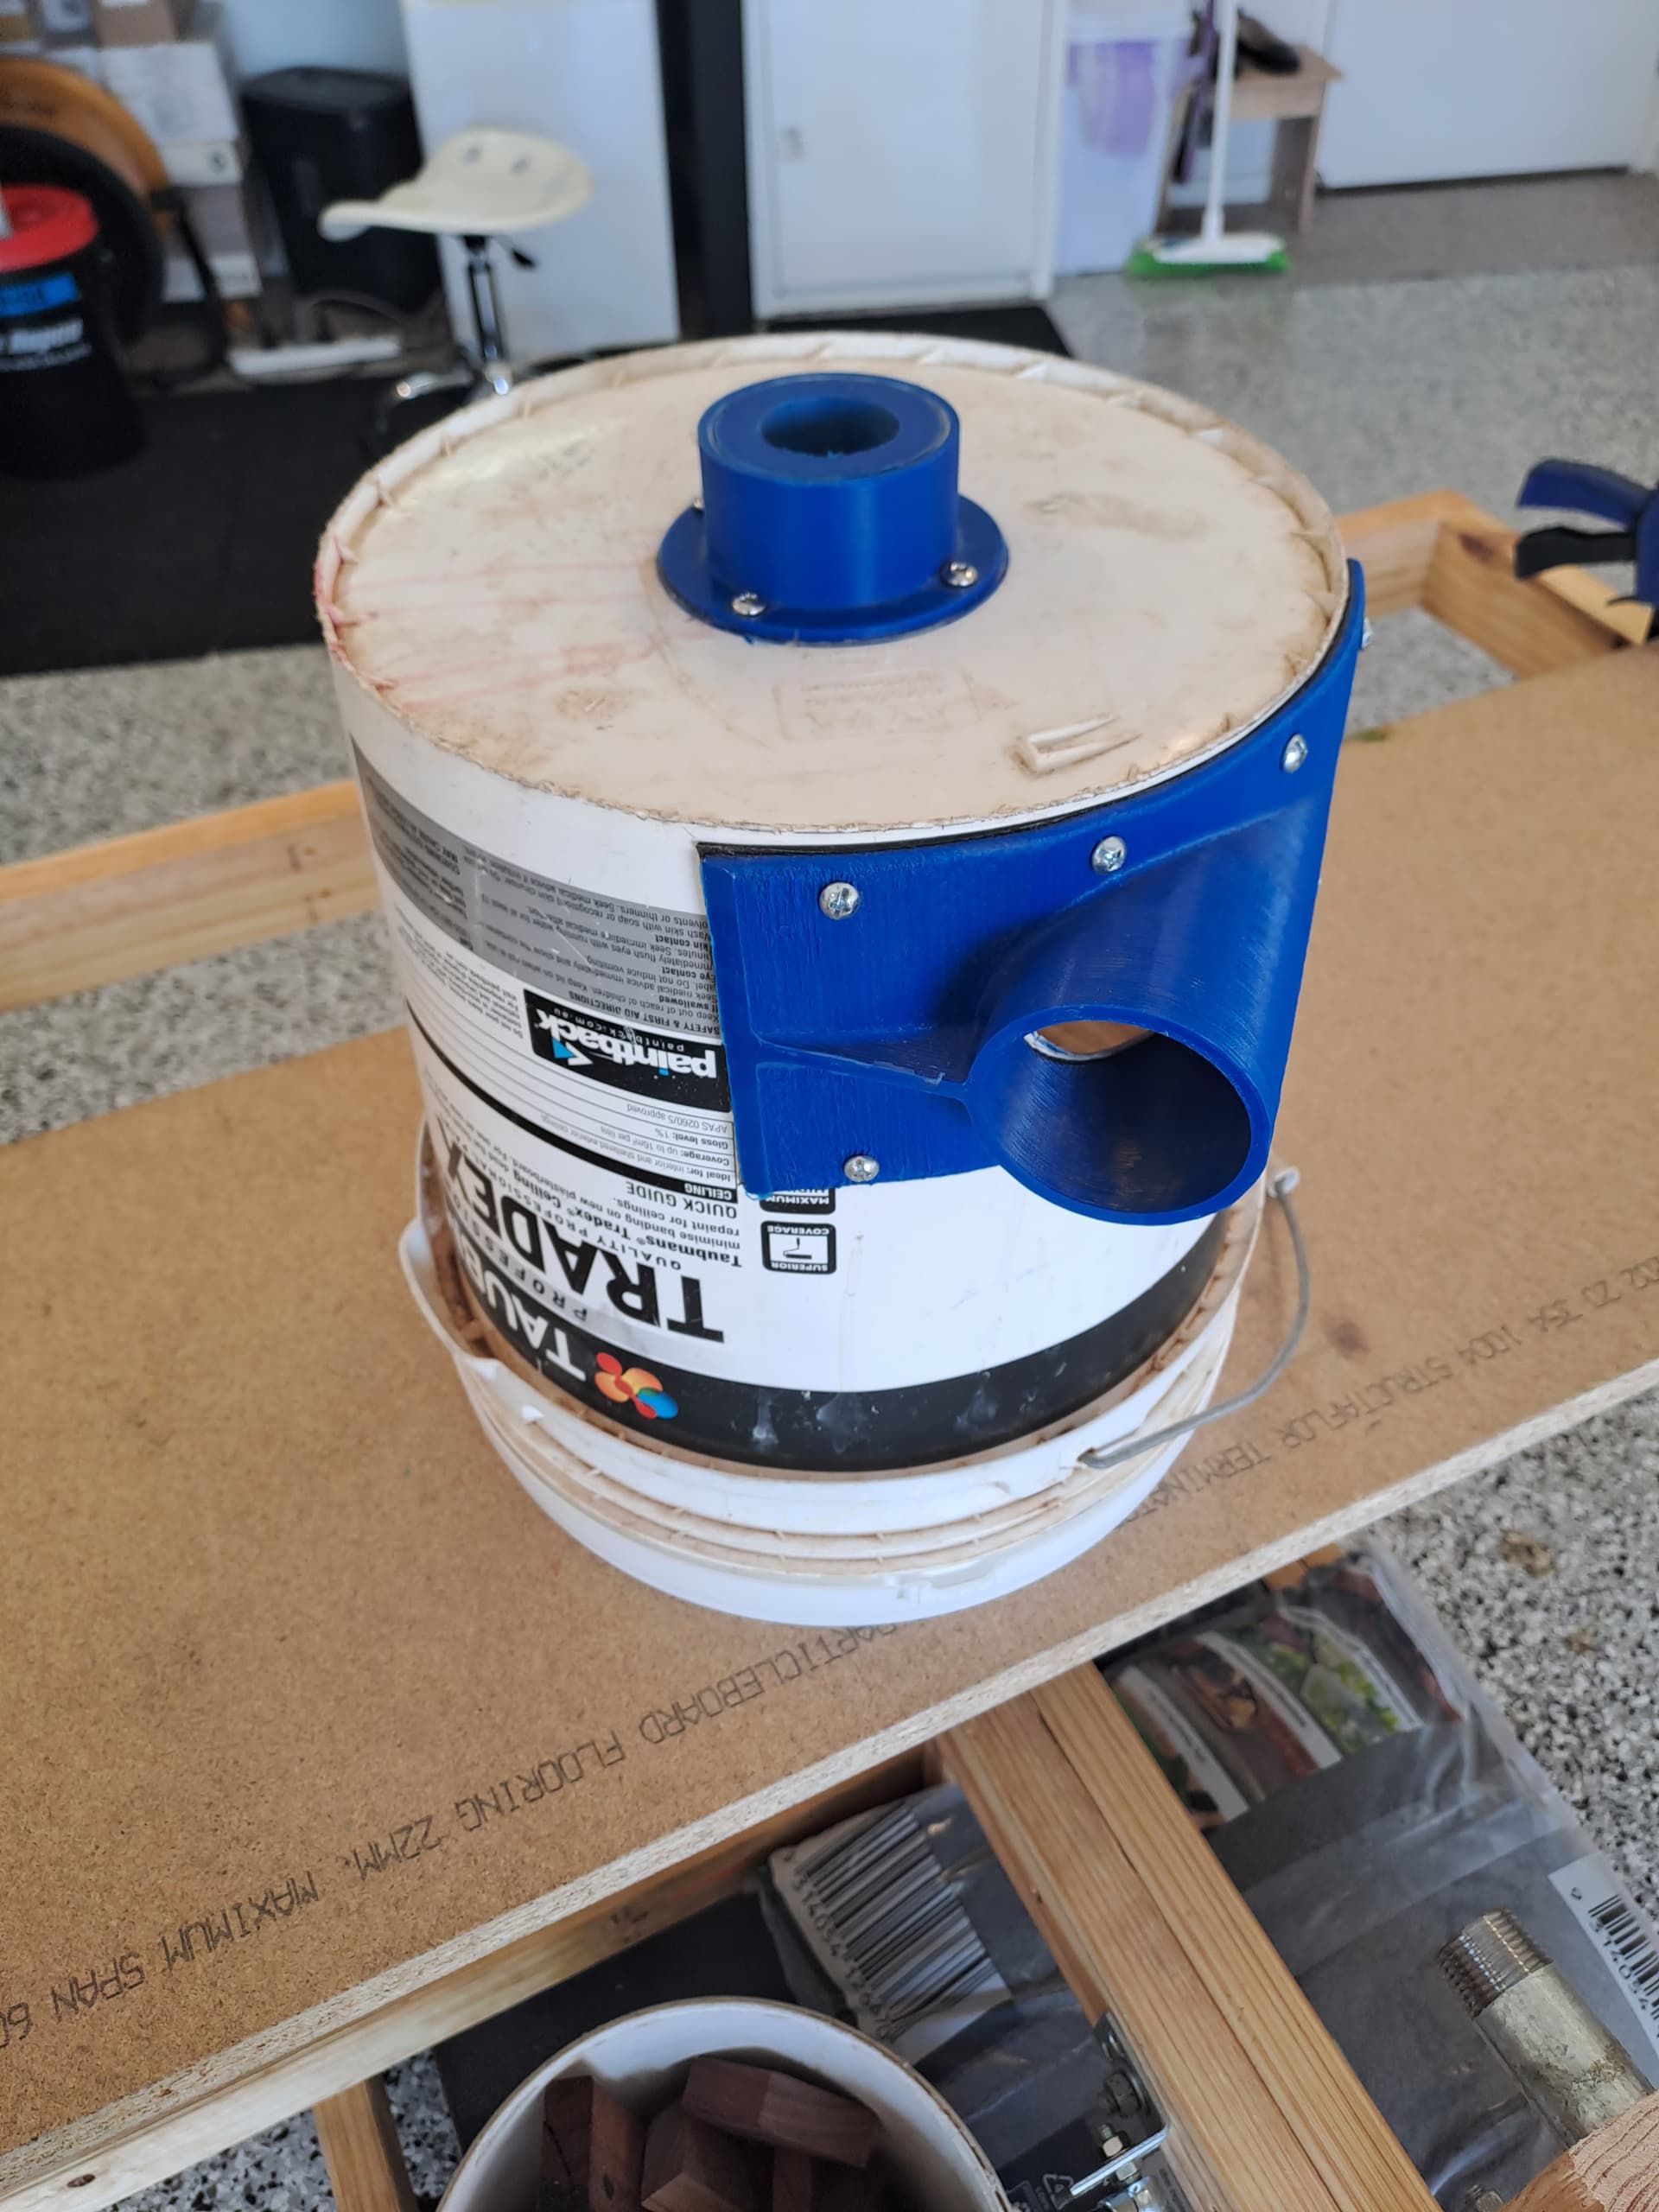
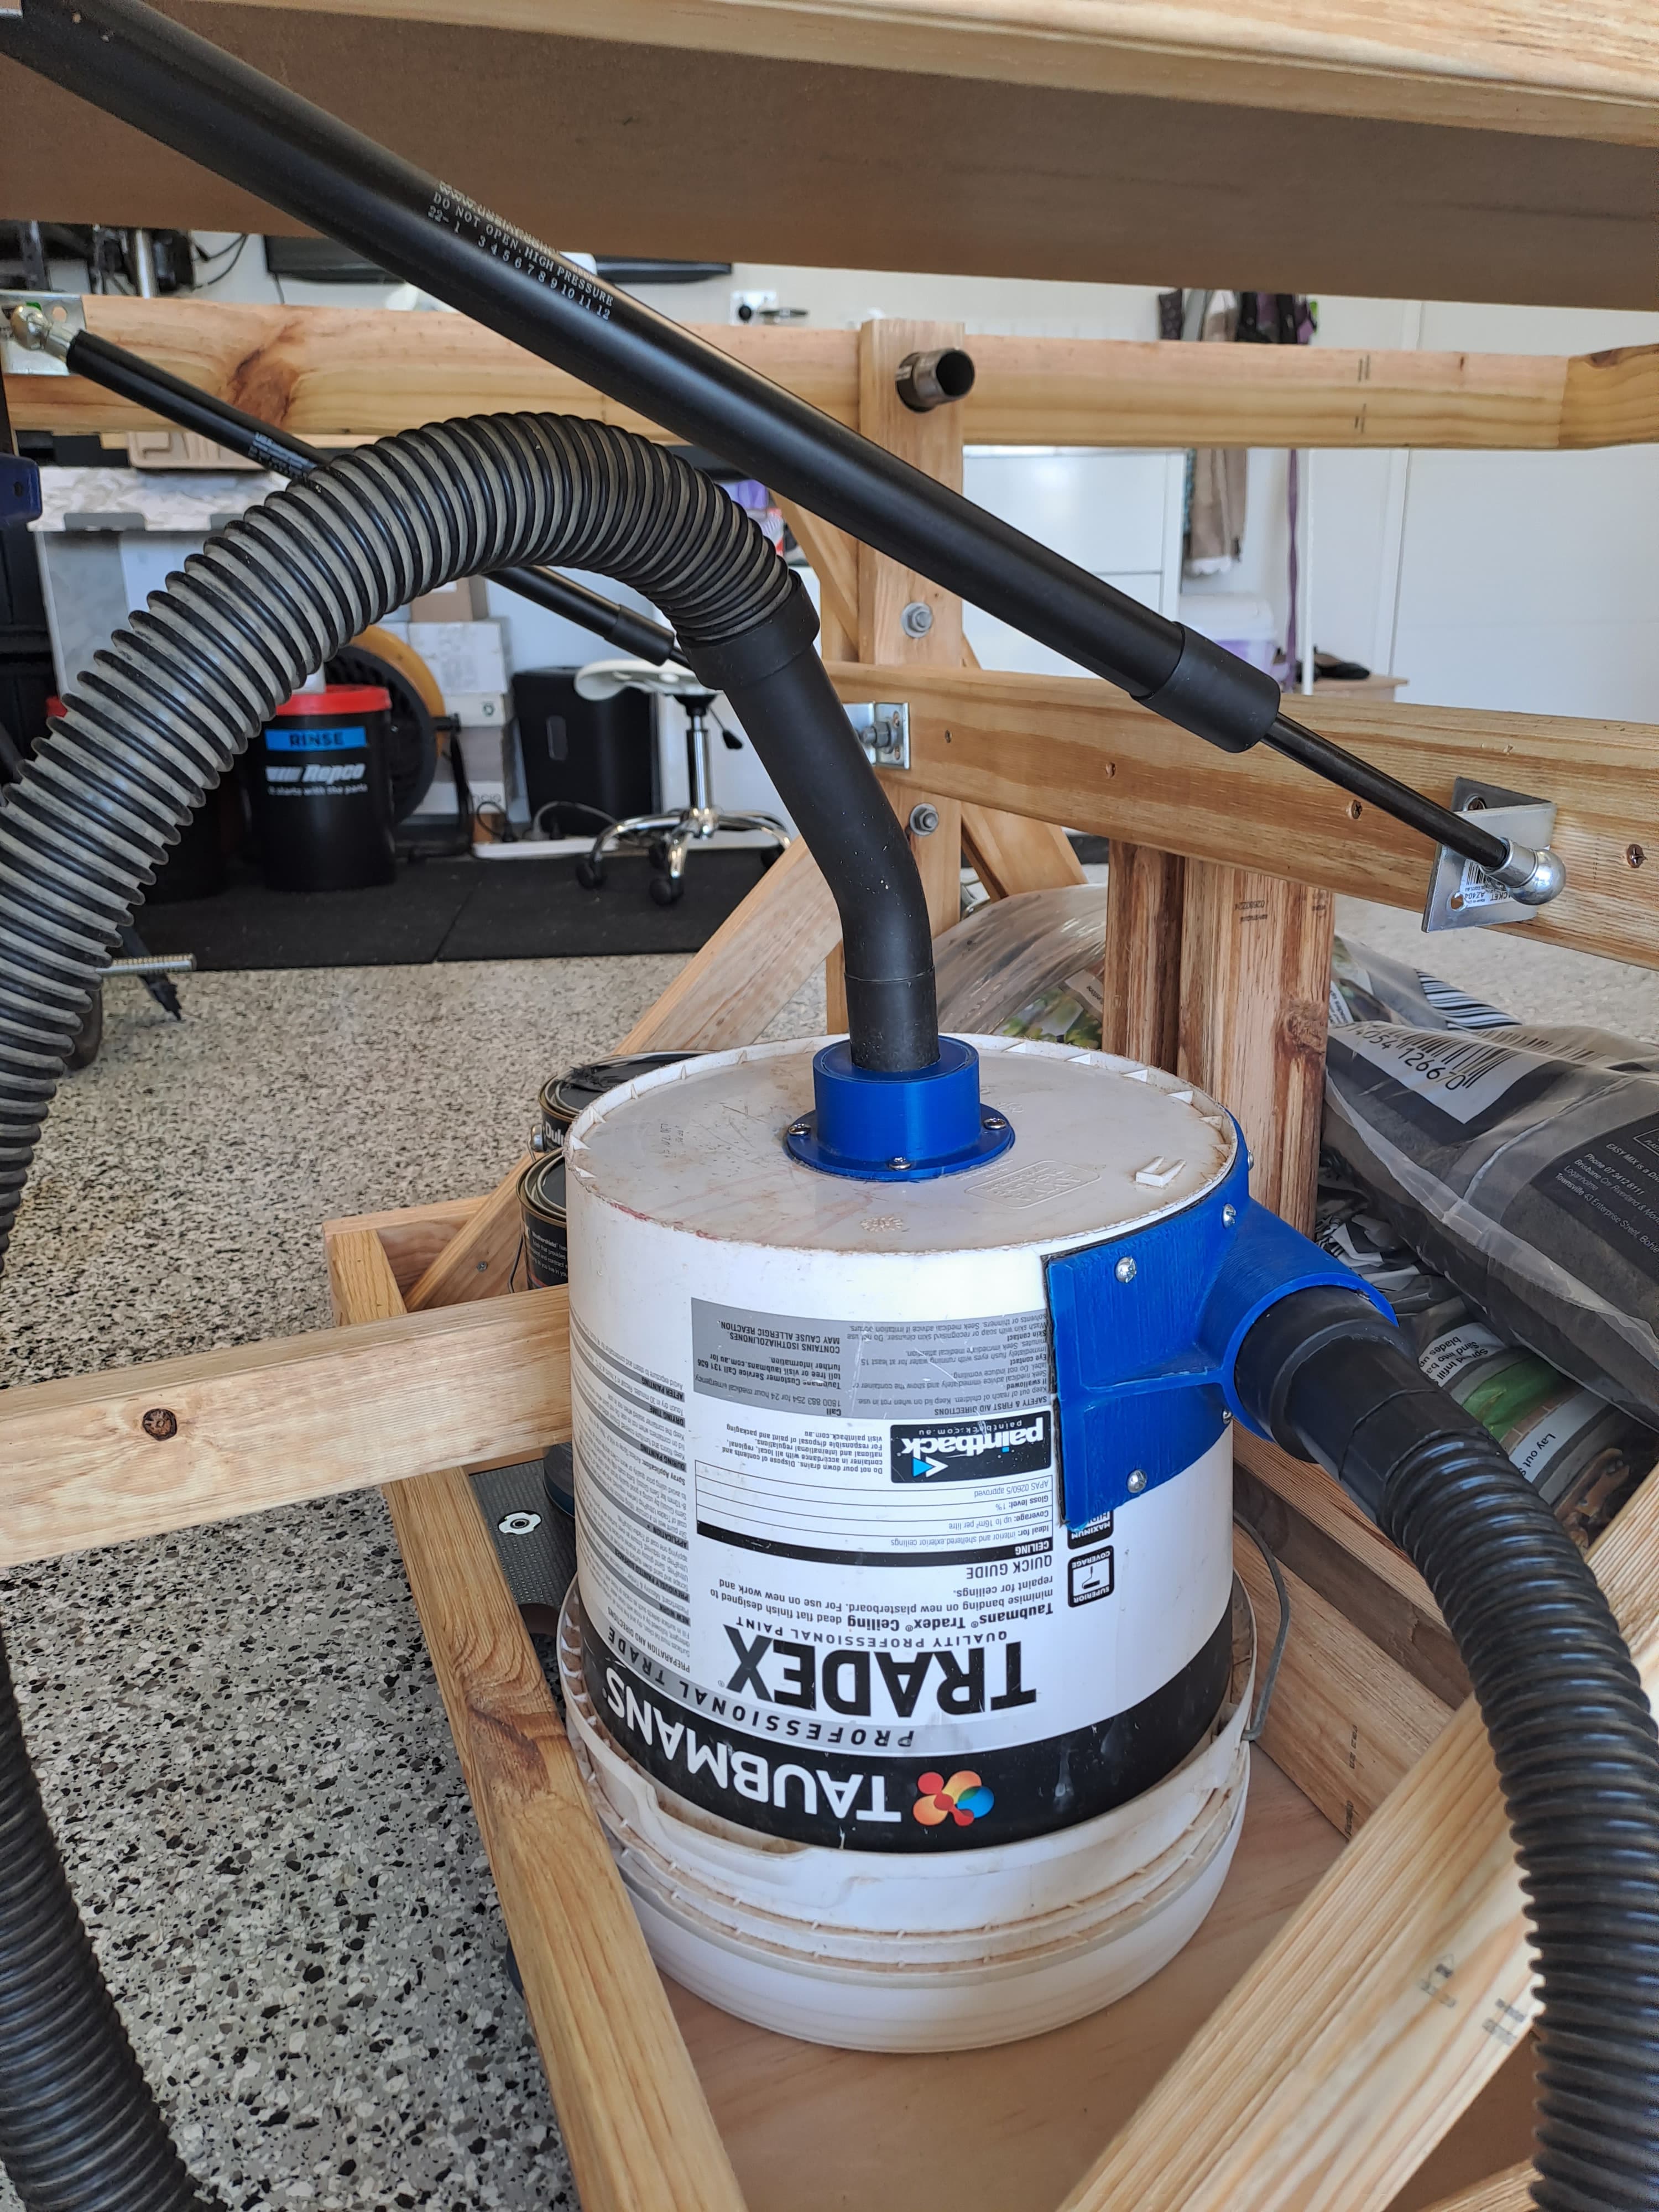
And thats where I am currently up to in the process. Plan is to have the sheets for the torsion table delivered next week and the printed parts should be close to being completed by the end of next week also. Need to source some vacuum hose and sort out the Bunnings Shop Vac and 3D printed DIY Dust seperator cyclone for a trail run. Other than that not much will be getting done this weekend being it is fathers day. I might start work on mounting the gas struts to the cross beam on the Dolly Trolly early next week.

Cheers, Sam :beers:

P.S. Any feedback will be greatly appreciated. TIA

14 Likes

Well planned out…I bet you have a super clean shop as well.

Better get something dirty soon or this group won’t trust you long :laughing:

1 Like

I don’t get things dirty often enough, but once I do they stay that way for a long time.

Wait, maybe that’s not the flex I think it is …

Looking awesome!

Understood, lol. Looks like I need to get CNCing and make some dust and chips. I did downgrade from a 3 bay shed to a large 2 car garage as we moved towns for better opportunities for the kids. Got to keep all my tools at least.

Dust extraction is a priority as the wife and kids a prone to ashma. Must to stop the new house getting filthy so it keeps me tidy I guess :grin:

Thanks Doug, really appreciate your work and help. watch this space for the torsion box build :grimacing:

1 Like

Hi Sam, depending on what size shop vac you go for- I just went with Ryobi 30l wet/dry. Pretty good, but normal size hose.
I purchased a Triton dust bucket to go with it for dust extraction and some extra hose through ebay- I have more than enough hose for a large table( full sheet-almost build).
Looking at your base, it looks complex to support your machine -I am looking forward to seeing how it comes together, especially the large cutting surface.

Good luck, there are a few builders in Perth now, so if you’re looking for local assistance, just call out.

Anthony

Welcome Sam!

Same here and the 5 year warranty helps defray the noise! Except I have bought a 2" (51mm) hose from Carbatec. It’s a bit of a pain because it doesn’t fit anything exactly, but I’m pretty happy making custom bits.

I can recommend my Camlock setup! :smiley: (I should have all the parts needed to connect from the Ryobi through in a day or two if you are interested) Will edit this link when I can access Printables.

One day I’ll do an entire thread on my dust setup, but since on another forum that story has been running since 2007 and it’s still not finished, I’m a bit reluctant to start!

2 Likes

Hi @Anthony0281, thanks for the info. I will have a wander around Bunnings in the morning at the vacs. I have a bit of a 3D printed dust extractor setup that i’ll post pics tomorrow.

lol, I too am looking forward to seeing how it will fare.

Hi @bitingmidge, I am interested in the camlock setup and await your edit. In the meantime I’ll have a peruse for your setup

I’m sorry I should have attached a link -

Here’s my entire vac collection as it stands (Ryobi connector almost done)

And if you have bigger dust collection gear, here are the bits for that.

3 Likes

They look great Peter. I will keep these in mind when I make up my mind.

1 Like

Just a couple progress pics of the support table and the dust collector I made a couple of years ago with 3D printed parts.


7 Likes

Looking awesome!

Quick update, sheeting arrived and OSB forthe base was fixed to table for trials. Printed bits arent far off either.


More pics tomorrow

4 Likes

OSB board fixed to tilt frame. Left the chipboard for reference as it is 2900mm long which will be the length of travel for the LR3.


Just a couple of cutouots for clearance of the legs when tilting. Now just waiting for the parts to finish prining then prelimary assembly for cutting strut supports and then the 17mm ply for the torsion box.

2 Likes

Progress update. Been a tad busy of late and haven’t been able update the thread. I got some dark paint and painted the the table frame base. Still have to get the LR3 built so I can cut the tosrion box which will also get a coat of the dark paint. Parts have been printed and will get some pick of those up ASAP.


The OSB bowed up a bit thanks to the timber support bowing after a couple of weeks framed up. I am hoping the Torsion box should negate any issue as the OSB sheet will be unscrewed from the base frame, screwed to the base of the torsion box and the fixed again to the frame. Will cross that bridge when I get there, hopefully soon.

6 Likes

I have the printed parts and now. I think I am going to have to change the tilte of this topic, if thats even possible, to ‘Magenta Dreams’.


One of the end stops switches was missing the metal trigger, but I have a few spares left over from the old Geeetech 3D printer. Will see how it fares.

Today I am going to try ang get the gantry built and mount it on to the temporary table top.

3 Likes

I got you!

2 Likes

@vicious1 LEGEND!!!

3 Likes

Always!!!

2 Likes

That reminds me of a saying from Japan… If a thing exists, there is a “Hello Kitty” version of it.

1 Like