For those wishing to follow along, this is how I got started on my LR4 adventure. Special thanks to all those that offered help in order to get me to this point, despite my frustrations .
I’m planning to get started on assembly shortly! I still need to source my building materials (OSB, conduit, etc) but have enough to at least get assembly started!
Stay tuned kids, I’ll do my best to document my progress
As I wait for my touchplate to come in the mail before I finish my core assembly, I’ve been contemplating how I want to set up at least an initial table to get my strut plates cut. My local orange box store didn’t seem to have anything larger than 8ft in non-dimensional lumber. The other big-box does have 10ft boards of PVC - not sure that’s rigid enough?
I want to get working on something like Ryan’s parametric table design, but I’m not sure what material would be best for the side rails if I can’t find boards > 8ft..
I’m hoping to make a single trip out (would need to rent a truck to haul full sheets) to pick up my rails, sheets (spoil board and such) and whatnot. I have some MDF sheets in my garage - they’re not full 8x4, but would be suitable for ripping into strips for the parametric table ribs, etc..
Any suggestions on how best to solve the side-rail issue without having >8ft boards?
I didn’t want to sound like I hadn’t read your thread; you have a plethora of information in there.
I was more asking if there’s a means to join/layer boards of lesser lengths to adequately achieve the required length.. What I’m thinking is if I find suitable MDF boards @ 8ft, I could cut them in 5ftx2 + 3 1/3ftx3 and glue them together in a pattern like so:
I’ve bought them before when I needed strips I know won’t warp. I’m sure Home Depot has similar. If you want to join them together for additional rigidity you could, but you might as well start with these instead of 8’ boards so you have less cuts to make.
Edit: if you’re saying you don’t see the boards at Home Depot or Lowe’s, I think you want to look more because they do have them. If you’re saying you want to use what you have, then the overlapping boards like you drew would be reasonably rigid I would think.
If you have to join them do it like I did in that thread, at a 90 degree and just use a small backer block at the joint, flat on flat isn’t as rigid as the 90.
Yes, this. I have scoured both of my local stores. I can expand my search to nearby locations, but I legit cannot find anything other than PVC boards or dimensional lumber..
These will work as well. The sides hold very little load distributed one the one side with a steel rail and on the other between two wheels about 12 inches apart. Anything more than 8 foot should be fine.
IF you need to join two 8’ pieces, it should be no big deal at all. Make the joint at the far end since that should get used less and if you can ever feel it, sand it and paint it again. It really really is not a big deal. The joint is only felt by one wheel at a time and only on one side.
No. I don’t really want to turn my car into a kite.
If I need stuff like that, I either get a family member with a truck to help or have it delivered from a local non chain lumber yard. They used to deliver for $25 but I think it’s $50 now.
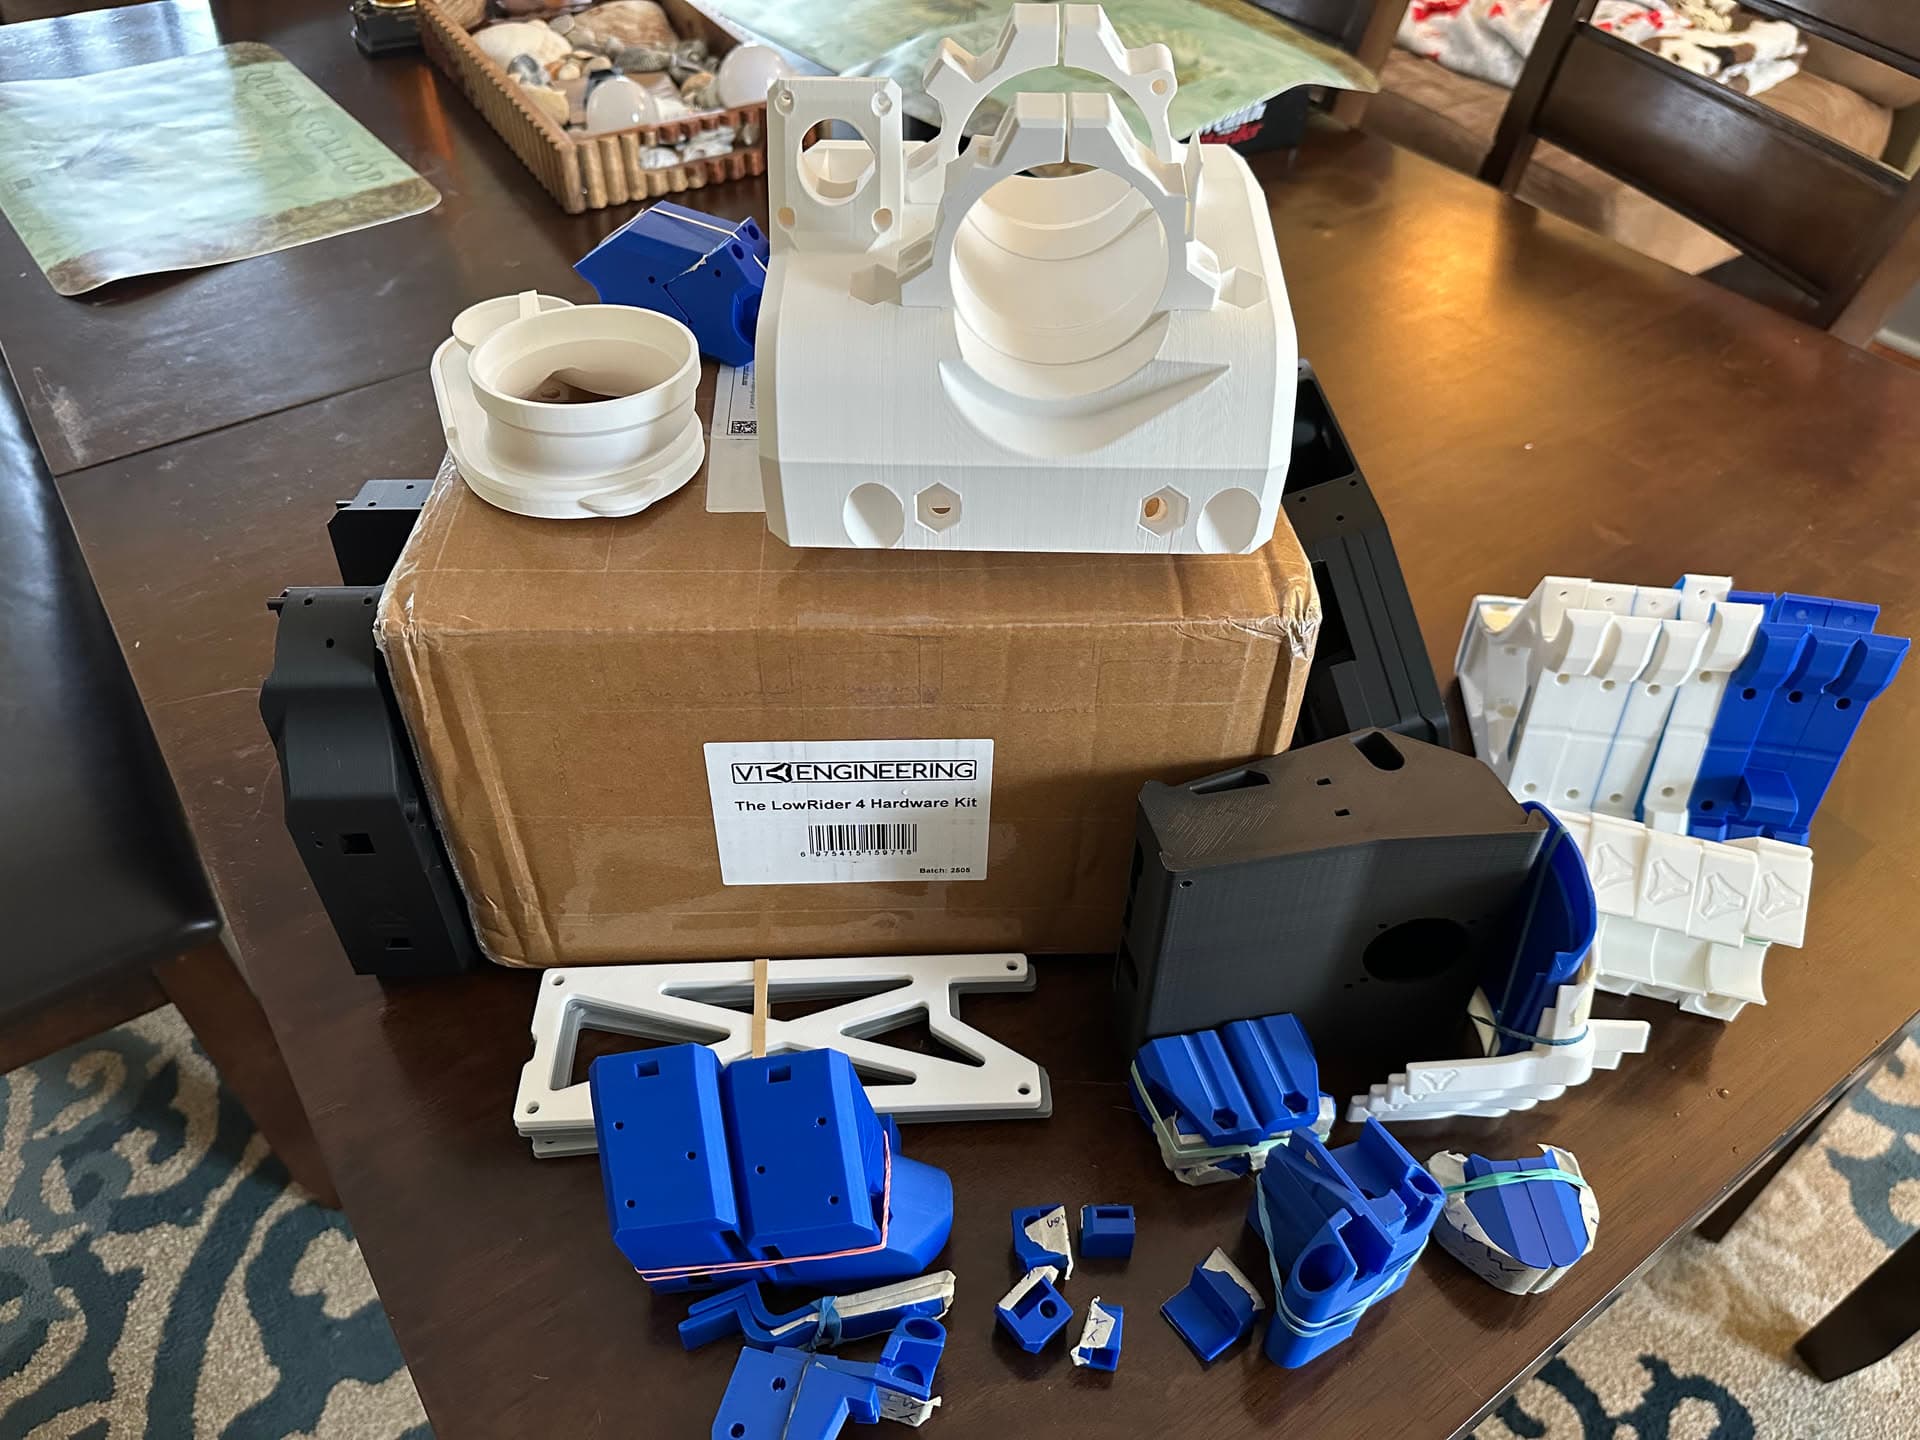
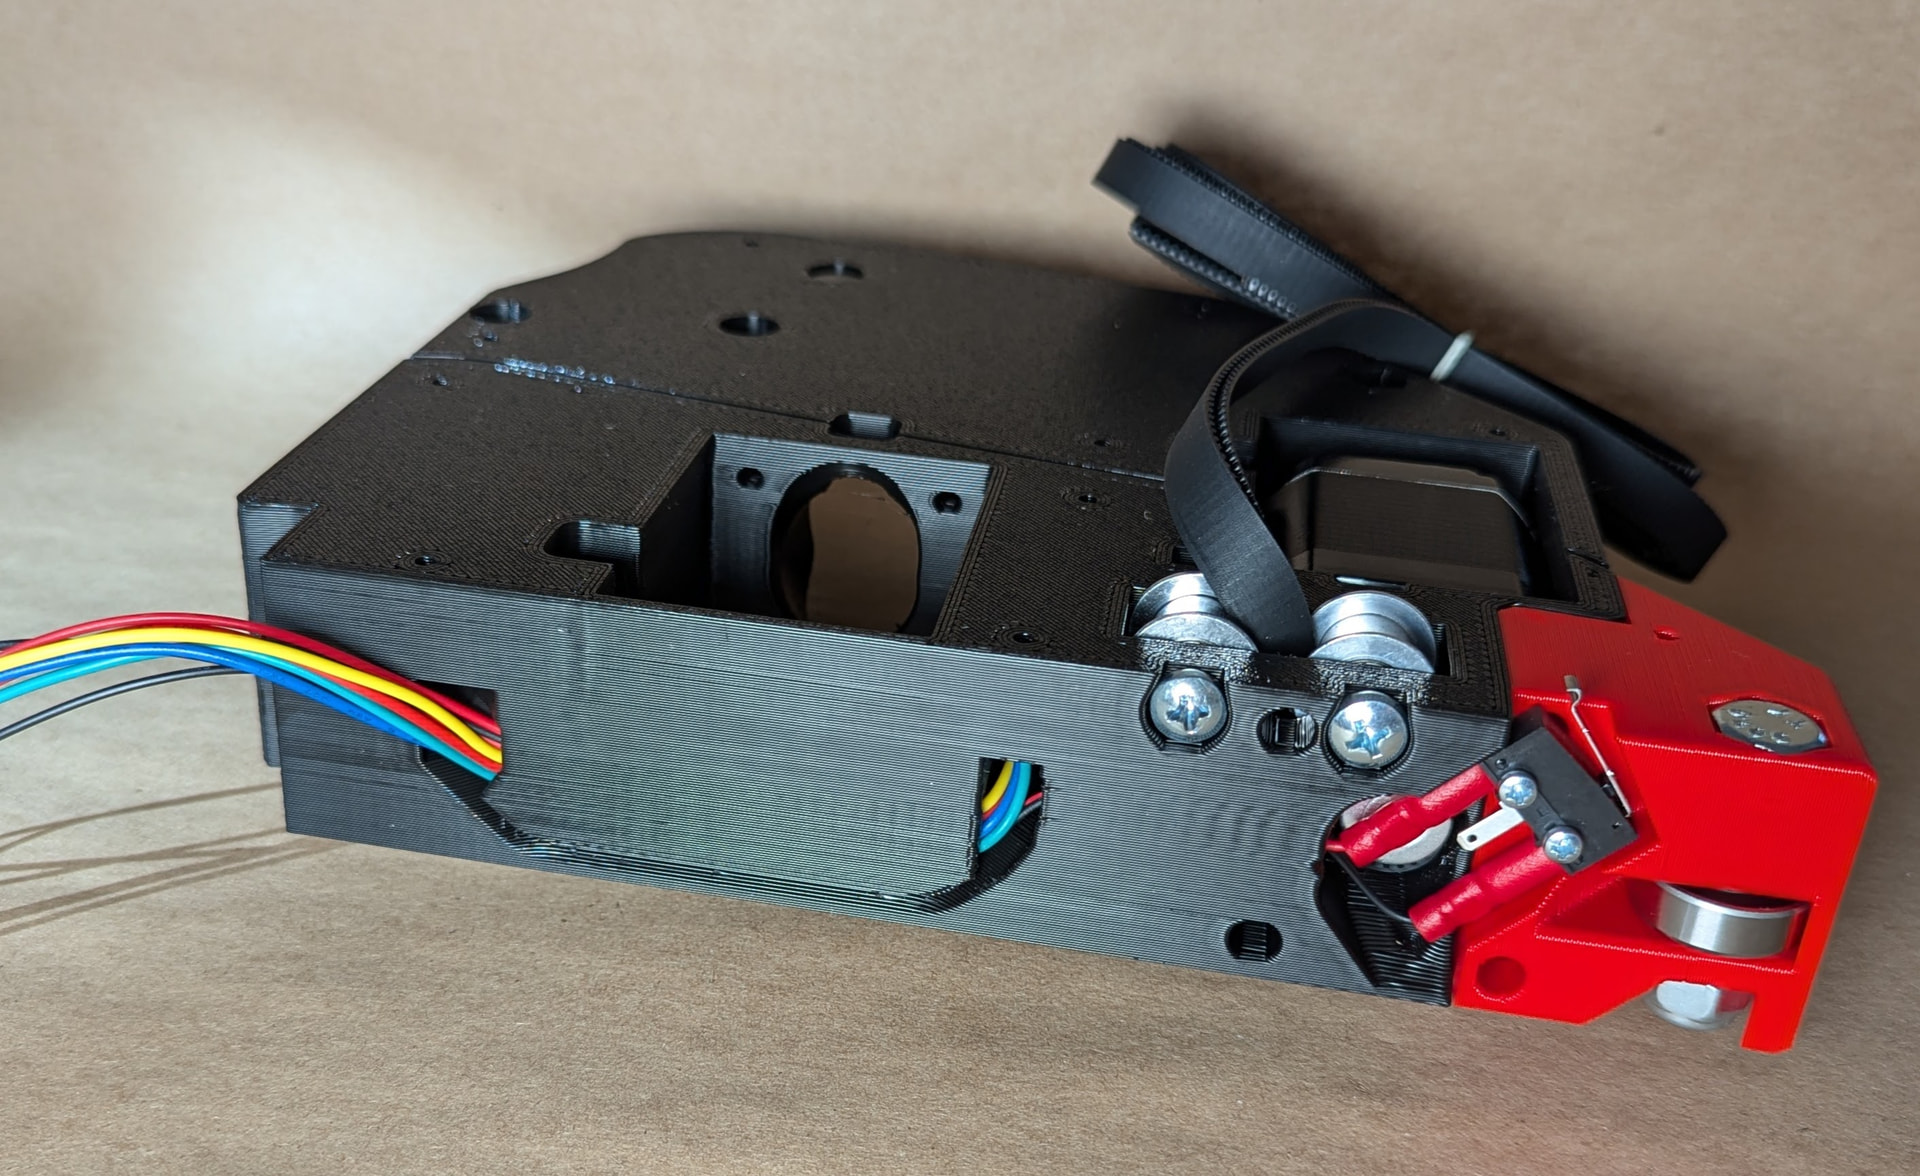
but am still waiting for shipment of my touchplate and endmills before completing (weather has delayed most shipments ) . I’ve also assembled a bit of the YZ plates
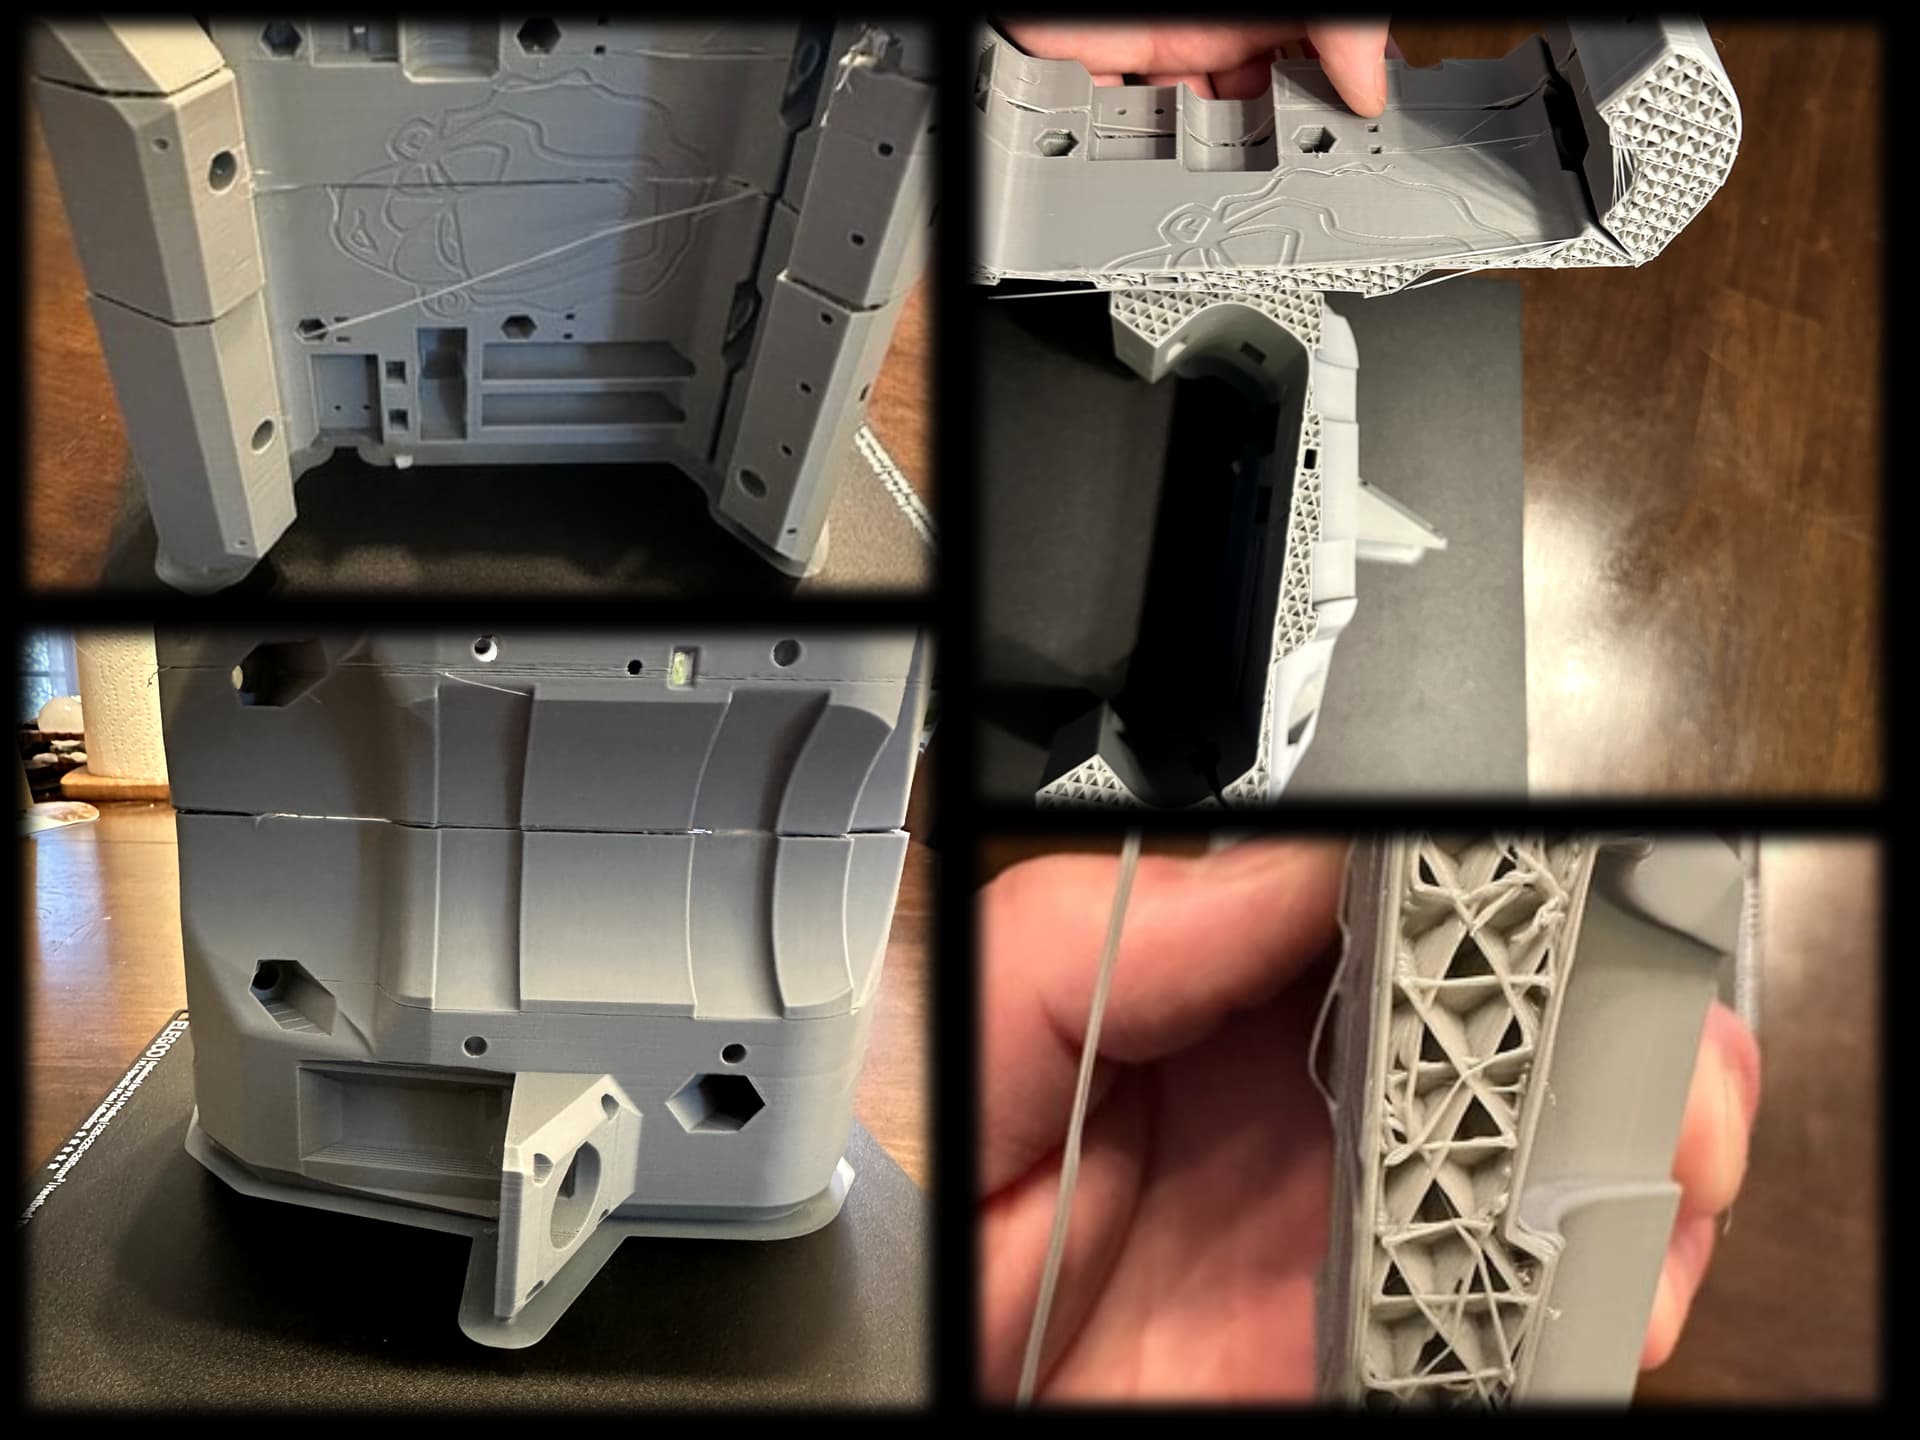
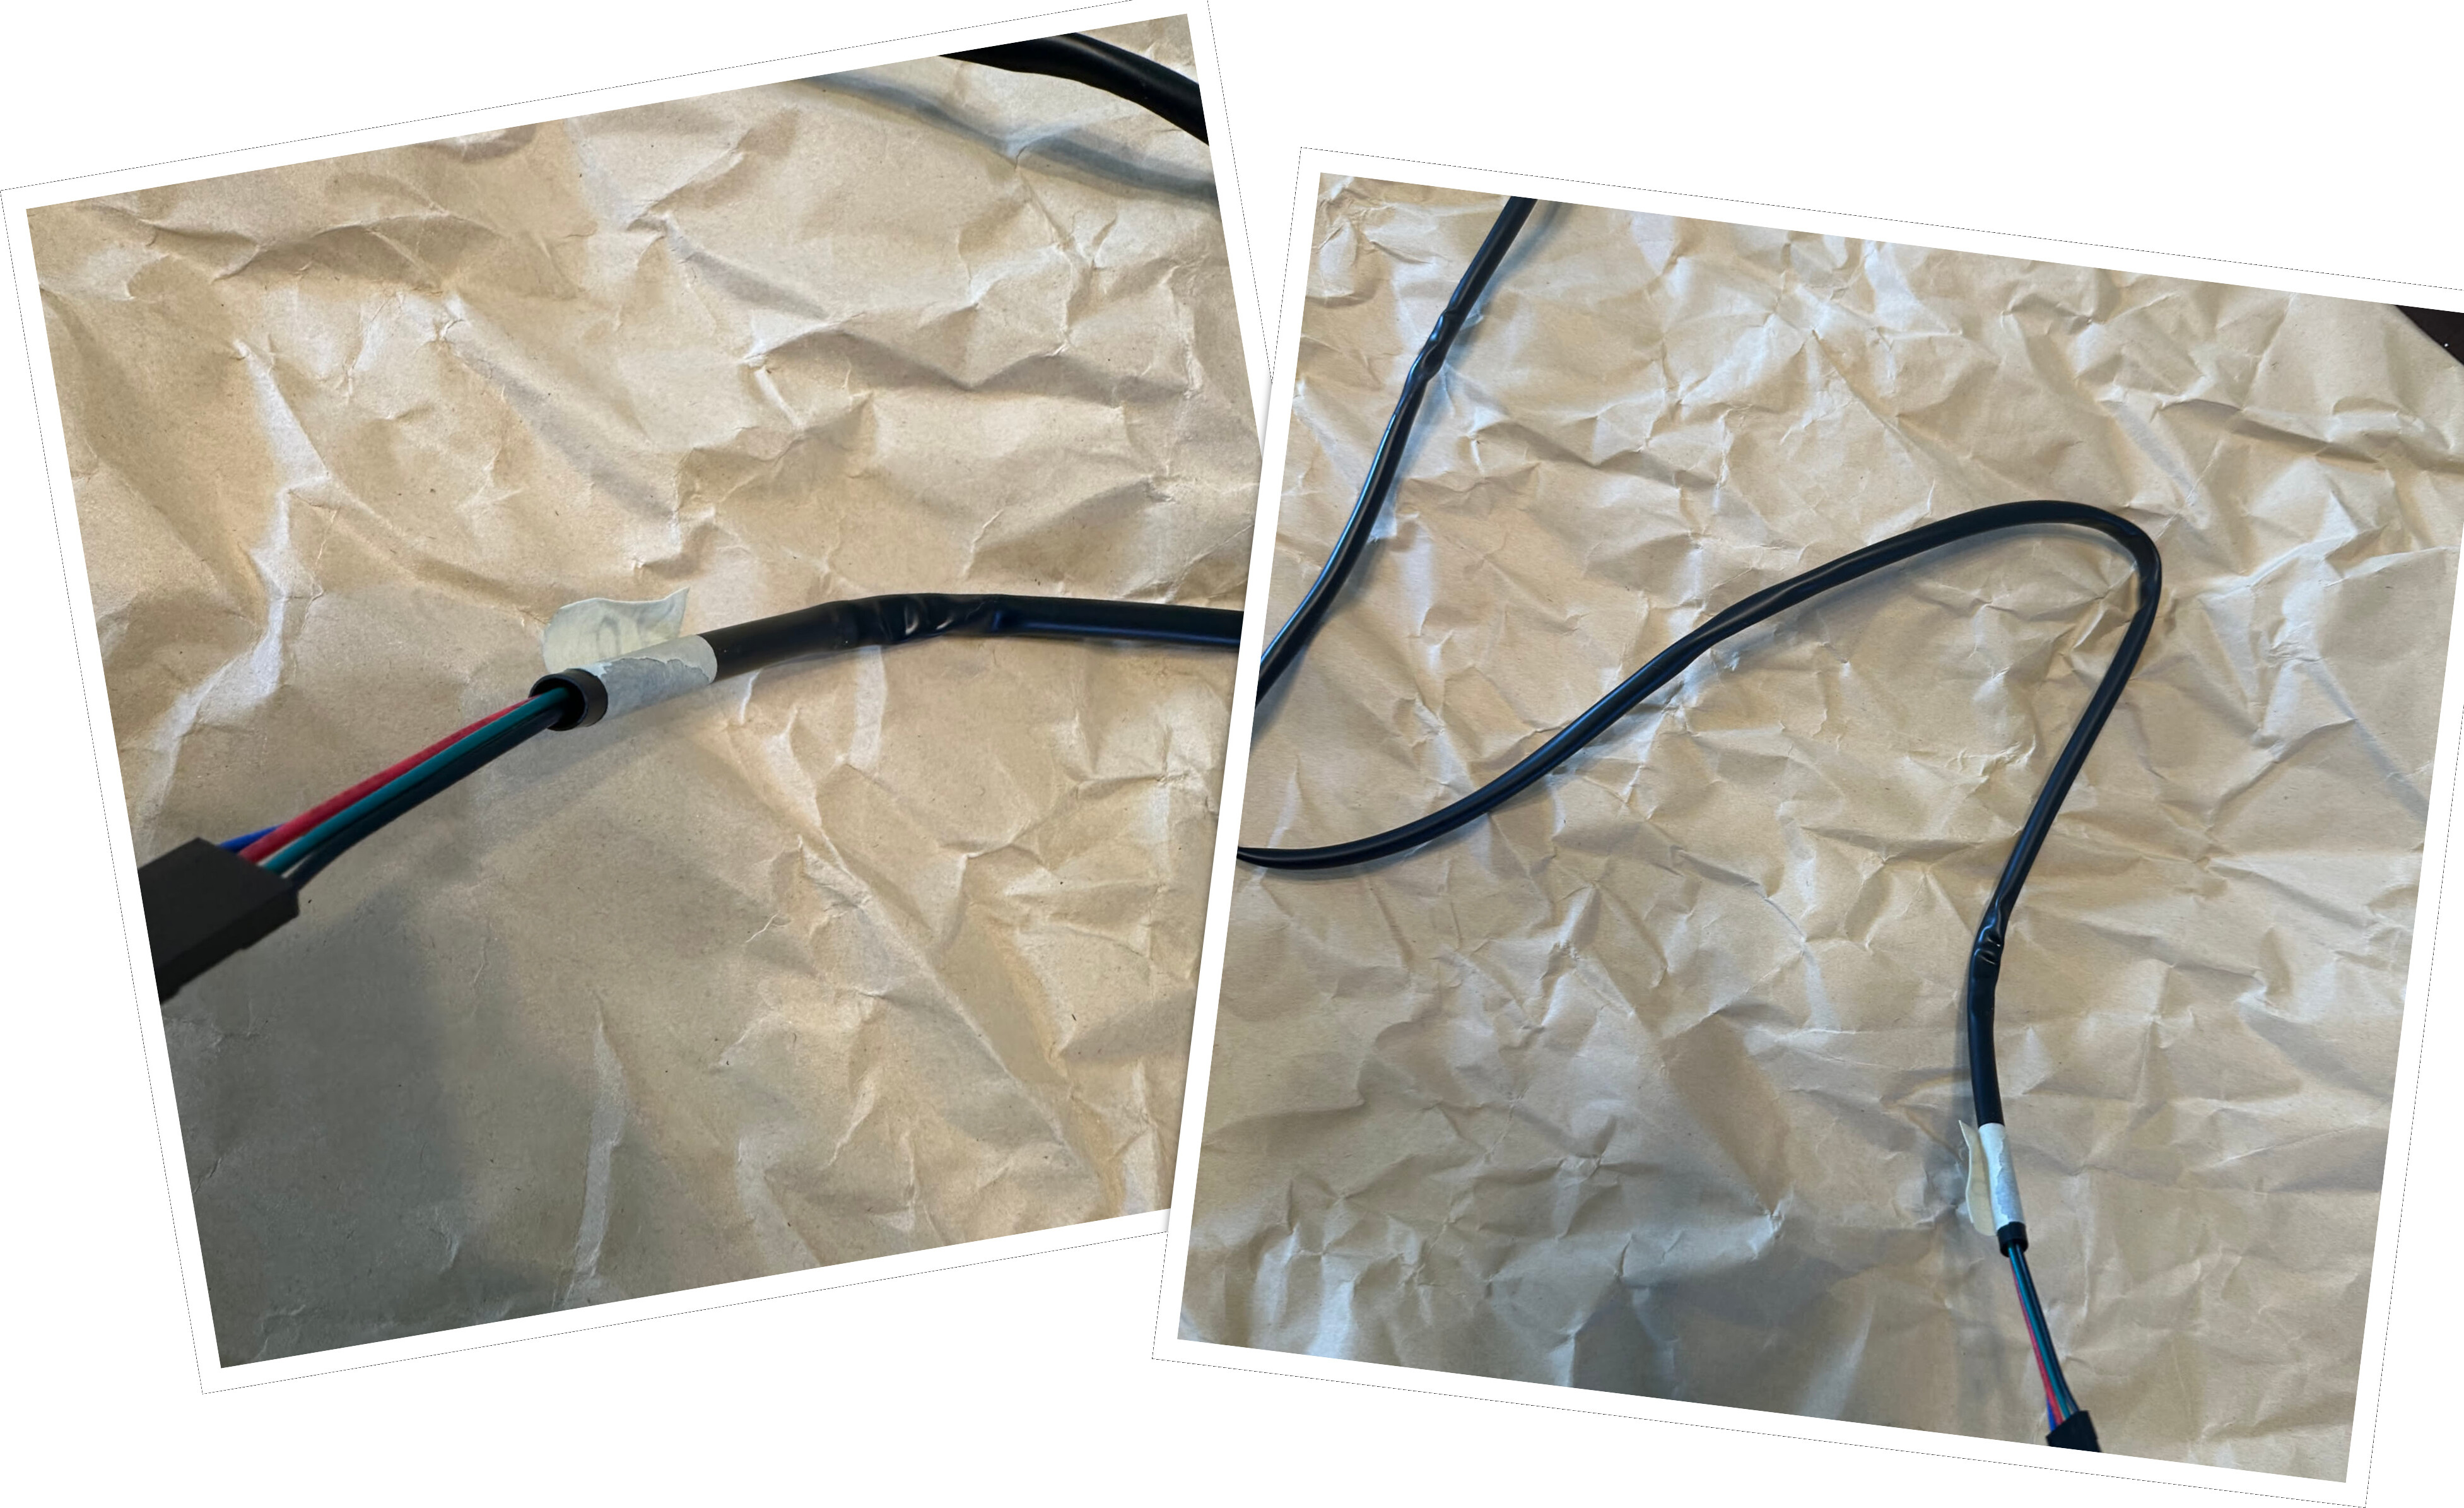
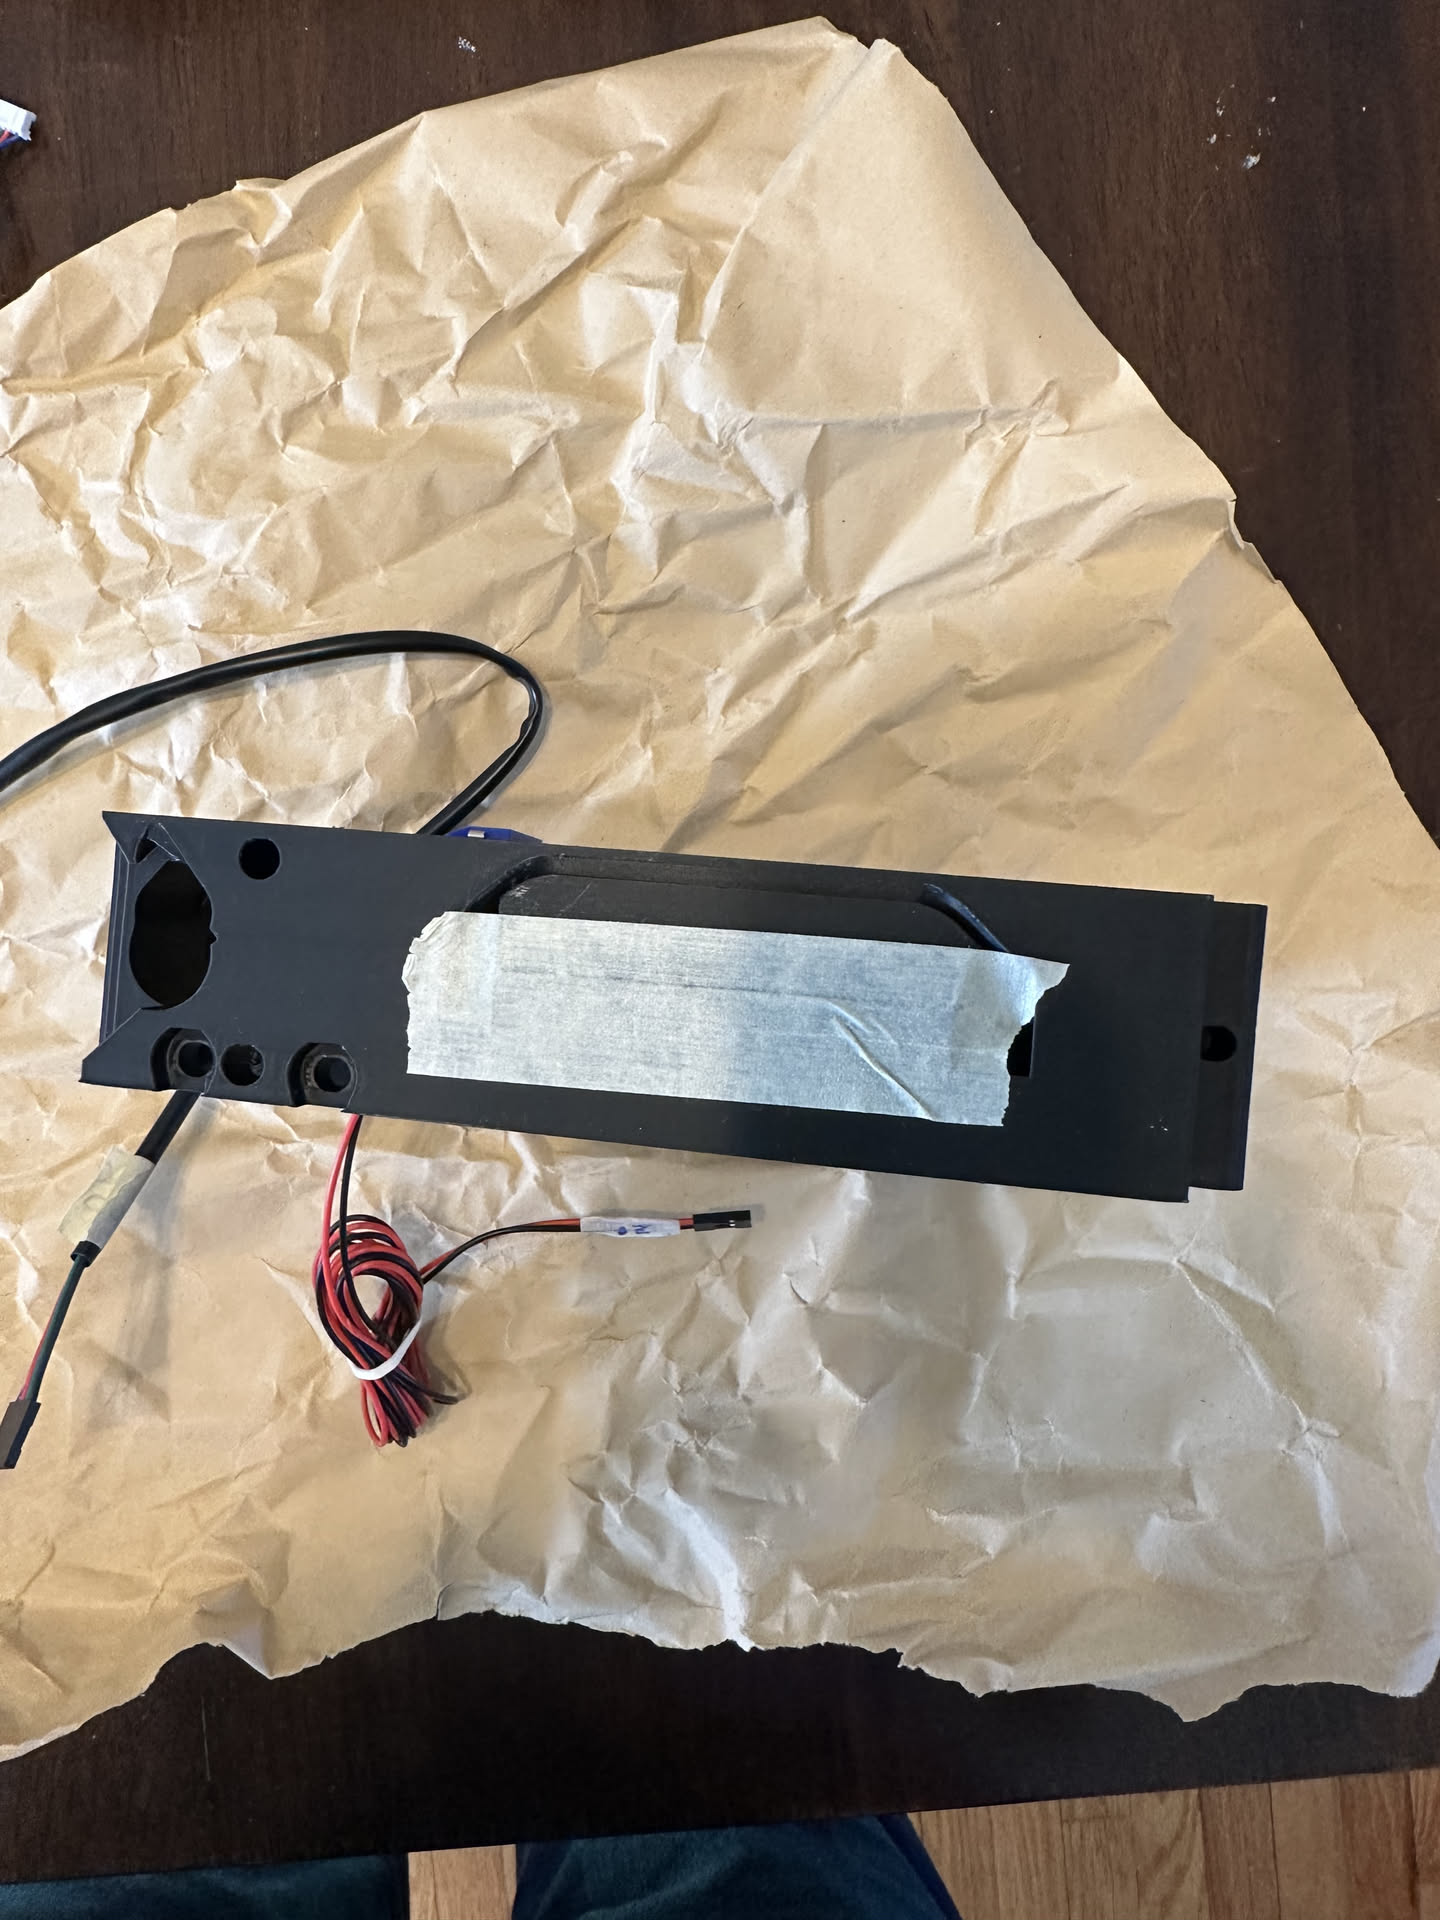
and am now seeing if it’s possible to glue it back together, or if it would be best to just reprint. I know this specific piece is not structurally relevant, but I also understand this side needs to have a flush surface, and the wires need to be routed well to avoid interference..
If y’all think it best to reprint, then so be it. That still leaves the question; should I strip this cover, or is there some trick I’m missing? (based on the start of my previous thread, I’m assuming the latter)
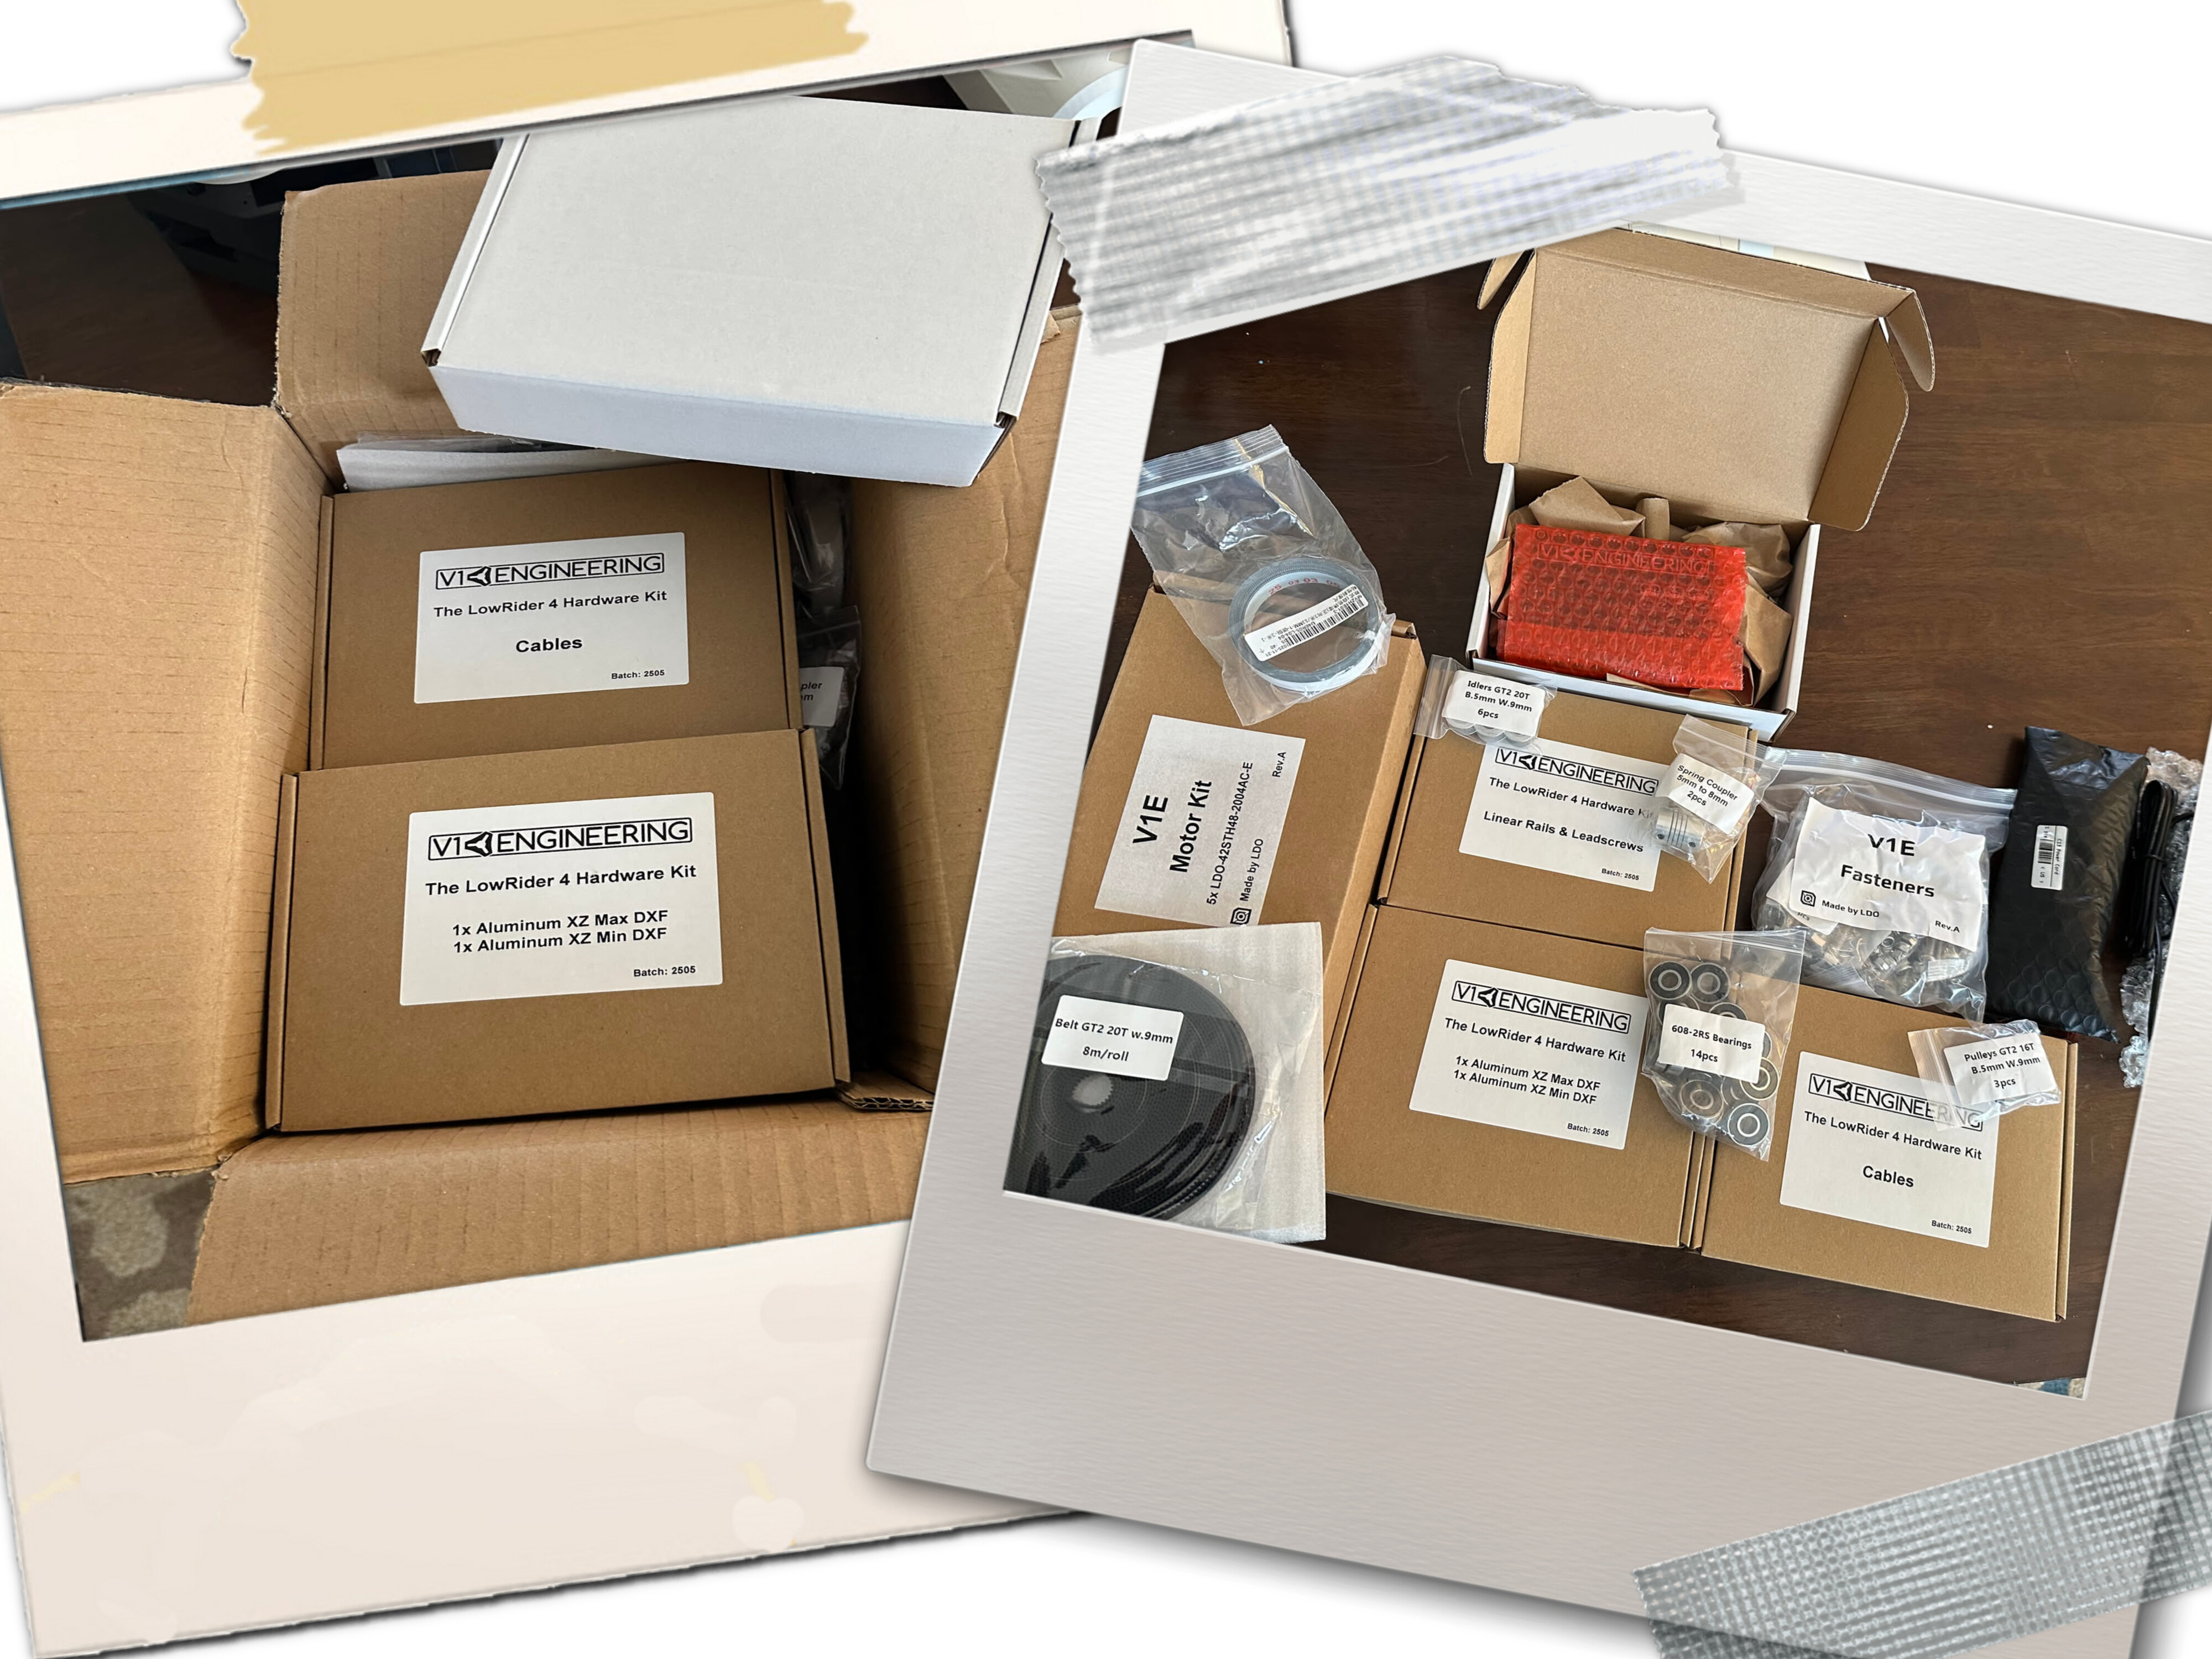
Question then; are these cables assembled by the V1 team, or ordered 3rd party? Not that it matters in the end, just.. curious of the logic for the change.