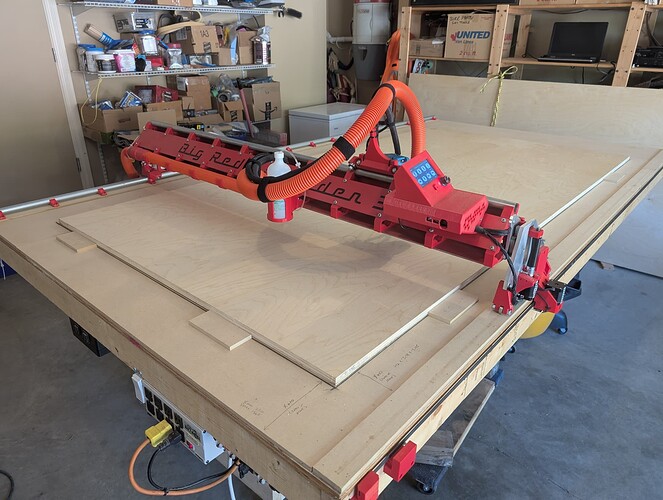
Hello All! Been a little while since I have been active on the forum, unfortunately have not been able to use my LR4 much in the recent months. But I am looking to get it back up and running to hopefully get a head start on projects for the holidays. Had a quick question regarding the general table setup for a lowrider.
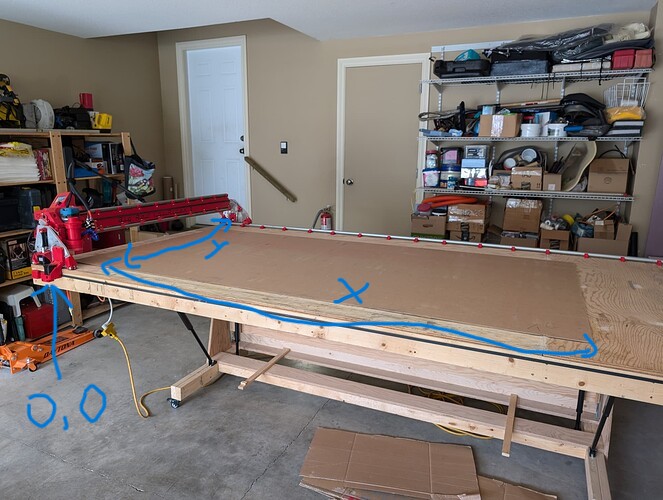
I was wondering if anyone uses their lowrider day to day from the y axis, rather than the x axis. Meaning, when we normally think of using the lowrider, the router is “facing” us, and the x axis is perpendicular, with the y axis parallel. I was curious if anyone uses their lowrider from the y axis, kinda like in this very well drawn image . To preface, I have a perfect little cubby/cutout in my garage that could fit a LR4 in this orientation.
I am familiar with changing settings/configs in order to make the origin a different location, even though you wouldn’t necessarily need to, but I am more so asking about the quality of life when using it in this fashion.
Is it difficult to maneuver work pieces into place? Are there any noticeable pain points that make it not enjoyable to use? Keep in mind, I would only really have access to one side of the y axis, and walking around to the front or back isn’t an option.
Curious to hear everyone’s thoughts and opinions, and as always, thanks so much!
If walking around to the “Front” X axis that the gantry spans truly is not an option for your situation, then, personally, for a quarter sheet 2’ x 4’ usable cutting area or smaller, I would stray from the yellow brick road recommended path to success.
Personally, for the sake of maximizing joy and enabling easy machine usage in your situation, I’d go with “Landscape” mode, and accept the slower feed-rates that comes with that… I don’t know how much slower in mm/s or %, maybe someone has numbers?
Some context, I’ve tried both layouts…
I like my current recommended by default “Portrait” mode quarter sheet LR4 layout. But, I couldn’t imagine trying to use it without easy access to the “Front” where the Router bit needs to be swapped, probed, clamping/screwing, closely observing cuts, etc… I’m average height without Orangutans arms, so, others more genetically gifted might feel differently. My CNC bench is on swivel casters with brakes. I’m not getting younger/fitter, am trying get all my heavy tools onto wheels/swivel-casters, that’s another topic… Mentioning incase casters could help in your situation.
+1 for Landscape orientation, although I would suggest putting in a few hours on your YBR (yellow brick road) LR4 before making the switch. This will ensure that all of the bugs are worked out, and that you are familiar with making good cuts and troubleshooting, before introducing some potentially complex variables.
I have an LR3 that I converted to Landscape, and based on the layout of my shop, it is really better for me than Portrait. I find loading large sheets of plywood much easier along the long edge of the table, and standing along the side at the origin seems more comfortable than standing along the end at the origin. Plus it simplifies the CAD and EstlCAM layouts, with the long edge always being X rather than Y.
Here’s a few pictures of my Landscape LR3 (parked at Home):
I haven’t converted an LR4 to Landscape, but it will be simpler than doing so on an LR3, as the limit switches for X and Y already have the holes pre-designed into the print files (which has confused more than one first time builder). You may need to reverse the Y belt holders so the limit switches are where YMax is on a standard build (which now becomes XMin). Software changes are reportedly very simple on the Jackpot board.
I don’t understand why changing to Landscape would affect your feedrate at all. The gantry is still the shorter axis, you are just calling it Y instead of X.
Edited my post to mention I’d only consider landscape for quarter sheet 2’ x 4’ or smaller build. I’ve never seen a full sheet 4’ x 8’ in landscape mode.
Narrower gantry in portrait mode will be more rigid, plus you can cut your struts. Cutting struts in landscape mode is more hassle…
By portrait/landscape mode I’m talking about the belt and rail orientation. Where, the default Portrait mode has belts (and rail) running along the longer axis. I may be using the wrong terms , someone will let me know…
I’m confused - that pretty much describes a both portrait and landscape, unless you build the gantry as the long axis..
You always want the gantry as the short axis - Building the gantry as the.long axis is not recommended, and has definite performance implications.
But swapping the limit switches and performing firmware modifications would still leave the gantry as the short axis, just calling the gantry Y instead of X.
If you’re stuck using the machine in some restricted access alcove situation then, for a 2’ x 4’ usable or smaller machine, you might consider “Landscape” oriented assembly that will have performance implications, and Struts will be harder to make as well.
[Going offline for a bit, eating and catching up on world events]
I see, you are thinking of Landscape as involving situations that have the gantry as the long axis. As you mention, that could work for a smaller build (not exceeding 48" gantry length), but would make cutting longer pieces (including struts) difficult, and would have poorer performance than keeping the gantry as the short axis. I agree completely.
I am thinking of Landscape as involving situations where you maintain the gantry as the short axis, move the limit switches, and reprogram things so that the short axis gantry is Y and the long axis belts/rail is X. This allows full length cuts, and no decrease in performance.
Either way is possible, but the gantry as long axis has issues that need to be considered (not recommended, IMO, unless shop configuration absolutely demands).
To @PKochZ71, what size is your build? Do you have space issues that would require the gantry to be the long axis, or are you talking about maintaining the gantry as the short axis?
Yea, sorry for the confusion. My intention is to have a build similar to Bartman where the gantry is kept as the smaller axis (18in cutting area in my case), and the y axis is around 30in. I also understand what Asa was saying in the sense that it would be difficult to use the machine such as Bartman uses it, in terms of general workflow. I guess that is what makes our diy machines unique, some people work better one way while other work better another!
I have a portrait machine, but I typically stand on the xmin side because that is how the space is allocated in the work space that is available - basement far distant corner. It typically doesn’t involve pieces larger than 20"x30" though, so any orientation isn’t a big deal unless it is something really dense, but that is out of scope for this machine. When the machine pauses, it can be driven to a suitable/ convenient location for bit change: no crazy long arms required. I have about 12" of extra table on the Y min side (normal operator side). Everything is oriented per usual. I never really thought about it being different, but it works. While I do have 2 feet to get to the x min if needed, the machine is tucked under some wall shelving, so it is awkward to stand at the xmin side. There is a PC on that wall at Y max, so I typically face that and may have been known to view jellyfin features during extended shop use. The extended table there for tools and other random things that are “necessary” makes it so I use it the way you propose and because that is how I set it up. Drive the gantry out of the way for load/unload. There is the Ymin belt right in front, but that is easily navigated or removed quickly with just a screwdriver if necessary. I say go for it. if you have never used one, you will learn to use it as you have it. The only wrong way is to either not use it or break it. both of those can be overcome.
I don’t find it difficult to use for workflow. Indeed, for me it is quite the opposite.
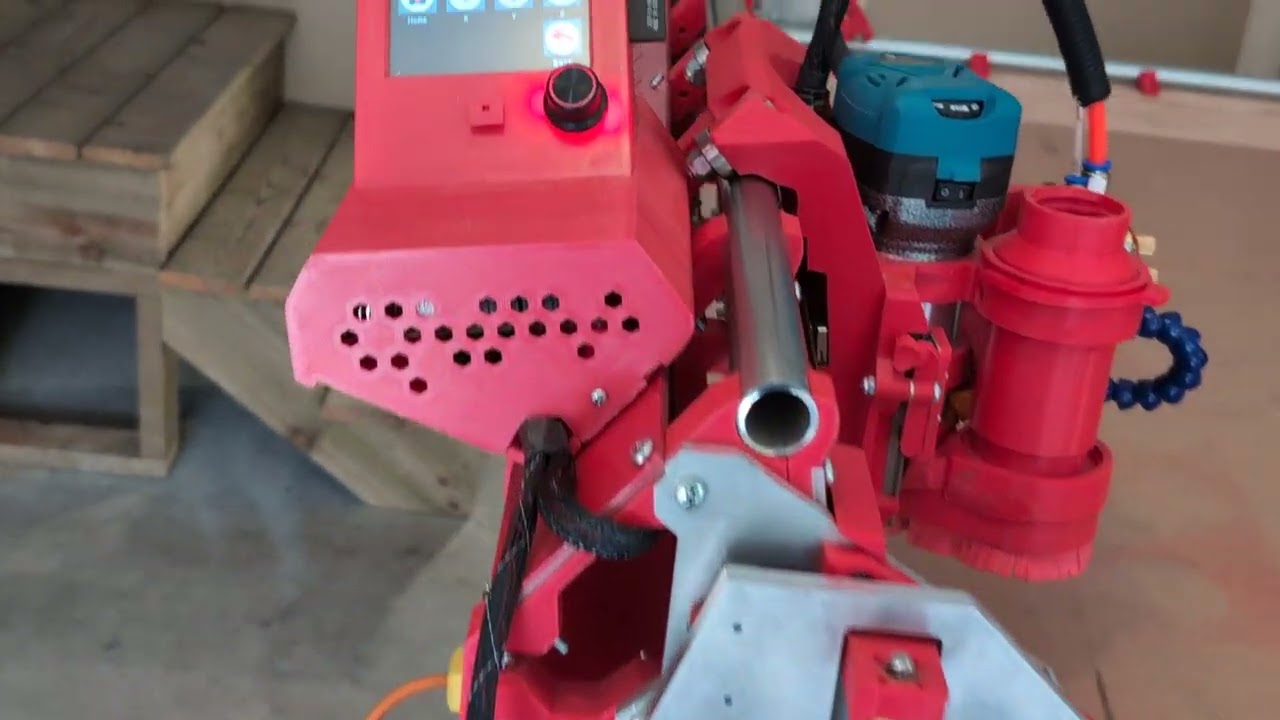
Changing bits is pretty easy, as the core is parked only a few cm from the edge of the table. I access it from the side (long edge), with the router at Home. I just take a small step to the right of the YZ plate, and it is easy to reach.
Loading material is a breeze. I slide or lift it along the long edge of the table (and of the stock), and then slide it up against a couple of wooden guide blocks that I installed so the material is right where I want it to be.
I agree completely! That is one thing that I think has been lost just a little bit with the LR4 vs. the LR3.
The LR4 has so many great improvements, but there was definitely a focus on standardizing the machine to make it simpler for first time builders to cross the finish line by following the Yellow Brick Road. This has helped to make the machine more accessible to users, but has also made it a bit harder to “individualize” the LR4 (IMO) with modifications.
From a design and business standpoint, it was absolutely the right choice, but in many ways I’m glad I was introduced to the hobby through the LR3. I learned so much by seeing modifications and accessories designed by other users, and using those as inspiration to make my own design modifications and accessories. The result for me was a machine that is truly one of a kind.
 . To preface, I have a perfect little cubby/cutout in my garage that could fit a LR4 in this orientation.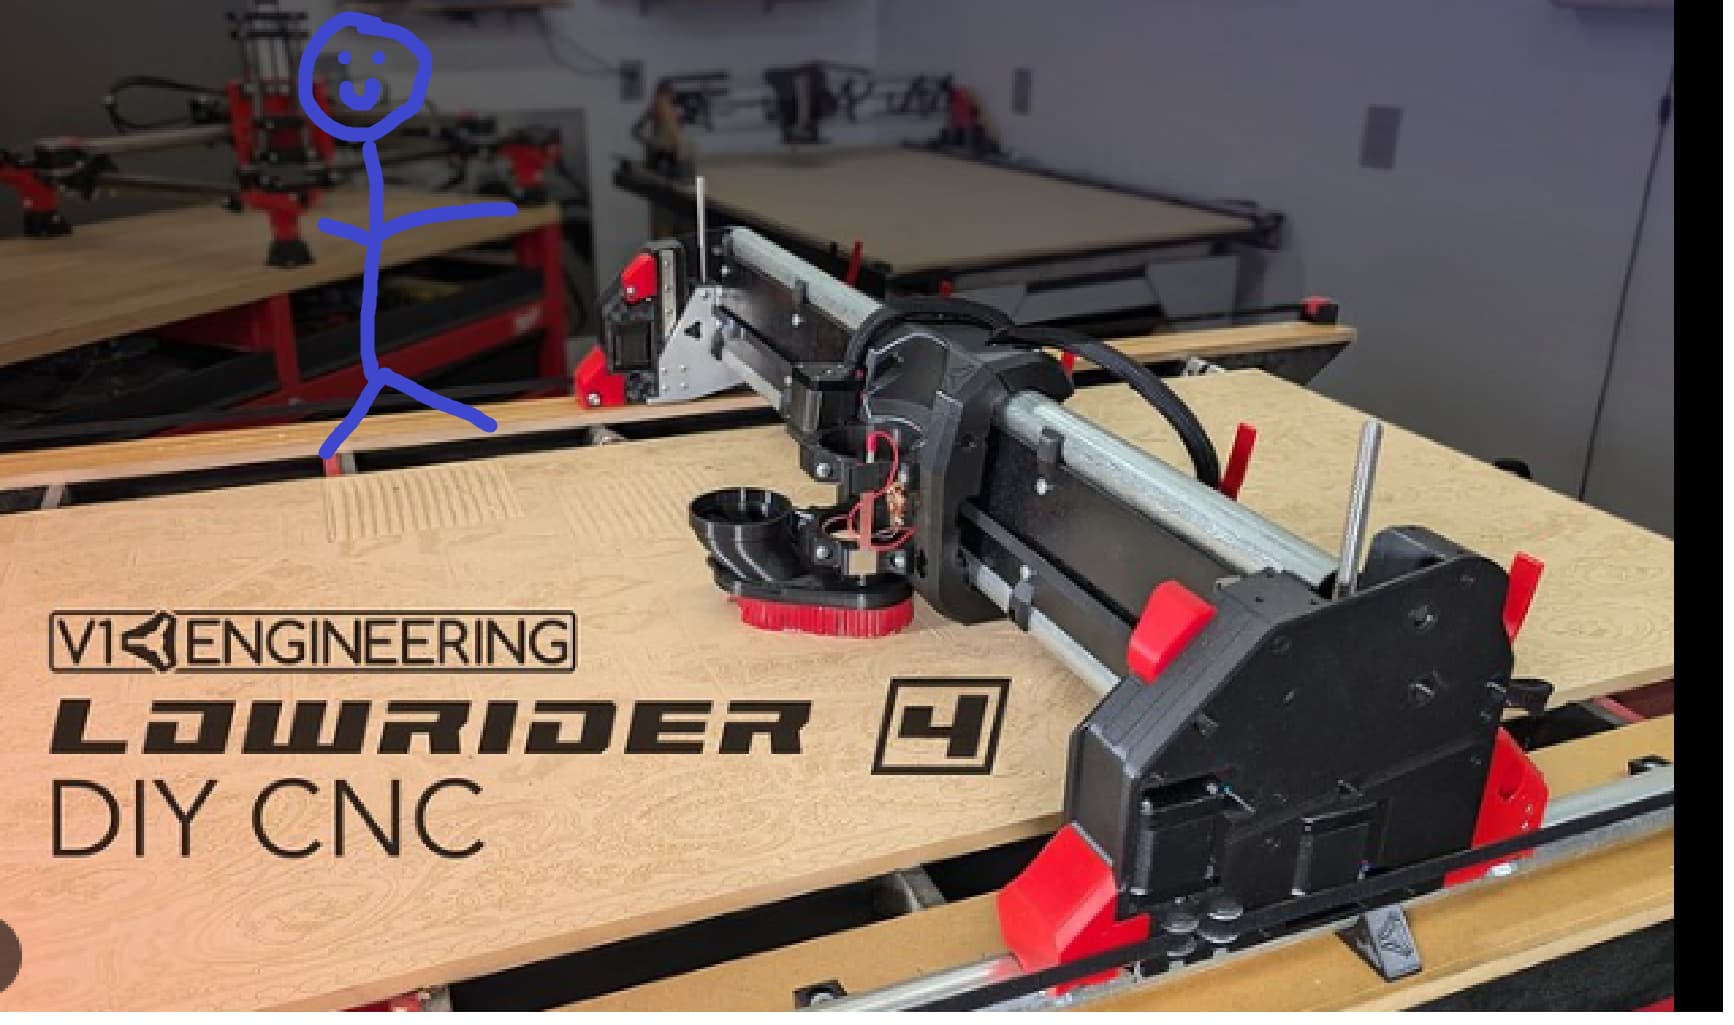
 , someone will let me know…
 , but…