LR4 Rainbow Vomit Build, Germany

Okay, before taking it apart again i want to write aa short summary about my LR4 build. I decieded to build a CNC at the beginning of december and started printing with every PLA I had laying around hence the name

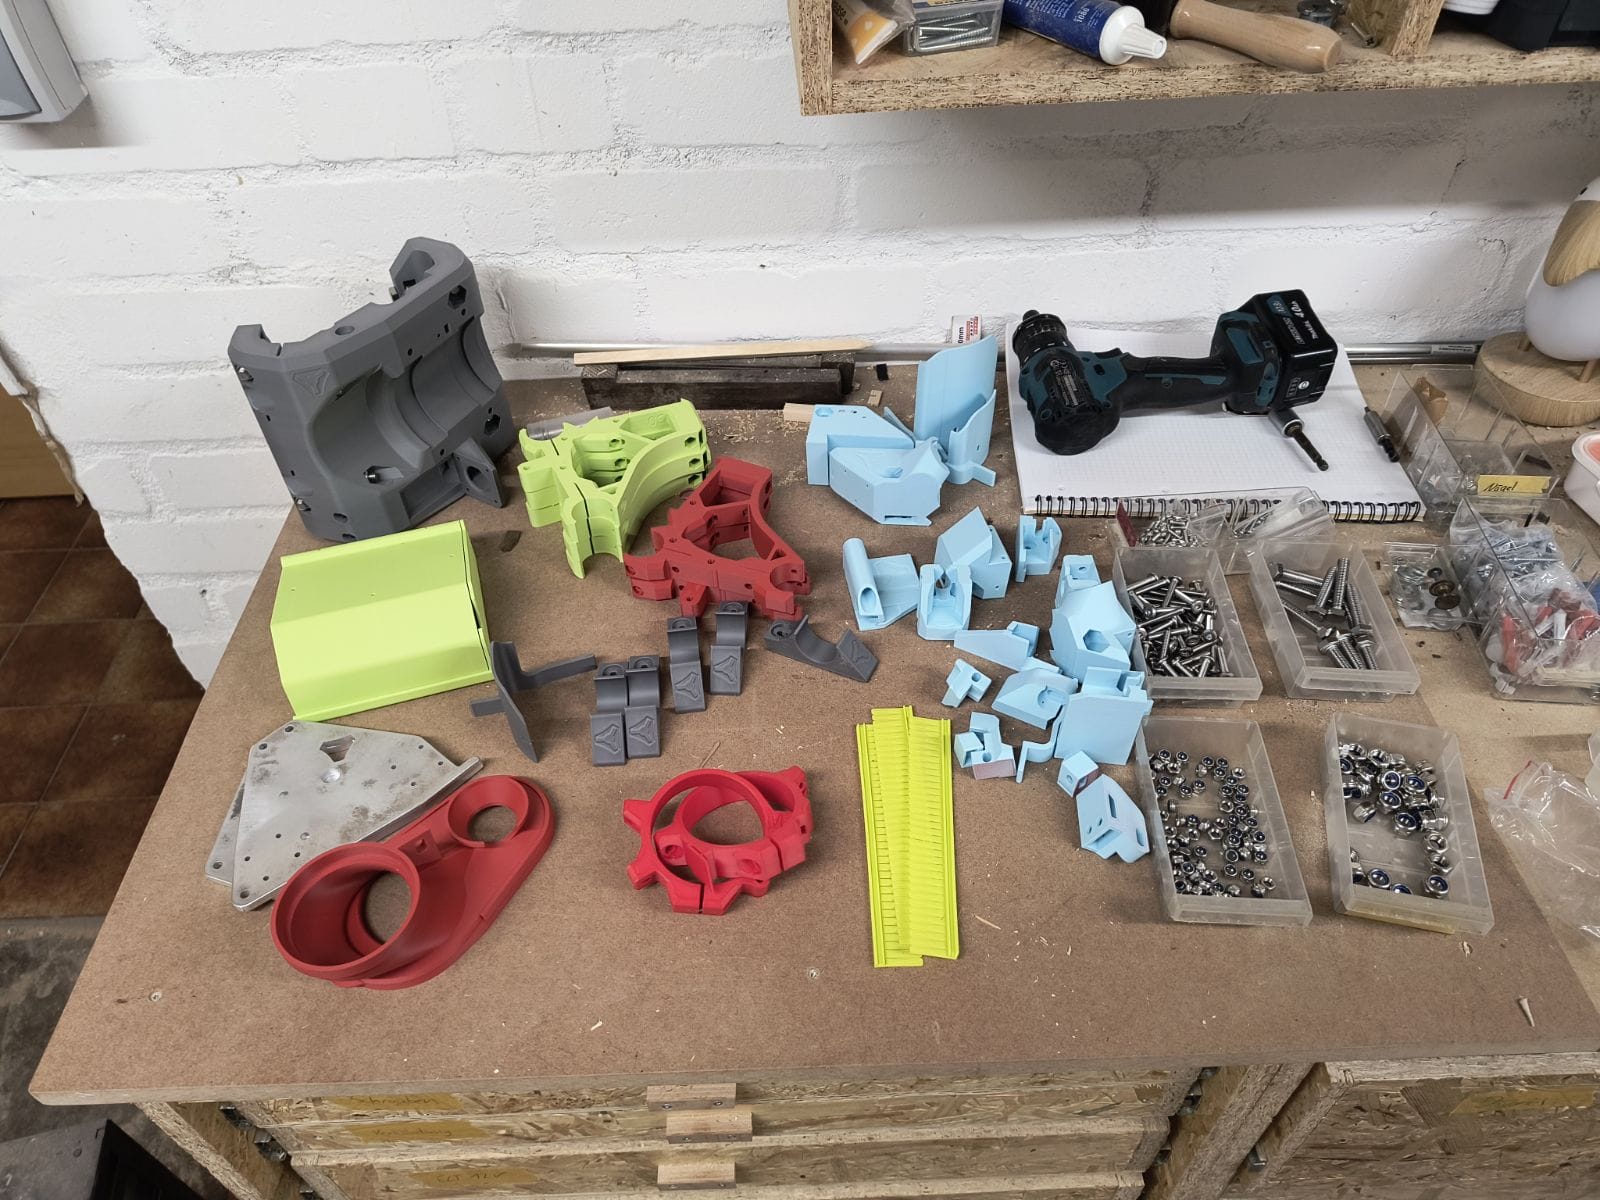
A friend hat to print the big parts, because my A1 mini only supports up to 180mm² after i got those parts on the 22n of dezember I started building.

Not much progress between the 24th and 1st. But after that i got around and finished everything

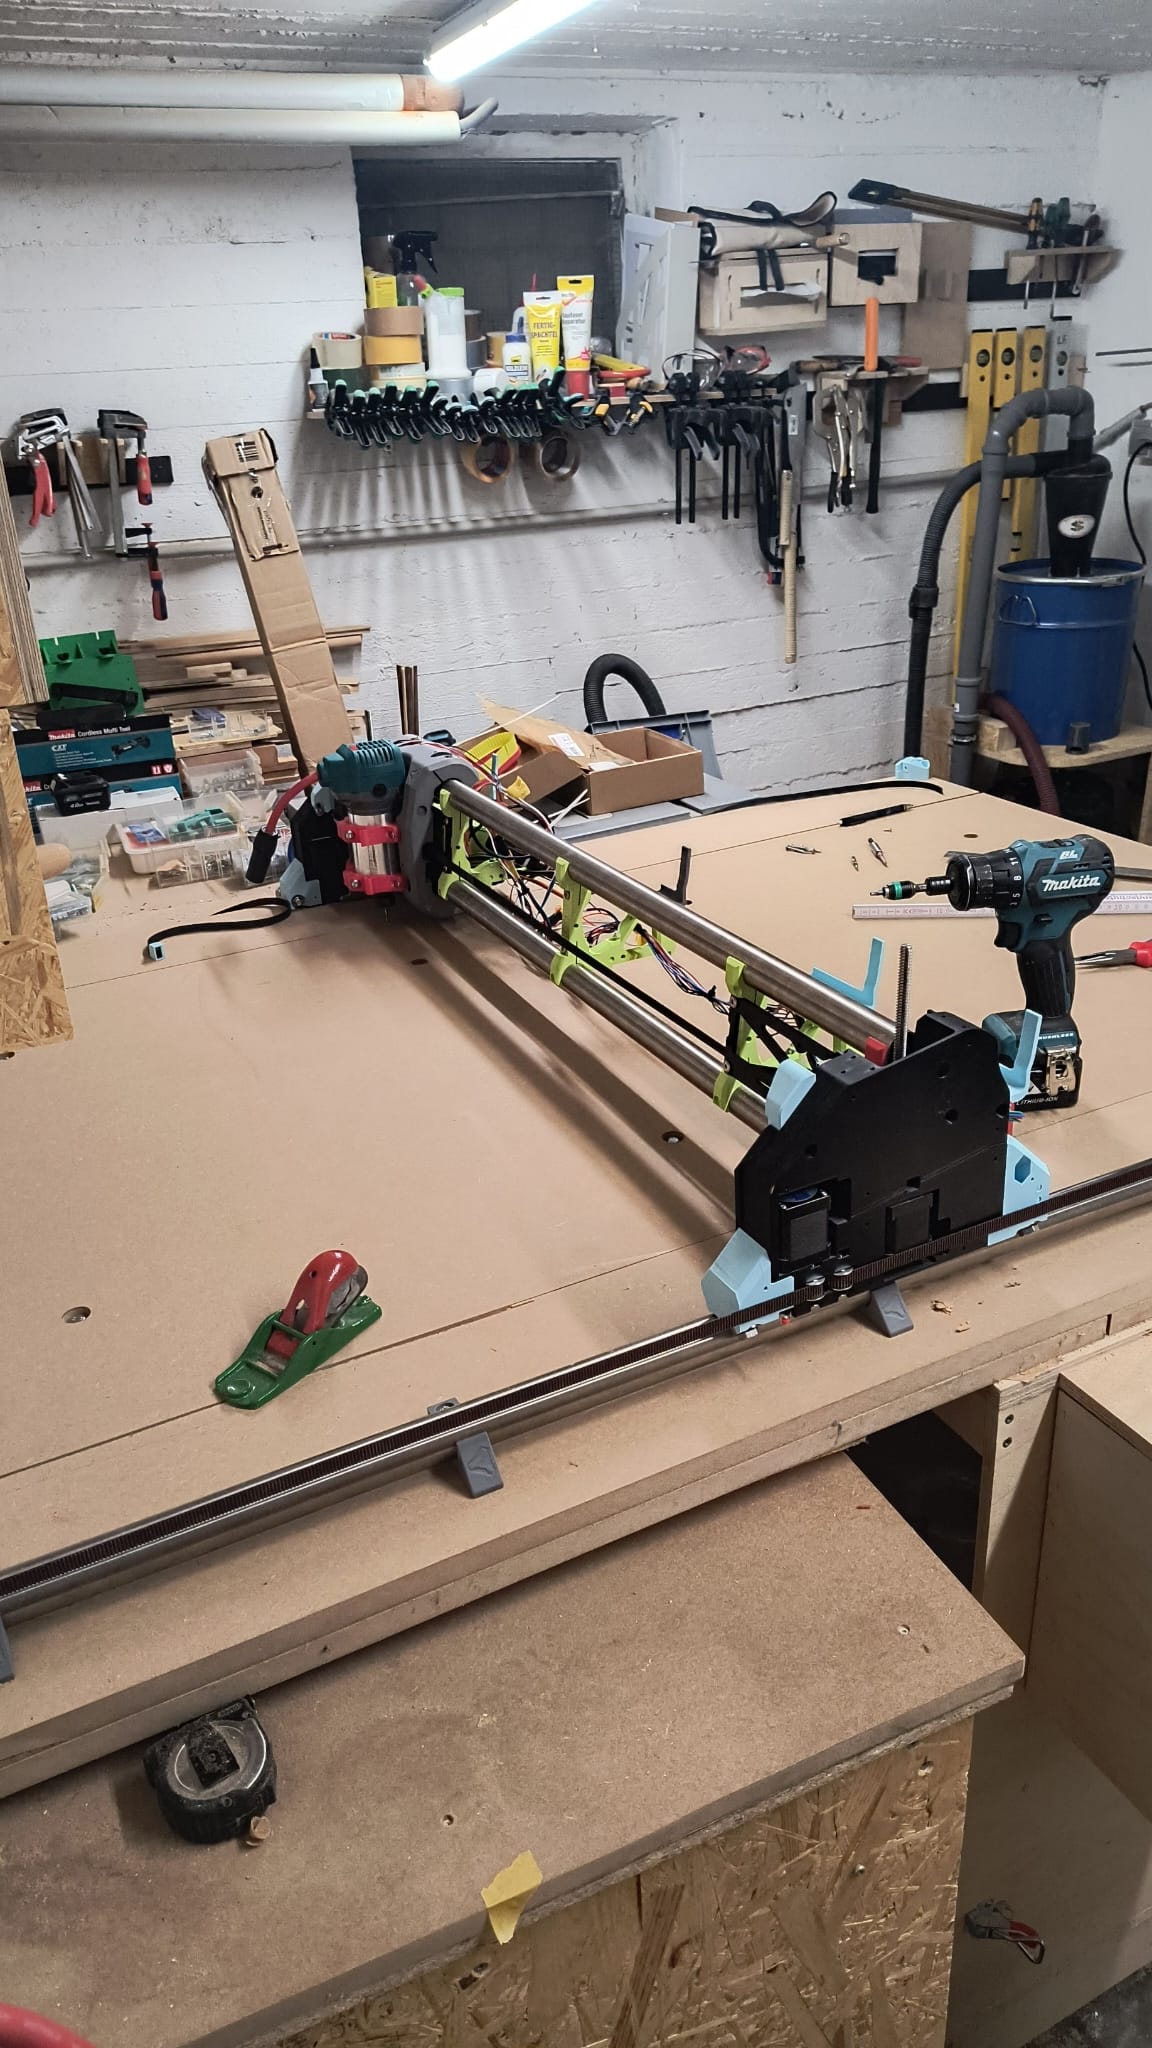
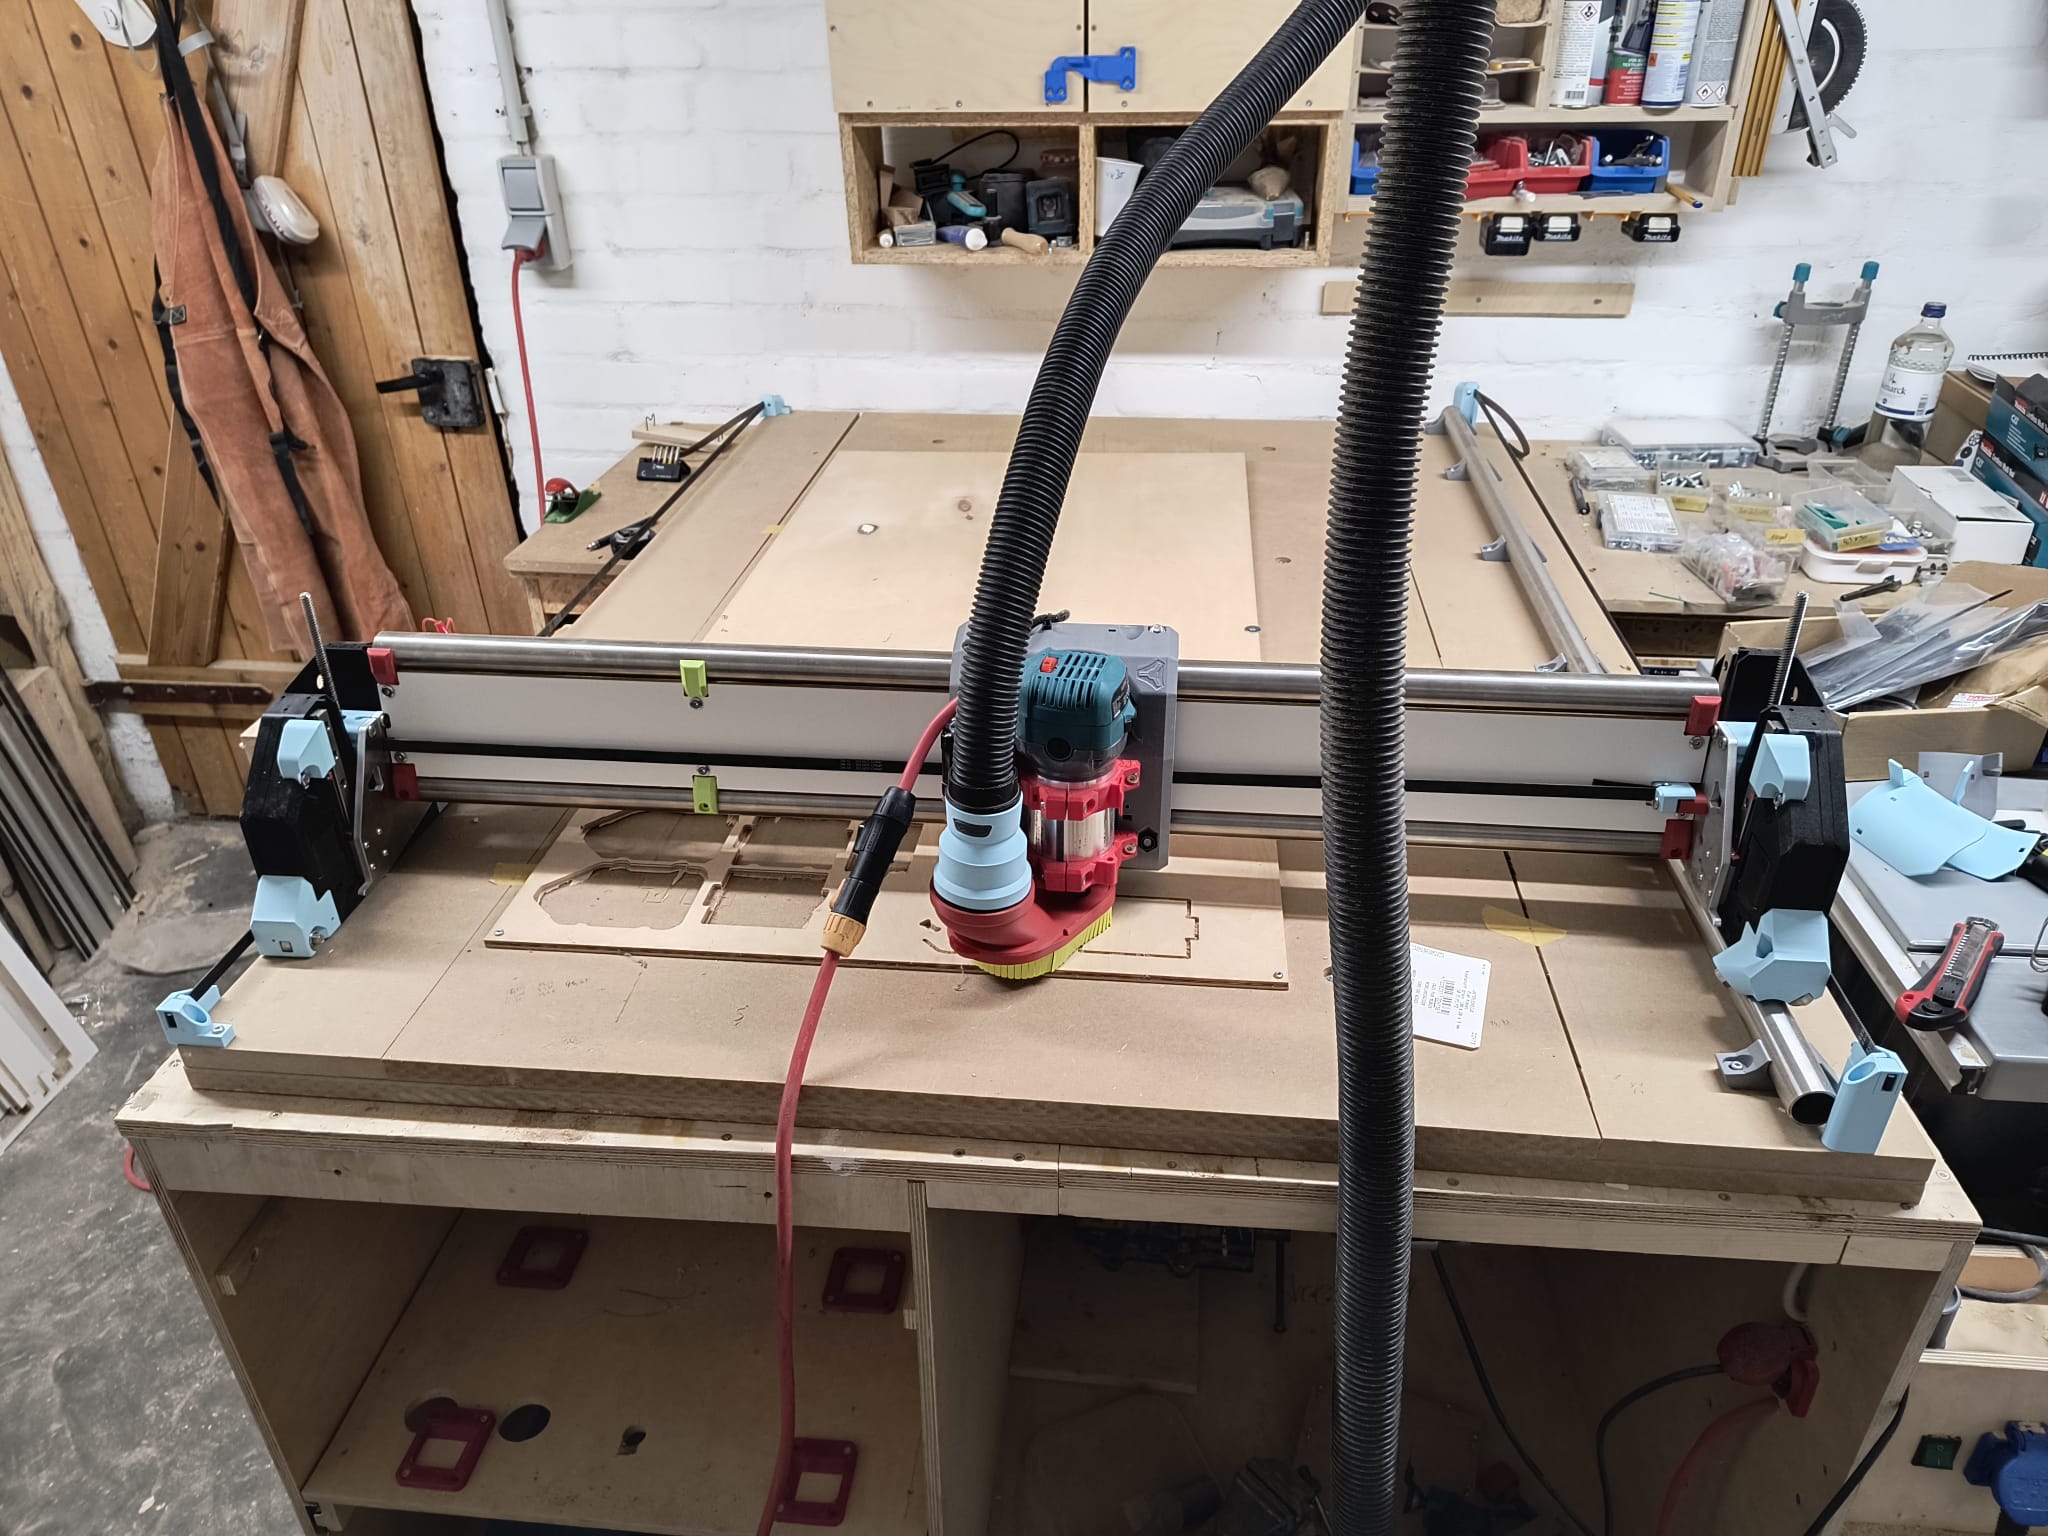
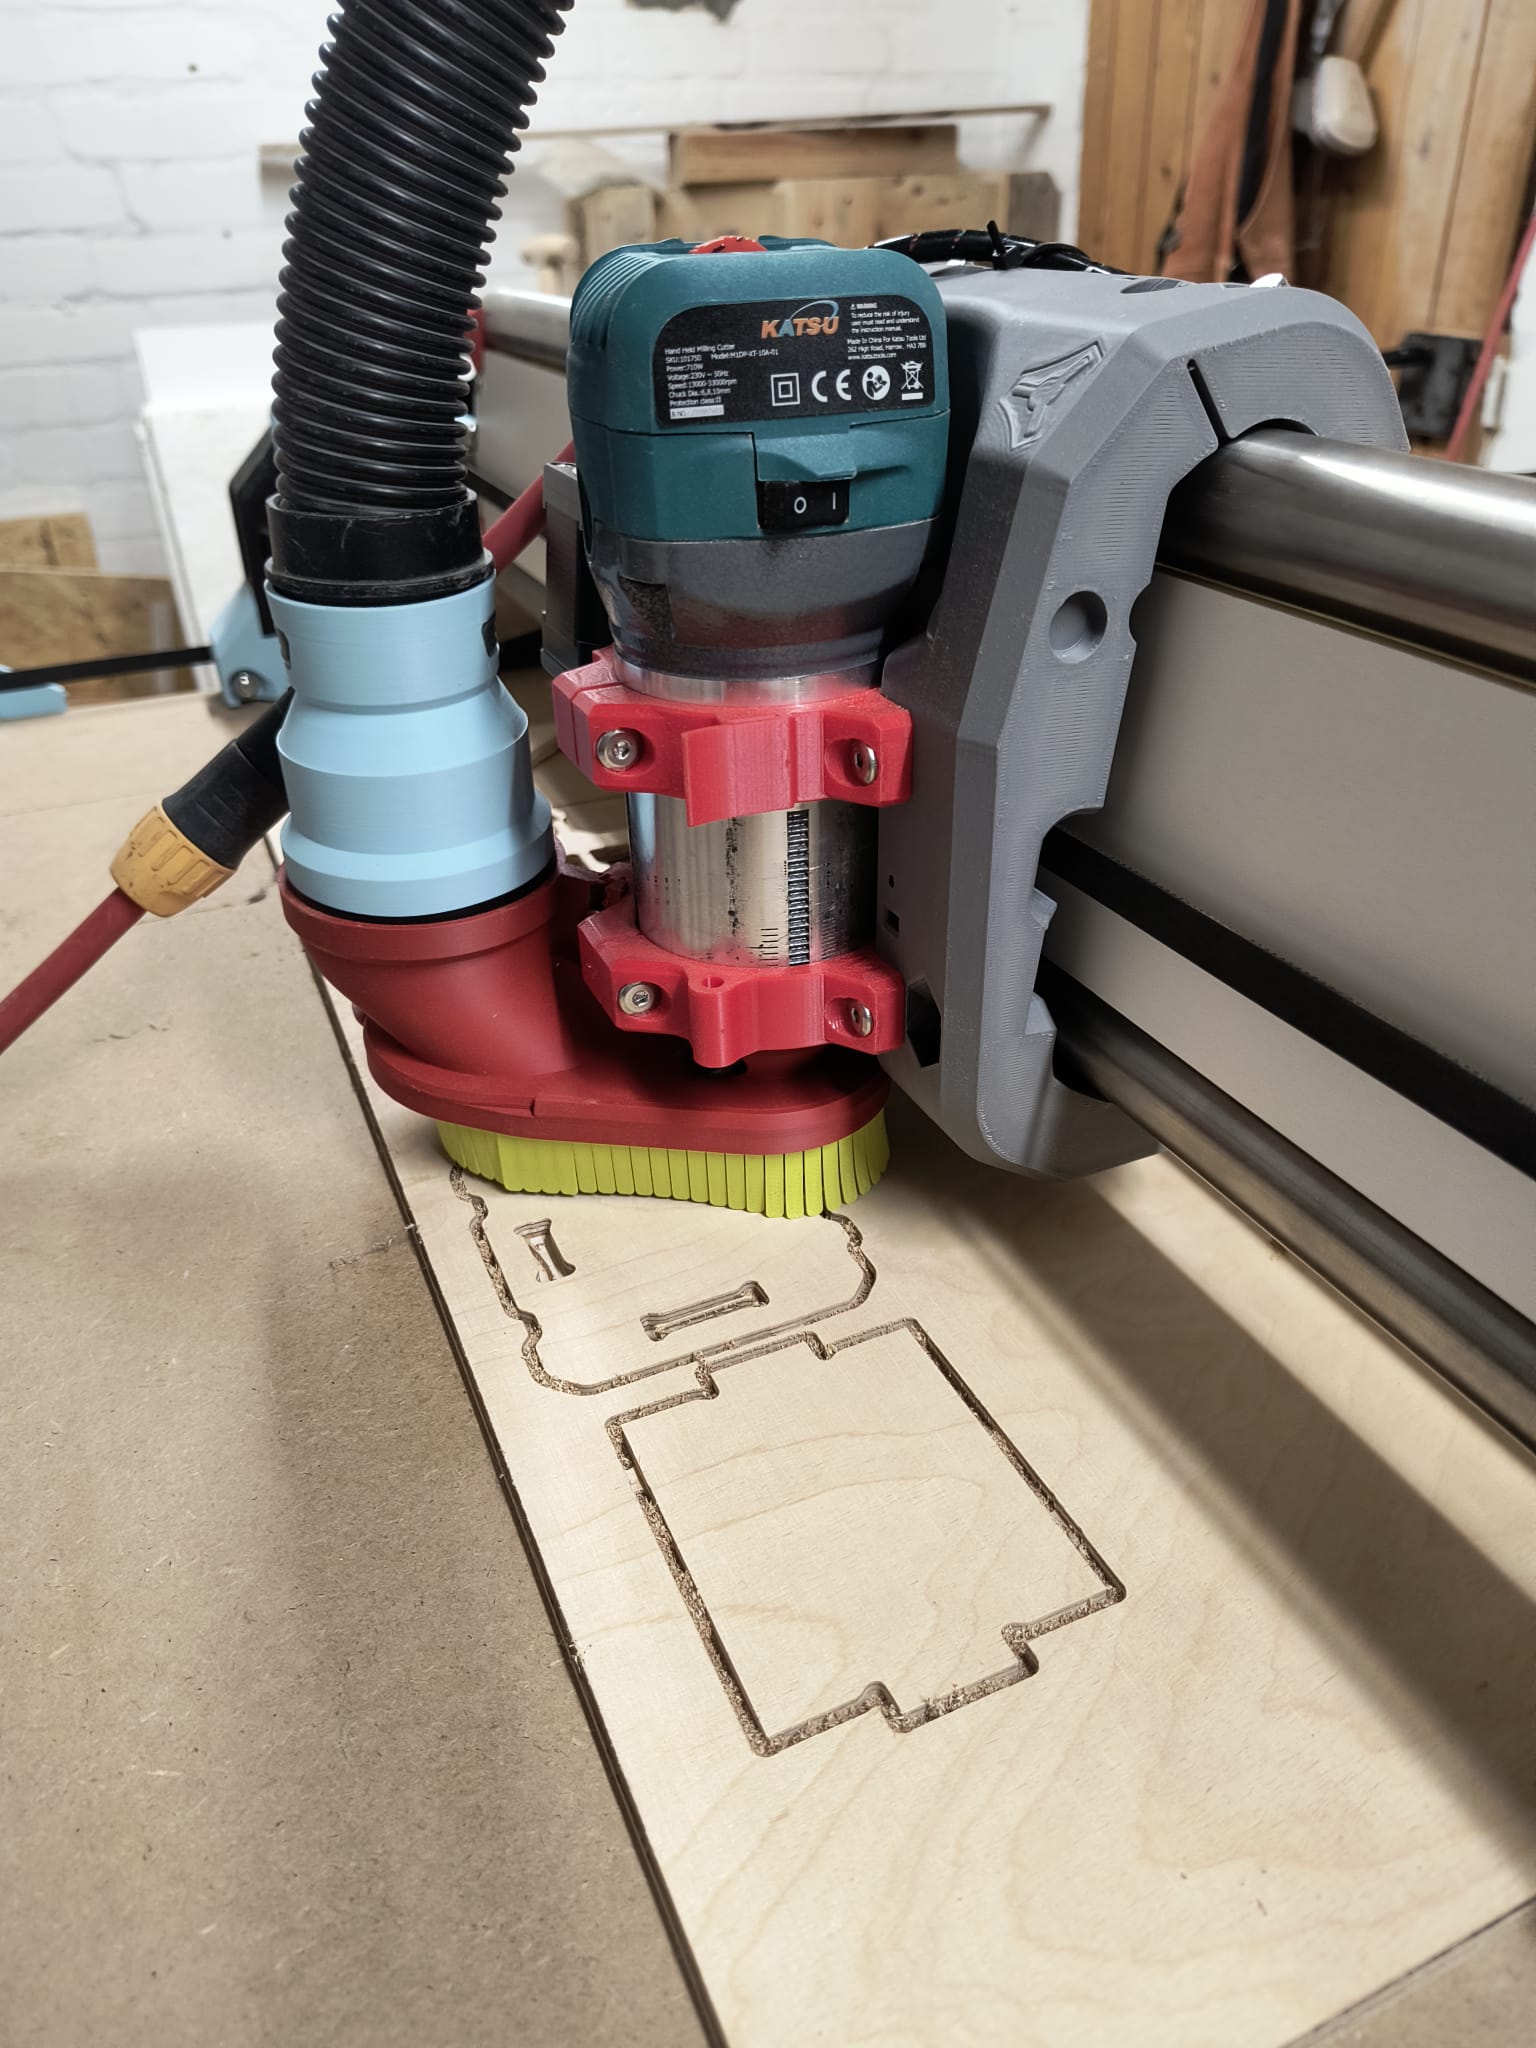
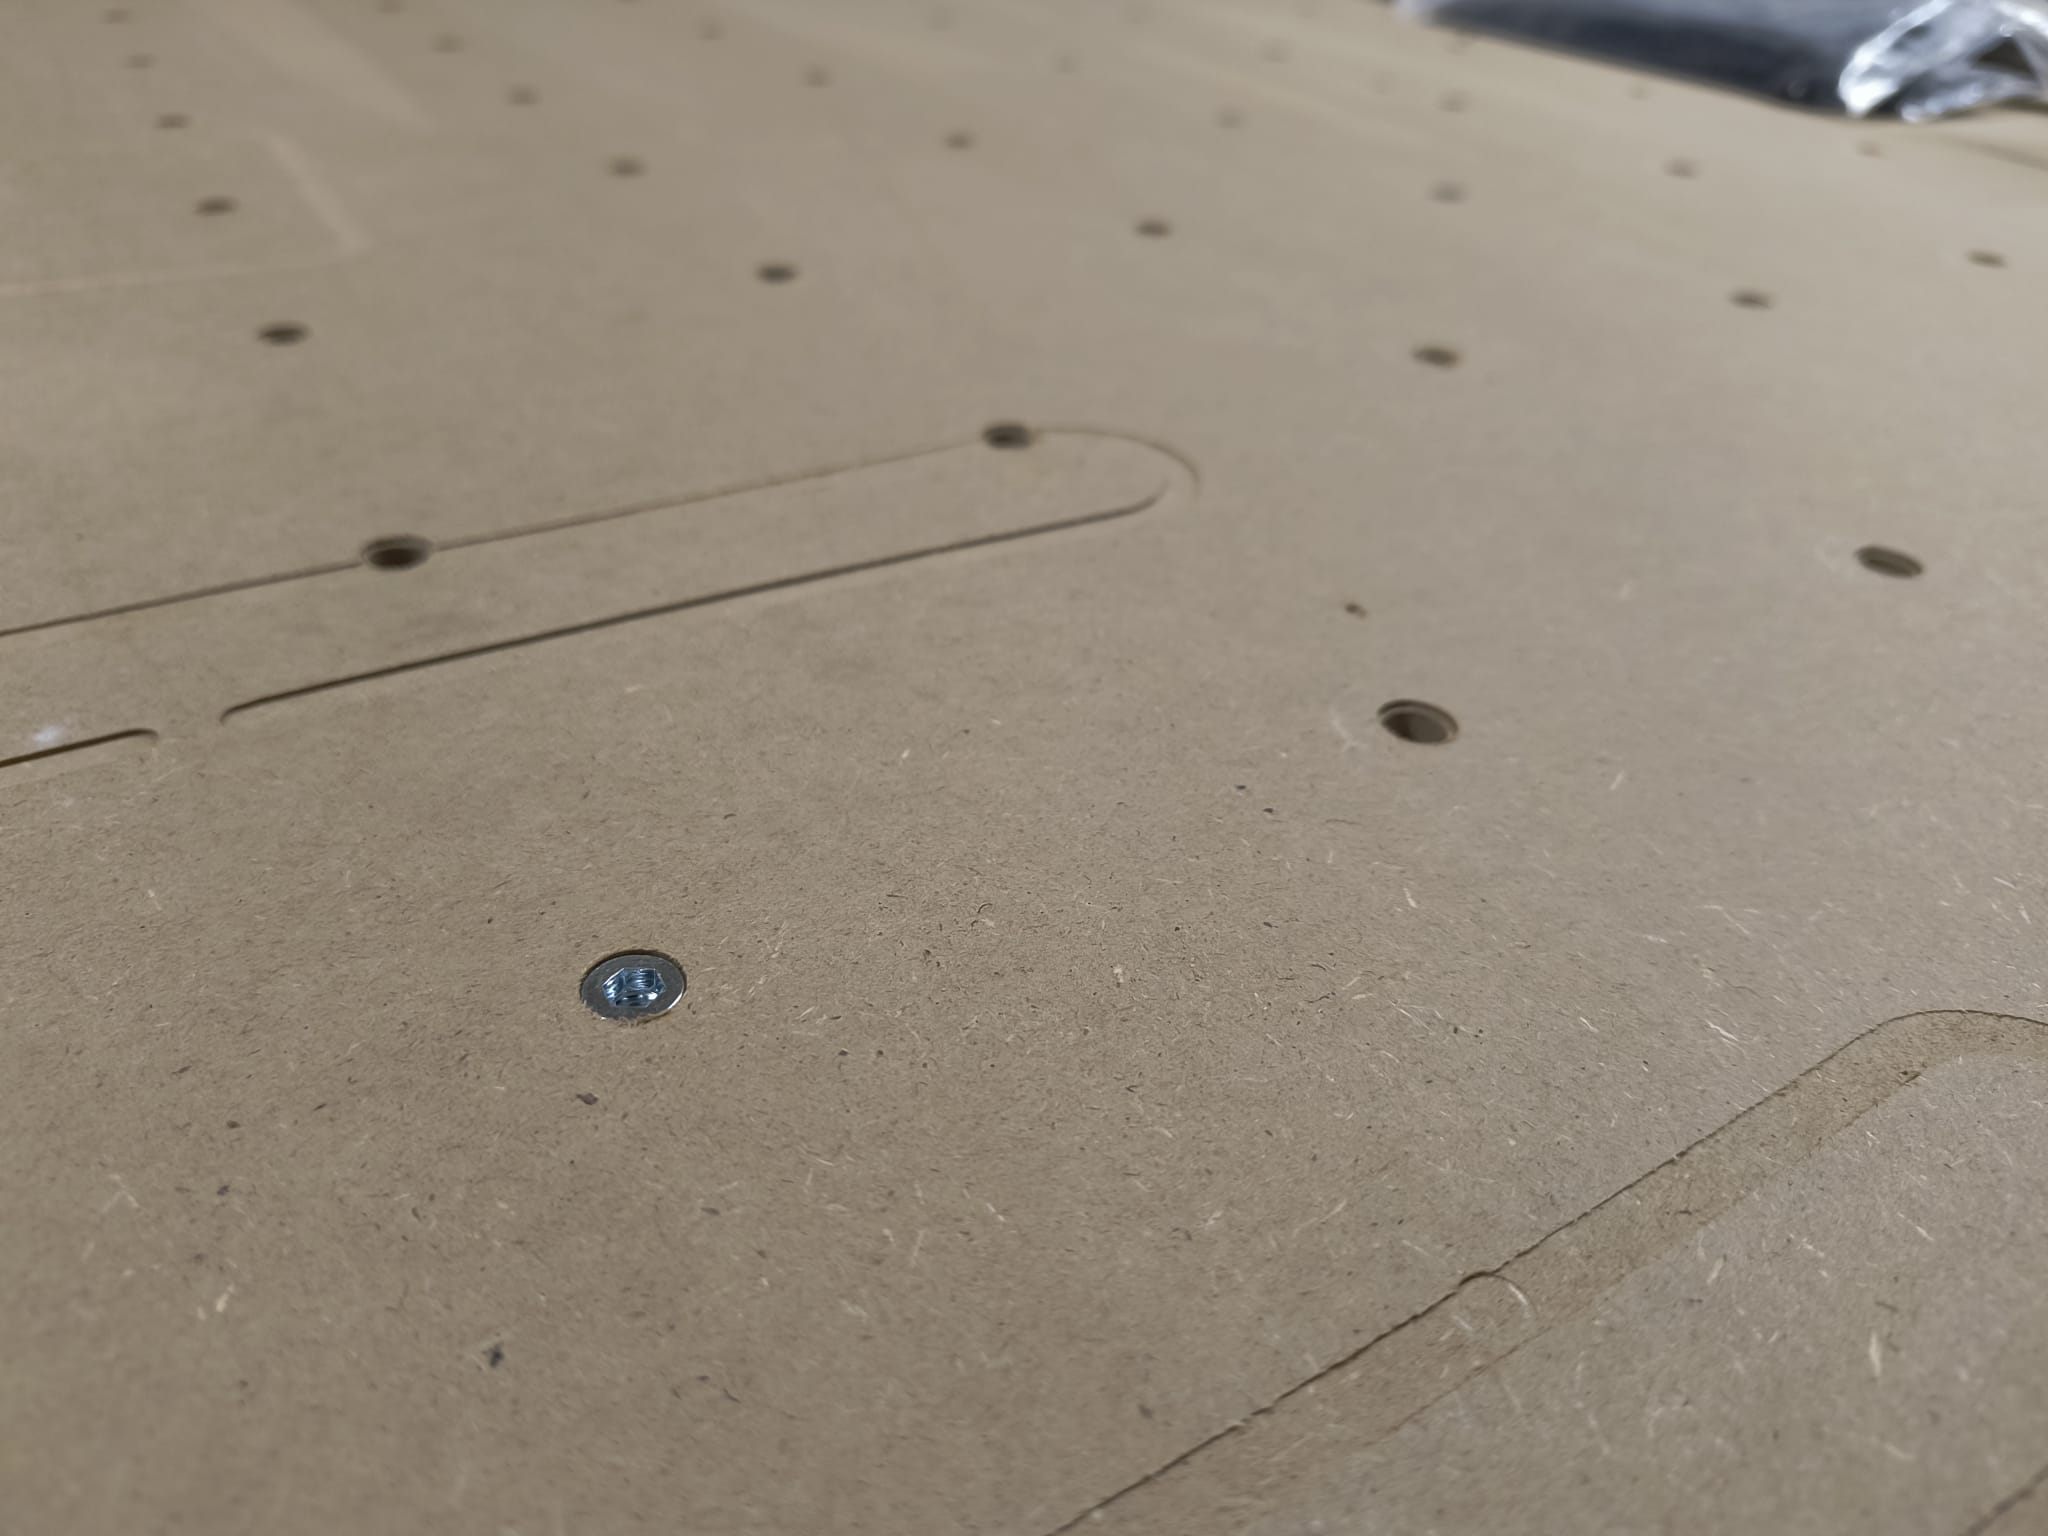
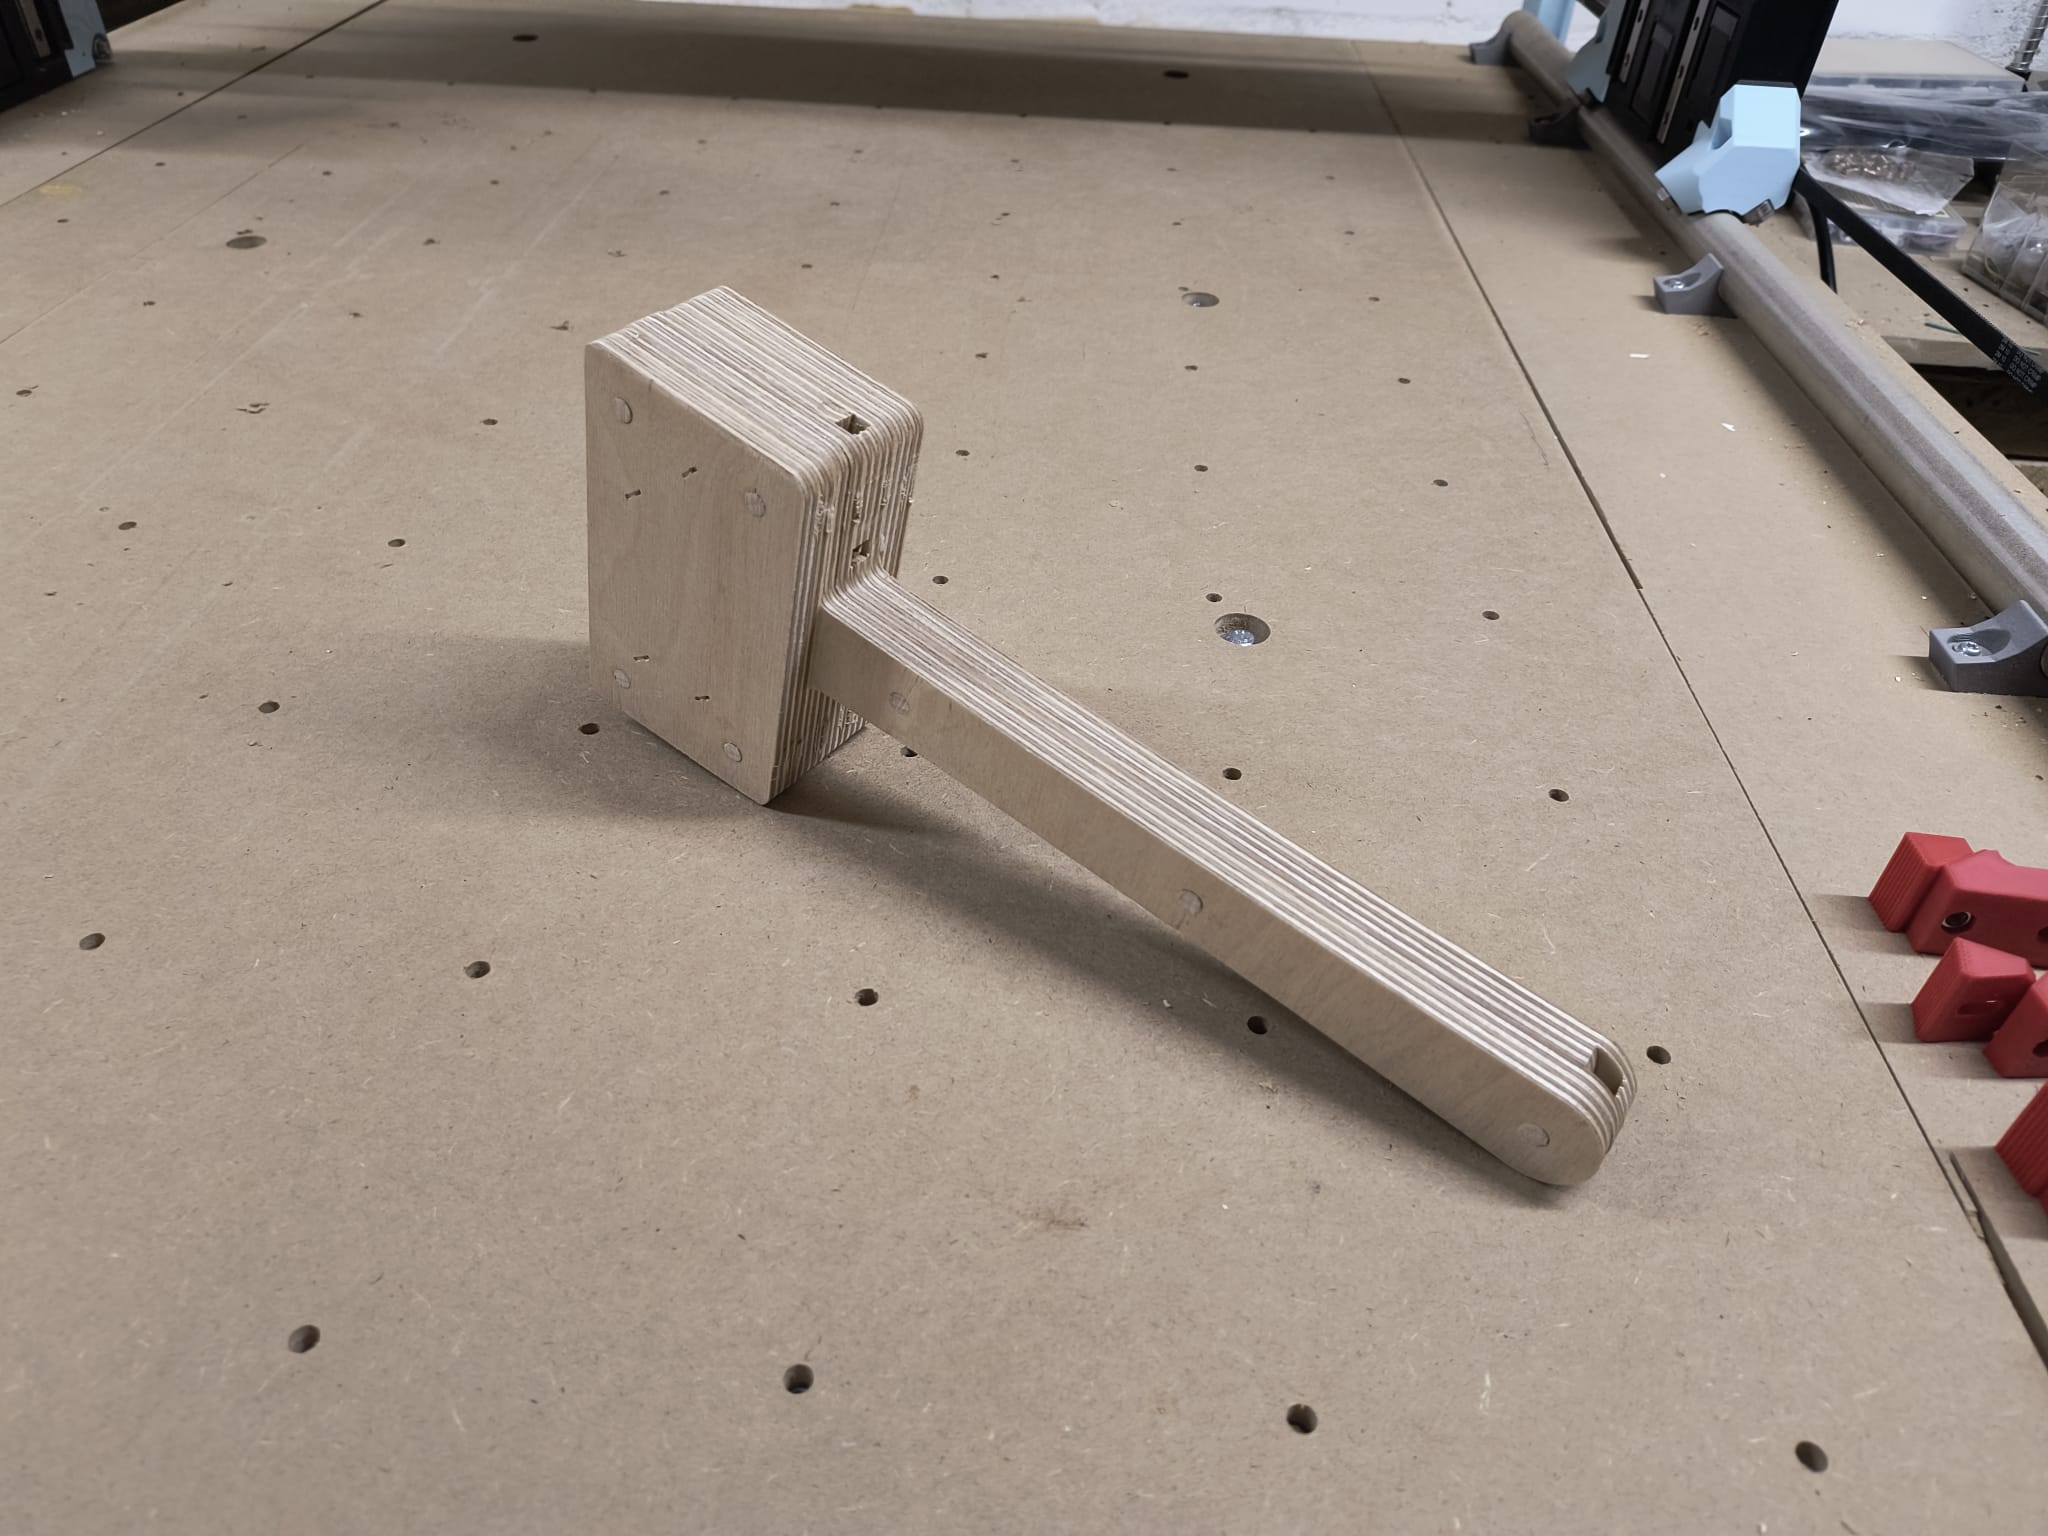
After building a Base for it out of 2 sheets of 18mm MDF I got everything mounted and my first movement. I got it squared to the best of my abilities and went into Gcode generation. After sorting some things out with my Gcode and getting really frustrated with Fusion360 I found out that the Lowrider is not really supported in the free version. So i switched to EstlCAM and got my first result. No crown, straight to 12mm MDF

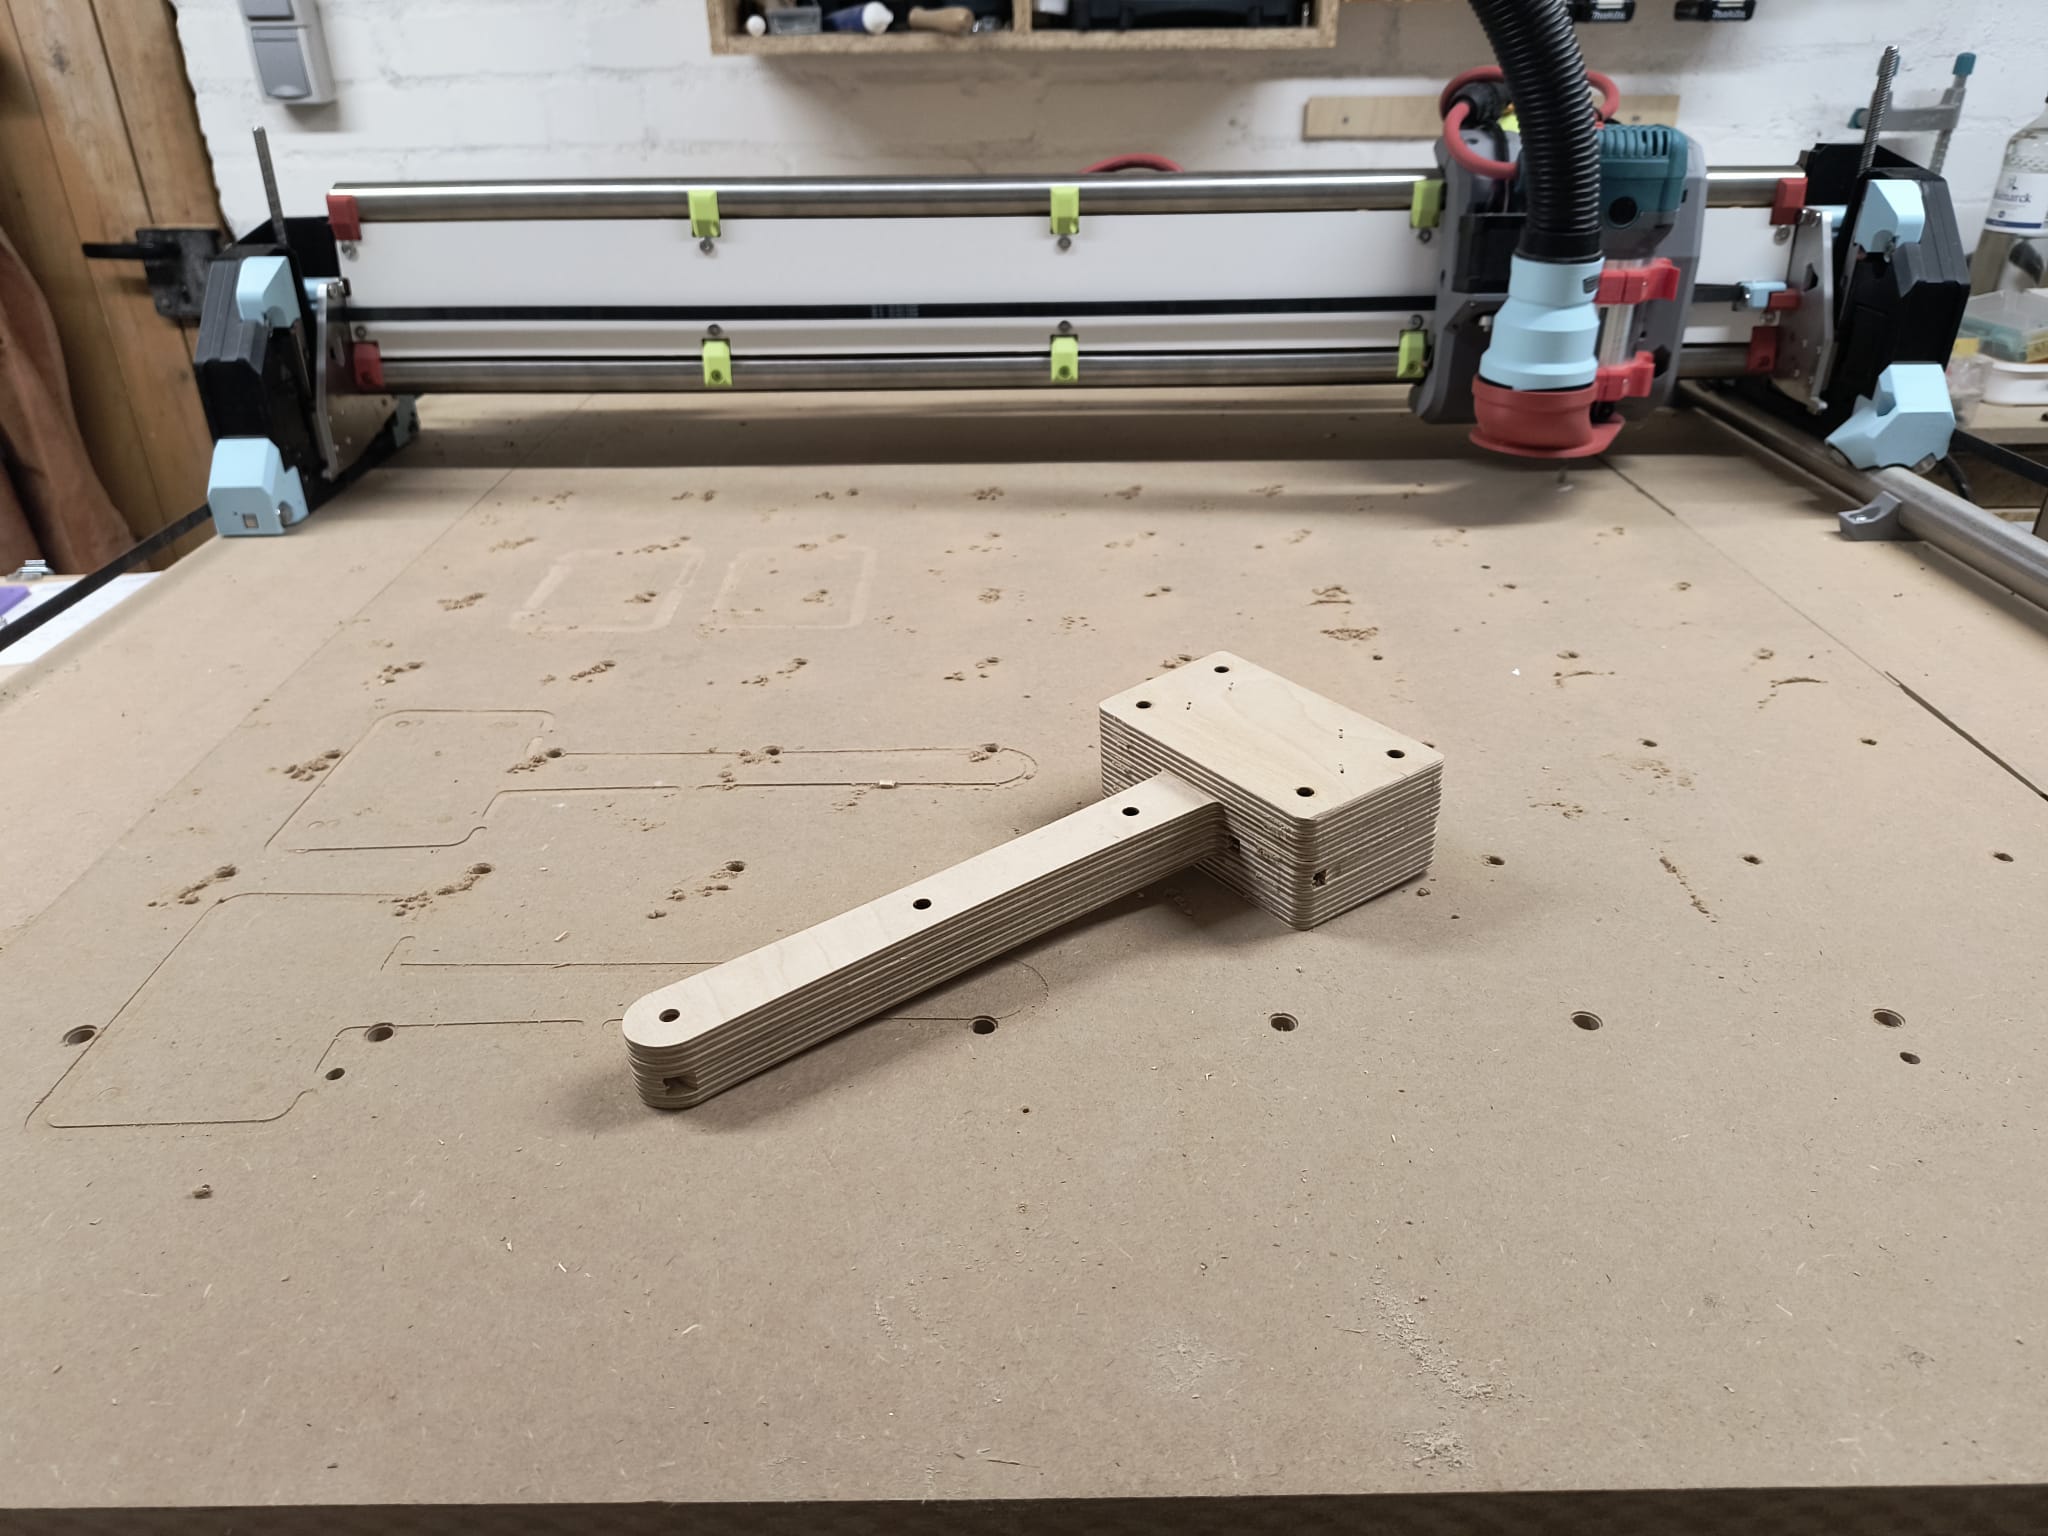
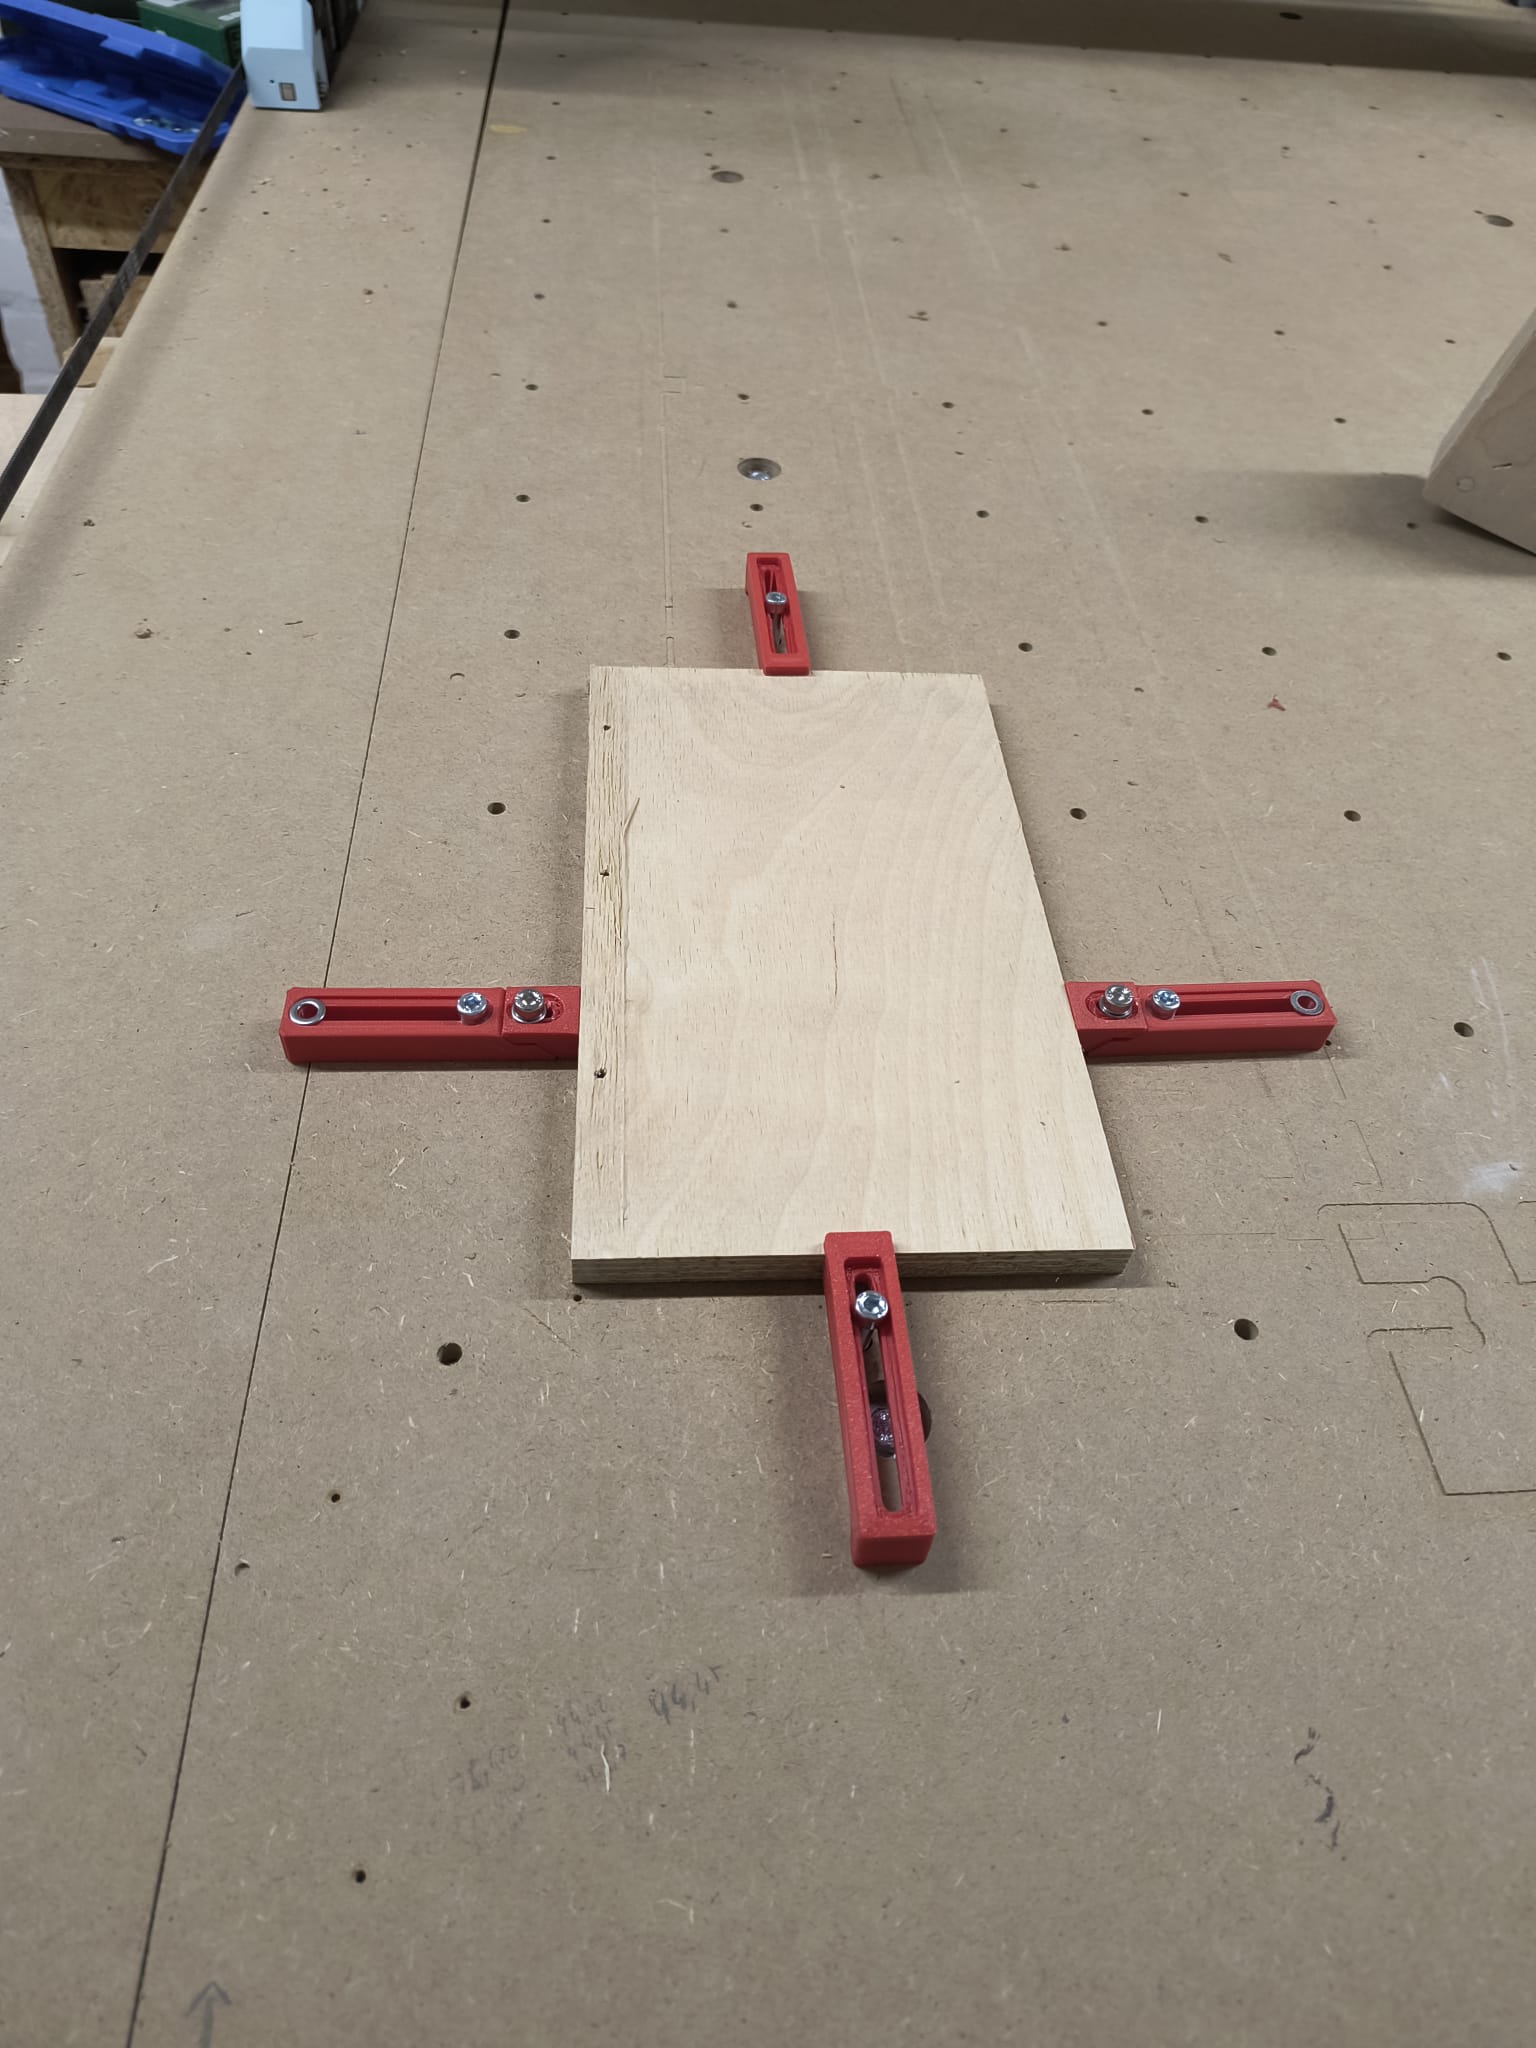
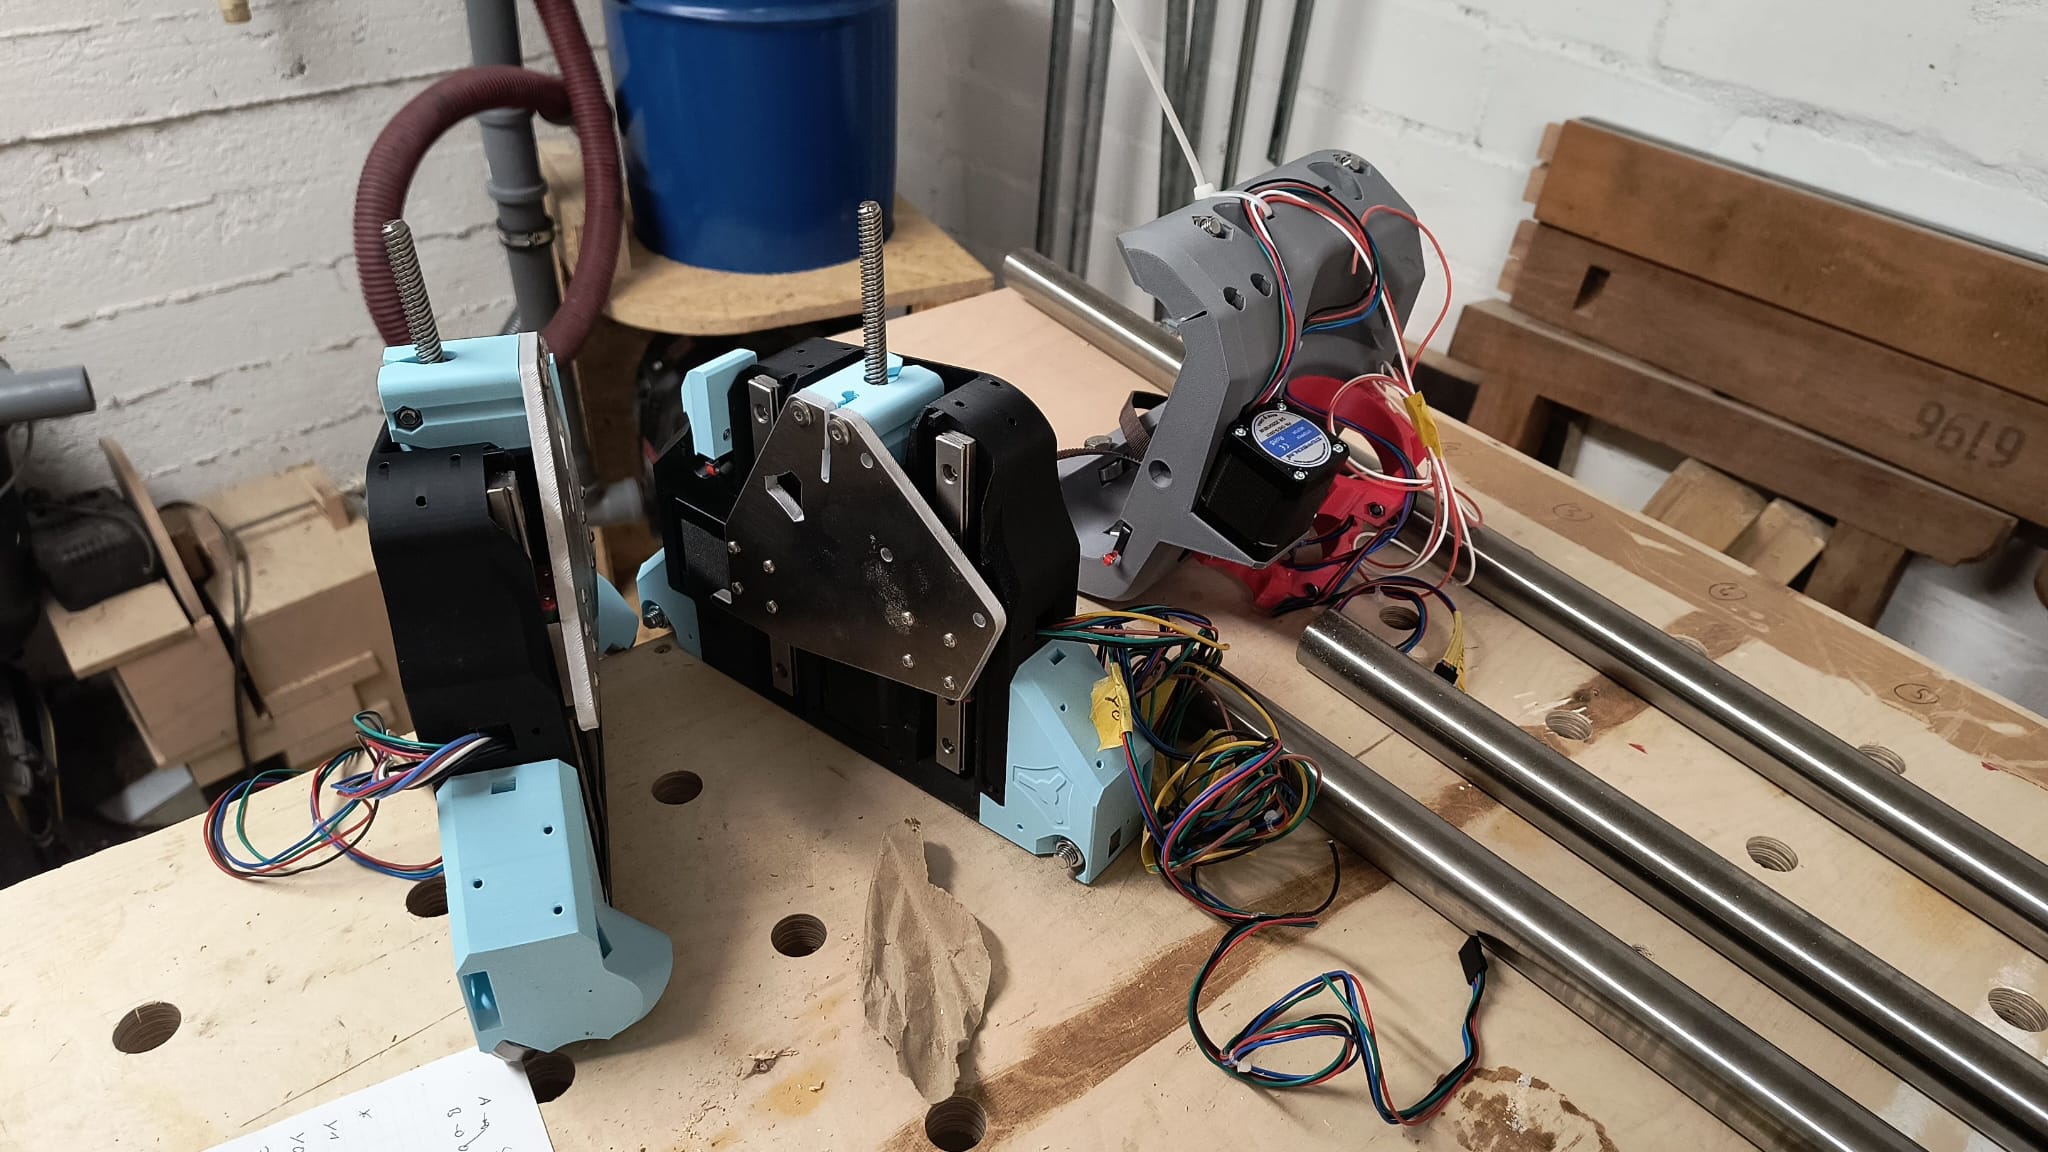
Next stop Strut plates. After cutting the first two 4cm short i realized, that I built the Machine bigger than anticipated because I went with 1000mm and 1500mm stainless steel tubing. But the 2nd pair looks like it is gonna fit. I will find out in the next days.

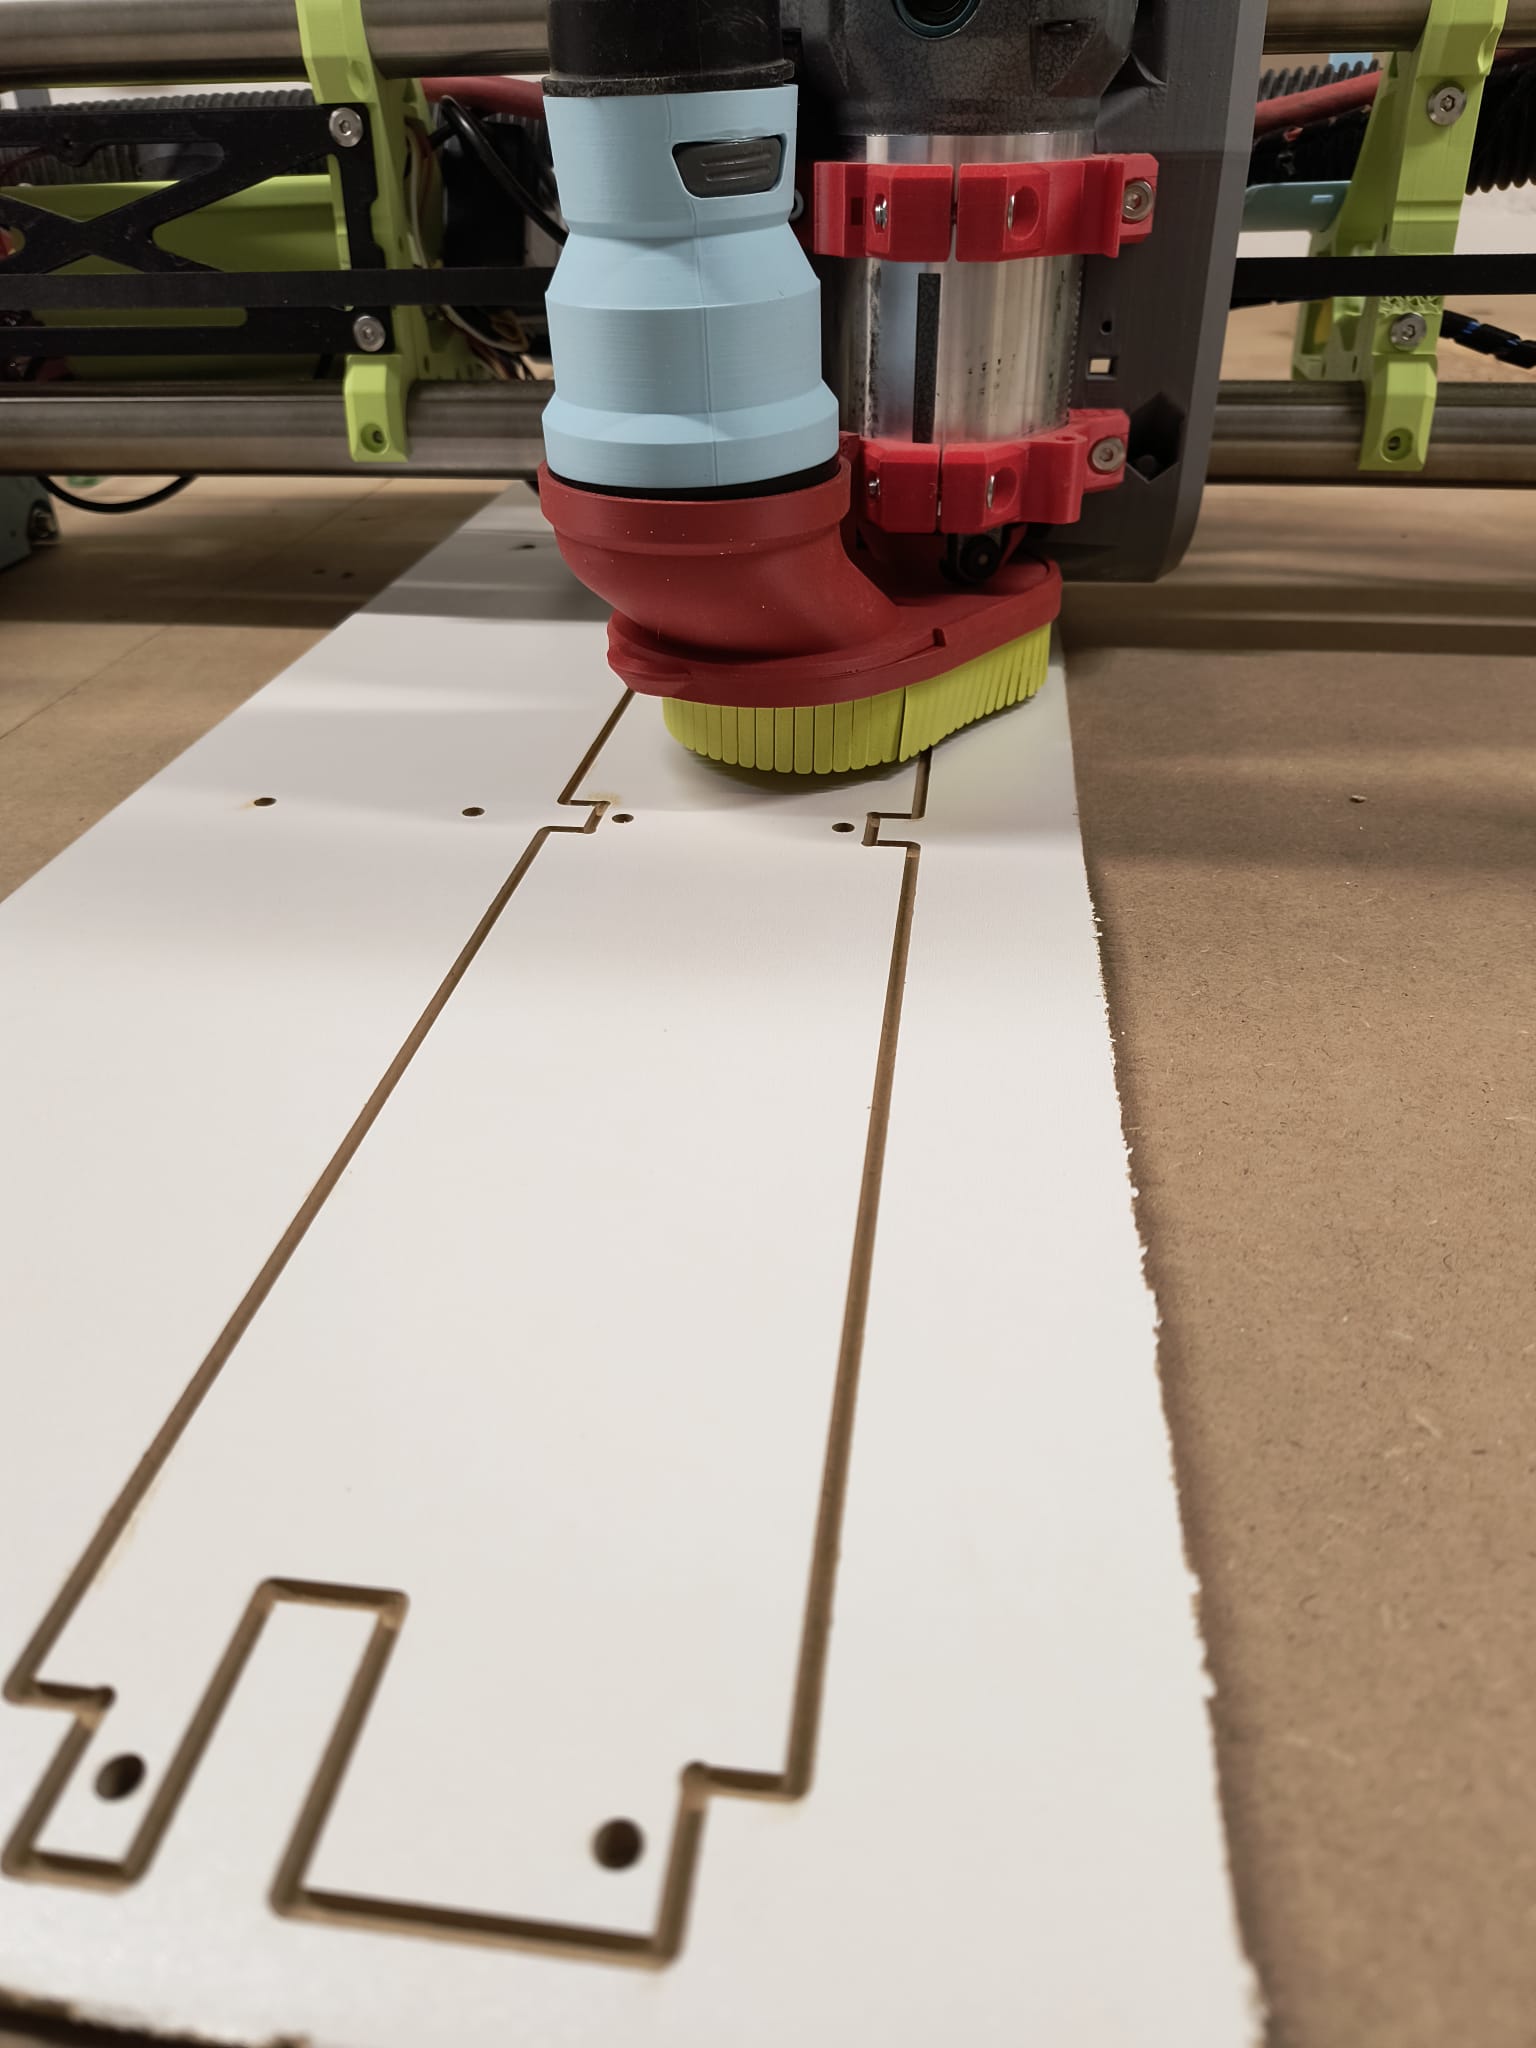
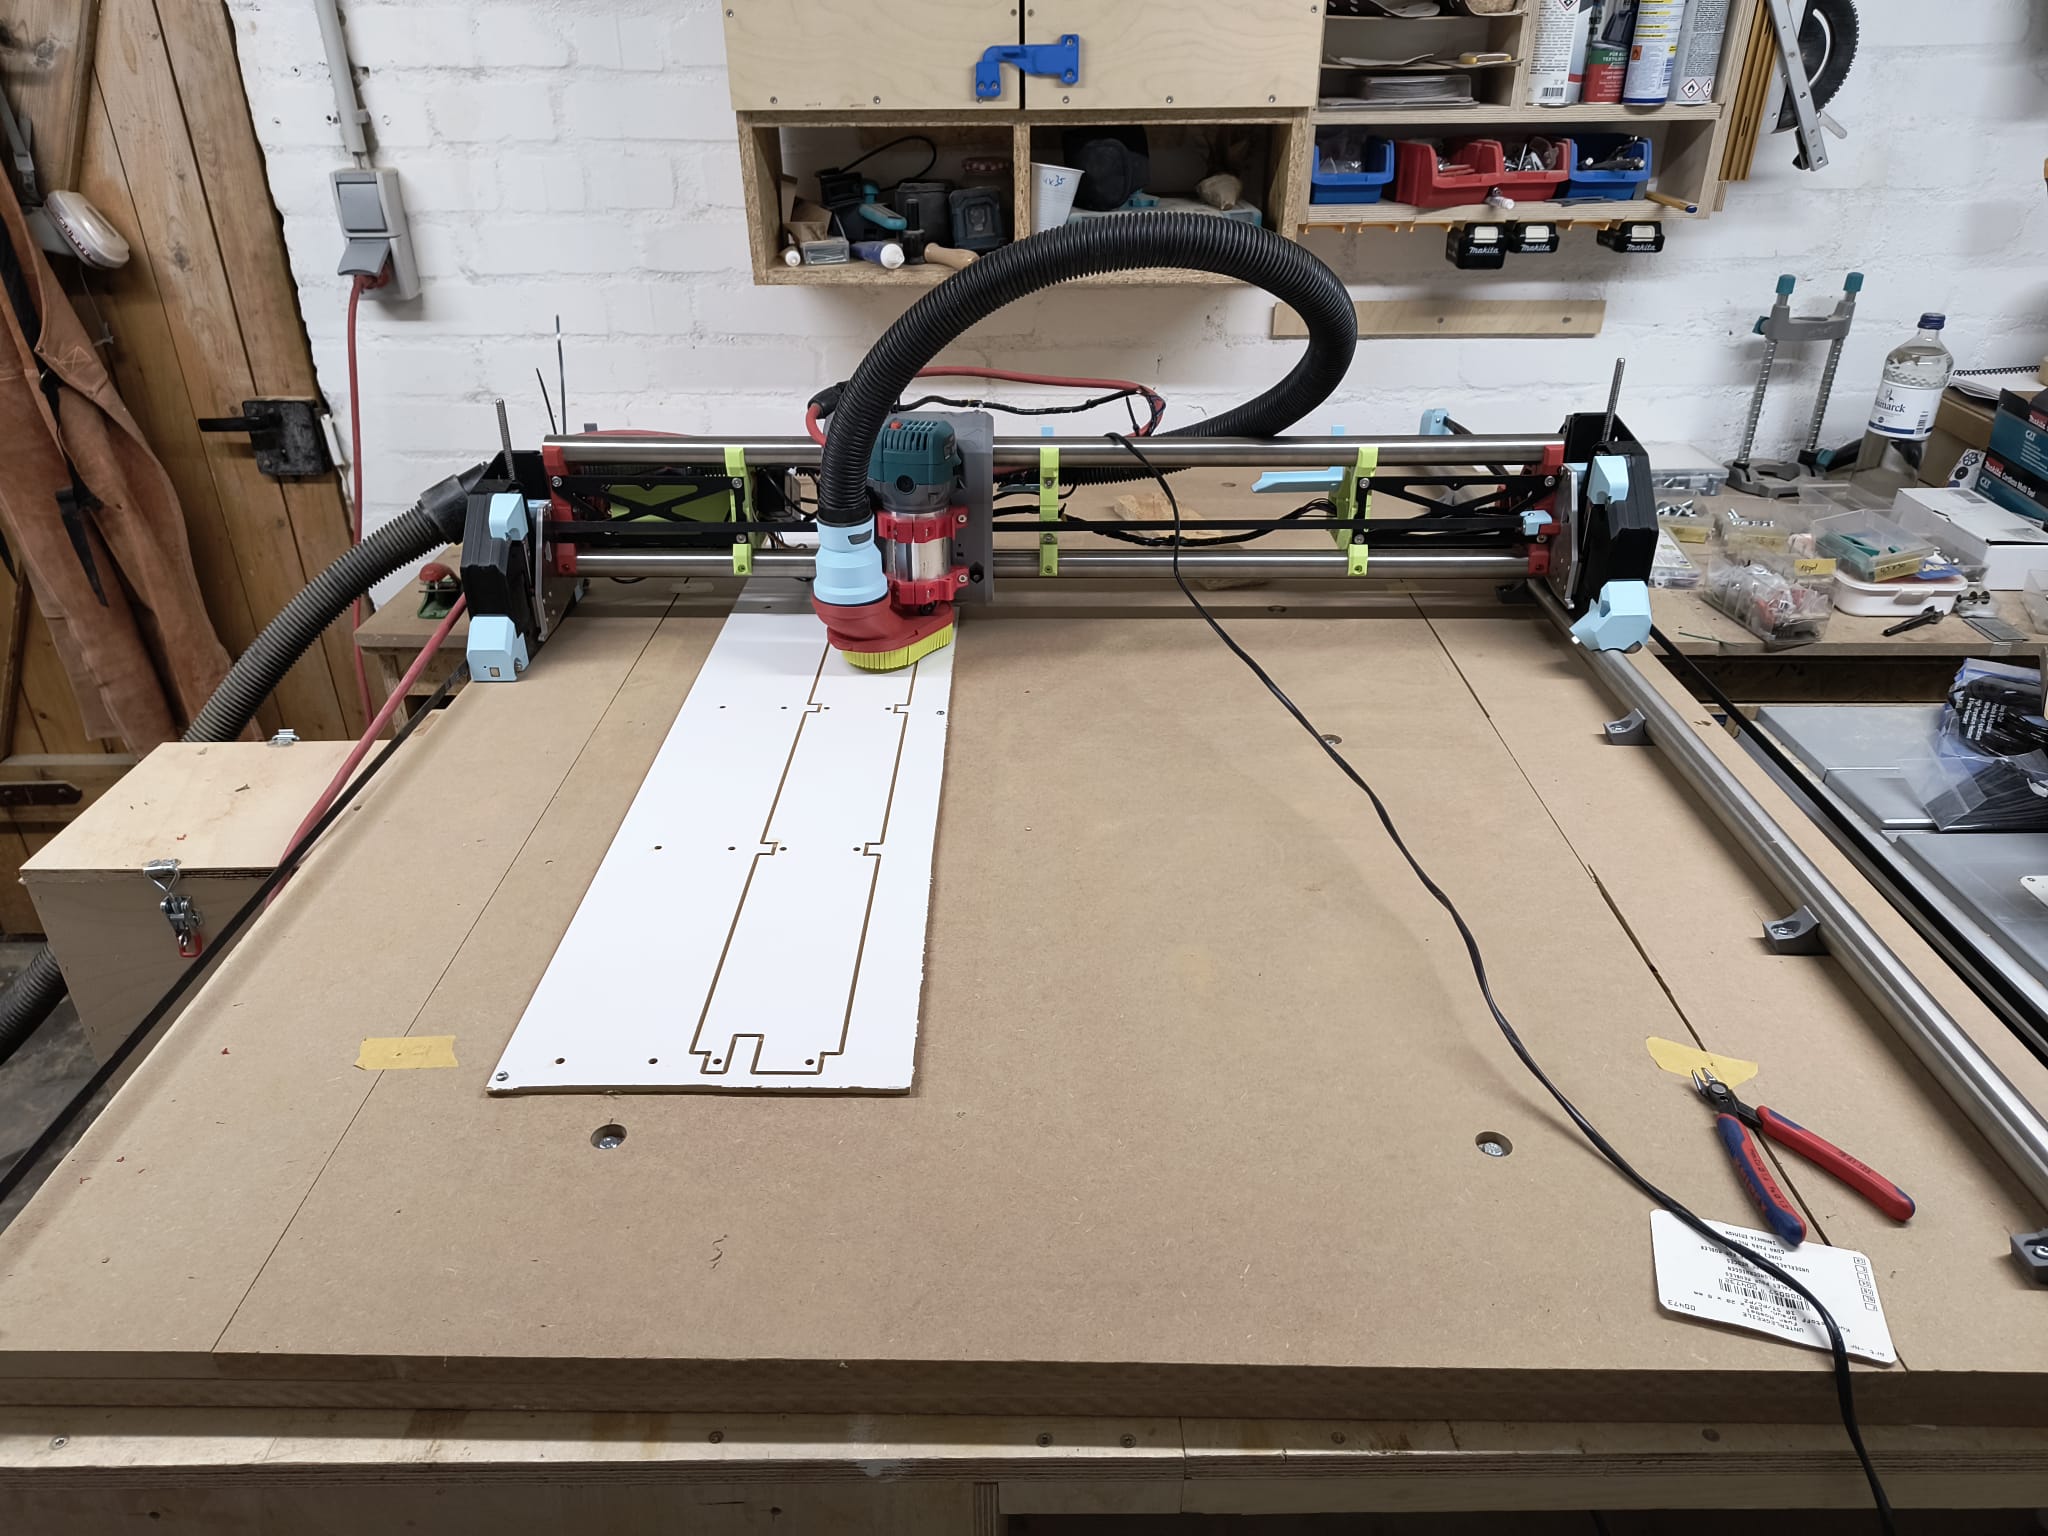
1/8” 2 Flute Downcut, 1440mm/min Feedrate, 3mm DOC, Setting 3 on my Katsu. After installing the strutplates, what would be the next thing to increase to find the limits? DOC or Feedrate?

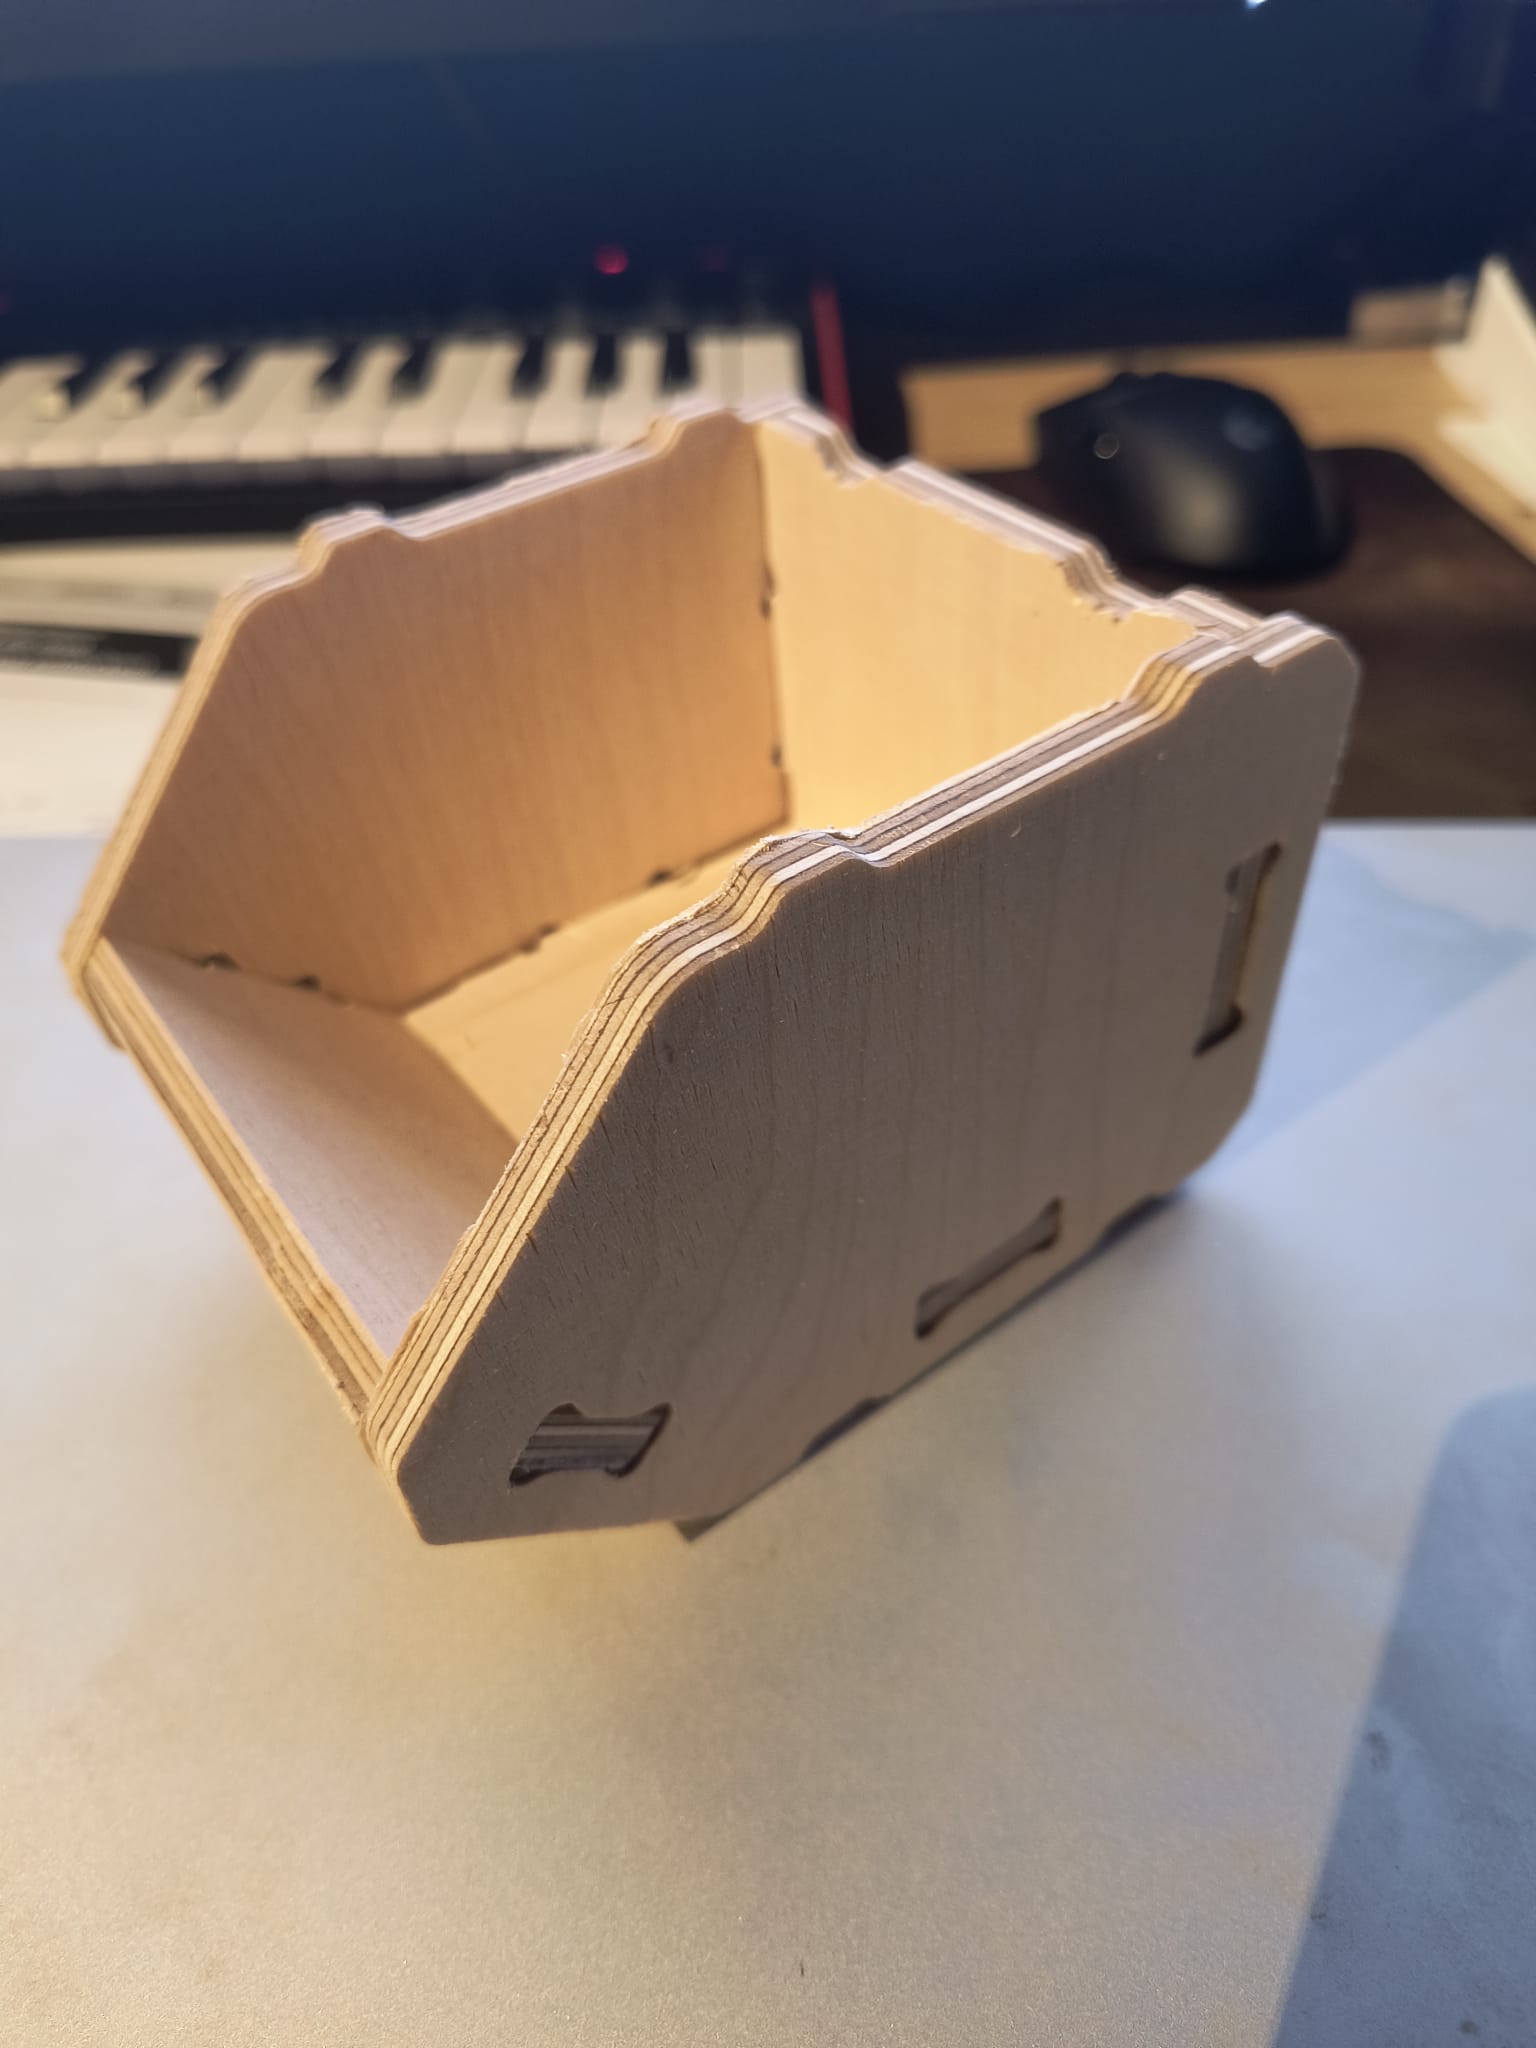
Also if anyone in nothern Germany needs a pair of strut plates:-D

Al in all I spend about 10-12 hours from first screw to first cut I would say. Next up is installing the strut plates, leveling Z and then source some affordable 18mm plywood in germany to build a workbench. Birchply (Multiplex) is >60€/m²…:-/

Some things about the build:

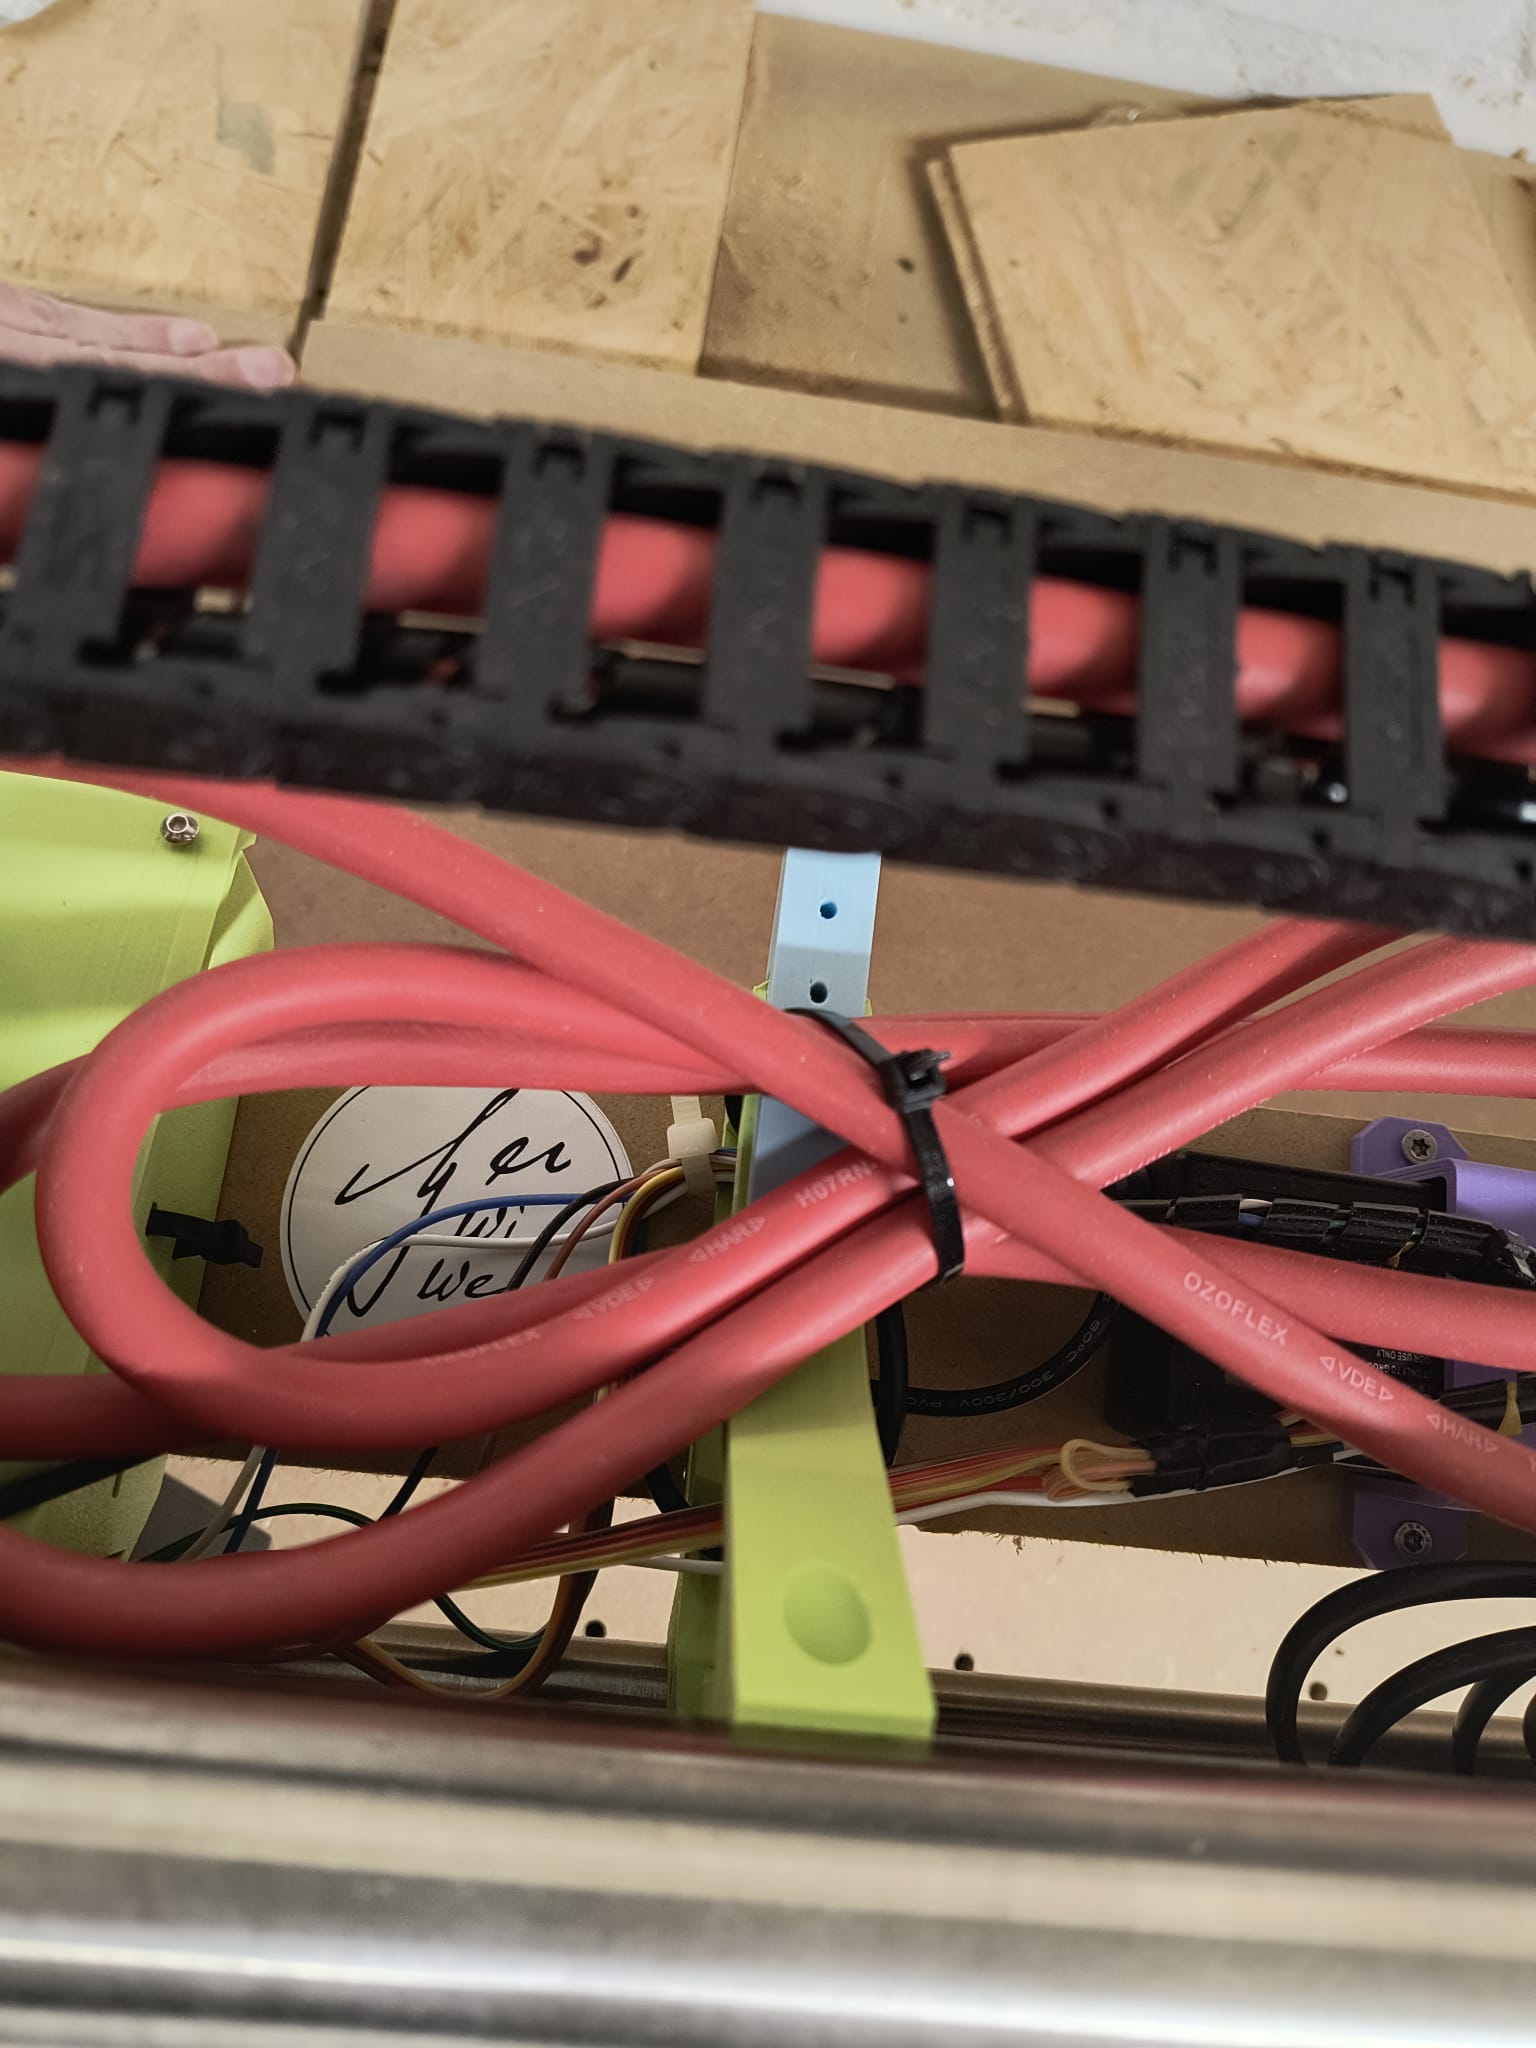
The instructions are very good vor the most part. When installing the steppers it would have been nice to know that you should route the Z-Stepper cable first bevor it says you need to route the Endstops and y-Steppers

Tablesize, is stated in the calculator, but onmly the outer dimensions, it would be nice if the inner dimensions would be stated or how wide the runners on the side should be at least

And lastly i think it is never explicitly stated that the ymin and ymax assemblys are identicaal and need to be built paralle. I figured that out after beeing half way through my first part.

11 Likes

Hey Mr. Vomit, where are you from in northern Germany? I can get 18mm birch ply for around 35€/m² in BB-BB quality.

2 Likes

I love just north of Hamburg and just checked the website from AJ Holzentrum again it is just around the corner and you are right. Multiplex is 38€/m2 in 18mn and 28€/m2 for 12mm.

For my workshop builds I might try to save even more money and go with “Seekiefer” 18mm for just 16€: m2

3 Likes

Wow, now I am jealous, so close to Cropp… :smiley:

2 Likes

ah… a Hamburger… Welcome!

3 Likes

Thanks

3 Likes

so after taking everything apart again to instal the strut plates

first cuts in 6mm plywood. 1/8” downcut, 6.1mm DOC at 1500mm/min. I think I can work with that for the time beeing.

What would be some good test to test dimenional accuracy? Like the Cube in 3D printing or something like that.

9 Likes

If the tabs fit (and it seems they do) it’s a pretty good indicator that the cut isn’t too bad. :slight_smile: I had to hammer in the first ones because the slots were too narrow because of deflection. Yours looks pretty good. :slight_smile:

2 Likes

Don’t get lost chasing zeroes but I thought this was an interesting test cut.

2 Likes

Good morning. I made the test yesterday, My calipers only show milimeters so i had to do a little bit of conversion. i got 0,71” in one spot, everything else varied between 0.73” and 0.77” the long sides were spot on with 3”.

I will test my movement one more time before cutting the holes in my spoildborad and than call it good enough.

In different news, I need a new router/spindle. At the moment i have my only palm router from Katsu installed, and don’t want to change it out everytime i need to route some edges. So there are different Options.

  1. Buy another Katsu like most do for 55€ and call it a day

  2. Buy a Genmitsu Router with an ER11 Collet for 110€ Genmitsu

  3. Buy a Vevor Spindle from Amazon for about 100€ Vevor (Aliexpress even Cheaper with 65€)

  4. Wait until after the summer and get an AMB 1050 for about 300€ AMB 1050

Noice is a little bit of concern, it shouldn’t be louder than my Katsu…

Then buy directly at AMB: Fräsmotoren | Produkte | AMB-ELEKTRIK. Also, you want one with an ER collet. I have the 1400 with the ER16 collet because I bought it used, otherwise I’d have taken the one with the ER20. :stuck_out_tongue:

Hey, one more question, when you turn the machine off, my Gantry goes down because the unpowered motors do not offer any resistance. At the moment I put woodblocks under the gantry and then turn the machine off, so it resets on the wood

Do you have more elegant solutions?

1 Like

No. :slightly_smiling_face: It’s a good sign they are dropping though.

Some people have stop blocks on top of the sideplates. Should be able to find them on printables.

1 Like

Okay, I think I’m done. Yesterday i cut 96 holes in my wasteboard from the back and installed threaded inserts

That’s workpiece holdiing done for the moment. Also i cut out my “first” Project. Which came out very good, considering i turned off the router mid job, because I zoned out…will not happen again.

Thank you so much for your help. Any further posts will be in Troubleshooting or Projects I made.

5 Likes

Looks good! What dimension on the threaded inserts did you use?

That beautiful sticker really ties the LR together. :joy:

Spoilboard and Hammer look great! :heart:

Thanks. Yeah the Sticker elevated if to the next Level.

The inserts are M5x10…sadly I think i stripped two or three. 10mm in MDF is really Not that much. Next Version might be either only mdf and screw everything down or t-tracks every few inches…

1 Like

Where did you get the file for the hammer? Looks like a cool 1st project for me!

really nice youtube chanel, lots of files for sale and free. I really liked them even before owning a cnc. Next wiill be one of their mobile workbenches for the cnc and then replace my current workbench wich is way to big now with their modular one.

Not the OP but Free Plywood Mallet DXF Files | CNC Router Project Plans & Designs – Aribabox

edit: heh, simultaneous posting