LR4 build by a complete newbie

Decided to just dive into a 3D carve, I need to make some trinkets for the wife as a thank you for letting me spend all this time and money on this thing :slight_smile:

Found this random STL of a D&D type lady riding a majestic capybara and was like “yup that’s the one!” Picture of women T0013720 download free stl files 3d model for CNC wood carving – Free download 3d model Files

  • Simplified in FreeCAD by converting to solid and then refining it (I couldn’t get the decimate tool to do anything, this seemed to work well enough), and then exporting as STL.
  • Brought it into EstlCAM as an STL, resized to roughly 80 mm x 80 mm, 4 mm depth. I have some really pretty 4x4 posts that make cool wooden blocks when sliced on the chop saw, figured they’d be great for carving little things.
  • I did the automated Block Machining, using a 3 mm 2 flute upcut bit for both roughing and finishing. Finishing used a 20% step over.
  • It worked!! Well kind of, I figure my bit is way too big and not the right style for this tiny carving… the great thing is that the machine behaved as expected, so I can actually enjoy experimenting to figure out what works and what doesn’t :). I have a 1 mm ball nose bit coming in today to use on the finishing, we’ll see what happens!

My photo isn’t great at showing the relief detail, but you can make out the cappy’s legs and seeing it IRL I can see the potential


2 Likes

Tried again last night, this time with a finishing pass on a 1 mm ball nose, it came out much better! I also made the job larger in hopes of bringing out more detail. Only problem was my bit wasn’t set properly to cut at max depth so I was bottoming out at a lot of spots, and I used horizontal paths for both roughing and finishing, I think I’ll try the water lines technique next


I also realized that using the 5x zoom lens is like looking at this stuff through a microscope and it looks really trippy lol

3 Likes

Getting better and better :hugs:

2 Likes

I see you like to start slowly… :sweat_smile:

5 Likes

Took a break from trying to carve the Lady Cappy as I’ve grown to call the piece lol.

I did some experimenting with dust boots. The standard one in the printed parts files has two problems: the hose/airflow is not pointed at the bit, and the hose/airflow is far away from the bit.

I spent a lot of time taking measurements etc and then found this design: https://makerworld.com/models/1317443

It has a channel that points the air flow directly at the bit and brings said airflow much closer! Their quick attachment looks nice but I cracked one of the parts and said forget it, so I just ziptied it to the stock router holder. Eventually I’ll either re-print it the right way or figure out a magnetic solution, I’m just not in any sort of hurry to take stuff apart lol


Unrelated, I’ve always hated how my AMS Lite wobbles during printing…I was gonna try to find a solution online but then I happened to have a roll of shop rags sitting right there et voila, solid as a rock now :slight_smile:

1 Like

Update on software usage, I’m finally starting to get into a groove with a few different programs. I wanted to do a little write up to see what others are using or maybe someone can offer a tip based on my experiences :slight_smile: And obviously this might be helpful for others, so feel free to AMA on these and I’d be happy to answer questions!

In no particular order, here’s what I’m using, what I use it for, and why I like it:

  1. AutoCAD 2024 for Mac for sketching
  • Once you learn the keyboard shortcuts and common sketching workflow, there isn’t anything more efficient for sketching. Watch this video until you get bored, you’ll be pretty decent at it in no time https://youtu.be/jSZOcSagios?si=LmFAGRRmztAftl2I (same link from my earlier post here)

2.) EstlCAM for, well, CAM

  • It’s basic and basic is GREAT because it really should be simple, right? You have known dimensions of your work piece, your work file, your tool, and your machine, so you just need a (relatively) simple calculator to get your tool paths, and this is it.
  • I learned soooo much from reading the tool tips (pop up windows when you hover your mouse over something). There is only one negative to this (see next bullet)
  • Running it on Mac I am using WINE. It mostly works, but the touch pad zoom is quite buggy and will zoom for infinity and lock up the program, easily done with an accidental touch or thinking you can “just zoom in a little bit”. For whatever reason, the text in the tool tips doesn’t scale properly so it’s hard to read most of it and impossible to read some of it, definite bummer since the info is so good. I haven’t tried running it in Parallels yet but I’m sure that’ll fix everything :slight_smile:
  • I paid for it, dev deserves his money for sure!
  1. FreeCAD for STL conversion. Once you get it, the workflow is pretty simple:
  • Open FreeCAD, import STL
  • Part Workbench → Part (menu button at top of screen, wish they’d call it “Part Tools” or something) → Create Shape From Mesh. Hit OK on the sewing tolerance pop-up.
  • Select the newly created Shape layer
  • Still in Part Workbench → Part (menu button at top of screen, wish they’d call it “Part Tools” or something) → Create a Copy → Refine Shape
  • Select the newly created Refined Shape
  • File → Export as your preferred file type (I typically use STEP (autocad) or 3MF (freecad)
  1. I recently got a trial copy of Vectric Aspire to mess around with
  • Haven’t made GCode with it yet but following along with their really nice tutorial videos has been great, seems like software truly made for hobby CNC and not just engineering/fabrication.
  • The simulated tool paths are super accurate so you can actually see problem areas before your cut, and you can manually move/re-draw tool paths to quickly fix little things like islands between letters that should have been roughed out
  • This program is windows only, so I am running it through Parallels on my m3 MBA and it works very well. I’m surprised at how nice Parallels is in general, it’s like a windows-mac hybrid with the best of both worlds lol.
  1. iPhone’s LIDAR scanner usage/apps:
  • OnShape lets you do a scan and immediately have it available in their CAD, which you can export. Free for now but who knows for how long. I tried it on a little candy tin shaped like a gameboy, I didn’t follow the instructions at all and it still came out pretty great!
  • LiDAR Plan app is great for making scans of rooms, it’s super quick and easy. It’s also really neat watching it scan and draw more accurate lines in AR as it works, which also makes it super easy to see if your measurement needs to get more accurate: if the line doesn’t line up with the wall/object IRL, you need to scan from more directions or get better lighting, and then watch it improve in real time. You also get a pro looking floor plan where it automatically identifies windows, appliances, and type of room based on the things in it (bathroom, kitchen, bedroom, etc.). 3 day free trial where you could scan your whole house in an hour but also cheap at $30/year. I paid for it after I saw how well it worked, both in my funky townhouse and my camper!

Both FreeCAD and Fusion just make me so frustrated, everything is buried or hidden in some unintuitive menu. All this being said, “best tool for the job” is the name of the game and there is no single tool that does everything perfectly (for me anyways, and I tried really hard lol).

2 Likes

Spent some quality time with the LR4 today, currently taking a late lunch break from it and figured I’d update my build thread with some more nuggets of experience gained! This is so great for remembering the lessons I learn, and I’m sure others can pick up a thing or two along the way :slight_smile: In no particular order, but numbered for easy conversation:
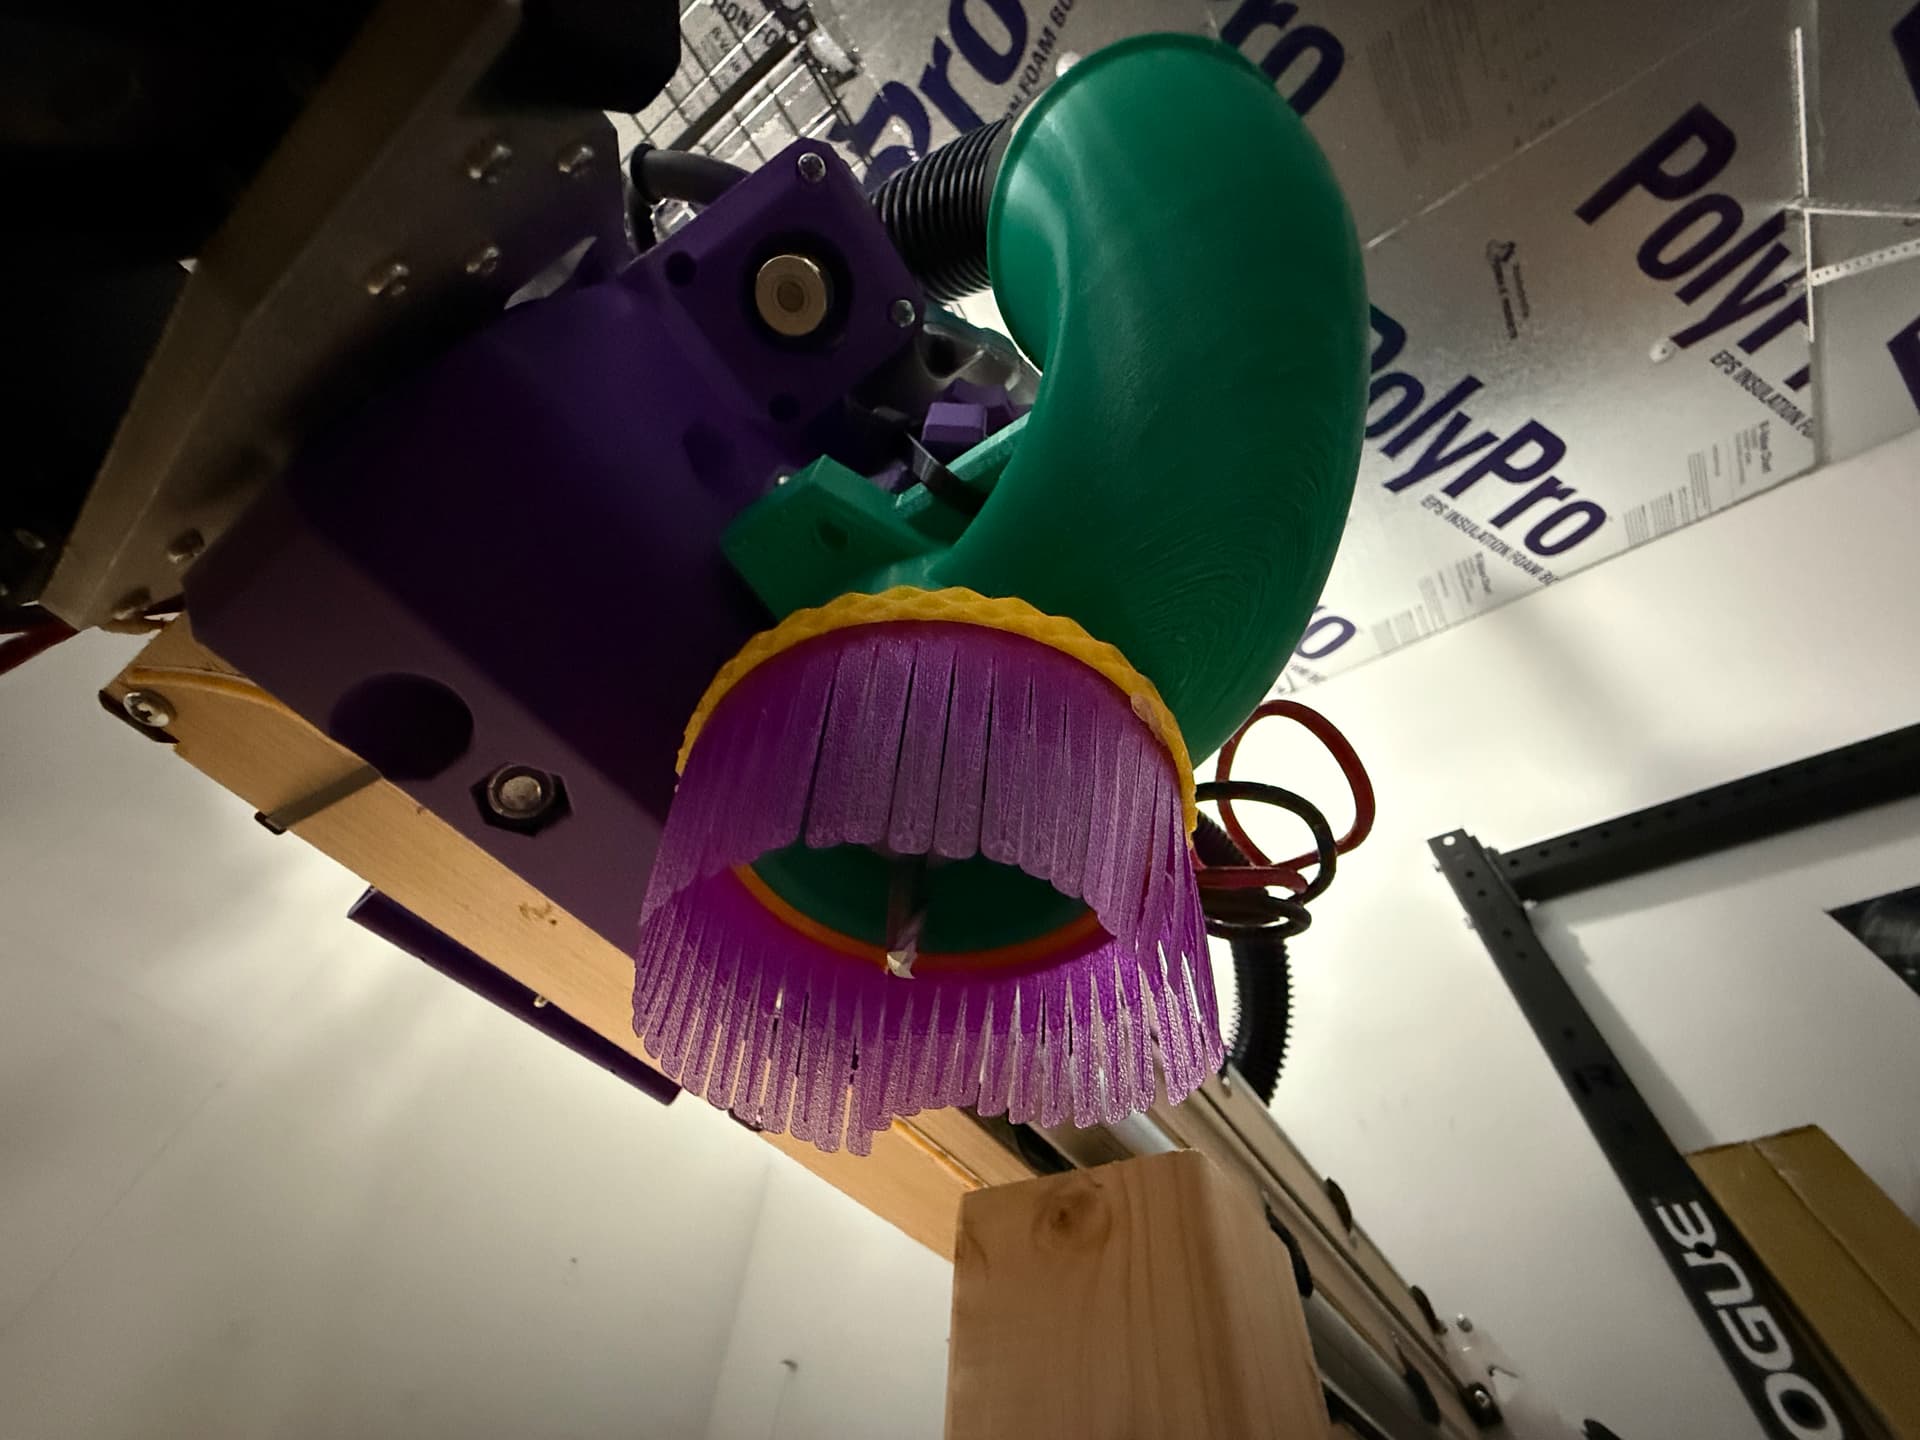
Dust Collection:

I got the HF HEPA dust collector about a month or so ago and I am in love with this thing y’all. It is loud, but slightly quieter than a typical shop vac.. but the feature list is nuts: 17 ft anti static hose lets you keep it in one spot but connect it to whatever tool you wanna use (including the attachments it comes with), you can plug a tool into it and it’ll auto-on when the tool comes on and it’ll run for 10 seconds after the tool turns off. It feels like it has twice the suction strength of my Dyson DC23 which is a big boi canister model that kicks major ass (the Herc is a touch quieter than the Dyson). Not sure if I shared this info before and too lazy to check, so here it is again if so lol.

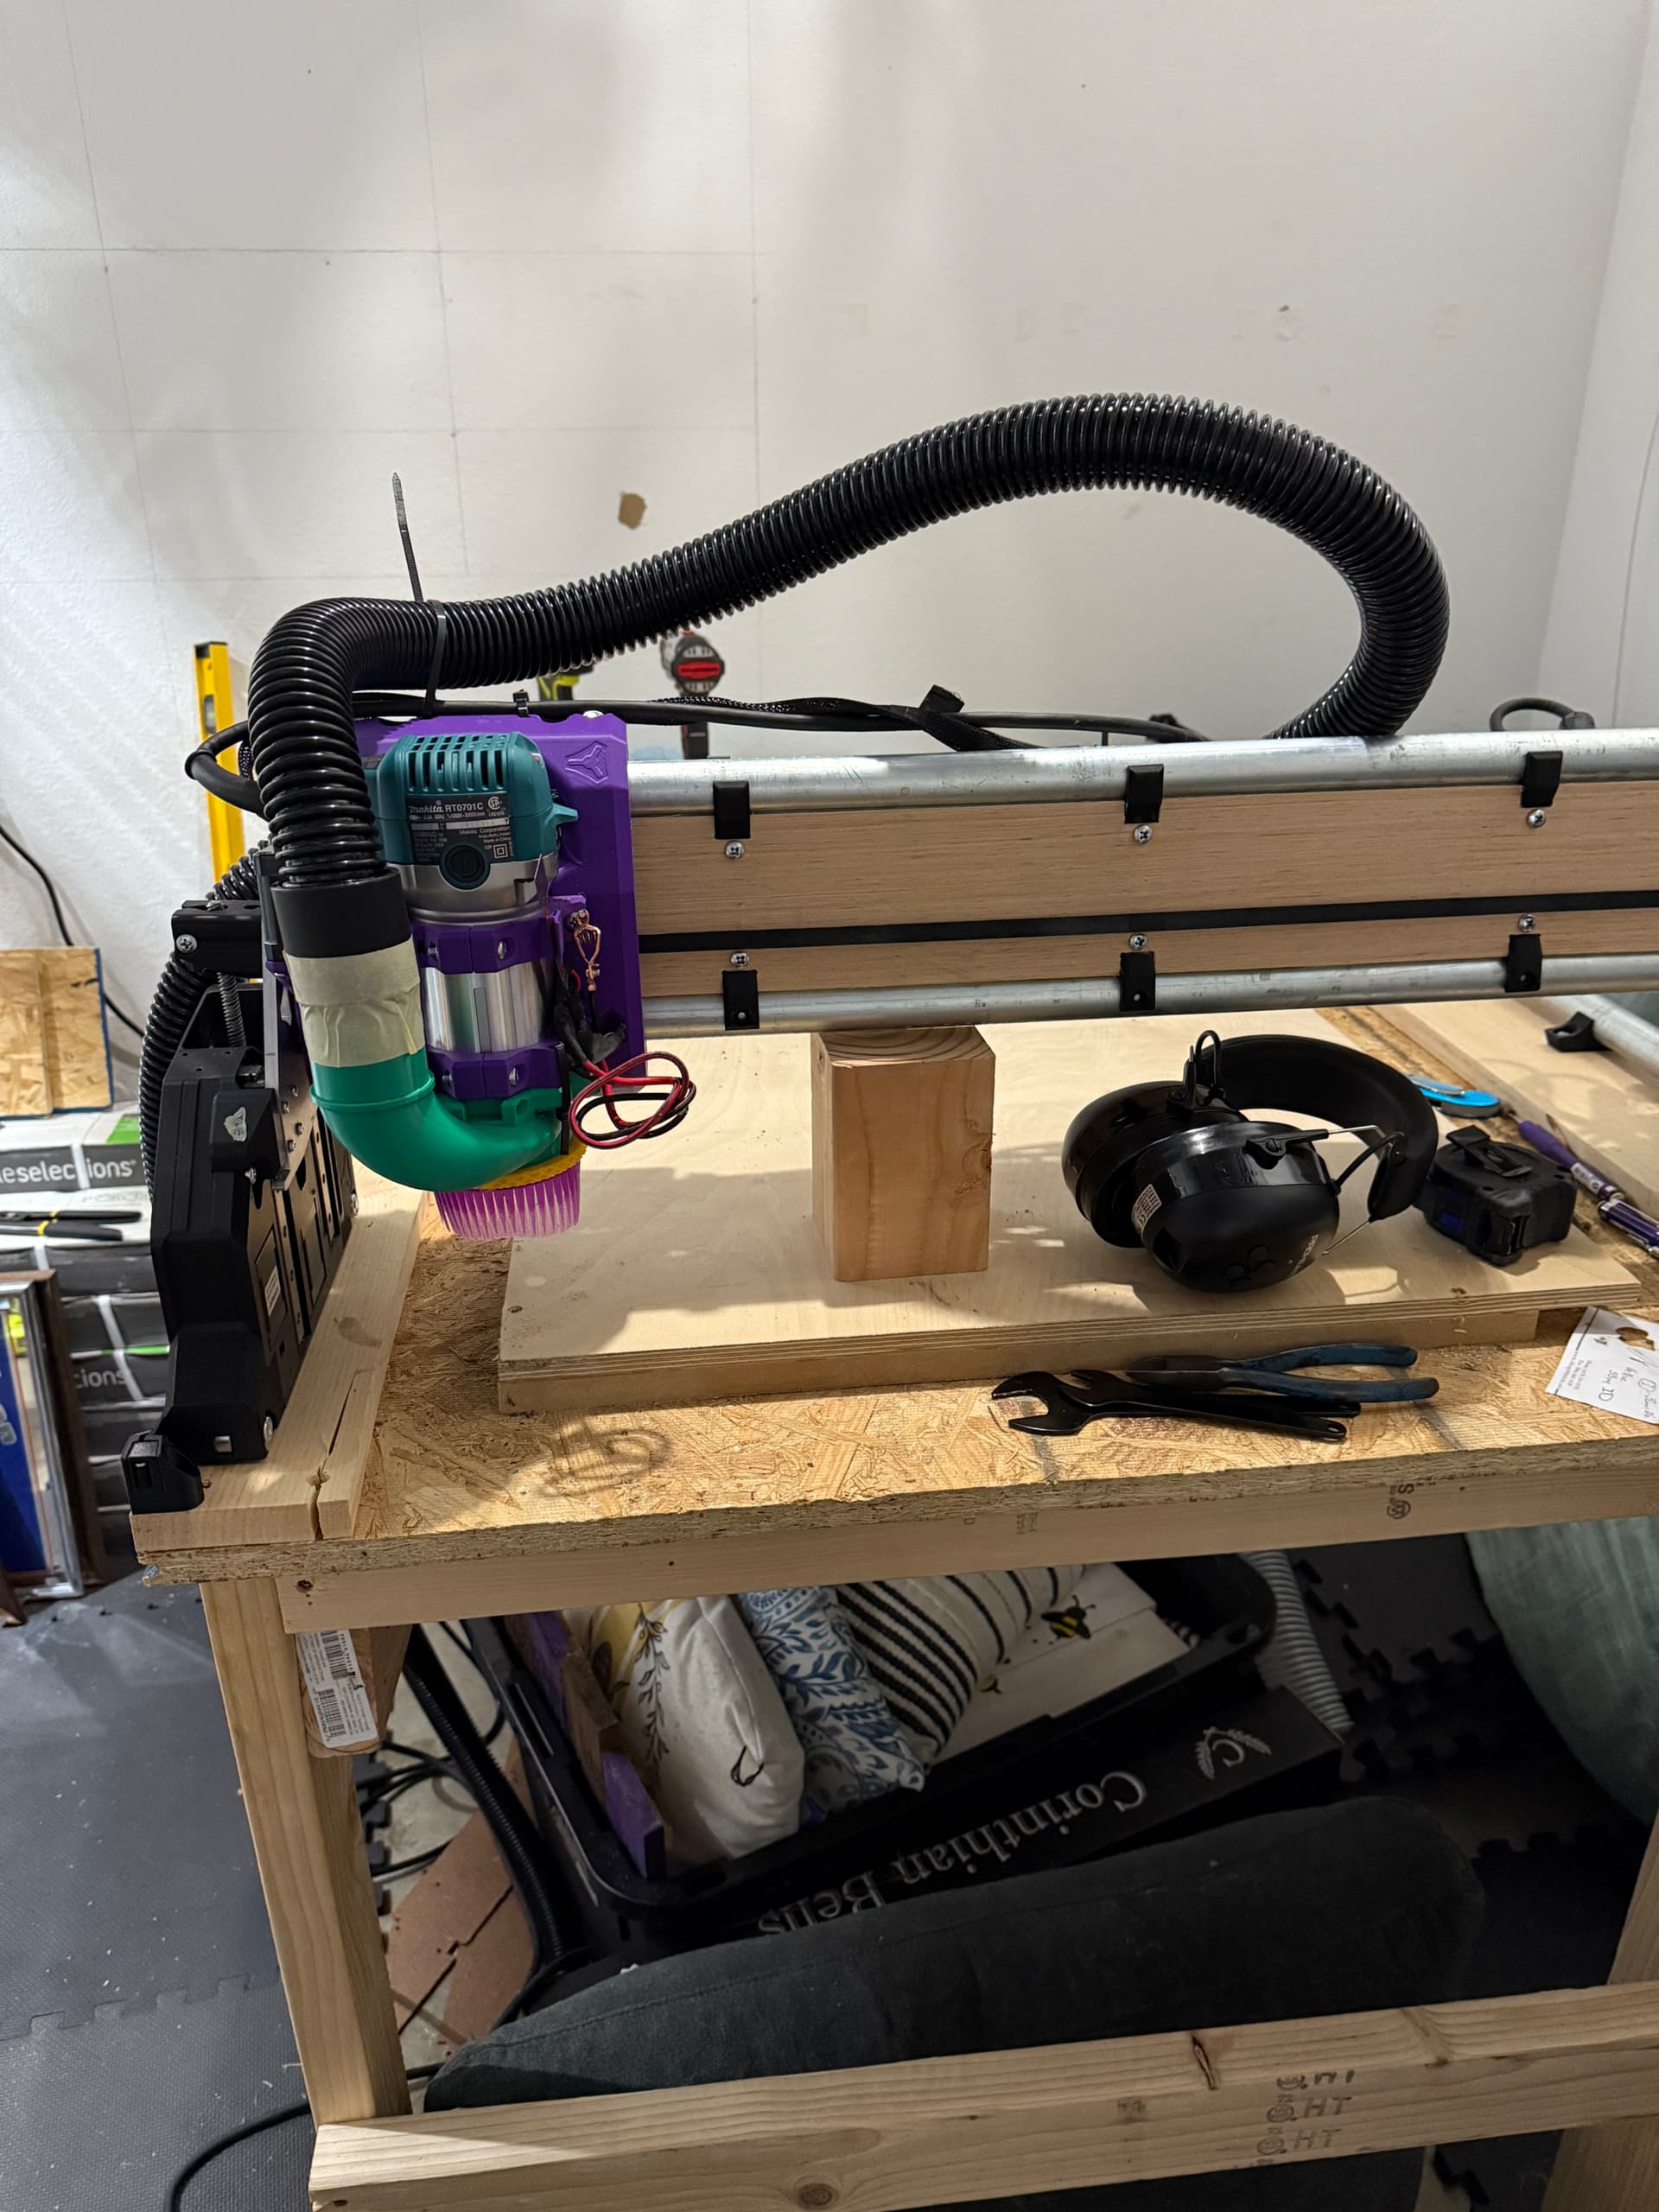
I had been using a 2.5" vac hose but dropped it down to 1.25" under the assumption it would give me even more suction power, while being much lighter and maneuverable compared to the big hose. It worked “fine” for a little while, but while surfacing (see below), the hose kept getting clogged from OSB chunks. I swapped it back to the 2.5" and it’s working like a dream again. Will use the small hose as an extension for my little portable Ryobi shop vac.

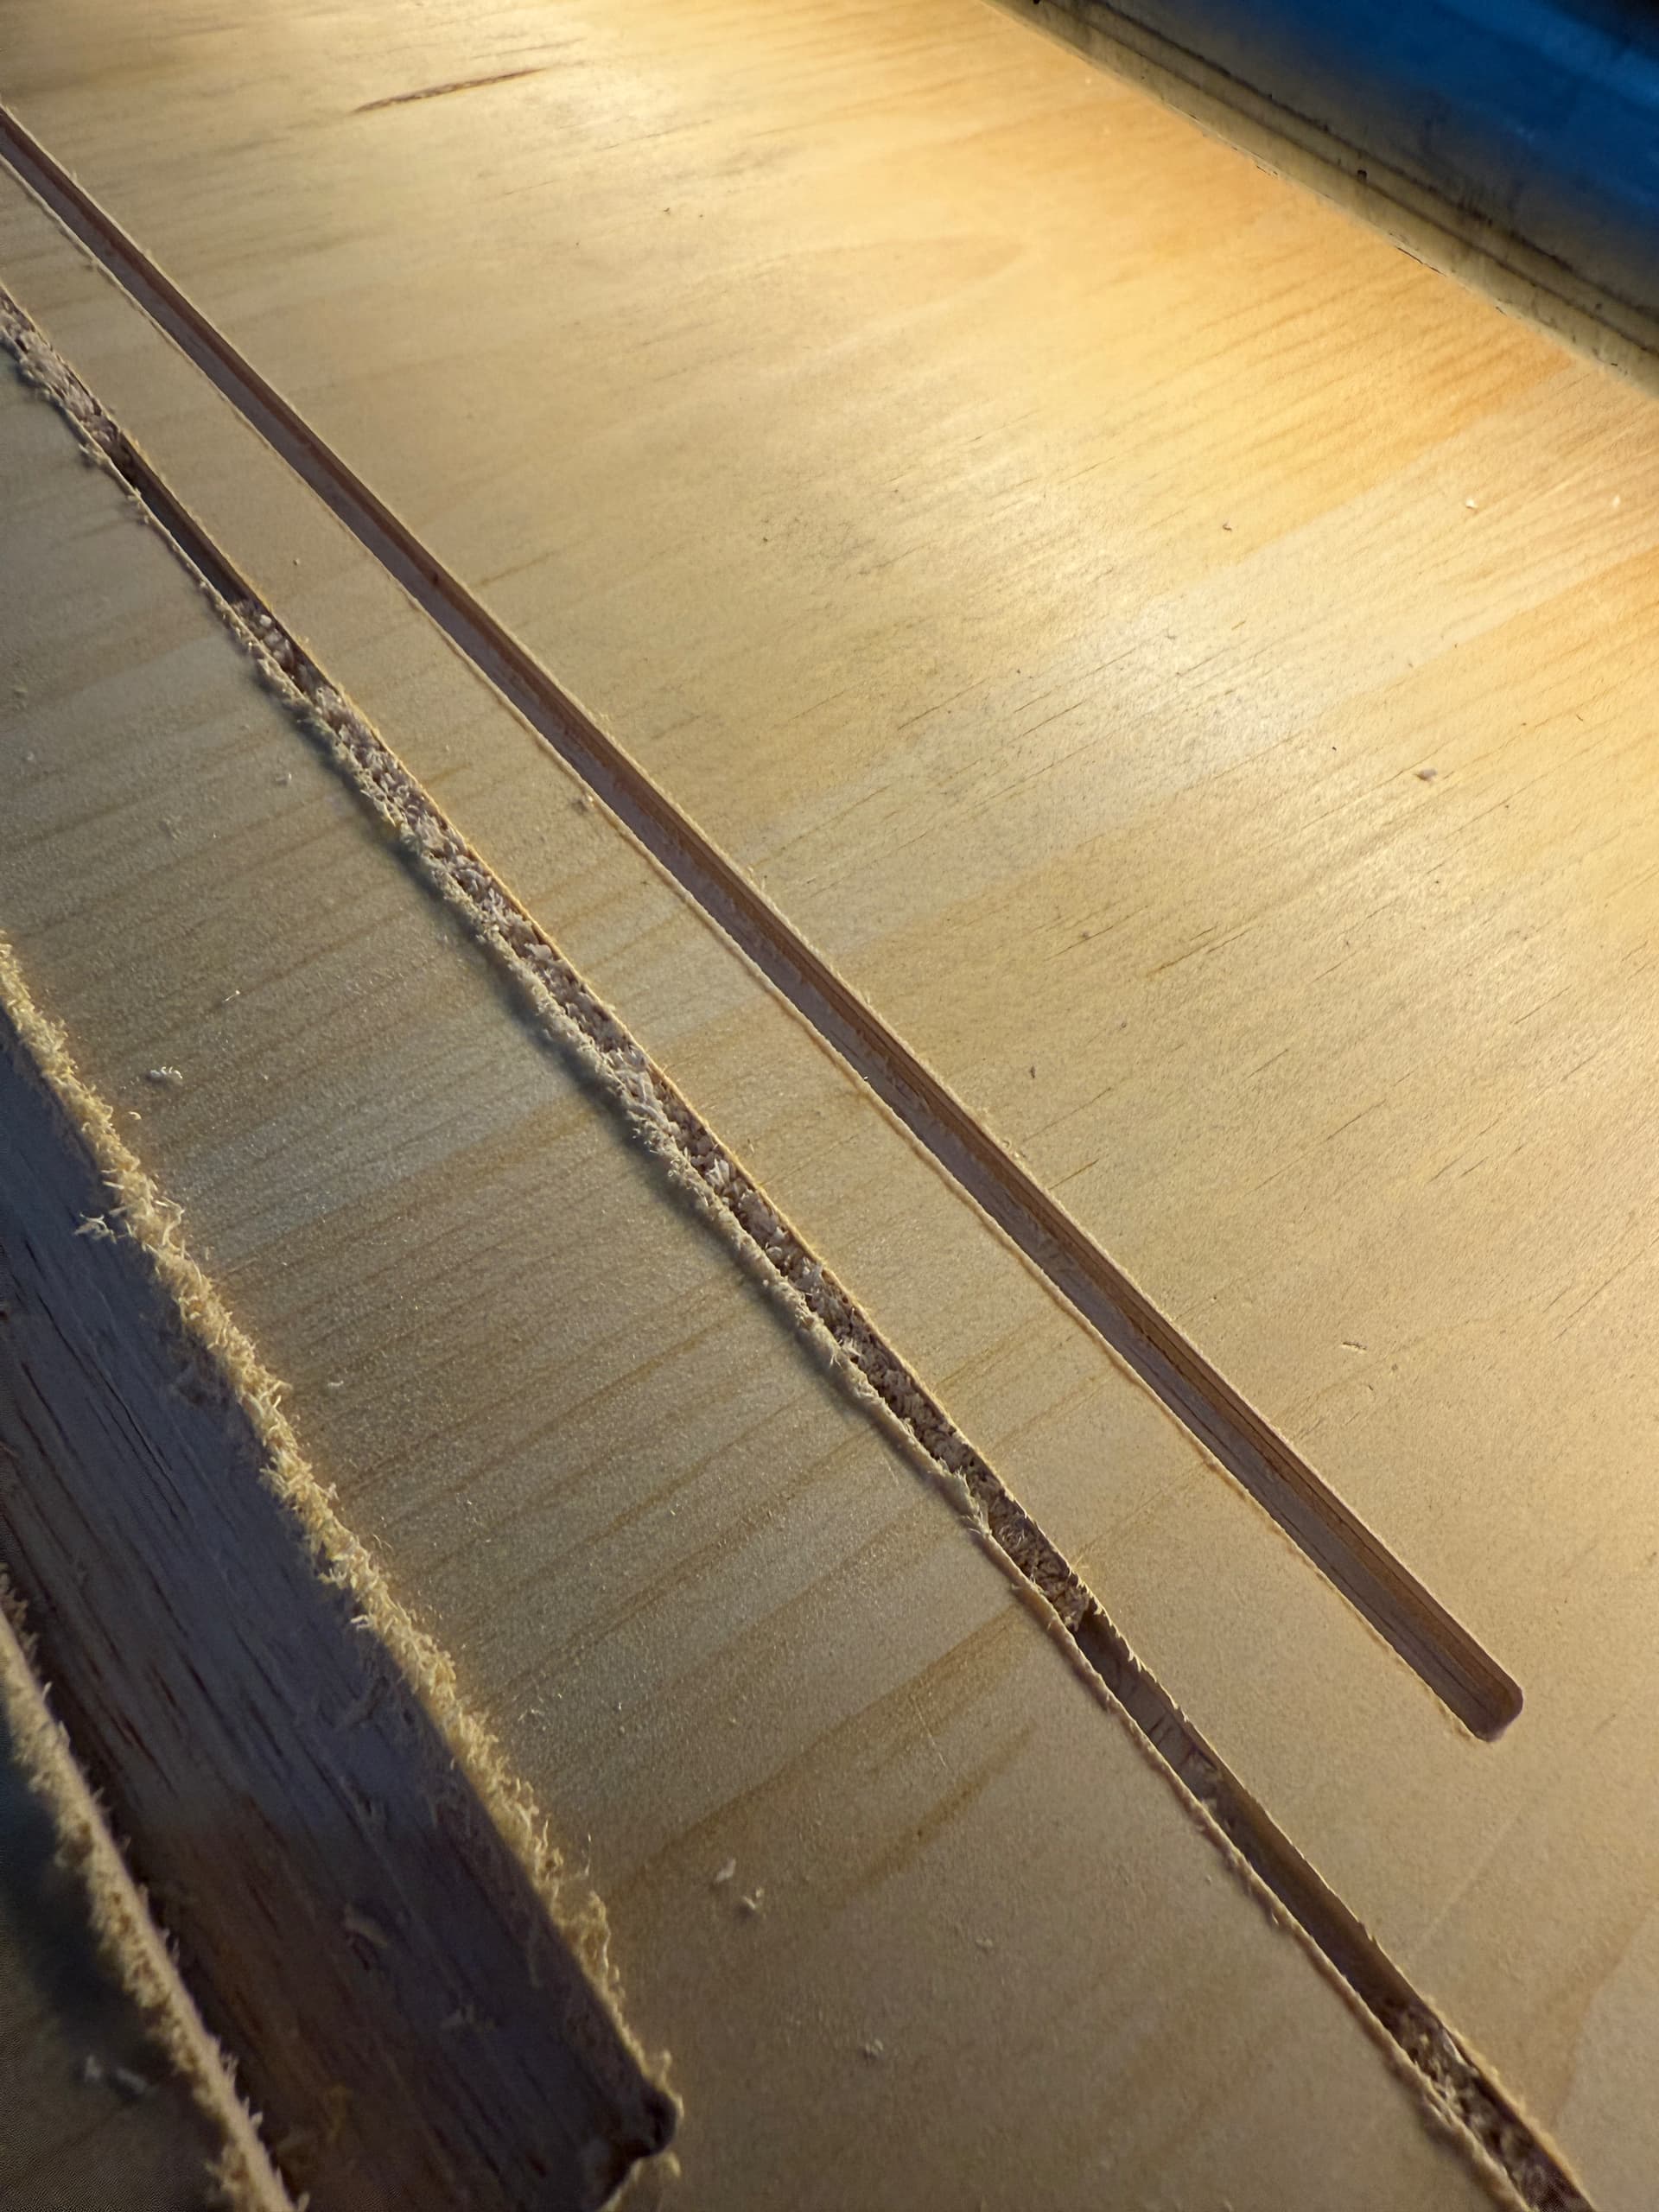
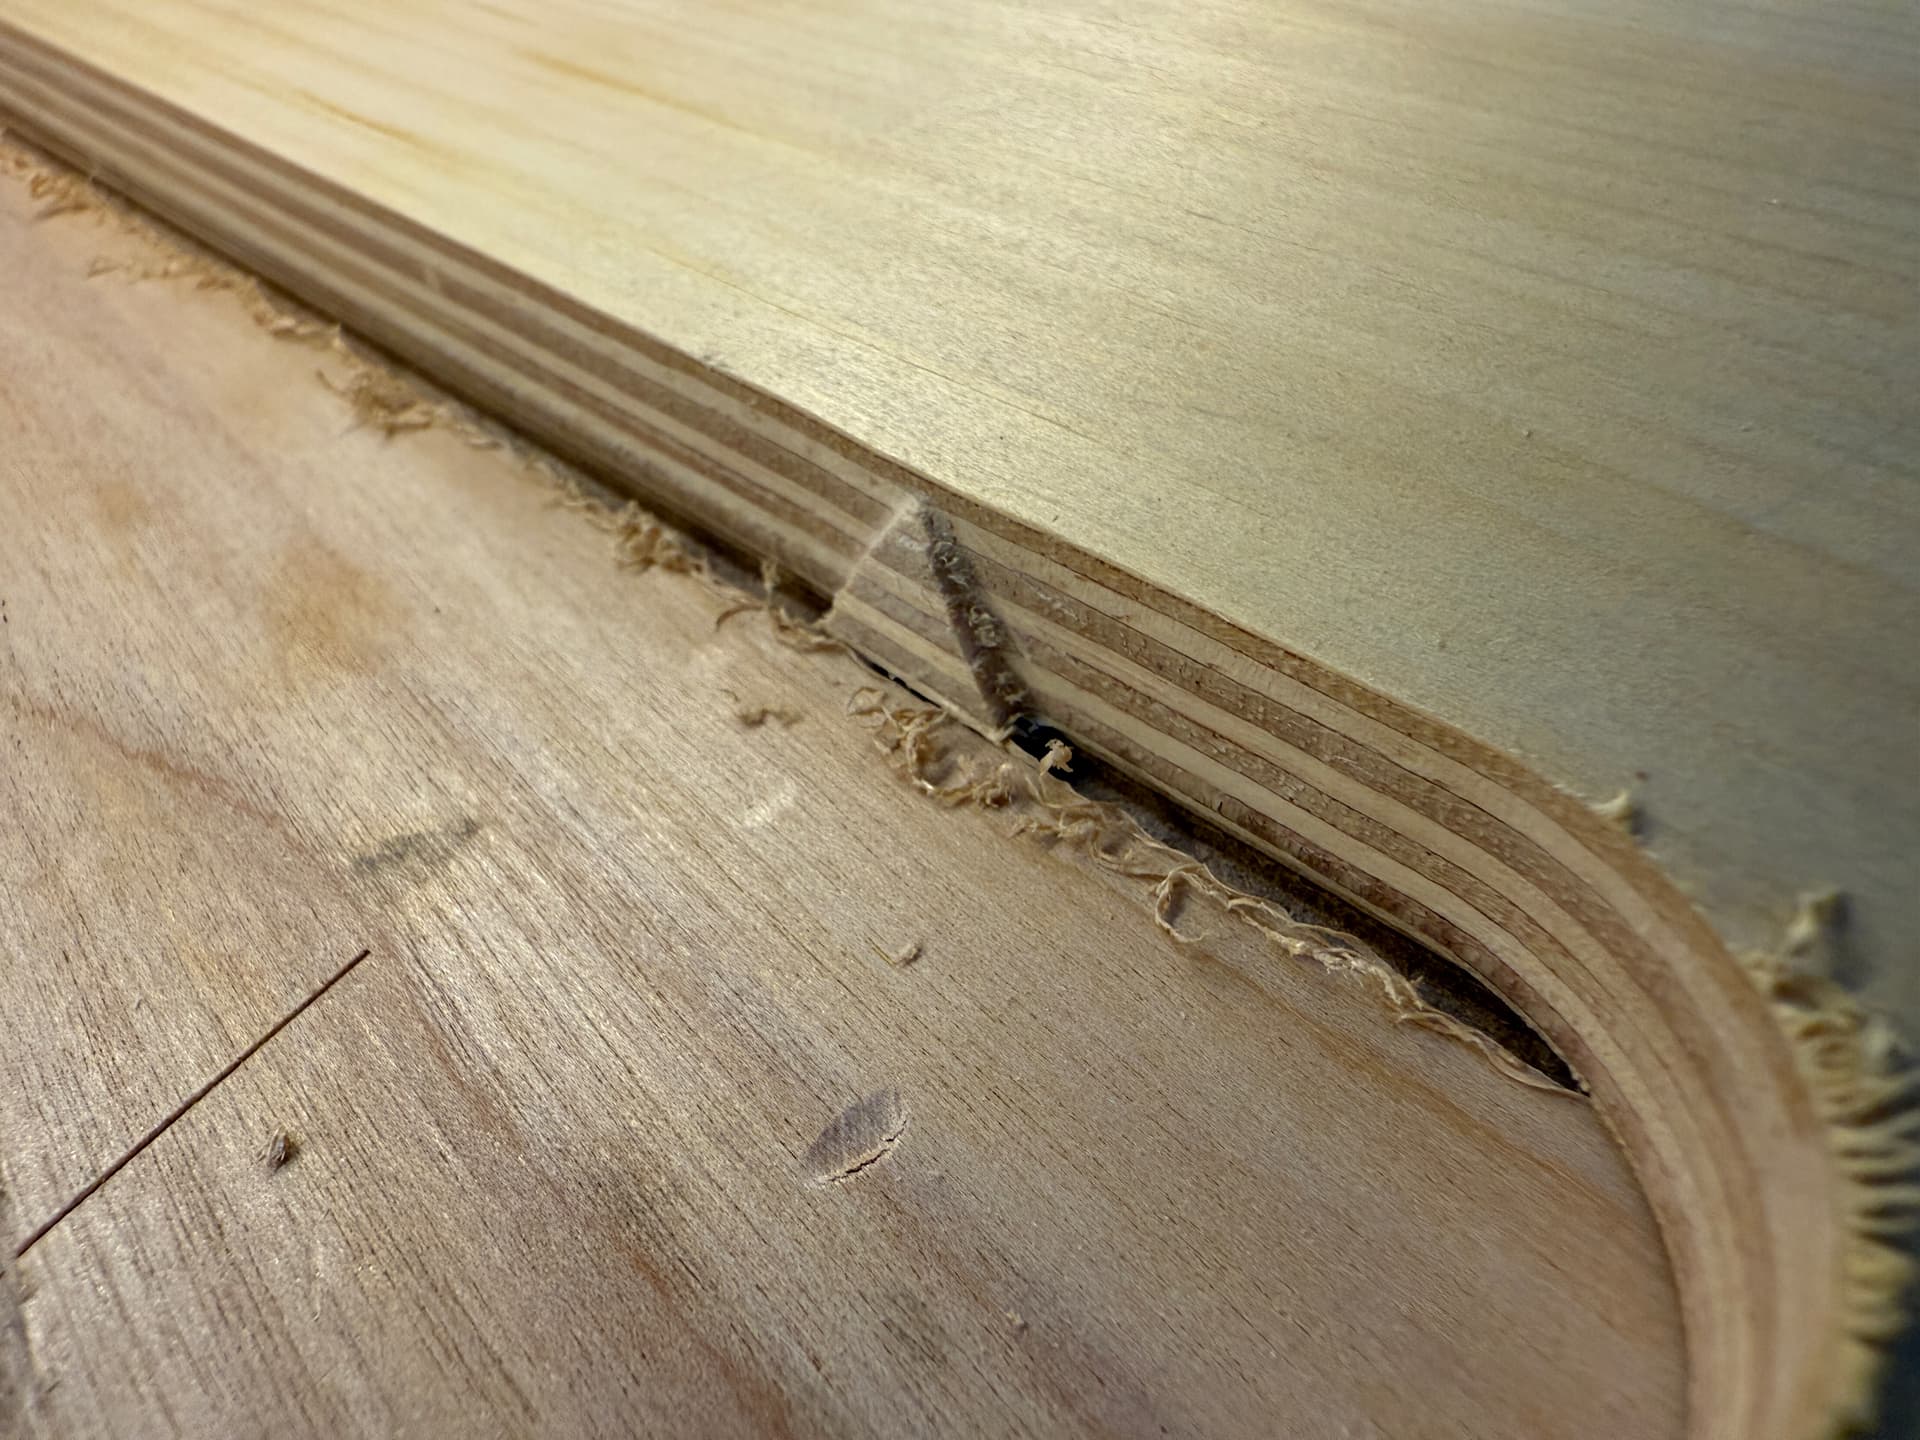
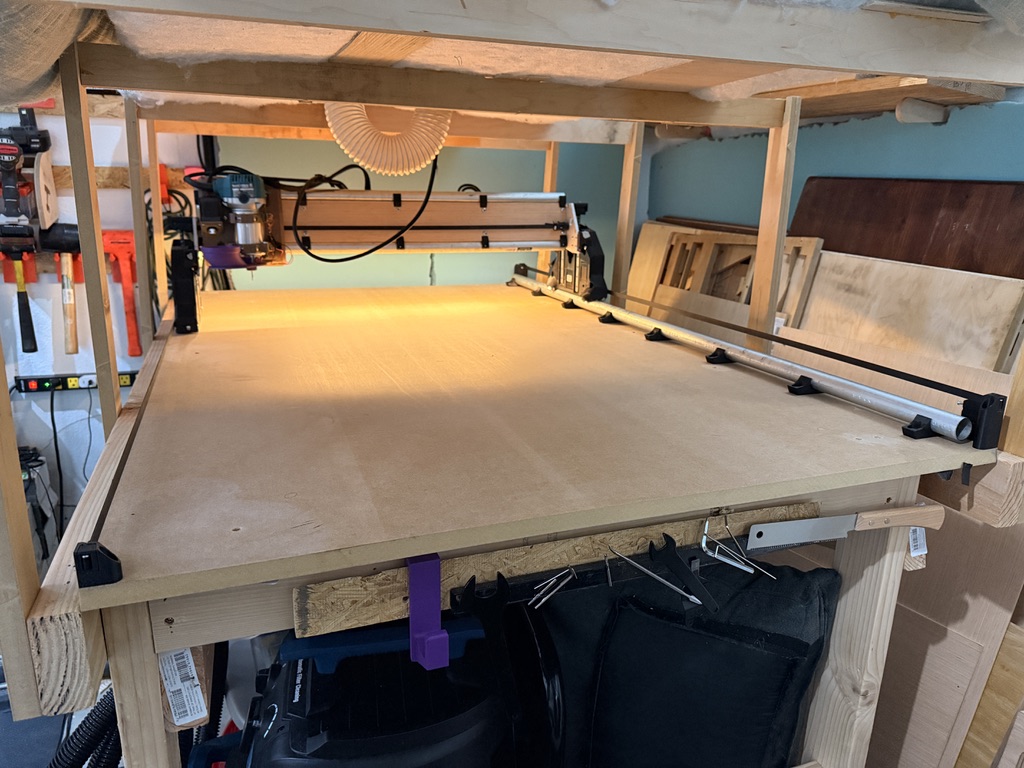
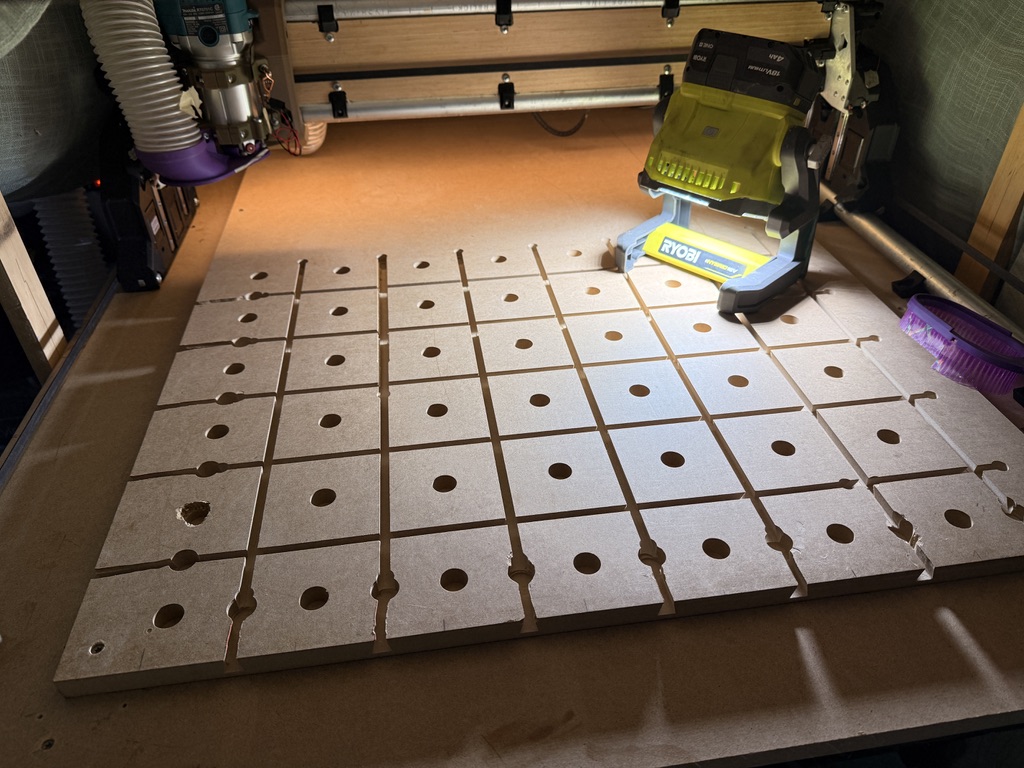
First time spoil board surfacing:

Shame on me for putting it off for so long, but I was having too much fun ignoring how uneven my table was :grin: Turns out my OSB table top had a bow to it because I didn’t have any screws holding it down in the middle :man_facepalming:. Just a learning moment! Screwed it into the “studs” or ribs of my table with 8 screws, very nice :+1: :+1:

Then I decided to use VCarve to make my spoil board pattern, first time using it for real. I probably wasted an hour trying to get its GCode to do what I wanted it to do.. eventually I wised up and just used good ol EstlCAM! Running it in Parallels on Mac works a lot better than via WINE, though WINE certainly gets the job done (and it’s free).

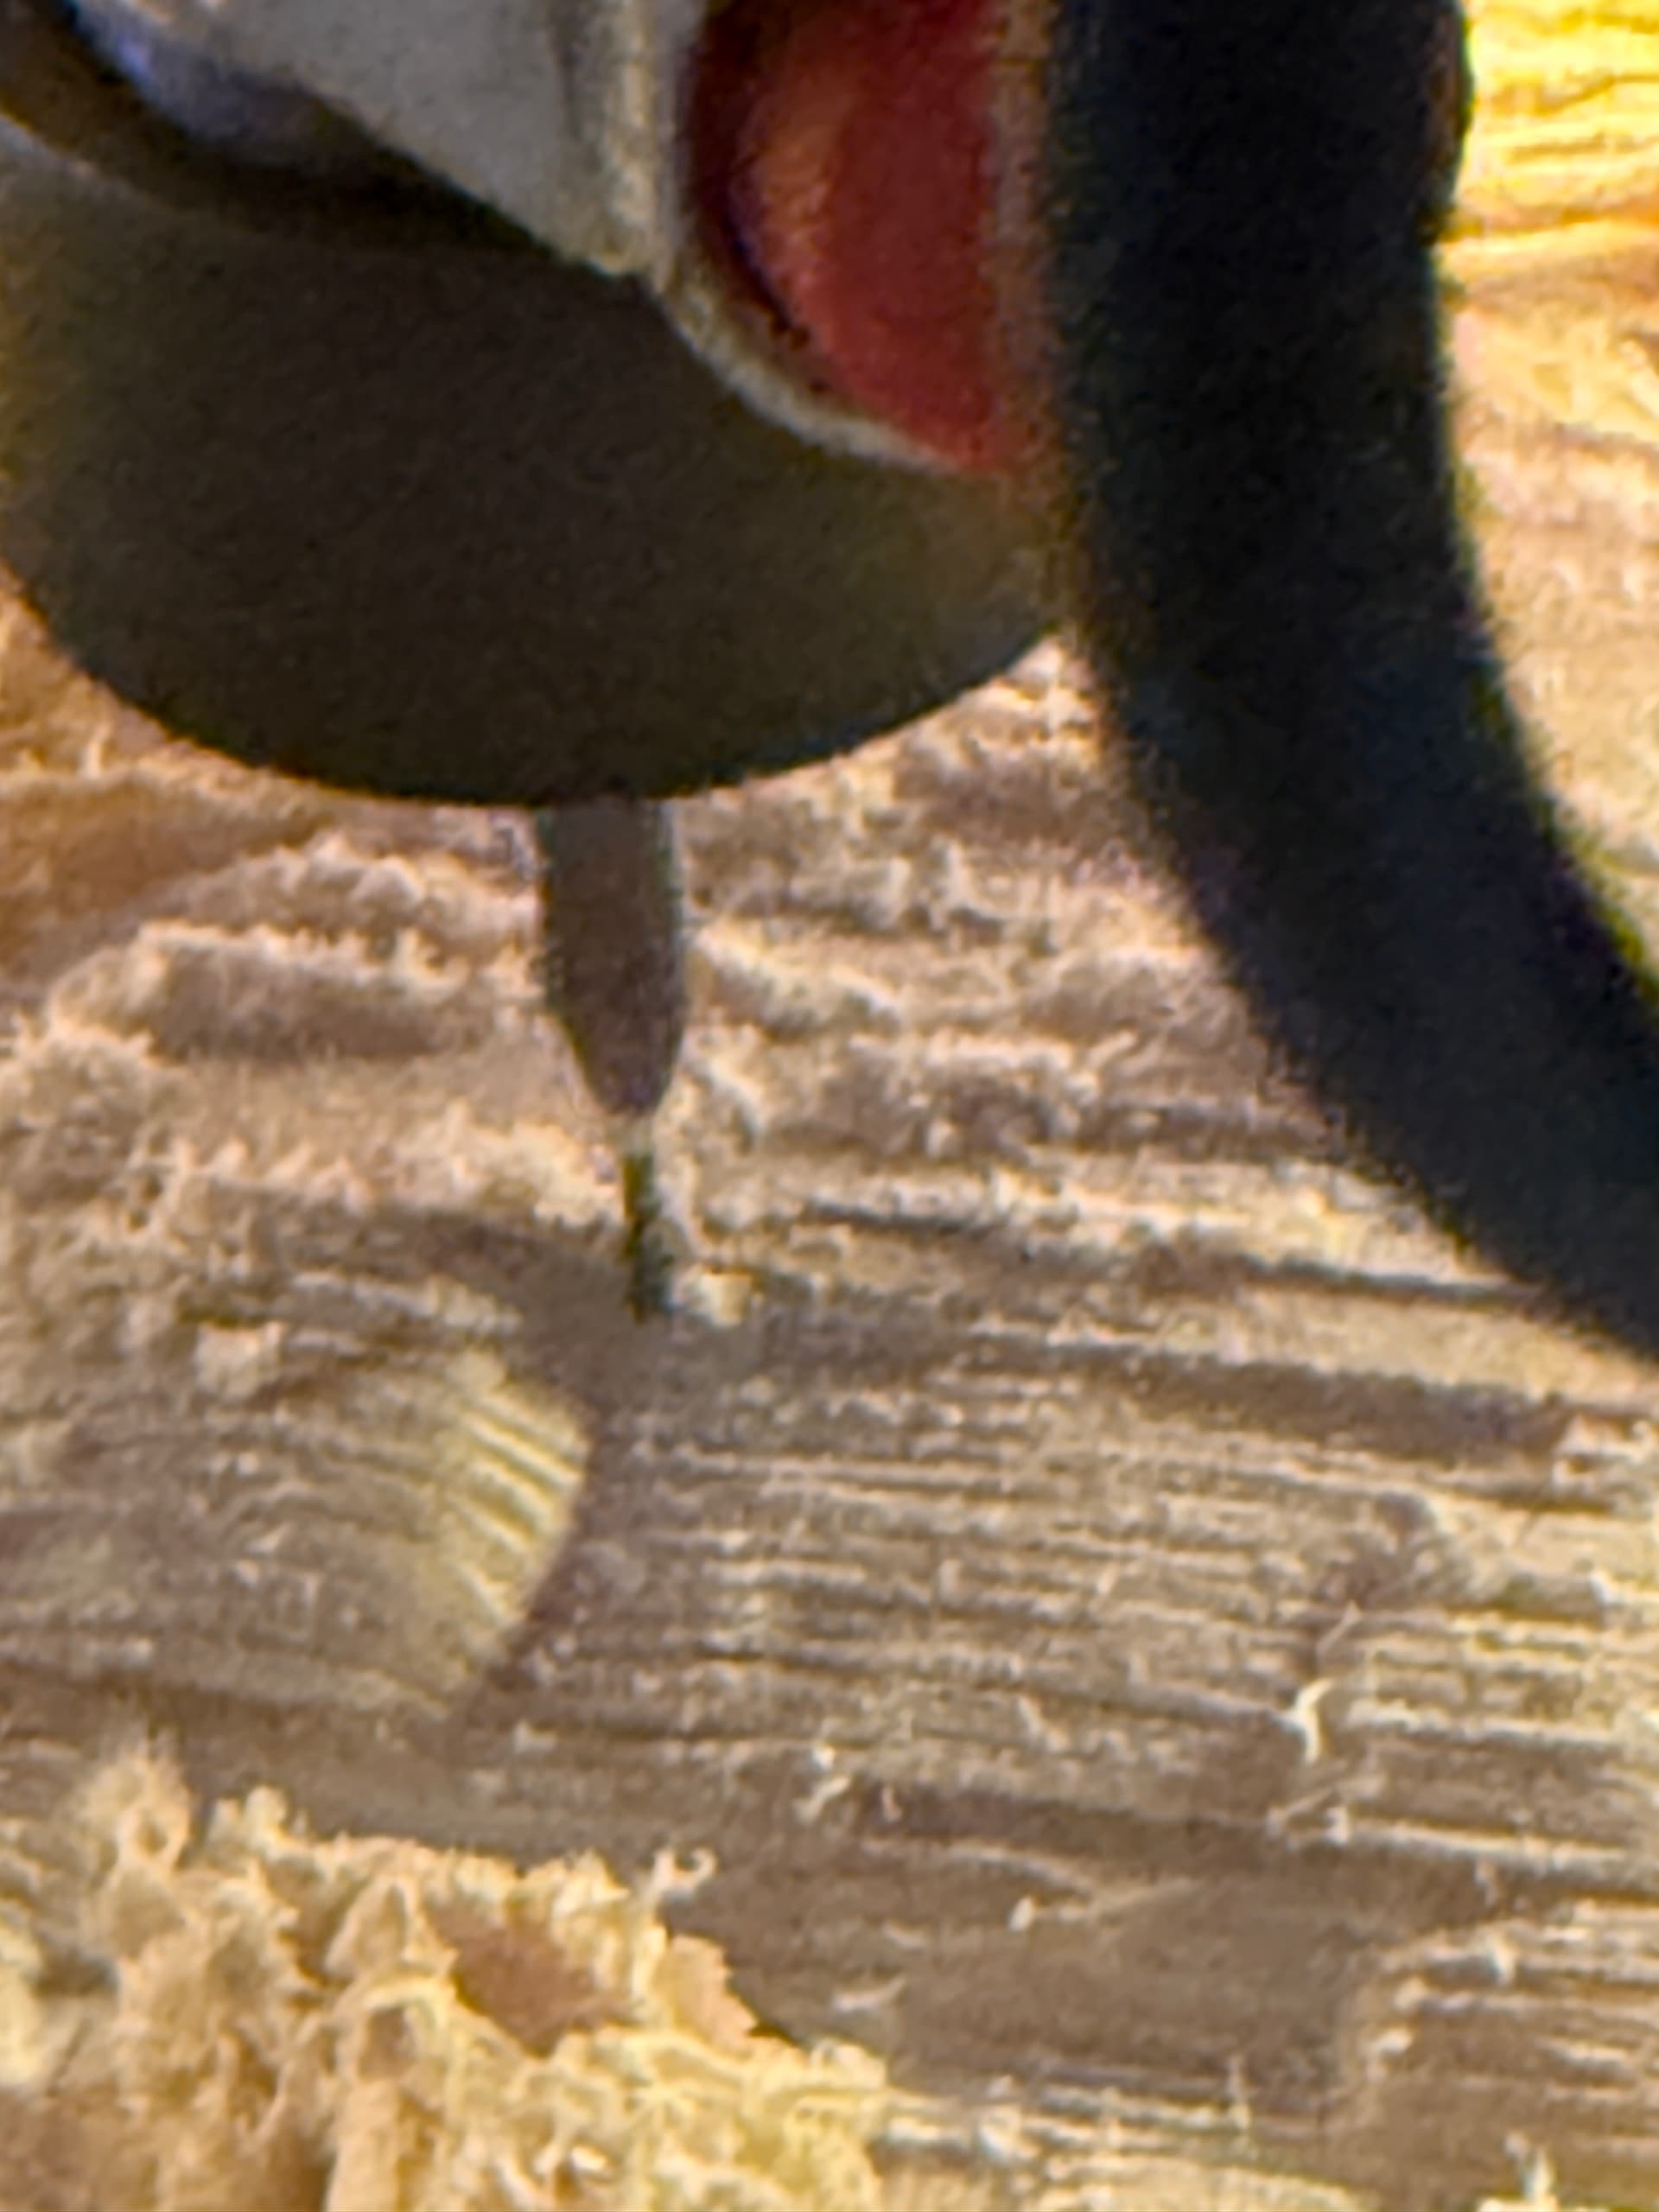
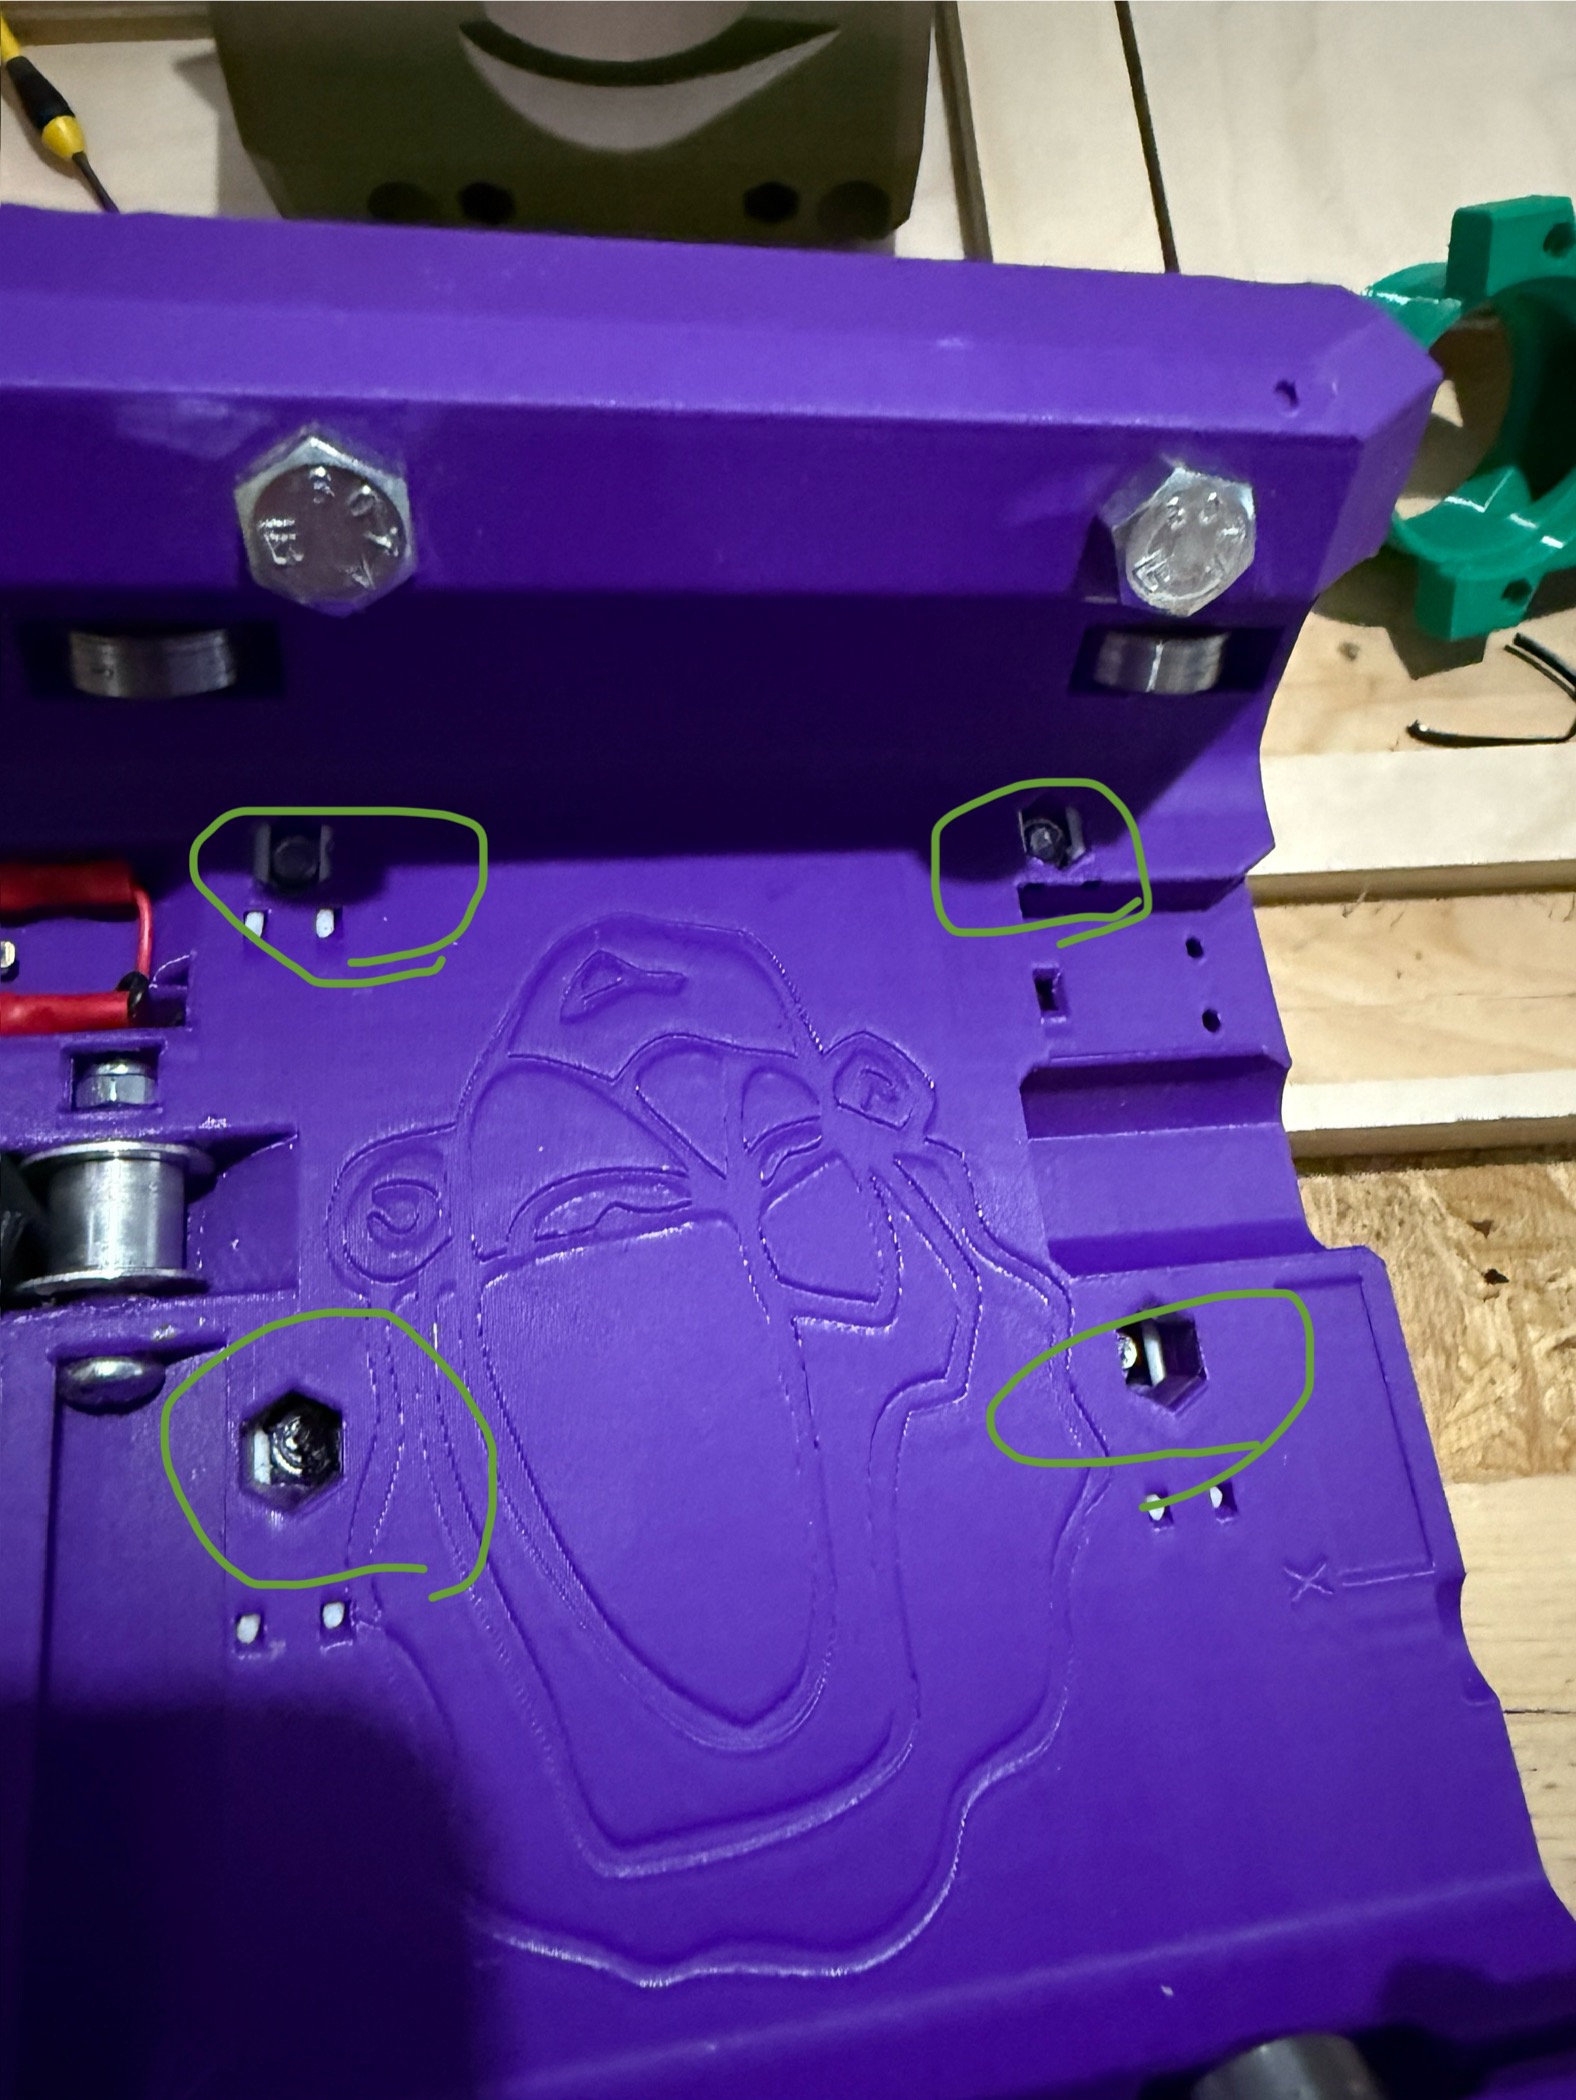
I bought a 2" surfacing bit on a whim (cheapo on amazon), but I was afraid to use it after seeing a post from Ryan somewhere saying those bits are much too big and that results will be poor, plus it’s a big heavy sharp thing whipping around, so it didn’t seem safe. Instead I’m surfacing with my biggest bit, a 6mm 2 flute upcut: 100 mm/s, 2 mm DOC (surfacing in 1 path), linear @ 60% step over. I started at 50 mm/s, but after a few passes I figured I’d pump those numbers up because I was getting dust. Going at 100 mm/s now and it’s going great (I hit pause to walk away for lunch). I’m sure I could go faster and much more efficiently, but this is working and is almost done haha. Will get a nicer surfacing bit for next time, running this in ~10 minutes would be a lot better than the ~30-40 mins that I have now.

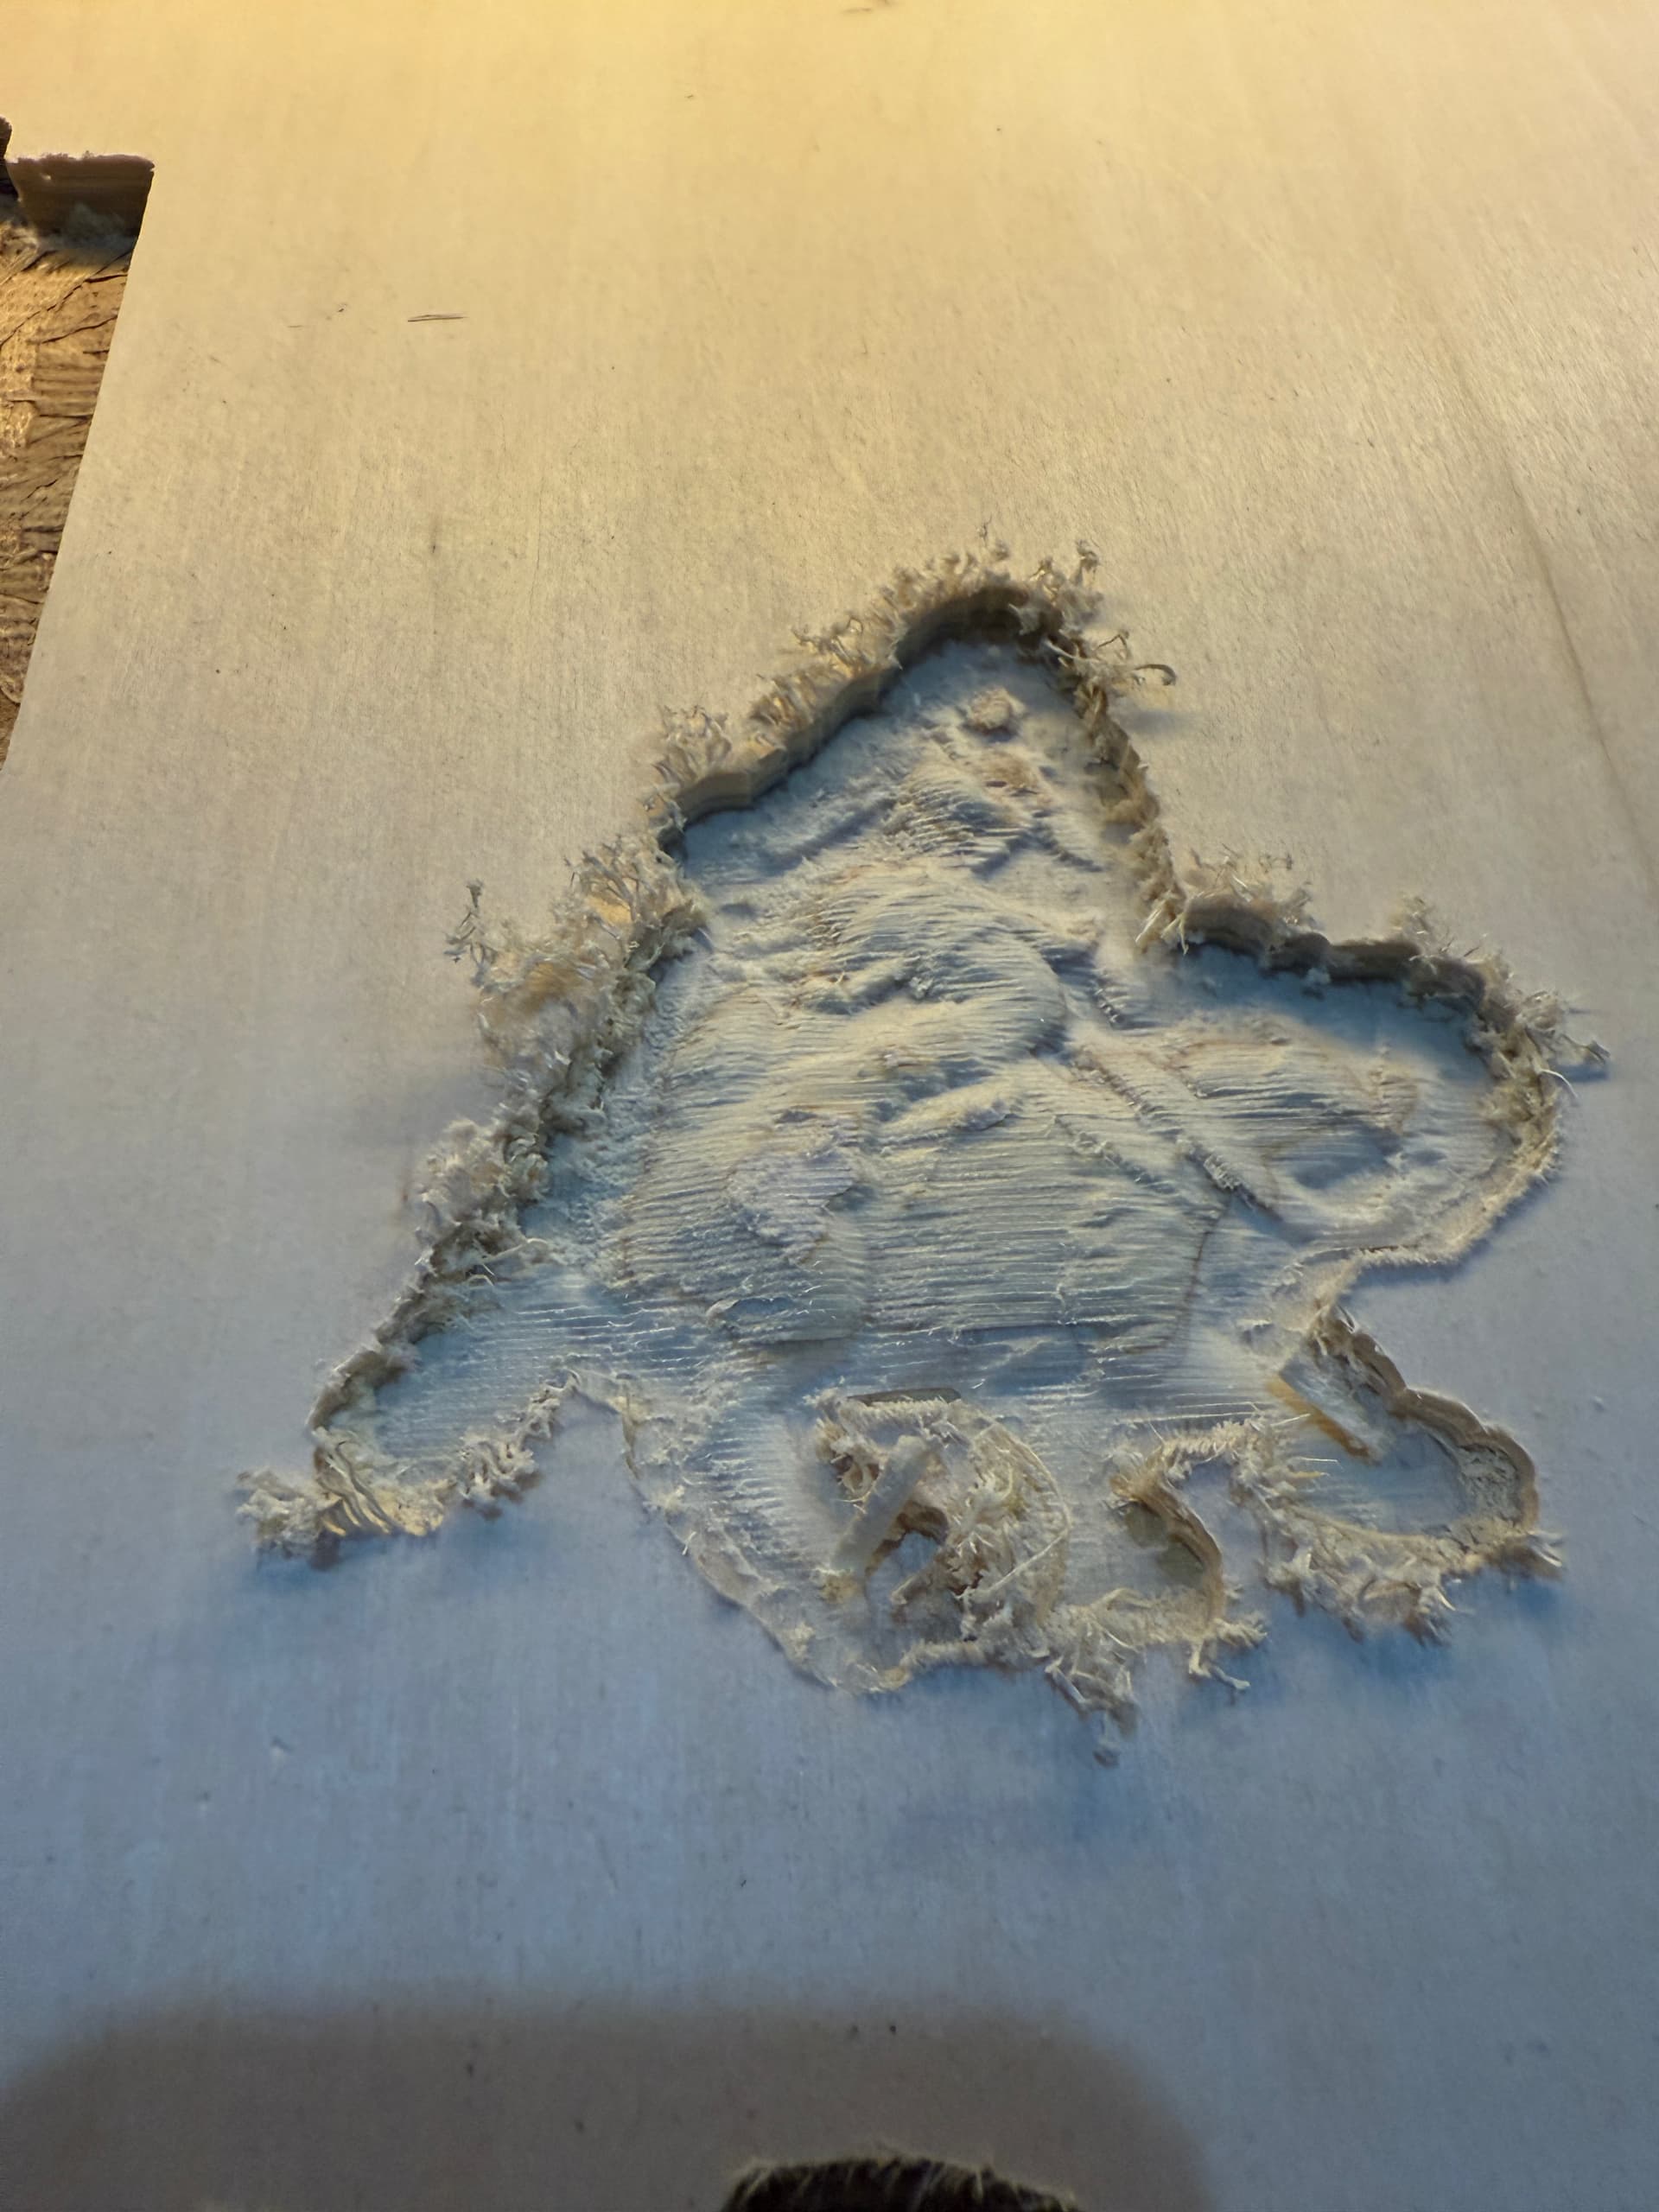
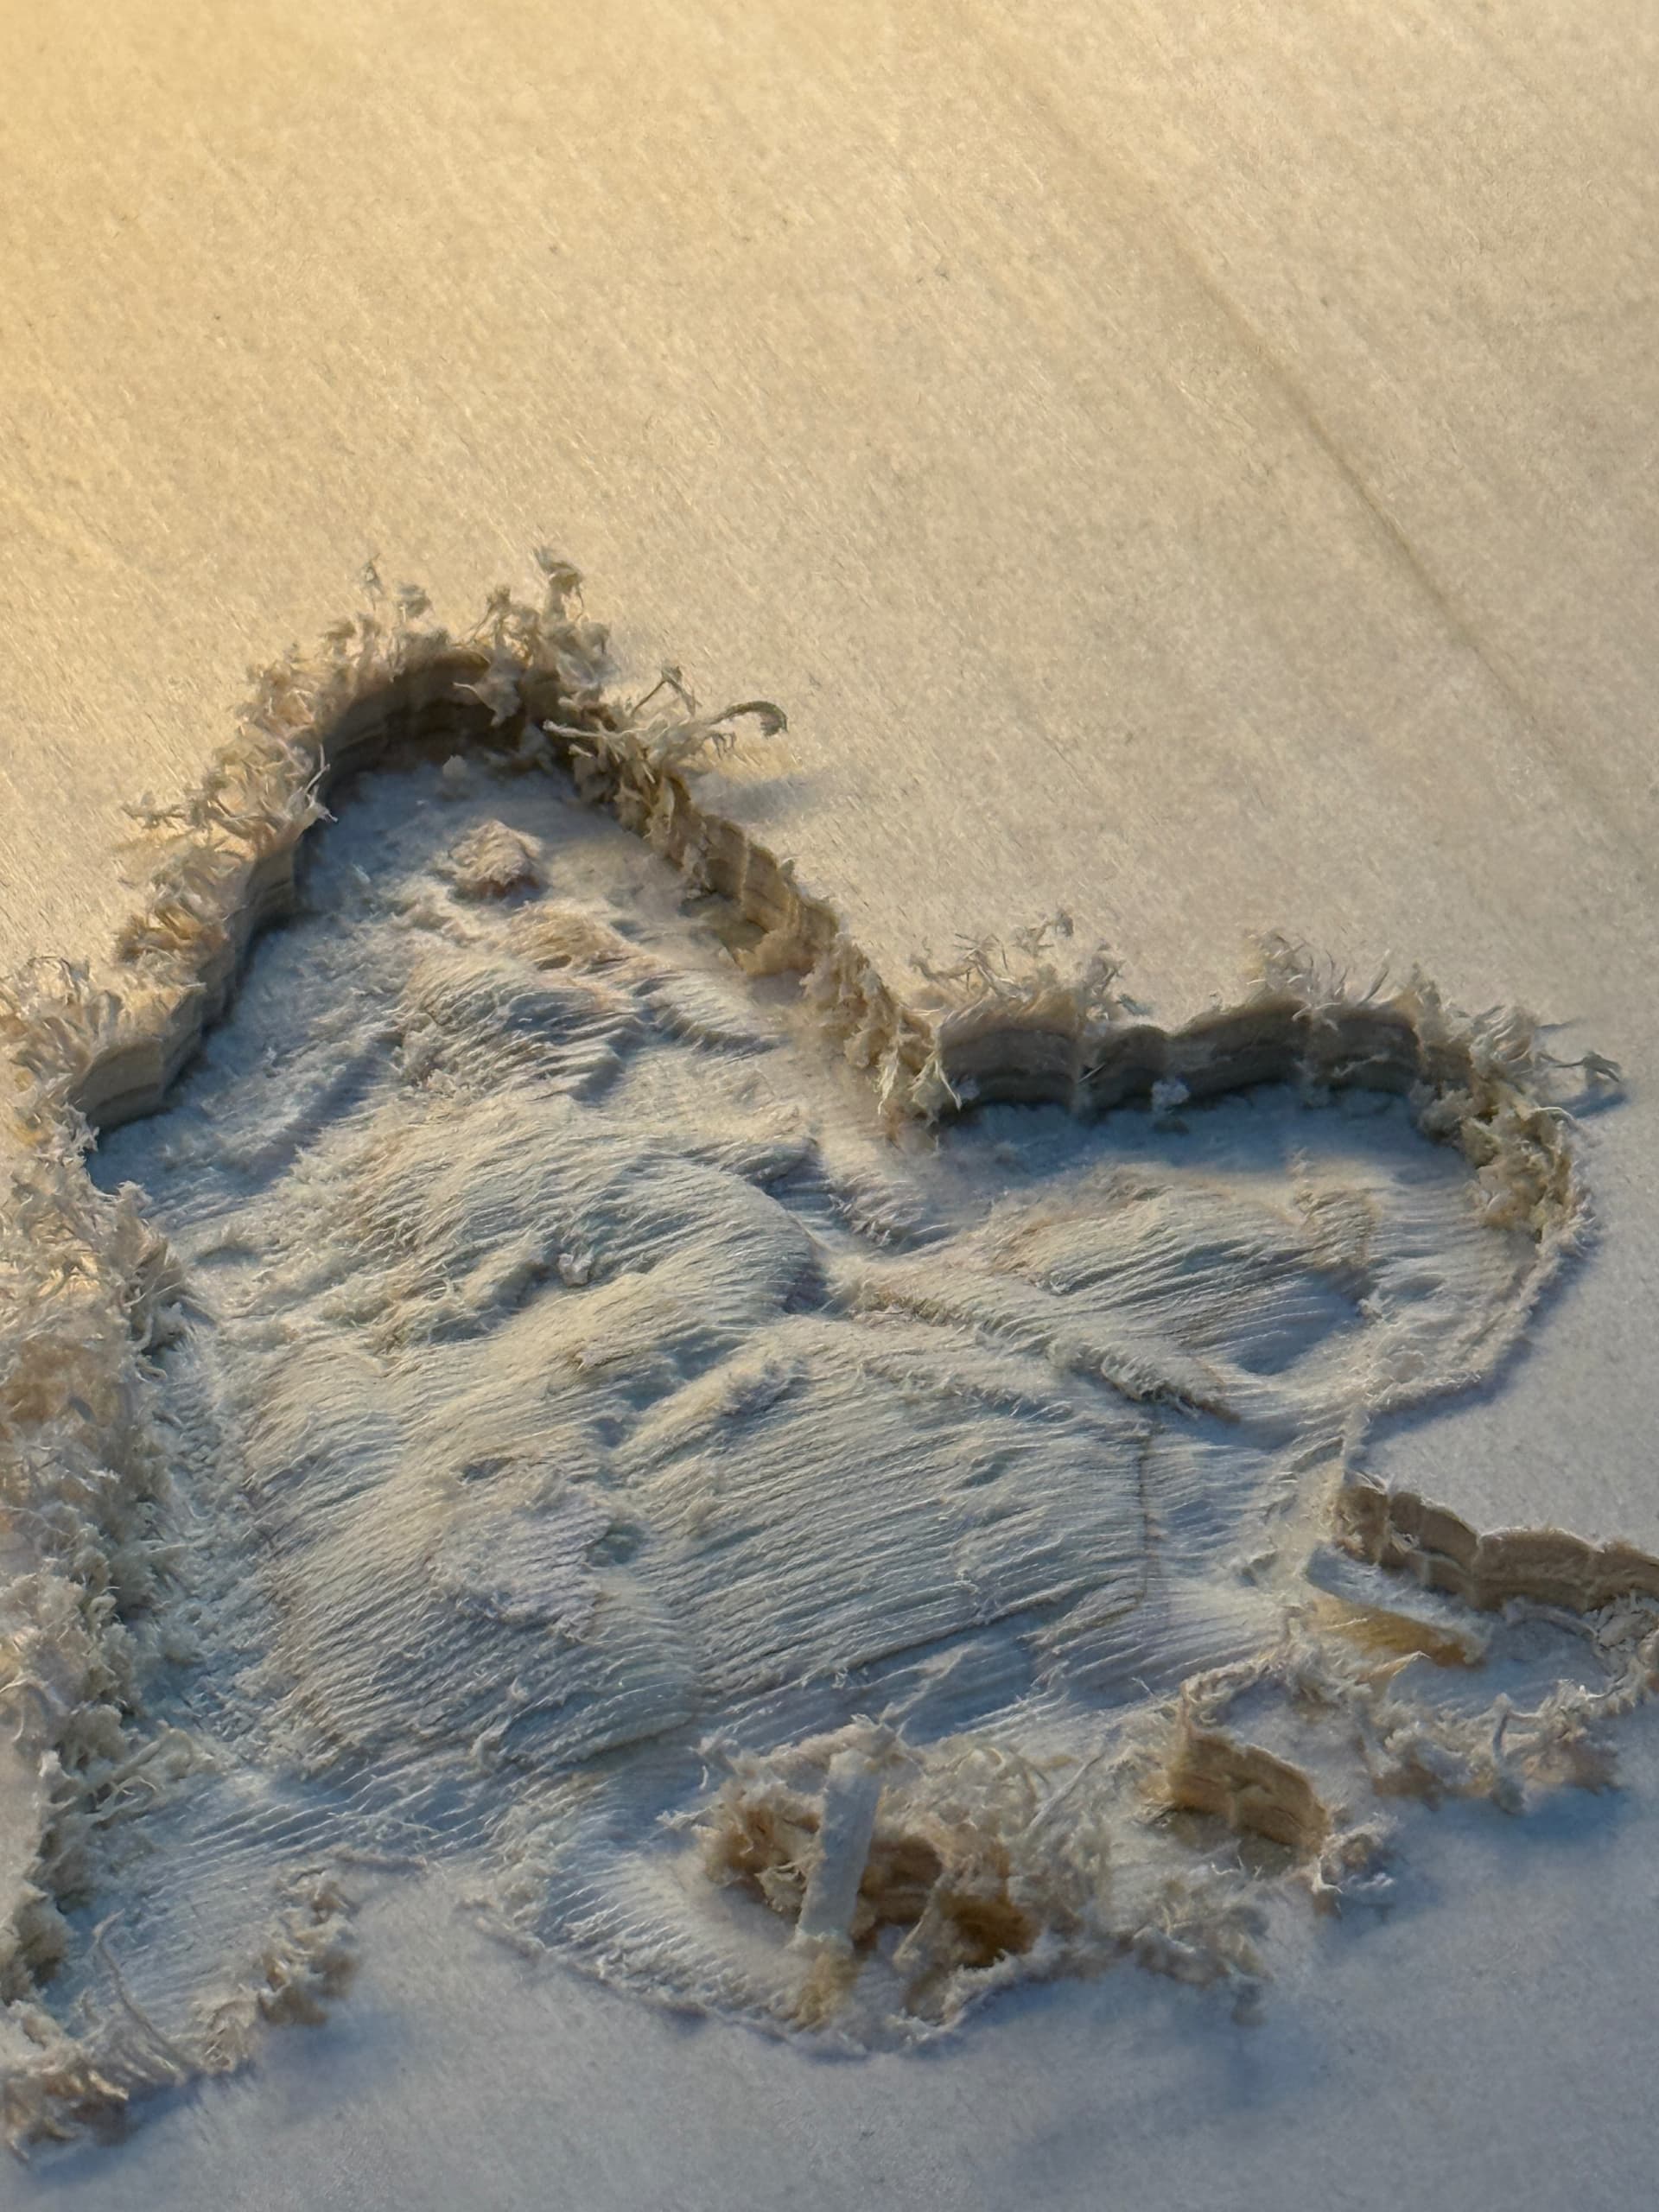
I’ve also finally seen the light on single flute bits being the GOATs. All those 2 flutes look really pretty, but the math says we can’t really go fast enough to get proper chip size from them… but if you cut the number of flutes in half, down to 1, you cut your speed requirements in half. I still have a baggie full of 2 flute bits from amazon (and QTY4 3mm singles from v1e :stuck_out_tongue: ) that are all basically brand new, so I might as well use them… but I’m wondering what applications a 2 flute bit is good for, in our machines? Wondering if there is a good use case for them, if so, then I’ll keep them new and sharp for those circumstances lol.

1 Like

I nearly only used 2-flute endmills. With a 1-flute I max out at 1800mm/min and 4.5mm DOC in hardwood, with a 2-flute I can go up to 3000mm/min if needed. I recently also bought 1-flutes, because the round tabs can only be as fast as the fastest axis when using Estlcam as a controller, so I can‘t go over 2000mm/min anyway. :stuck_out_tongue:

2 Likes

I was cutting out some stuff out of plywood yesterday and discovered I’m getting some deflection, as the walls of pockets I cut had waves/scallop patterns in them instead of nice straight lines in X/Y. Turns out that the bolts holding the tool mount to the core, 3/4 of them had stripped out the plastic retaining the nuts :frowning: so I printed a new core over night, will see if I can get it put together today but if not I’ll share an update once it is complete!

I ran out of my purple PLA+ filament so I used what I had on hand, this pretty green/brown PLA matte, and printed on a sparkly plate so one side of it will be repping the LGBT pride lol


The original core was the first real big thing I had ever printed so I didn’t have a real appreciation for the level of work that went into making it. Months later I’m still struggling with 2D CAD let alone a 3D behemoth like The Core (great terrible geology movie btw), so it’s cool having a new level of appreciation for this thing! The first go around, I had printed with supports so I’m sure the stripped nuts are a product of my frustration at the time dealing with ripping out supports etc… hoping round two goes much smoother :slight_smile:

2 Likes

Nice sparkles. Could you photo the old one where it failed? I am interested to be on the lookout should it show up again. Someone else reprinted a core recently though it may have not been the same model/version.

1 Like

I understand you’re proud of the new sparkly core, but, you might be able to salvage the first core for your/someone’s future use using loctite glue to help keep the router mount nuts from spinning.

1 Like

That’s a good point! I did try that but with weaker materials (hot glue, wrapping the nut in electrical tape), I also had some success by wedging small flat head screwdrivers in-between the nut and the plastic, but that quit working for me on these ones. I just applied some CA glue down around each nut, by wrapping a tiny flat head in masking tape and sort of shoving it down between the nut and plastic… will see if it works later today once it solidifies :slight_smile: That would save me so much time and effort lol thanks again for suggesting it!

2 Likes

Update: glue did not help :frowning: the stuff I have stayed a little gummy instead of hardening up. I think my options are to either dismantle and rebuild the new core, maybe get a different glue like JB weld? or… I could try drilling some holes on either side of each nut so that I could get some pliers in there and hold the nut? That might end up being more work than dismantle and rebuild?

It’ll have to wait a little bit either way, sliced my left pointer finger pretty good last night on a (thankfully) fresh razor blade (long craft knife). So while it heals up a bit, I got time to think of alternatives/buy something like the JB Weld.

You can pretty easily take off the core without having to do a full rebuild. :slightly_smiling_face:

2 Likes

Oh yeah that’s no problem, I had to get the core off to even mess with the glue etc. My bad for not posting pics, it would have been a lot more clear with them lol. Please see below, the nuts are circled in green:

So by “full rebuild” I meant “taking apart the purple core and putting all the pieces into the brown core”. Shouldn’t be too big a deal, I just hope I have enough bolts and nuts left over since I can’t remove 3 of those 4.

The only reason the plastic got stripped was because I didn’t see the note in the build guide about screwing the bolt into the nut to loosen up the nylock, prior to installing. So it got stuck and as a former power lifter, I applied too much monkey strength and broke stuff… c’est la vie I suppose

2 Likes

Gluing it is tricky, you need to surround the nut with epoxy, but not get any on the threads. Difficult in a small area like that.

Most pliers are usually too big (you would need a YUUGE gouge out of the core), and small needle nose pliers are usually too flimsy to hold any torque.

I had this issue with my LR3 core. I used a very small screwdriver jammed beside the nut to hold it from spinning.

4 Likes

I finally got some time on the machine again, I fixed some problems and learned a lot! I was getting usable parts and pockets in plywood but they had wobbles and needed some serious sanding. Some things I did that made the experience much better:

  1. With Z homed, my X axis was ~2 mm low on the Xmin side! I only noticed bc I saw that one Z end stop was at max height and the other was at min extension, and I thought hmm that can’t be right. I adjusted the Z0 end stop a couple times and got it Damn Near Level. 4’ alu level with the bubble as in the middle as possible :smiling_face_with_sunglasses:
  2. I had to tighten the core-to-rail adjustment to eliminate some wobble. I was too scared of making it too tight, that it was always a little bit less than marginally tight.
  3. My feeds were wayyy too fast, I last tried 50 mm/s on the v1 1/8”. After seeing many posts from Ryan about how slow he cuts because it works on the first try, every time, and I took that advice! Dropped it down to 15 mm/s, it took longer to cut but I have the time and it’s fascinating to watch… plus it worked on the first try!
  4. I swapped in a fresh bit and could feel by hand how sharp it was compared to the bit I was using

Some comparisons before and after the above changes. It’s truly amazing how well the lowrider works even with multiple things out of spec! She’s cutting laser beams now!

Fuzzy cut is old, clean cut is new:

Waves left in the workpiece before, no more waves and a crispy clean holding tab now:


This feels great :slight_smile: to not only have it working really well, but knowing WHY it works well. I really love this thing, I’m so appreciative of this product and community <3

9 Likes

I got to experience 3/4” (19 mm) thick plywood, both a maple and a Baltic birch, and it is amazing compared to the thinner stuff! It turns out the thick wood stays flatter and more rigid while being cut, so I got nicer cuts overall (due to less vibration in the wood?) and the finished pieces are just beautiful and so substantial!

I’ve been getting better at finishing the wood now too :slight_smile: I used to chew everything up with the random orbit and some coarse grit stuff. Turns out it’s way easier to just hit it by hand once over with some 600-1500 grit (I got a ridiculous variety pack of lil sandpaper squares on Amazon, this range had best performance IMO). I then wiped off all the fine dust (crucial), applied some linseed + bees wax, spread it around with a plastic putty knife, wipe off the excess, one and done.

I made two of these shelves, to hold my computer tower and guitar amp. Solid as a rock with the cross beams and being 19 mm thicccc


Will make a proper thread on them and my other French cleat desk/office stuff once I get it all figured out. Sneak preview below:

15 Likes

Long time without an update! I tried carving name plates for my coworkers, but that showed me my table wasn’t flat enough ( What holiday gifts are you making? ) so I replaced my OSB top with MDF. Much better, but still had a bow/sag, so I took the top off again and did my best to shim the table to be level across (more detail and pics in the linked thread).

Now that my table is nice and flat-flat, I was able to carve the name plates across basically my full X axis just about perfectly (meaning nobody would notice but the guy who made it lol). But then… Murphy struck.

I couldn’t home Z reliably, it would work sometimes but sometimes it wouldn’t. X-max side would home correctly, but then the X-min side would stop moving ~20 mm from home, and I’d get the alarm about being unable to find an end stop. I checked everythingggg lol turned out to be two issues!

  1. The two bolts in z stub min were not tight enough at all. They caused slack in the lifting/dropping movement, so it would be missing steps as the screw would move, but the machine wouldn’t.
    1. Thankfully I was able to push a flat head up against the nuts and screw them in
    2. Fixing this got the machine to go like half way closer to home before binding up! Imagine my elation lmaooo
  2. My front strut plate was poorly made due to my machine at the time having a wobbly core (was afraid of tightening the bolts so they were hella loose). I never had this problem, but it’s winter now and I built it in the summer, so I bet the seasonal change was the last straw. It is 4.5 mm plywood, some junk from Lowes, and it was butting up against x-min. Also the slots for the braces were wayyy too tight. Probably also due to my new table top actually being flat.
    1. Anyways, I took it off, sanded and filed it down some. Used my new HF 6” disc and 1” belt sander combo that Santa got me <3 Reassembled, still too god damn tight lmao.
    2. Took it off again. Used my Dremel as a router for the first time and carved that thing uppp lol and sweet Jesus it finally works!!!

So I couldn’t stop for the day without making something with the machine, testing some movements and Z-homing wasn’t going to satisfy my anxiety lol. So I finally made a legit spoil board with the MatchFit slots and Festool MFT dog holes! Thread here: Dovetail/MatchFit Spoil Board w/ MFT holes

So now I’ve got a dialed in table, machine, and multiple days off in a row… time to make some stuff!

7 Likes

Let’s see it :smirking_face: :zany_face: :eyes: :winking_face_with_tongue: :smiling_face_with_sunglasses: :wink: :smirking_face:

4 Likes