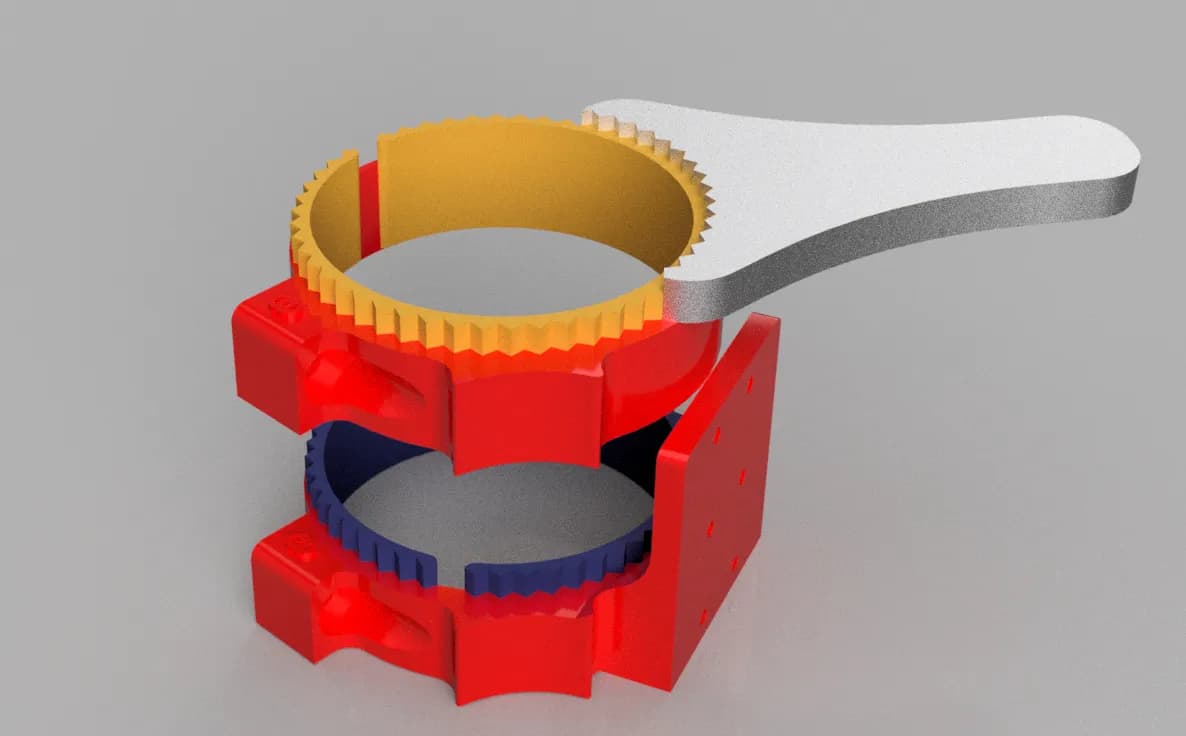
About the “points”, you can also remove them and leave holes for three M3 or M4 screws
They’d reference the “flat” side against the bed, so they shoud be pretty consistent in height
I never printed it and don’t know if it even works because the tooth prifile is very “round”
But I thought about you when adding this feature, like “oh, yeah! that’s definitely something Peter would add, even if it’s totally useless!”
So, at the risk of Fabien looking mad at me, what are the values you guys are chasing to get it square?
When I measure tilt in x direction I have about 0,6mm difference.
Tilt in y direction gives about 0,5mm difference.
That’s using v1’s tramming tool, a screw and a piece of paper as you would do on a 3d printer. So no fancy tools to get it super accurate.
I might get it more accurate using the same approach but wonder if there’s any need to do so. Using the tramming tool both measure points lay ±170mm apart so 0.5mm seems peanuts considering my bit is just few mm wide
i currently have somewhere around 5-6 times this measure
And I’m re-rpinting the core… for the fourth time in two days…
And I just had to destroy and re-do my drywall…
Mmmmh … maybe I should just take a rest >_<
Had a Monster with the hole smashing? Is your real name Kyle?
Joking aside: It will all work out in the end. I know how you feel, my wife knows how you feel. When my cuts were all over the place and I reprinted the braces, the core and cut like 30 of those stupid test pieces I didn’t feel good at all. I am getting snappy and can’t think of anything else. My wife notices immediately if there is something wrong (same with the inlays being off). It’s so funny: Computer or CNC not working like they should and I get physically hot and am getting nervous until the problem is fixed. Yes, I know, it’s kinda unhealthy, but I know how you feel!
The giant pla spool is getting me into more and more trouble…
Re-spooling it on smaller spools works, but the filament tends to tangle
Plus, as I get more and more failure, I’m getting impatient and make a mess everytime a re-spool…
I thought I found away to use it directly from the 10kg spool by adding a bowden tube, but it doesn’t quite work as expected…
Well, long story short, the next core is yellow… so be it…
Ahah… i’m making some home improvement, finishing the office room…
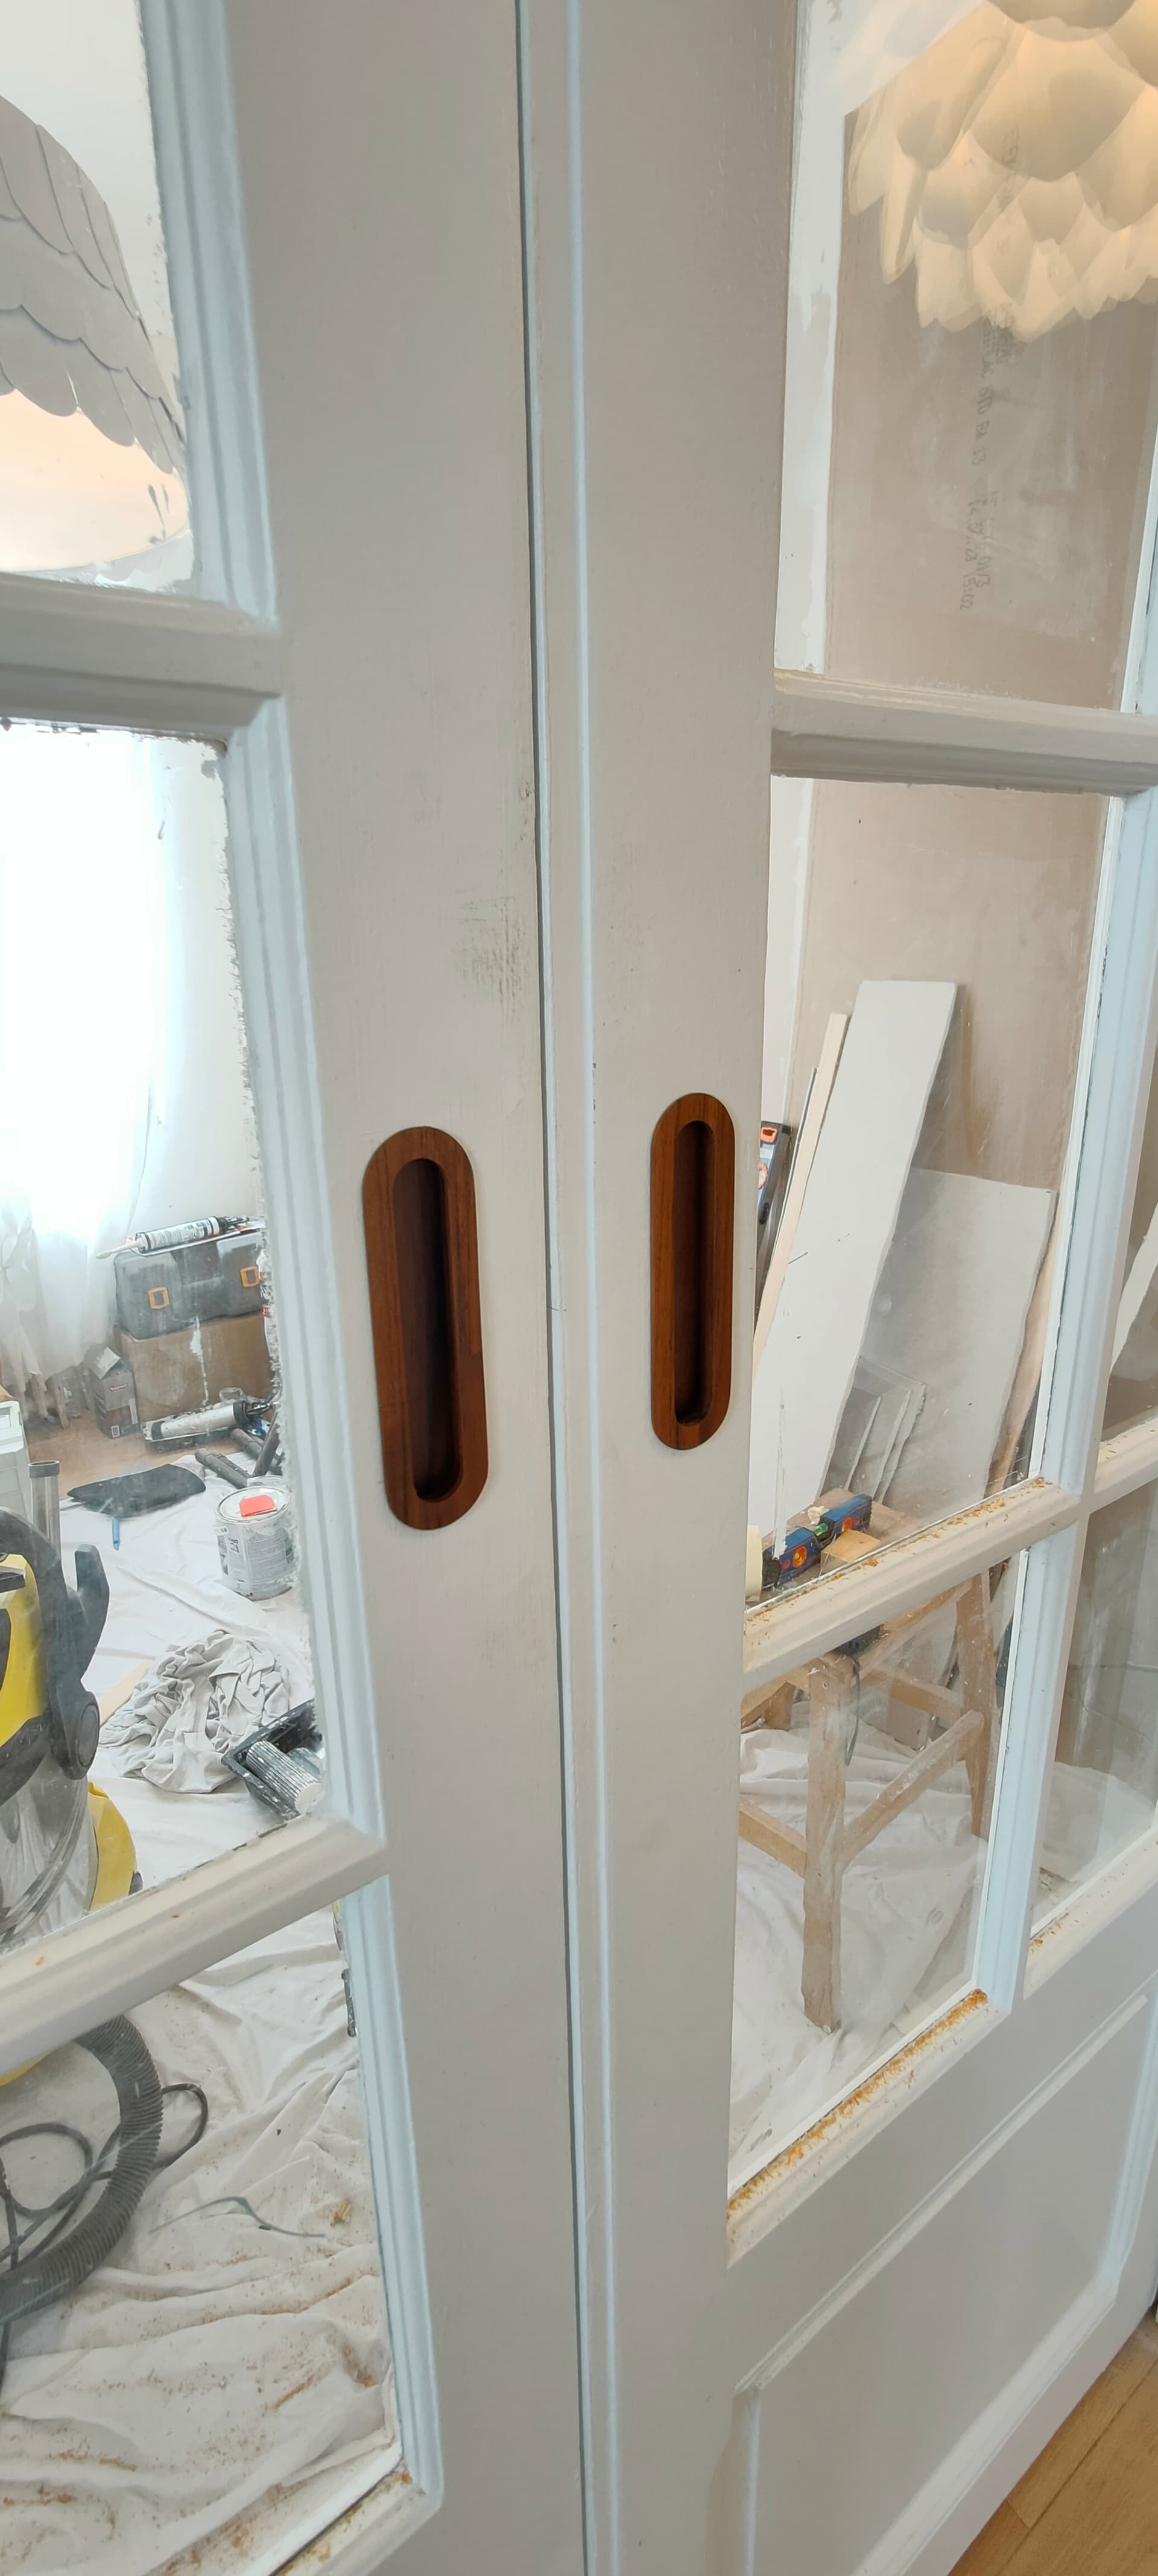
This includes taking the old (1920’ish) doors and convert them to sliding door + integrating them into the wall
That’s the ones I made some nifty handles for…
Pretty cool, but also a true nightmare when nothing’s a standard measure, and you have to improvise on every little detail
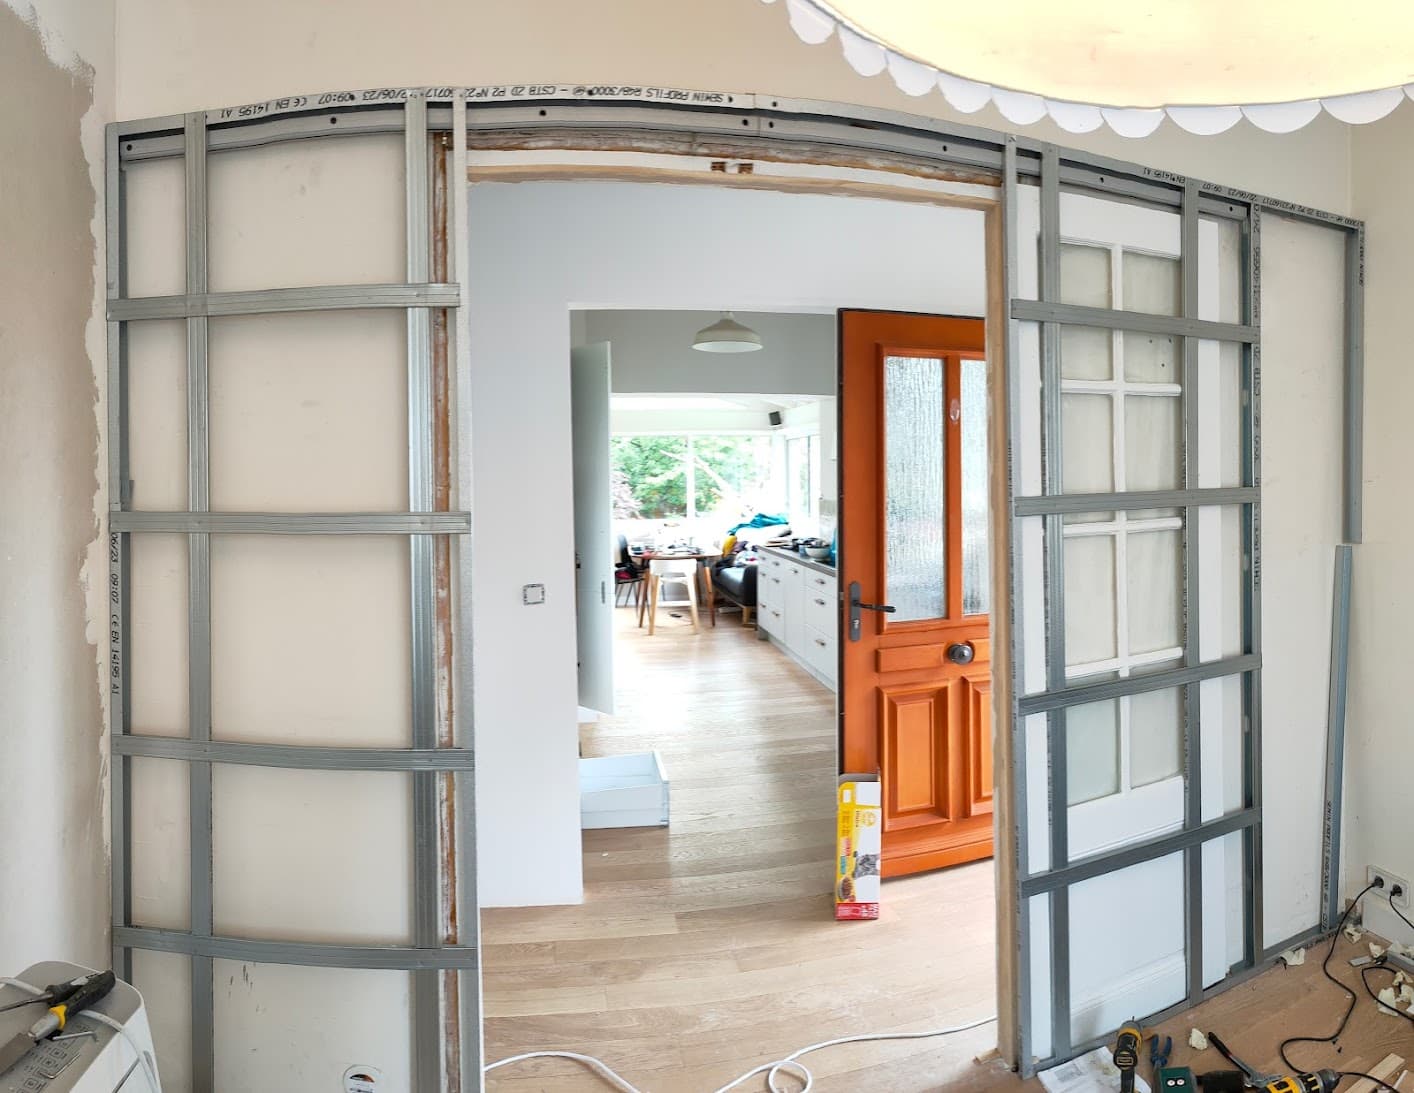
I was almost finished with this project, but the sliding door rail got stuck… had to remove one door to fix it… guess what: turns out I cannot take the door out without destroying the wall that’s in front of it now
Well, a whole day of swearing and cursing later, I finally found a way to have a removable part to cover the doors and still be able to remove them if necessary
Yes, sorry
I run into the problem my tape is not thin enough to get it even closer. That´s why I wonder if it would be worth the time to try and get as close to 0 as it can be.
Yeah, figured I should just try it out.
With given dimensions I get a super small notch although I assumed it wasn’t going to be the case.
So am going to chase it closer to 0
just not sure if the tramming tool will help to be very accurate. If only the tools wit gauges weren’t that expensive
I am sure it might work, but you’ll need to modify the router holder too so it can fit. Looking at my “fixes” there are 2-3 layers of electrical tape been used. That’s so thigh the suggested tool won’t fit
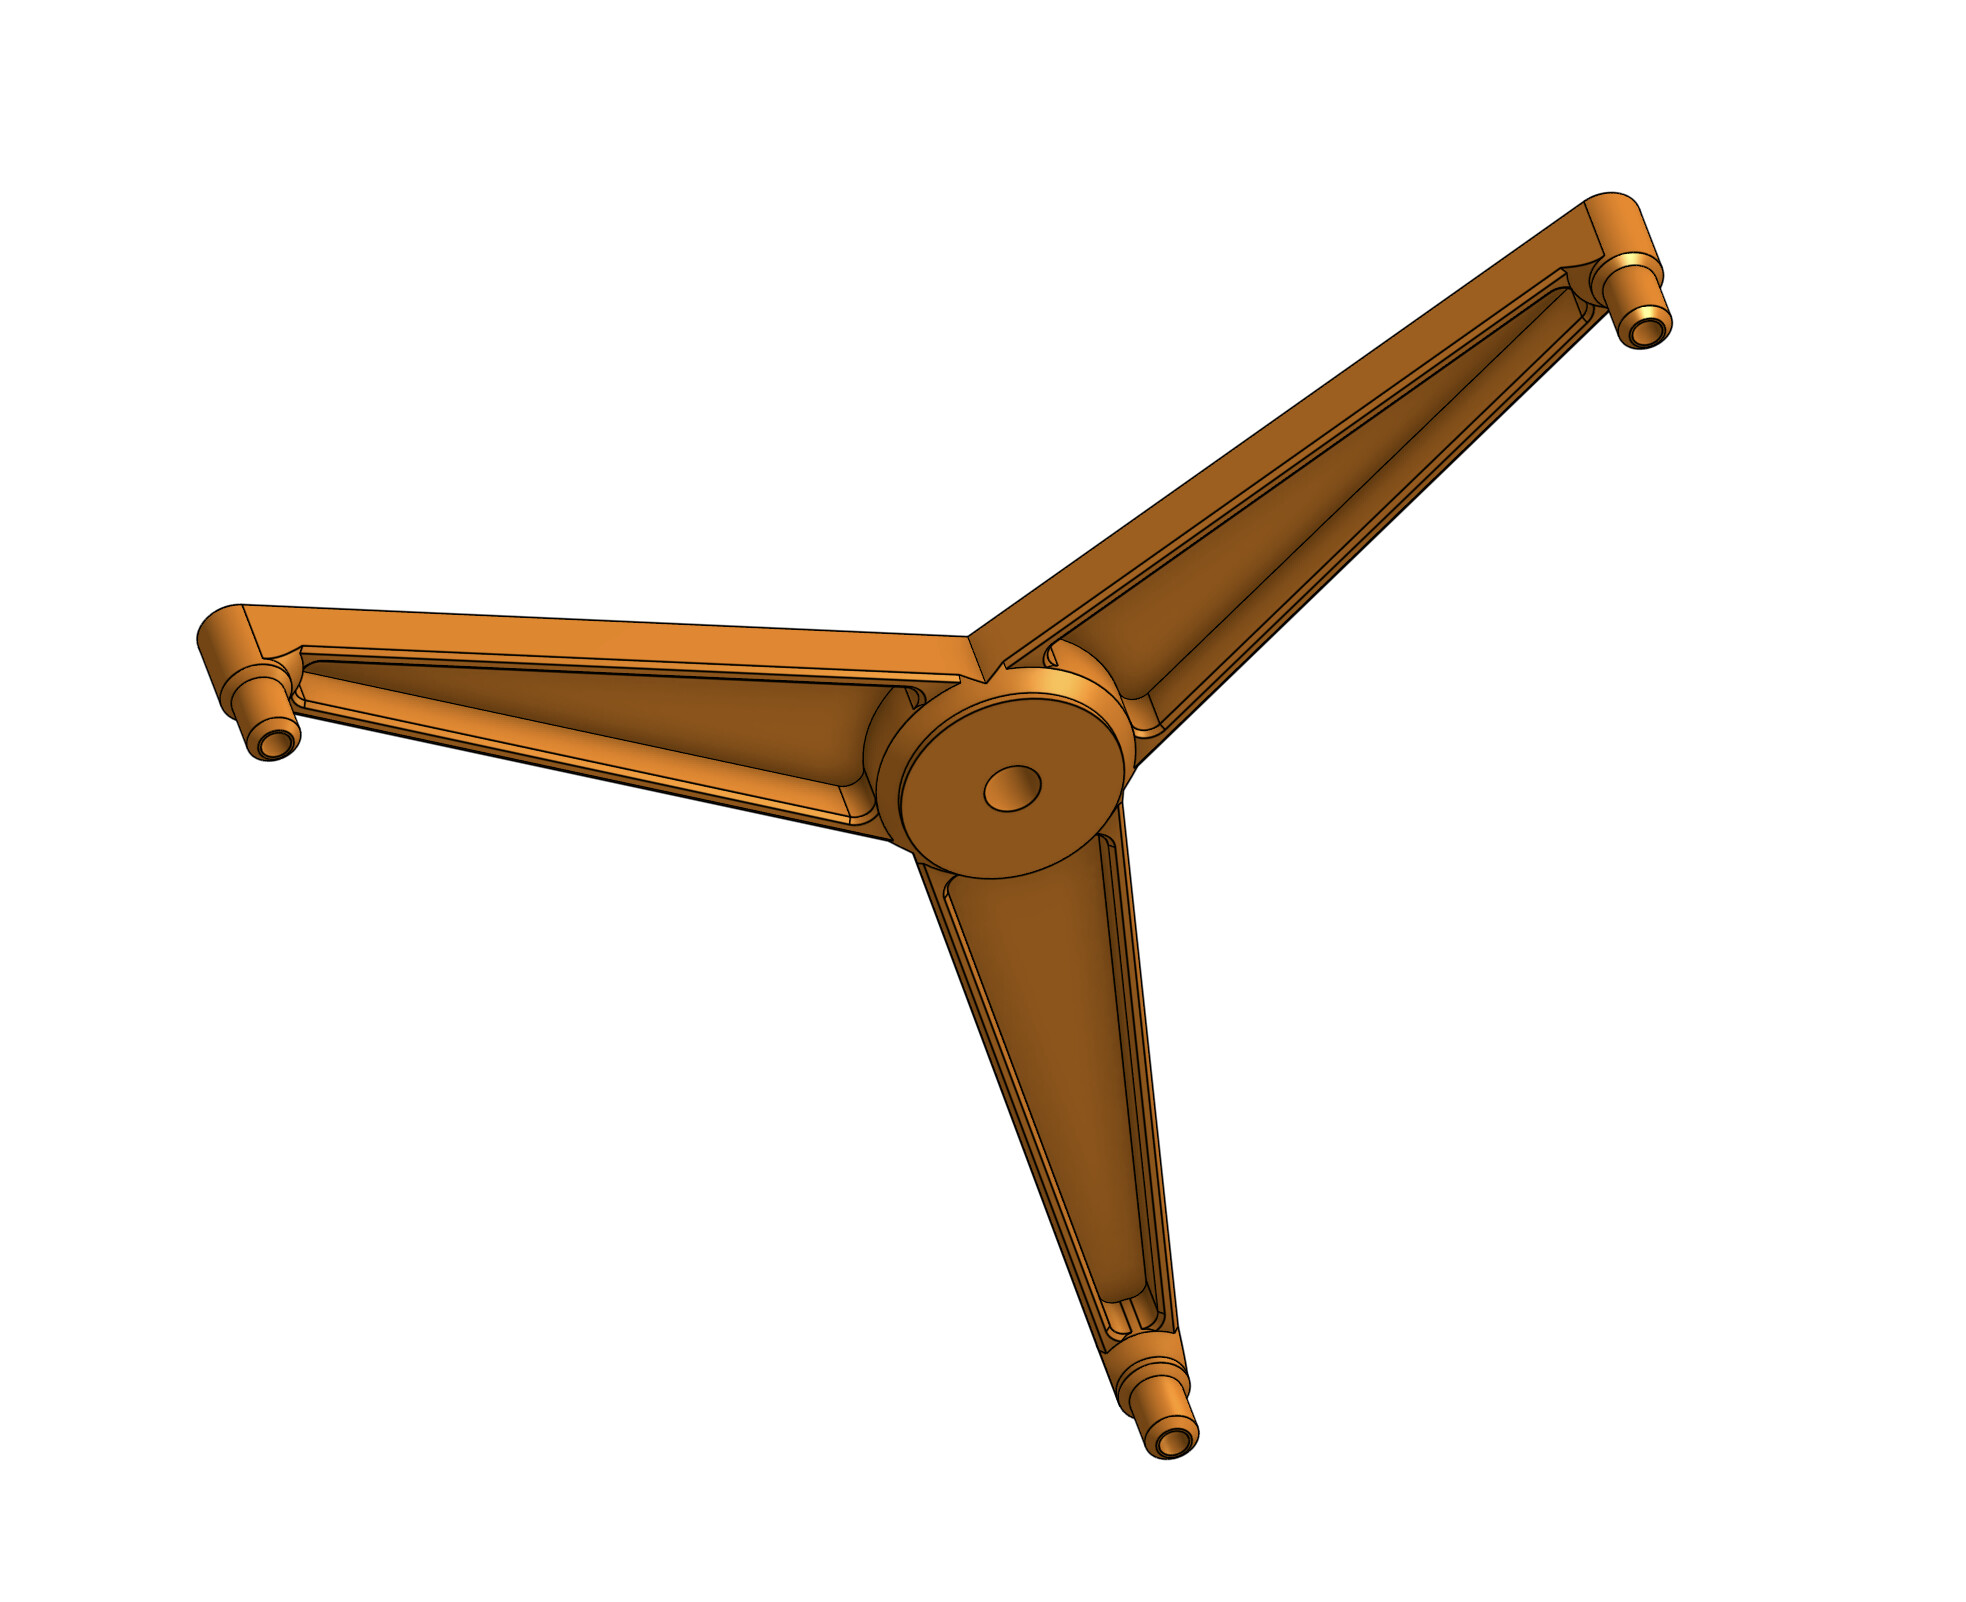
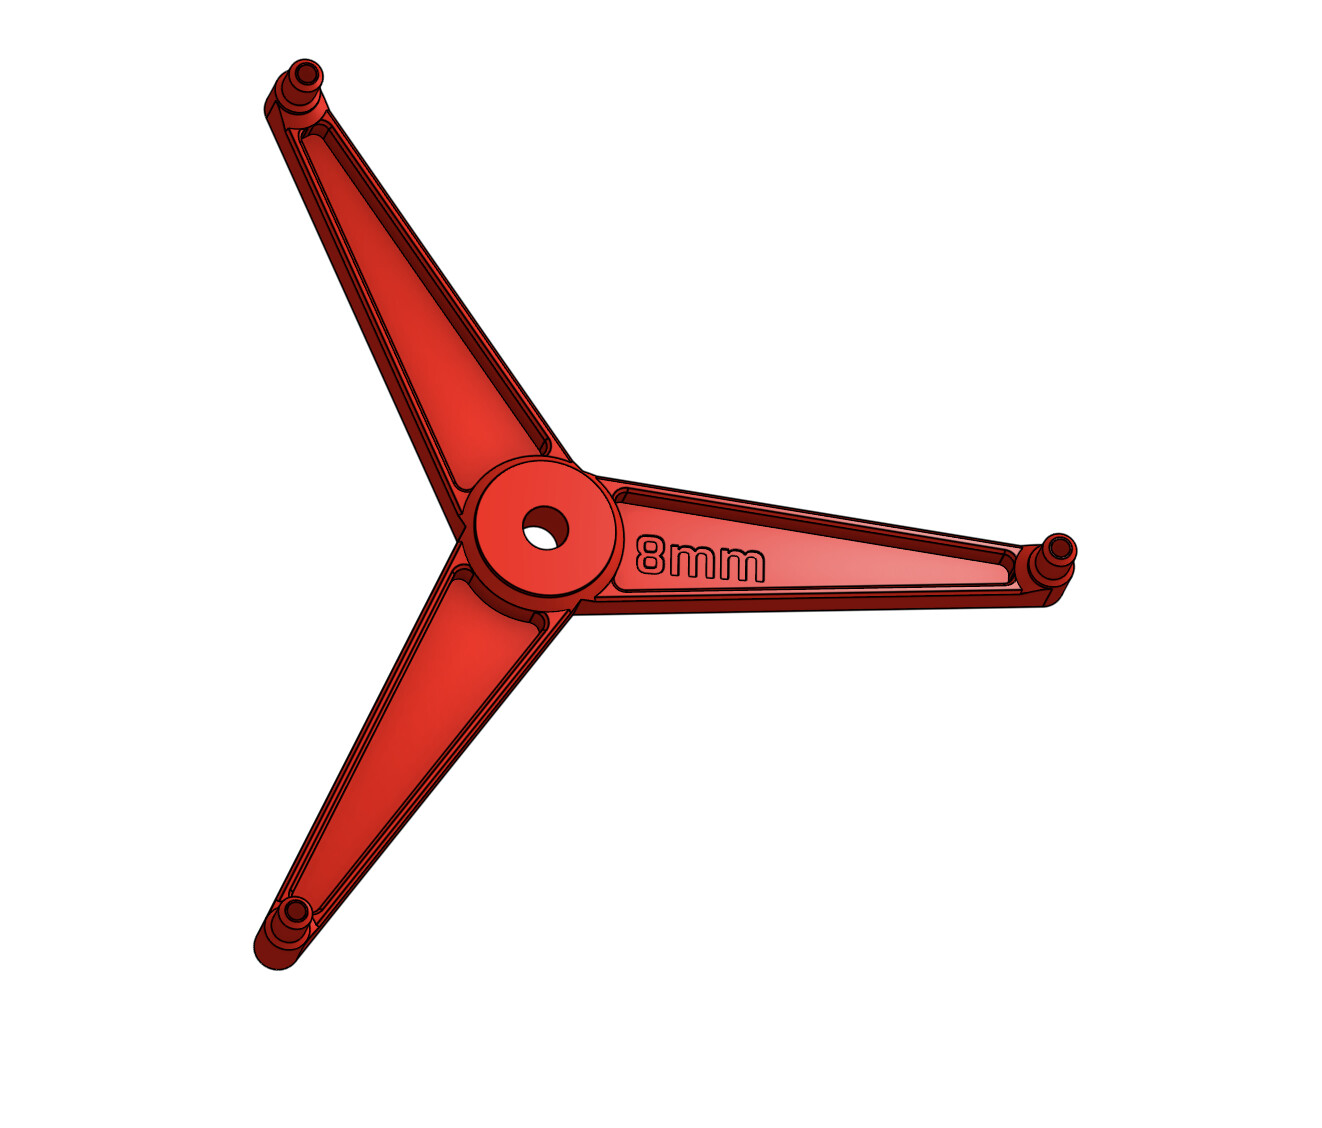
As promised, here’s the revised Tripod tramming tool.
The 1/4" centre hole has zero tolerance, so if your print is a tiny bit off you’ll need to hand ream a 1/4" bit through it - which of course will carry great risk of sending it microscopically out of square.
The outer tripod feed are M3 and I would like to see a washer top and bottom.
Once you get more or less level - rotate the thing and use one leg only for the final detail to counter any inaccuracy.
I’ll definitely print one, but not this week, possibly next - if you do and it works, post a pic please!
Could you add an 8mm version for us metric users?
I could just scale it by 1.34747.whatever-the-lenght-of-a-foot-and-an-inch.6468 but if you have the file open